

Navigate the French Revolution with GameFront in our guide for Assassin’s Creed: Unity as two enemies join forces to end a chaotic era.
Stealth is even more important in this latest entry into the long-running history-hopping franchise, with certain missions giving you multiple paths toward success. Meet up with the Marquis de Sade, Napolean Bonaparte, and other historical figures as you shoot and stab your way through a new complicated conspiracy connecting to events in the far future and far past.
Learn more about the overhauled experience with GameFront’s Assassin’s Creed: Unity preview, or check out the Assassin’s Creed Unity cheats compendium to find everything hidden and extra in Ubisoft’s open-world adventure.

Prologue
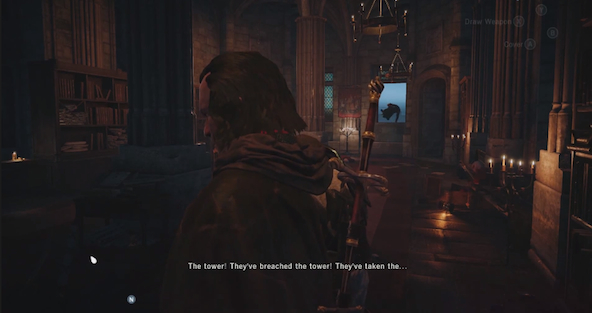
Follow de Molay through the town to activate a cut scene and sprint towards the next objective marker that appears by sliding under or vaulting over any obstacles in the way, then use swordsmanship to defeat the surrounding group of soldiers and climb the ladder at the left side of the nearby structure to enter through the window at the top.
Exit through the next open window across from you to climb the wooden scaffolding on your left and ascend the wall at the top to reach the ledge above, then proceed through the doorway ahead to descend the steps on the right and spot the assassin in the room below.
Chase after the assassin by jumping out the same window on your right and fall towards the ground below to grab the next wall in front of you before impact, then pursue the target by staying directly behind him while vaulting over gaps and dodging obstacles in the path.
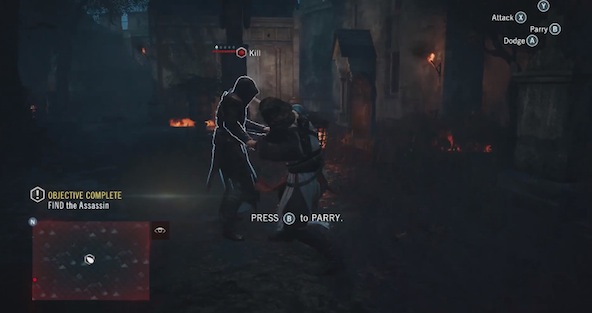
Descend into the smoke below to engage the assassin in a sword fight and defeat him by following the on-screen commands, then proceed in the direction of the next objective marker to finish killing the same enemy with your blade and activate a cut-scene to complete the prologue.

Memories of Versailles
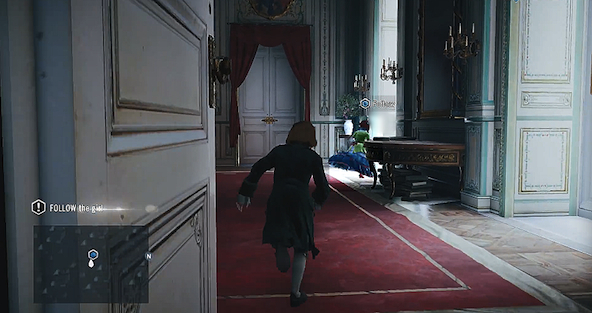
After the cut-scene, follow the little girl down the hall ahead to accidentally alert the guards in the dining room and start sprinting after her now to escape from them.
Stay behind the little girl to reach the gazebo outside and steal an apple off the table beneath it to alert another guard nearby, then sprint away to the garden’s outer dirt pathway and circle around behind the hedges to hide inside the blue tent in the corner.
Move as far away from your indicated “last known position” as possible without being seen and keep an obstacle between you and the exclamation icon at all times to lose the soldier in the garden, then run by the corner opposite of the little girl’s location to attract the guard’s attention again and use this opportunity to speak with her.
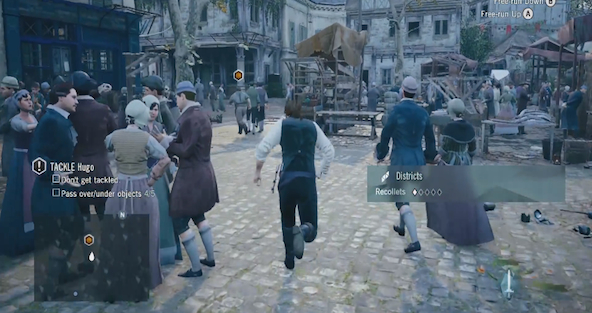
Follow the girl back to the hall to approach the crowd of people and activate another cut-scene, then sprint towards the orange objective marker that indicates Hugo’s location by weaving through the gaps in the crowd of people ahead and avoid collisions to maintain your speed during the chase.
Vault through the indicated window at the end of the road and over the table in the courtyard on the other side, then slide beneath the table in the streets ahead to continue your pursuit and catch up with Hugo in the market place to eventually tackle him.
Escape from the area by running forward down the road in front of you and sprint up the inclined cart ahead on the left to reach the roof above it, then climb to the top to transfer continually between buildings until the brothers give up their search and travel to the next indicated objective marker to complete this mission.

The Estates General
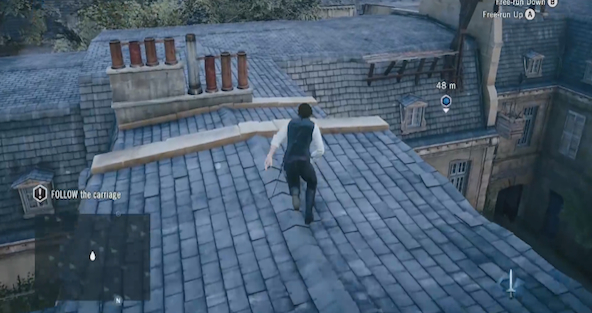
Sprint forward down the road after the carriage and continue following it by climbing up the iron gates ahead on the right after they’ve been shut, then ascend to the rooftop above to run along the pathway of blue shingles in the direction of the current objective marker navigating through the city streets below.
Continue traveling across the rooftops that run along the right side of the dirt road below to start catching up with the carriage and walk the narrow wires that connect buildings to clear the wider of the gaps between them without having to drop to the ground.
Drop to the ground after leaving the blue-shingled roof area and approach the carriage around the next corner to activate a cut-scene, then make your way towards the indicated tower in the distance ahead to climb to the spire at the top of it and synchronize to unlock a fast travel location.
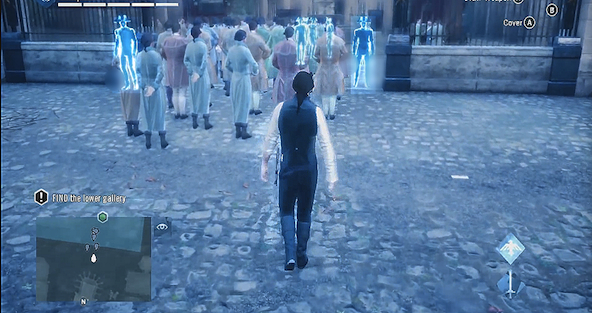
Dive into the hay beneath you to start making your descent back towards the ground below and activate Eagle Vision to locate the soldiers guarding the entryway ahead, then push through the center of the crowd trying to enter the gallery without being seen by the hostiles on either side.
The white circle that appears around your character during stealth missions indicates the proximity at which enemies will start to take notice of you, so be sure to maneuver in such a way that the circular icon and the surrounding hostiles never make contact.
Make a left out of the crowd once you’re inside the gallery’s property to hide behind the carriage ahead and push through the next crowd of people ahead to reach the building on the other side, then duck behind the planters to hide from the soldiers on the right and wait for one to pass by before accessing the red-carpeted entrance.
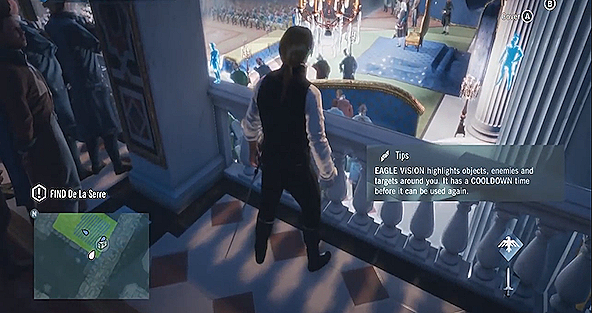
Move left through the gallery to open the door at the end and proceed forward to climb the next staircase ahead, then walk behind the line of spectators at the top to descend into the crowded room below and cross to the opposite to ascend another set of steps.
Walk to the open railing at the end of the balcony to look down towards the throne area below and activate Eagle Vision to search for your current target, then move up the steps beside you to watch a cut-scene play out and defeat the brothers in the sword fight that follows.
Sprint forward down the right side of the street to avoid the soldiers on the left before escaping into the rooftops above or defeat them all in a sword fight before leaving the area to complete this mission.

High Society
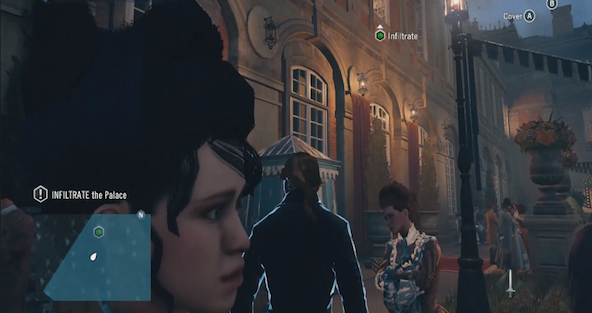
Enter De La Serre’s office on the second floor to activate Eagle Vision and interact with the high-lighted grandfather clock outside the entrance to receive a new objective, then slip the letter beneath the indicated door to watch a cut-scene in which you arrive at the party later that night.
Push through the crowd against the left-side wall ahead to stand beneath the current objective marker and climb to enter the building through the indicated open window above, then watch the soldiers in the next area on your right until their backs are turned and use stealth to sneak behind them.
Proceed towards the current objective marker to take cover behind the couch in the lounge until the soldier nearby warms himself at the fireplace, then sneak through the open doorway in the upper right corner of the room and enter the dining room on the left at the end of the hall.
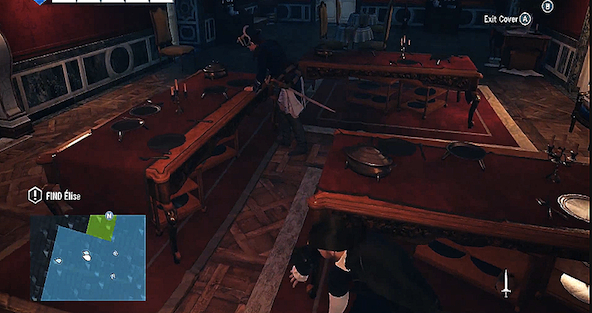
Duck behind the first table to wait for the nearby guard to approach the window and sneak past him to exit via the balcony outside, then jump to the next ledge on the left to activate a cut-scene and enter the room ahead to start searching for Elise.
Move into the heavily-crowded ballroom to locate Elise and follow her by navigating around the dancers until the next cut-scene is activated, then exit through the window to drop onto the checkered floor below and enter the room on the right to sneak past the guards inside with the help of Eagle vision.
Sneak around the room by staying close to the wall and use the furniture as cover each time a guard turns in your direction, then exit through the open doorway in the corner to slip past the next soldier in front of the fireplace and continue using stealth as a means of escaping from the building to complete this mission.

Imprisoned
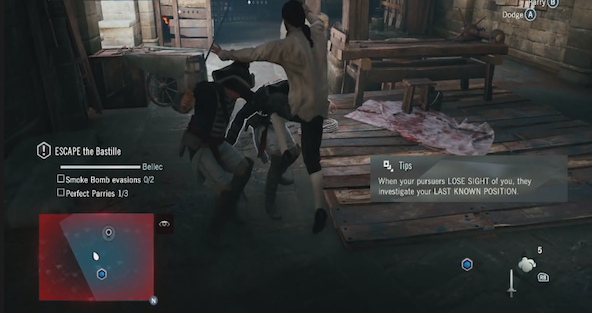
Go to sleep on your mattress to wake up the next morning and defeat the thief in a sword fight, then use Eagle Vision to reveal the drawings on the wall and activate a cut-scene.
Get into cover to wait for the guards to enter and walk up behind them to execute a choke hold, then follow Bellec to the locked door and turn around to eliminate the approaching soldiers with your swordsmanship, then follow your partner into the dining area to disorient another group of hotels with a smoke bomb.
Sprint past the smoke to dive out the window at the end of the hall and continue following Bastille across the rooftop area to eventually re-enter the building again, then exit onto the bridge to defeat another group of soldiers outside and loot their bodies.
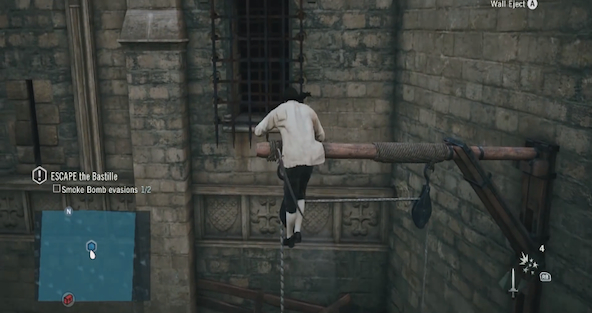
Follow Bellec up and across the next wall to activate a cut-scene, then dive into the pile of hay below to complete this mission.

Rebirth
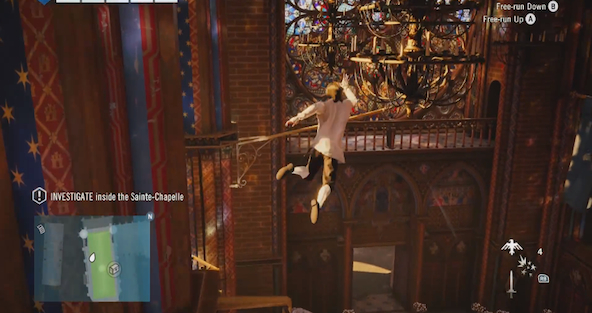
Climb up the right corner of the church to reach the balcony above and proceed towards the main objective marker to enter the building’s main hall on the second floor, then ascend the second stain glass window on the left to walk across the rope line at the top and jump towards the chandelier at the opposite end to hang from the side of it.
Jump to the brass pole ahead to reach the next chandler behind it and launch yourself towards the large circular stained glass window on the opposite wall to descend it, then interact with the indicated device nearby to activate a cut-scene and create a beam of light on the floor below.
Move back across the previous rope line to turn right at the opposite end and jump between the next series of obstacles ahead to land on the golden rooftop against the opposite wall, then walk to the end of the pole jutting from the front to dive into the trap door that opens below.
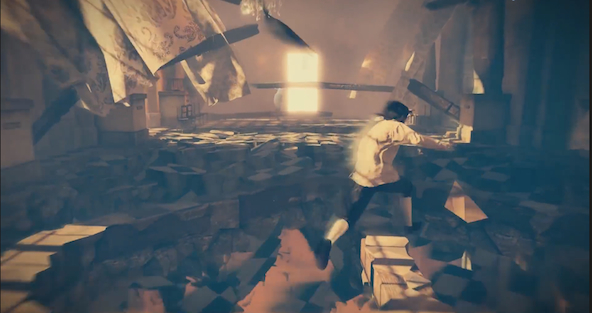
Follow Bellec through the temple to activate the next cut-scene and drink from the indicated chalice to start the initiation, then walk down the steps ahead to reach the white light below and dive off the end of the checkered ledge at the bottom to enter the swirling vortex of paintings beneath you.
Move towards the glowing door at the end of the hall to jump or weave around the sections of floor that collapse in front of you and swing from the metal beams revealed beneath the tile to reach a wide gap on the other side, then stand still to ride the piece of rubble into the pit below and proceed forward across the series of rock formations ahead.
Slide down the next incline ahead to navigate around the flame geysers that erupt by decreasing your speed each time one appears, then push towards the right-side wall as you reach the bottom to land safely on the ledge below and continue forward to activate a cut-scene.
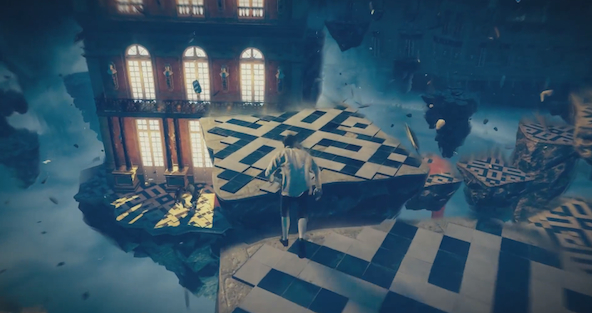
Jump between and climb over the path of tiled rock formations floating around the area, then sprint forward across the red carpet at the end to activate another cut-scene and push your way through the crowd ahead to reach the red objective marker at its center.
Stay behind the front row of people surrounding your target to circle around the indicated enemy’s back without being seen, then push through the last of the crowd to assassinate him from behind and complete this mission.

Graduation
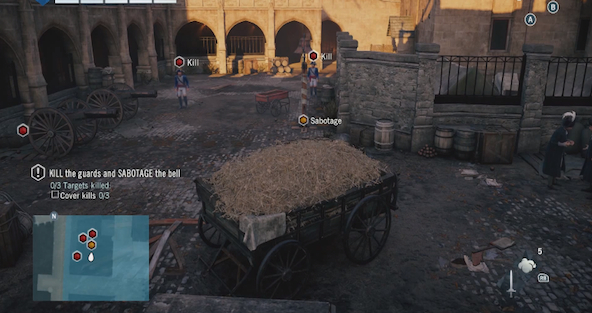
Dive into the hay directly below to hide inside of it and hop down in front of the cart to duck into cover, then wait for the two guards nearest to the bell on the right to walk away and approach the remaining soldier on the left to assassinate him from behind.
Toss a bomb between the two guards remaining in this area to disorient them and defeat the enemies with your sword before sabotaging the bell nearby to activate a cut-scene, then assassinate the enemy in front of you from behind and loot the indicated dead man’s body.
Drop a smoke bomb in front of the guards rushing towards you to disorient them and climb up the wall after Bellec to reach the rooftop above, then follow close behind him by navigating all the same obstacles that he does and throw another bomb at the two soldiers standing at the next tunnel entrance below.
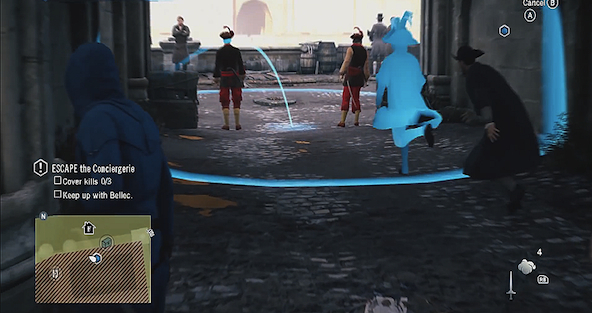
Sprint into the smoke cloud you’ve created to eliminate one of the soldiers guarding the tunnel and continue following Bellec through the city to activate the next cut-scene, then stay behind him to climb up the front of the Vins et Liquerurs building and proceed forward across the rooftops to eventually drop back to the streets below.
Approach the bridge to encounter the Faction Fight and target the red enemies with your sword attacks instead of the blue soldiers to avoid starting an unnecessary conflict with them or ignore both parties completely, then follow Bellec through the iron door beneath the bridge to enter HQ and proceed into the council chambers to complete this mission.

Confession
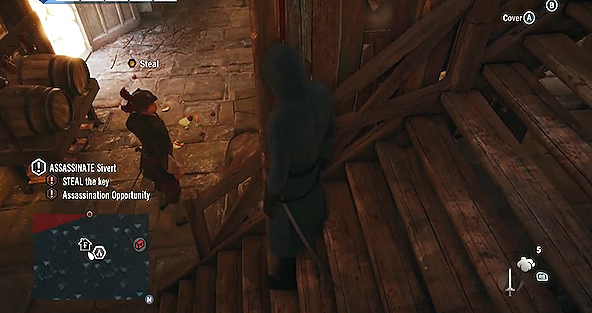
Use Eagle Vision to highlight the red and yellow targets moving through the crowd below and drop down to the streets after they enter the alleyway on your left, then follow them slowly without being seen by using the surrounding people as cover whenever necessary.
Follow your target into the tavern down the road and pass right through it to exit out the back door, then turn the left corner to climb up the side of the building and re-enter it through an open second story window.
Descend the steps back towards the tavern below to approach the indicated man waiting at the bottom and hold down the indicated button to steal the key from behind his back, then exit the building via the second floor window and head back the way you came down the previous alley.
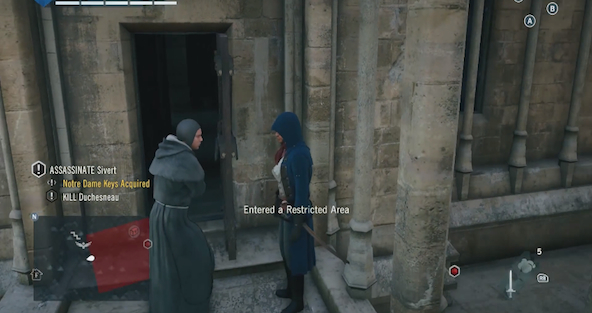
Climb up the last window on the left to reach the cathedral’s rooftop and cross through the enclosure in the middle to speak with the monk on the other side, then unlock the door on the right to follow him inside and down the spiral staircase to reach the floor below.
Activate Eagle Vision to track the enemy in the area on your left and assassinate him quickly to gain access to the organist’s balcony, then descend the steps on the right to ambush another guard in the corridor below from behind and cross the rope line around the corner to reach the opposite landing.
Assassinate the guard around the next corner to reach the opposite end of the cathedral and perch on the ledge that looks down into area below to spot your target, then wait for him to walk right beneath you before dropping down for a surprise kill and activate a cut-scene to finish off Sivert.
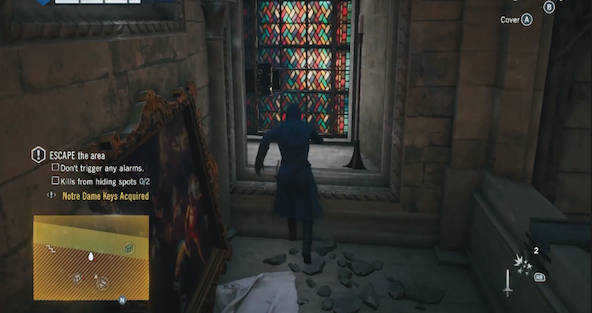
Escape from the cathedral by ascending back to one of the second floor corridors and by opening one of the accessible stain glass windows to get back outside, then use the crowd or rooftops to become anonymous and complete this mission.

Fin De Siecle
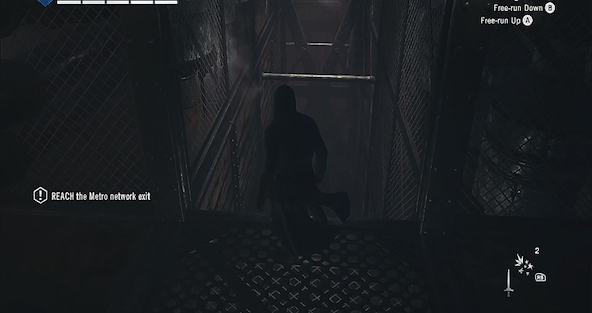
Head towards the next green objective marker that appears to go through the portal and suddenly teleport to an alleyway somewhere else in the city, then forward out into the open to make a right towards the Eiffel Tower and descend into the metro tunnel on the left to escape the instability.
Run across the subway tracks to climb the ladder on the opposite platform and follow the metal walkway upward towards the right to reach an opening in the fence at the top, then swing between the pipes in front of you to reach the landing on the other side and drop into the next area below to enter the tunnel ahead.
Wait for the subway train to pass in front of you before sprinting across the tracks and through open gate towards the right to climb the fence on the left, then down the second floor of the tunnel to launch off the boarded ramp at the end and swing across the pipe to land on the rope line below.
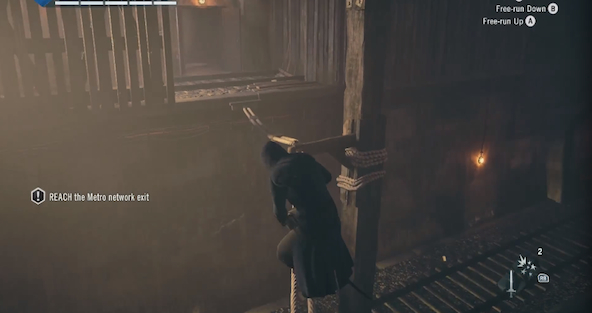
Walk across the rope line to reach the next adjacent landing and proceed through the series of tunnels ahead, then navigate around the various obstacles in your path you eventually drop through the floor and crash onto train tracks below.
Sprint down the tracks to escape from the oncoming train and slide under, vault over or weave around the wooden barricades obstructing the tunnel, then continue pushing forward without stopping until you are eventually able to duck into the safety of a side tunnel.
Proceed through the underground exit on the right and use the pulley to ascend back to the surface, then start moving towards the Statue of Liberty in the distance ahead by dropping into the tunnel below and use the surrounding obstacles to take momentary cover from the oncoming wind gusts.
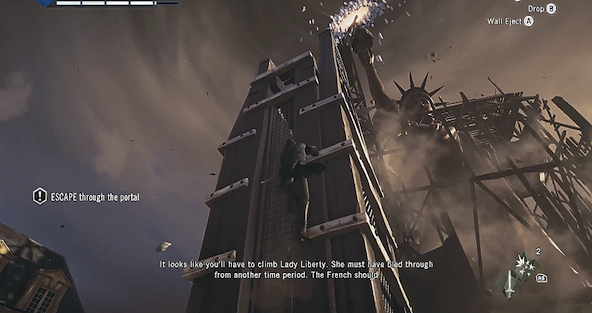
Climb the crane positioned in front of the monument to jump onto the wooden scaffolding surrounding it and jump the gap in the spiraling wooden walkway to continue ascending towards the torch above, then cross in front of the statue’s chest to launch yourself through the portal and complete this mission.

The Kingdom of Beggars
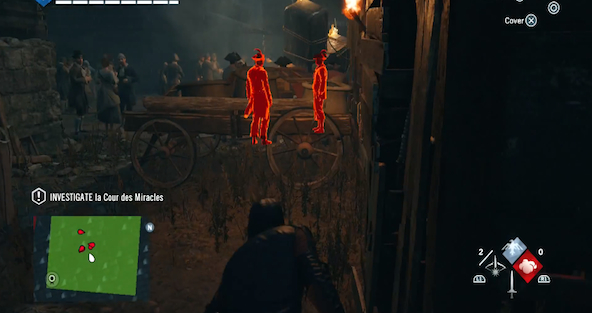
Move forward into the green-lit area on the map that represents Cour des Miracles and enter the tunnels on the left to make two right turns once inside, then pass through the doorway on your left to take cover behind the cart in the next outside area ahead and activate Eagle Vision to reveal nearby enemy locations.
Climb up the wall against the right side of the cart to travel across the rooftops towards the north corner of the map’s green zone and spot the next target highlighted in yellow below, then jump the gap between buildings to land in the area directly above his position and continue moving forward.
Drop down off the last rooftops in the north corner to pass through the orange-lit doorway nearby and approach the crowd in the next room ahead to activate a cut-scene, then use Eagle Vision to reveal the fluorescent trail that appears on the floor in front of you and follow it to pinpoint La Touche’s current location.
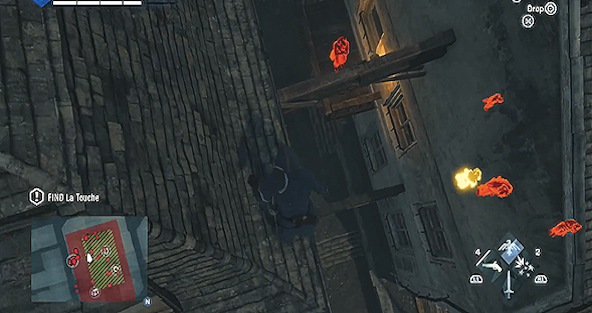
Tail La Touche by running directly above him across the overhead rooftops and continue following the target without being seen until the next cut-scene is activated, then climb up the front of the rightmost building to the south highlighted in red on your map and use a phantom blade to eliminate the next enemy you see patrolling the chimney area above.
Walk along the rope to cross to the eastern rooftop area and turn south to distract the enemy below with a cherry bomb, then leap down towards him to perform the assassination and climb the next three walls above to drop onto the soldier in balcony beneath you on the right.
Enter the building to assassinate the nearby guard from behind and descend the stairs to reach La Touche’s location in the room around the corner, then interact with the door to activate a cut-scene and escape the clinic by exiting the same way you came in to complete this mission.

Le Roi Est Mort
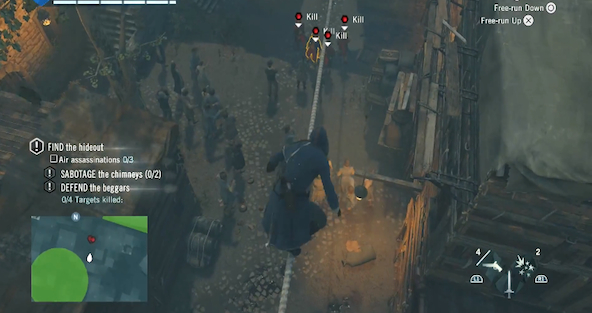
Proceed towards the exclamation point marker in the north by traveling across the rooftops below and walk along the rope line to position yourself directly above the group of soldiers that you have targeted for assassination, then drop down onto one of these enemies to join the battle and use swordplay to clear out the remaining threats in this area.
Head south the reach the circular green zone on your map and locate the first chimney in the courtyard below to approach it without being seen, then interact with the grating to block the vent and continue south to find the second chimney.
Drop into the courtyard to attract the attention of the surrounding guards and sprint through the open alleyway in the corner to lead them away from the area, then climb back to the rooftops until you’re again and return to the previous chimney to sabotage it.
Approach the current objective marker from the south to reach the rooftops highlighted in green on your map and head east to spot the yellow-lit stone archway in the courtyard below, then walk along the rope that joins the buildings to cross above the two enemies approaching from the west and dive into the hay cart below before they arrive.
Once the coast is clear, descend the underground staircase highlighted in yellow to enter the catacombs below and take cover behind the first tomb coming out of the wall on your right, then wait for the nearest guard ahead to turn around and put a phantom blade in his back before proceeding towards the green objective marker.
Use the surrounding columns as cover to avoid being seen while moving forward down the corridor and assassinate the remaining two guards as soon as both their backs are turned, then interact with the floor hatch at the end to enter the sewer system and navigate the next maze of tunnels ahead.
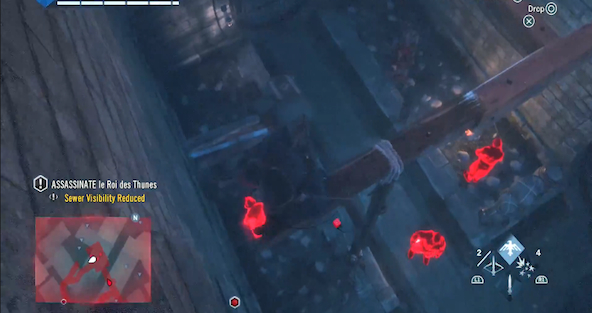
Overcome the various groups of enemies patrolling the sewer by defeating them with your sword or by climbing across the objects available at the top of each room to pass above them unseen, then climb the ladder at the end to reach the tunnel on the second story that leads into an area lined with barred archways and view the room on the other side to activate a cut-scene.
Exit through the passageway in the corner to make the next two available lefts turns and jump onto the wooden rafters in the room at the end to look down on the three hostiles directly beneath you, then hit one of them with a phantom blade to start a fight amongst the group and drop to the ground to access the adjacent tunnel.
Turn right in front of the gate that’s shut in your face to climb the ladder in the next room ahead and eliminate the guard crouched behind the small stone wall in front of you, then proceed down the corridor on the left to eliminate another guard with the phantom blade and enter the inner chamber to locate the soldiers patrolling its south side.
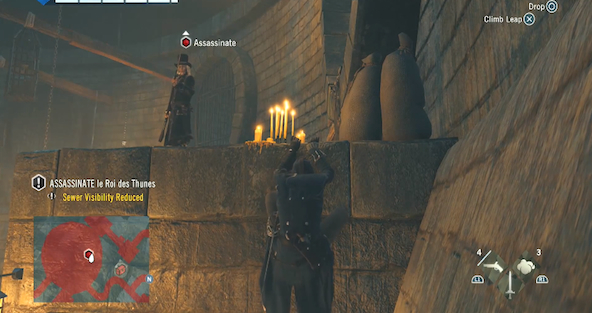
Toss smoke and cherry bombs at the enemy in front of the hole in the southeast corner of the wall and take him out without being seen by firing your phantom blades from a safe distance, then sprint towards the guard crouched down in the hall across from you to ambush him at close-range.
Ascend the ladder located nearby to walk across the wooden post at the top and turn right to pounce on the soldier occupying the wooden scaffolding below, then return to the floor beneath you and enter an exterior corridor that’s adjacent to the ledge that Thunes climbs up onto.
Approach the base of Thune’s perch at close-range by sprinting over to it from the corridor you’re in when the enemy’s back is turned and climb to the top to assassinate him in a sword fight, then use the smoke to proceed towards the green objective markers that appear without being seen by the guards and escape from the sewers to complete this mission.

The Silversmith
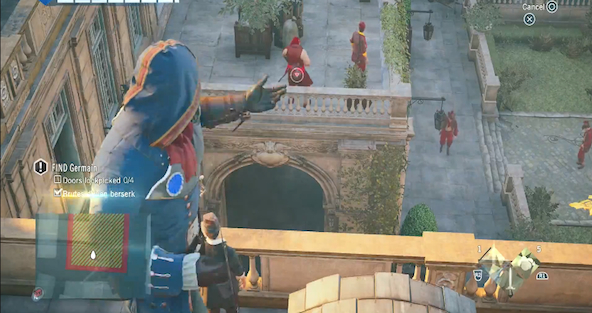
Approach the rectangular zone that’s been highlighted in yellow on your map to climb onto the rooftops in the north corner of the property and look down into the courtyard below so that you’re facing the large balcony occupied with soldiers from the side, then wait for the largest guard to lean against the railing with his back to you and fire a blade into this enemy from a safe distance to incite a scuffle.
Drop to the walkway at the base of the roof to air assassinate the guard positioned across from the balcony and return to the shingled area above to move around behind the brawling soldiers, then cross to the east side of the property to eliminate another enemy patrolling the walkway below with a projectile blade.
Hang from the edge of the roof above the open window to the right of the balcony after the soldiers have finished fighting and wait for the guard inside to walk away before slipping inside the building to assassinate him from behind.
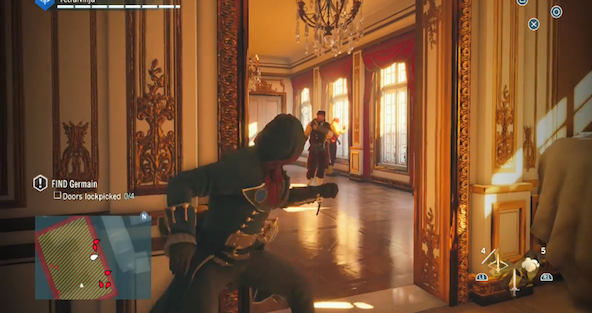
Fire a blade from behind cover at the closest guard in the next room to the north to put him down silently and sneak up behind the other enemy staring out the window to make a quick assassination before he turns around, then interact with the door in the back right corner to confront Germain and activate a cut-scene.
Approach the targets at the east corner of the floor you’re on to take cover beside the doorway that leads into their location and wait until the guard in the middle is walking back towards the top of the staircase, then assassinate the enemy on the right from behind and turn around to quickly eliminate the soldier staring out the window as well.
Take out the soldier at the top of the staircase before looking down over the railing to execute an air assassination on the next guard that walks by below, then eliminate the first two targets ahead on the left from behind and defeat the remaining hostiles in a sword fight to finish clearing the area.
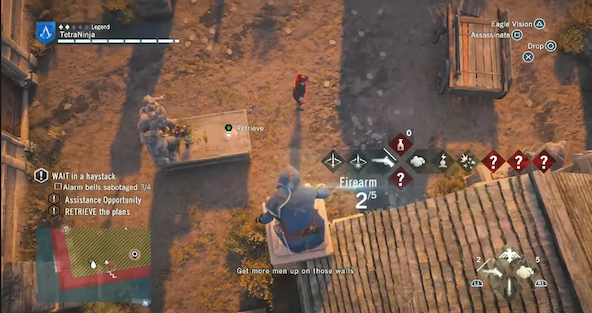
Enter the hallway in the corner that leads into the corridor where the next three targets are located and take them out one-at-a-time from behind to proceed into the area ahead, then drop a smoke bomb in the dining room to ambush the last wave of soldiers and defeat them in a sword fight to exit the building safely.
Head east once outside to approach the two red circles on your map and scale the building to the left of them to look down on both targets occupying the pair of balconies below, then move around to the rooftop directly behind them to jump to the wooden post that extends from the right-side wall and execute an air assassination on the soldier beneath you.
Cross to the opposite balcony to eliminate the other enemy before dropping back to the ground below and return to Germain’s location in the dining room, then defeat the surrounding guards in a sword fight to activate a cut-scene and follow the silversmith to safety to complete this mission.

Le Halle Auc Bles
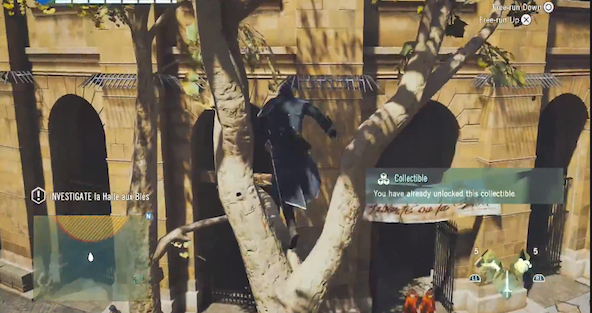
Use the tree branches adjacent to the roof to approach the northwest side of the colosseum highlighted in yellow on your map, then jump through one of the open archways around the exterior to land on a wooden beam inside and head north along the tops of the walls to evade the enemies patrolling below.
Wait for the guards beneath you to separate before executing an air assassination on the one within range and eliminate the second enemy ahead to climb up onto the next wall above on the left, then jump to the iron pole protruding across the path to land on the soldier below.
Climb up the next wall in front of you to walk along the wooden beam ahead and turn left at the end to enter the interior corridor, then jump to the small wooden platform suspended from ceiling to reach the stone ledge across the gap and assassinate the nearby enemy from behind.
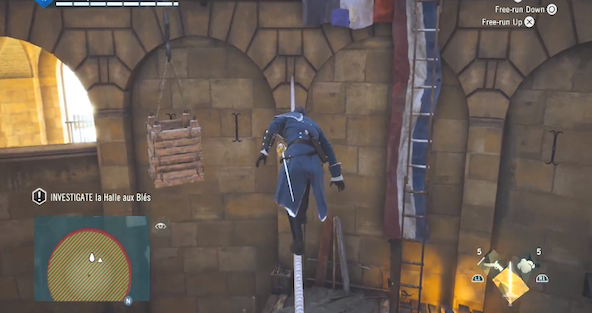
Walk across the adjacent rope line in the corner to climb the ladder ahead on the right and investigate the papers on the table in the room at the top to activate a cut-scene, then sprint through the open doorway in front of you to slide beneath the cart and the opening in the back left corner of the wall on the other side.
Jump through the next open window on the right to walk across the wooden beams that pass above the fire below and slide beneath the scaffolding in the middle to reach the other side safely, then head left to run up the ramp against the wall and proceed towards the current objective marker by re-entering the previous area.
Launch yourself across the gap in front of you to grab the wooden platform that collapses on the other side and ascend to the landing above to walk along the next adjacent beam leading out towards the exterior wall, then jump onto the suspended platform at the end to now travel towards the right.
Ascend towards he current objective marker above to escape from the building and complete this mission.

The Prophet
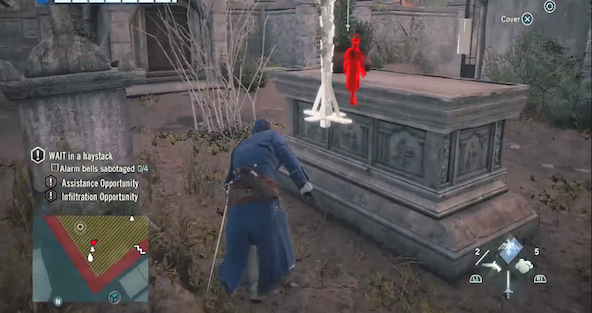
Descend towards the white tower directly beneath you and land top of it as a means of entering the rectangular zone highlighted in yellow on your map, then drop to the roof below on the left to jump off the opposite end and move right across the cemetery to sabotage the first alarm bell ahead without being seen.
Assassinate the guard you’ve been tailing around the next corner to sabotage another alarm bell located beside the dirt pile ahead and climb the wall behind it to move south across the rooftops above, then sabotage a third bell in the cemetery below on the left and approach the exclamation point icon nearby to complete the infiltration opportunity.
Climb to the top of the highest tower in the vicinity to scope out the surrounding enemy locations, then sprint towards the north corner of the property to climb onto the roofs above and turn east to pursue the green objective marker that appears in the courtyard beneath you on the right.

Assassinate the guard at the east corner of the rooftop area to look down on the indicated plans in the cemetery below, then drop onto the white column beneath you on the right to perch atop it and hit the nearest soldier with a pair of phantom blades to put him out of commission.
Drop down beside the plans to defeat the surrounding enemies in a sword fight before retrieving them and climb back up the north wall of the property to return to the rooftop area overhead, then proceed left across the shingled pathway to stop directly above the the circle icon that appears on your map and drop down beside this target to eliminate the guards nearby.
Walk towards the on-screen exclamation point symbol to descend the underground staircase and quietly assassinate the first enemy you encounter at the bottom of the steps to move onto killing the next soldier on your left without being seen.
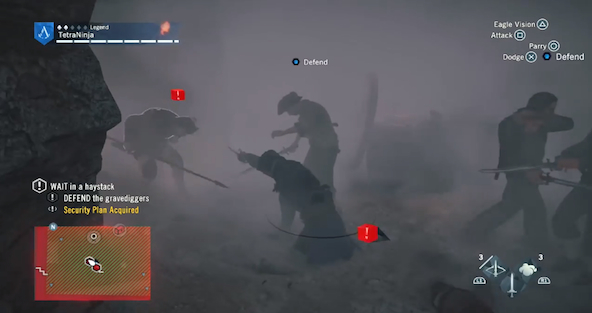
Use your sword to take out the last soldier in the back row of the hostile crowd, then drop a smoke bomb once the riot starts to disorient the guards so that they are easier to kill and also less likely to attack the gravediggers until the fumes have cleared.
Defeat the surrounding wave of guards with your sword and with medium-range pistol shots whenever possible, then return to the cemetery area above to enter the haystack in the south corner of the property and wait for the target to arrive to activate the next cut-scene.
Climb onto the rooftops along the east end of the property and circle around the perimeter in the direction of the current red objective marker by taking out guards you see along the way with your sword at close-range or with your blades from a distance.
Look down from the north side of the cemetery to locate the target highlighted in yellow on the ground below and jump onto the domed roof of the narrow stone structure he passes through next to land beside the iron cross protruding from the top, then turn west to see Lafreniere exit from directly beneath you and perform an air assassination to deliver the killing blow.
After the cut-scene that follows, escape from the cemetery to become anonymous again and complete this mission.

The Jacobin Club
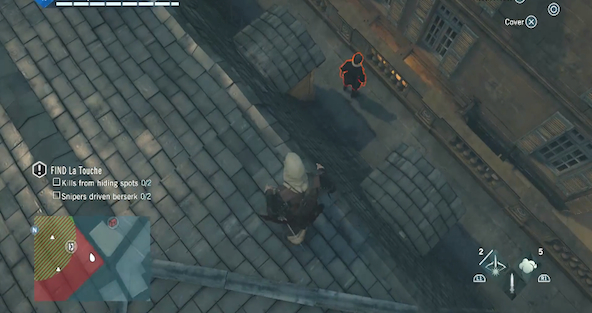
Travel towards the current objective marker to ascend to the peak of the chimney on l’Hotel de Beauvais northeast side and watch the next cut-scene unfold before proceeding north across the rooftops below, then walk along the rope line that spans the gap between buildings to climb up towards the south corner of the property that’s been highlighted in red on your map.
Look down over the right side of the roof to fire a blade into the enemy patrolling the ledge below and proceed towards the east corner of the area by traveling undetected across the top of the enclosure ahead, then circle around to the north end of this highlighted property to turn left after vaulting over the first chimney and drop down in front of the next small window beneath you.
Climb over the railing in front of the small window to land on the wooden platform below and enter the hall inside the adjacent building without being seen to immediately walk to the north wall across from you, then proceed through the open doorway in the corner to reach a second floor landing area that looks down on the ball room.

Transfer across the chandelier on the left to reach the other side of the room and take cover next to the open doorway nearby to spy on the guards in the adjacent room with the help of Eagle Vision, then stay hidden until one of the soldiers walks by directly in front of you and follow him slowly to the opposite wall to duck inside the tent positioned against it.
Remain inside the tent to survey the guards patrolling the room without being detected by them and ambush the next one that walks within striking range of your location, then stay low to sneak around to the opposite corner of this area and assassinate the second hostile while his back is still turned.
Watch for a guard to approach the white double doors in the corner of the next area ahead, then exit the room you currently occupy to duck inside the tent against the opposite wall as quickly as possible and ambush the enemy soldier standing nearby when he eventually walks within striking distance of your location.
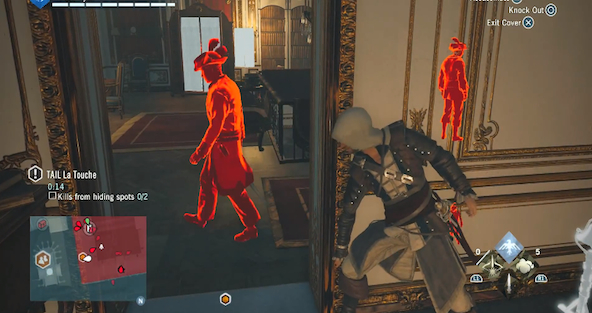
Look down over the railing to spot the yellow-lit target ascending the steps towards your current position and duck back inside the previous tent to let him pass by without incident, then wait for La Touche to enter the room in the corner opposite from you before approaching his location and hiding on the staircase outside the entryway that accesses it.
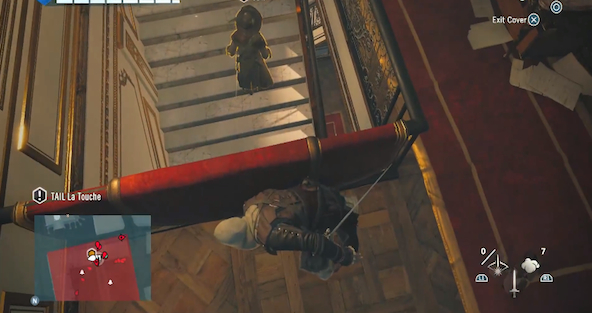
Watch from around the corner of the doorway as La Touche searches the room until finally giving up to walk directly back towards your current location, then quickly ascend to the top of the steps you’re on to circle around to the opposite corner of the landing and duck down behind the wide red carpet that’s been draped over the staircase railing.
Remain hidden behind the carpet to watch La Touche climb the steps directly below and wait for him to proceed into the next room at the top, then exit through the open window in the corner behind you to climb sideways across the building’s exterior as a means of keeping up with La Touche’s movements inside.
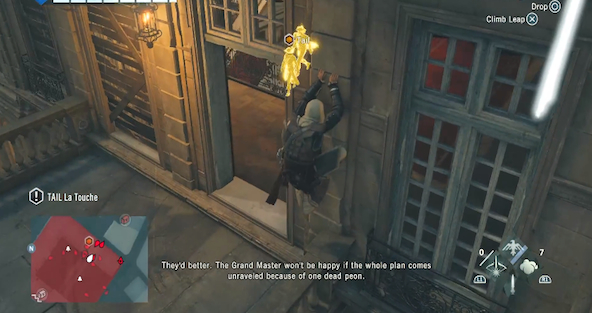
Make your way over to the last available window that’s open on this floor to continue tracking the target as he passes through the rooms inside and hang from the outer railing to eavesdrop on the conversation that takes place until La Touche starts heading for the exit.
Climb back towards the left across the building’s exterior to stop at the next available window that’s open and continue listening in on the target’s conversation until he disappears down the stairs in the corner, then descend towards the balcony directly below to take cover beside a third window so as not to lose the sound of the mens’ voices.
Wait for the yellow-lit targets to descend out of view again before re-entering the building through the open window, then pursue the two men down the staircase without being detected to see them slip into a room around the next corner at the bottom and receive a new objective shortly afterwards.
Move to the yellow circle in the south corner of your map to descend into the basement and unlock the golden door above on the right to activate the next cut-scene, then escape the area afterwards to complete this mission.

Templar Ambush

Head east down the alleyway to sprint in the direction of the current green objective marker and weave around or through the crowds of people blocking the street to avoid being delayed, then climb the wall on your left as soon as the icon disappears to approach the nearby property circle highlighted in green on the map.
Jump across the series of orange banner cables suspended above the west end of courtyard to perch on the last one below, then watch the assassination target pass by beneath you and equip the pistol to put a bullet in the back of the man’s head as soon as he’s within range.
Drop to the circular dirt path below to defeat the surrounding thugs in a sword fight and activate the next short cut-scene to start taking fire from the balcony above, then duck beneath the archway immediately on your right to hide from the sniper and climb up the front of the building in the direction of the red ,map icon.
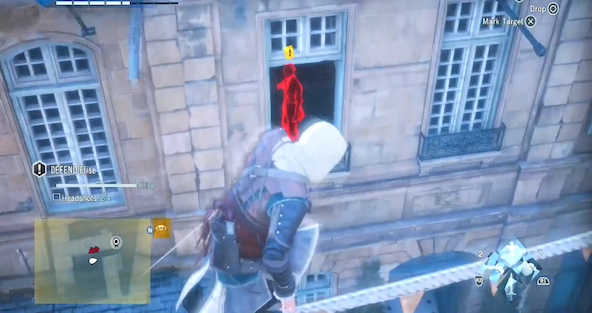
Ascend to the cables above to perch on top of them and look down on the sniper in the balcony to blast him with your pistol, then head north towards the opposite end of the wire to see the enemy through the first open window on your left and shoot this hostile as well before he can react.
Quickly look up towards the next open window above the previous one to shoot another enemy inside the building across from you and drop to the ground to sprint back towards the blue objective marker, then rejoin Elise by sliding beneath the gap in the hedges and immediately toss a smoke bomb towards the group of thugs on the other side before defeating them in a sword fight.
Stay near Elise to protect her from being teamed up on and shoot any hostile you can’t reach fast enough at close-distance to ensure she remains safe throughout the battle, then finish clearing the area to enter the maze nearby and use Eagle Vision to locate the three hostiles around the corner ahead on the left.
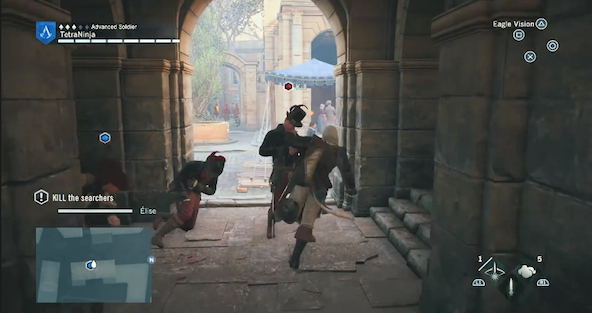
Approach these three enemies to defeat two of them in battle before succumbing to death at the hands of the more powerful third enemy, then wait until you have taken control of another assassin’s body to sprint forward in pursuit of the closest searcher marked with a red target icon head and catch up with him in the tunnel to finish the job at close-range with your sword.
Exit the tunnel to sprint south towards the next closest searcher ahead and use the walkway that borders the left-side of the street to navigate around to the opposite end of the crowd without having to push past anyone, then activate Eagle Vision to locate the highlighted men nearby and quickly take out the yellow one at close-range before he can react.
Continue sprinting south in the direction of the next red objective marker and approach the pair of kill targets ahead slowly by walking along the left side of the street, then assassinate the first soldier from behind before defeating his partners in a sword fight and climb to the rooftop above on the left to proceed forward after Elise.
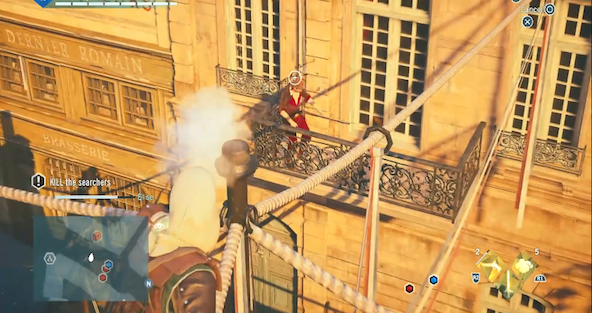
Approach the next target you see in the balcony across the street on the right by walking down along the ropes that hang in front of the man’s location, then perch at the point in which they all intersect to score an easy headshot with your pistol when the opportunity presents itself and turn around to head towards another searcher in the balcony on the opposite building.
Stay on the ropes to shoot the other balcony-dweller before performing an air assassination on the searcher attacking Elise on the ground below, then defeat the remaining enemies nearby to activate a cut-scene and escape from the area to complete this mission.

The Cautious Alliance
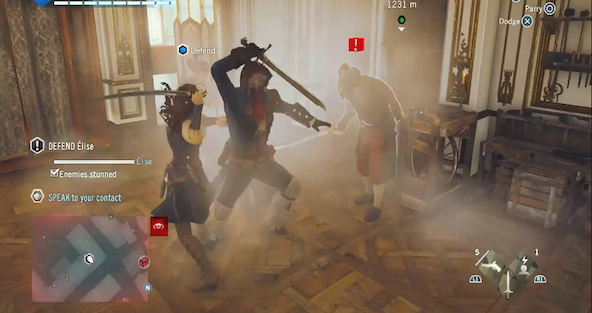
Follow Elise through the city by sprinting behind her at full speed the entire time and navigate around any obstacles in your path without stopping to eventually reach the property that activates another short cut-scene, then proceed north towards the circular zone that’s been highlighted in green on the map and enter the ground floor of the building in front of you to ascend to the top of the southern staircase inside.
Proceed to the green map zone on the second floor with Elise to stand in front of her as she begins to search the area and turn towards the open doorway you just passed through to toss a stun grenade at the first enemy who dares to enter.
Continue dropping smoke to disorient the current wave of surrounding soldiers, then defeat each hostile with the help of swordplay to keep them from consistently attacking your partner and finish clearing the room to activate another cut-scene.
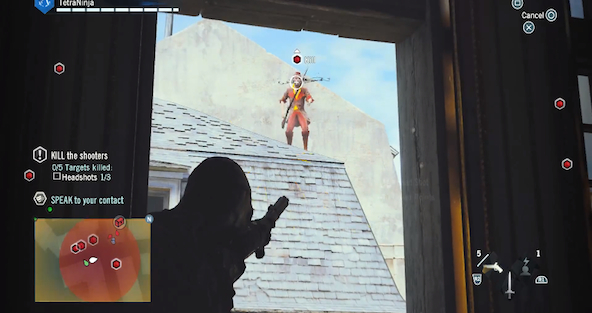
Peer up through the open window on the right to locate the enemy on the opposite rooftop outside and use your pistol to score a quick headshot before he can react, then move towards the open window on the left to locate another soldier positioned above the window in the distance and fire a single round into him as well from behind cover.
Take cover at the east corner of the room to get a line of sight on the pair of enemies positioned in the building across the street and eliminate them with your pistol as well by starting with the one on the bottom, then return to the previous window to look out it towards the left and hit the single sniper located on the adjacent structure’s second floor to complete this mission.

Meeting with Mirabeau
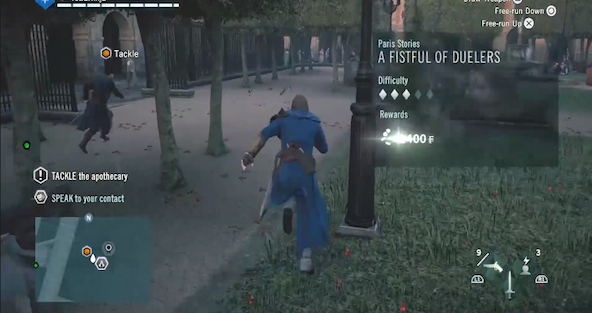
Examine Mirabeau’s body on the bed to pick up the first clue and open the yellow-lit wardrobe by the east corner to discover the poison inside, then interact with the book on the table behind Elise to finish your crime scene investigation and exit the building to travel towards the nearest green objective marker.
Speak with Master Quemar in the assassin’s underground hideout to report Mirabeau’s death and exit the building to approach the closest green objective marker that appears on-screen, then enter the apothecary to confront the clerk behind the counter and chase after him in the tunnel system below by maneuvering over or under the various obstacles blocking the path.
Push forward in the direction of the orange icon ahead to sprint at full speed through the tunnel system without stopping and return to the surface to chase the apothecary across the park ahead by circling around the left side of the large crowd that occupies the area, then continue pursuit between the next series of interiors to reach the fountains at the end and complete this mission by cutting diagonally across the surrounding patches of grass to execute a tackling maneuver on the target at close-range.

Confrontation
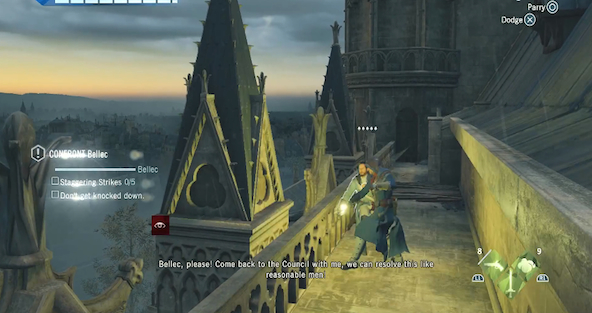
Activate Eagle Vision to reveal the trail of yellow flame clouds and follow them west to sabotage the first alarm bell you see in the clearing ahead, then continue towards the building on the left to watch another cut-scene involving Elise and climb to the rooftop area above to approach the current green objective marker on the south walkway.
After the next cut-scene, deflect Bellec’s initial blade swing to hit him with a staggering strike and follow it up with a series combination sword attacks to push your opponent backwards across the balcony area.
Use staggering strikes with rolling maneuvers to keep Bellec on the defensive and continue slashing him with your sword whenever possible until he drops to one knee, then confront the assassin at close-range to enter a test of strength with him and win the struggle to crash into the next area ahead.
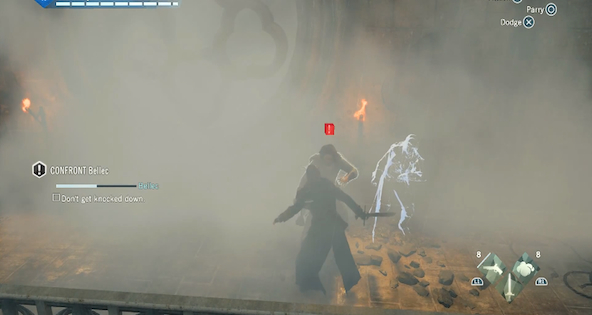
Execute the same combat tactics as before and detonate a smoke bomb whenever possible to inflict continued damage on a stunned Bellec until he drops to a knee again, then best him in another test of strength to fall to the next balcony below and defeat your opponent for a third time to crash through the stain glass window nearby.
Search both floors of the church before returning to Elise’s location on the ground level to encounter Bellec for the last time, then defeat your opponent in another sword fight to execute him afterwards and complete this mission.

The Resistance
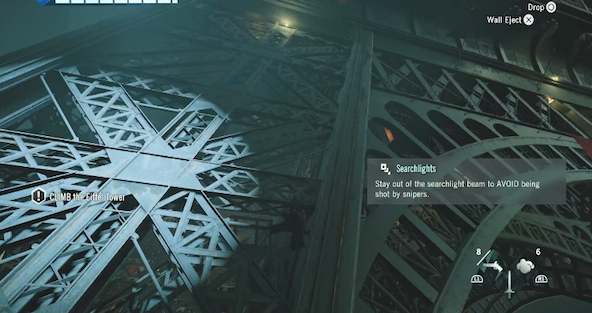
Drop through the indicated portal to teleport into the sewer and take a right at the first fork ahead to ascend the ladder at the end of the tunnel that leads to 1944 Occupied Paris on the surface above, then travel towards the base of the Eiffel Tower by using the surrounding vegetation to remain undetected and climb the left leg of the monument to navigate around the spotlight overhead.
Ascend onto the next narrow ledge above to cross in front of the tower until an incoming fighter plane forces you into the area below, then walk along the metal girder nearby to jump to the hanging platform on the other side and sprint forward across the gaps between landings to climb up the exterior of the fenced-in elevator shaft at the opposite end of the monument.
Climb over the railing above to reach the first platform and continue moving forward to discover the ghostly soldier apparitions on the uppermost rooftop ahead, then turn towards the shaft at the back left corner to launch yourself onto the DANGER sign within it and ascend to the next ladder at the top of the tower by avoiding the areas of the wall that have become electrified.
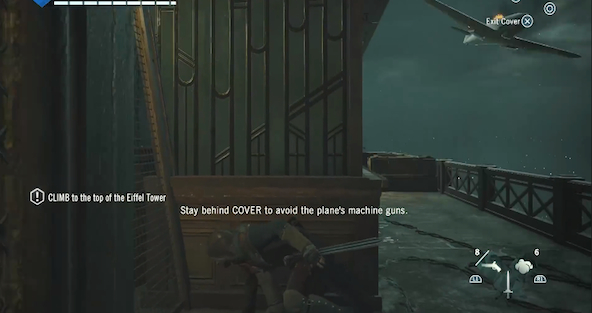
Circle around the right side of the exterior balcony area at the top of the ladder to encounter the fighter plane again head-on and take cover from the machine gunfire by crouching behind the protruding wall on your left, then man the turret mounted on the next railing corner to duck beneath the shield when the first incoming aircraft starts shooting directly at you.
After the enemy plane is forced to make a u-turn in front of you, fire the turret at the departing aircraft by tracking it across the sky with the crosshairs and inflict constant damage until bullets start coming your way again.
Finish blowing the plane out of the sky before heading left across the balcony area and ascend to the ledge above to walk along the next rope line on the right, then climb on top of the blimp at the opposite end of the cable to witness the arrival of the portal at the peak of the tower.
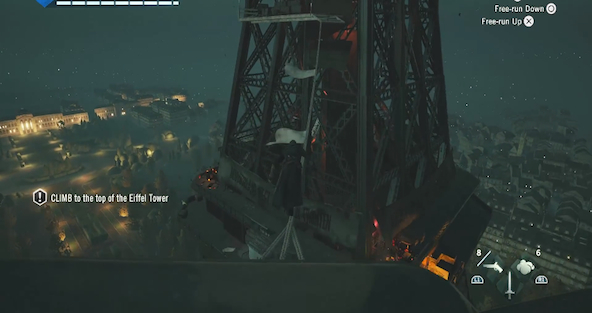
Walk across the next banner rope above in the corner to return to the tower and use the pulley system nearby to reach the platform overhead, then ascend the left side of the wall in front of you to reach the red elevator car at the top and climb onto the roof of it to rise further up the monument’s center.
Ascend the staircase above to encounter another fighter plane and man the turret that appears in front of you to shoot the aircraft down in the same manner as before, then finish clearing the skies before climbing to the tip of the antenna at the top of the tower and dive into the portal below to complete this mission.

The King’s Correspondence
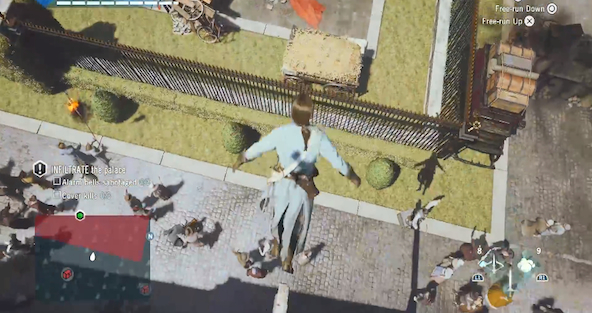
Head west towards the property highlighted in red on your map to walk to the end of the post protruding from the side of the rooftop and dive into the next haystack below to clear the top of the surrounding guard wall, then activate Eagle Vision to locate the the positions of the surrounding enemies and head west to take cover in front of the wall made from loose wooden boards.
Move south to put down the closest guard with a phantom blade from long-range and use your map to approach the surrounding enemies location so that you can take them out quietly from behind cover, then sabotage the bell in front of the place to approach the building without raising alarm and climb up to the rooftop area to move north towards the hostiles patrolling the chimneys ahead.
Hang from the edge of the rooftop to let the guard walk by above and take him out from behind before climbing down into the garden area on the other side of the building, then move towards the alarm bell in front of the structure to sabotage it when the guards patrolling nearby have their backs turned.
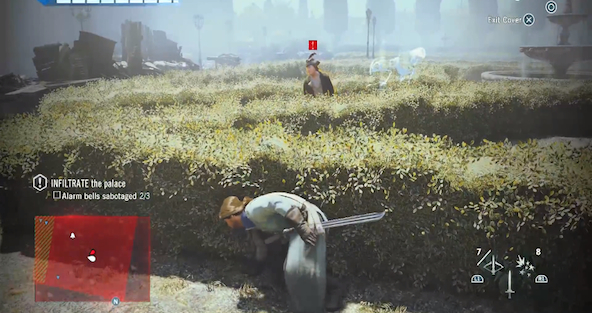
Proceed west into the hedges to lead other enemies in front of the palace away from the building and ambush them by hiding behind the surrounding shuddery before popping out, then sabotage the third alarm bell positioned at the edge of the grassy area and head back towards the structure to approach the current green objective marker above.
Climb through the open window above the white banner to enter the palace and shoot the first two closest enemies that approach with your phantom blade, then assassinate the guard in the room on the right to unlock the door at the end of the hall and use a smoke bomb to ambush the soldiers in the area ahead.
Enter the room ahead to activate a cut-scene and search the wardrobe behind you to find the secret documents, then drop smoke bombs to defeat the next wave of guards with your sword before following Napoleon through the sewers and take cover behind the covered piece of furniture at the end to complete this mission.

September Massacre
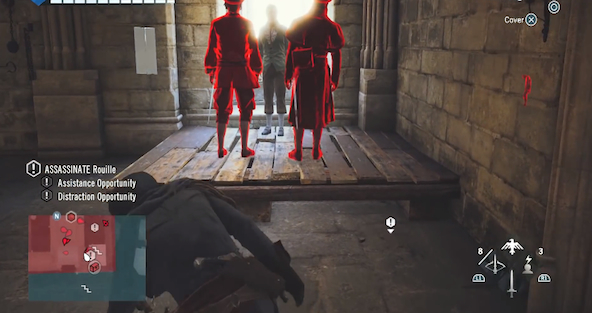
Dive into the haystack below to drop to the lowermost section of ground beneath you on the left and head right into the underground entry arches to pass through the open door in the far left corner that leads to the sewer system, then proceed towards the current red objective marker to climb the ladder at the end of the tunnel and ascend the wooden staircase above to reach the room patrolled by multiple guards at the top.
Assassinate the first hostiles guards on the right to climb out the open window behind them and walk to the end of the pole extending from the outer wall, then look down towards the enemy holding the two guards captive to shoot him with a phantom blade before quickly shooting the other guard below on the right and drop down onto the third one directly beneath you to finish clearing the area.
Climb to the top of the east wall to transfer between the two wooden posts protruding from the south wall and grab the west wall on the other side to shimmy across it towards the right, then enter the building through the next open window above and defeat the next pair of enemies ahead in a sword fight.
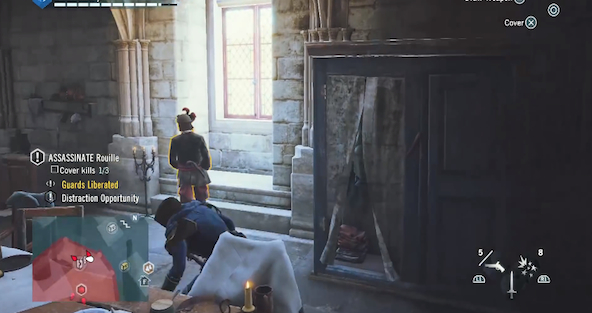
Head north to defeat another pair of guards with your sword and enter the next room on the left to assassinate the soldier in front of the window before eliminating the other one in the corner, then ascend to the floor above to enter the battle currently taking place and proceed towards the red objective marker to find cover behind the first circular cement platform you encounter.
Take out the two enemies ahead with phantom blades from behind cover and assassinate the other pair of guards in front of the window on the left to proceed forward safely, then pick the locked door at the back of the hall to exit out the open window in the corner and climb towards the right to step onto the adjacent rooftop.
Move to the opposite side of the rooftop to transfer between the metal poles protruding from the walls on the left and jump to the next orange-lined window ahead to climb up towards the current green objective marker, then walk around the edge of the rounded tower in the corner to launch yourself down towards the wooden platform below on the right and clear the gap between buildings to land on the post that extends from the side of the structure ahead.
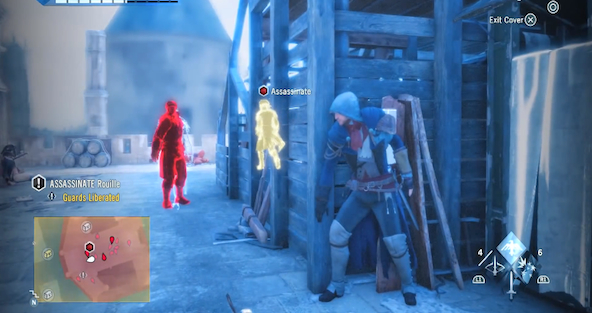
Climb the adjacent wall to assassinate the guards at the top and drop down off the front the tower to land on the small wooden platform below, then light the indicated torch above to set the entire structure on fire and land on the next roof beneath you to climb across the side of the building on your right.
Assassinate the next enemy directly above as soon as he’s alone and continue towards the right to take out the other hostile patrolling nearby, then walk up the steps of the wooden stage to get the attention of the closest soldier at the top and run back down the stairs to lead him around the left side of it.
Hide behind the back of the wooden steps to watch the yellow-lit target descend from the stage and wait for him to turn his back before shooting the other enemy nearby with a phantom blade, then approach Rouille silently to perform the assassination and escape the area afterwards to complete this mission.

Starving Times
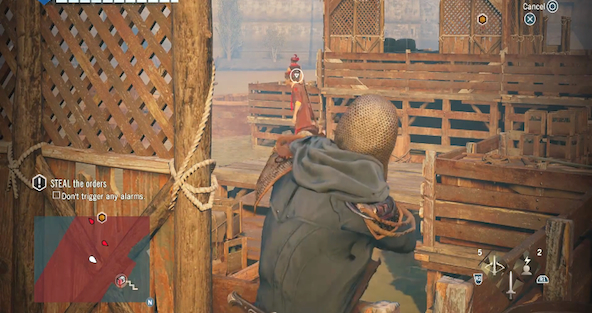
Travel to the docks to spot the indicated boat in the waterway below and walk along the rope lines on your right to move in a direction parallel to the vessel, then drop to the ground at the end to climb to the top of the next wooden shack on the left, then follow the adjacent cable that runs alongside the shore to ascend to the opposite balcony and proceed forward through the tunnels in the direction of the current objective marker.
Jump from the wooden pole at the end of the second tunnel to land on the tarp below and proceed across the pier below to transfer between the series of posts rising up from the water on the other side, then reach the next dock on the right to sprint forward up the ramp against the shack ahead and climb onto the roof of the structure to walk along the rope line in front of you.
Transfer between the line of rooftops ahead to continue forward in the direction of the objective marker and drop back to the ground to run along the shore on the right, then climb over the crates that fall in front of the path to reach the next pulley that launches you straight up into the air and walk across the next rope line to jump to the wooden platform suspended from a crane on the wall.
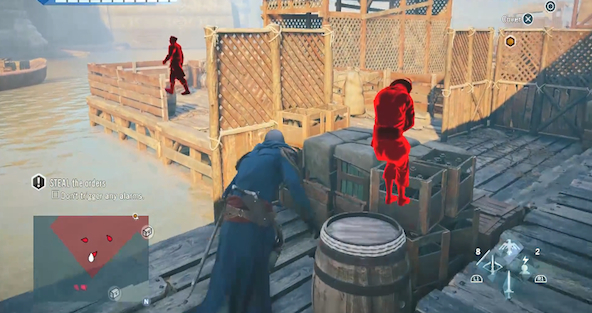
Continue across the obstacles adjacent to the wall to reach a district called “Tuileries” and jump onto the bridge populated with civilians to proceed towards the orange objective marker, then immediately drop over the other side to close-in on the indicated vessel and activate the next cut-scene.
Walk to the end of the pole in front of you to drop onto the boat below on your right and move to the adjacent dock to assassinate the first sleeping enemy with his back turned, then take cover behind the wooden wall to the left of the steps ahead and wait for the next enemy above to walk away before climbing straight upwards to pounce on top of him.
Assassinate the remaining enemy on the dock below to proceed towards the current objective marker and climb the ladder ahead on the left to eliminate the guard at the top before dropping over the right-side railing to pounce on the soldier patrolling directly beneath you, then sabotage the alarm bell nearby and shoot the next approaching hostile with a phantom blade from behind cover.

Shoot the first guard on the series of piers that lead to the current objective marker to take cover in the area he was patrolling and look towards the soldier on the dock ahead towards the left to eliminate him with another phantom blade, then enter the water to approach the outside corner of the next wooden structure and hang from the wall to assassinate the approaching enemy.
Move to the middle of the exterior wall to climb up through the opening above and move around silent behind the indicated target to steal from him, then escape the area to complete this mission.

Hoarders
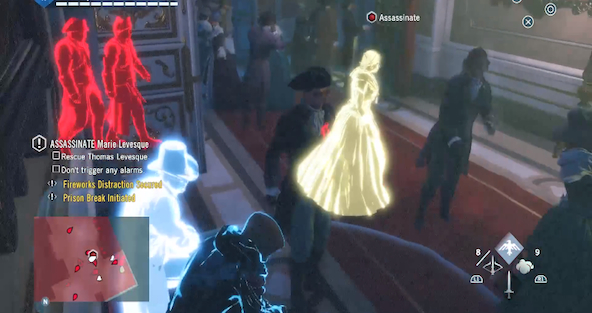
Look down towards the indicated horse carriage in the street below to walk to the edge of the rooftop directly above it and perform an air assassination on the closest soldier beneath you before killing the other one nearby with your sword, then speak with the driver to walk alongside him and enter the crowded sidewalk on the right to search for criminals highlighted in yellow.
Assassinate the first pair of criminals hiding in the crowd ahead and defeat the next pair of approaching enemies in a sword fight to continue protecting the carriage, then sprint towards the hostiles by the archways on the left to take them down as well and interact with the merchant to secure the Fireworks Distraction.
Sprint back down the road towards the green objective marker to reach the exclamation point icon in the corner ahead and climb the wall directly above the woman in the distress to assassinate the first guard above, then eliminate the soldiers in the next two areas on the left to look down over the right-side railing until the yellow-lit target appears below and drop down onto him to free the nearby prisoners with the key he carries.
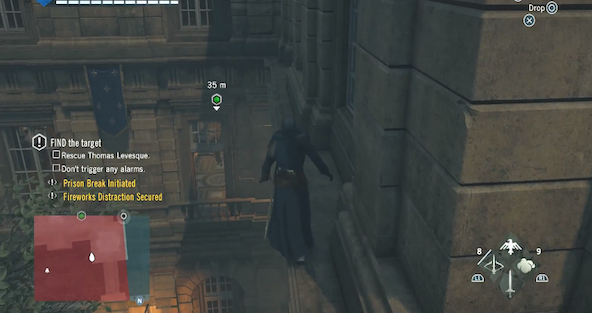
Head north to free the second group of prisoners before turning around from the cell to approach the back right corner of the courtyard and climb up to the second open window to walk left along the narrow ledge beneath it, then proceed south towards the green objective marker to climb over the roof above it and descend the opposite side of the building’s exterior.
Climb through the open window in the west corner to take a seat between the two men on the bench in front of you as a means of blending in and remain in this spot until the yellow-lit target enters the same room, then wait until she is within range before standing up to perform the assassination silently from behind and activate the next cut-scene.
Sprint to the southern staircase to descend to the floor below by jumping between the railings as a means of avoiding the oncoming wave of soldiers and continue running towards the green objective markers on the left to approach the rightmost icon and crash through the indicated window to complete this mission by escaping the area.

The Escape
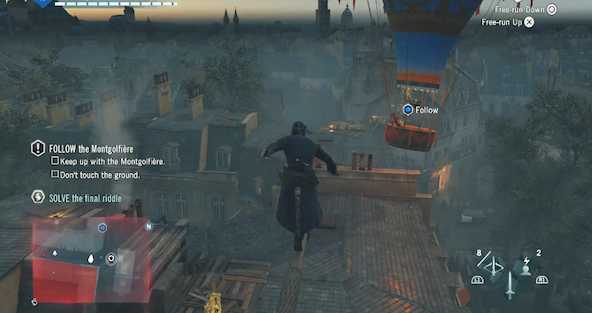
Defeat the nearby group of hostiles before cutting all three ropes by starting with the one against the west wall and move right after severing the last cable to launch yourself upward using the indicated pulley system on the table, then sprint across the rooftop towards the departing balloon to turn left at the end and walk forward along the wooden post to drop into the next area below.
Continue moving forward in the direction of the balloon floating above to launch yourself off the ramp ahead and walk along the rope line beyond it to climb the right-side of the roof at the other end, then head left across the tops of the buildings to clear each gap between them without stopping and proceed towards the blue objective marker at all times to keep up with it.
Use rope lines whenever possible to clear the larger chasms between buildings and get past the soldiers you encounter patrolling the rooftop areas with a running sword strike or a phantom blade from a distance, then climb the tower beneath the next green objective marker that appears to reach the balloon and grab the anchor rope to activate a short cut-scene in which you are knocked back to the ground below.
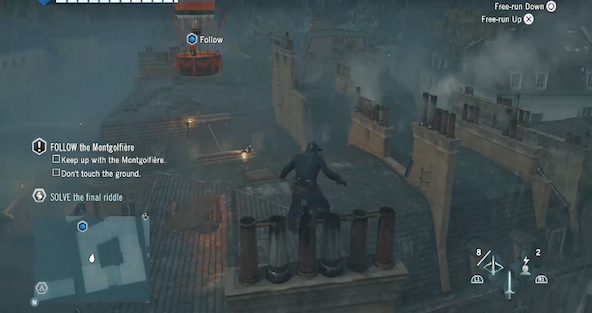
Use the pulley system in front of you to return to the rooftops above and ascend the ramp ahead on the left to proceed forward in the direction of the ballon, then climb over the wooden scaffolding to transfer between the rows of chimneys on the other side and clear the next series of building gaps without stopping to stay directly behind the current objective marker.
Jump off the pole marked with a green map icon to grab onto the ballon and activate the next cut-scene to complete this mission.

A Dinner Engagement
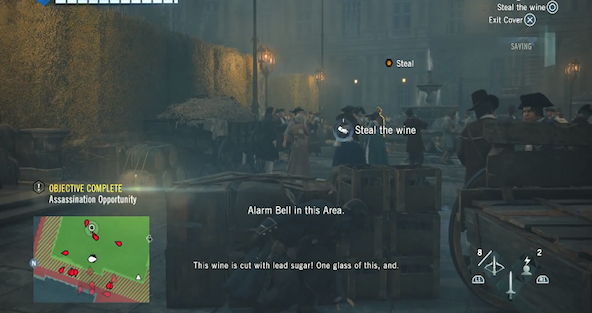
Drop to the streets below to sprint around the west side of the property highlighted in red your map and climb up to the French flag across from the store to drop onto the two soldiers directly below, then proceed through the tunnel they were guarding to reach the crates beside the first wooden cart at the opposite end and steal the wine before exiting the same way you arrived.
Climb the wall above the previous French flag you perched upon to assassinate the group of enemies patrolling the area at the top and head right to eliminate the next guard above before dropping onto the balcony in the corner ahead on the left, then dive over the railing to land in the haystack below and activate Eagle Vision to take out the nearest hostile from the safety of the cart.
Sabotage the nearby alarm bell before climbing the south wall in the corner behind it and enter the next open window above to immediately take cover at the wall directly to the right, then wait for the next guard to approach before performing an assassination on him from your current hiding spot and proceed to the west wall at the opposite end of the room ahead to make a right turn through the doorway in the corner.
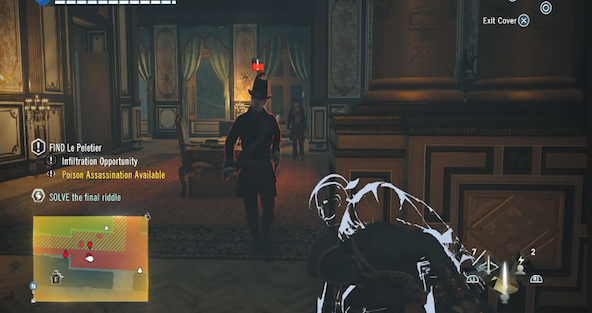
Pick the locked door at the opposite end of the hall to crouch down in front of the base of the two columns on your right and lure one of the enemies around the corner towards you to execute an assassination from behind cover, then remain in this hiding spot as the other guard approaches to put him down in the same manner and pass through the first open doorway on the left to shoot a phantom blade into the soldier sleeping at the bottom of the adjacent steps.
Proceed north towards the next on-screen exclamation point icon and blend into the surrounding crowd as you go to avoid being seen by guards in the area, then activate Eagle Vision to pinpoint Le Peletier’s location in the adjacent room and take cover beside the last open doorway on the right to track the movements of the nearby enemies.
Wait until the coast is clear before entering the larger room to approach the small bar on the left without being seen and switch out the good wine with the poisoned bottle you acquired earlier, then follow Le Peletier out of this area to pick the locked door at the end of the hall and eliminate the first guard ahead before he can react.
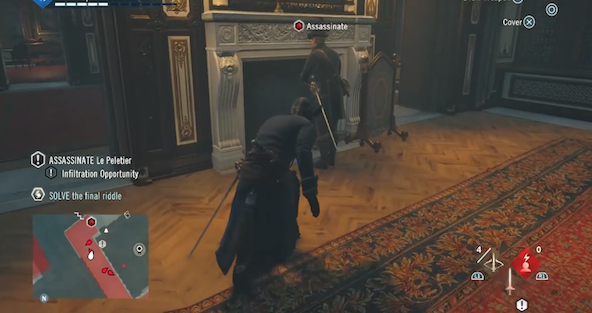
Take out the soldier in front of the fireplace before proceeding through the right-side doorway to eliminate the remaining guard in this area and turn the corner ahead to assassinate Le Peletier, then exit through the windows in the room behind you to escape the area and complete this mission.

The Execution
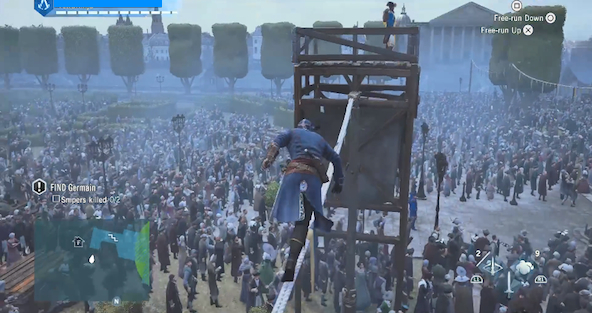
Dive into the hay cart directly below to proceed in a southeastern direction through the surrounding crowd until you see a pole rising up from the ground and attached at the top to a banner that leads towards a guard tower in the distance ahead, then climb up it to walk forward along the adjacent cable and assassinate the soldier occupying the wooden platform at the end.
Return to this mission’s exact starting point to drop to the balcony below on the right and head south by walking along the adjacent banner to turn left at the opposite end, then jump to the guard tower across from you to assassinate the occupying sniper and transfer back onto the previous rope line to travel north.
Enter the enormous crowd to pass the burning effigy by the carriage on the right and push your way forward through the sea of people to reach the assassination target’s position at the opposite end, then vault over the wooden fence to the left of Germain’s location to access the restricted area and climb onto the stage directly to the right to activate a cut-scene.
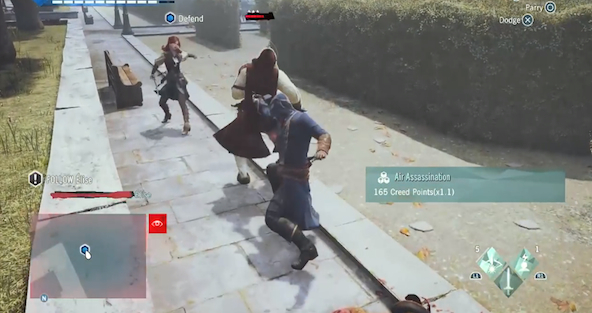
Defeat the soldiers standing in front of you before following Elise back onto the city streets and eliminate the next group of hostiles approaching from the east to proceed forward safely, then continue chasing after your partner to subdue two more enemy squadrons with the help of smoke bombs.
Stay close to Elise’s location during each sword fight that occurs to provide protection by deflecting the attacks of oncoming soldiers head-on and by approaching enemies currently dueling with her from behind so that you may quickly stab them in their backs.
Follow Elise across the souther courtyard to activate the next cut-scene and complete this mission.

Bottom of the Barrel
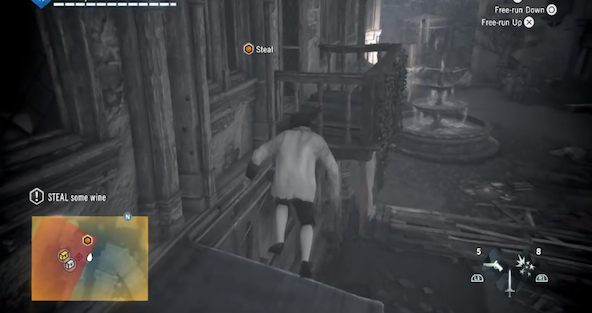
Walk through the archway ahead to duck behind the first guard standing on the other side and proceed east by staying low against the small stone wall you’re using as cover, then look around the next corner to make sure the coast is clear before running over to the opposite wall and turn left to continue in the direction of the current orange objective marker.
Climb the wall behind the next outhouse ahead on the right to reach the rooftop area above and turn left to travel to the north corner of the property highlighted in red on your map, then drop down the east side of the building you’re on to land on the small wooden balcony below and enter the adjacent room inside once the coast is clear.
Assassinate the enemies in the room before stealing the indicated barrel of wine nearby to activate a cut-scene and travel to the Brasserie to reach the current green objective marker located inside the bar, then speak with the owner to become inebriated and defeat the next group of enemies in a drunken sword fight to watch another cut-scene play.
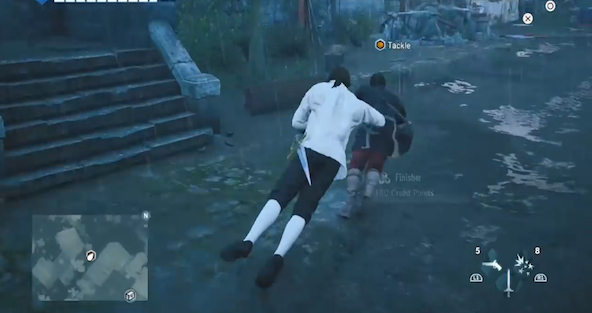
Chase after the indicated thug to get right up behind him sprint at full speed without stopping to close the gap until you can execute a tackling maneuver, then proceed through the mansion to assassinate the first pair of soldiers in the room ahead and approach the north corner of the property to eliminate the next three occupying enemies while their backs are turned.
Turn right to defeat the large group of soldiers in a sword fight with the help of smoke bombs and proceed to the east side of the property to pass through the open doorway in the corner, then assassinate the first guard on the left before killing the pair of enemies in the next area ahead as soon as their backs are turned and face south to exit into the bedroom down the hall.
Walk onto the adjacent outside balcony to pounce on the enemy directly beneath you before killing the other guard nearby in a sword fight and enter the next available room to assassinate the three soldiers inside by using furniture as cover for the first two ambush attacks, then exit through the open doorway in the back corner to clear the area ahead to the north and turn down the hall on the left see the ghostly apparitions appear.
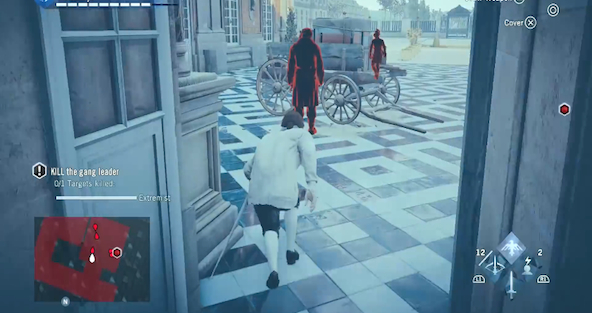
Make your way across the next checkered-floor area on the left to locate the gang leader in the area ahead and activate Eagle Vision to scan all enemy locations outside before assassinating the one that’s standing in front of the wooden cart on the left, then move quickly towards the right to circle around behind the target and eliminate the next guard you encounter along the way.
Continue moving silently between cover points to take out the gang leader’s body guard from behind when they stop to admire the candlesticks and defeat the indicated target in a sword fight to complete this mission by looting his body afterwards.

Rise of the Assassin
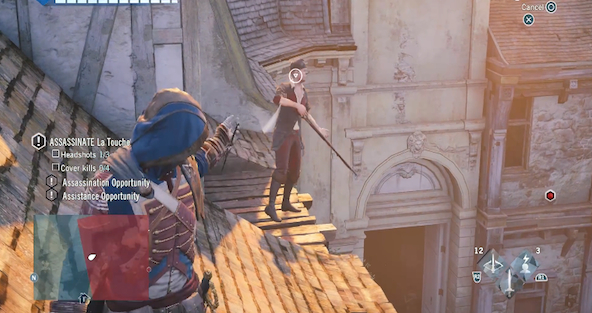
Turn left to clear the gap between buildings and jump to the next available roof on your right to climb up over the top of it, then slide down the shingled incline on the other side to fire a phantom blade into the head of the guard at the bottom and drop onto the enclosure that surrounds the tree below you to shoot the enemy patrolling the same surface nearby.
Jump onto the east wall to return to the rooftop area above and proceed towards the on-screen exclamation point icon that appears to shoot the enemy in the guard tower below on the right, then proceed south by walking along the rope that connects to the next building ahead and enter the attic through the opening in the wall on the other side.
Assassinate the next guard outside the window ahead on the right before exiting through the other open window behind you and drop back to the streets below to sprint around to the west side of the property highlighted in red on your map, then climb the south corner to enter the attic area above and take out the guard on the exterior ledge to remove another possible threat.
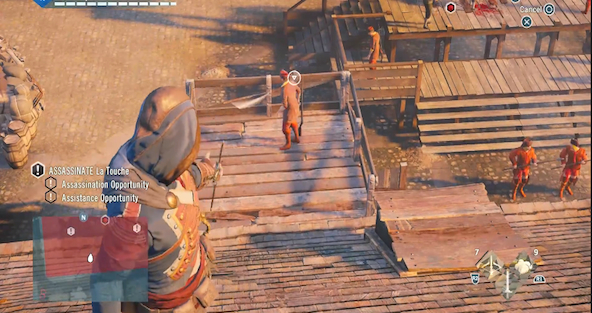
Climb back onto the rooftop area above to travel along the south side of the highlighted property and take out the first available soldier on patrol in this area to look down towards the guillotine in the courtyard below, then shoot the guard in the wooden balcony that extends out from the edge of the shingles directly beneath you and proceed to the southeast corner of the red map zone to drop back to street level.
Use the narrow alleyway that leads into the the execution area to take cover at the first wooden wall ahead and look around the corner to survey the prisoners being held in a large cage, then assassinate the guard that approaches the bars to receive a new objective and climb the east wall to locate the target highlighted in yellow.
Enter the second floor of the same building occupied by the current “Steal” target to take the key from him by force and enter the cage where all the prisoners are being held to activate a cut-scene, then sprint up the steps that lead towards the guillotine to reach Germain’s location.
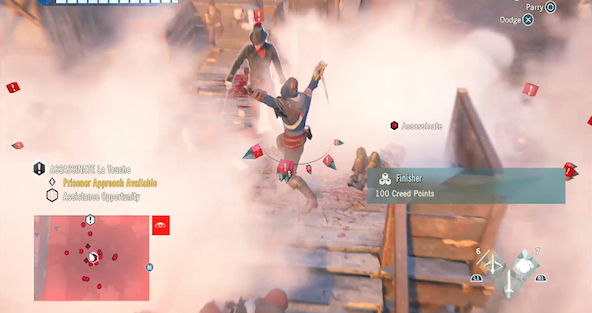
Drop multiple smoke bomb on the guillotine stage to knock Germain to the floor with your sword and defeat the surrounding enemies with your sword until the area is clear, then perform the assassination to activate a cut-scene and escape the area to complete this mission.

The Bastille
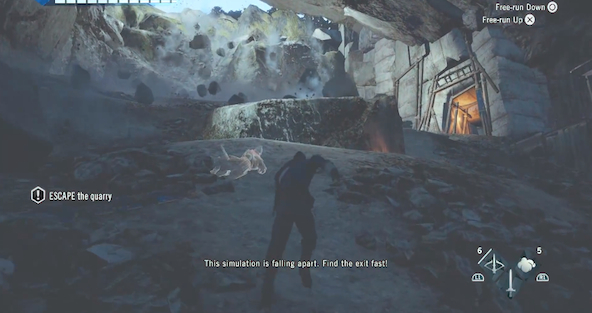
Follow the dirt path ahead to leave the cemetery and continue through the underground tunnels of the catacombs by jumping over, running across, transferring between or climbing up the various obstacles in your path until you eventually exit the main chamber.
Move all the way to the left to evade the boulder tumbling down in your direction and ascend the incline quickly by hugging the wall all the way to the top, then climbup onto the next rocky slope above to sprint towards the lone elevated ridge at the center of the hill and take cover behind it to avoid being crushed for the time being.
Wait for a few boulders to pass by on your right before making a dash for the orange-lit exit tunnel at the peak of the hill and drop down the ledges on the other side to escape the quarry, then climb up the left leg of the bridge ahead to enter the enclosure at the top and turn right to jump across the gaps in the floor before swinging over the larger chasm at the end.
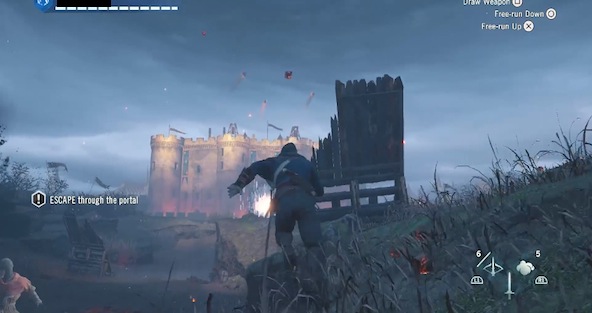
Transfer across the posts on the right to reach the opposite side of the canyon and follow the dirt path above forward to spot the castle in the distance just before it launches fiery projectile in your direction, then sprint downhill to make a left at the piked fork in the road and circle around the next trail to continue towards the fort you see ahead.
Sprint in straight lines between the series of wooden barricade and transfer to the next closest one located further up the field after ducking into cover each time, then continue this pattern to proceed forward down the road without taking damage until you reach the stone bridge at the end and launch yourself through the portal beyond it to complete this mission.

The Supreme Being
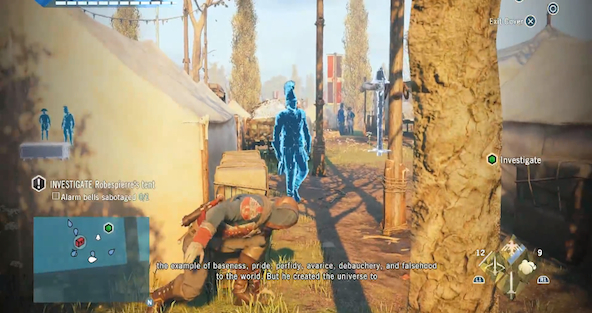
Follow Elise through the crowd to activate the next cut-scene and approach the current green objective marker from the east to lure the nearest guard into outskirts area of the camp for a cover assassination, then head north to eliminate the guard in the corner from long-range and proceed west towards the left of the waypoint icon to disable the alarm bell nearby.
Enter the tent through it’s open rear window to investigate by activating Eagle Vision and approach the glowing document on the table in back left corner of the area to read the list of names, then exit the same way you came to report to Elise and use your map to approach the first red icon that indicates an enemy approaching from the north.
Move around behind the first oncoming threat to take him out quietly and sprint towards Elise’s current position to locate the next hostile with the help of your map, then eliminate this enemy as well before sprinting around to the south end of the fenced-in area to defeat another pair of approaching soldiers with a running double-assassination.
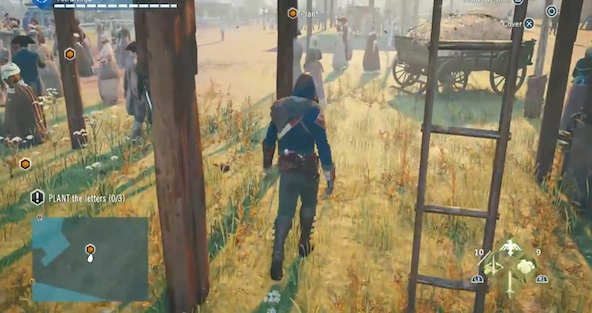
Escape the area to speak with Elise again at the next green objective marker and approach the closest orange one that appears after the cut-scene to locate the target highlighted in yellow, then approach this enemy from the direction of the ladder that stands behind him to move right up against his back and plant the letters without being seen.
Travel west towards the next orange marker within the enemy camp to locate another yellow-lit target and enter the tent beside him through the enclosure’s rear window to assassinate the soldier guarding the exit on the left, then approach the waypoint icon to plant your second letter and proceed east to reach the remaining objective.
Blend into the surrounding crowd to approach the third orange objective marker, then approach the target from behind without being seen to plant the final letter and complete this mission.

The Fall of Robespierre
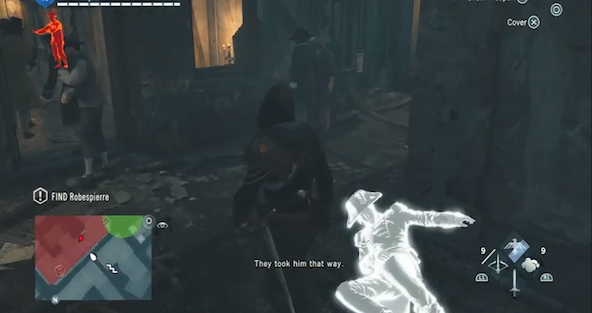
Follow Elise through the crowded streets to reach the building where the National Guard appears to have been slaughtered and activate Eagle Vision to approach the survivor you must speak with next in the tunnel to the east, then enter the circular green zone shown on your map to climb to the rooftops above and start searching for yellow-lit targets in the area below.
Take out the guards that patrolling the rooftops before dropping down to approach the targets highlighted in yellow on the streets below and speak with the indicated witness to get a lead on Robespierre’s current location, then continue tapping these information sources to shrink the green map zone until it disappears.
Chase after Robespierre by running across the rooftops alongside his current location and follow close behind this target from above to avoid losing sight of him, then continue tailing the enemy as he travels east to enter a second green map circle and proceed in the direction of this highlighted zone to push it away each time you get close.
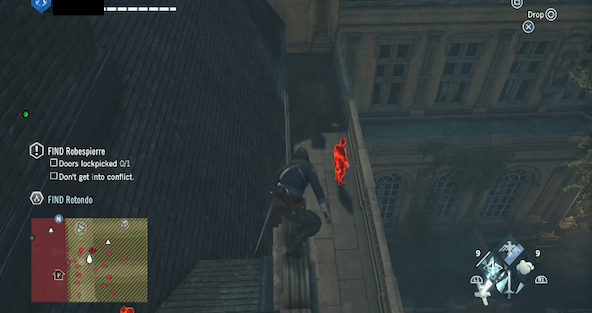
Continue pushing the green map zone east by transferring consistently between the various rooftops laid in front of you until the next cut-scene is activated, then approach the westernmost corner of the property highlighted in red to climb to the area above and hang from the edge to assassinate guard patrolling alongside the railing.
Take out the other enemy in the area from behind before sabotaging the nearby alarm bell and climb up the southeast corner of the building highlighted in yellow to eliminate the guard in the balcony directly above, then head north to clear the next two gaps between ledges that extend from the edge of the adjacent rooftop and air assassinate the soldier you see below on the right.
Walk south along the railing of the balcony you’re on to turn left at the opposite end and eliminate the enemy below with a phantom blade to safely drop down to his location, then climb through the adjacent window to shoot the soldier directly to your right and pick the locked door he was guarding to approach the group of hostiles in the next area ahead.
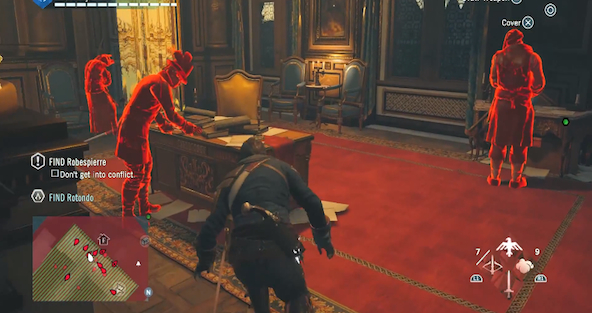
Take cover beside the doorway in front of you on the right to scan the enemy movements in the next room ahead and wait until all three guards have their backs turned before assassinating the one behind the desk, then finish clearing the area to open the door in the south corner and watch the next cut-scene unfold to complete this mission.

The Temple
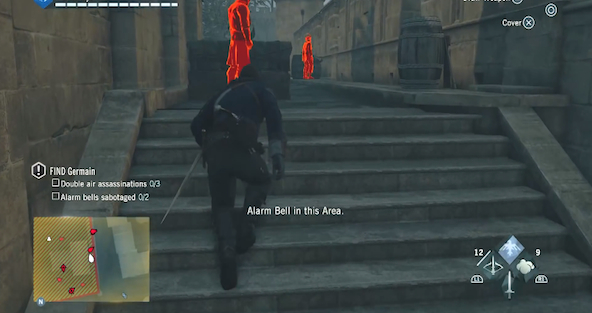
Drop to the streets below to approach southwest corner of the property highlighted in yellow on your map and climb the building’s exterior to assassinate the first guard above you on the right by pouncing on him from the top of the wall, then head south up the adjacent set of steps to eliminate the soldier at the top once other two enemies ahead have turned away.
Climb the adjacent wall on the left to look back down on your previous location and wait for the pair of guards arriving from the south to pass beneath you before executing a double air assassination, then approach the top of the next ladder ahead to shoot the enemy patrolling the area below and approach his body to enter the water on the right.
Swim forward to the end of the waterway to climb over the left-side wall once the coast is clear and sneak around behind the nearby alarm bell to sabotage it before ascending the ladder against west wall, then turn right at the top to approach the southwest corner of the property highlighted in yellow on your map and take out the next soldier you see patrolling below the area below.
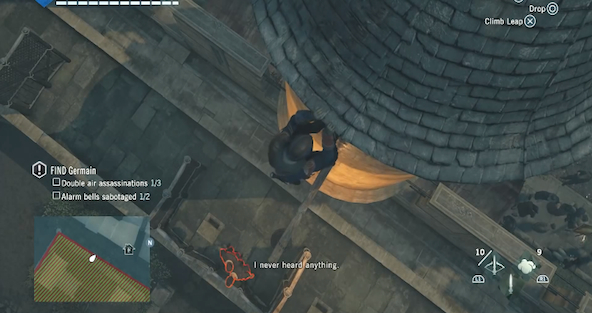
Proceed north across the top of the wall on your right to climb the next cylindrical tower ahead and shimmy around the bottom edge of the roof until there are a pair of enemies directly beneath you, then execute a double air assassination and hang from the edge of the property’s west side exterior wall to proceed north across the front of the structure.
Continue climbing north across the exterior wall until you spot a pair of soldiers walking in tandem along the top and ascend to the roof directly above the single lantern they both pass beneath, then turn around to target these enemies before executing a double air assassination on them and return to the elevated perch that was just used to perform this diving assault.
Turn around from the edge of the building to descend to the lowermost rooftop below on the left and proceed south to shoot a phantom blade into the next enemy above before climbing up to his location, then continue in the same direction to approach the bell symbol found on your map and clear the area around the alarm from long-range to sabotage it afterwards.
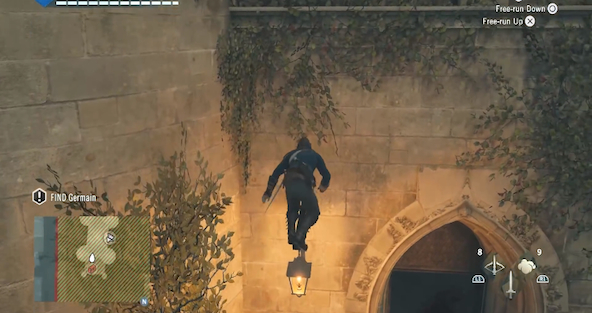
Approach the east side of the property to reach the T-shaped building on your map with a circular icon inside of it and climb to the highest point of this structure’s rooftop to look down over the edge facing south, then use phantom blades to take out the pair of guards below by starting with the one furthest from you and drop to their location to proceed towards the castle ahead.
Ascend the wall between the two castle towers in front of you to reach the courtyard balcony above and hang from the edge overgrown with vines to assassinate the closest guard on the right, then move left to eliminate the other enemy in this area and wait for the soldiers inside the building to turn away before climbing up over the rail.
Climb the wall above the castle entrance in front of you to activate a short cut-scene at the top and toss a smoke bomb towards Germain’s location around the corner as a means of attacking him at close-range with your sword until a flash of lightning suddenly causes the target to disappear.
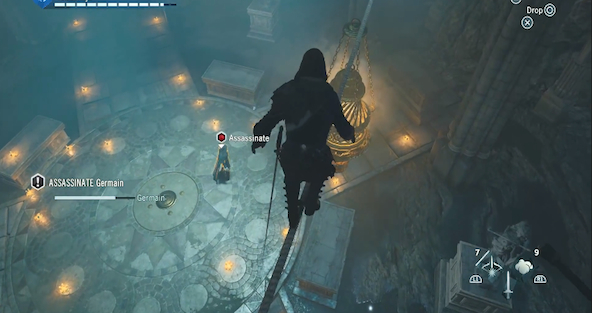
Proceed in the direction of the next green objective marker to descend the indicated staircase and navigate the underground tunnel system at the bottom until you can interact with a secret passageway in one of the rear walls to activate a short cut-scene, then sprint forward along the left side of the cave to take cover beneath the second torch protruding from a stone column on the right.
Turn around from the torch to enter an orange-lit corridor in the corner across from you and climb the next set of steps ahead on the right to reach the upper level, then proceed into the adjacent room on your left to climb out the open window and transfer onto the iron bars that crisscross high above the floor of the chamber below.
Travel between the iron poles and across the rope system from which the large gold lanterns hang to position yourself directly above the target’s location on the floor below, then perform an air assassination to drain Germain’s health bar and repeat this same plan of attack whenever Elise has the enemy distracted until he next cut-scene is activated.
Approach Germain’s fallen body to carry out the final assassination and complete the game.



 Titanfall Guide, Tips and Tricks: How to Dominate in Every Map
 A History of Violence: The Hyperreality of Assassin’s Creed
 Violence Against Violent Games: Why Gamers Need to Speak Out
 9 Magical Harry Potter Gadgets You Could Actually Own
 Is A Bachelor's Degree A Financially Viable Choice?