1. The beginning is the same as the light version, with very minor changes. You can follow my walkthrough for the light version.
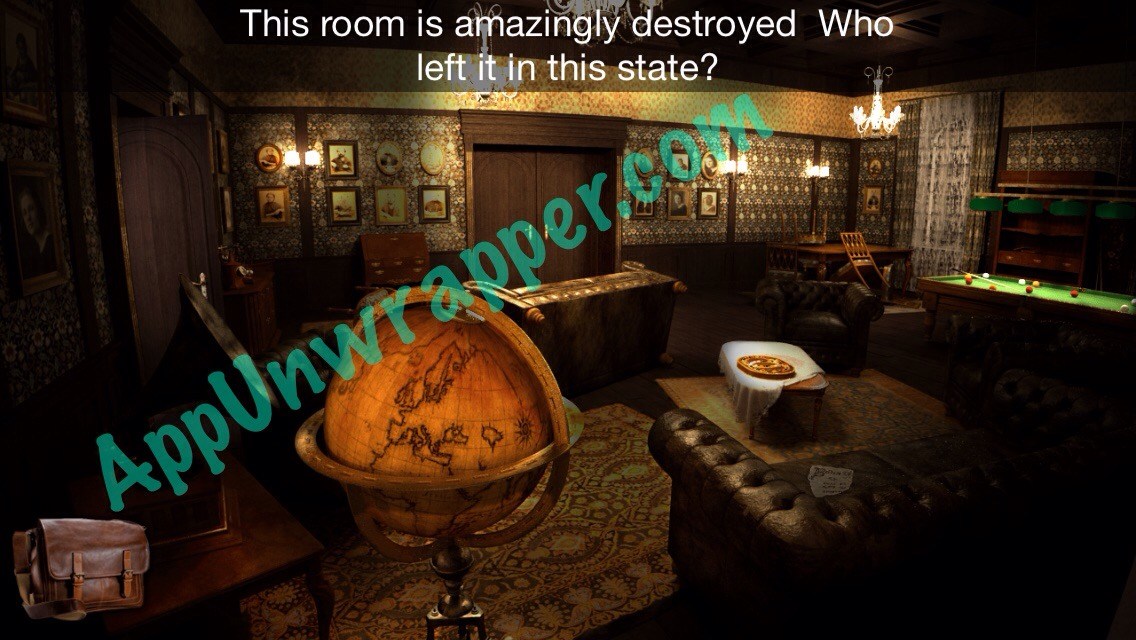
You can also follow this video walkthrough for step 1:

2. In the next room, open the drawer and get the rusty lever.
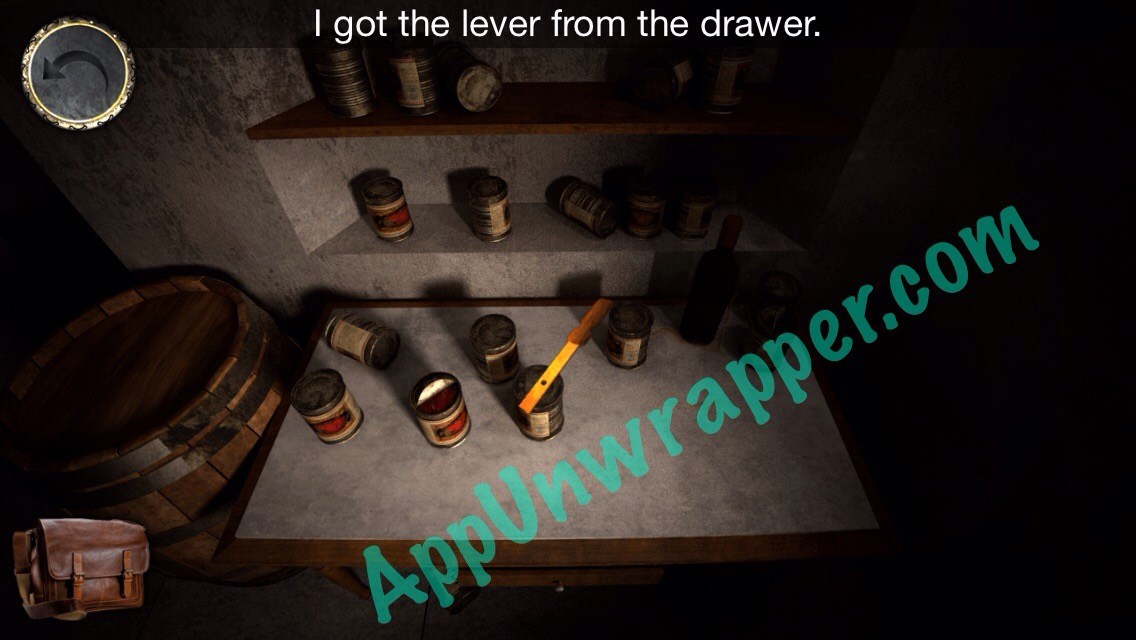
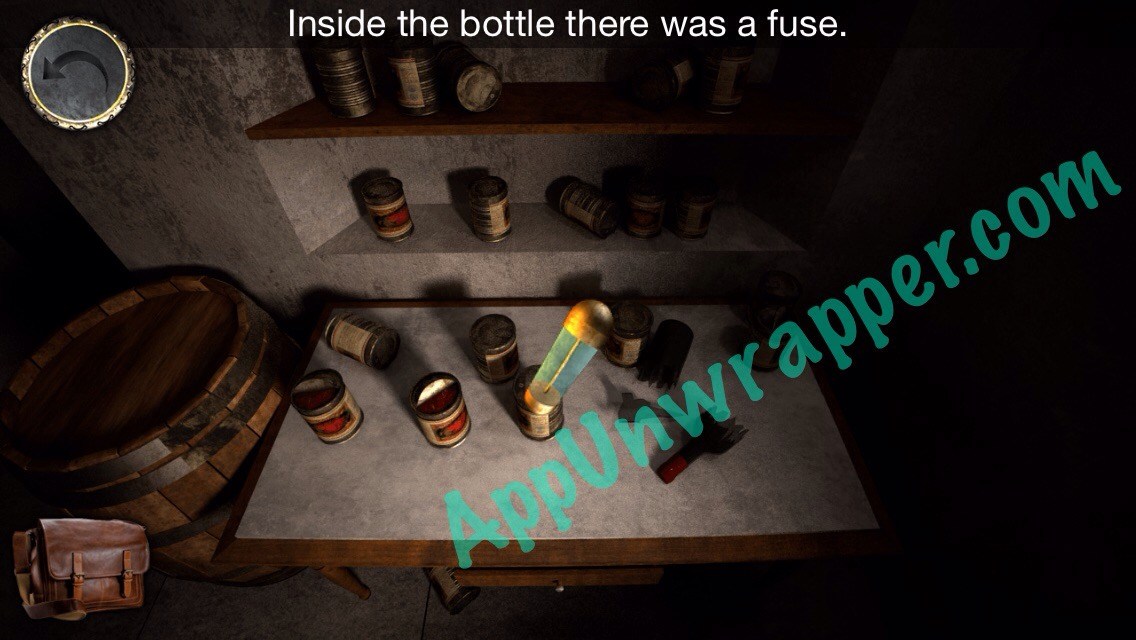
3. Use the lever to break the bottle on the table and take the fuse from it. Also, grab the broken piece of glass.
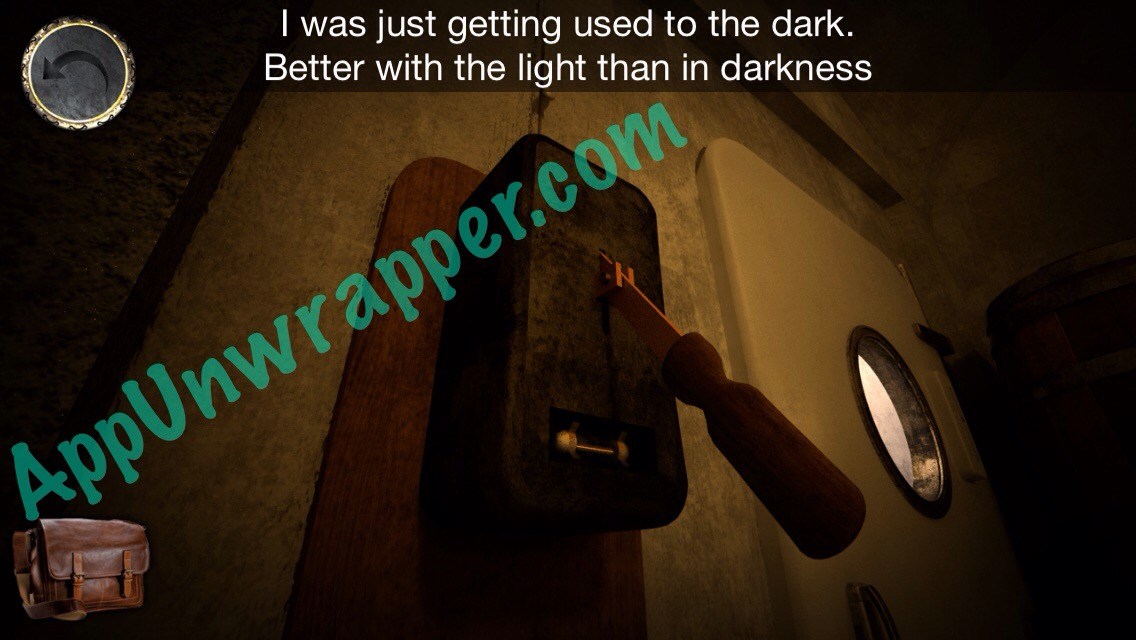
4. Find this box to the left of the door with the bear behind it and place the lever in the slot. Also, add the fuse to it. Then pull the lever down to turn in the lights.
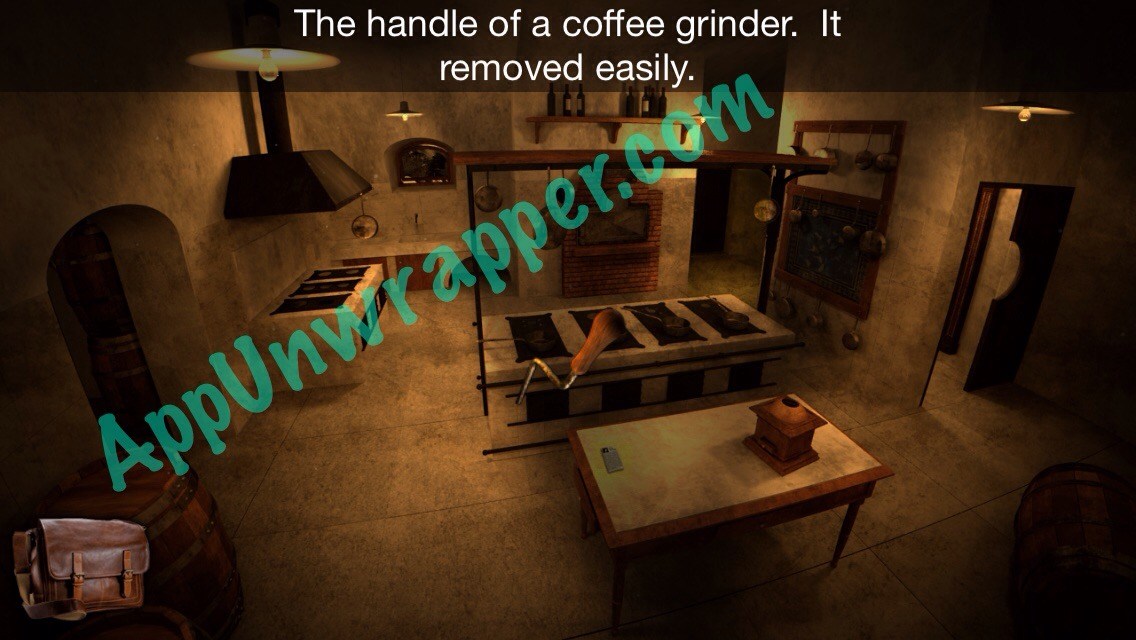
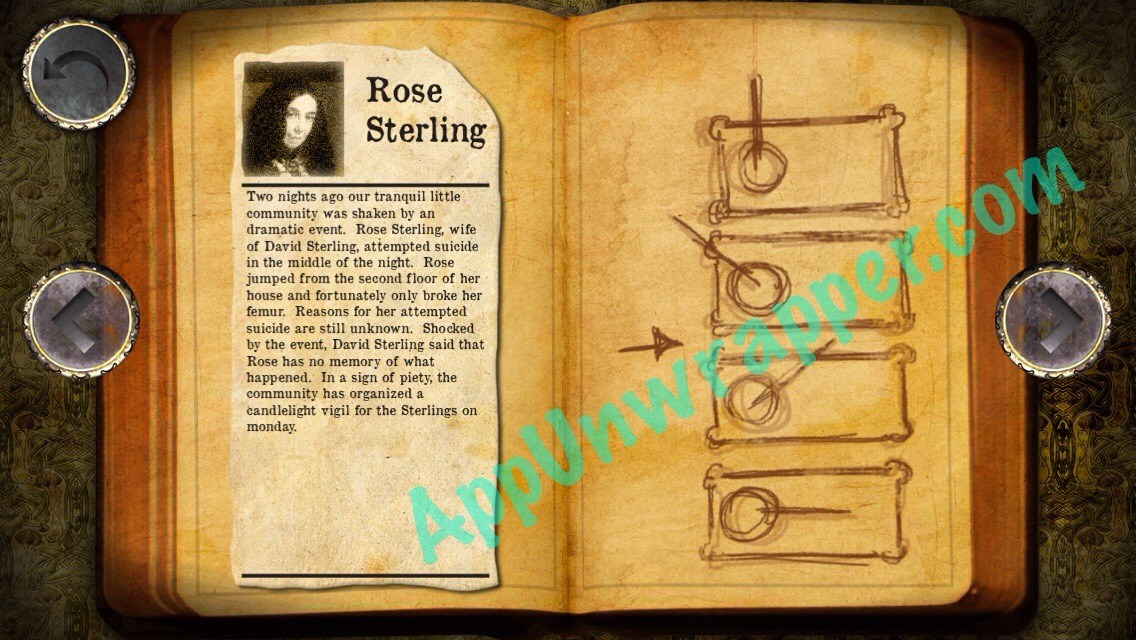
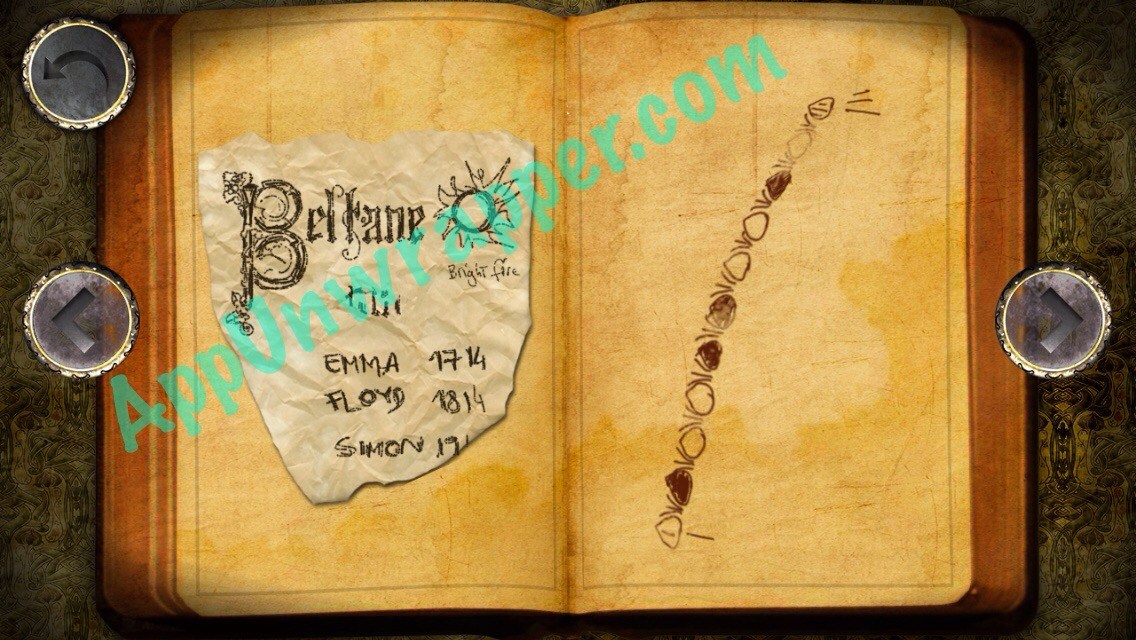
5. Go through the open doorway, now that you can see. Grab the crank/handle from the coffee grinder on the table. Also, pick up the newspaper clipping and tap on the stove with the pots to get a clue for your journal.
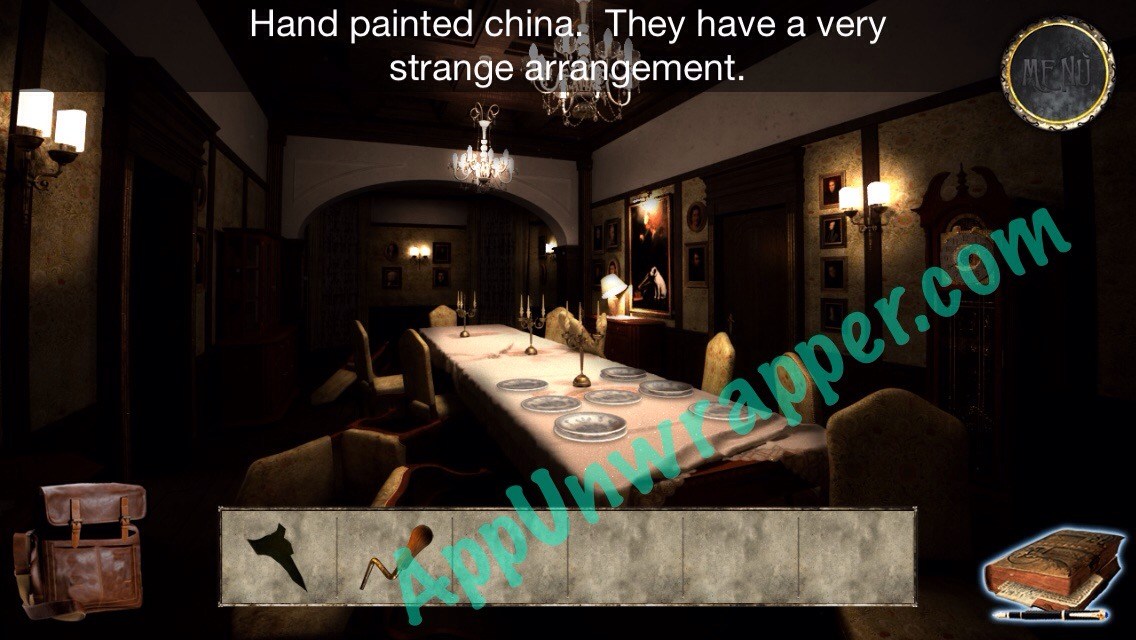
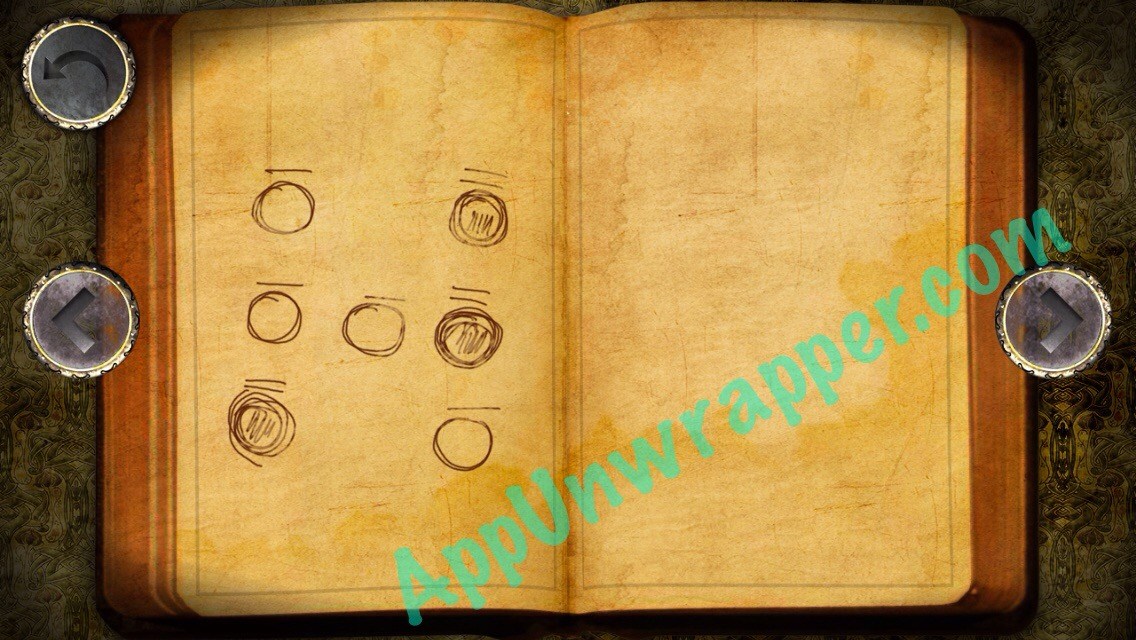
6. Go through the door to the right to the dining room and tap on the table setting to get a clue for your journal.
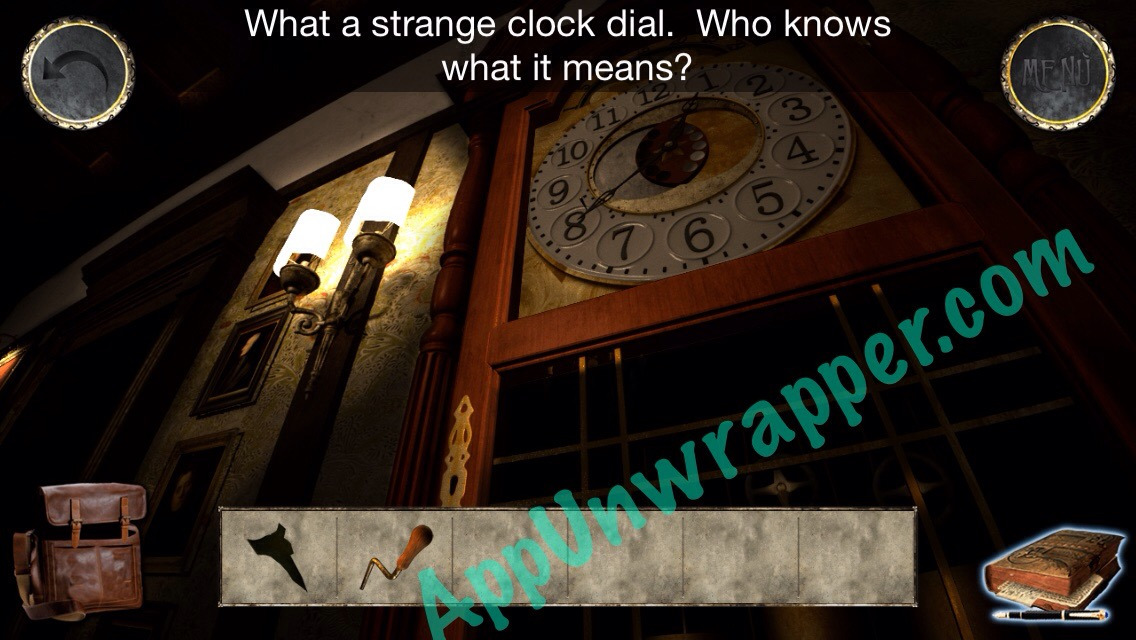
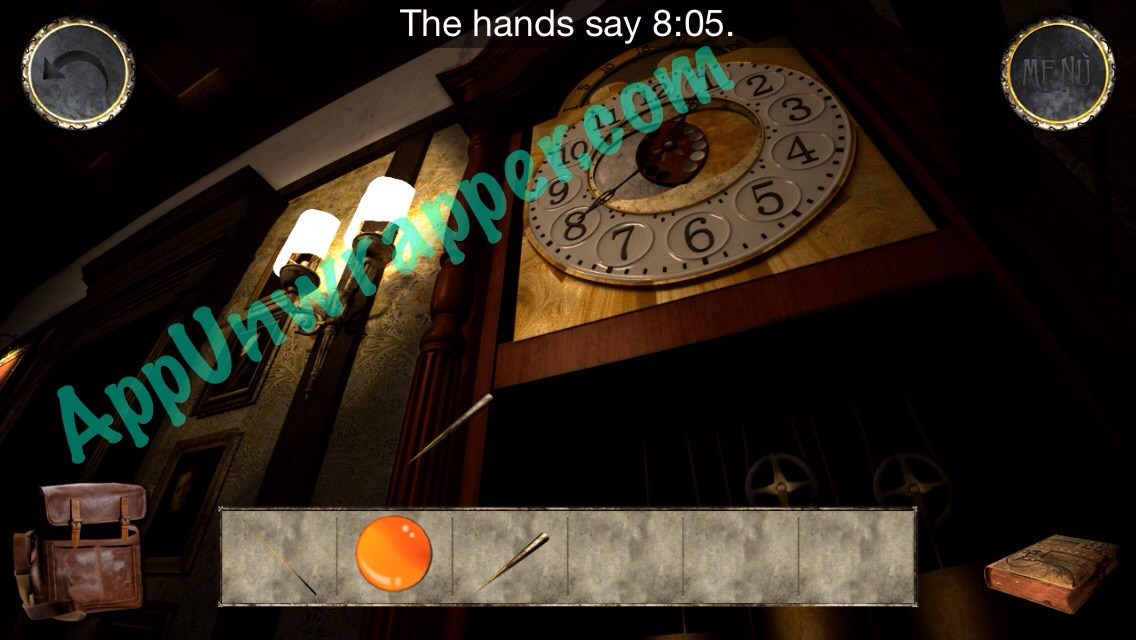
7. Tap on the grandfather clock to get another clue for your journal.
You can also watch this video for steps 2-7:
8. Open the door to the right and go through. Pick up the note from the leather chair.
You can also watch this video for the next few steps:
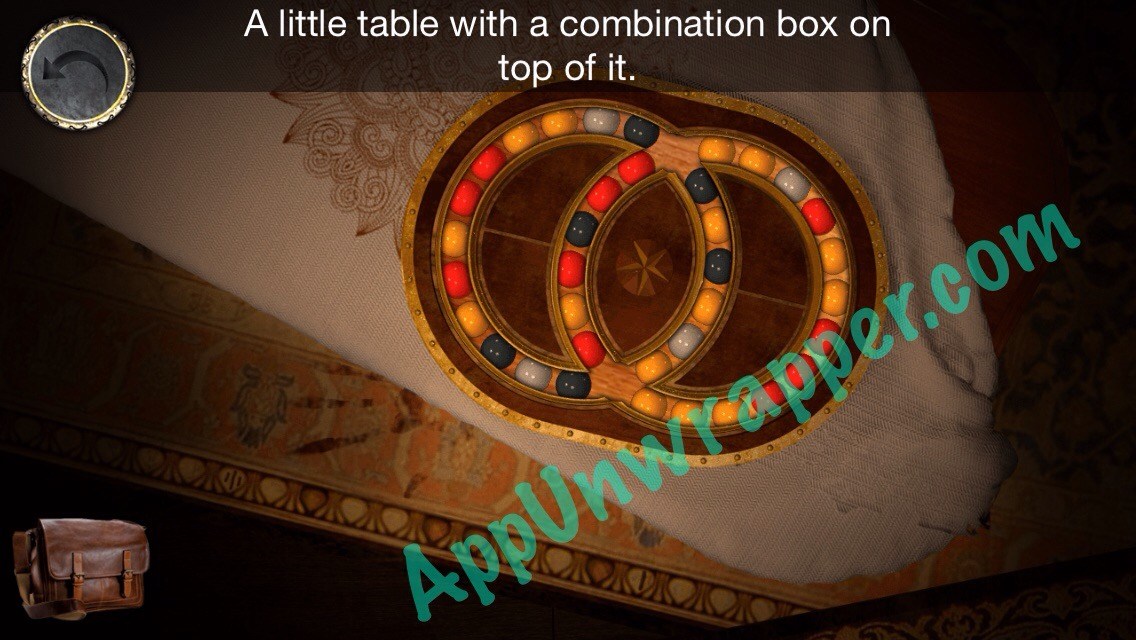
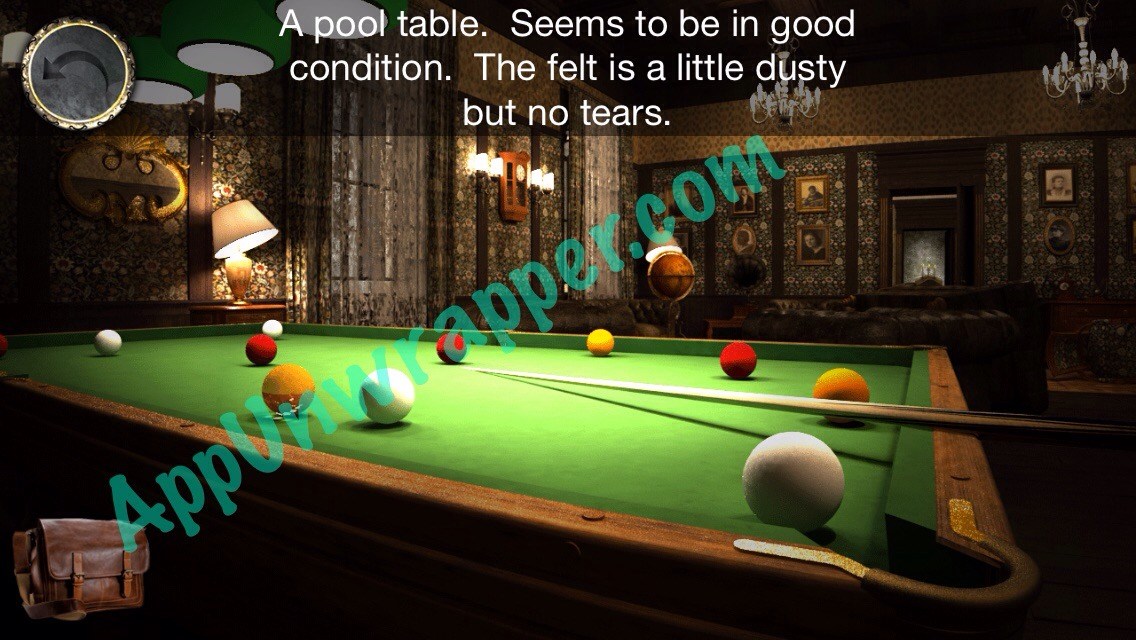
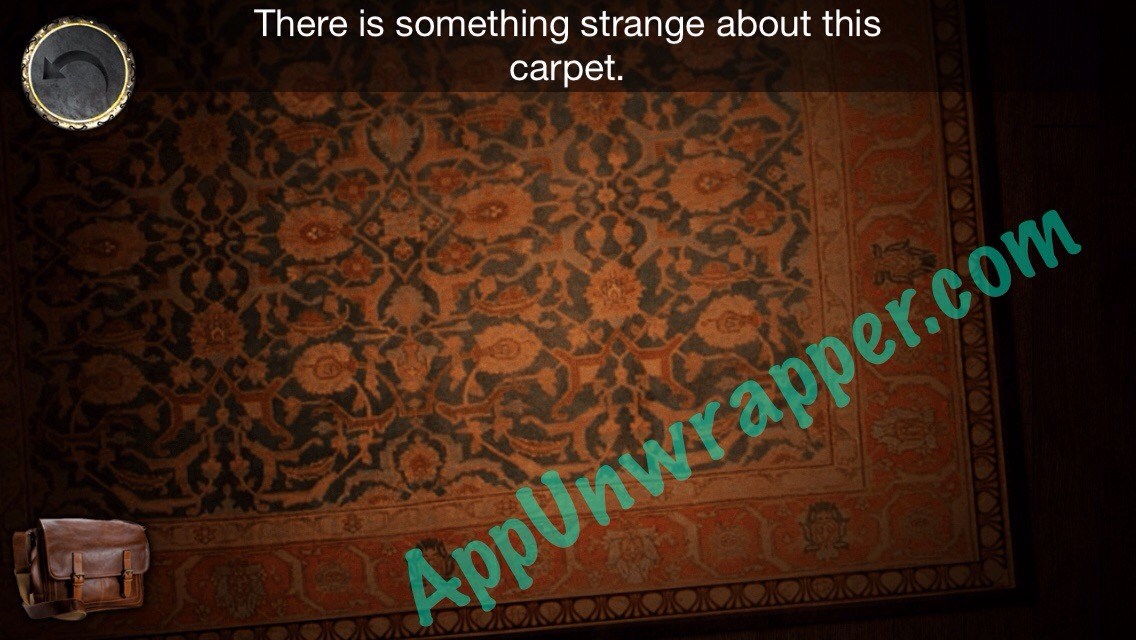
9. Notice the colorful puzzle on the table. Also, get a clue for your journal from the carpet. We’ll come back to it. Go to the pool table and take the cue and one of the balls.

10. Go back to the dining area. Zoom in on the painting of the dog with a gramophone. Use the piece of glass to cut open the painting and take the record.

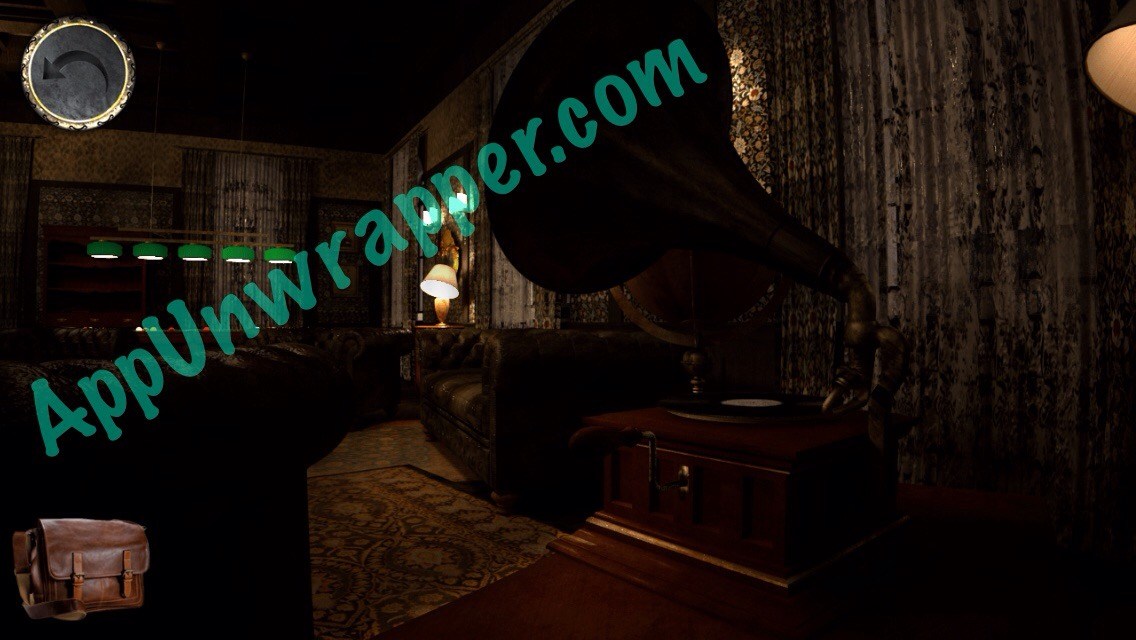
11. Go back to the living room and place the record and the crank/handle on the gramophone. We’re still missing the needle for it to work.
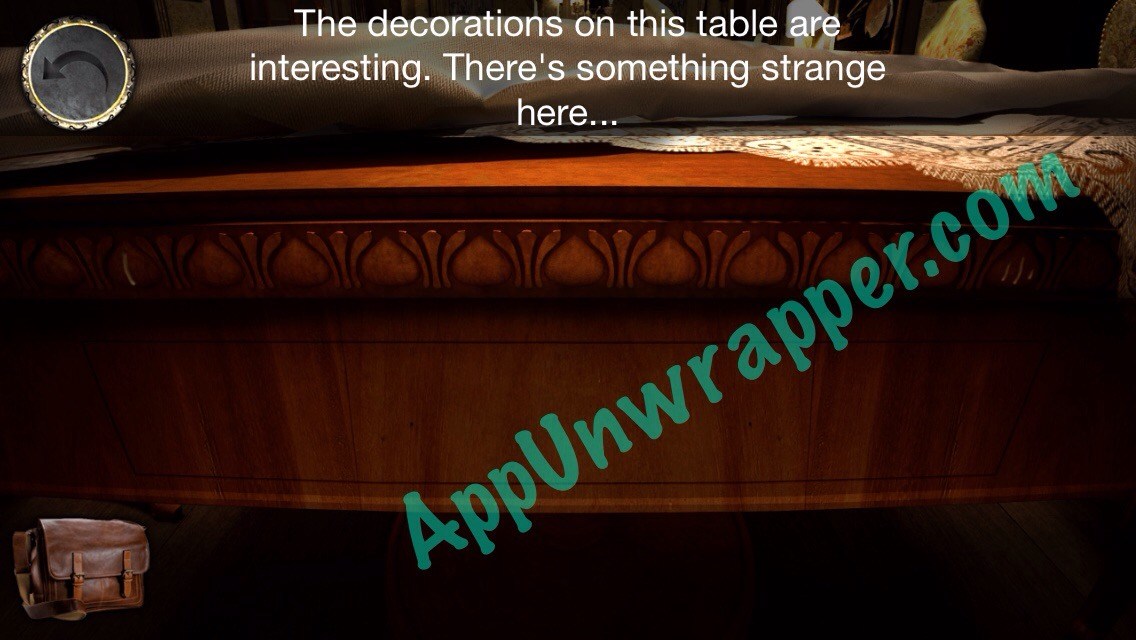
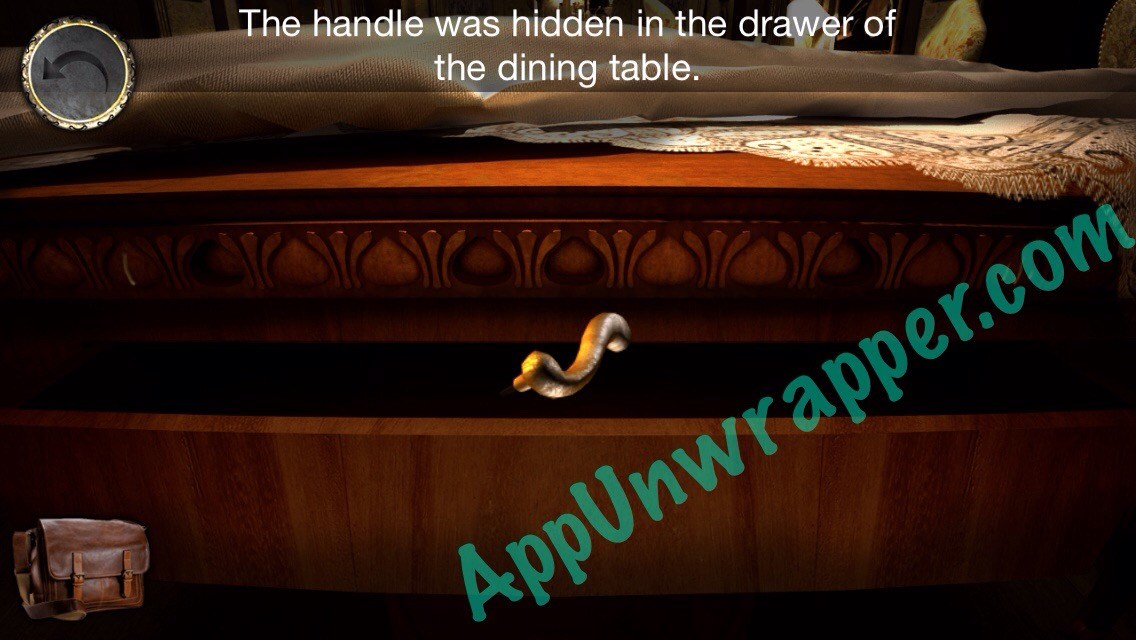
12. Go back to the dining room. Tap on the front of the table (closest to you). There’s a locked drawer with buttons above it that look like the clue you picked up in the living room. Use the clue to solve the puzzle (press the buttons that are darkened in the clue) to get a handle.
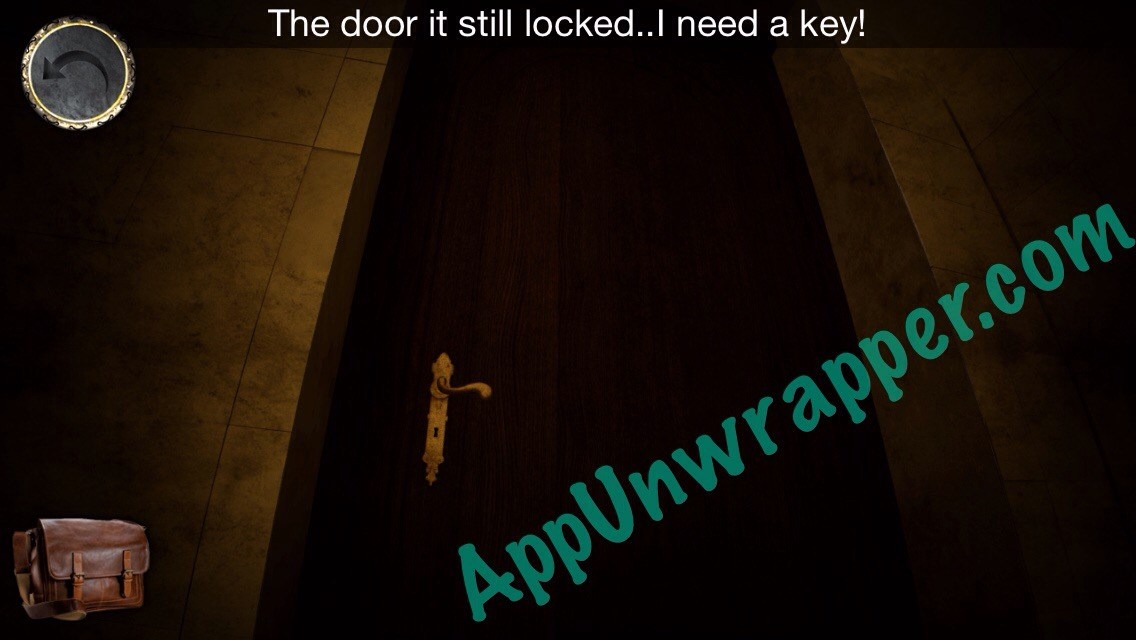
13. Go back to the kitchen and use the handle on the door to the back right. It’s locked, though, and we need a key to open it.
14. Go back to the living room and find the pendulum towards the back left. Use the glass shard to cut off two balls from the Newton pendulum.
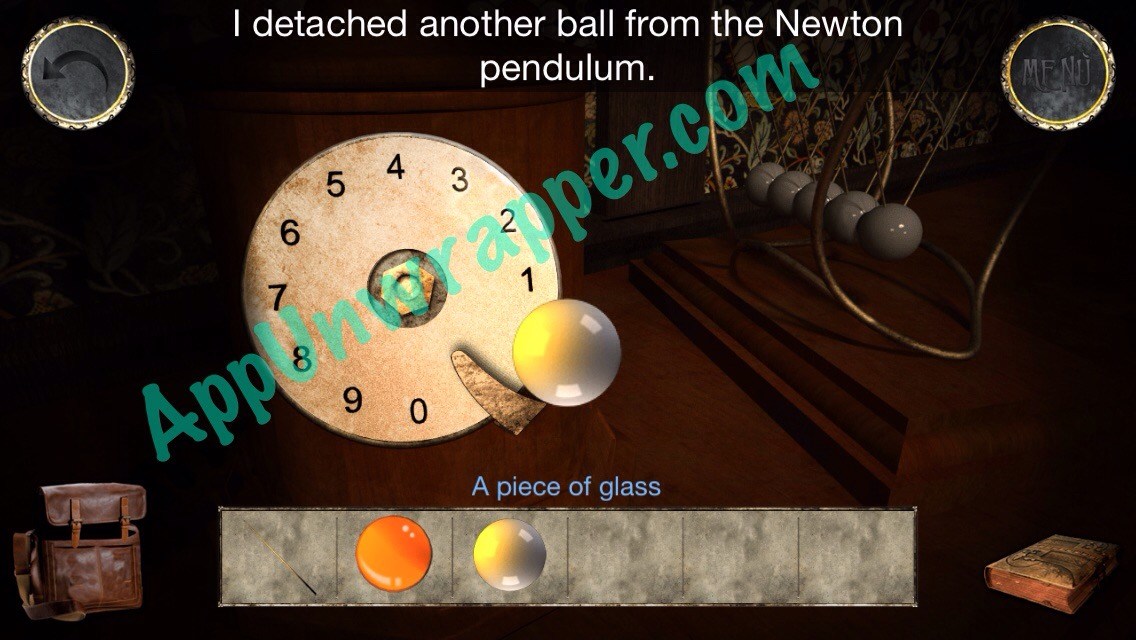
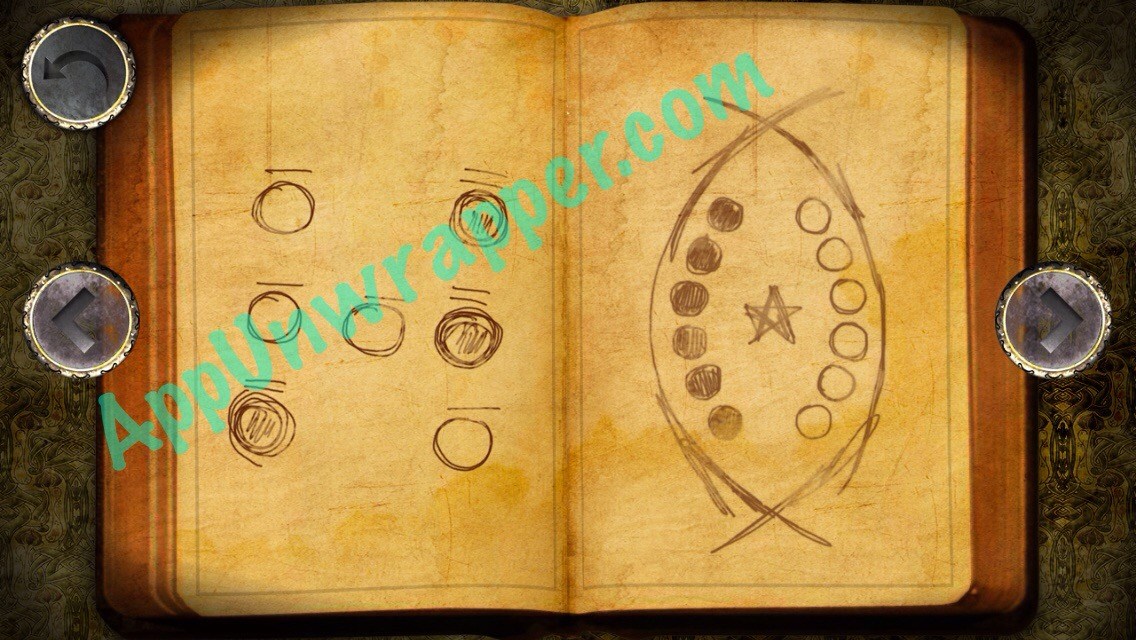
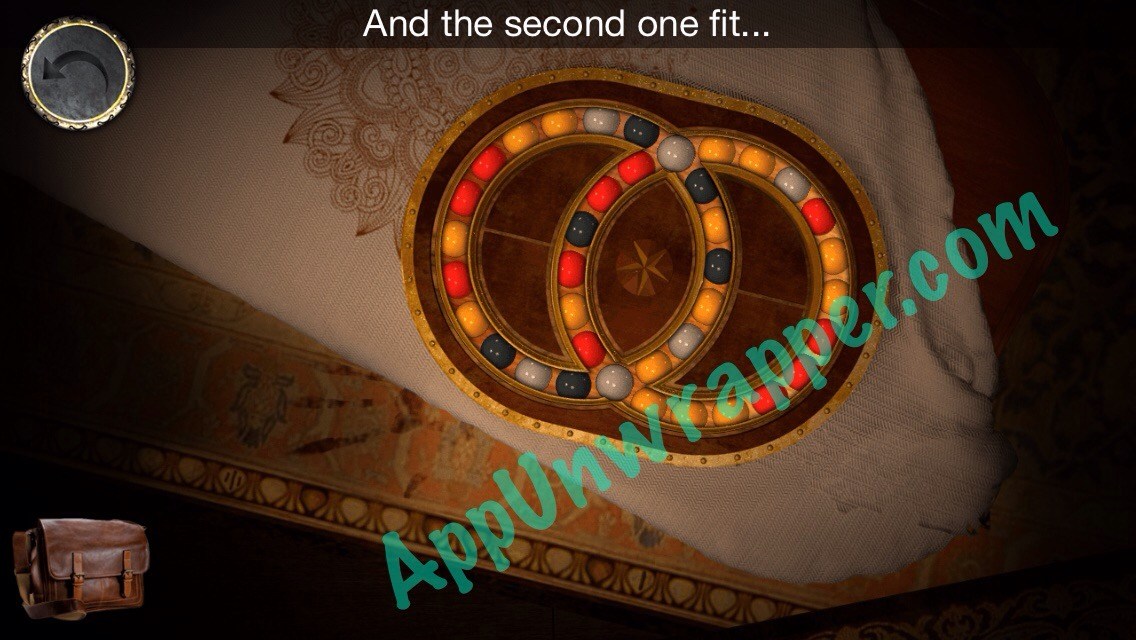
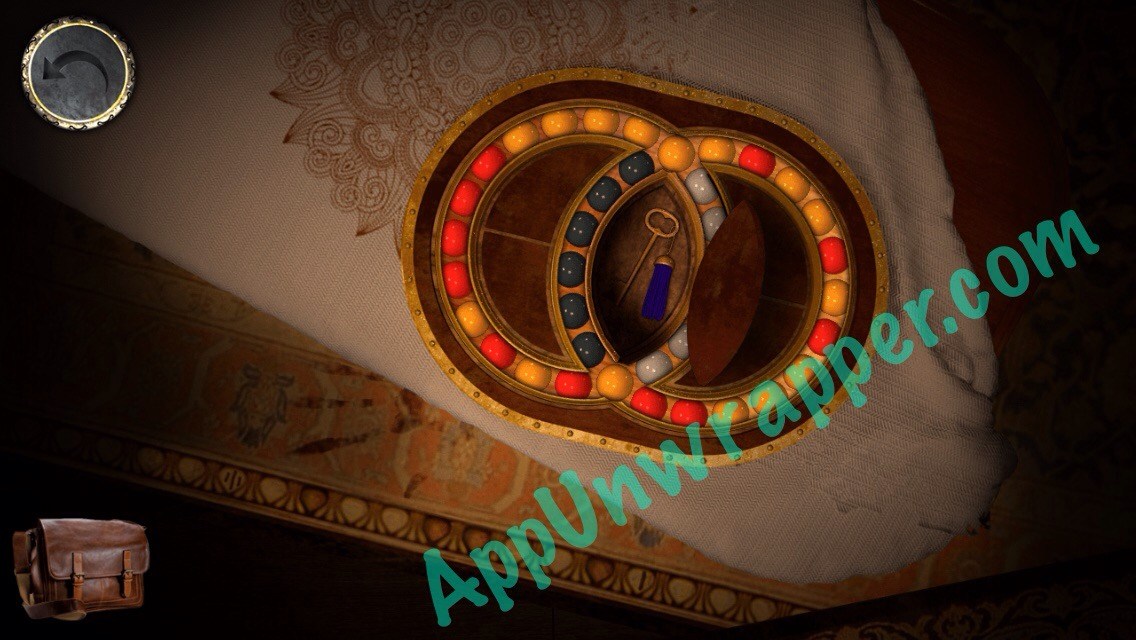
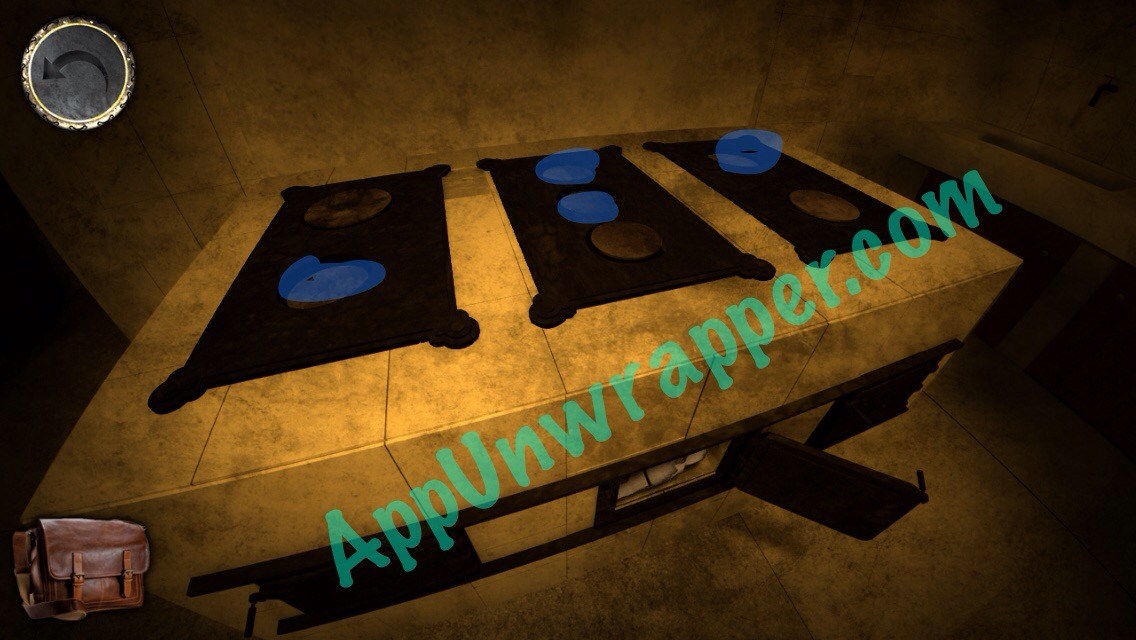
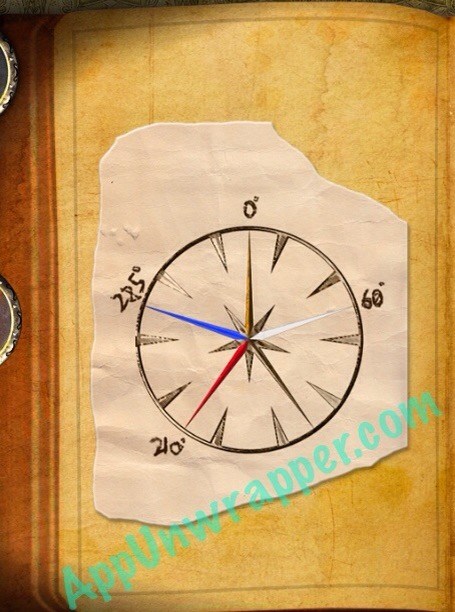
15. Add the two balls to the colorful puzzle on the table. Now time to solve it. By matching it to the clue from the clock. Is the pool cue to rotate the two intersecting circles. This puzzle can be a bit frustrating because the circle you intend to turn isn’t always the one that turns. But eventually, you should be able to make it match the clue, with the blue balls on the left and the white balls on the right. When it opens, take the small key.
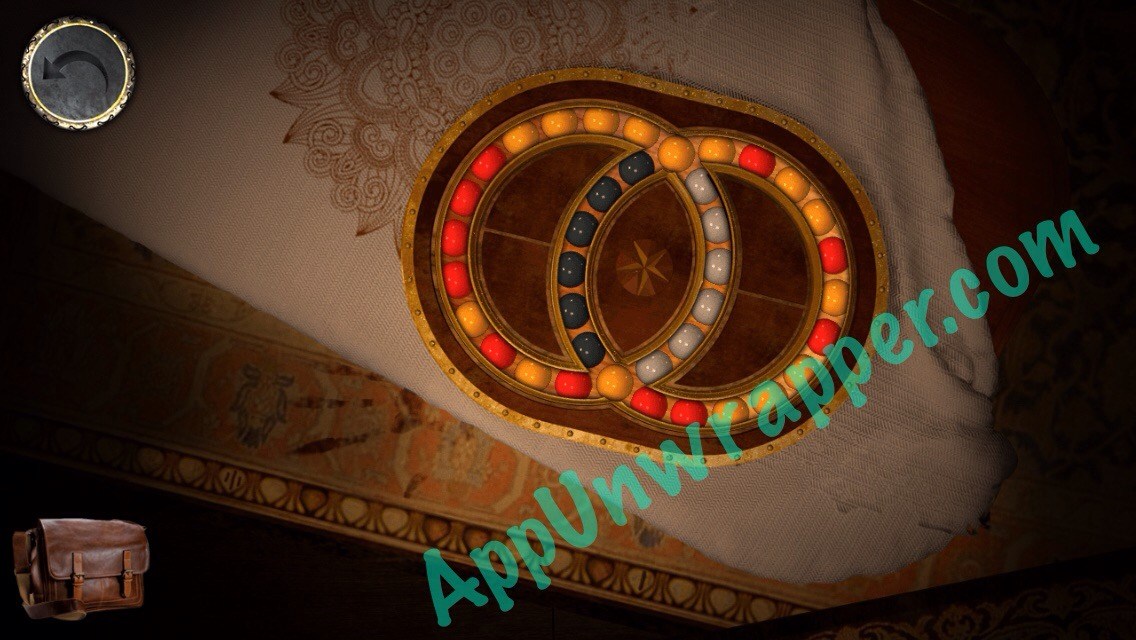
You can also use this video to help you with this puzzle. Sorry it took so long — the circles never turn in the direction I intend them to. Very frustrating!
16. Use the small blue key to unlock the grandfather clock and take the minute hand (metallic needle).
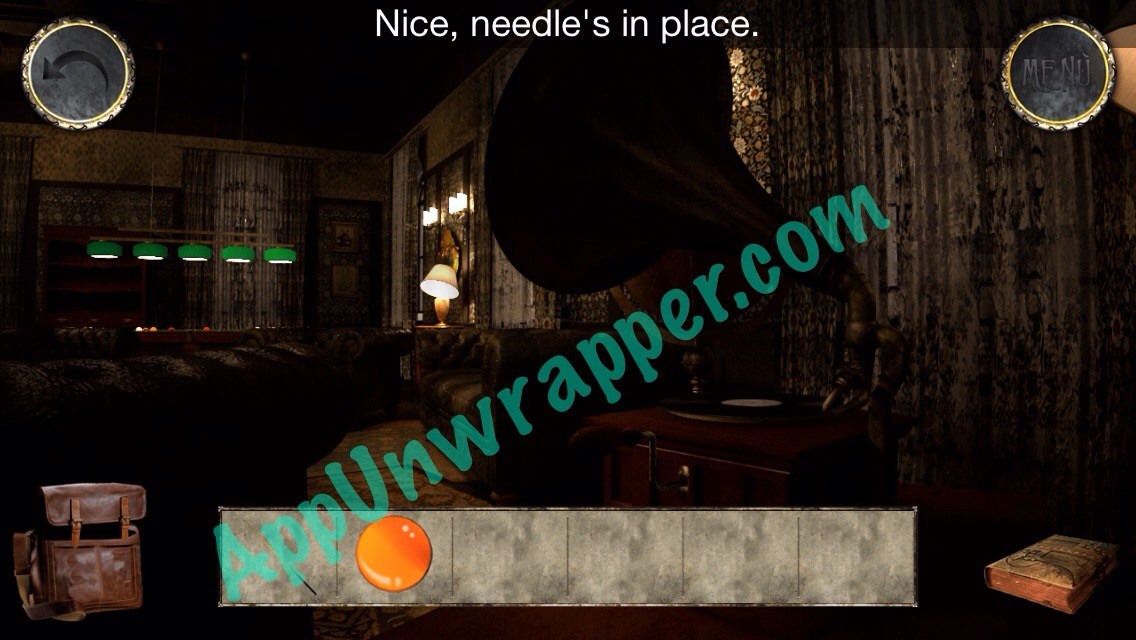
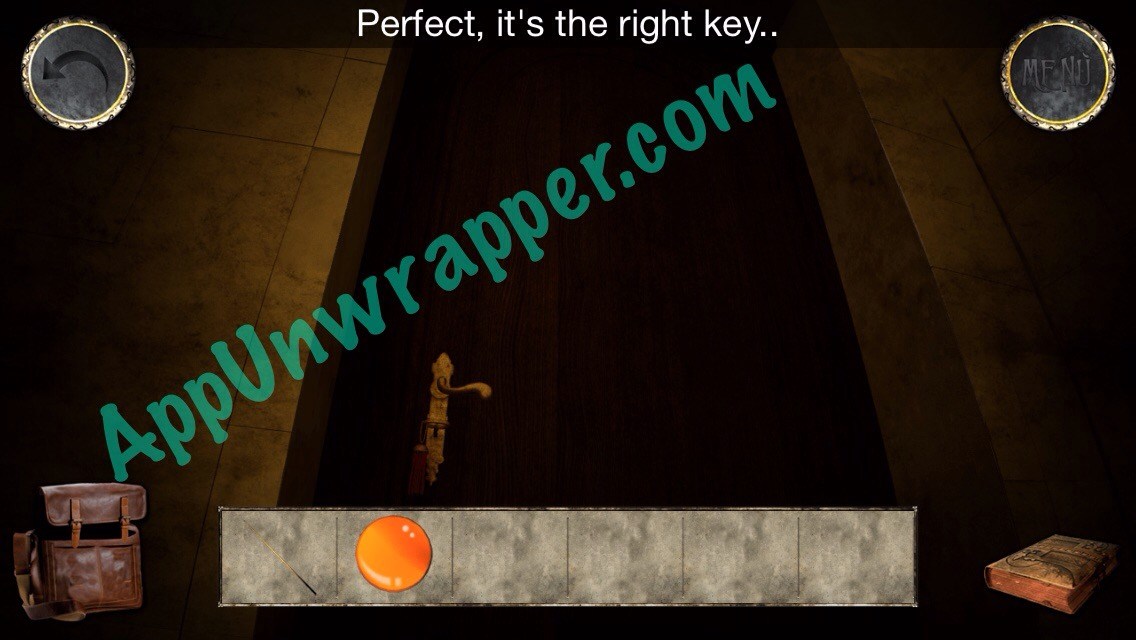
17. Go back to the gramophone and add the needle to it. Turn the handle until you get a key with a red keyring.

18. Use the red key to unlock the door in the kitchen. Now you can enter the greenhouse!

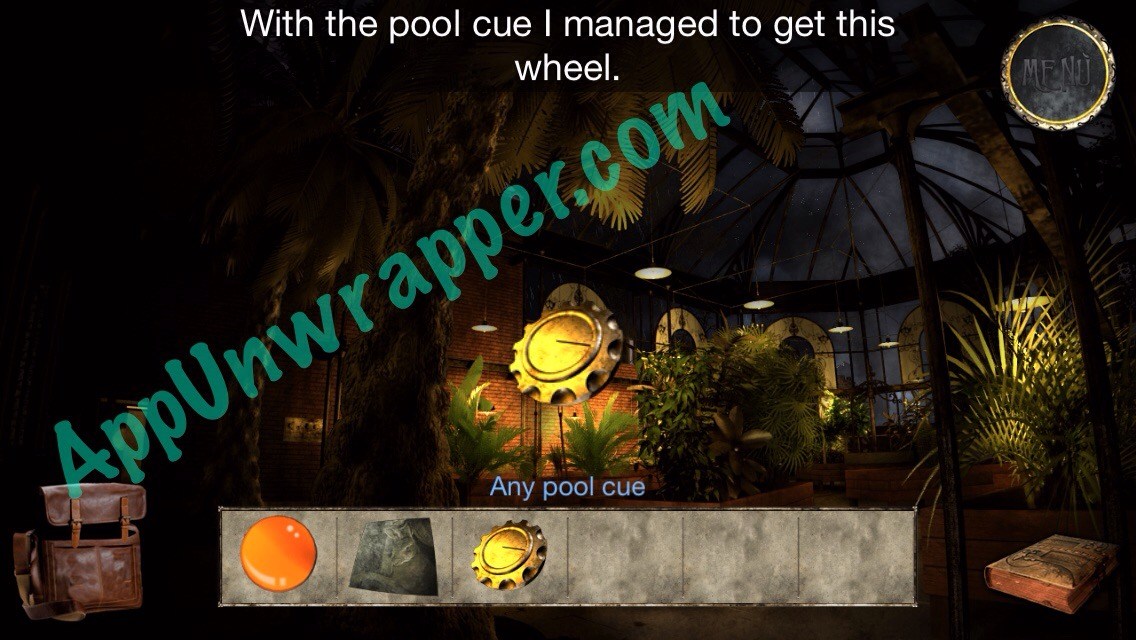
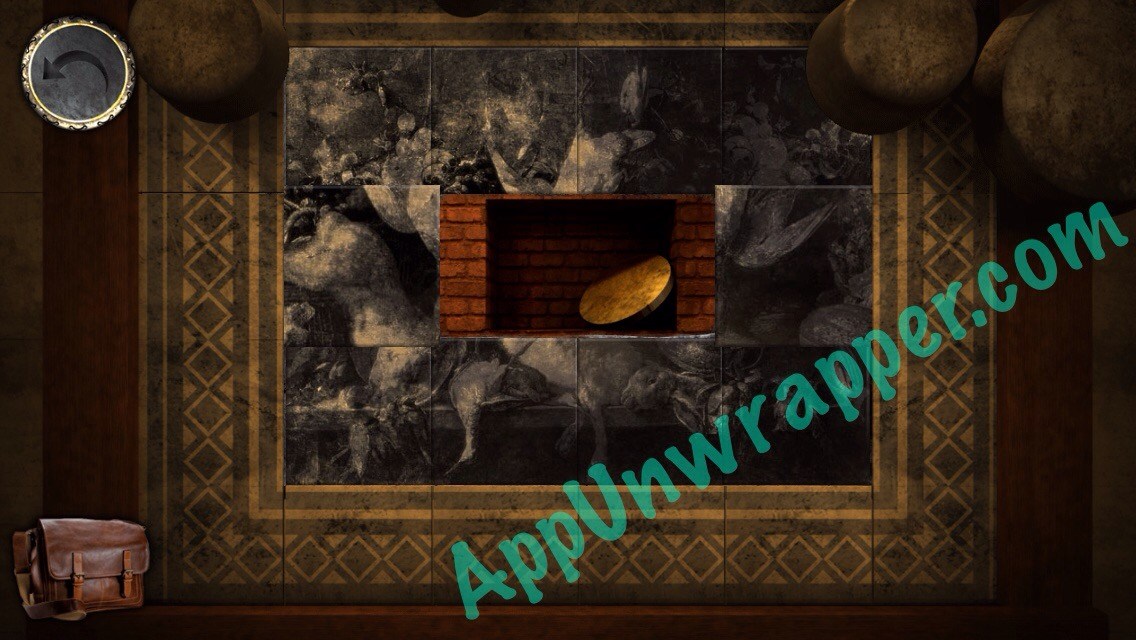
19. Pick up the painted tile in this room. It’s right under the planter in the center of the room. Then use the pool cue get the wheel from the steel beam.

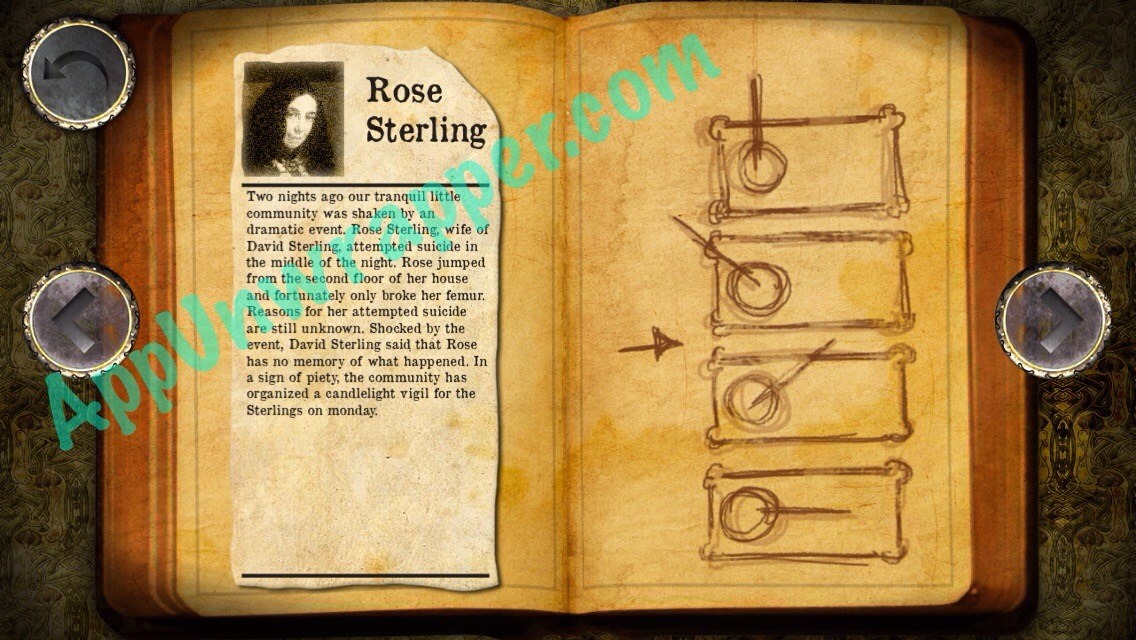
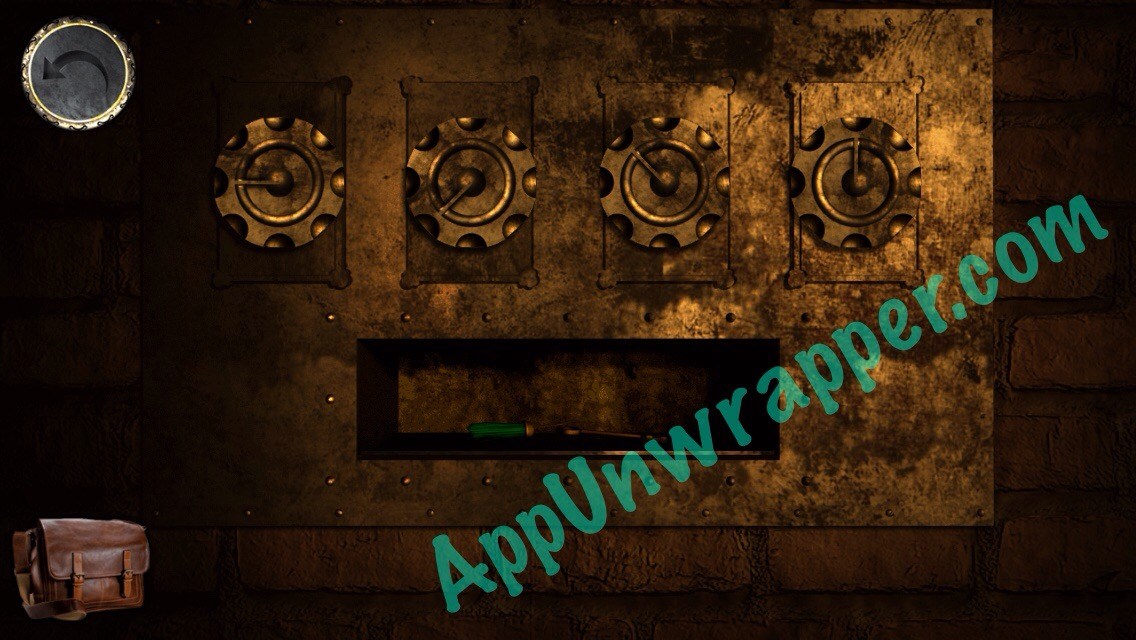
20. On the wall in the back, there are three other wheels, with one missing. Place the wheel on there. Now to voice this puzzle, based on the clue from the stove in the kitchen. When you solve it, take the green key in good condition.
This video should take you through to this point of the walkthrough:
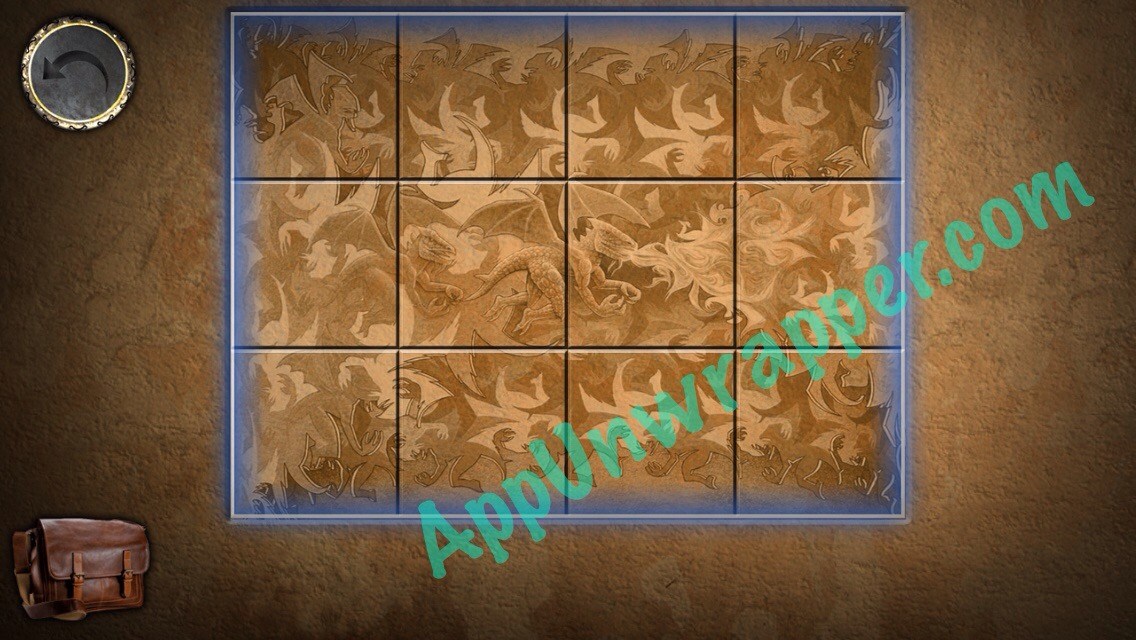
21. Go back to the kitchen. There’s a tile puzzle to the right with a tile missing. Insert the painted tile and solve the puzzle to get a stove plate. Then go back to the kitchen and place the plate on the left stove. Use the clue from the dinner setting to see which plates to press. You can also follow the photo I posted below. Then take another ruined paper.

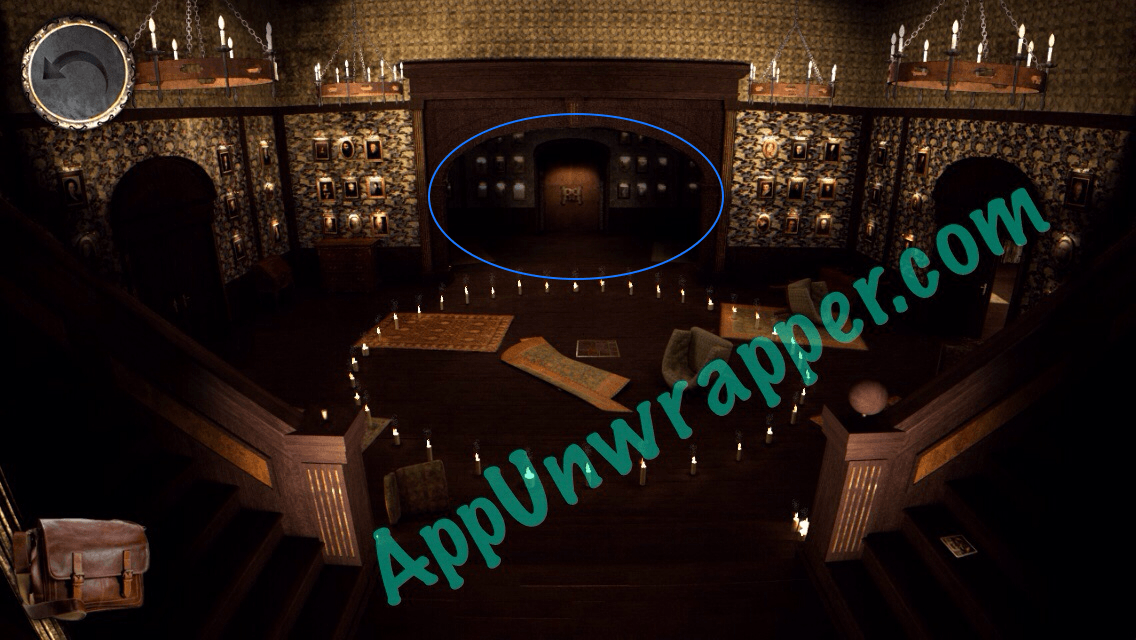
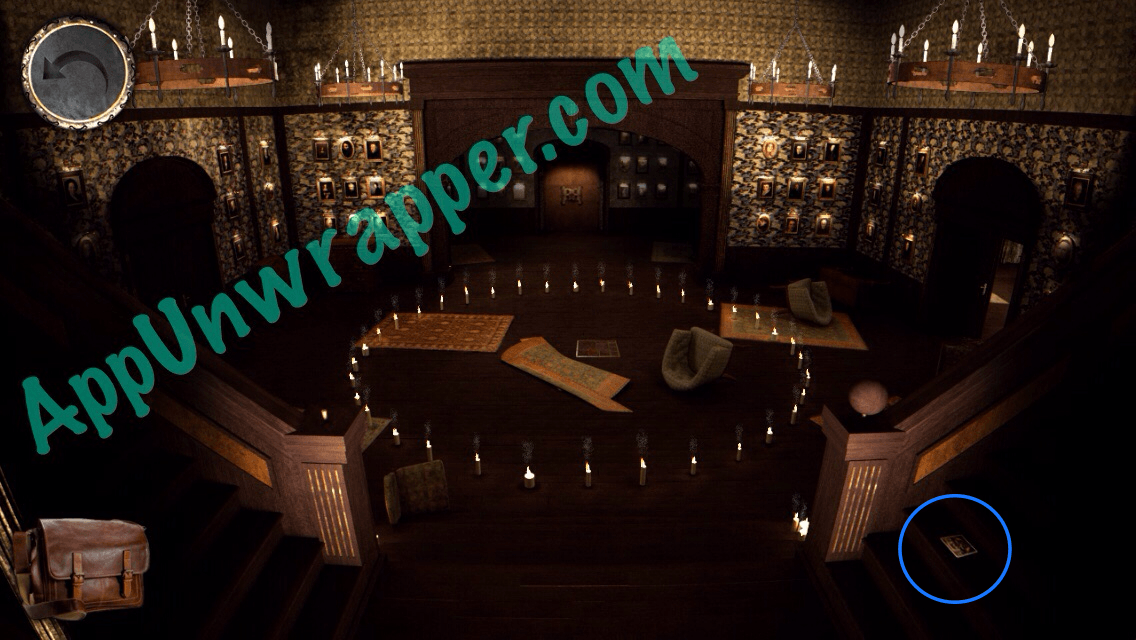
22. Go to the living room and unlock the door using the green key in good condition. Go through the door. There are two staircases here and a circle/ring of candles.

23. Look under the rug in middle of the circle for a puzzle. We’ll come back to it later.
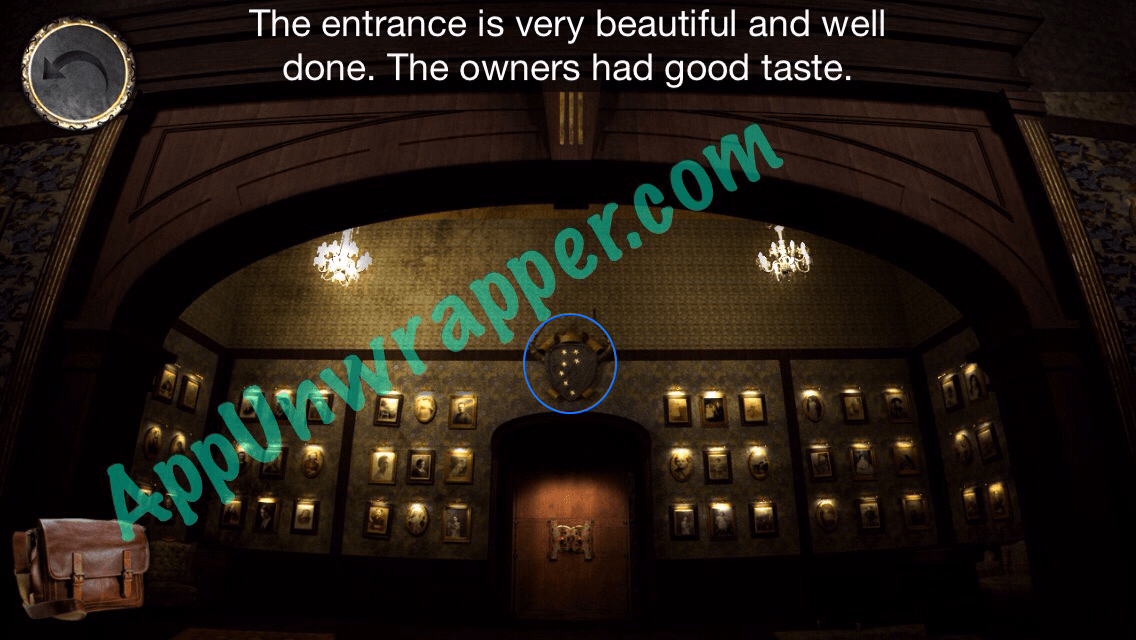
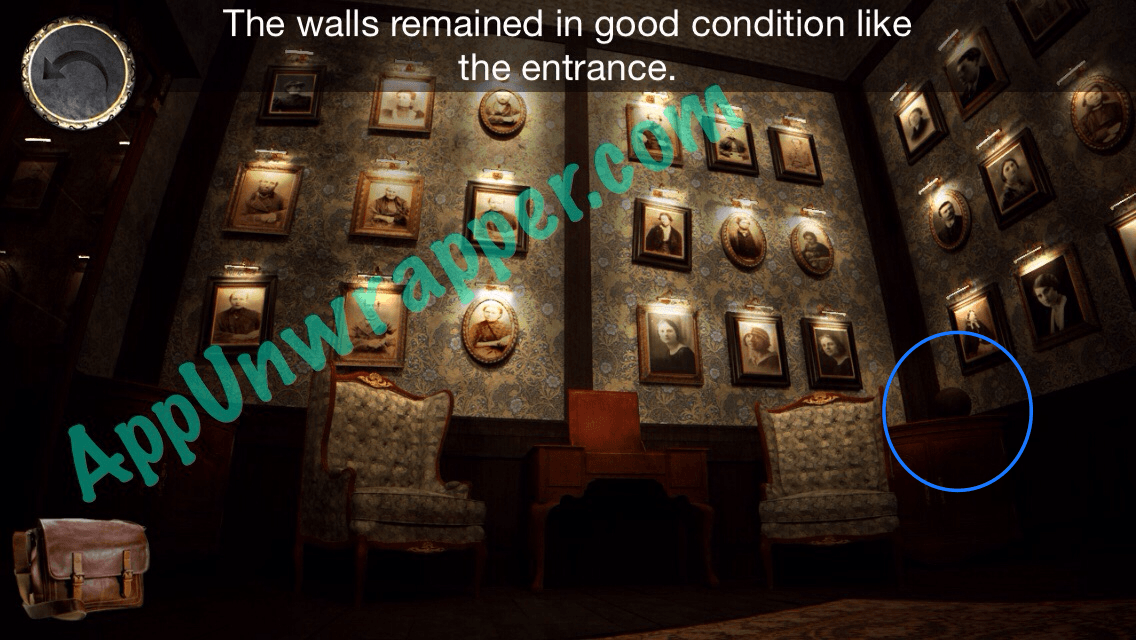
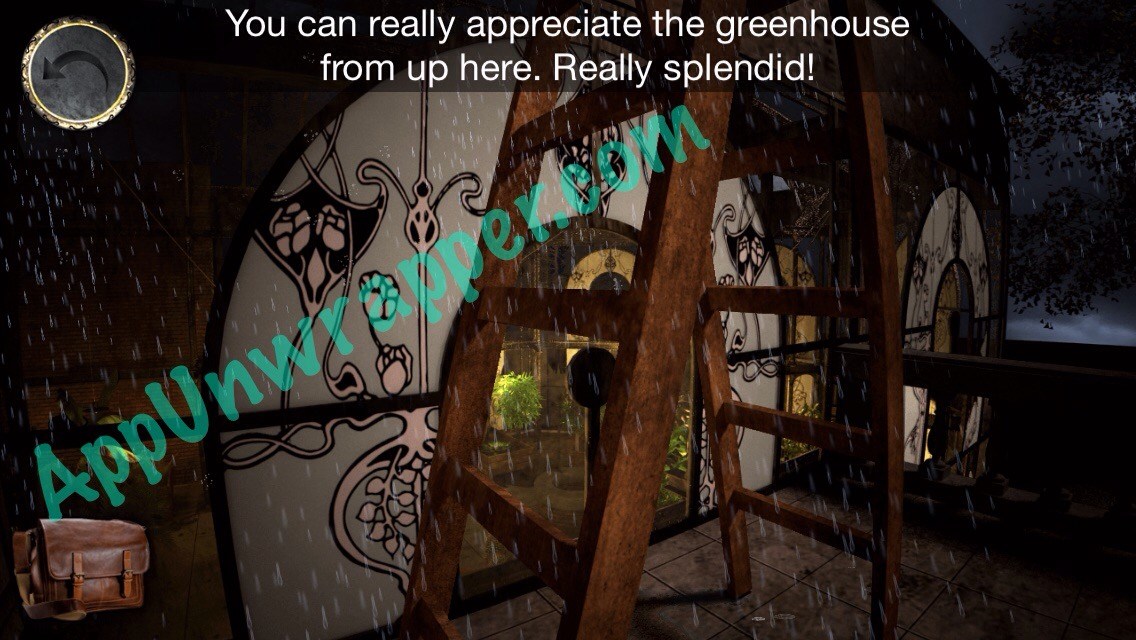
24. Go up the stairs. Now you can look down on the room from afar. Tap on the entrance ahead of you. Then tap on the shield/crest above the door to get a clue for your journal.
25. Continue into the alcove and tap on the right side. Pick up the note under the couch to get a clue for your journal and get the umbrella from the left side of the couch.
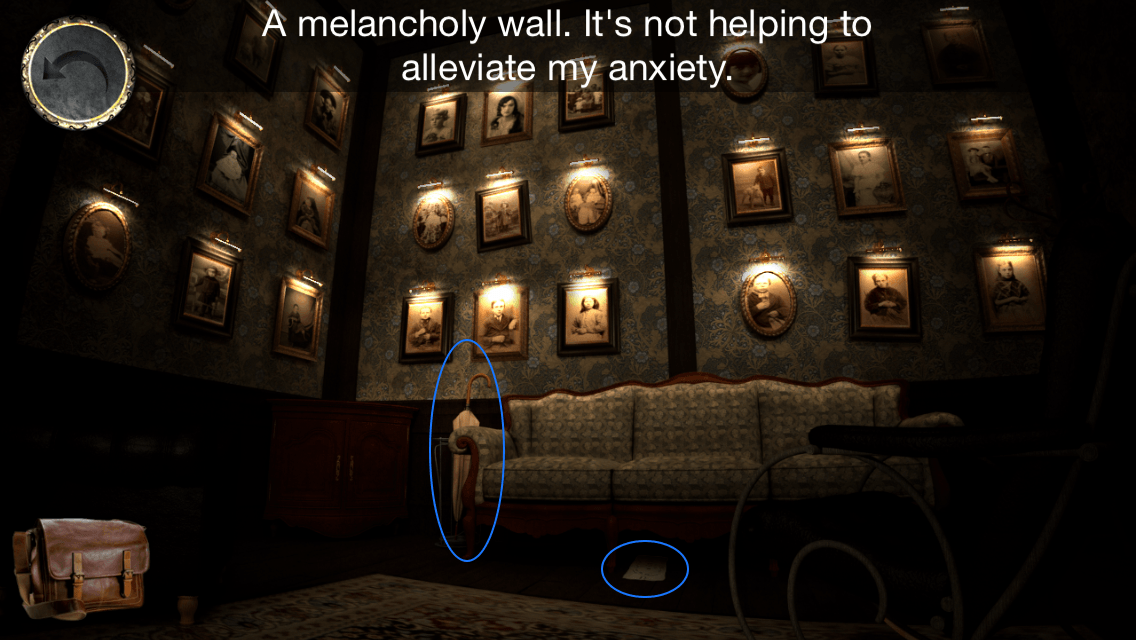
26. Now go back and tap on the left side. Pick up the the wooden knob. It might be hard to see, as it’s in the shadows.
27. Go back to the stairs and pick up the photo on the right staircase. It will be added to your journal.

28. Go up the staircase. Turn on the light.
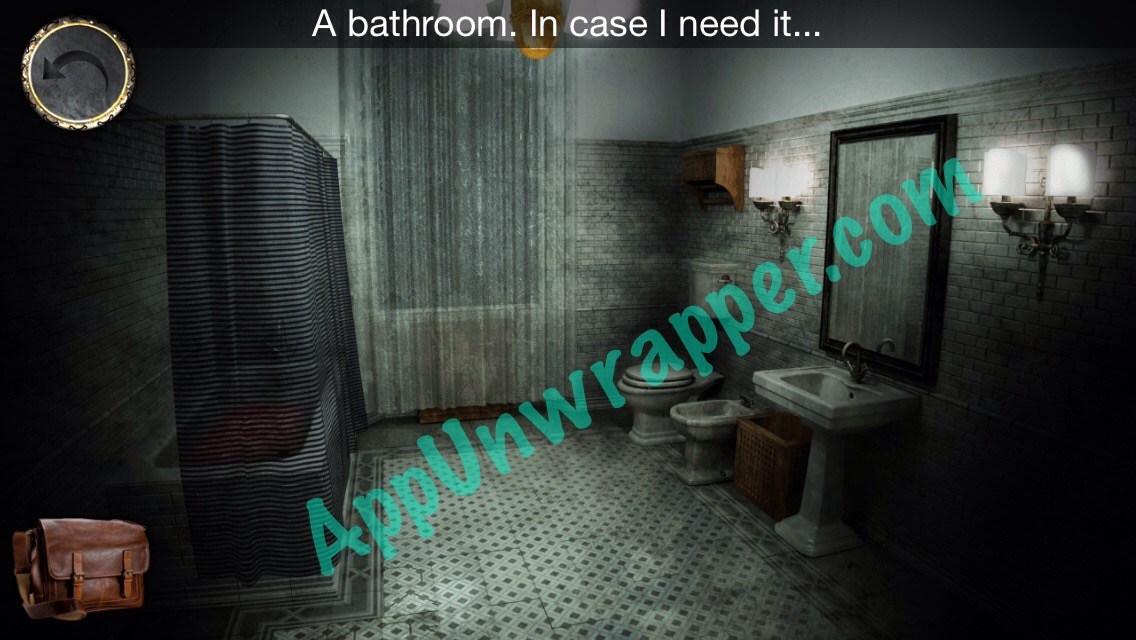
29. Open the second door on the right and go in to the bathroom. Take the pliers from the laundry basket near the sink. Also, grab the note for your journal.
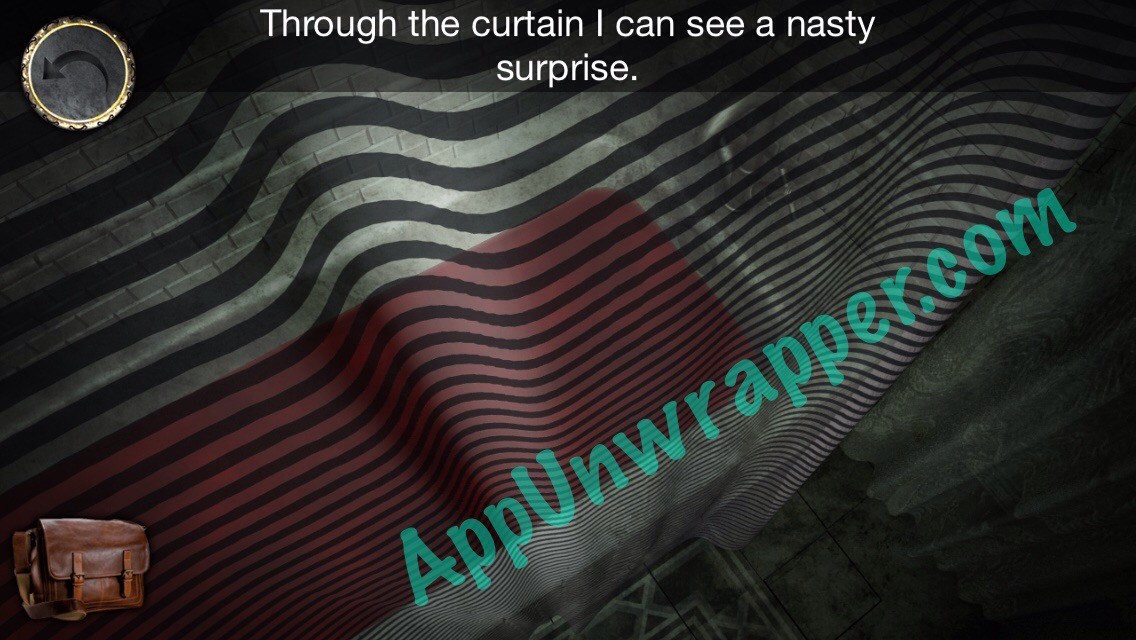
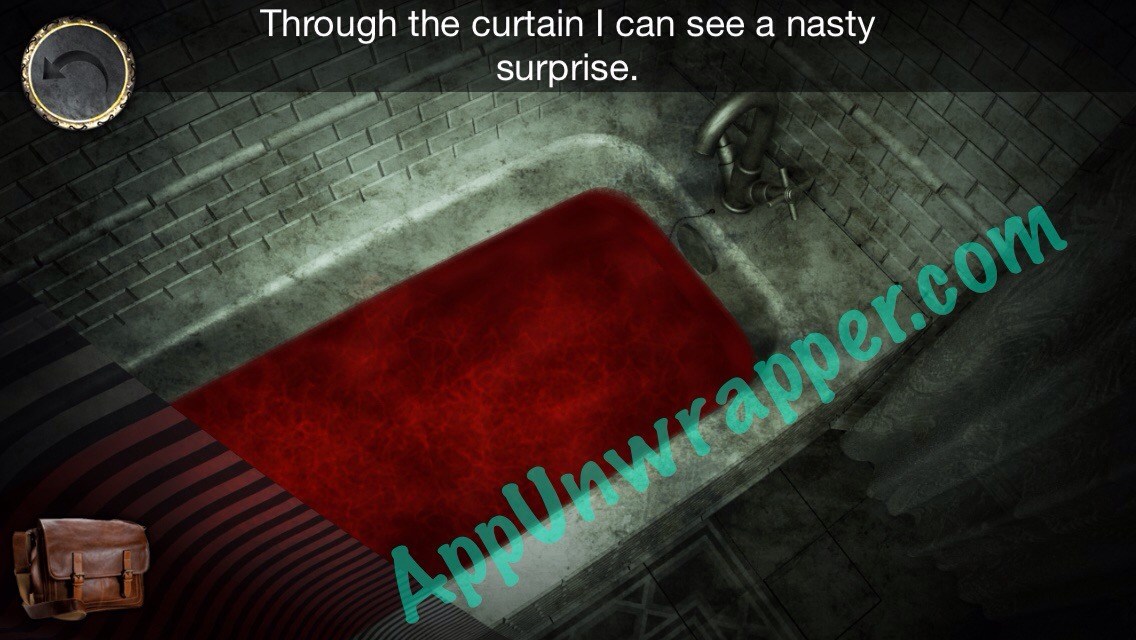
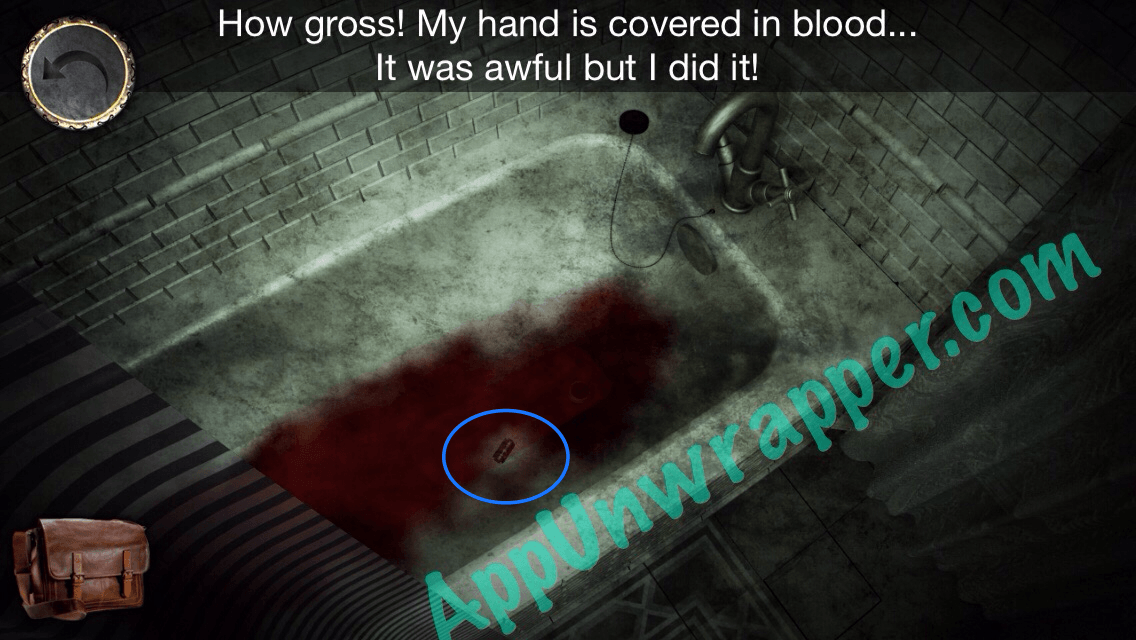
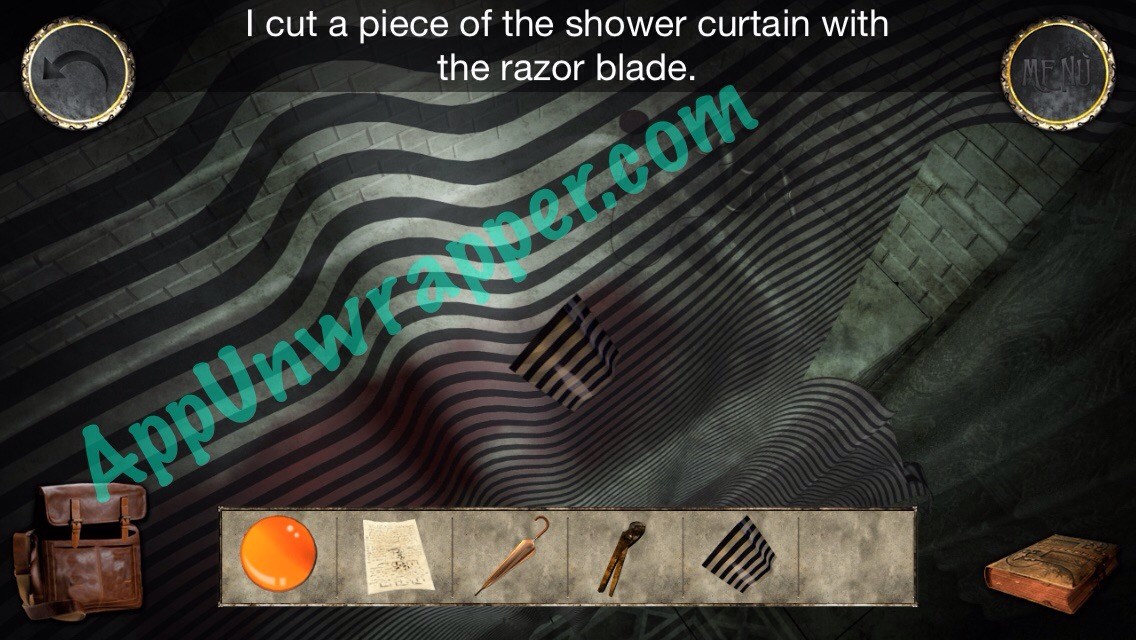
30. Open the shower curtain and pull the plug from the drain to drain the blood. Pick up the sharp razor blade. Close the curtain again and use the razor blade to cut off a piece of it.
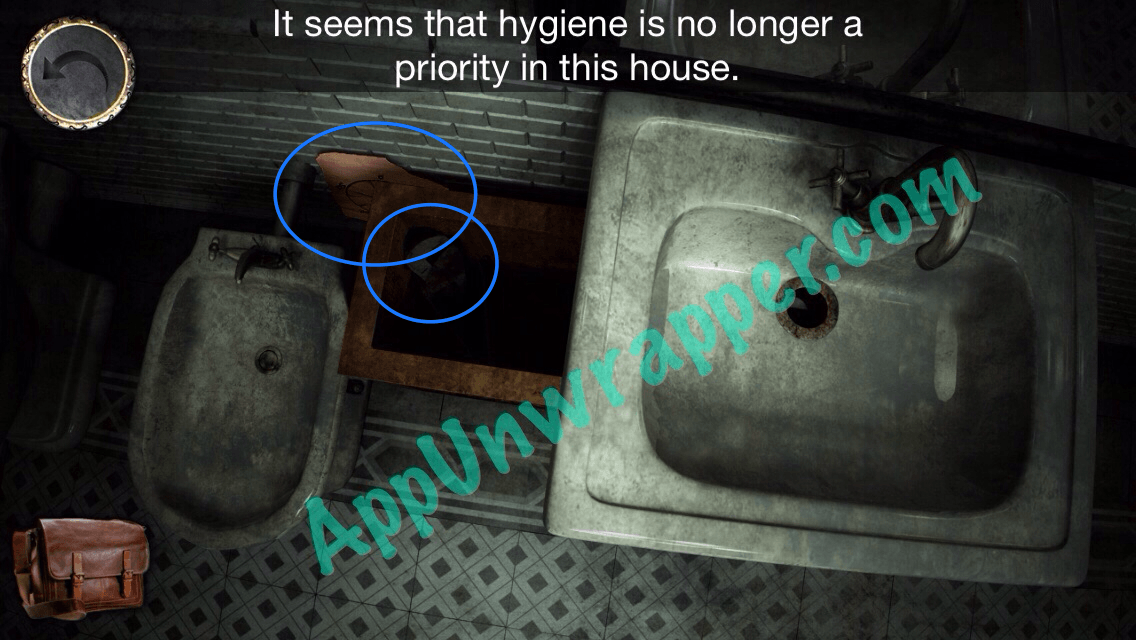
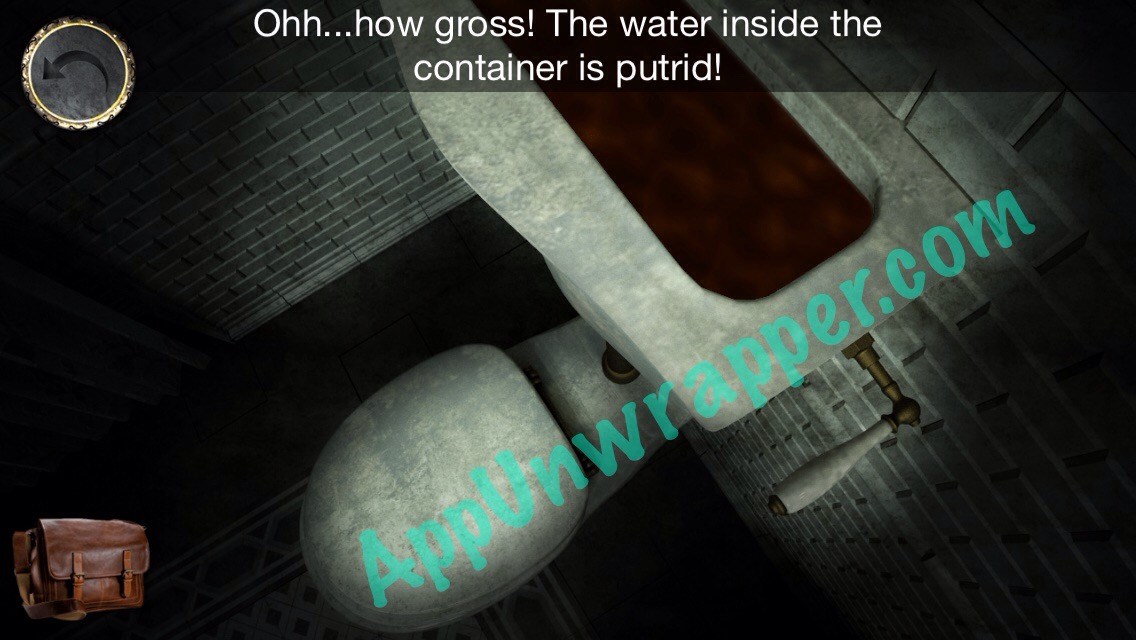
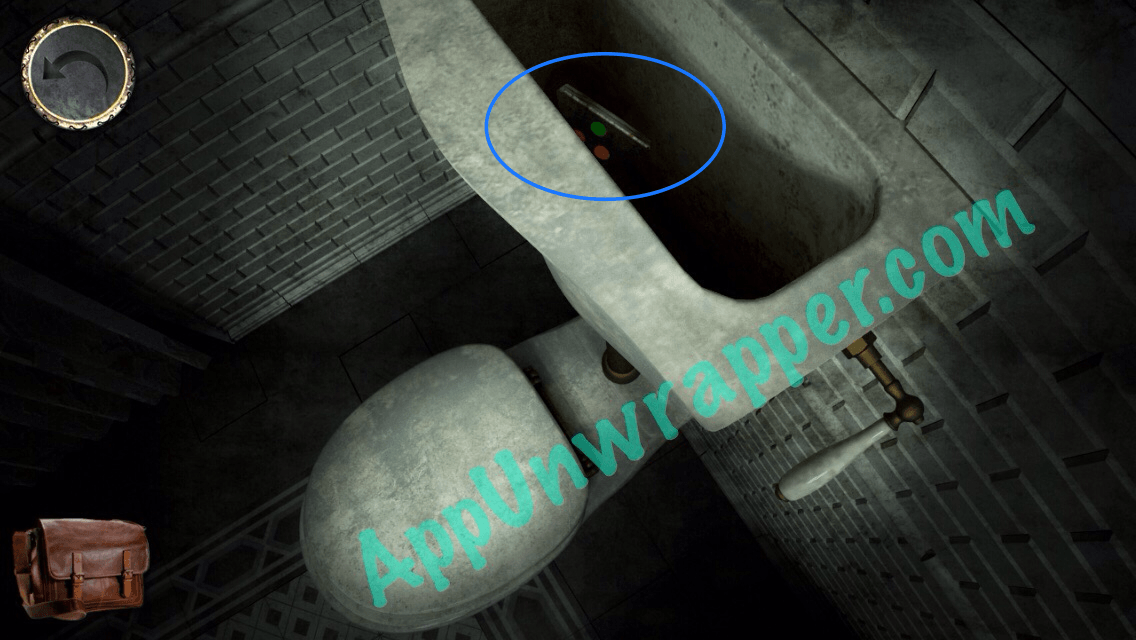
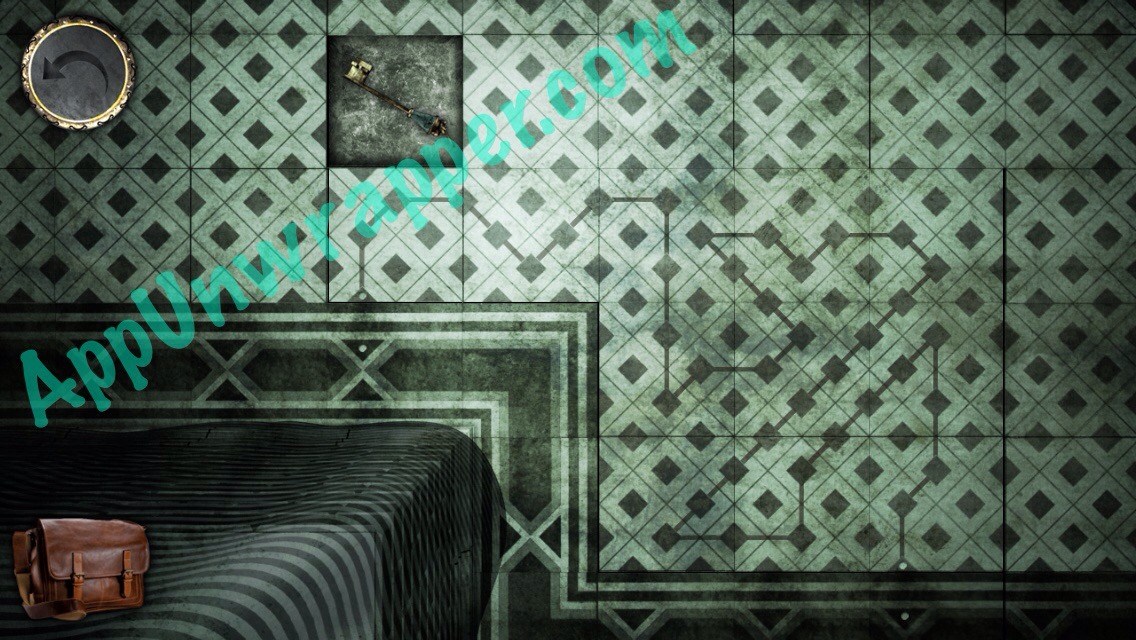
31. Check out the toilet. Take off the lid from the tank — eww! Flush and then pick up the triangle with three colored circles. Before you leave the bathroom, check the floor to the left. There’s a puzzle in the tiles! Solve it to get a lion’s head key.
32. Leave the bathroom and go through the door at the end of the hall to the bedroom. Look at the mirror over the dresser to the right. Take the glass eye.
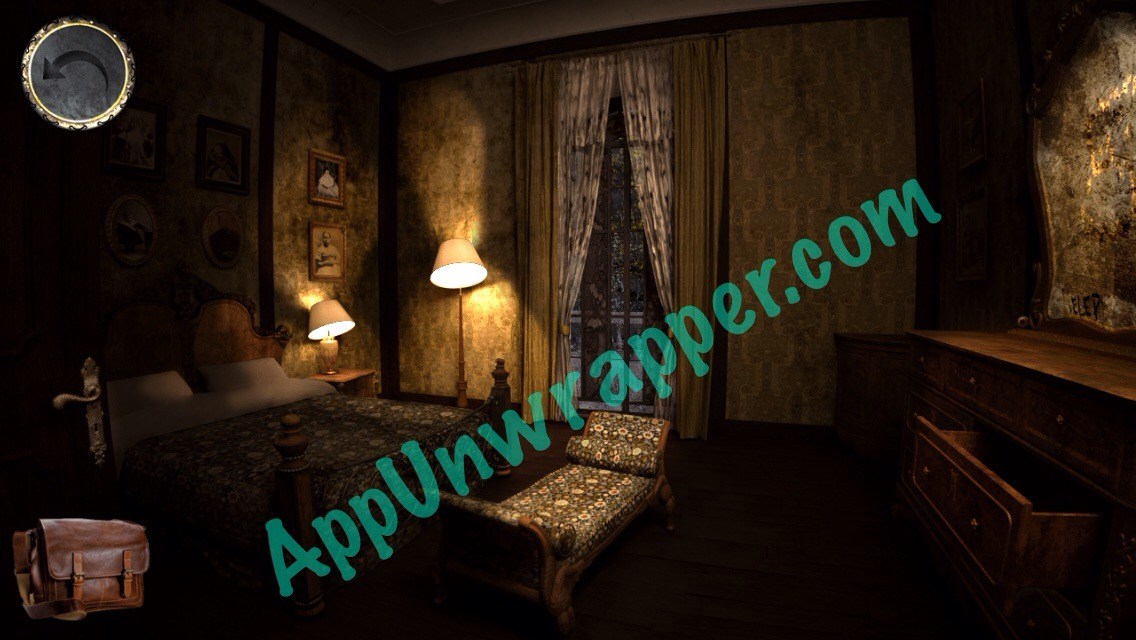
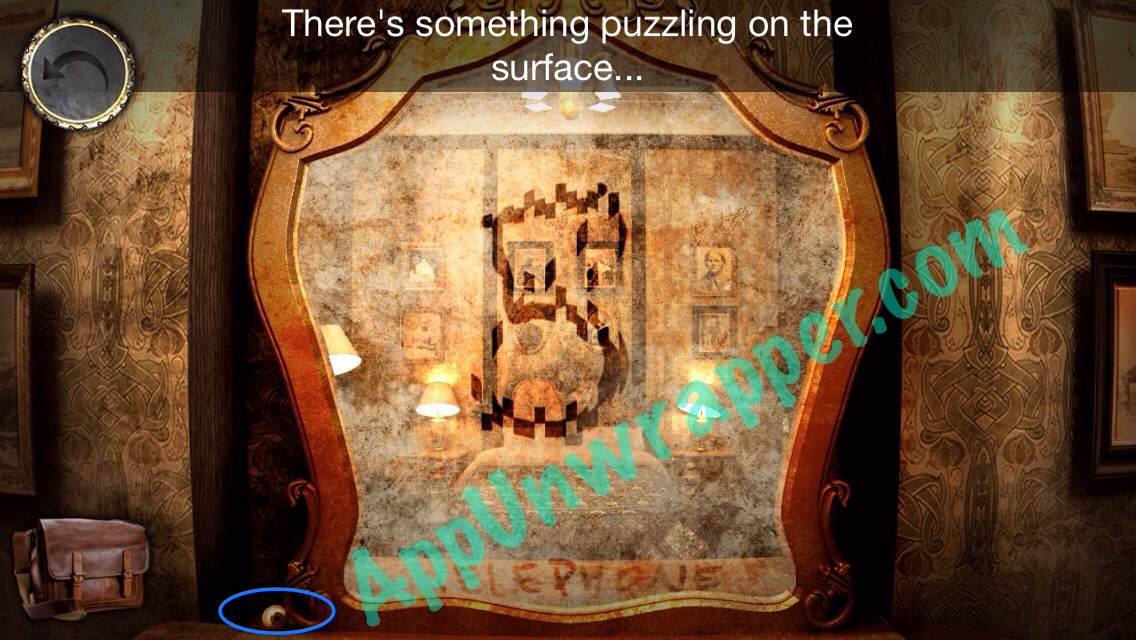
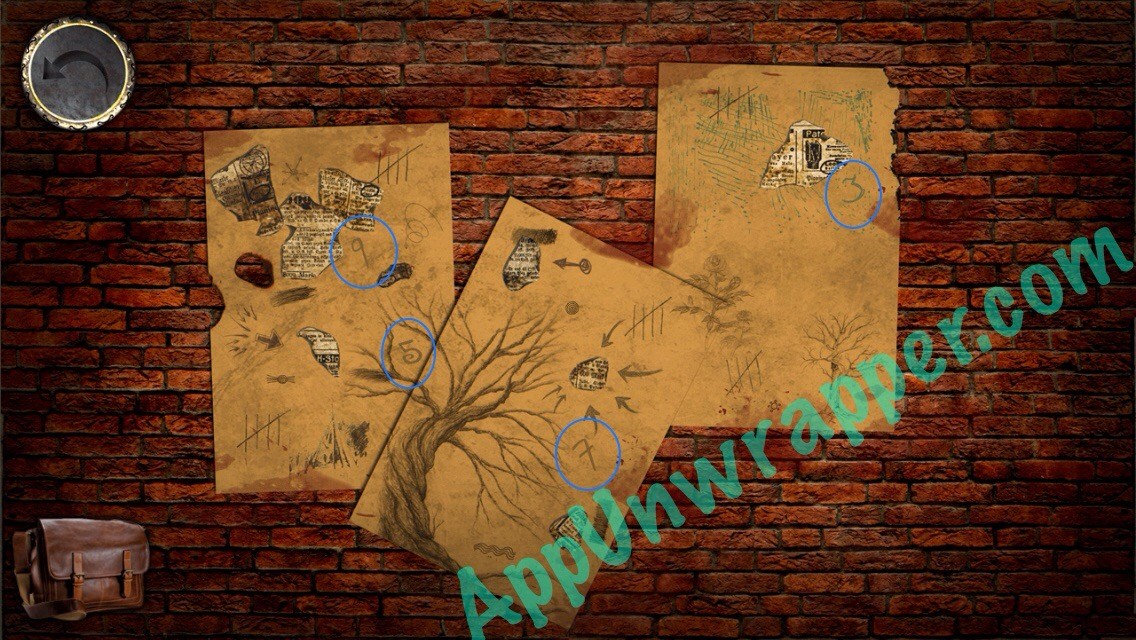
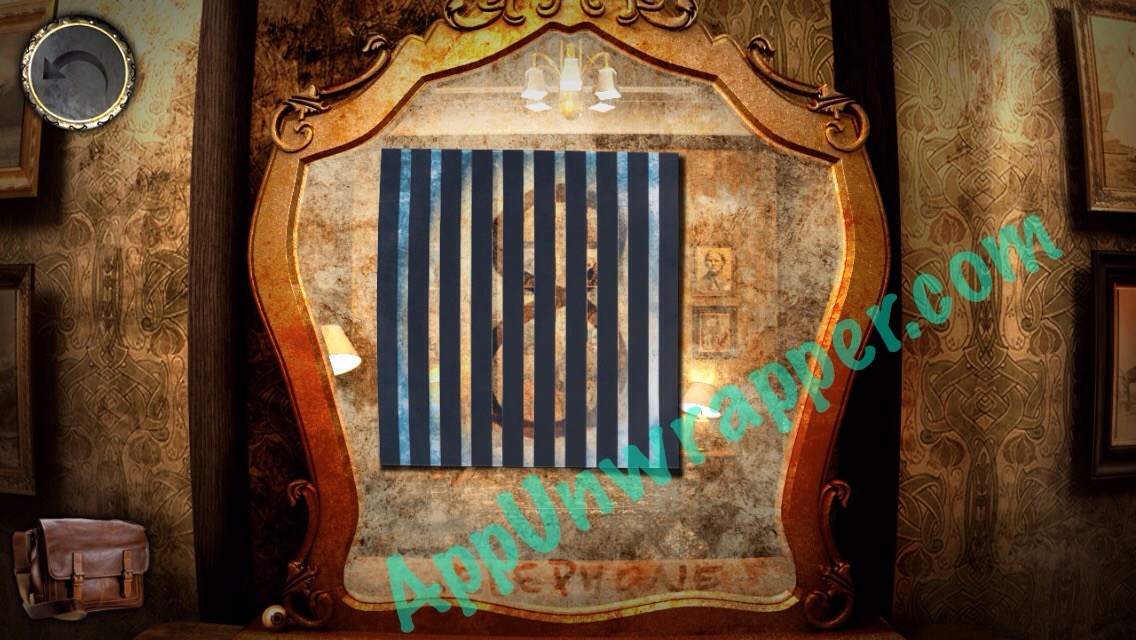
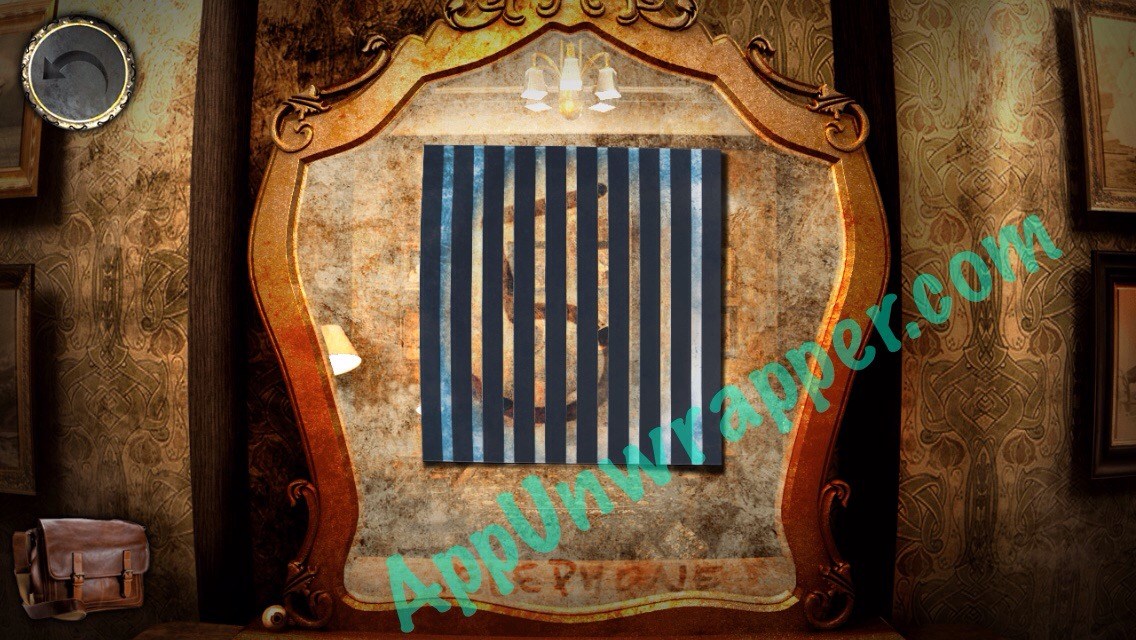
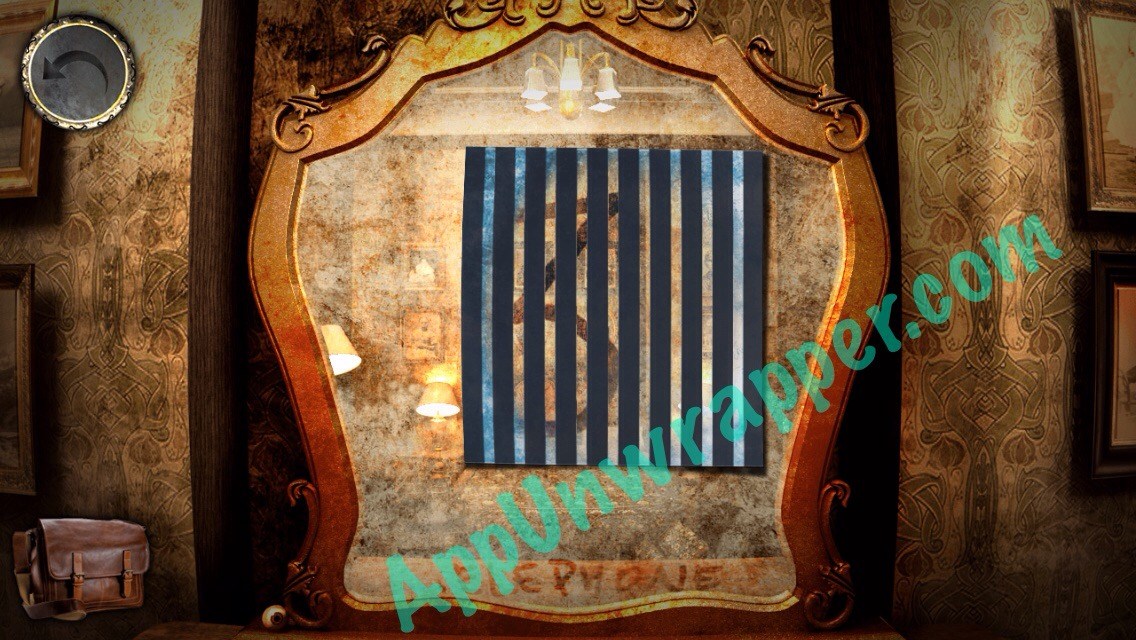
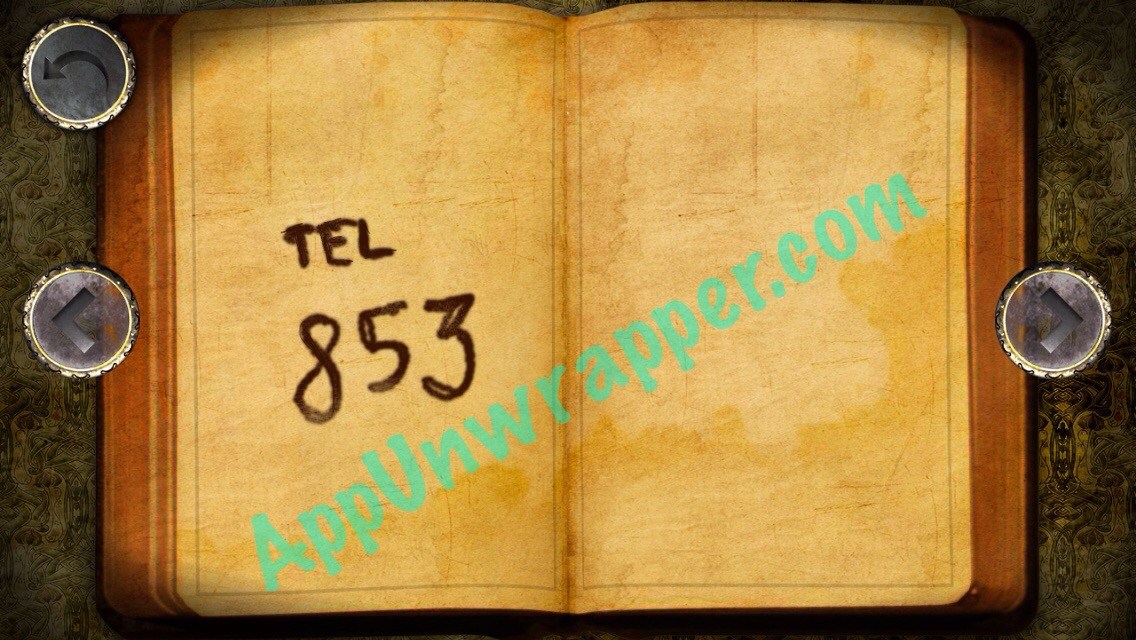
33. Use the piece of shower curtain on the weird marks to discover three numbers (for the telephone).
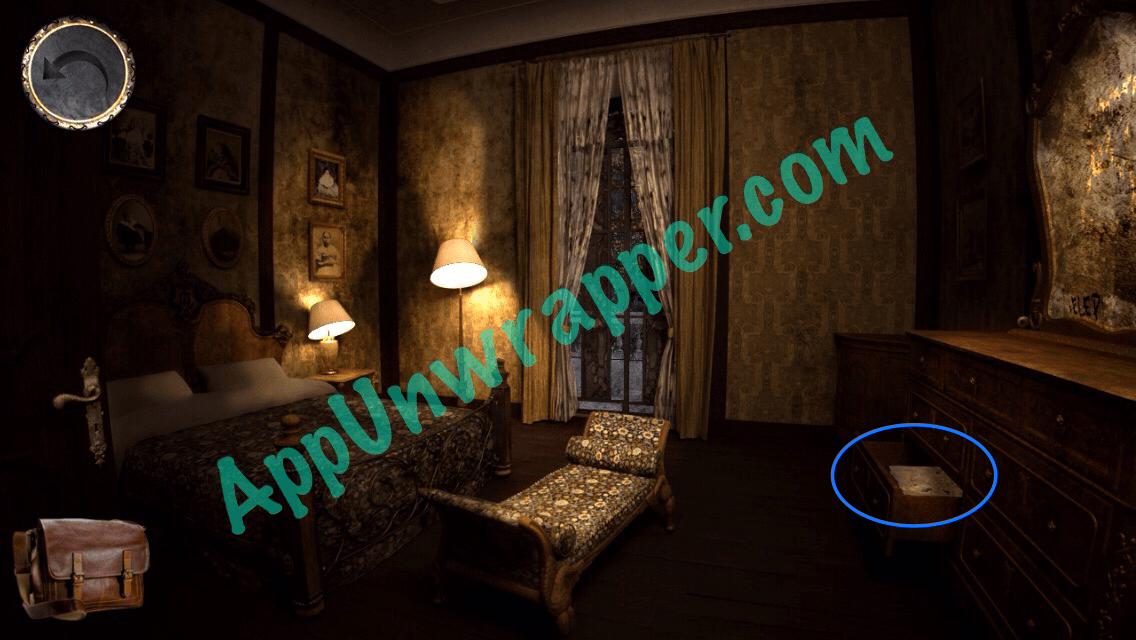
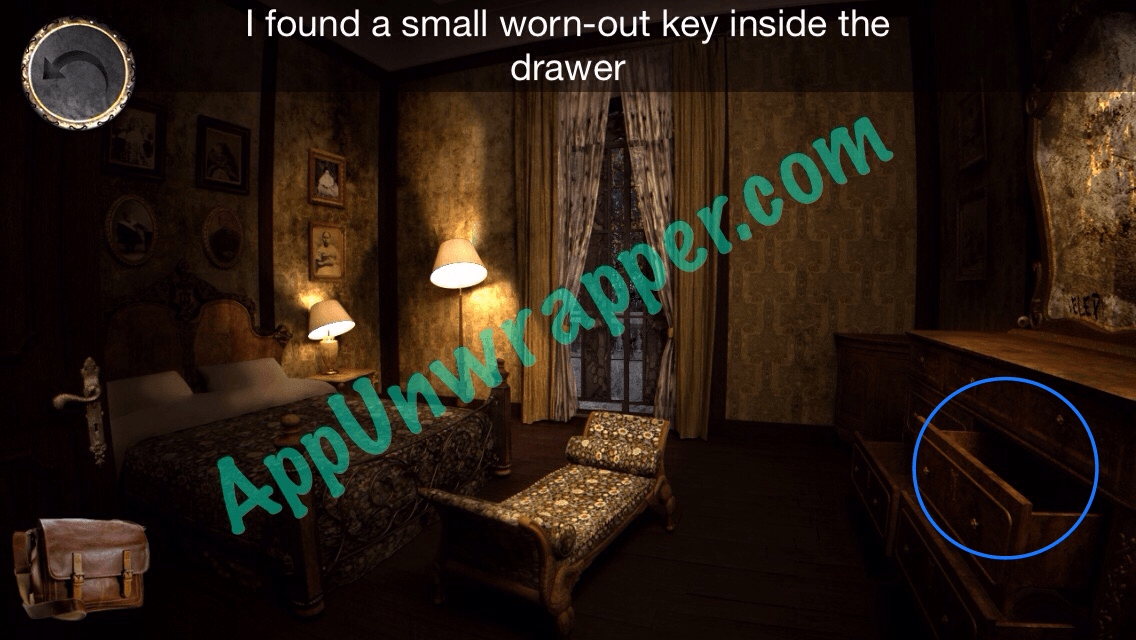
34. Open two of the drawers of the dresser to find another ruined paper and a worn-out key.
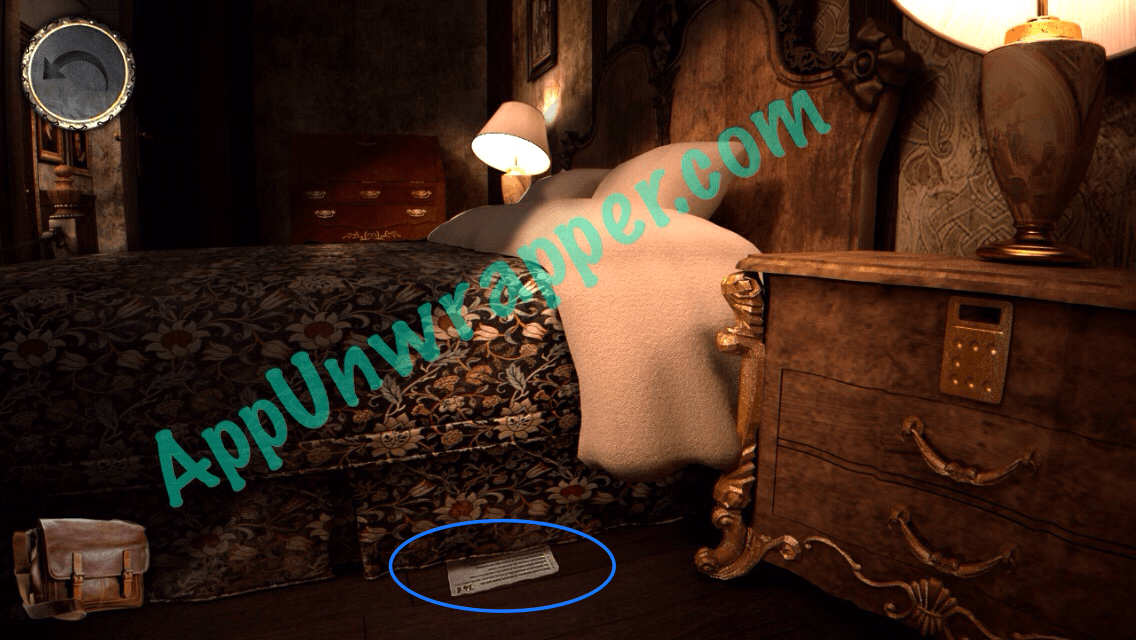
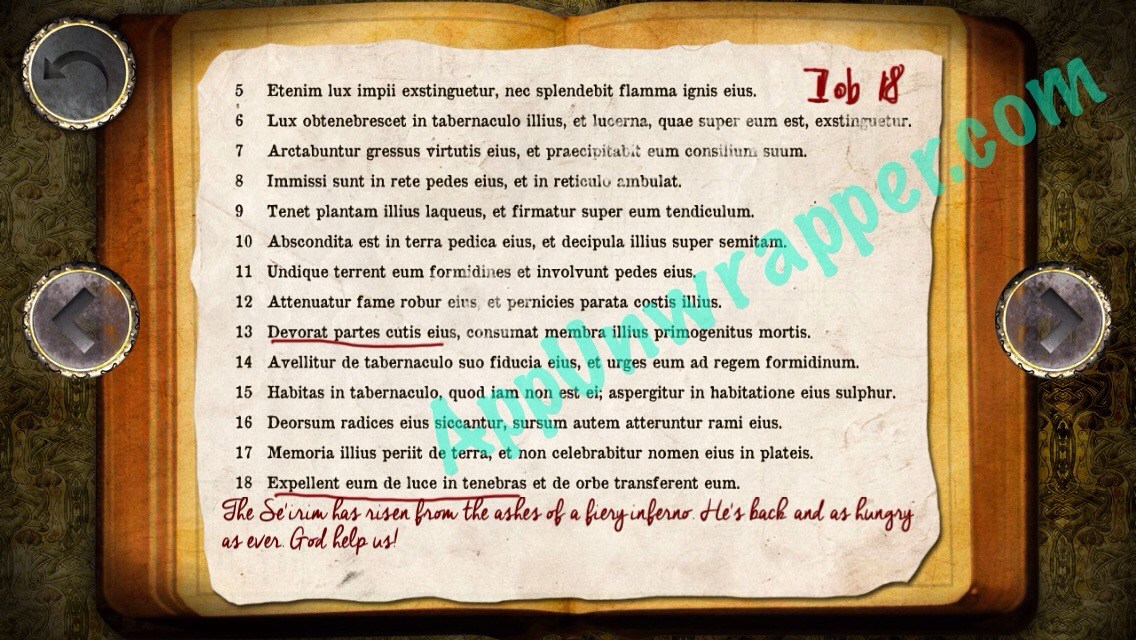
35. Look under the bed for another note for your journal.
This video should take you through this part of the walkthrough:
36. Go back to the stairs. Place the wooden knob on the left post that’s missing one.
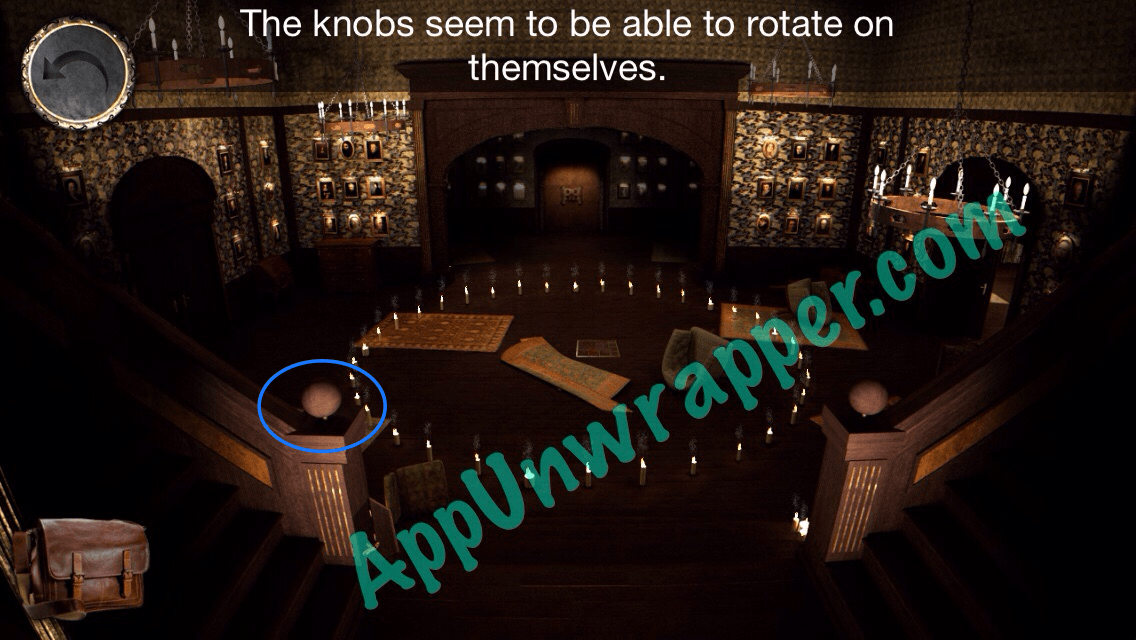
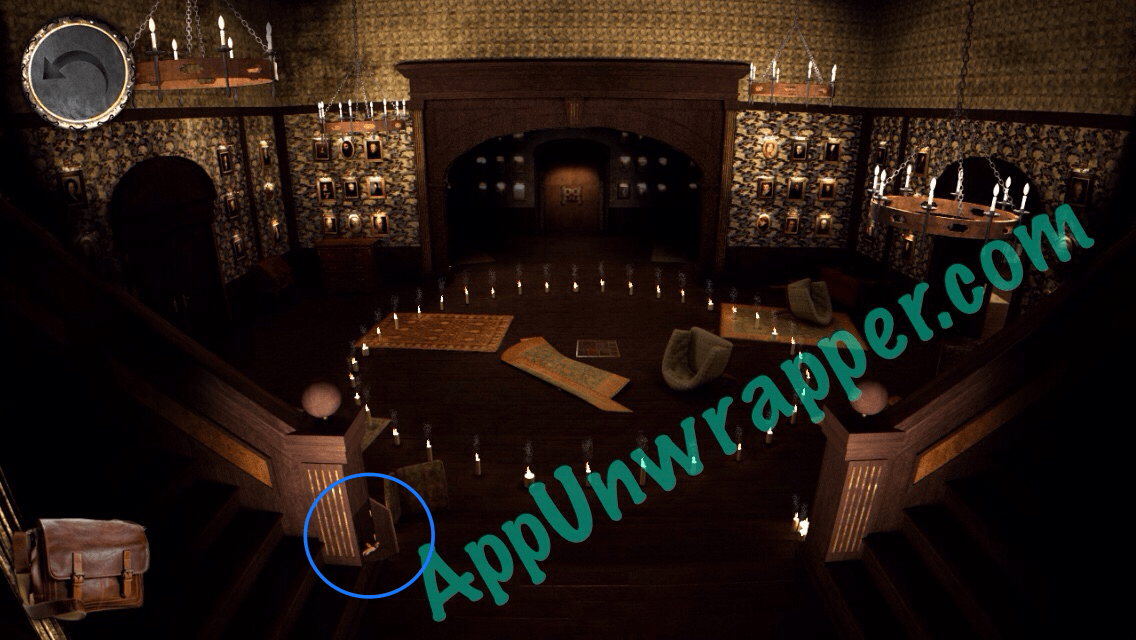
37. Now refer to the photo in your journal. You need to press on the knobs to raise and lower the chandeliers/candelabras so they match the photo. The numbers tell you which knob controls which chandelier. If you see “1+2” or “2+1”, it means press and hold the first one and then press the second one, then release both together. When you get them all matched up, the little secret door will open up by the left post. Take the small handle.
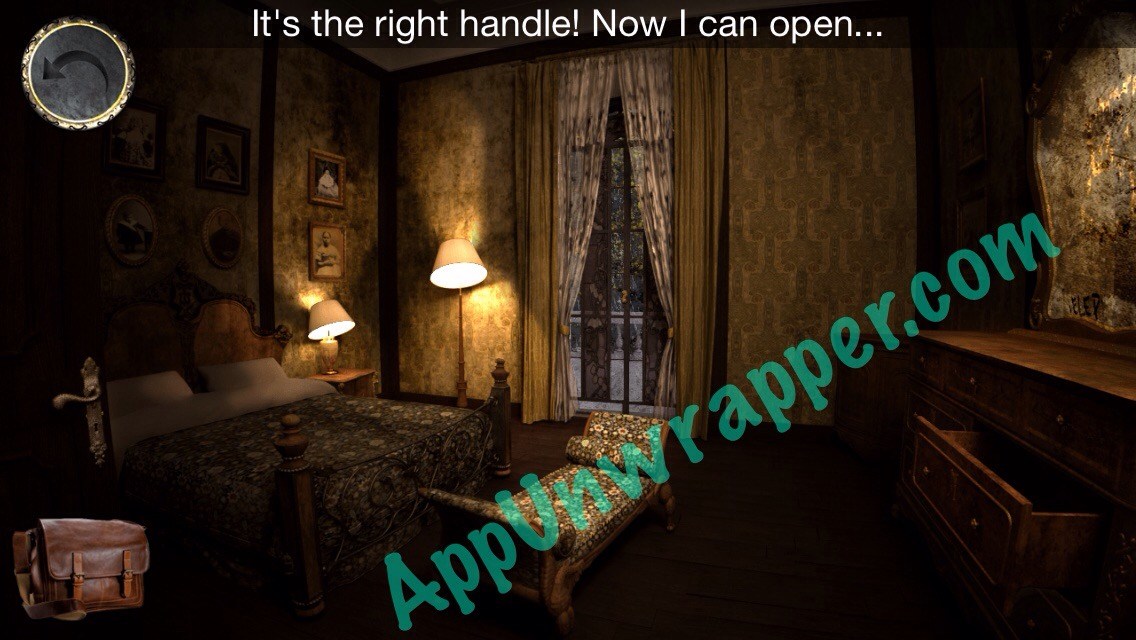
38. Go back to the bedroom upstairs and put the handle on the window so you can go out to the balcony.
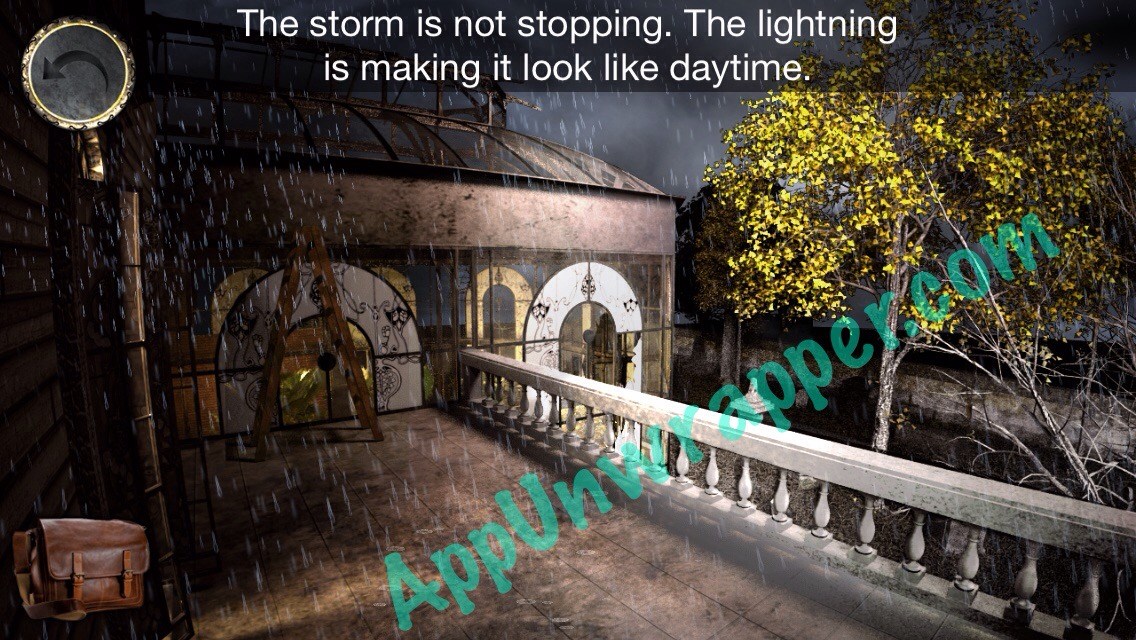
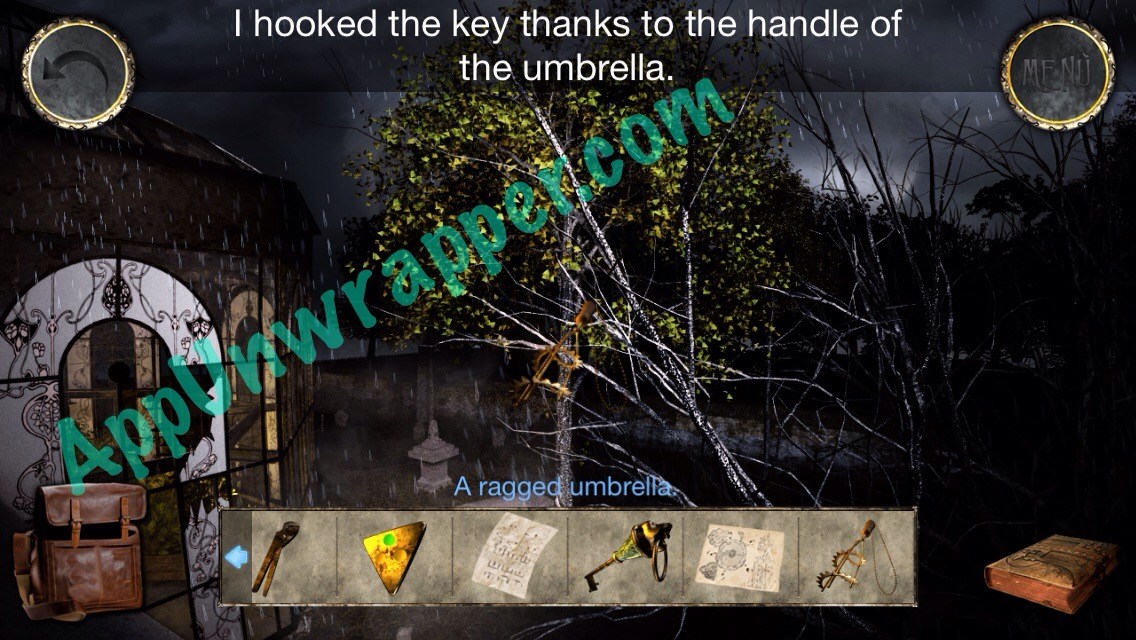
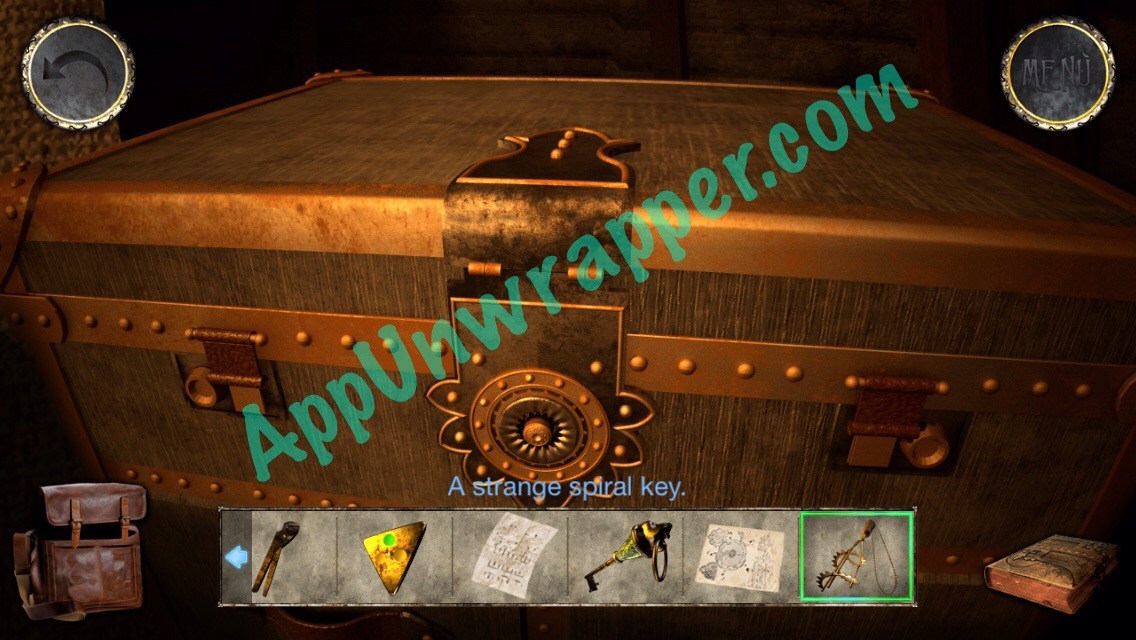
39. Pick up the ladder. Then go back a by and look over the balcony. There’s something hanging in the tree. Use the umbrella to get the strange spiral key.
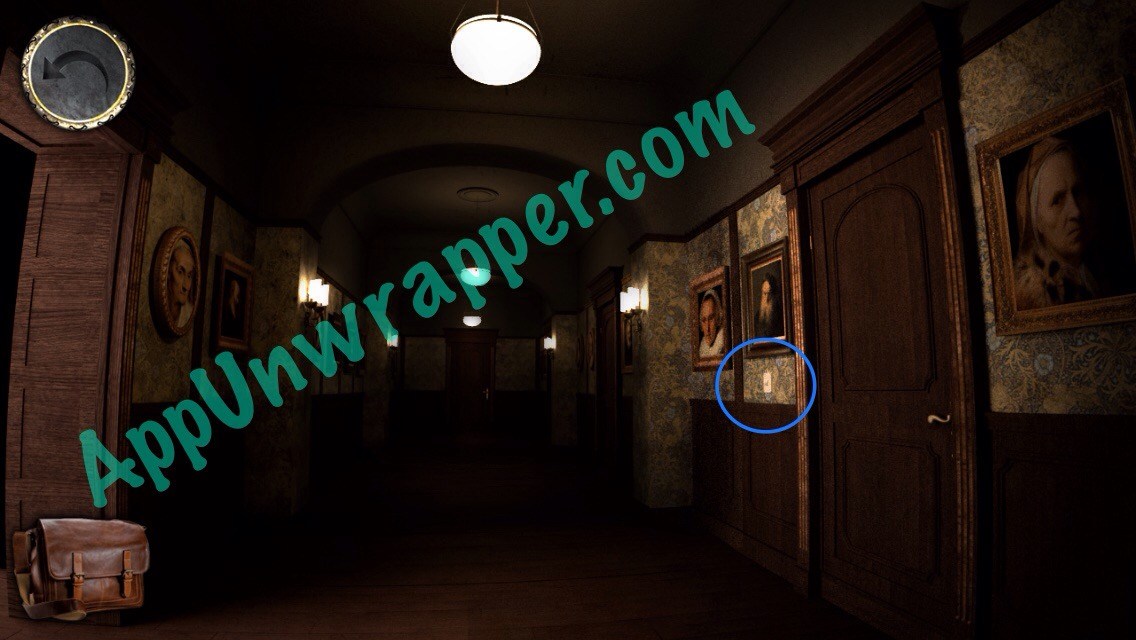
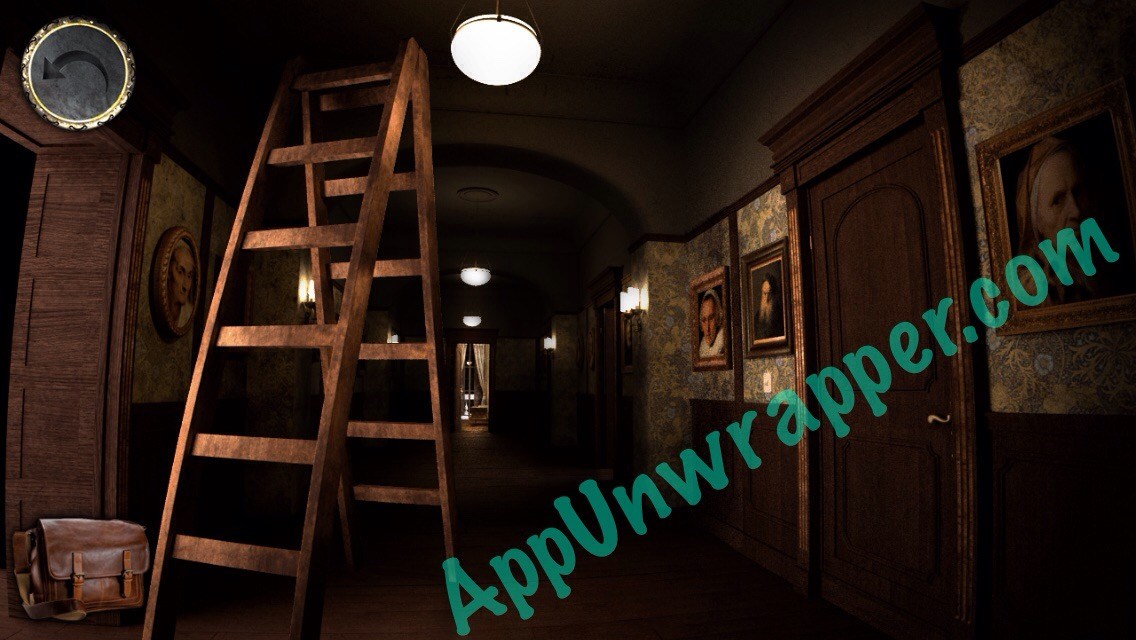
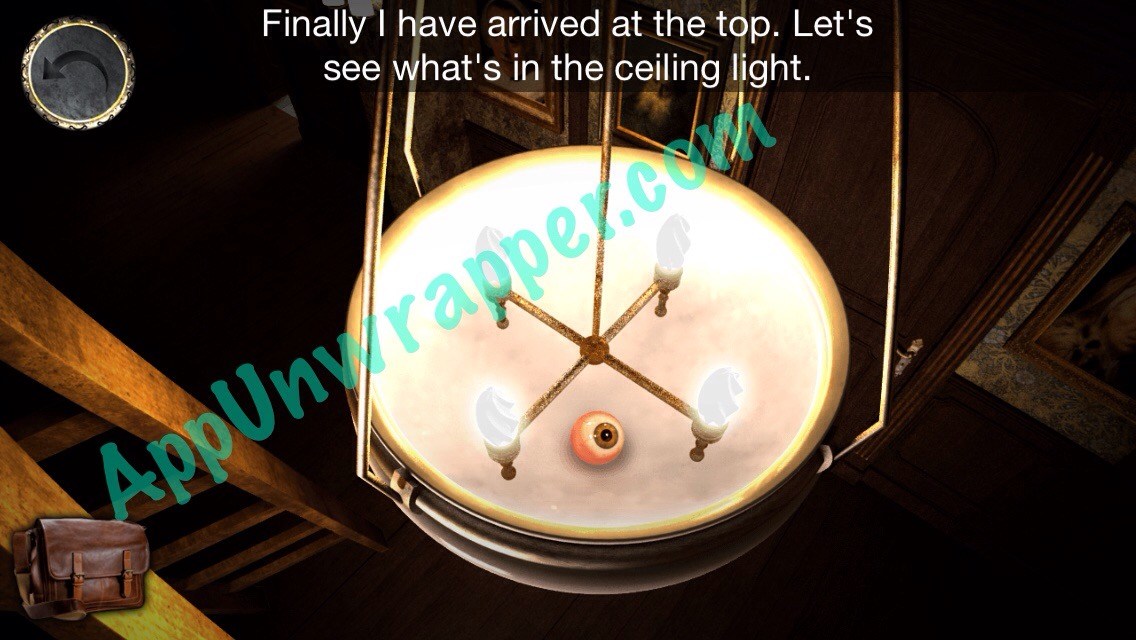
40. Go back to the hallway. Place the ladder down by the light fixture and climb up. Take the second glass eye.
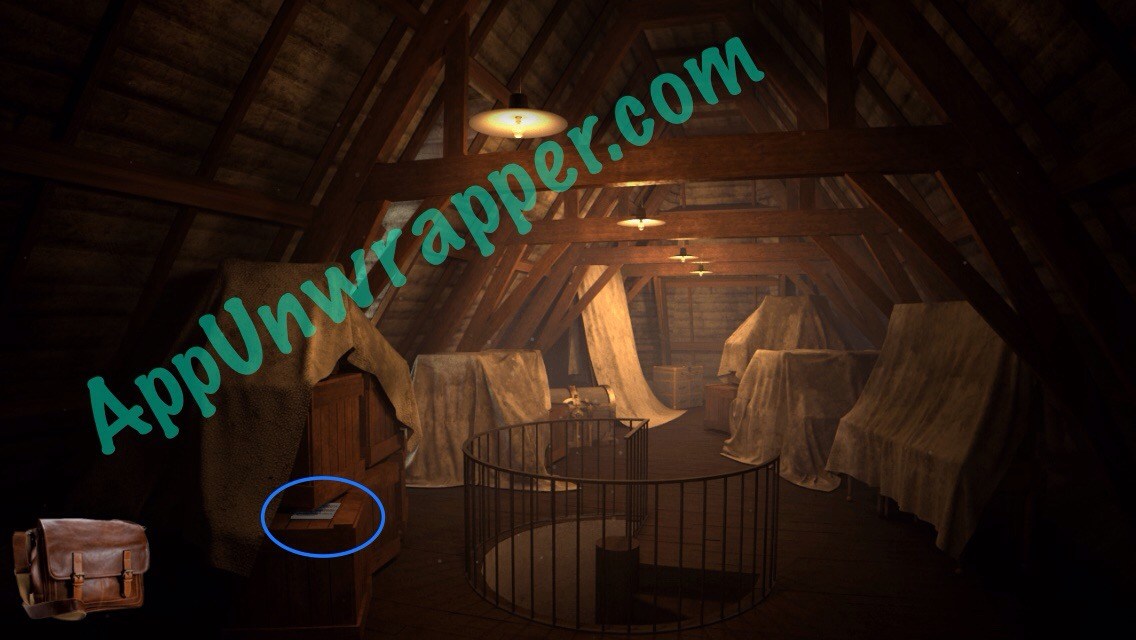
41. Place both glass eyes in the painting to the right and then go through the newly-opened secret door to the attic.


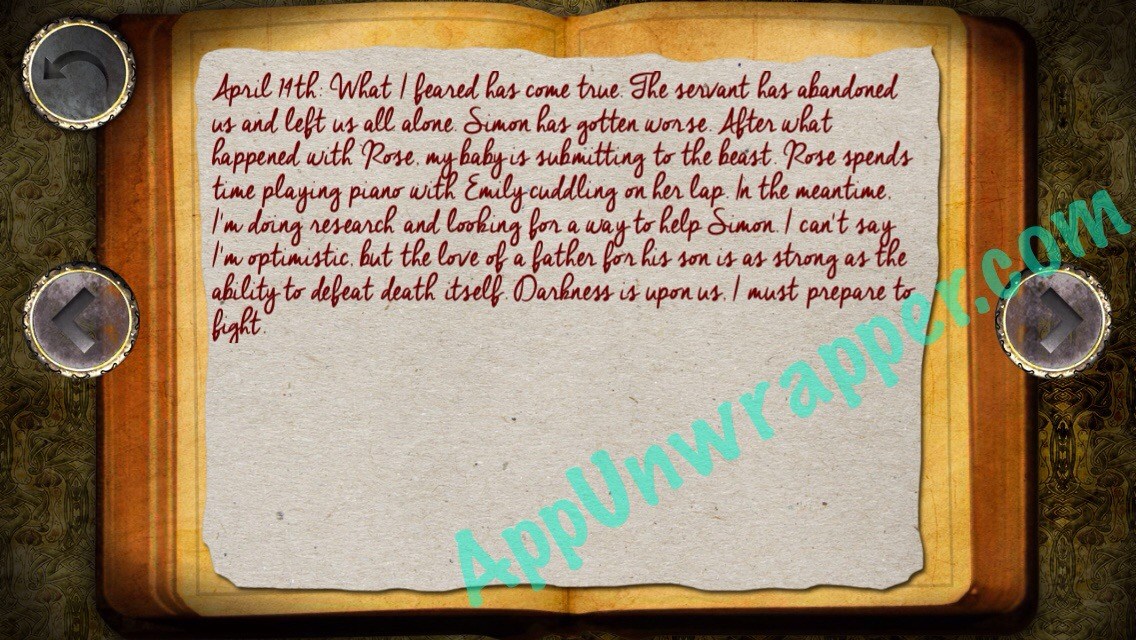
42. Pick up the note for your journal:
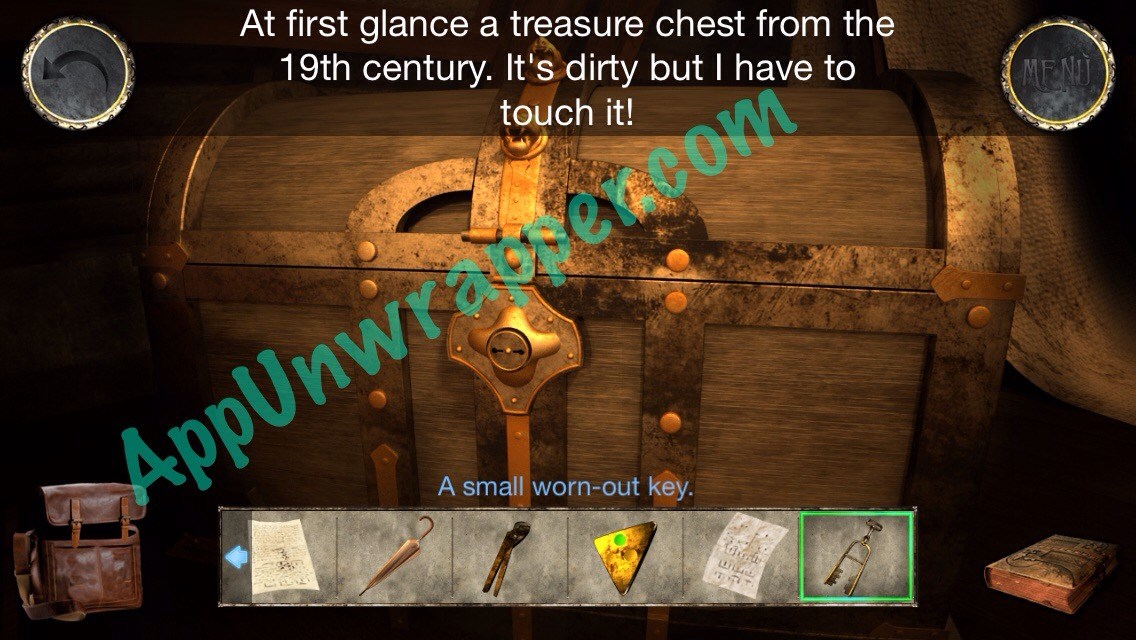
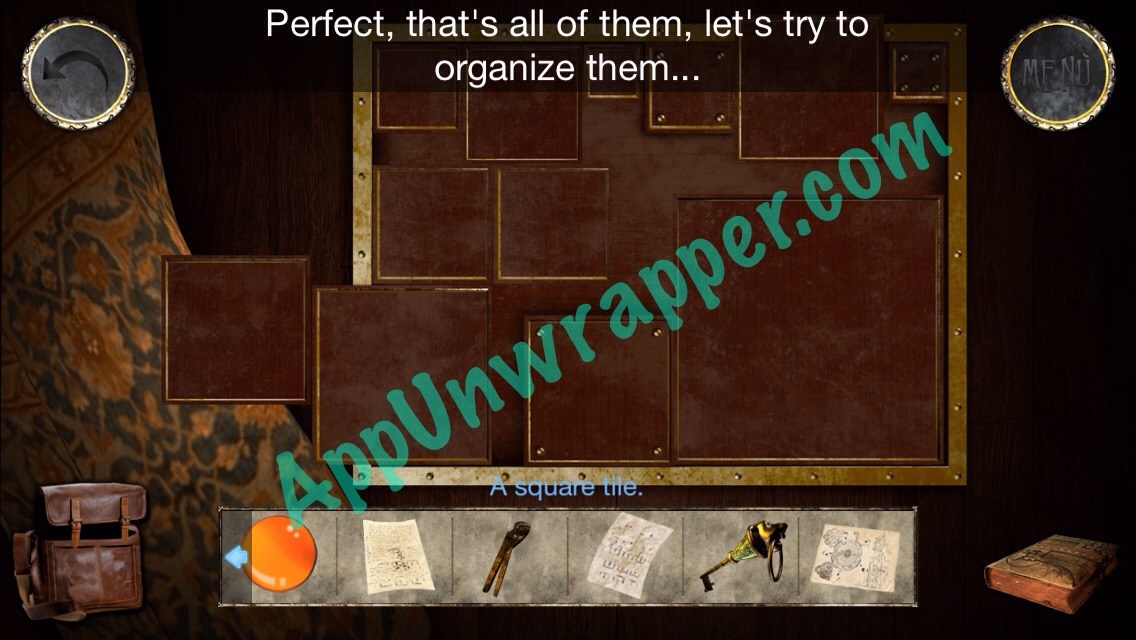
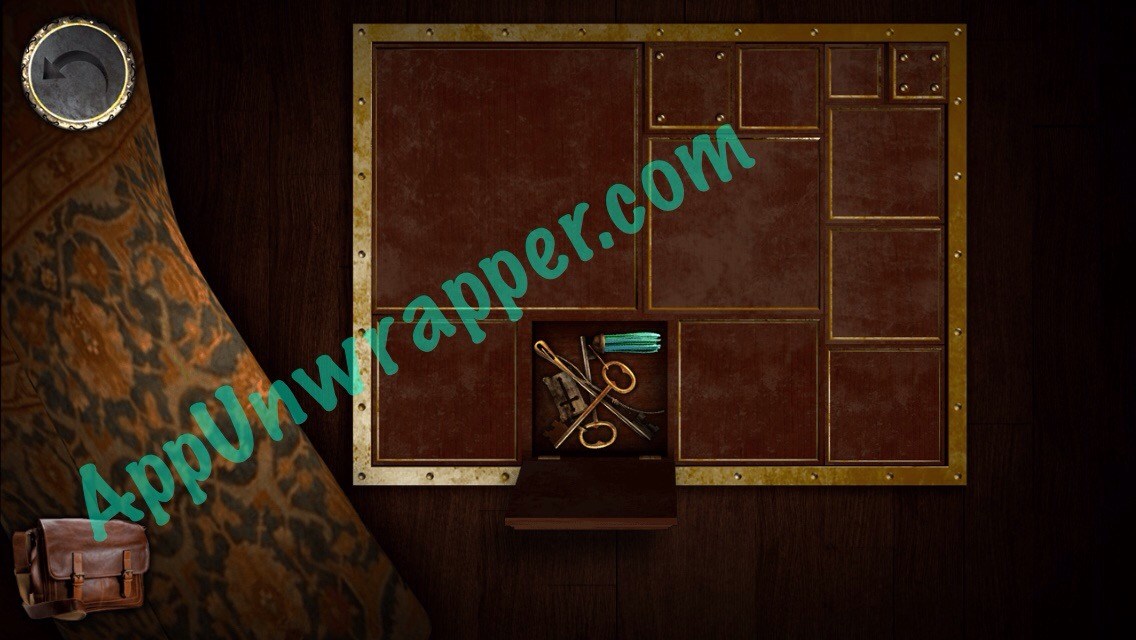
43. Go the back. There’s a chest. Use the worn-out key to open it. Then take the square tile, lion’s head key, and another ruined paper from inside.

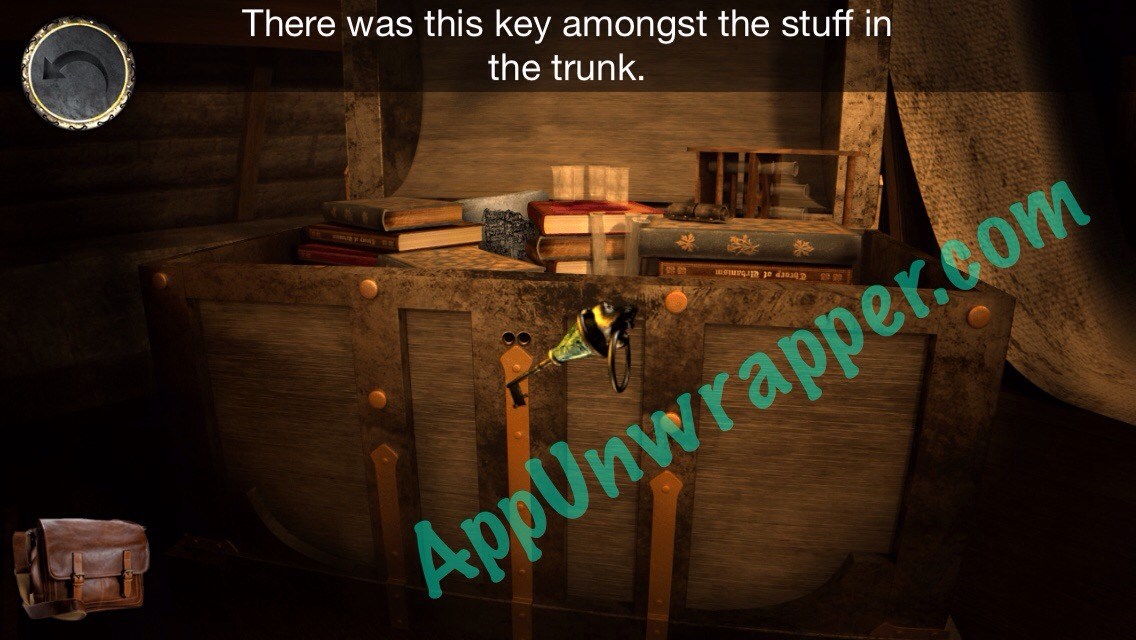
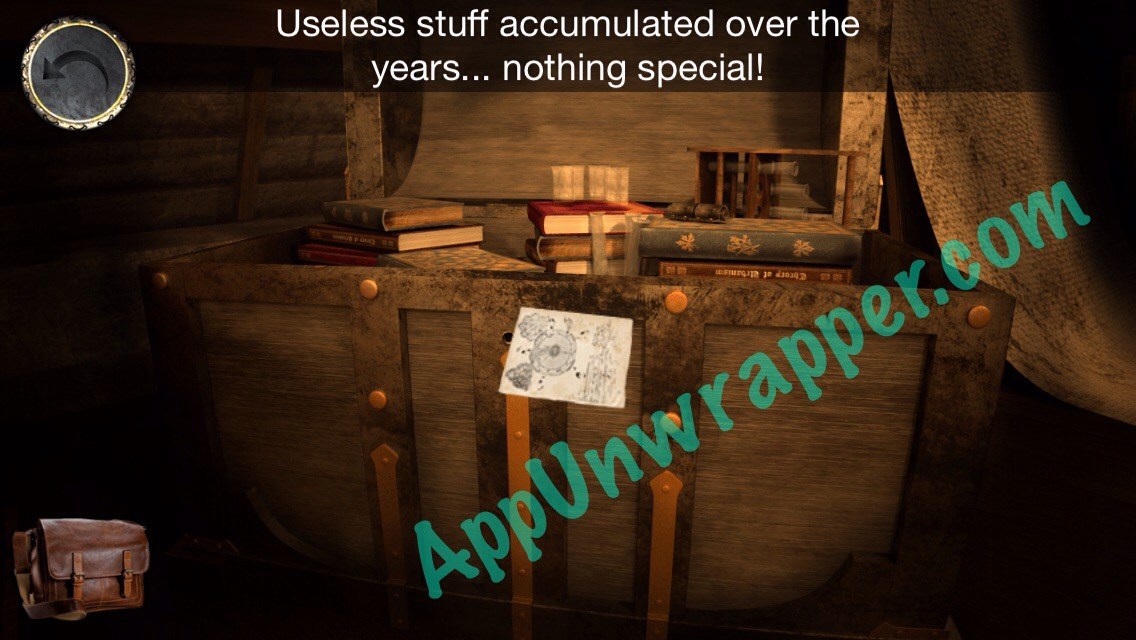
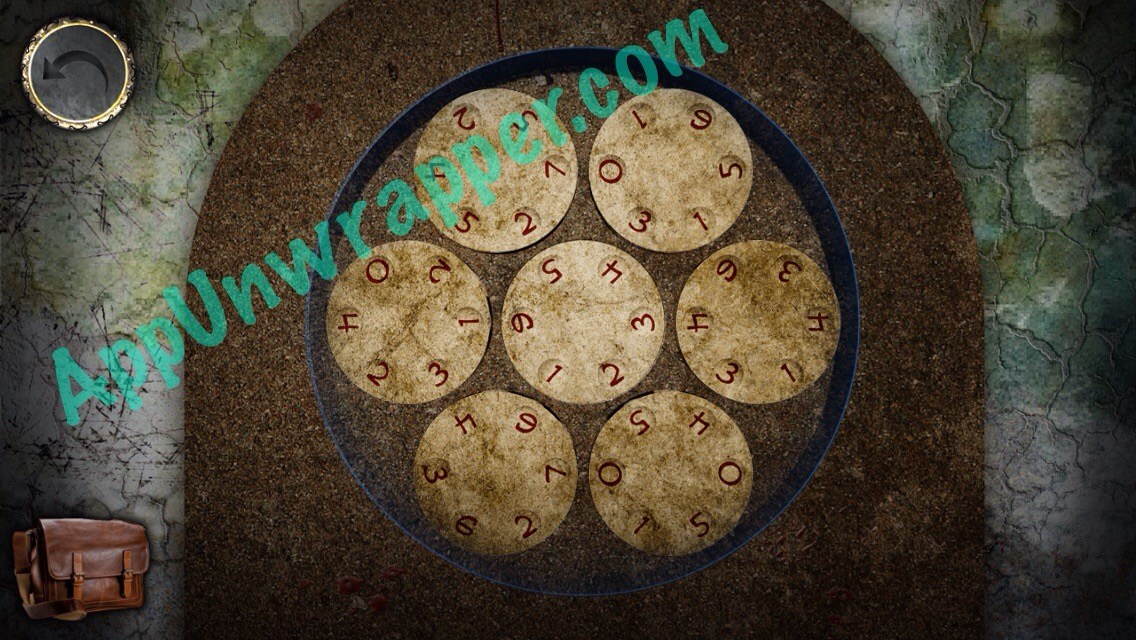
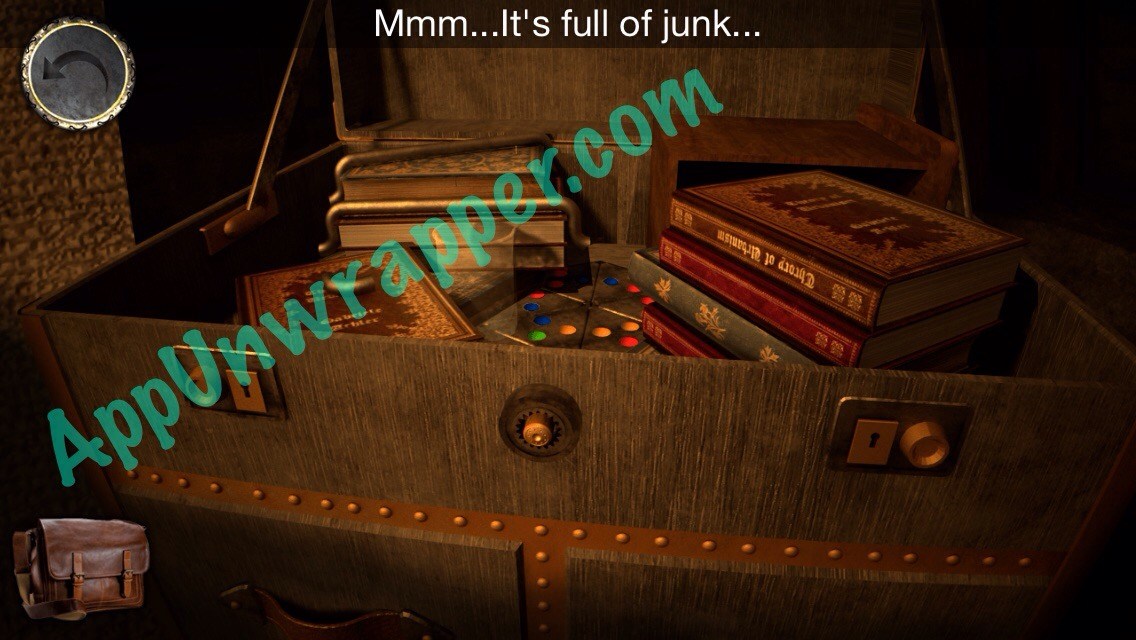
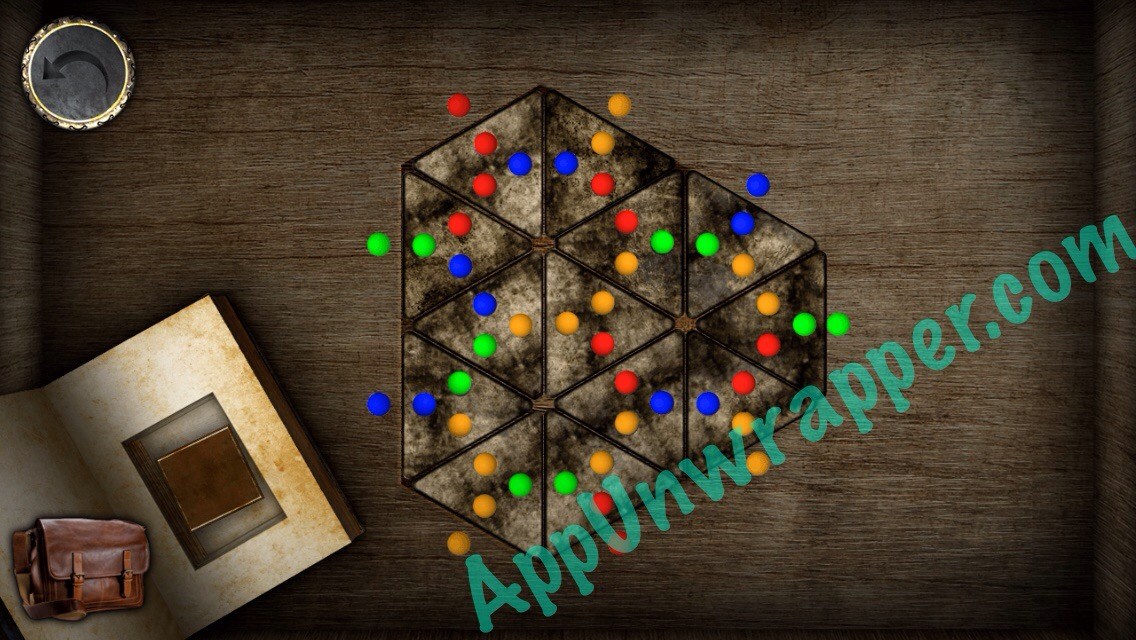
44. There’s another locked trunk in the back. Use the spiral key to unlock it. Remove all the books until you uncover a puzzle at the bottom. Place the triangle piece in there and then solve the puzzle (match the colored dots to each other) to get another square tile.

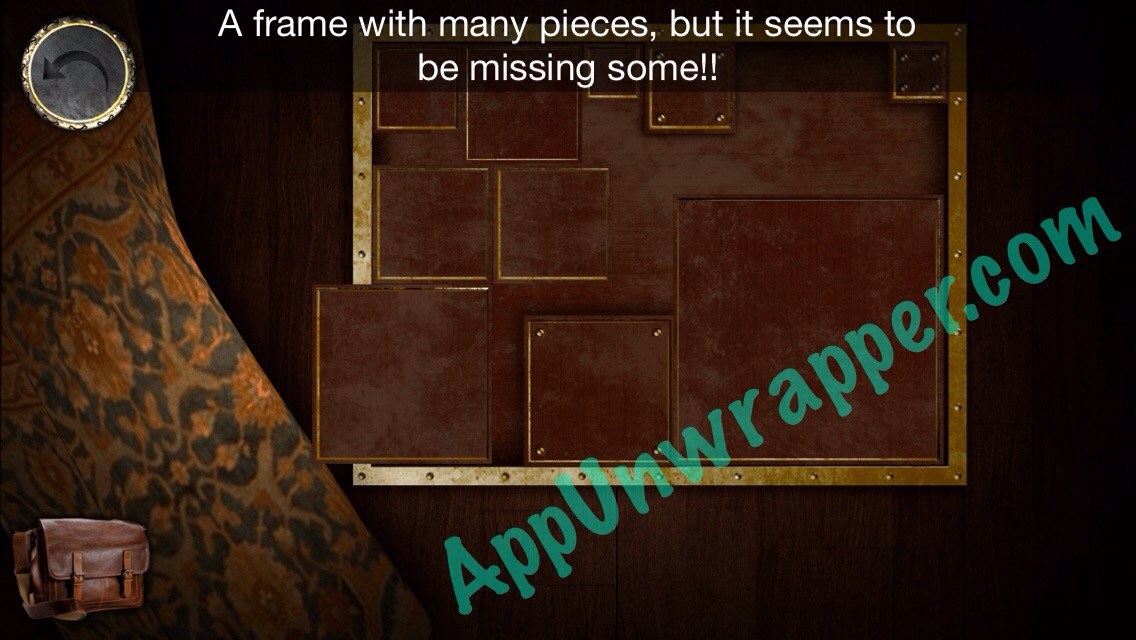
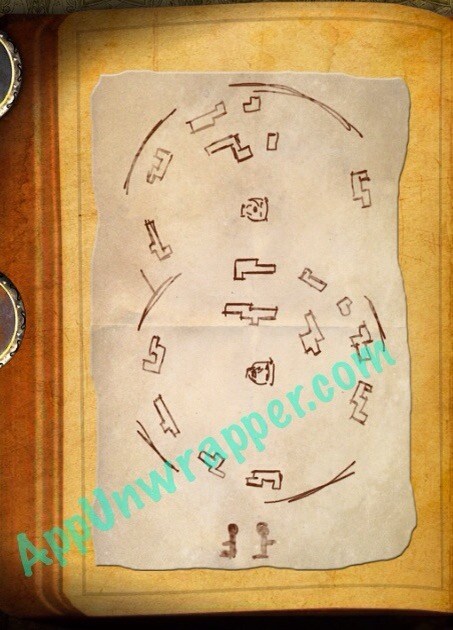
45. Go back to the candle circle and place the two tiles with the rest of them. Now you need to place all the square tiles so the fit perfectly together. Then take the light blue key in good condition, the key in the shape of a needle and thread, and the key with an engraved cross.
This video should take you through this part of the walkthrough:
Continue to Part 2 of the walkthrough.
If you like this game, you might also like Shadowmatic.

 Marvel Puzzle Quest Hack Free Crystals, Gold, Coins, Unlimited Energy & All Character Unlocks - AppGameCheats.com
 100 Pics Sports Logos Pack Level 1-100 Answers
 Guess The 2000s Answers All Levels
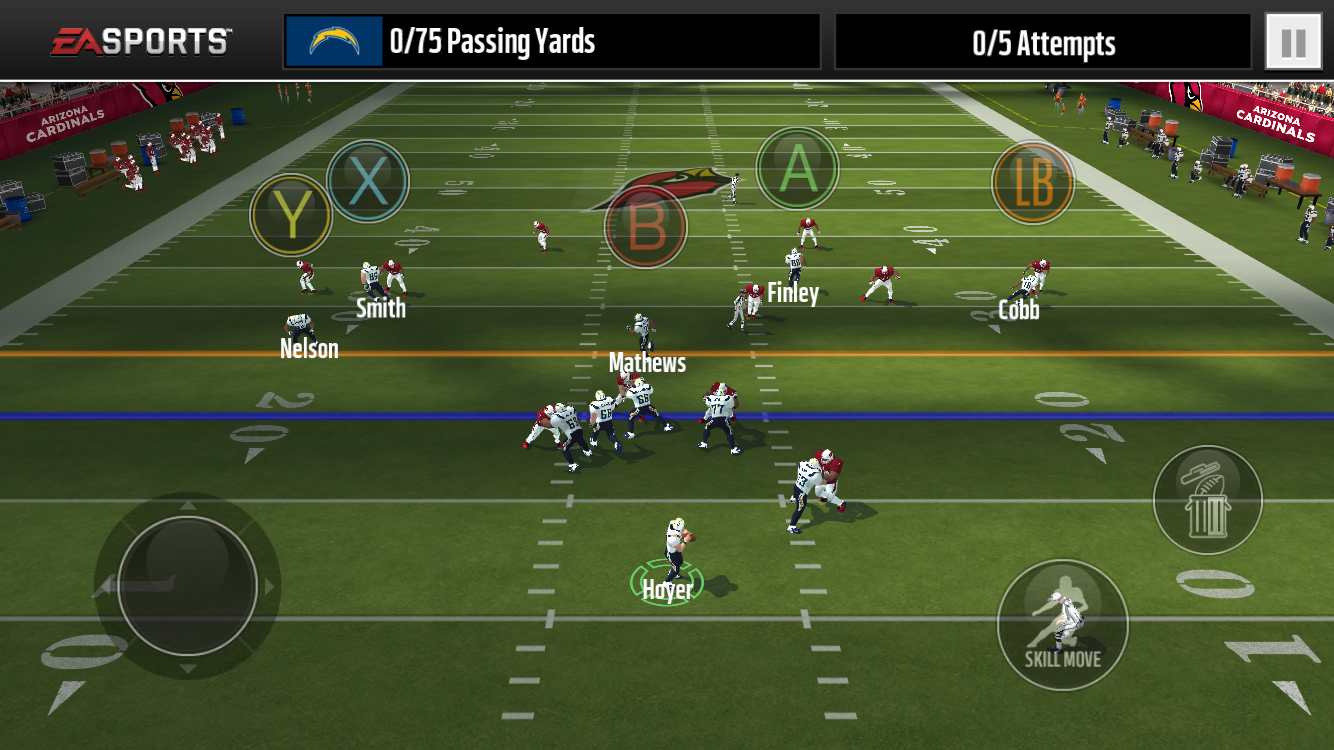 Madden Mobile 16 Tips: How to Win Live Events
 Colormania Answers All Levels