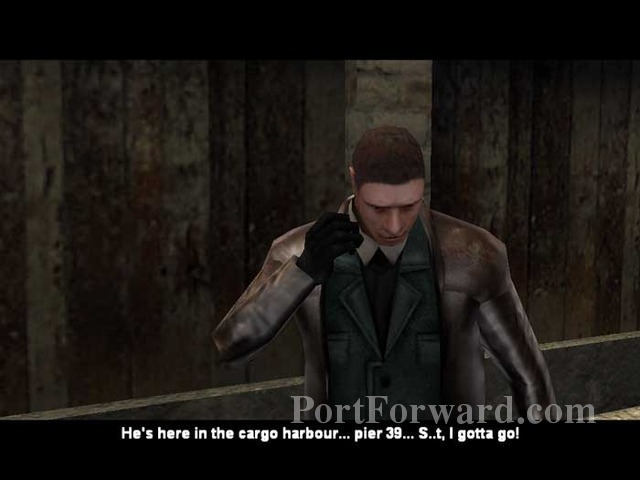
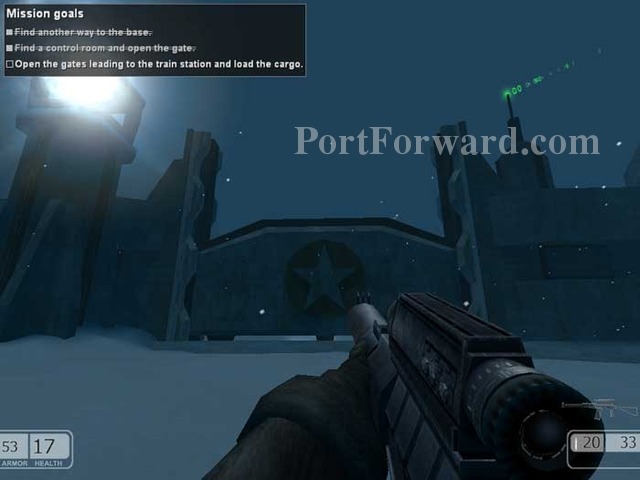
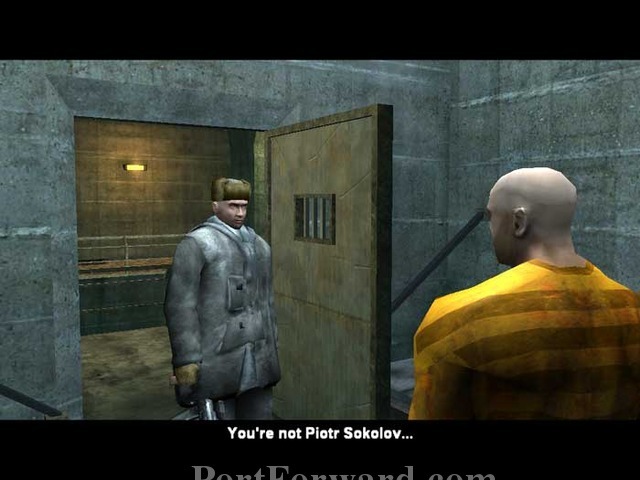
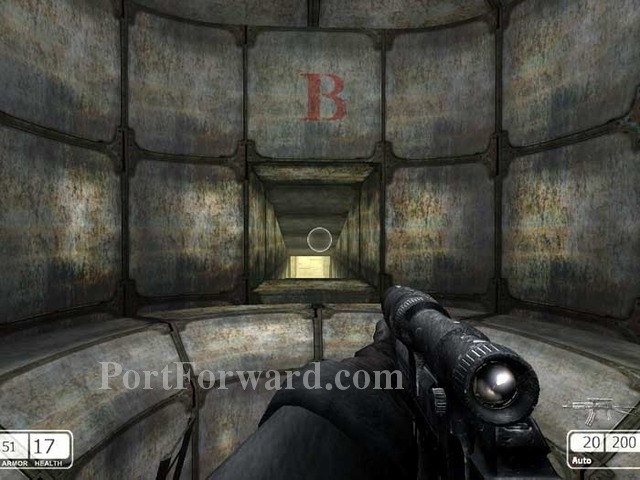
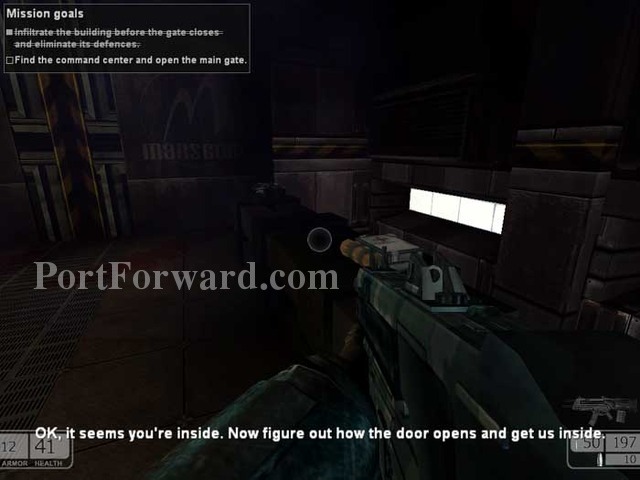
Chaser Walkthrough Majestic Station
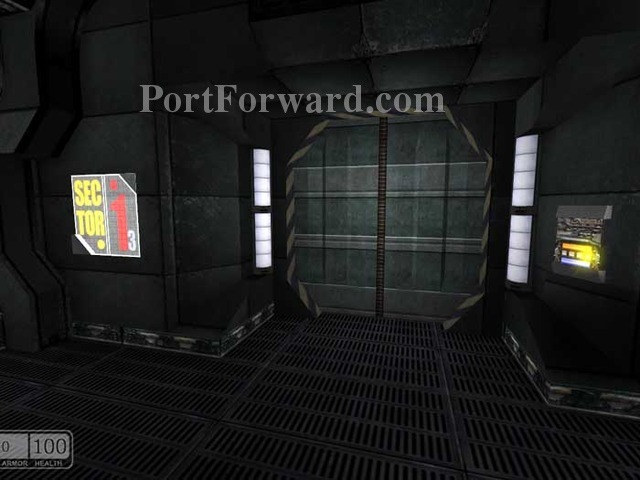
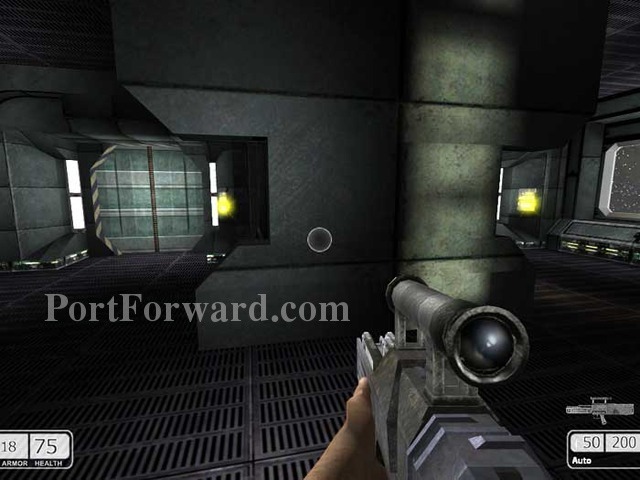
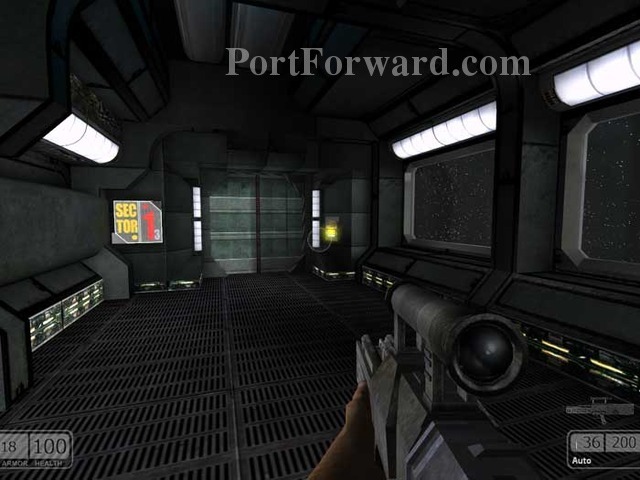
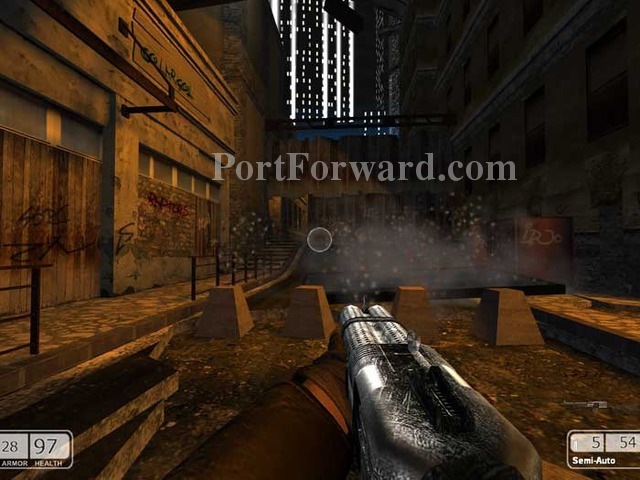
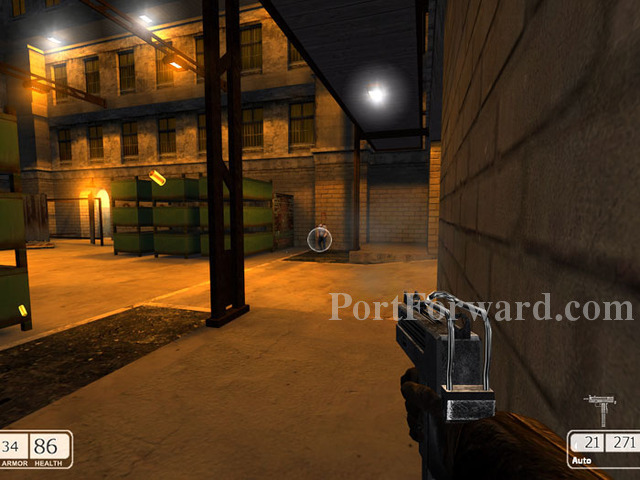
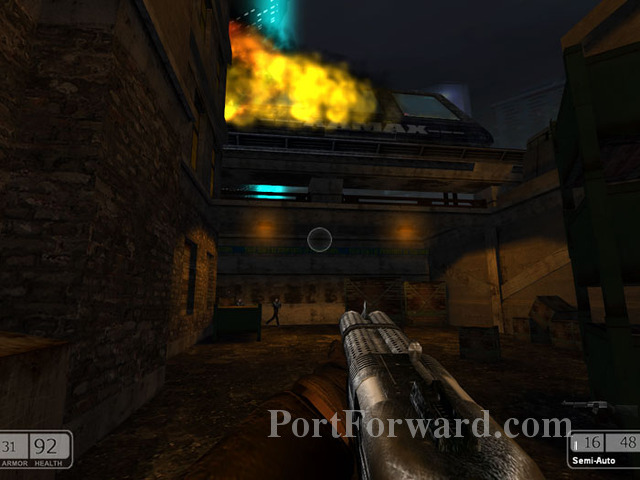
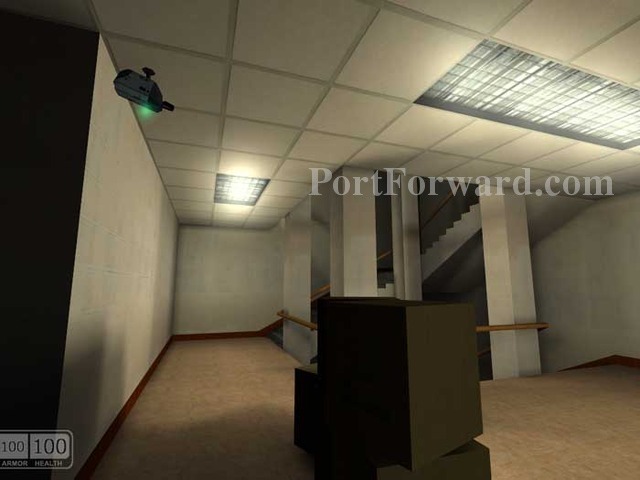
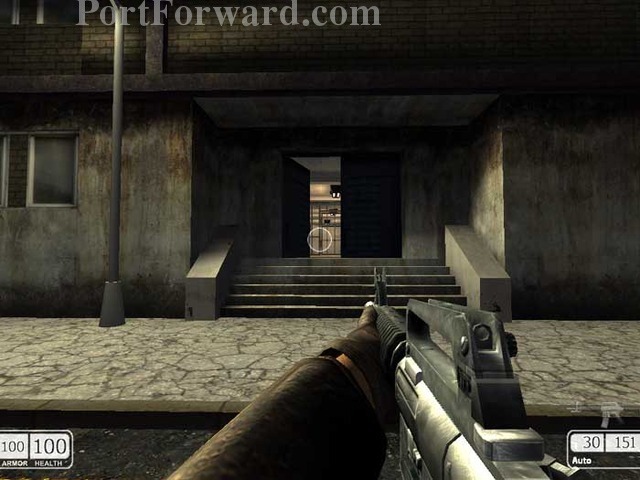
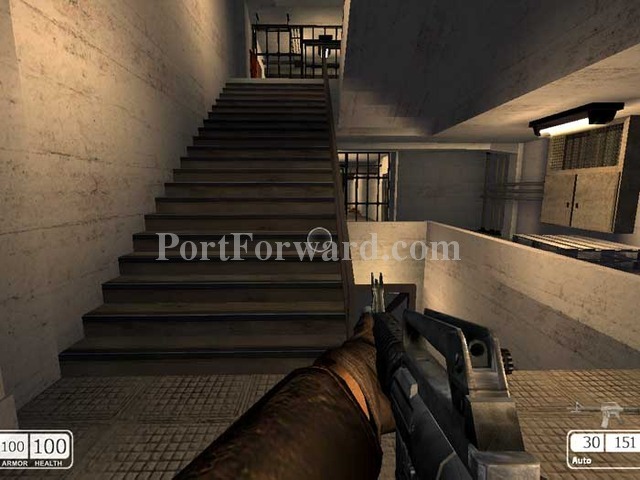
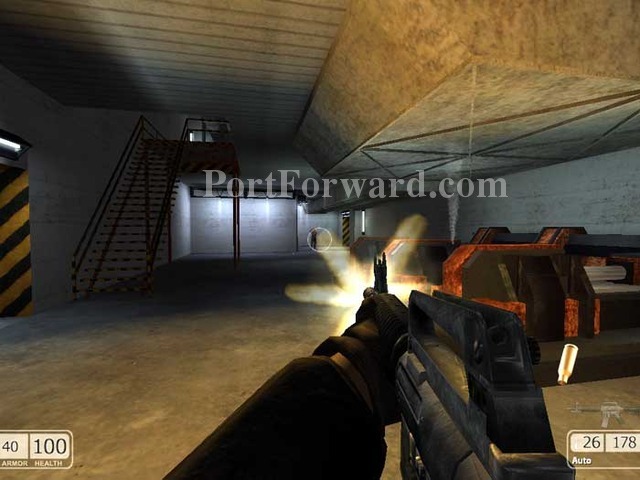
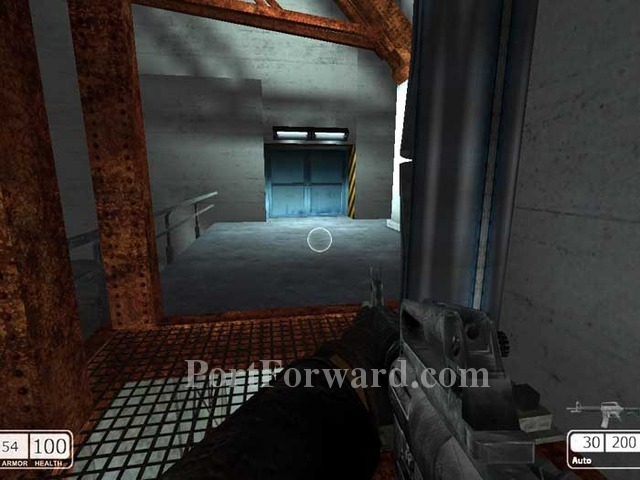
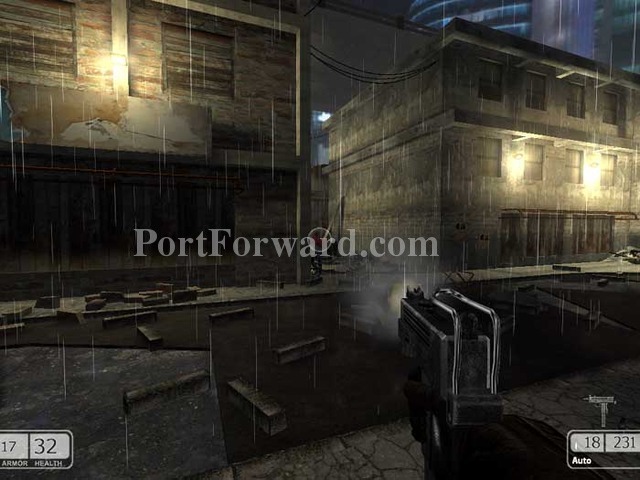
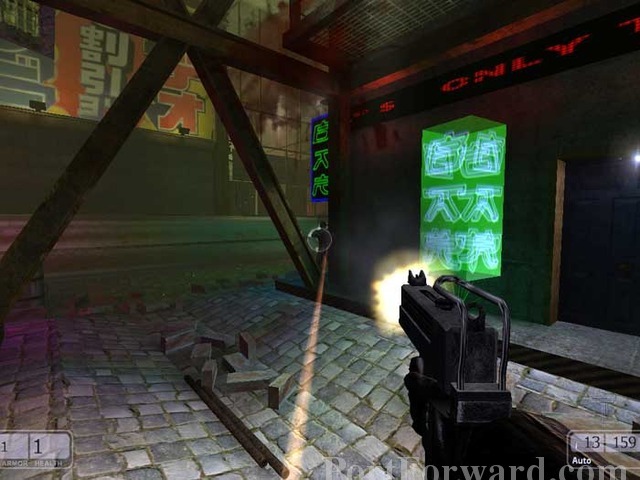
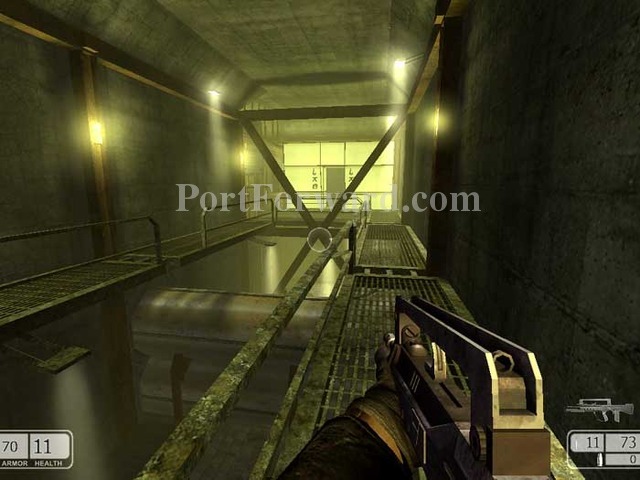
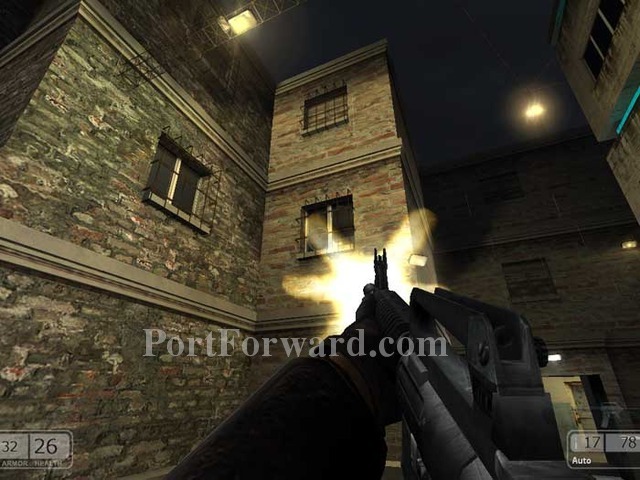
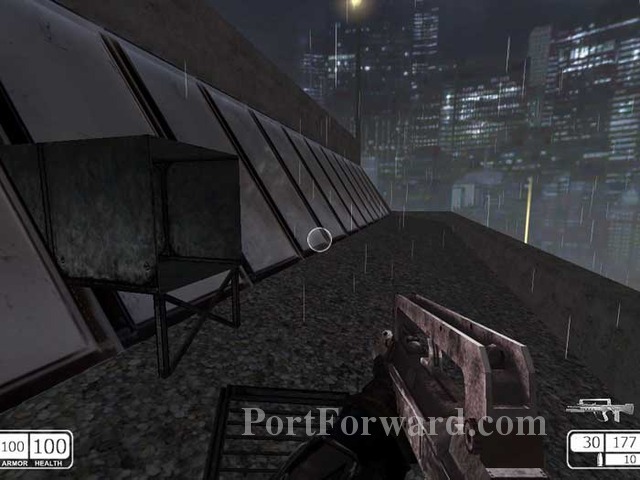
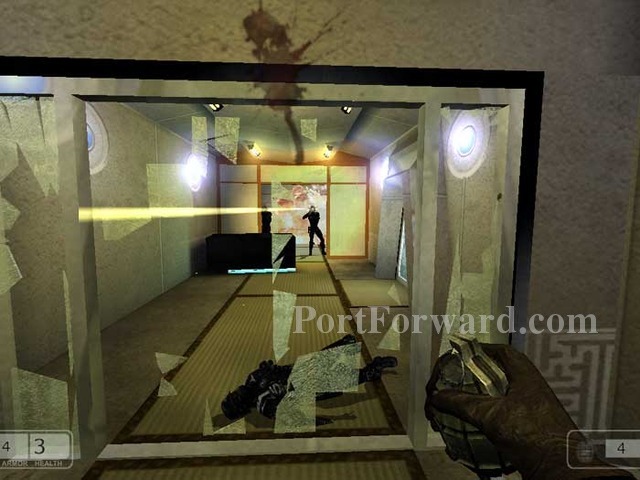
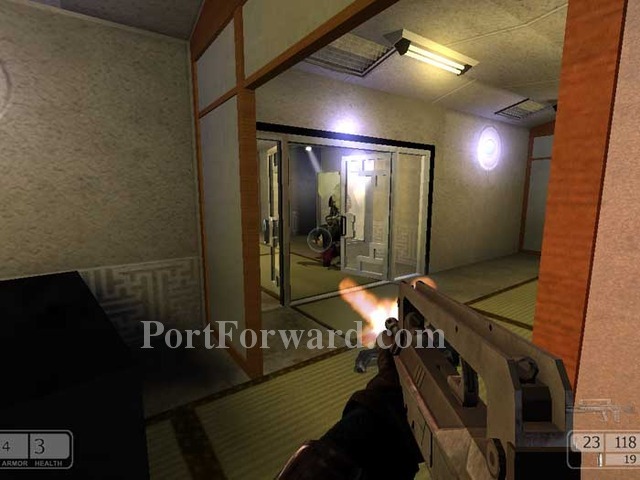
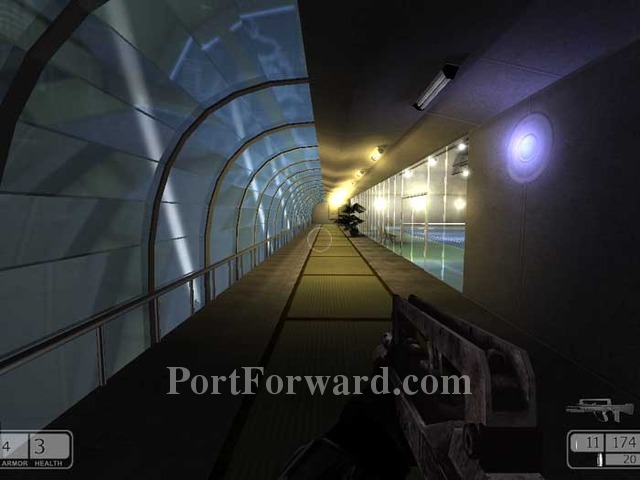
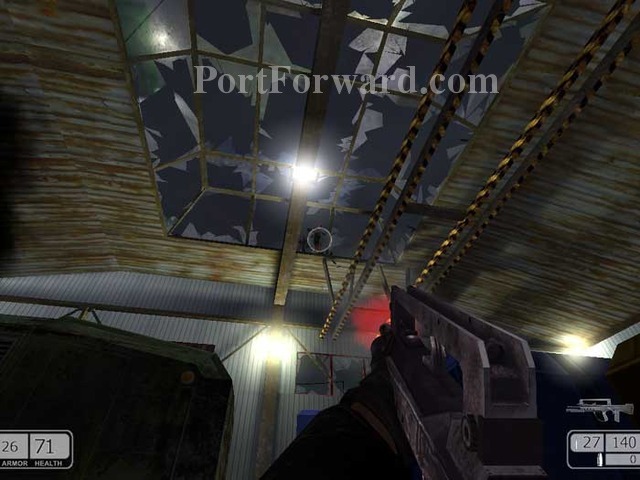
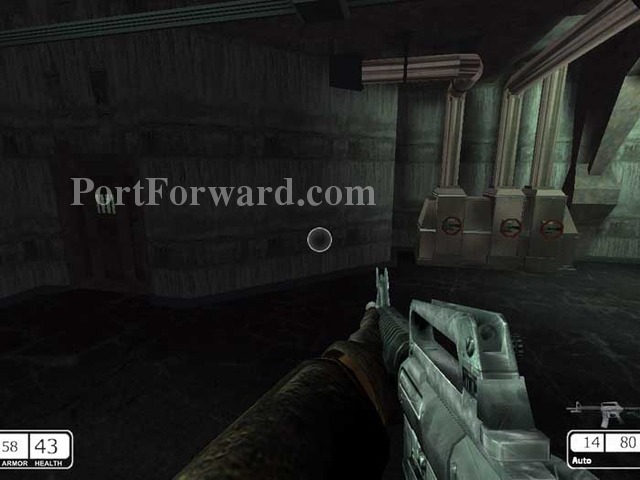
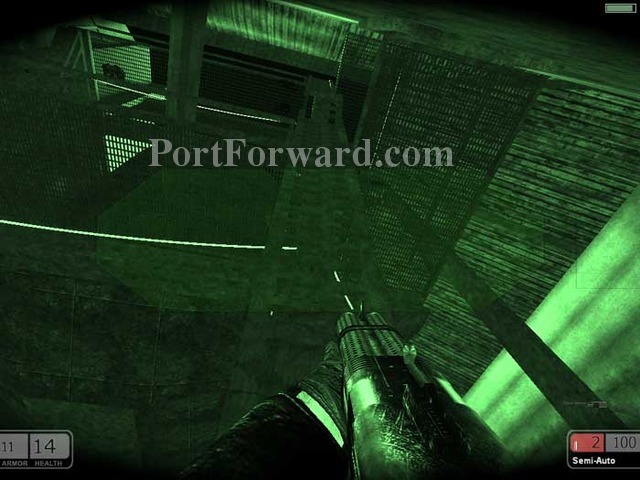
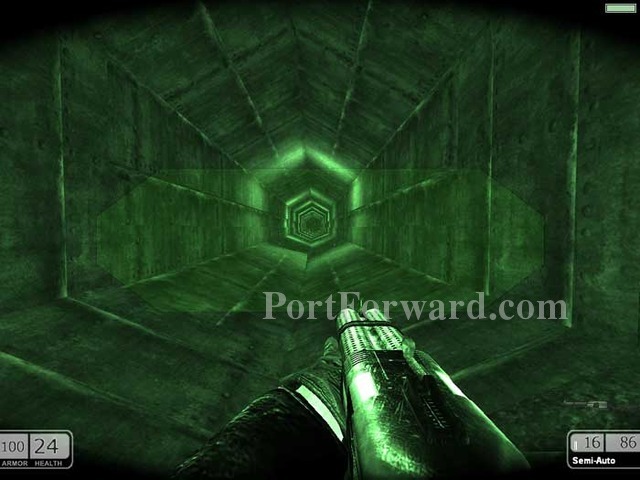
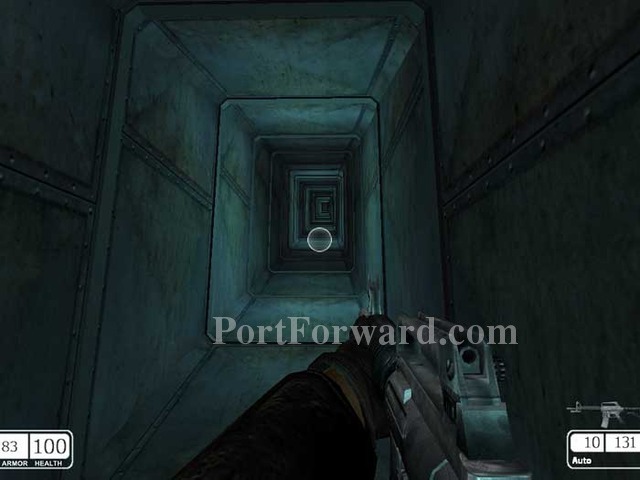
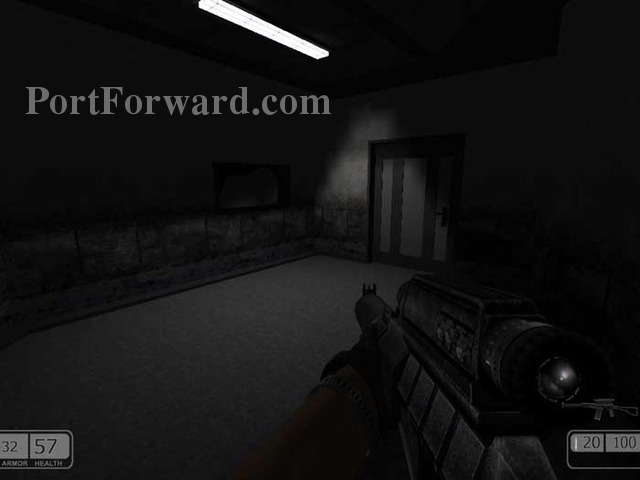
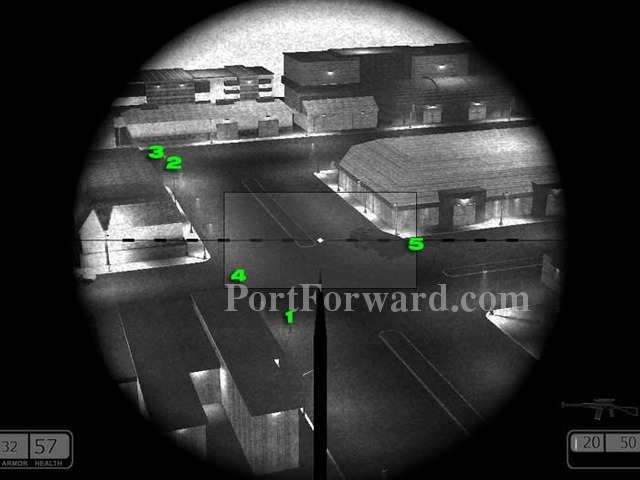
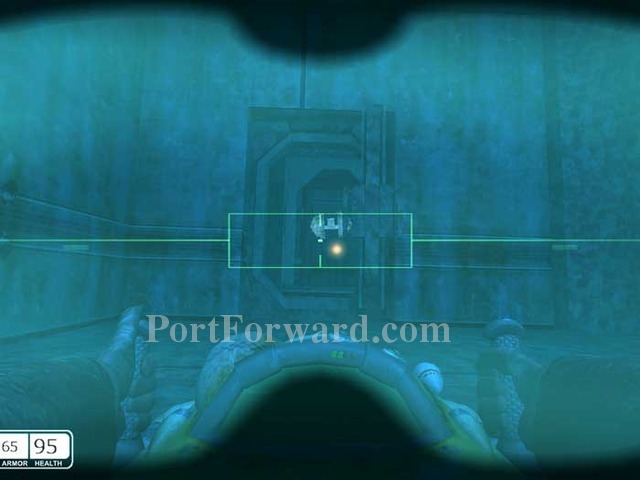
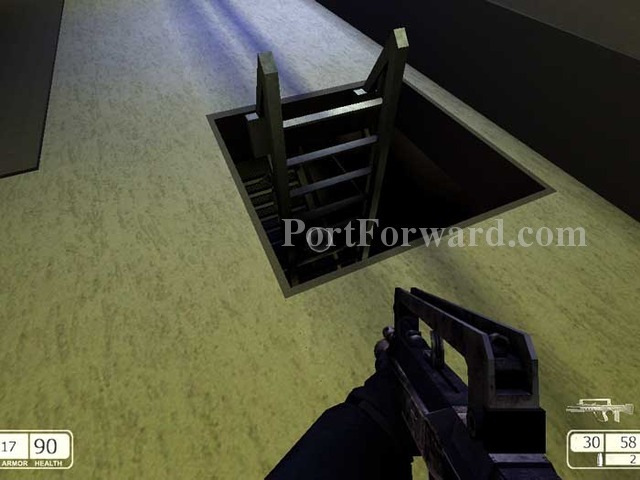
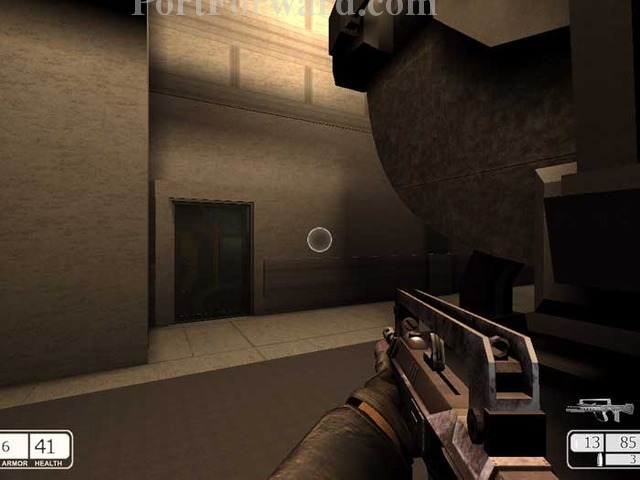
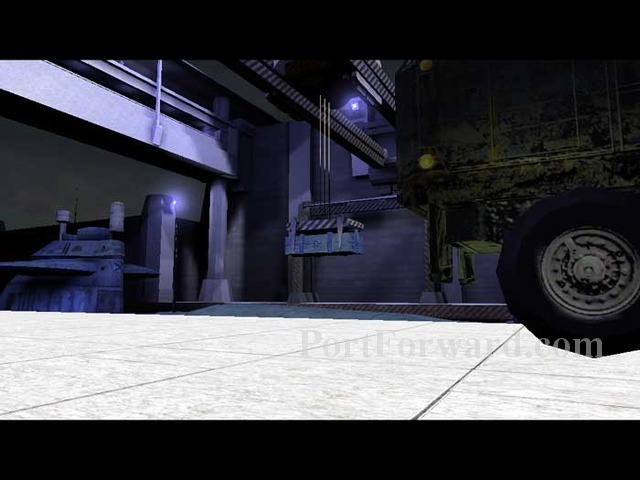
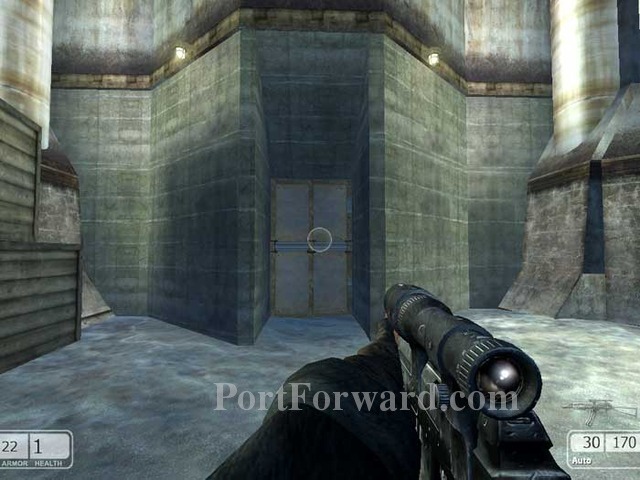
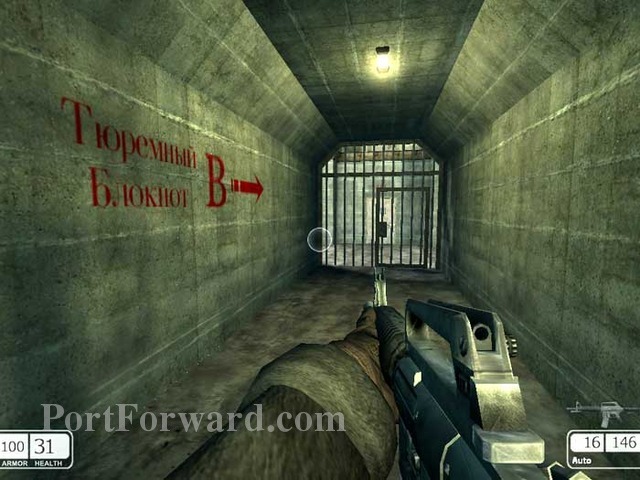
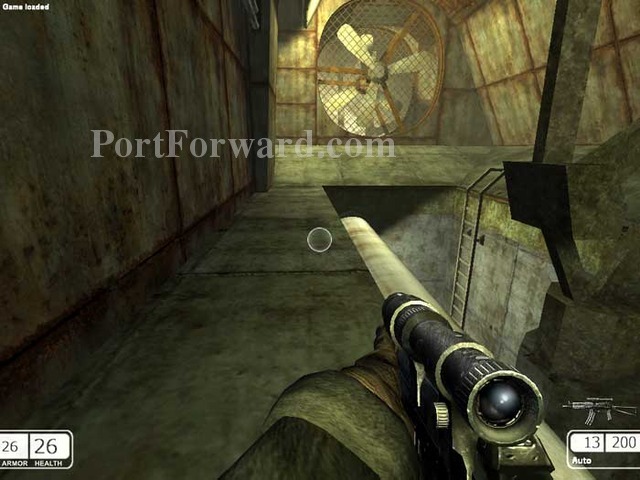
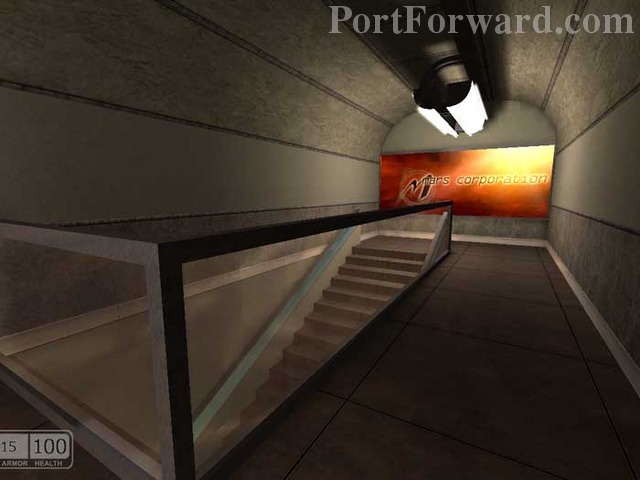
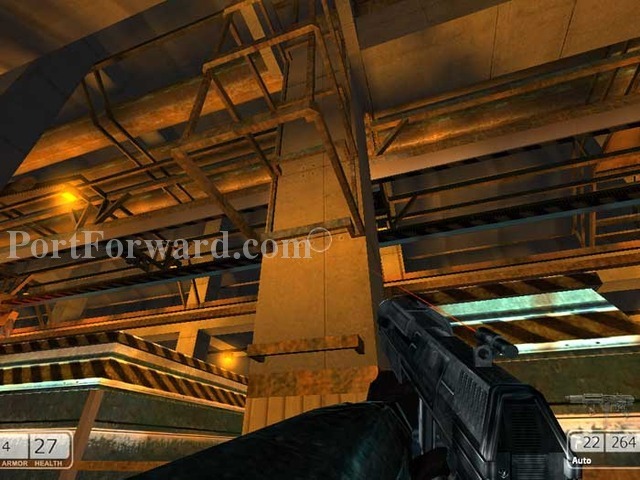
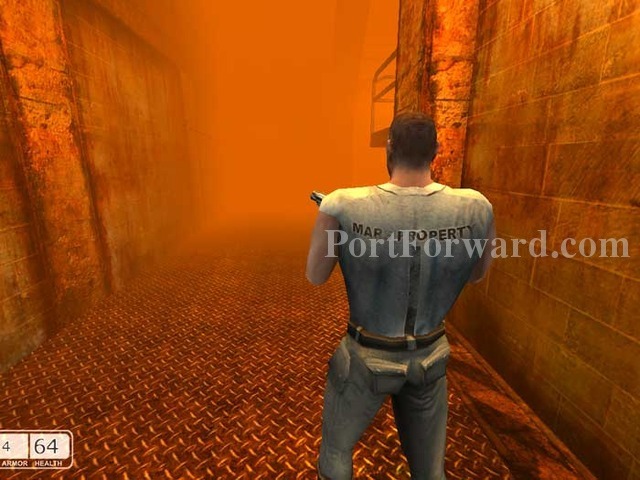
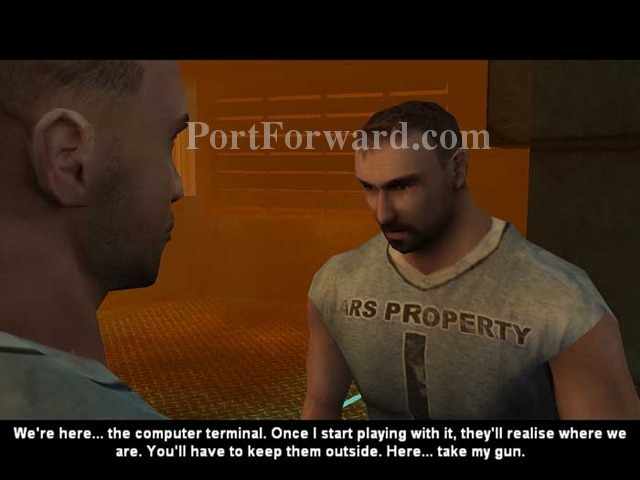
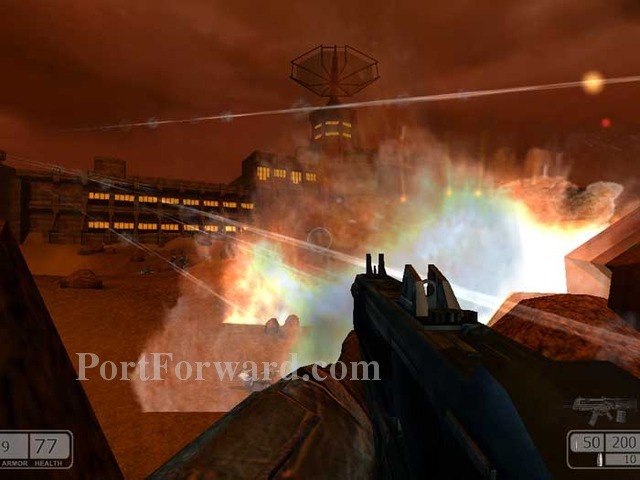
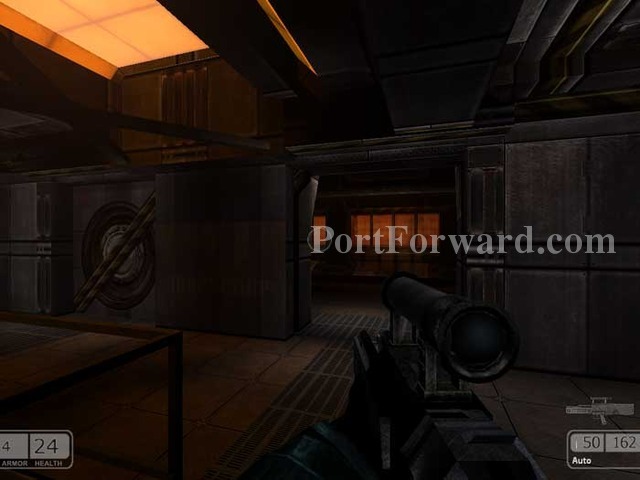
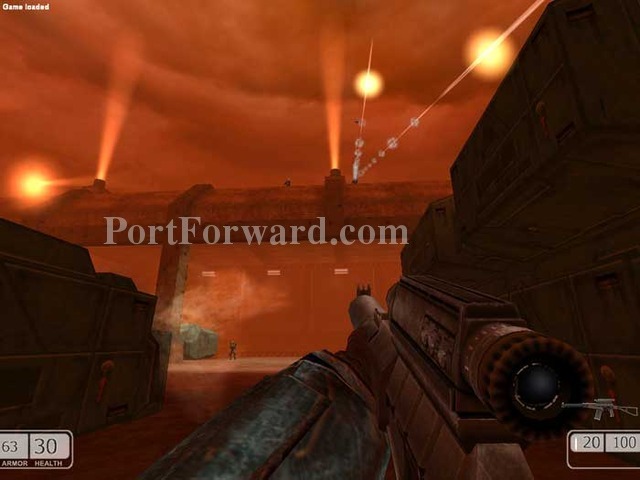
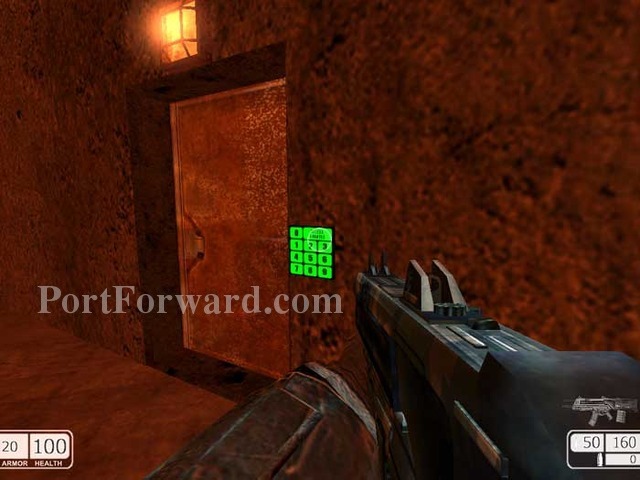
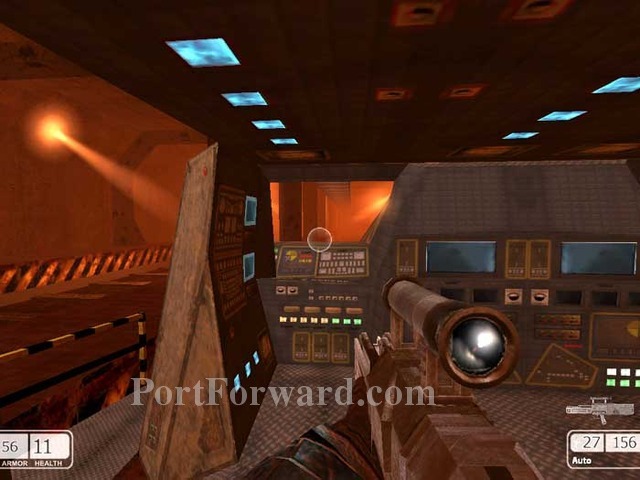
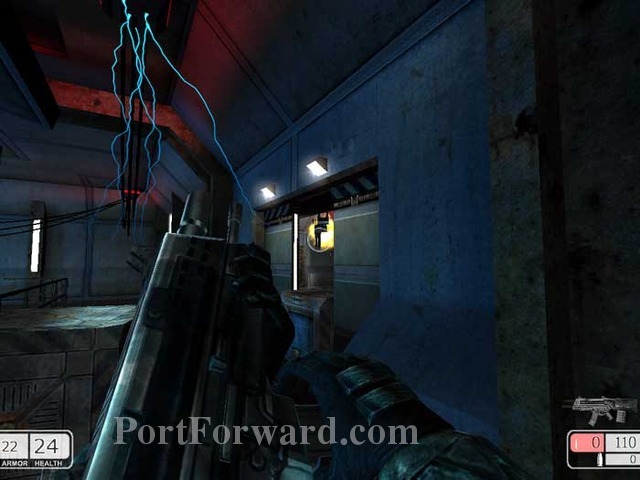
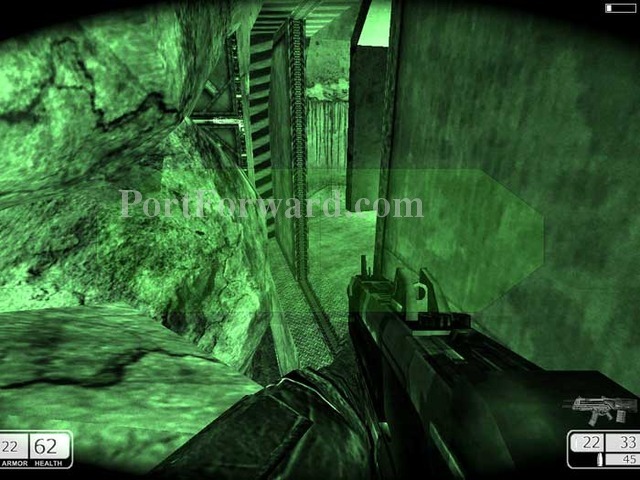
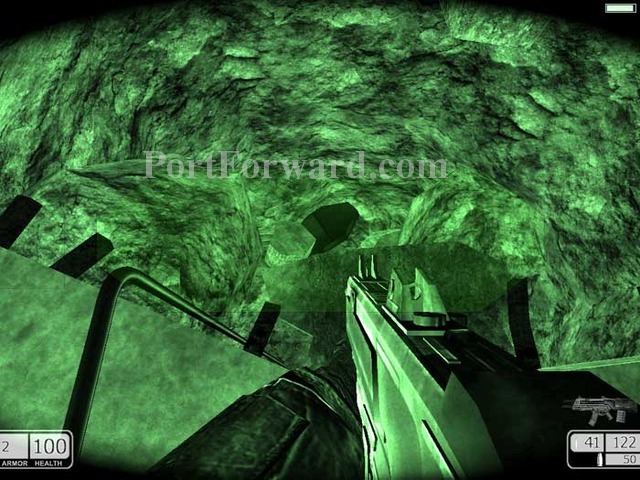
You begin on the Majestic station. Descend the stairs directly ahead. Follow the stairs all the way down. Proceed through doors with a yellow access panel like the one seen here to the right of this door.
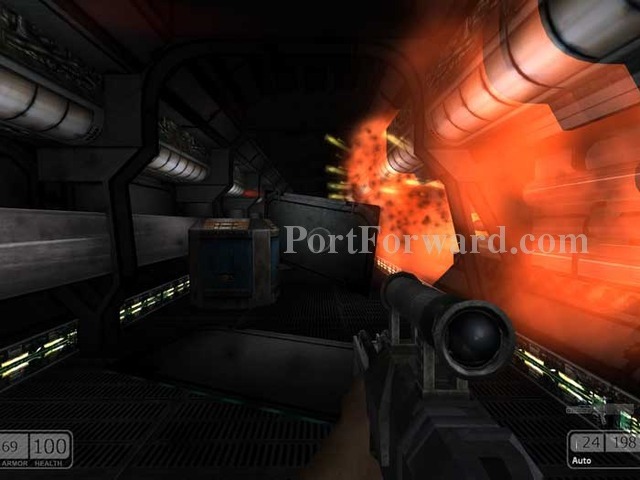
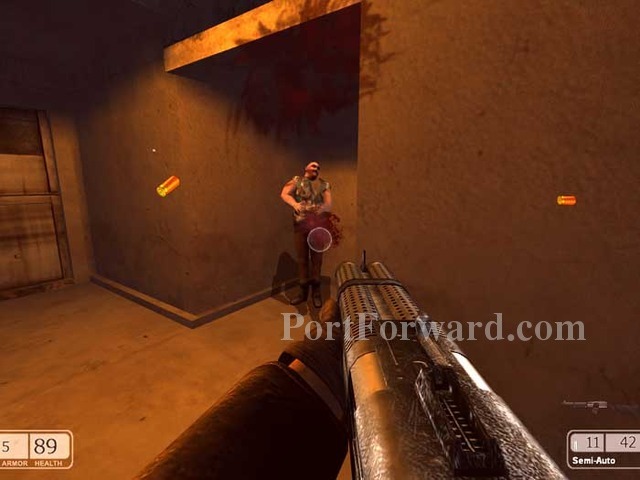
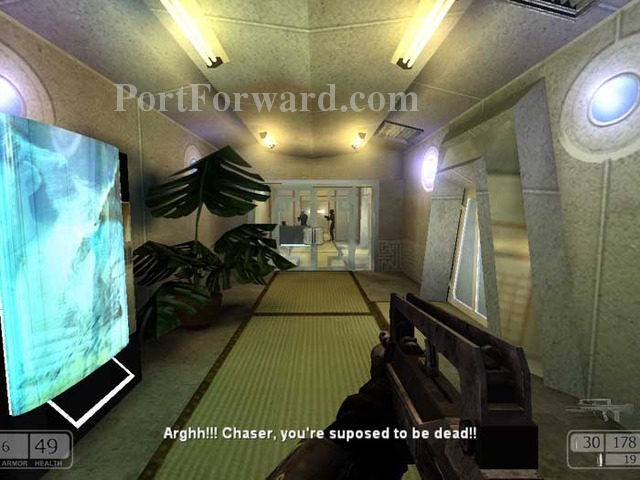
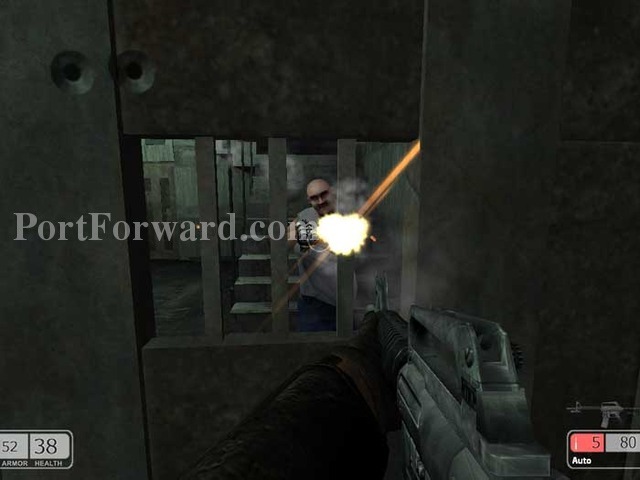
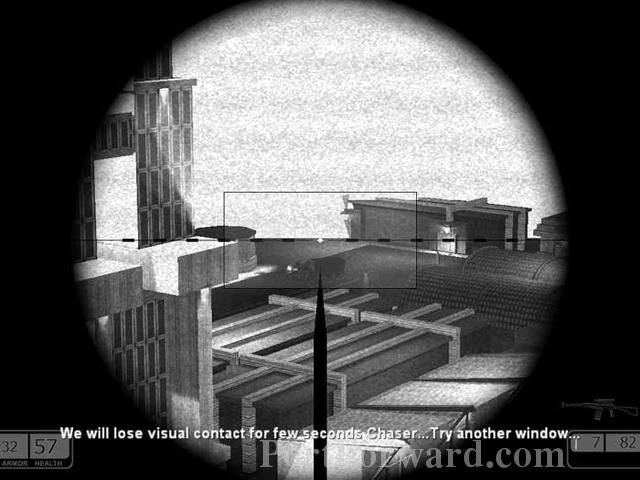
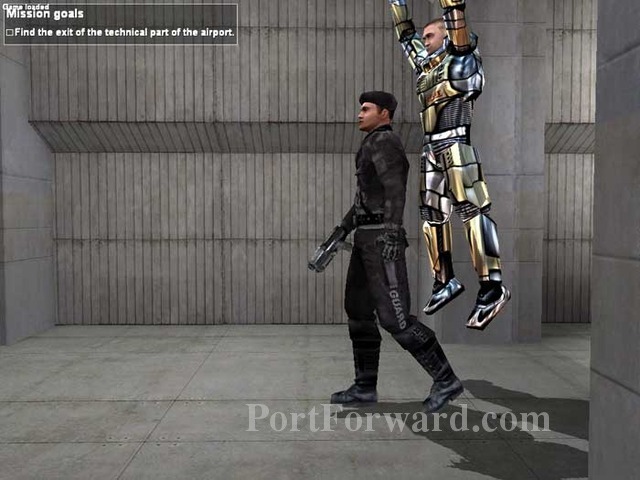
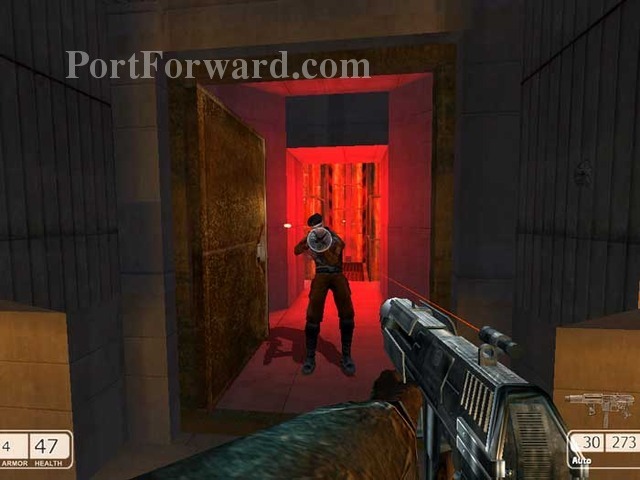
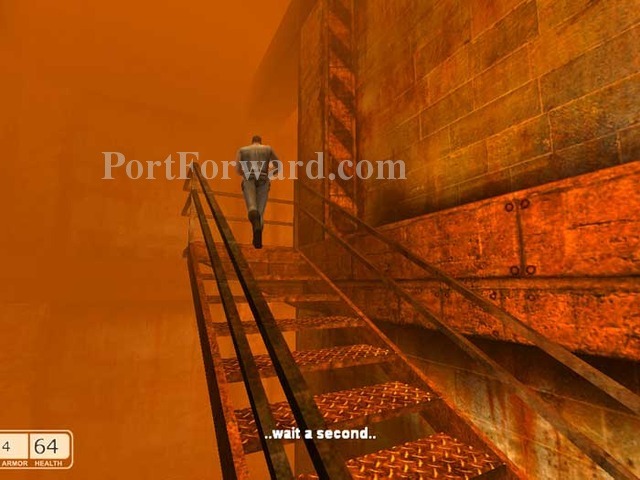
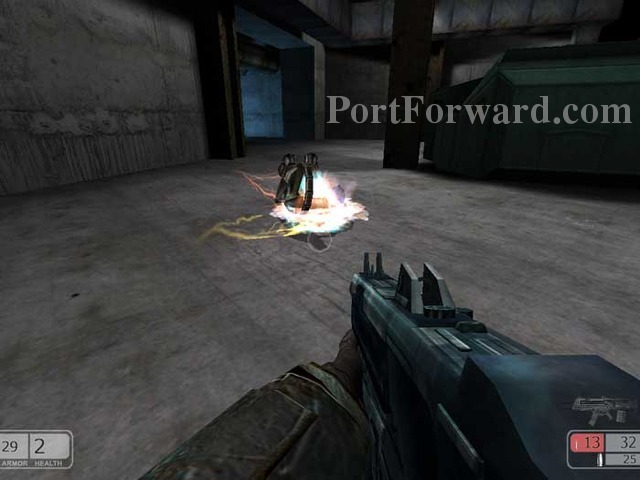
Pause to watch this guard pass through the door ahead. He will fire if you get too close. The panel turns from yellow to red, locking the door.
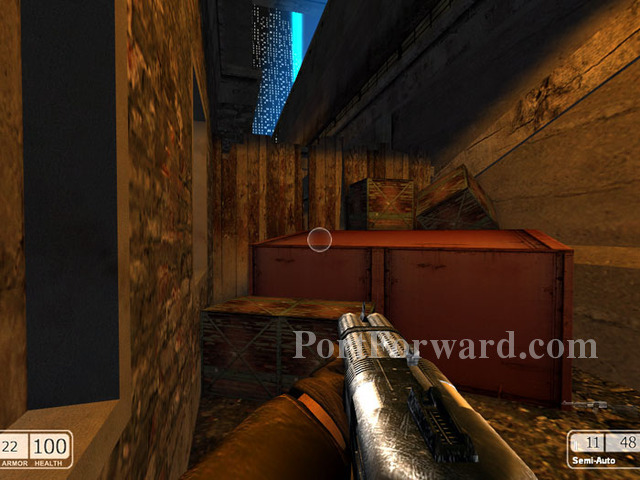
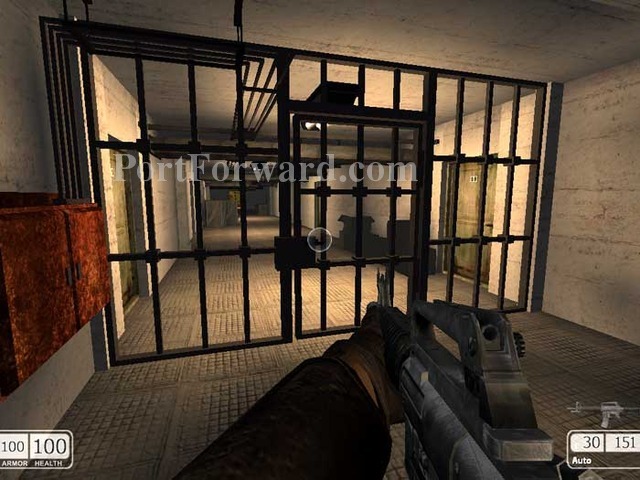
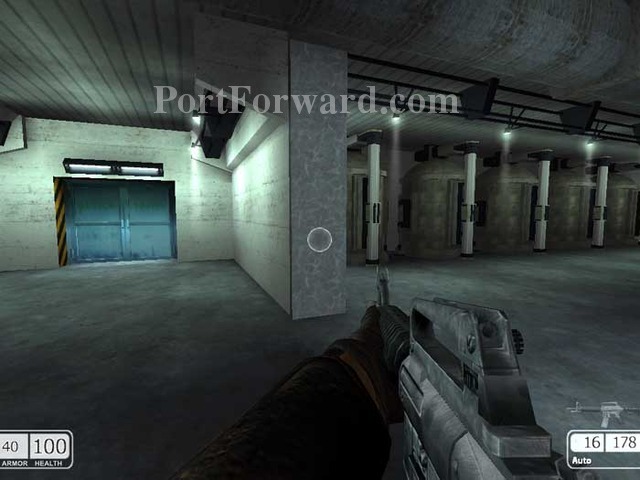
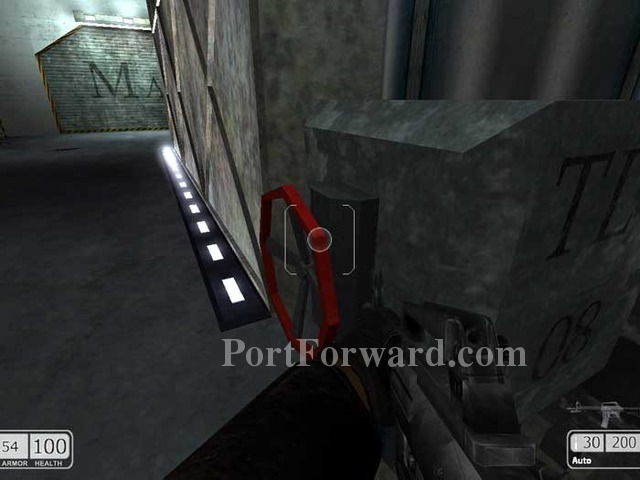
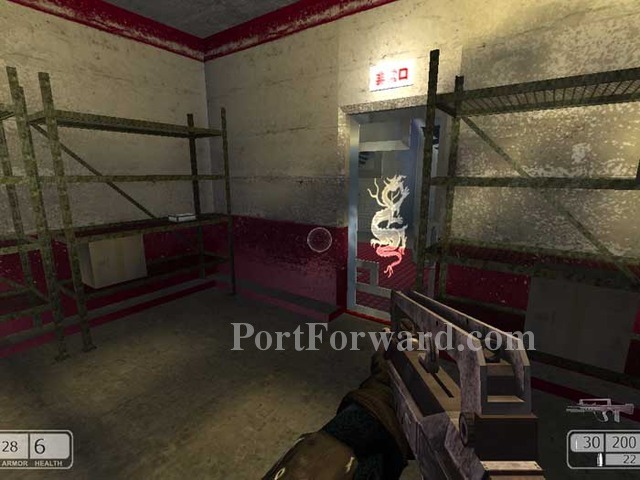
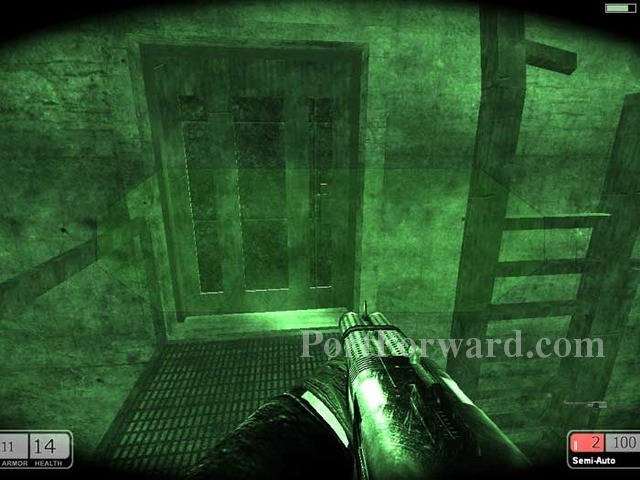
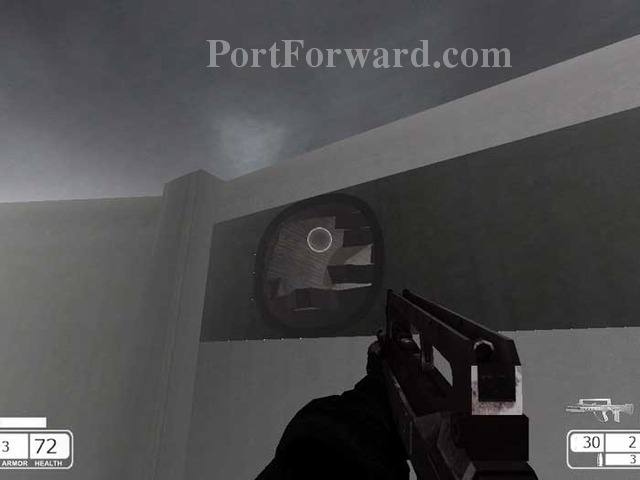
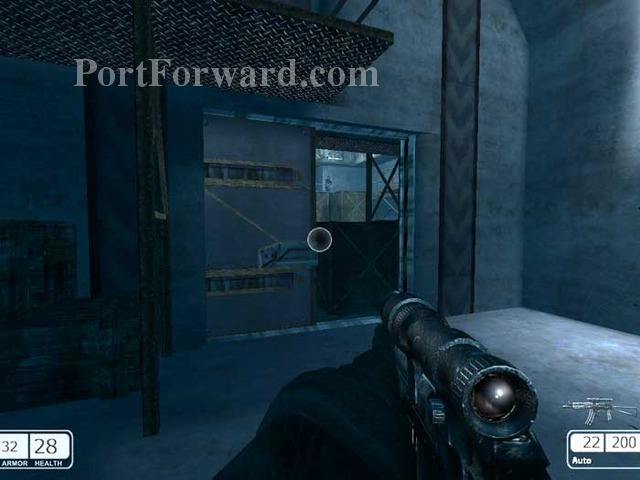
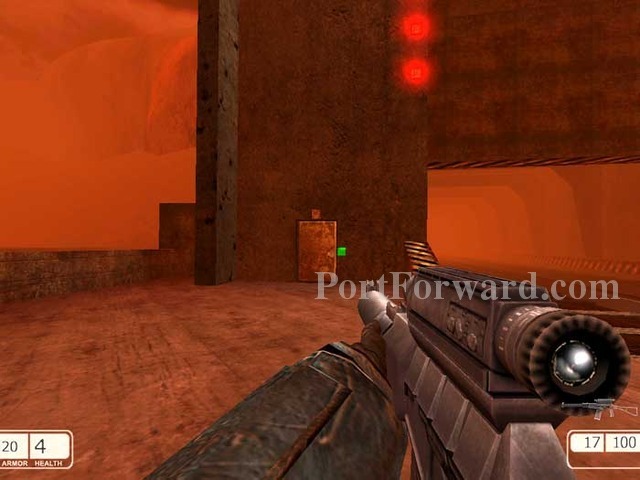
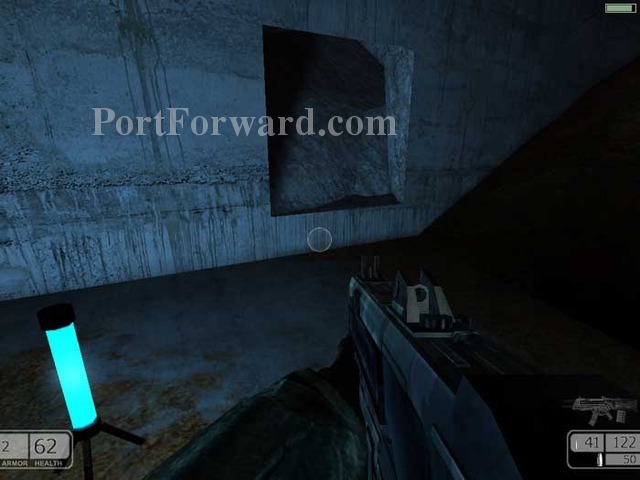
To the left is this yellow panel. Use it to proceed through the door.
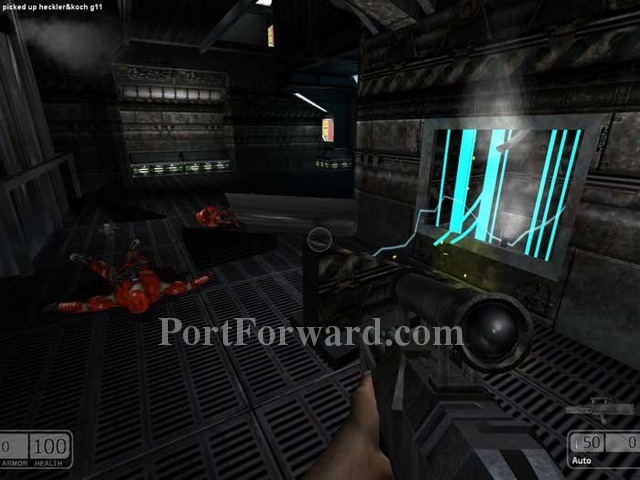
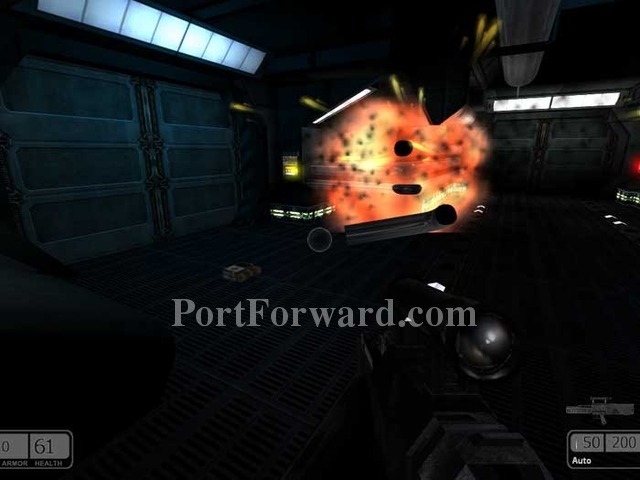
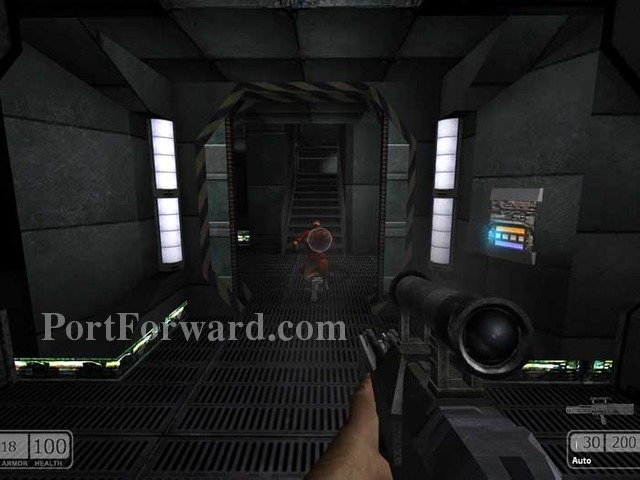
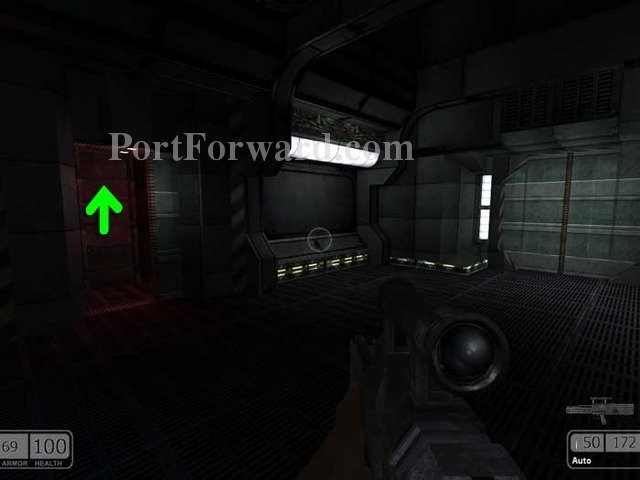
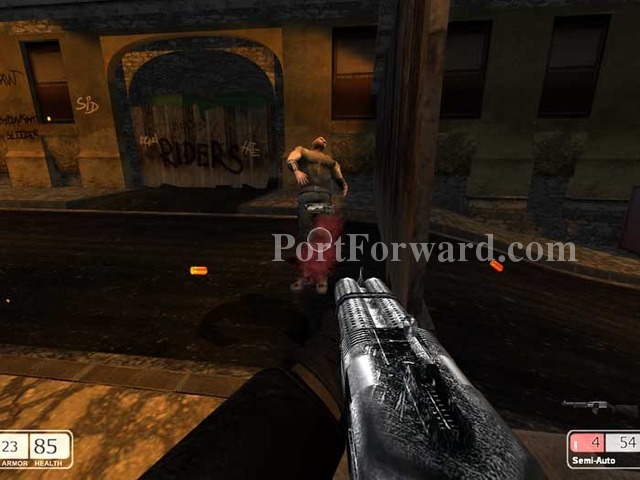
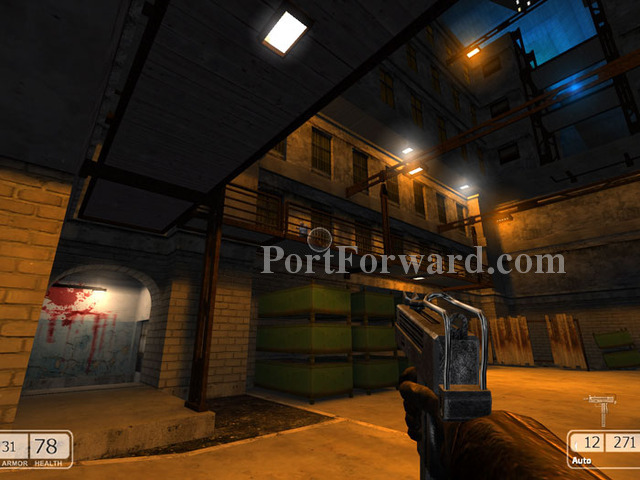
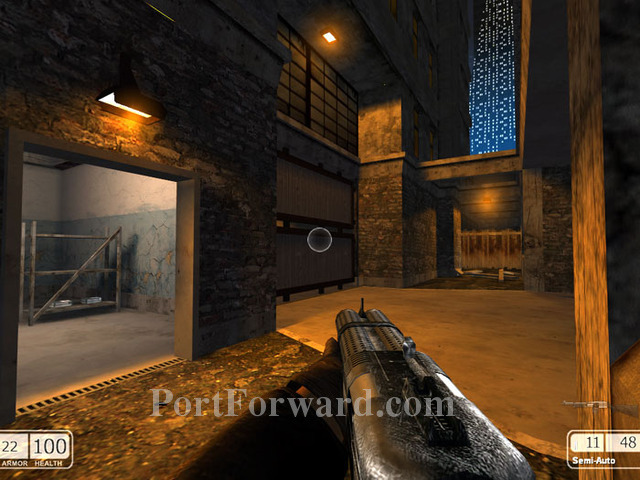
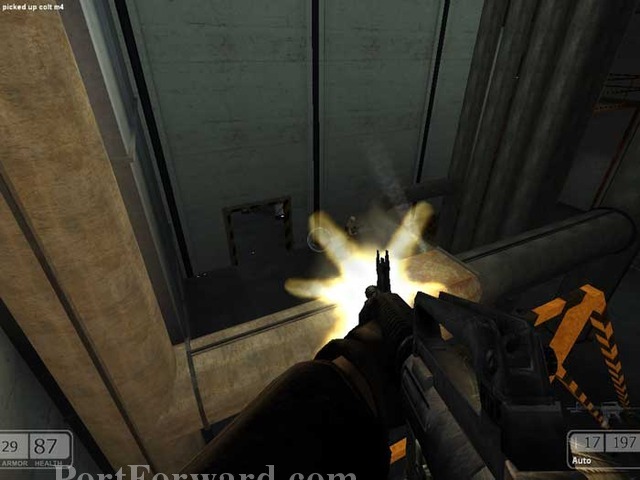
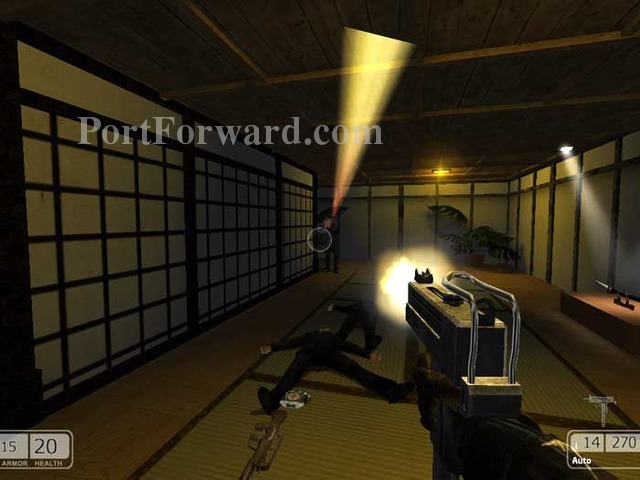
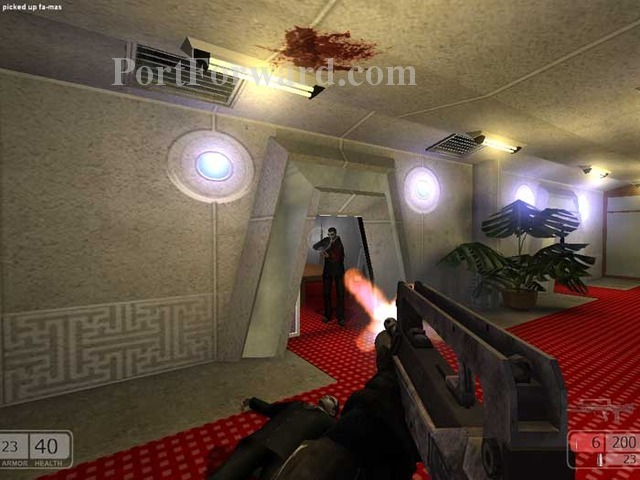
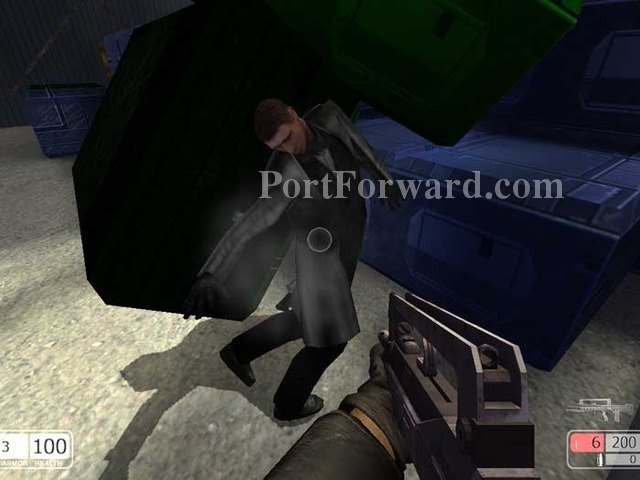
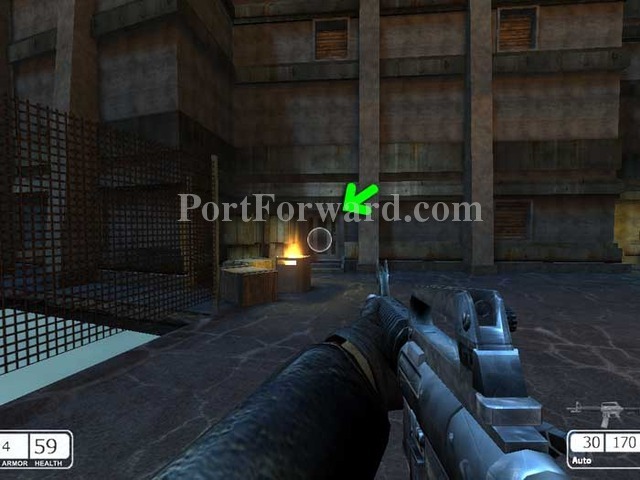
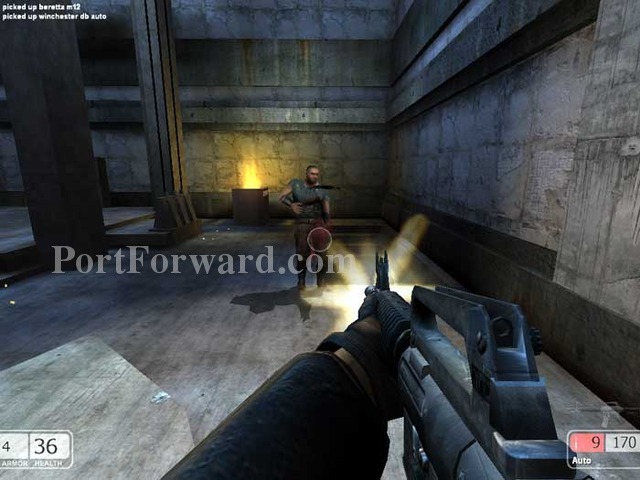
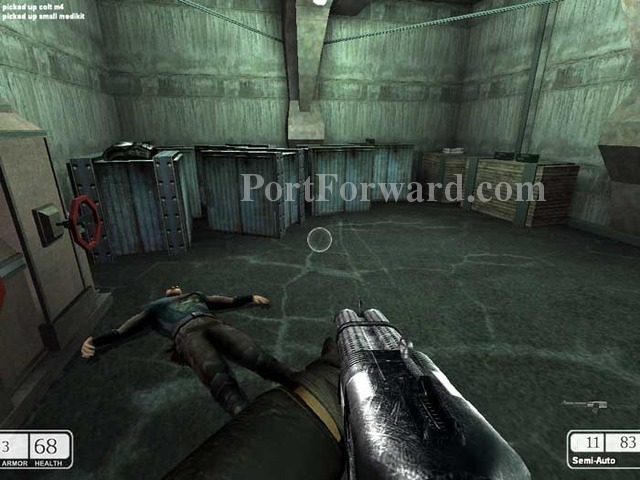
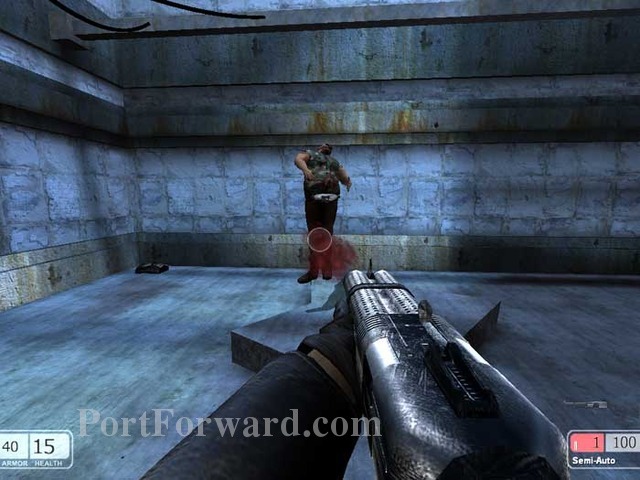
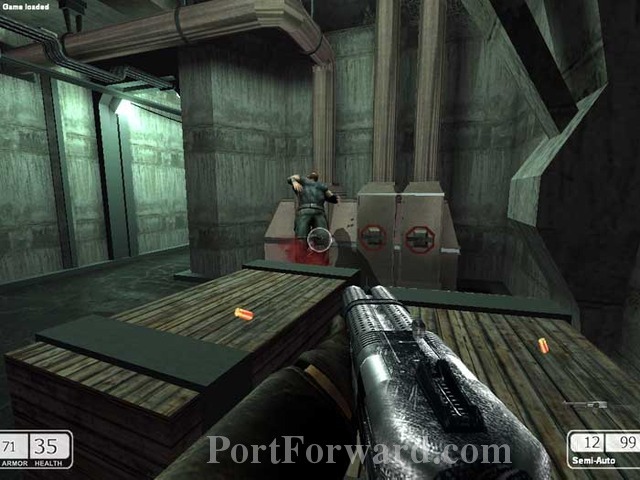
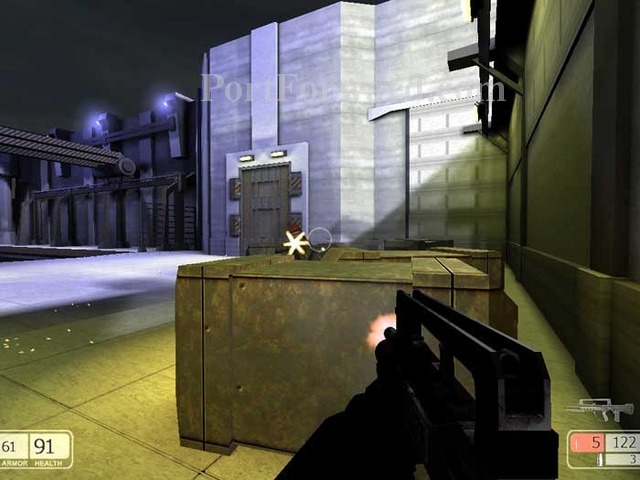
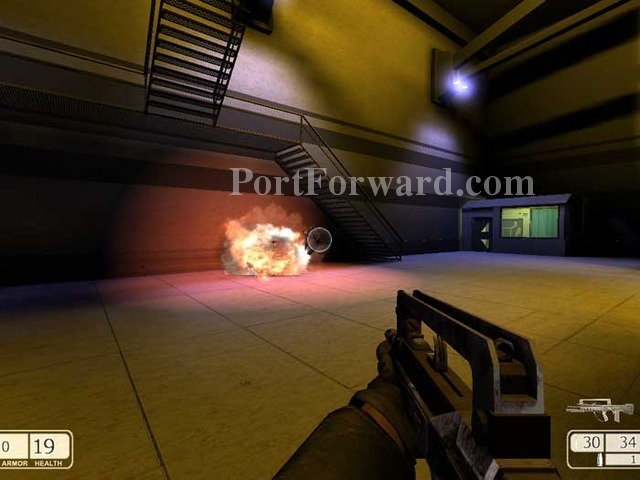
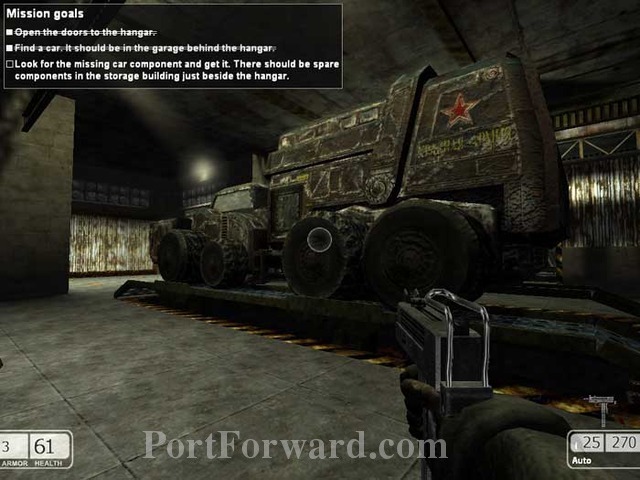
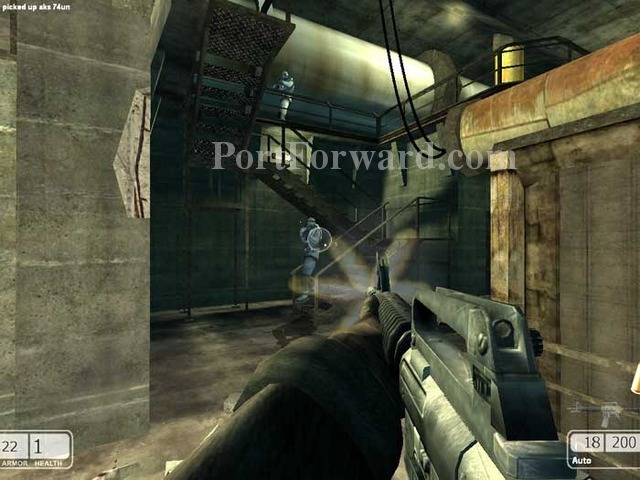
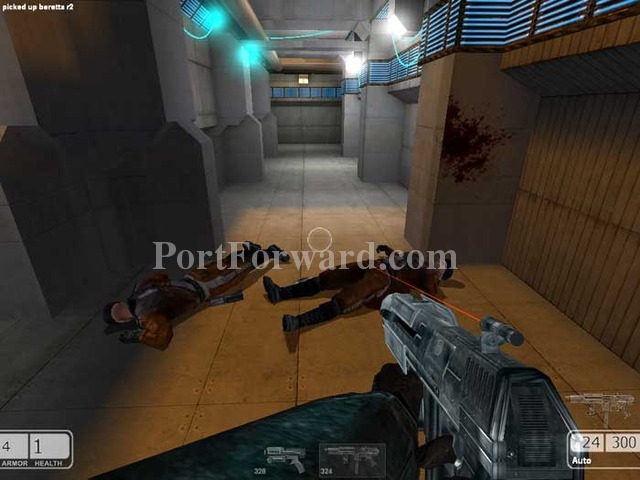
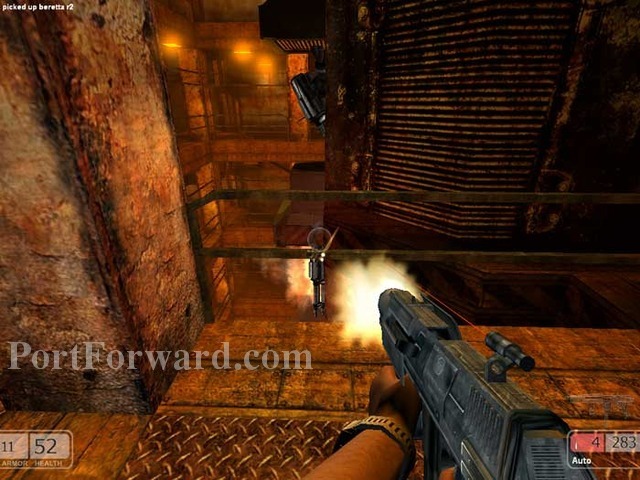
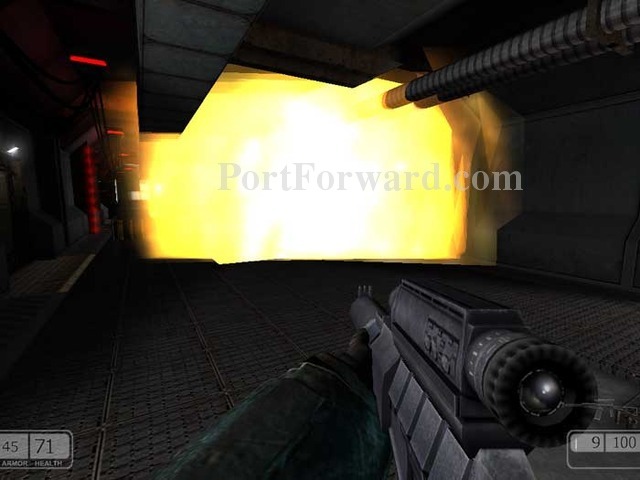
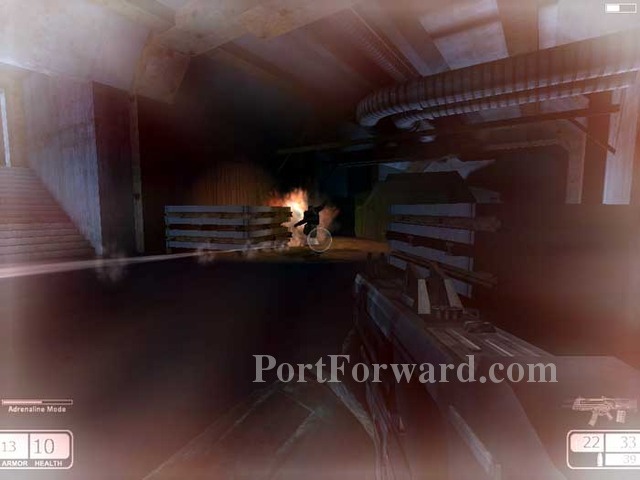
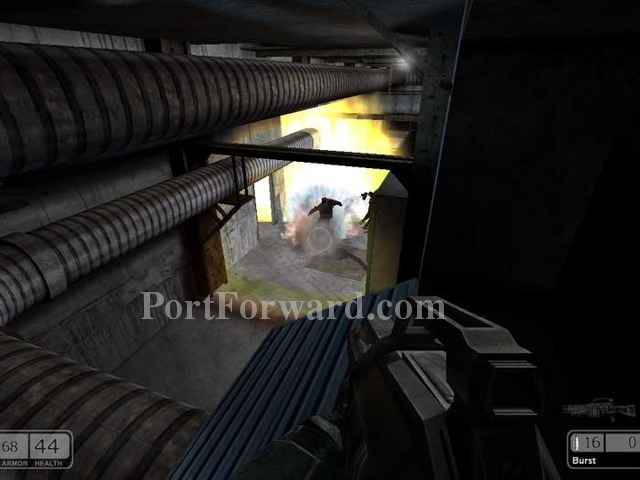
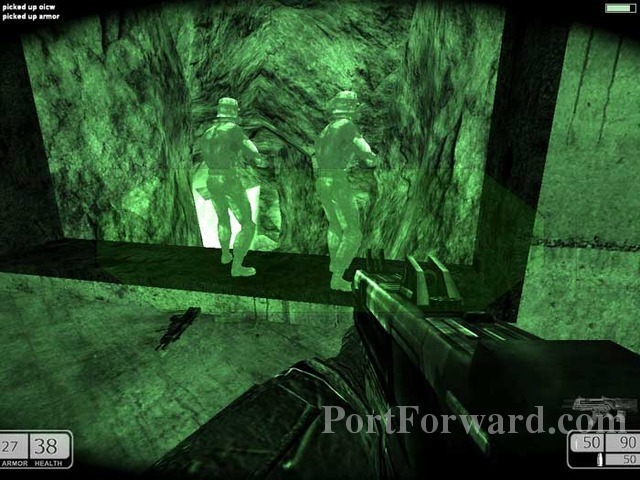
More guards, but this time they are knocked out by an explosion. Avail yourself of one of their weapons - the Heckler & Koch G11. Proceed through the door with the yellow panel beyond.
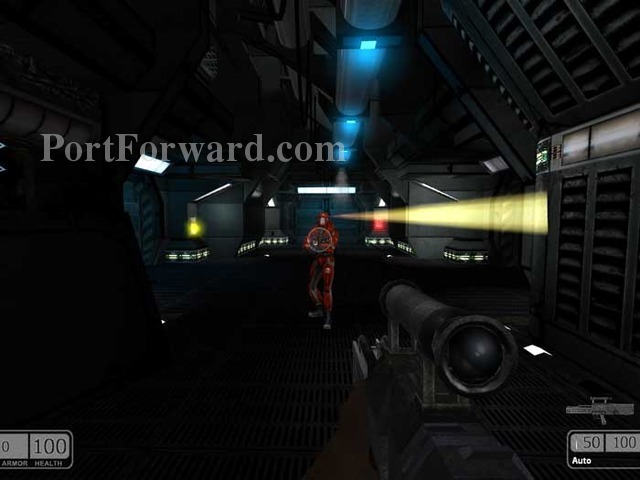
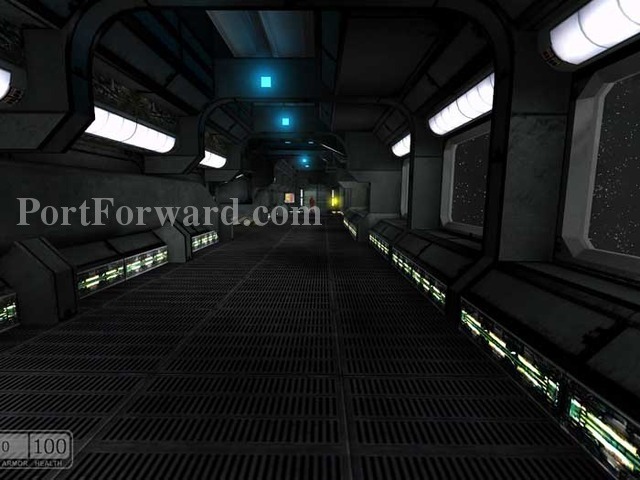
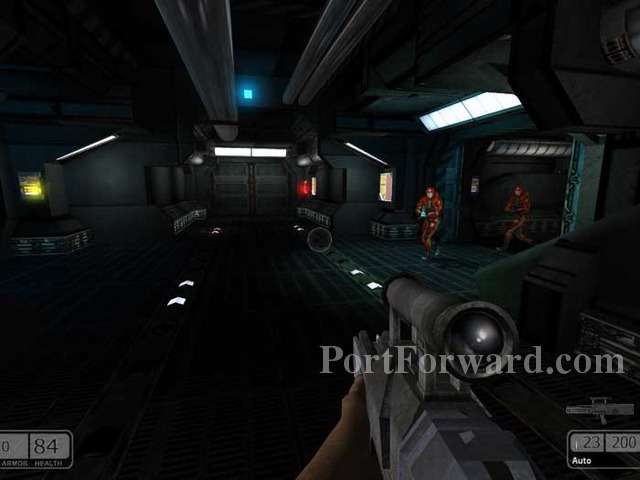
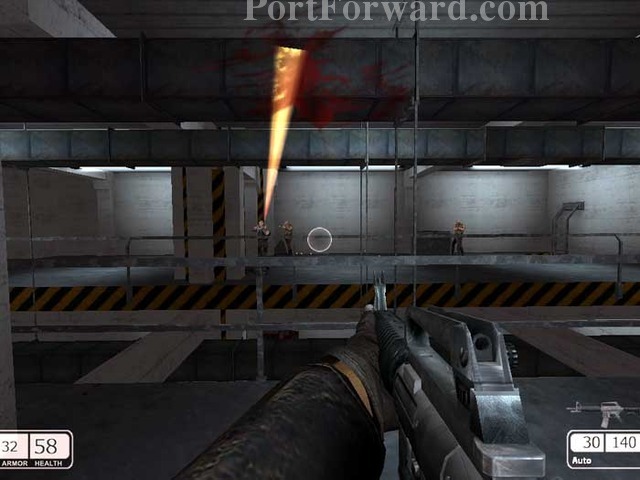
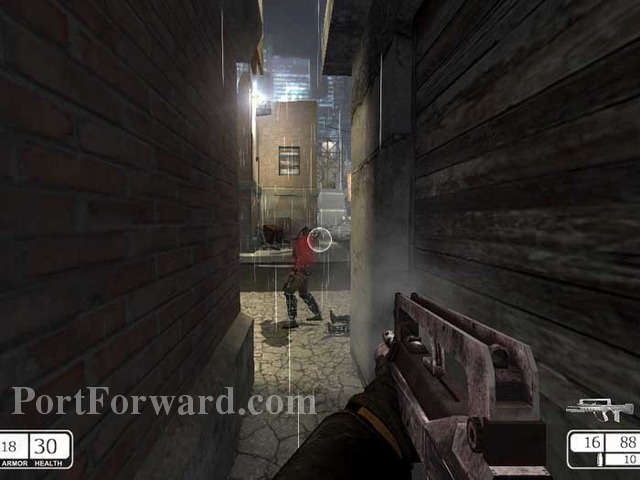
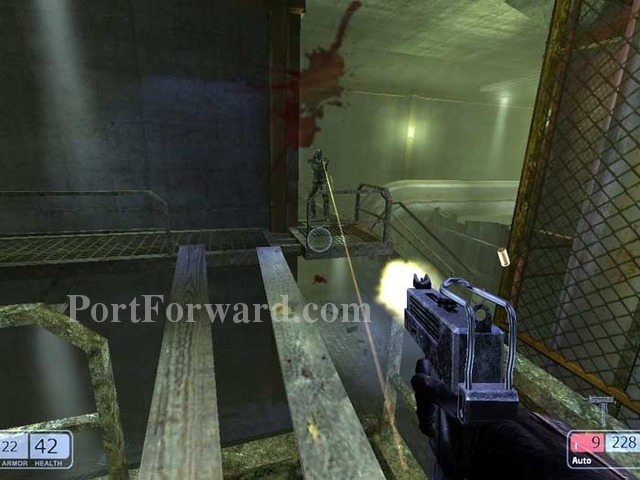
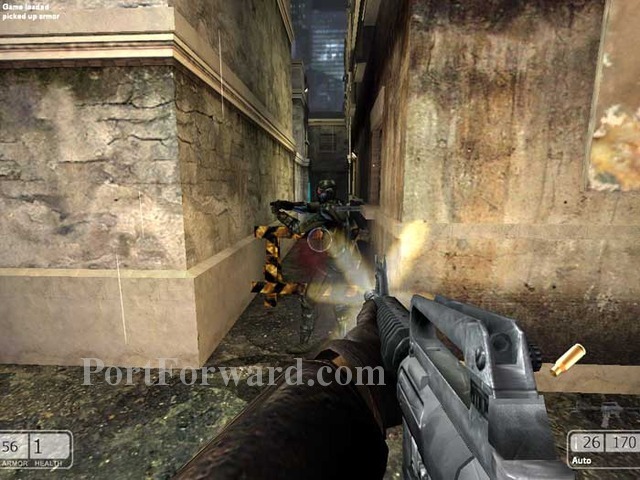
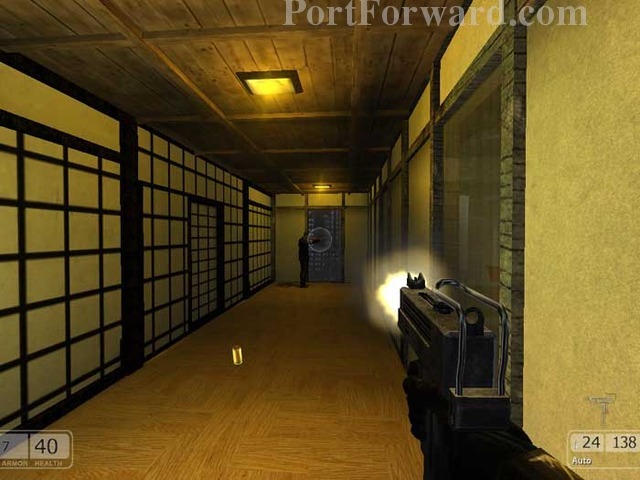
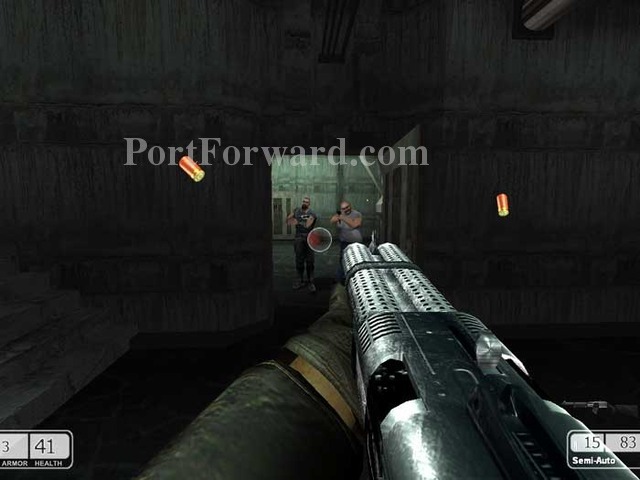
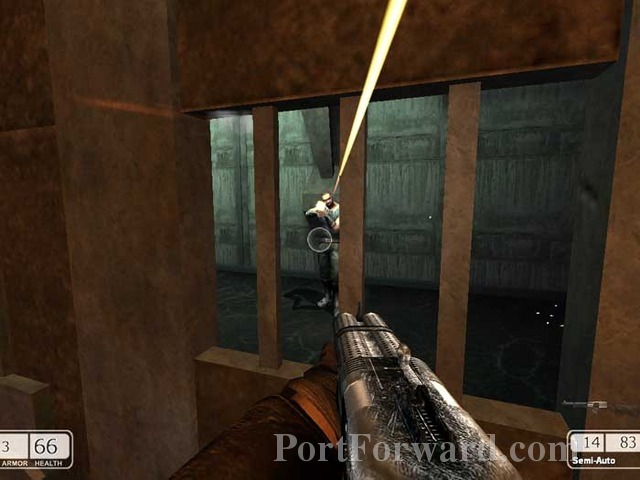
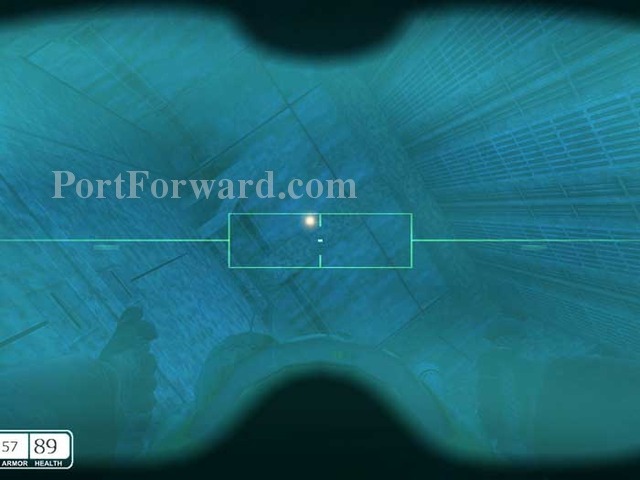
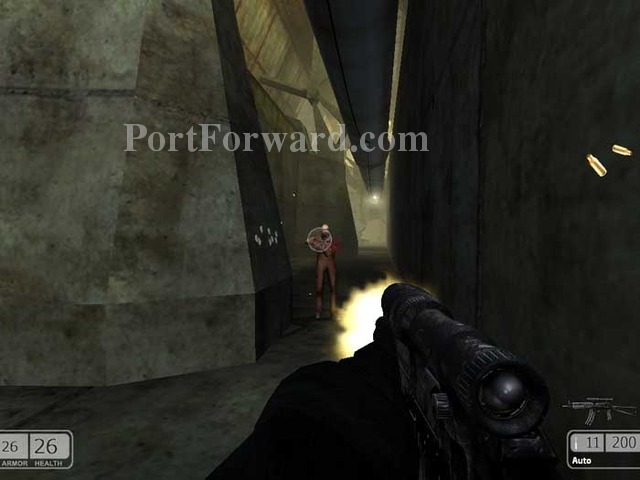
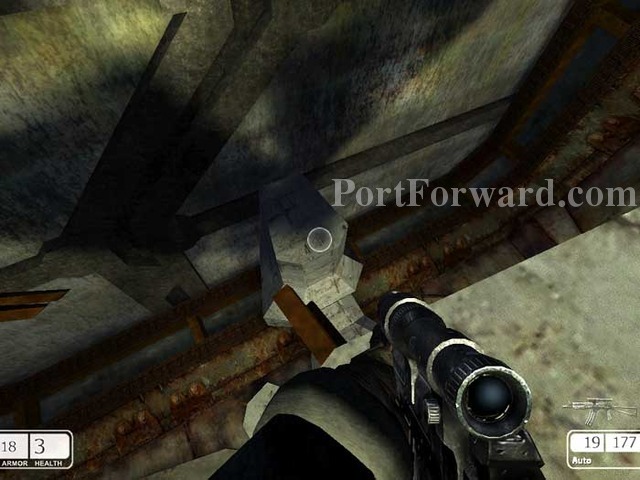
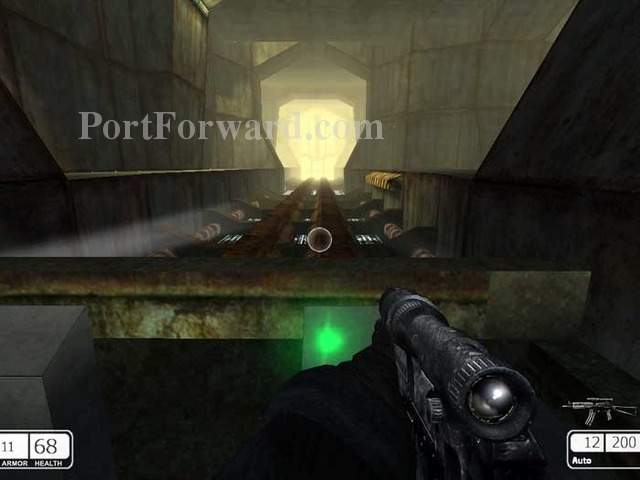
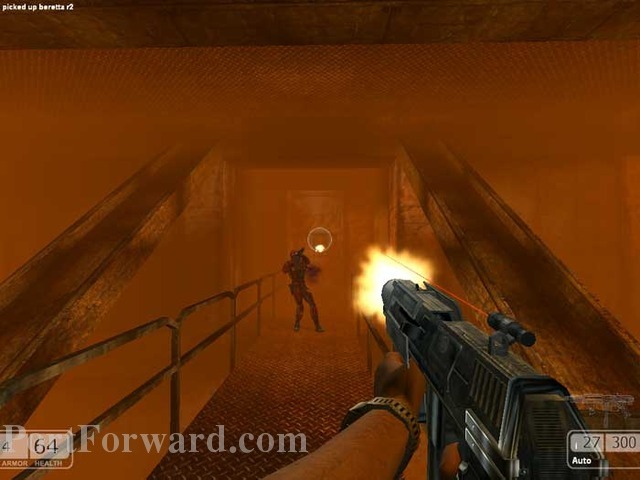
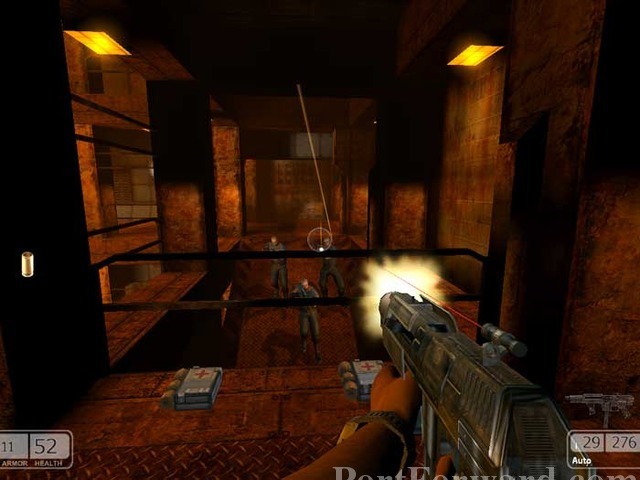
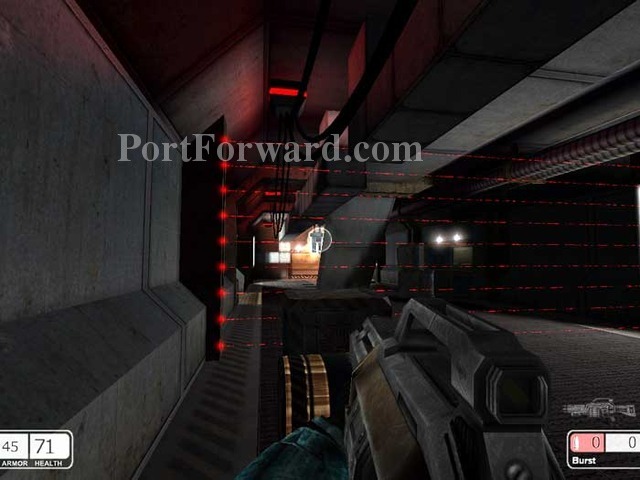
Two guards patrol the corridor. Take out this one easily with your G11's primary fire.
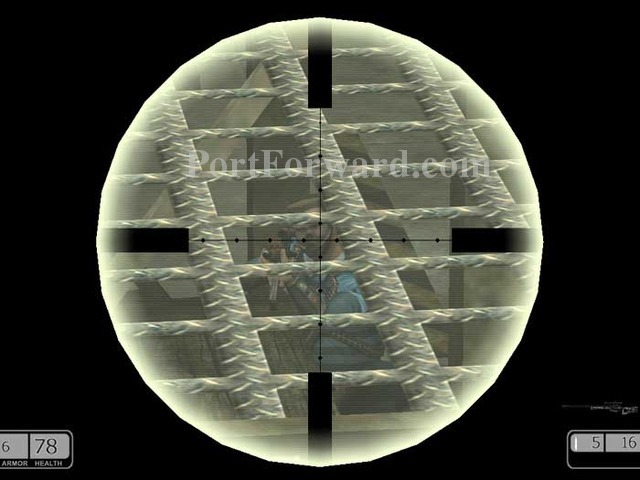
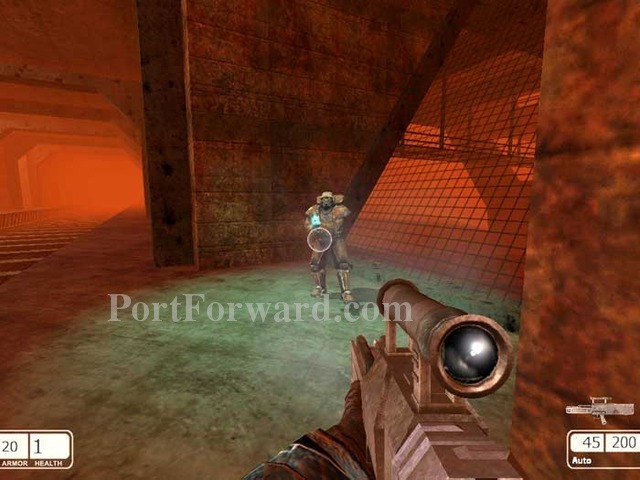
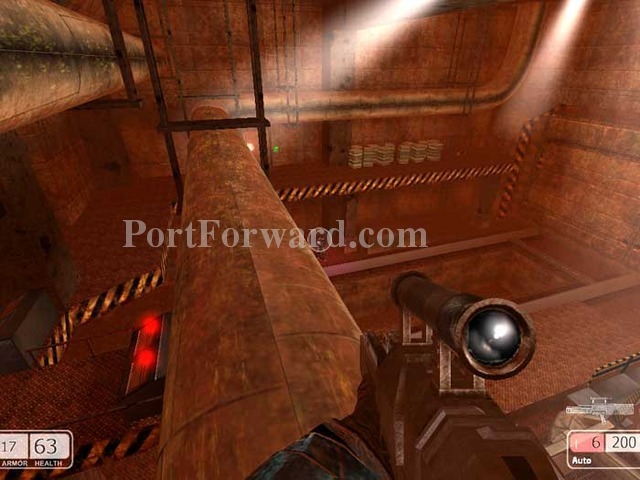
Alternate-fire activates the G11's sniper scope. Take out this second guard on the left then proceed through the yellow-panel door.
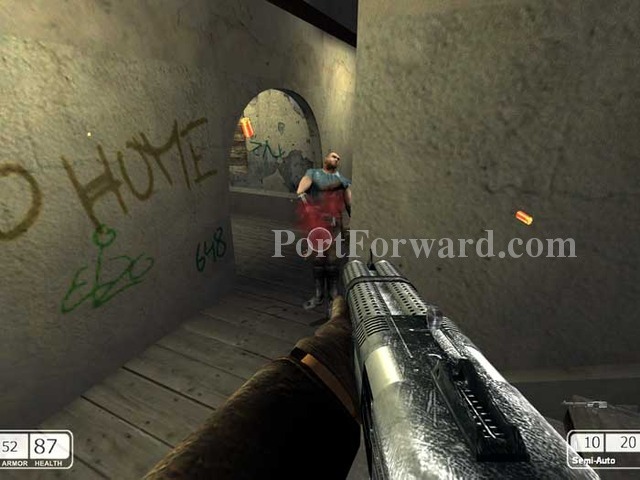
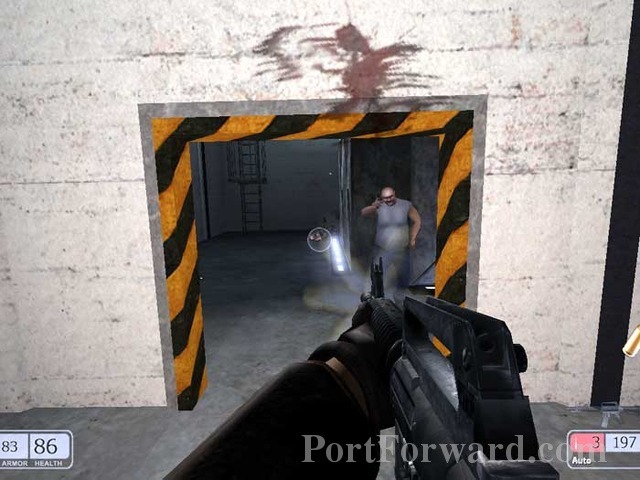
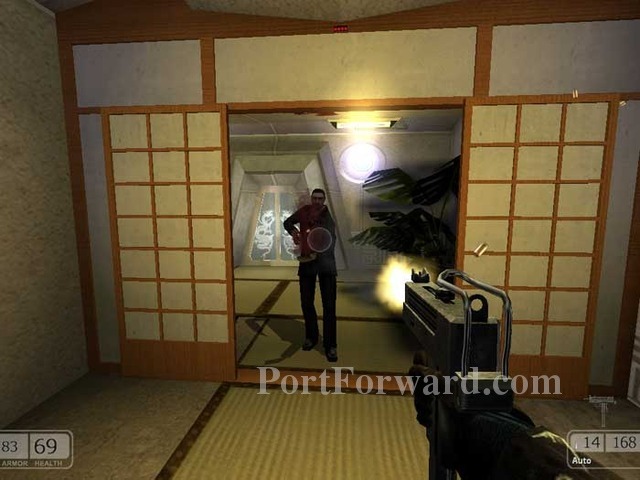
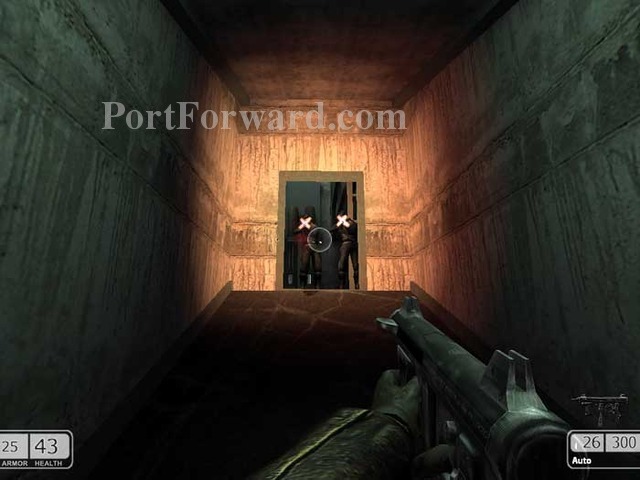
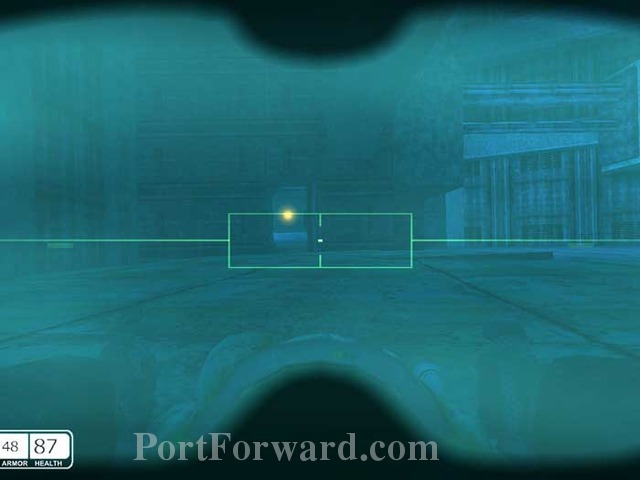
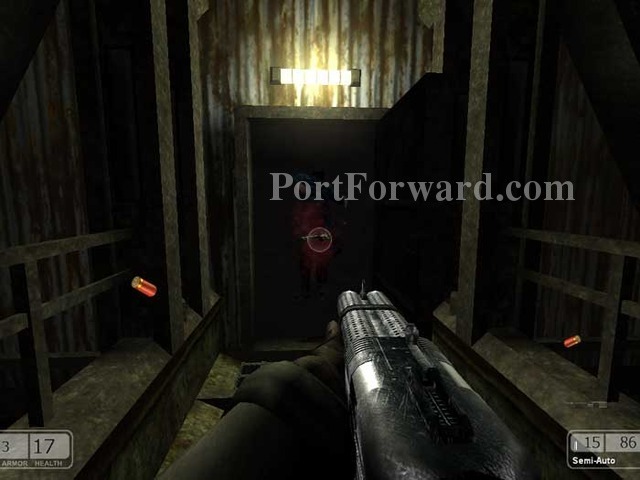
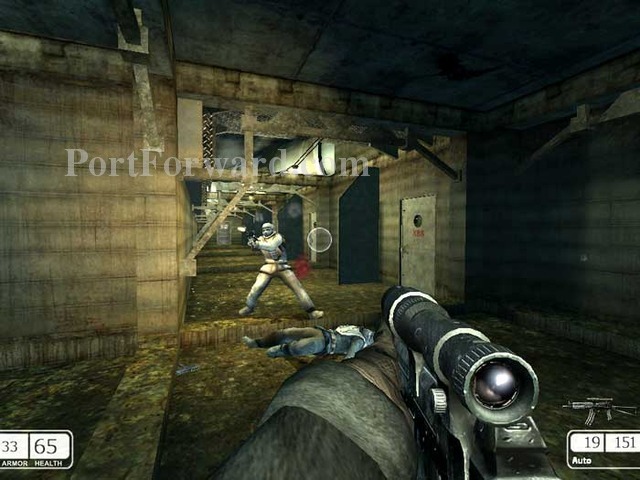
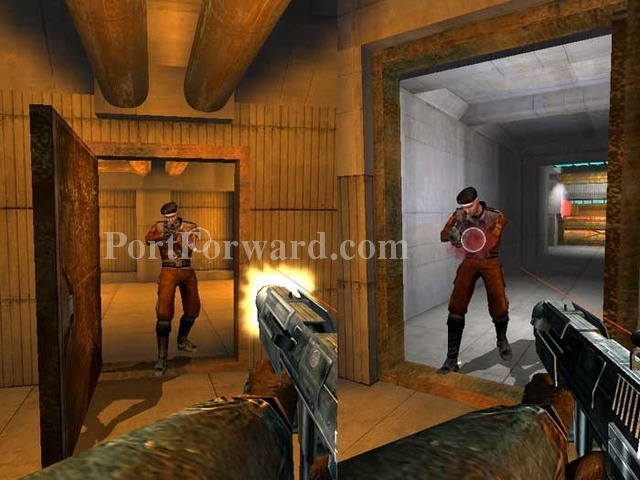
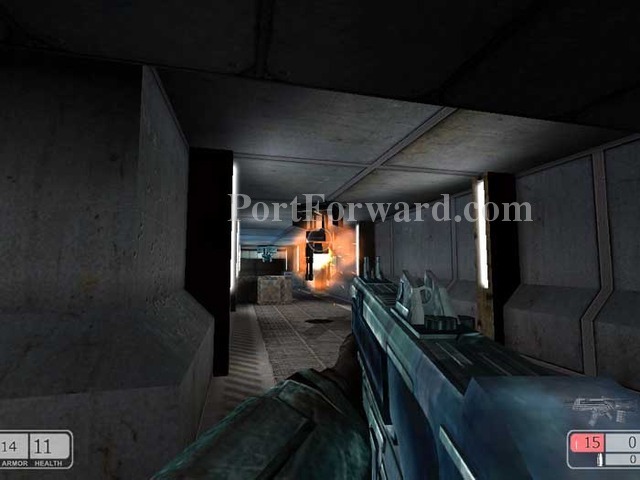
This guard attacks from the right, then two more straight ahead.
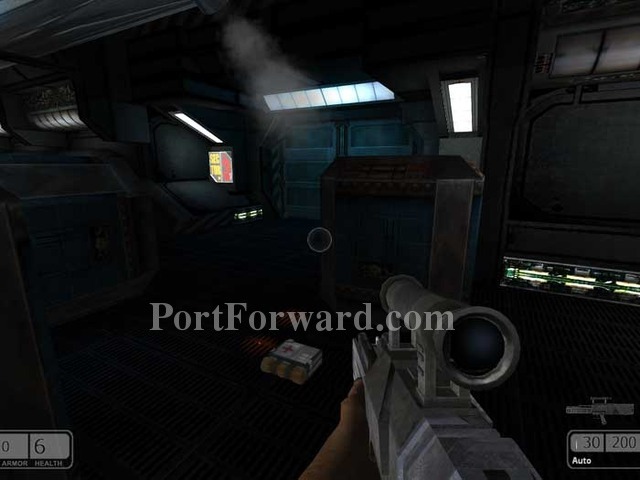
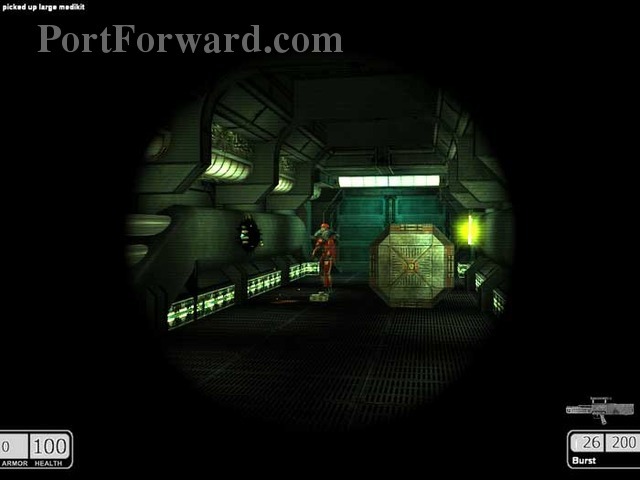
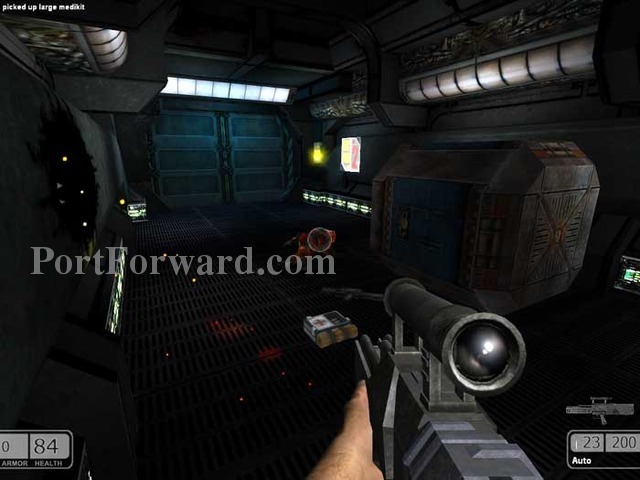
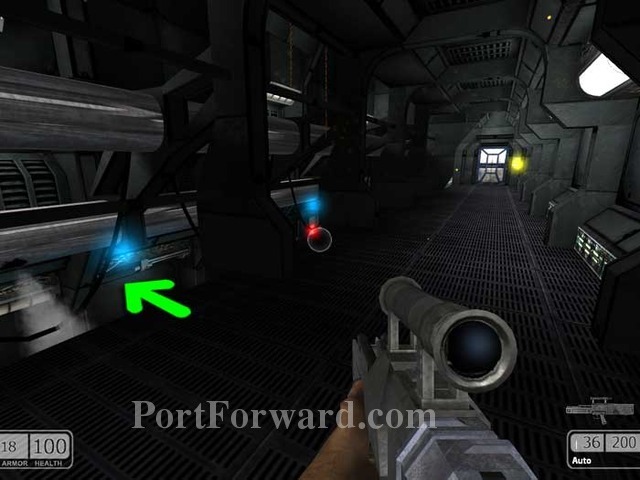
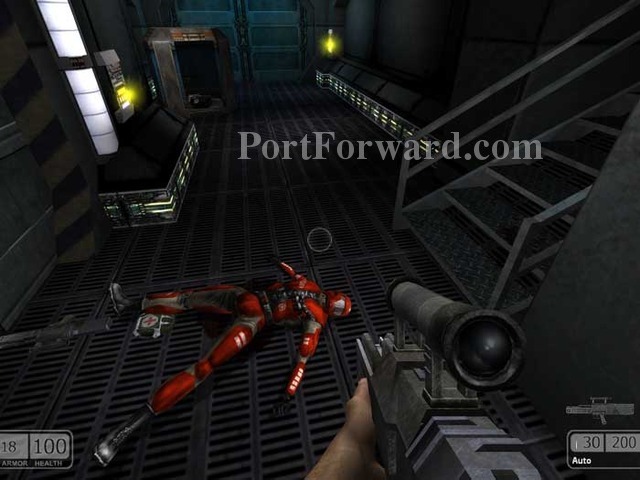
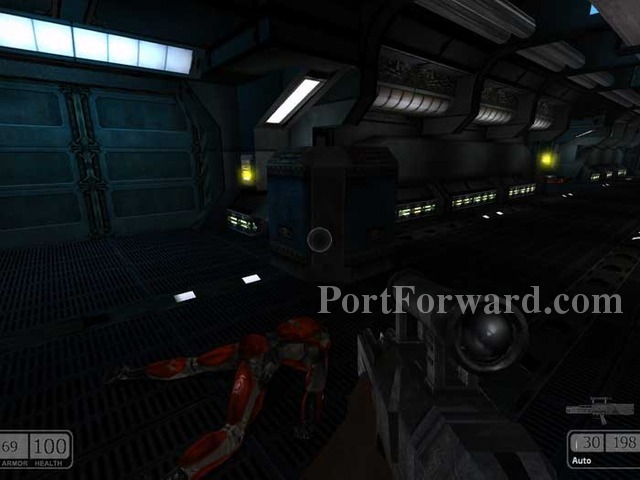
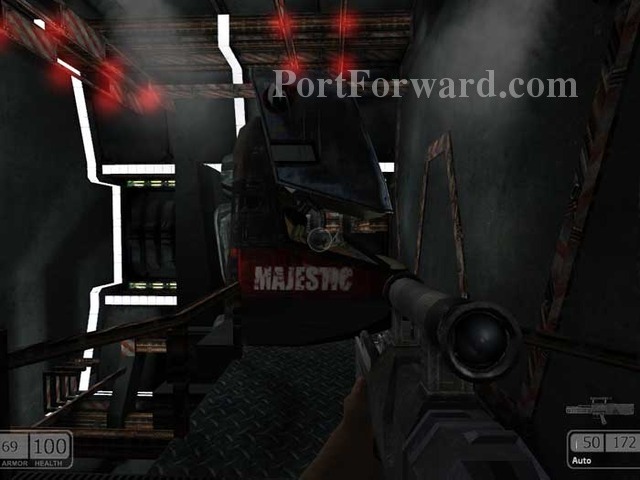
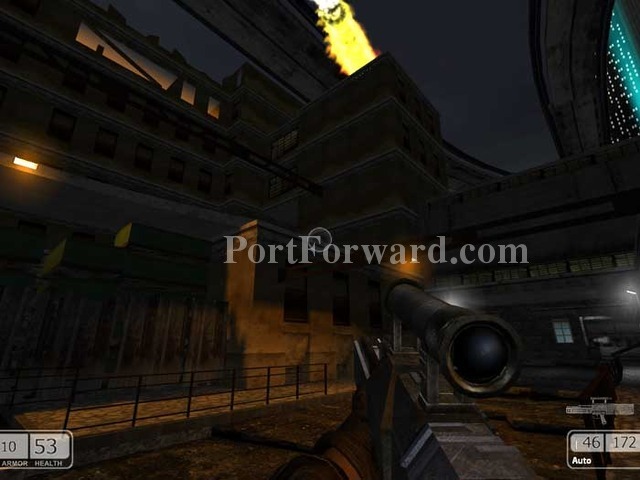
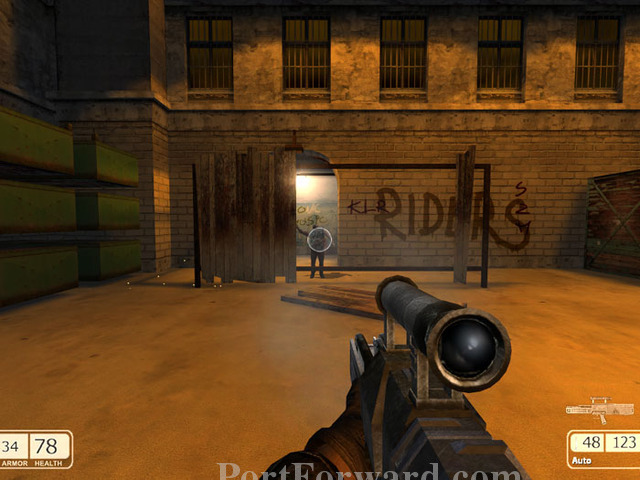
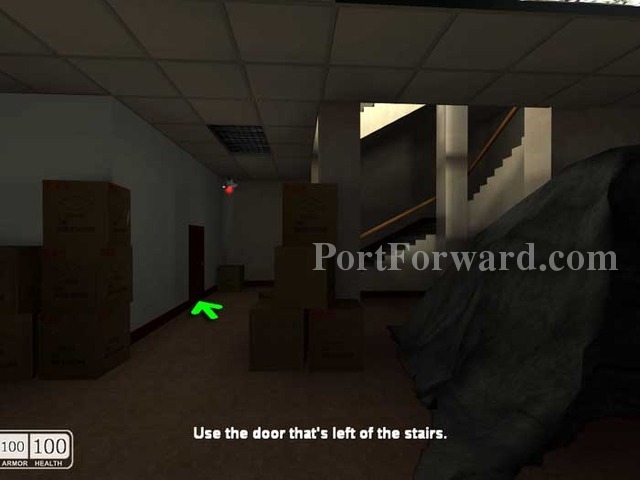
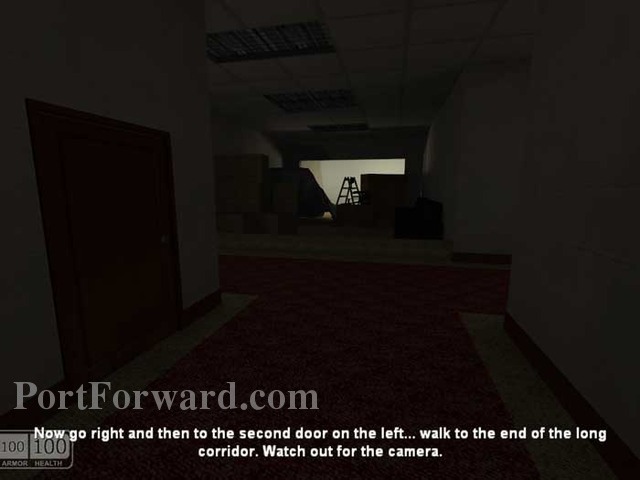
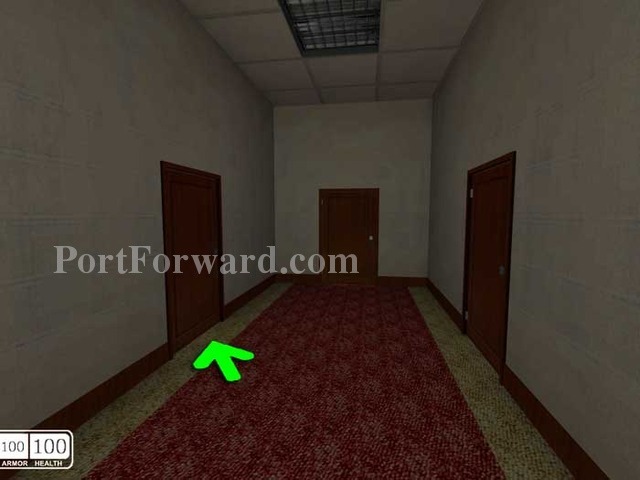
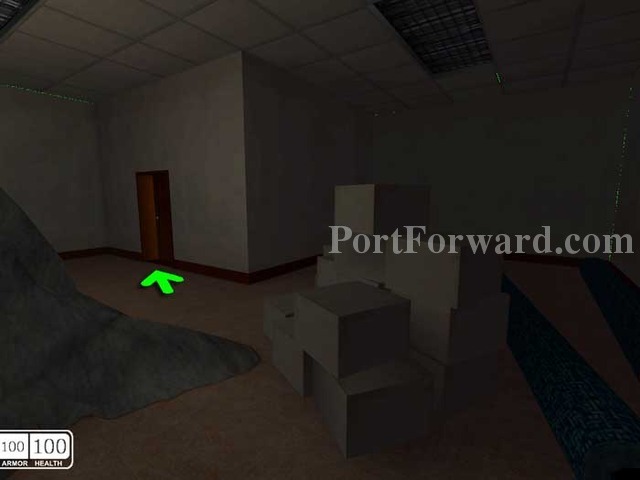
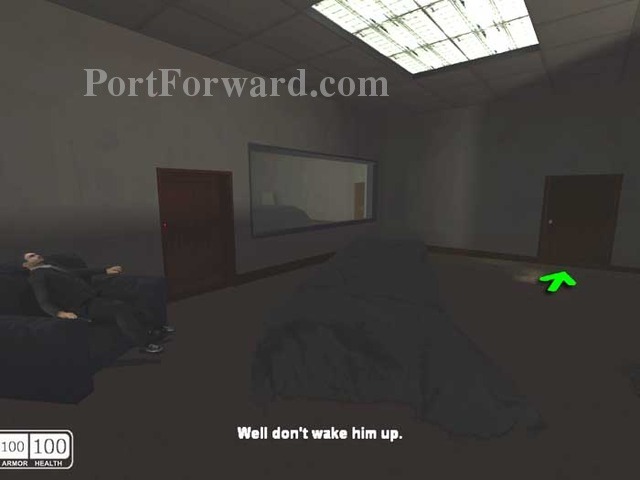
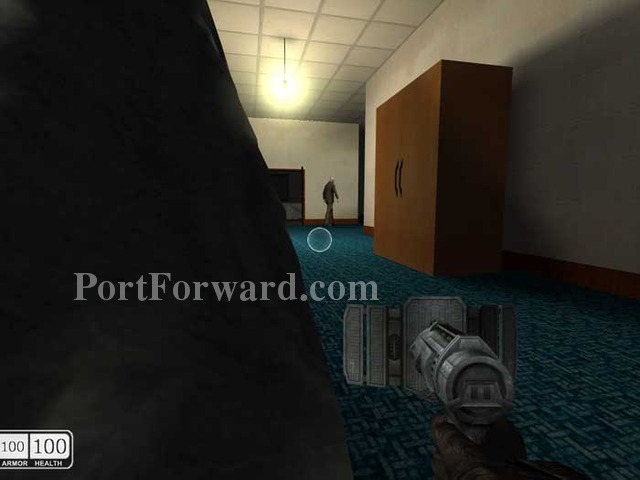
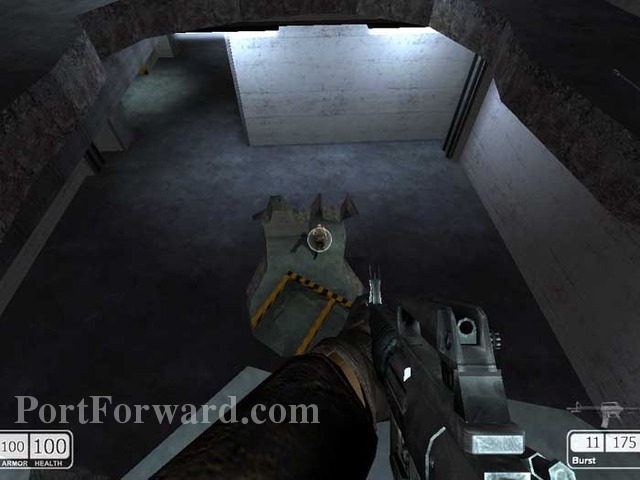
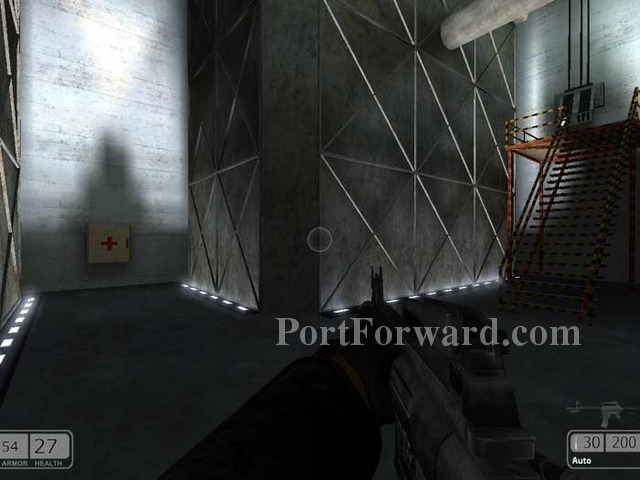
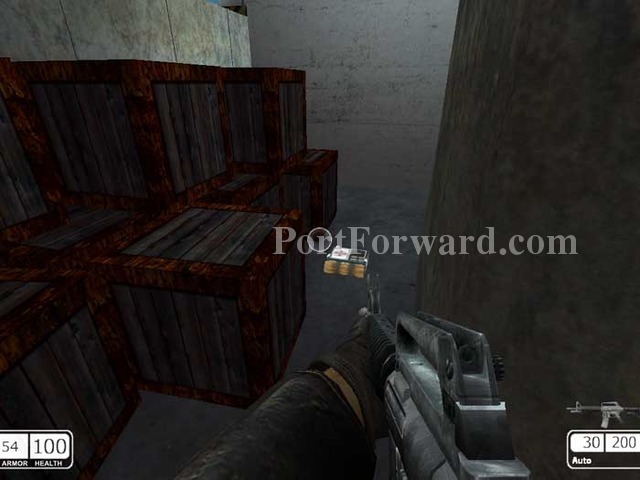
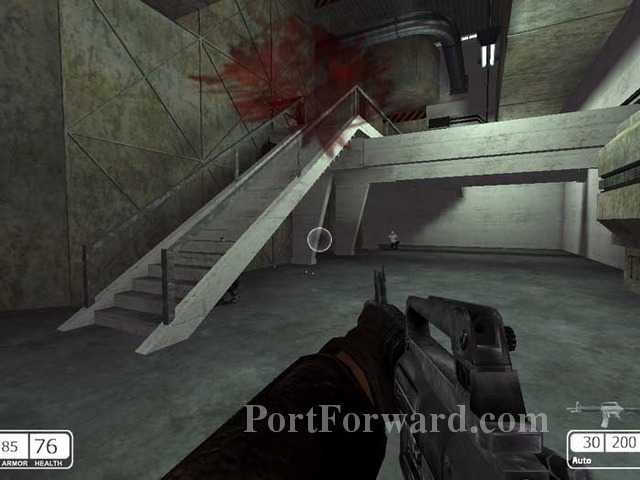
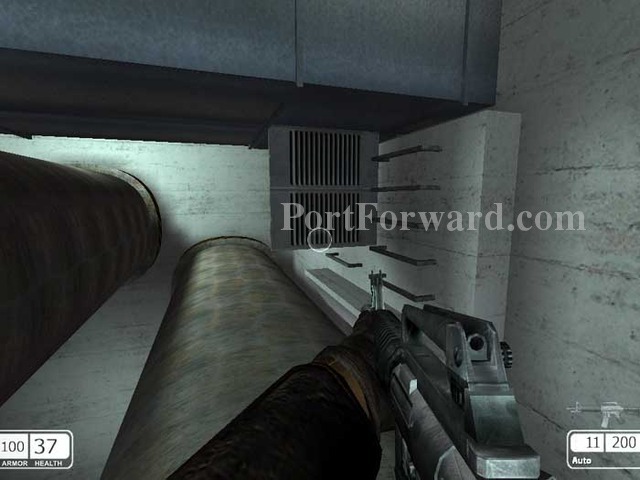
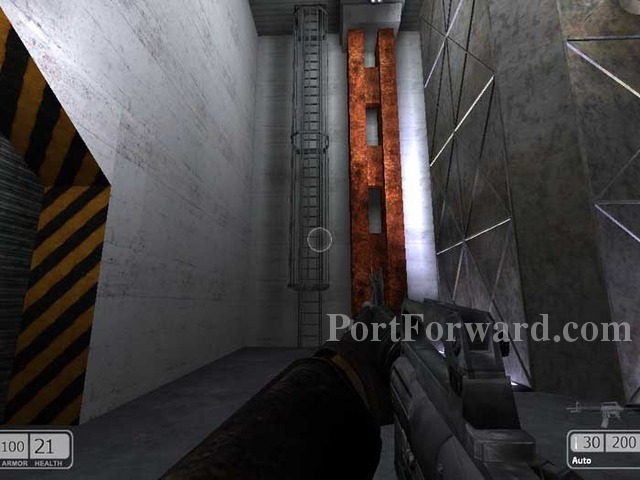
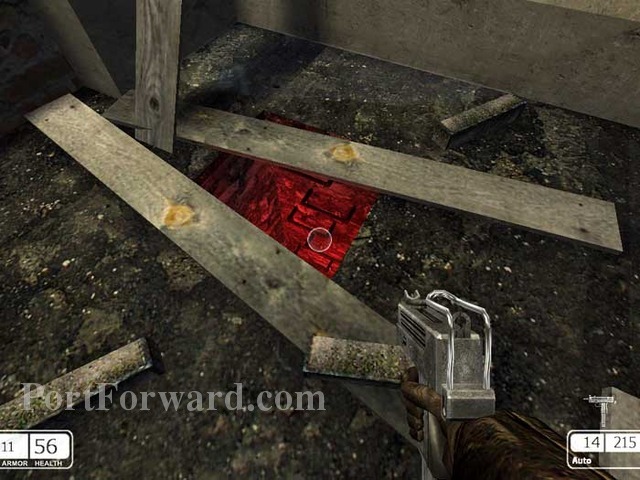
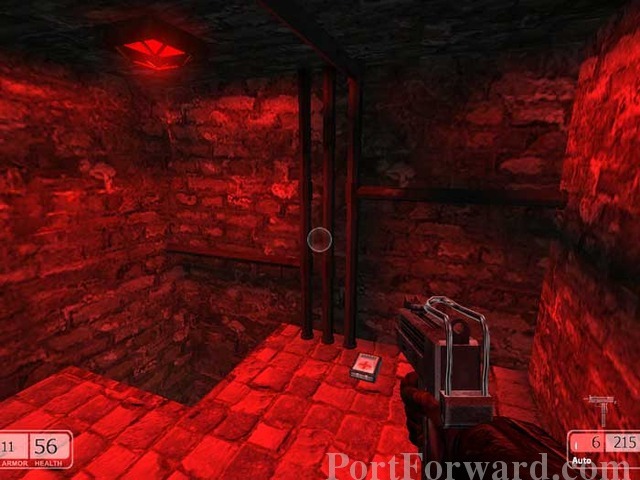
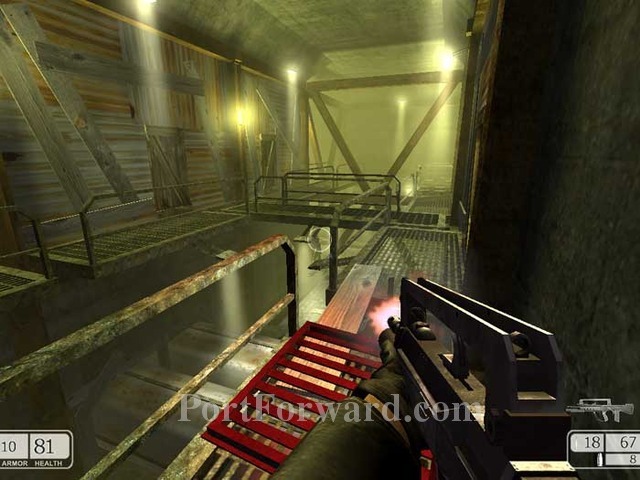
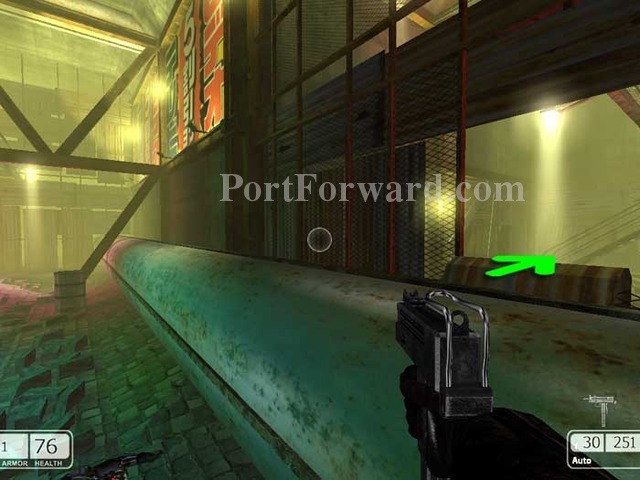
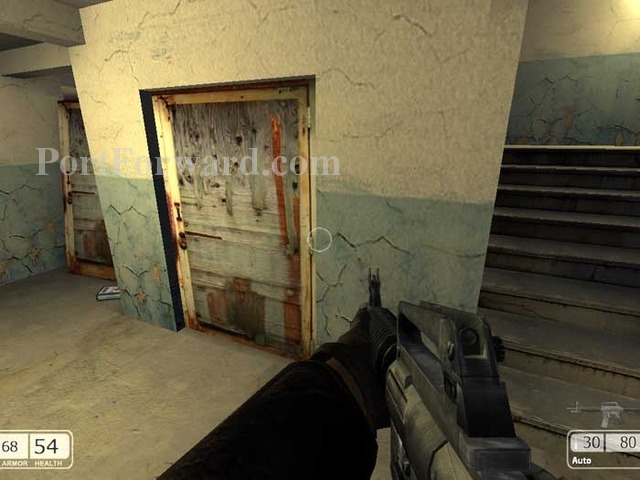
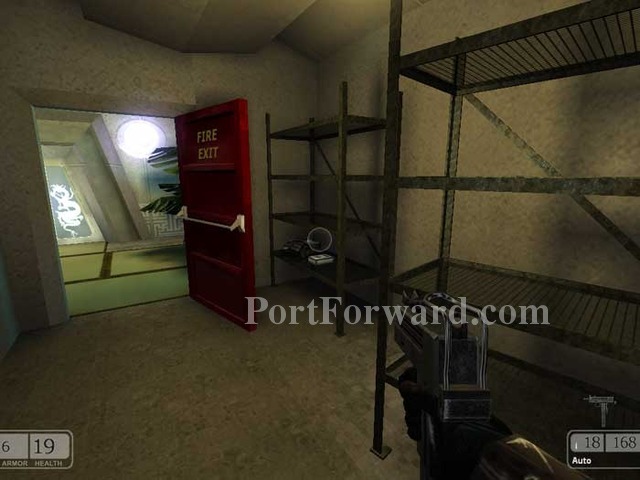
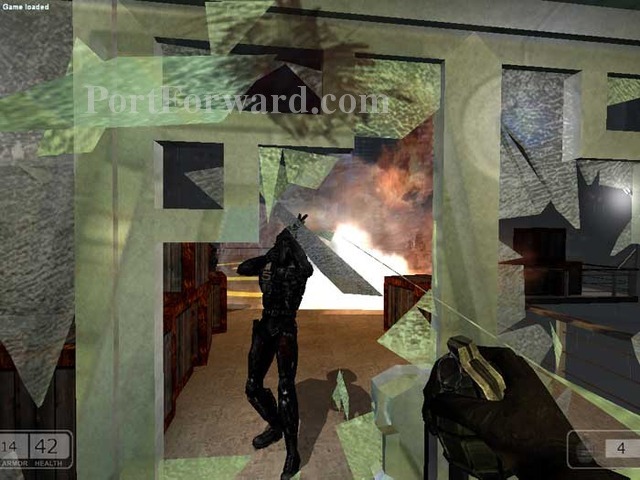
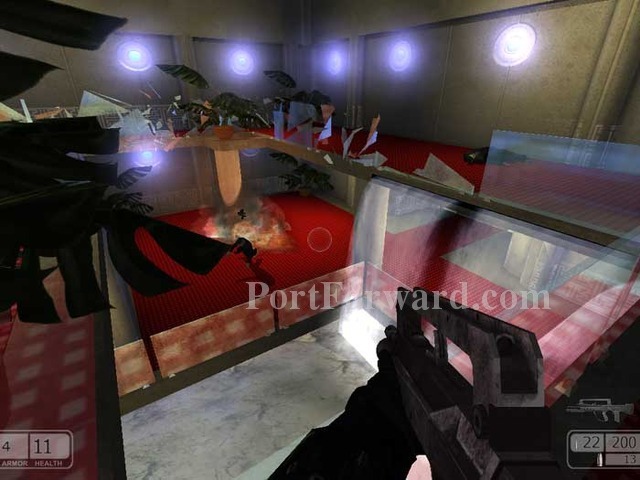
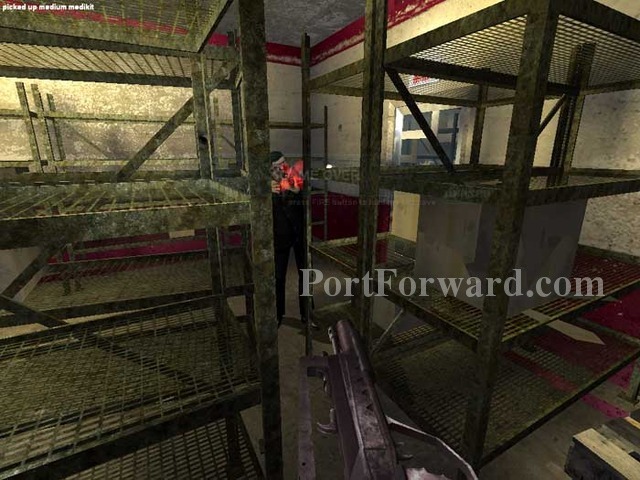
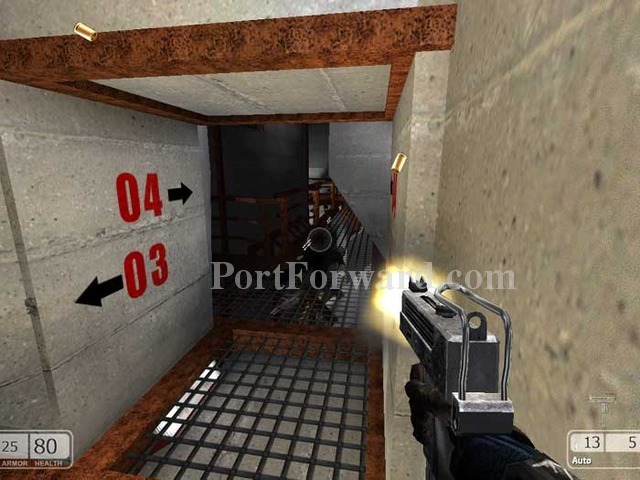
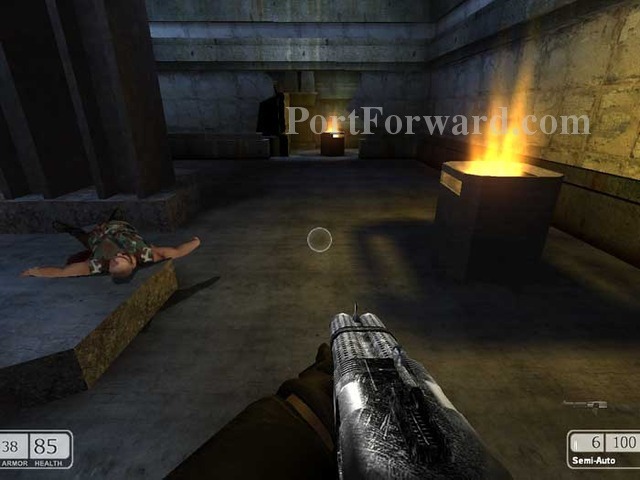
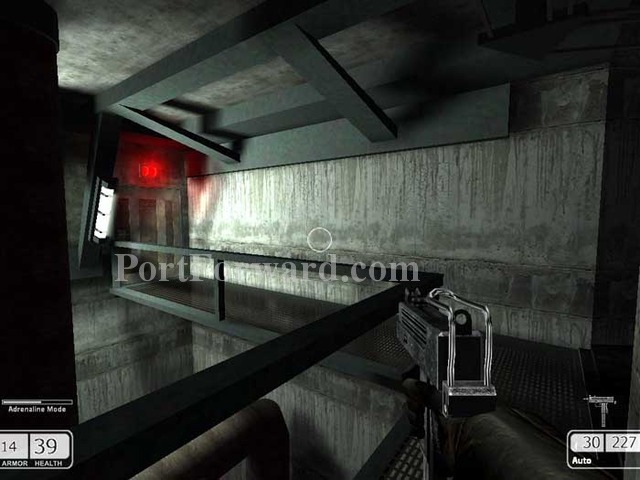
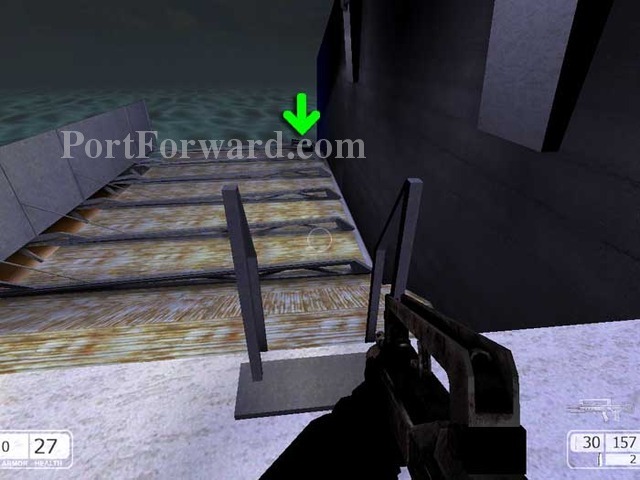
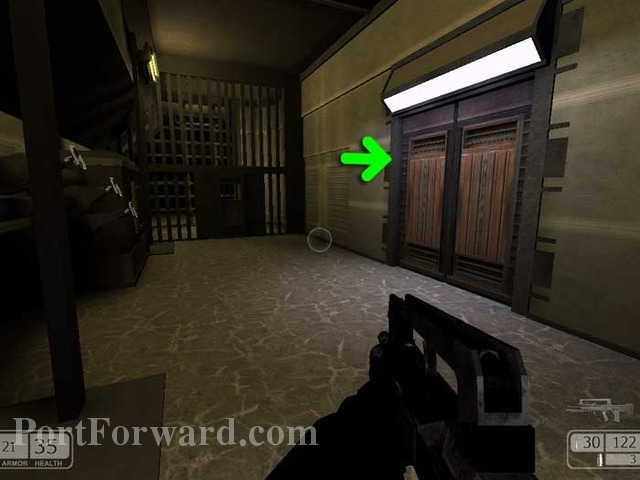
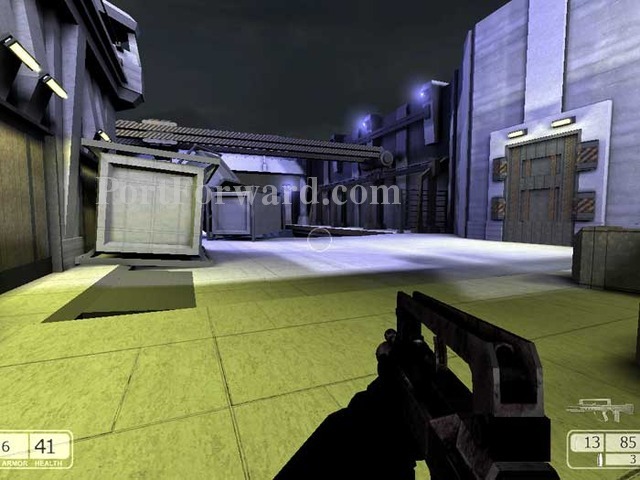
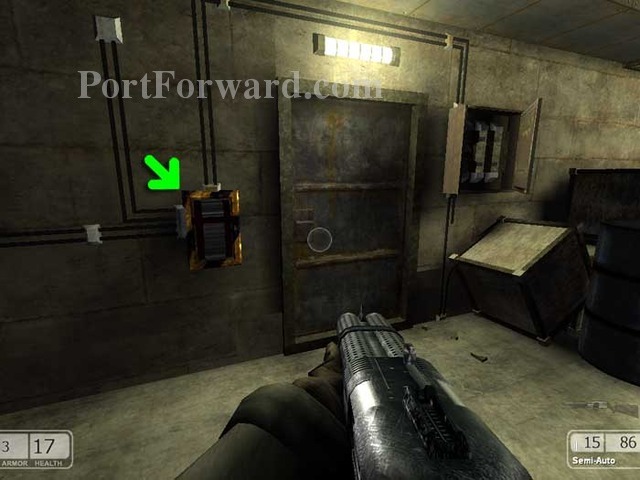
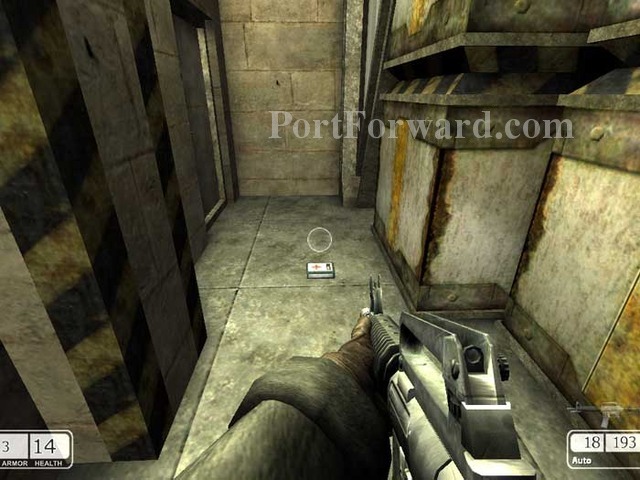
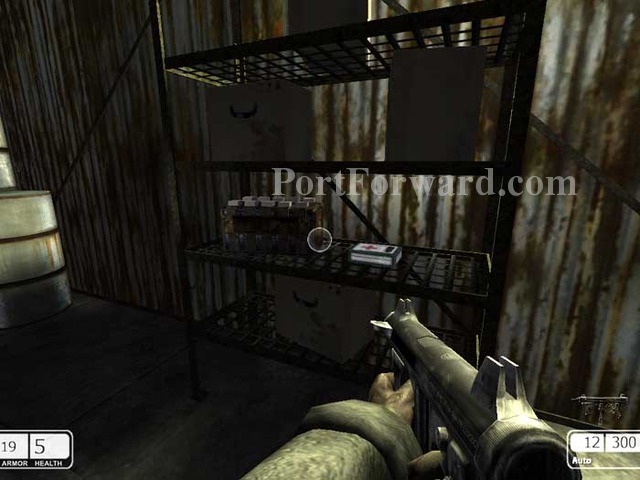
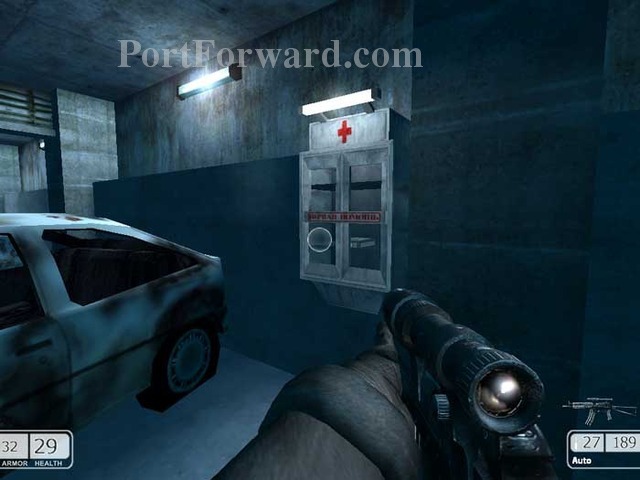
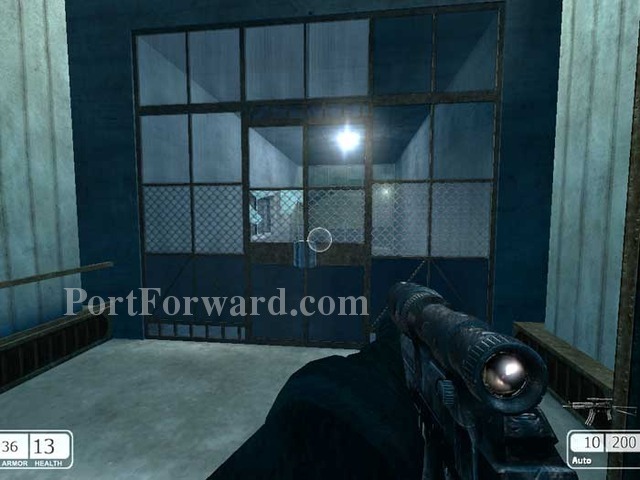
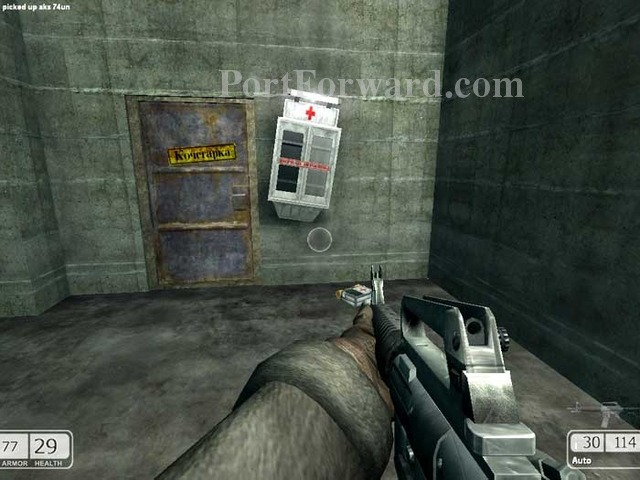
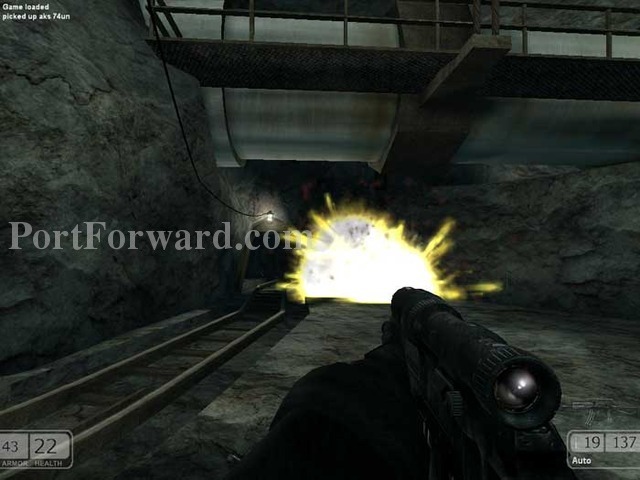
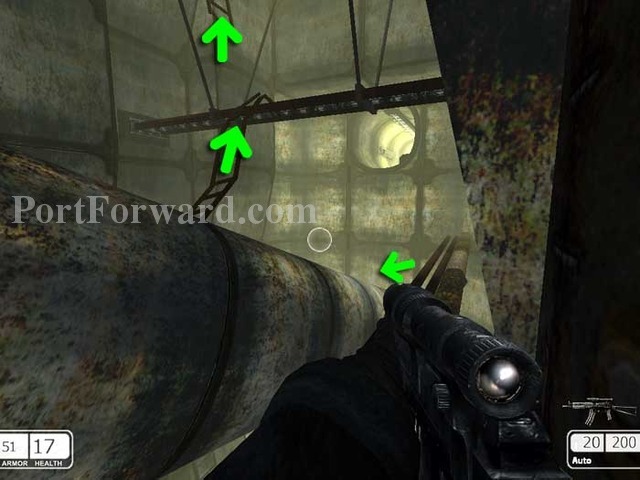
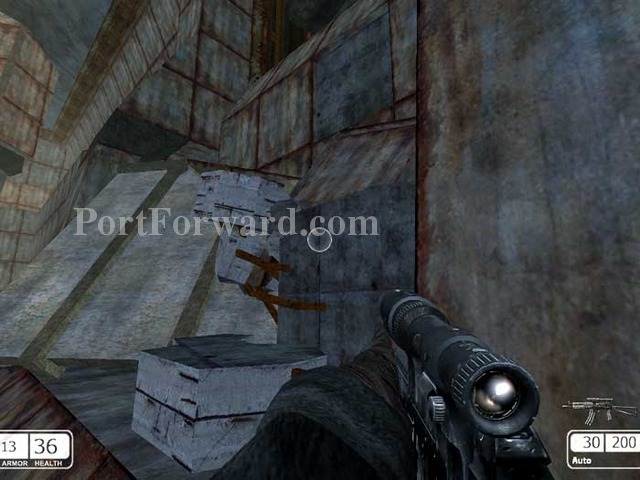
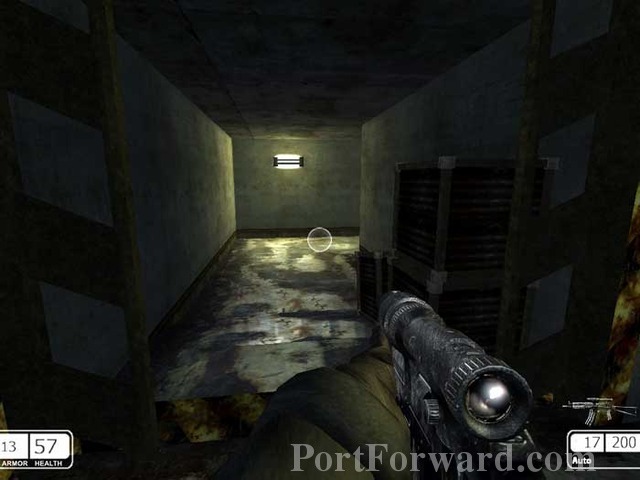
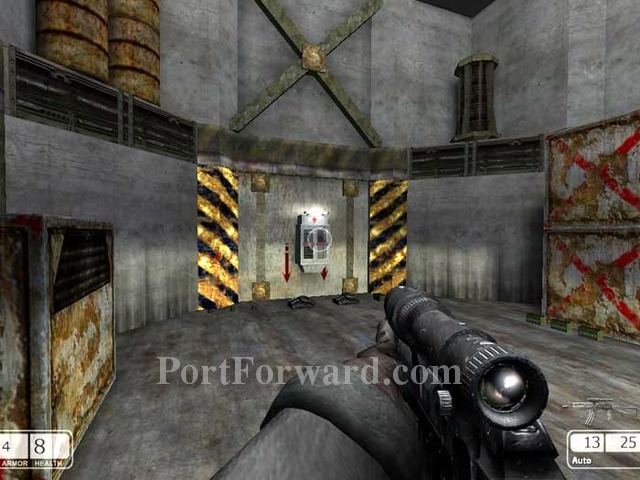
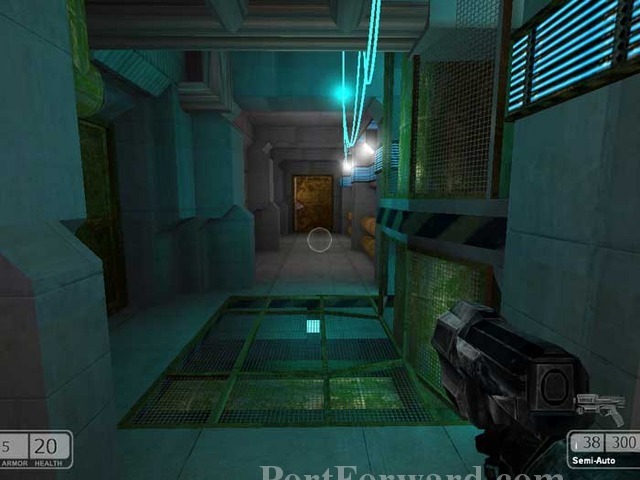
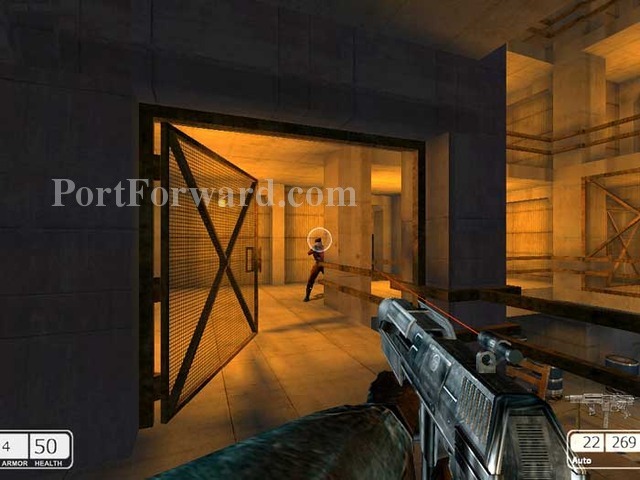
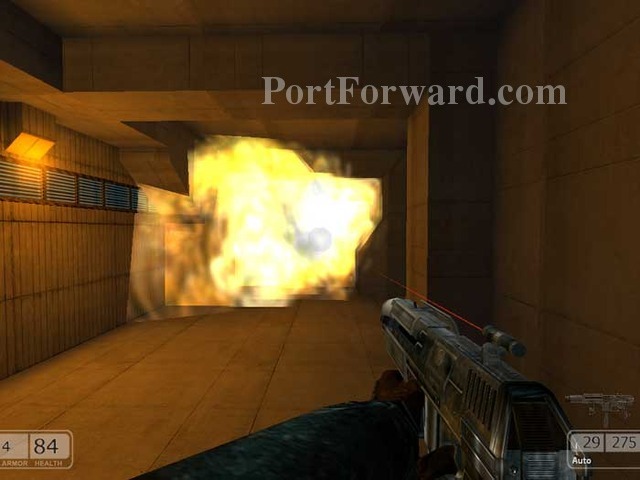
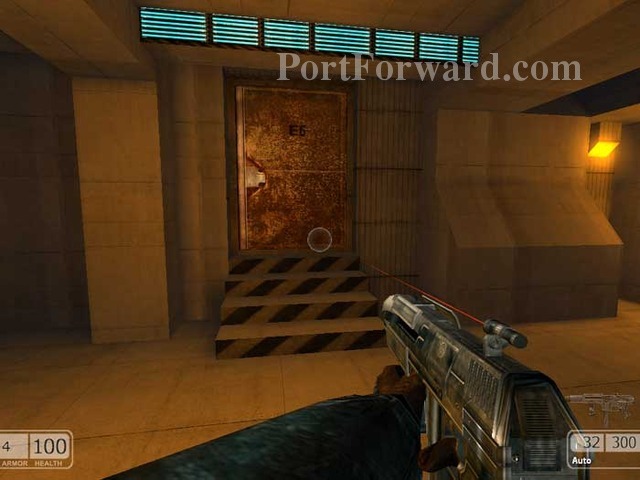
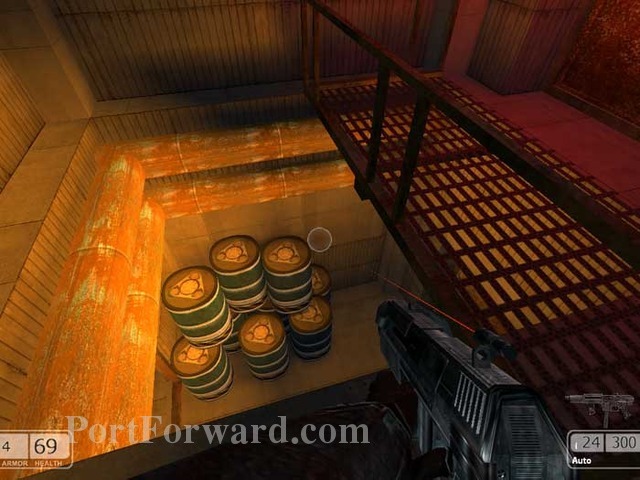
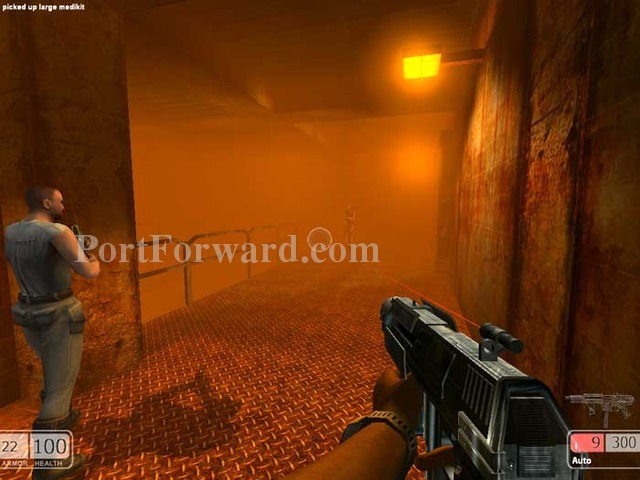
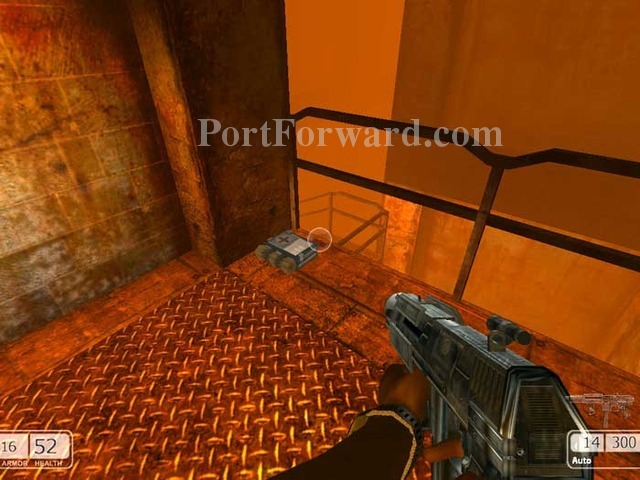
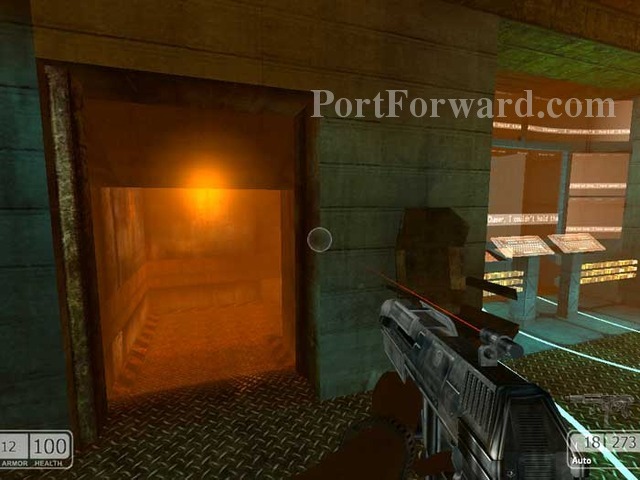
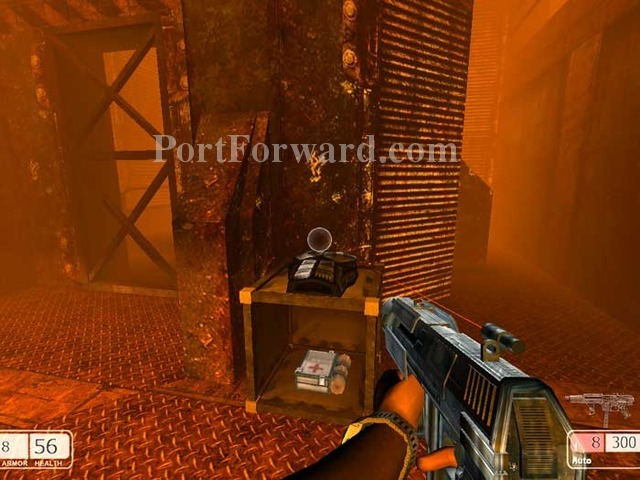
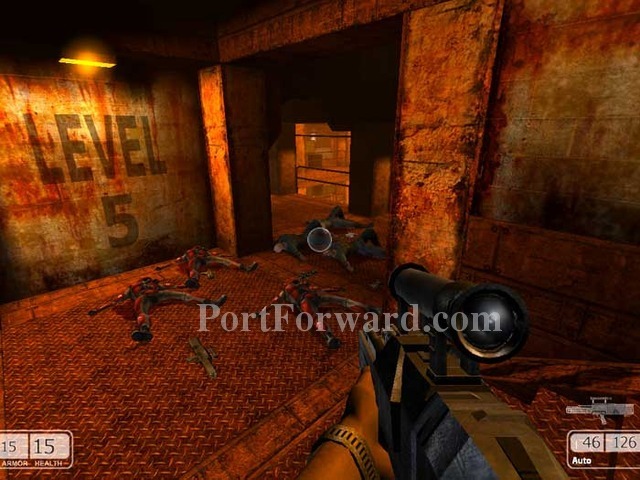
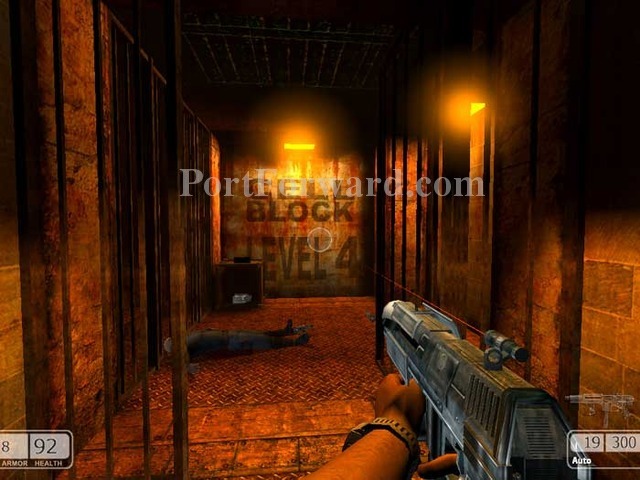
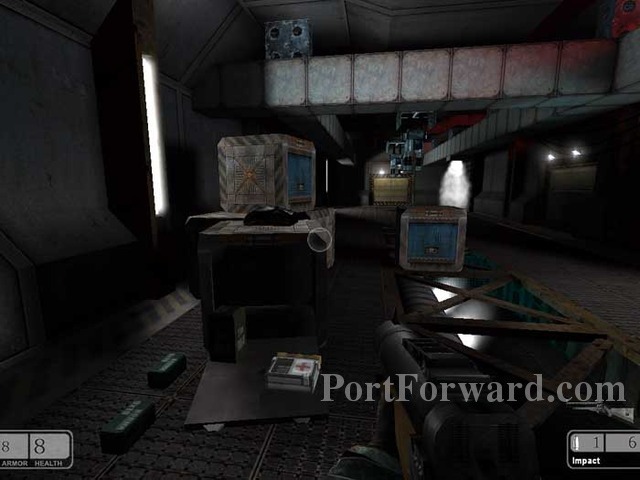
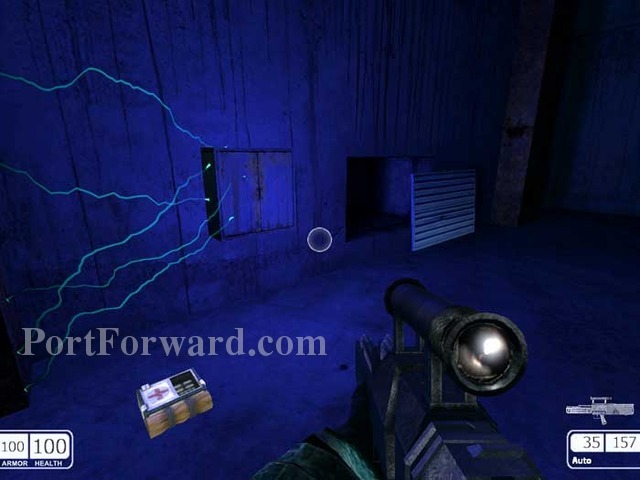
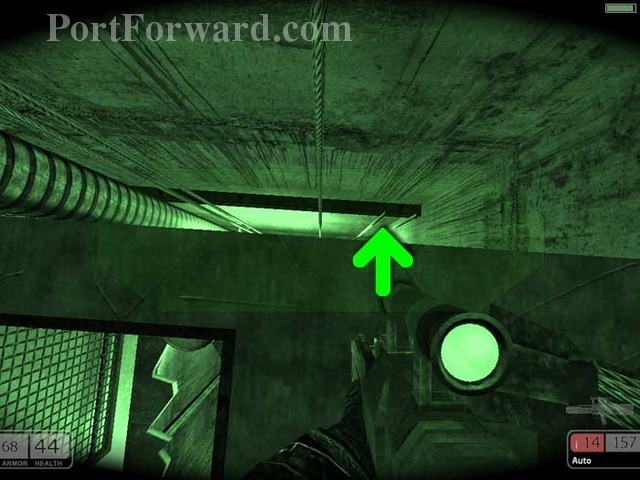
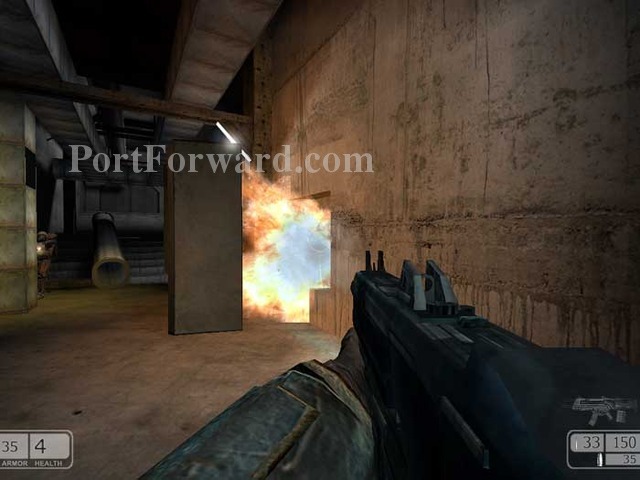
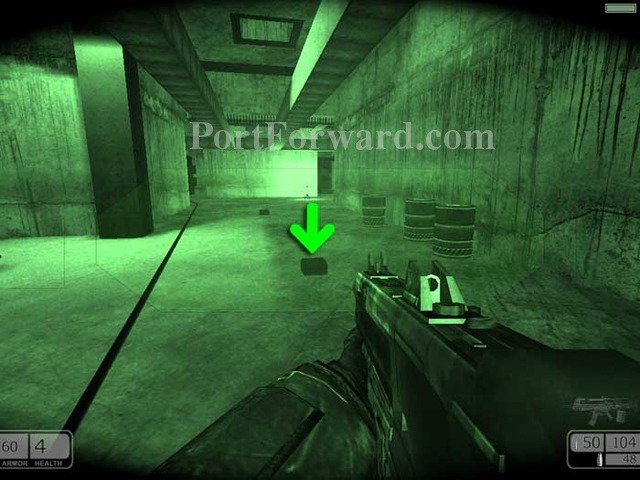
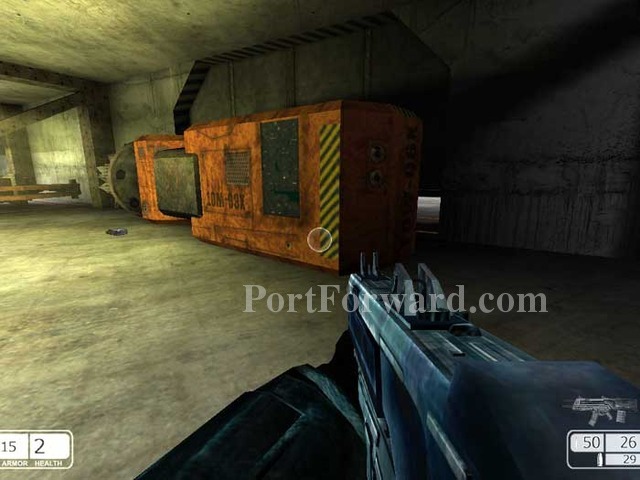
There are three doors with yellow panels in this corridor. Two lead to dead ends, and this one at the far end of the corridor where an explosion occurs is the one you want. Grab the medkit before continuing.
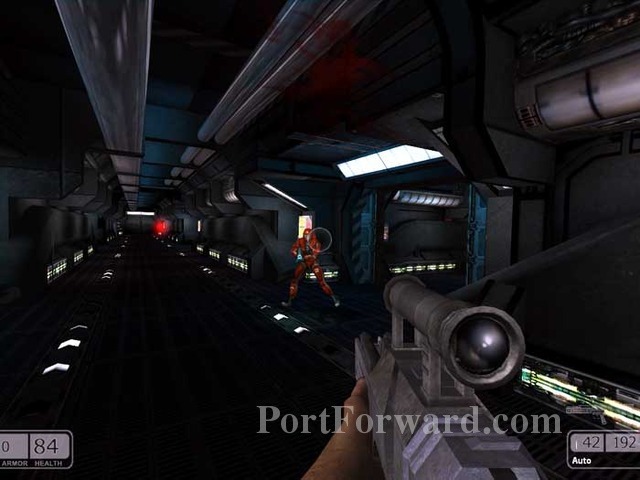
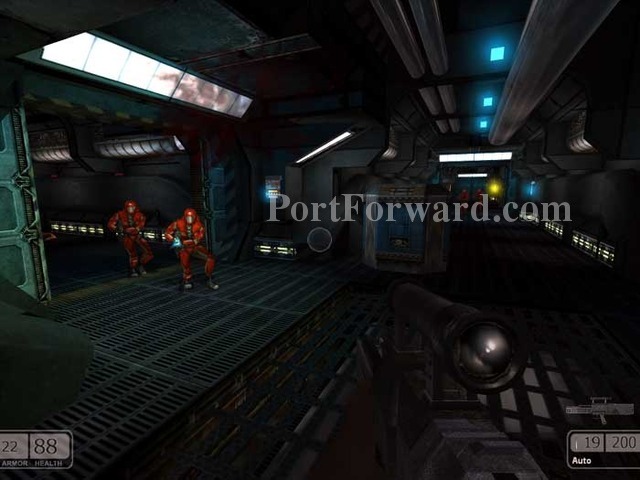
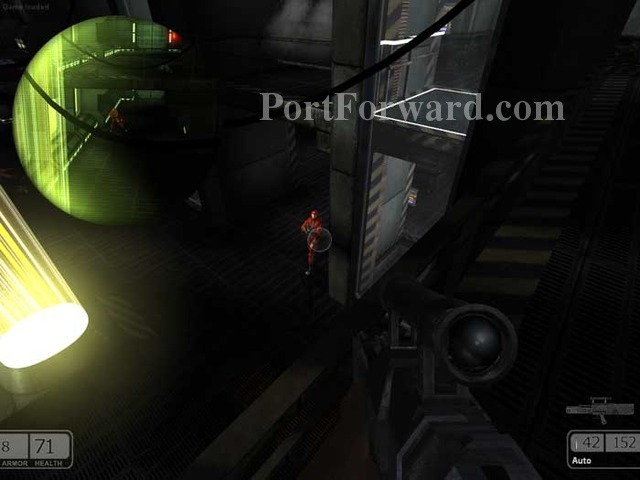
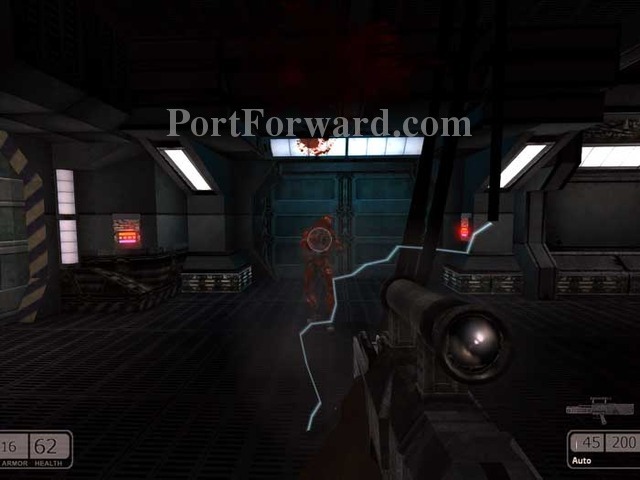
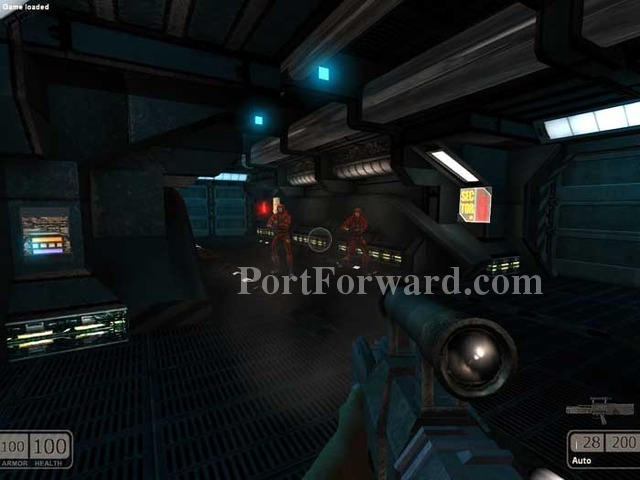
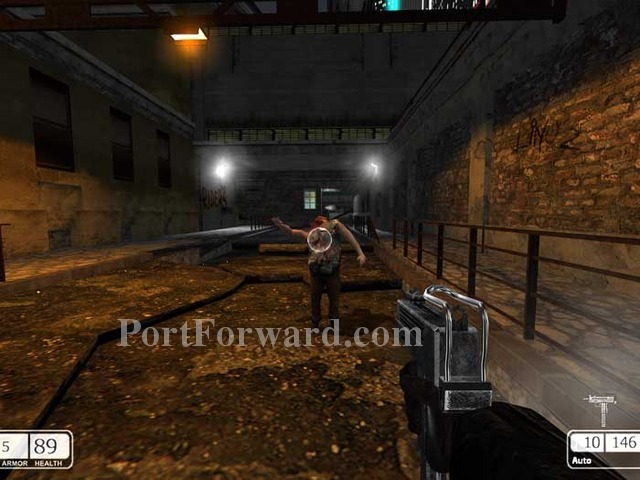
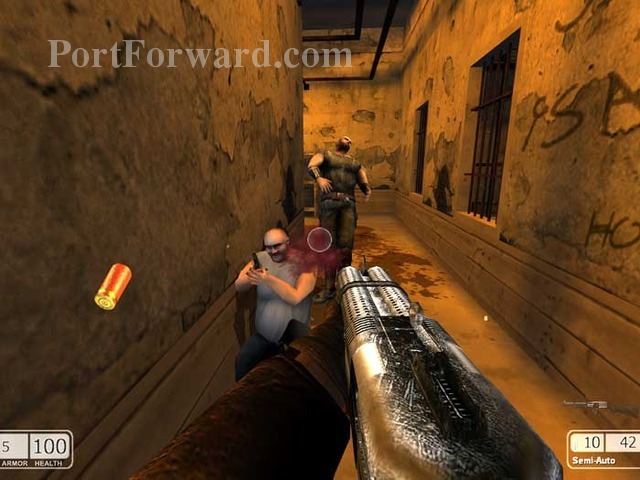
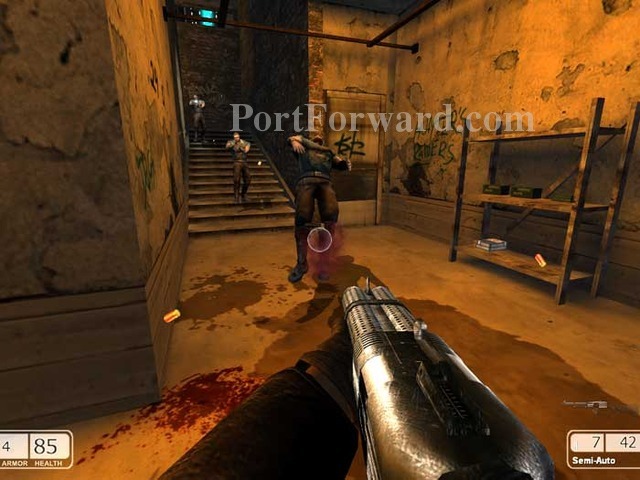
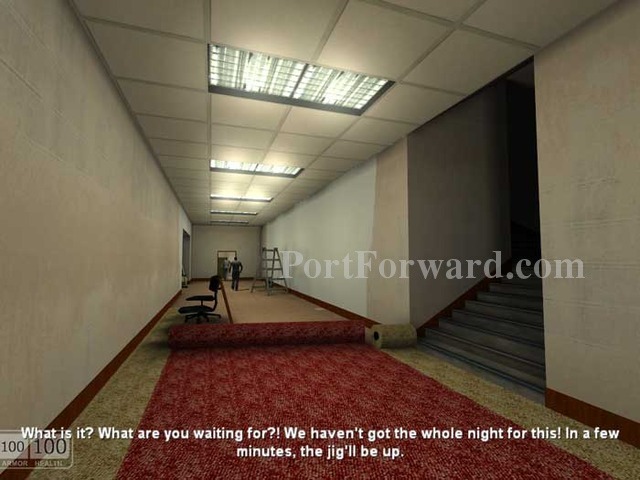
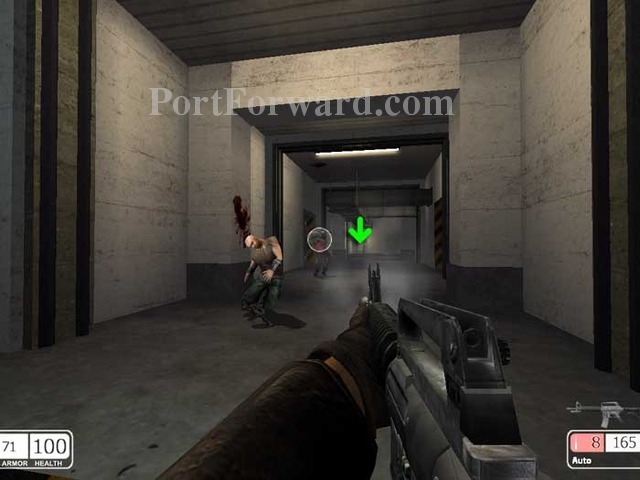
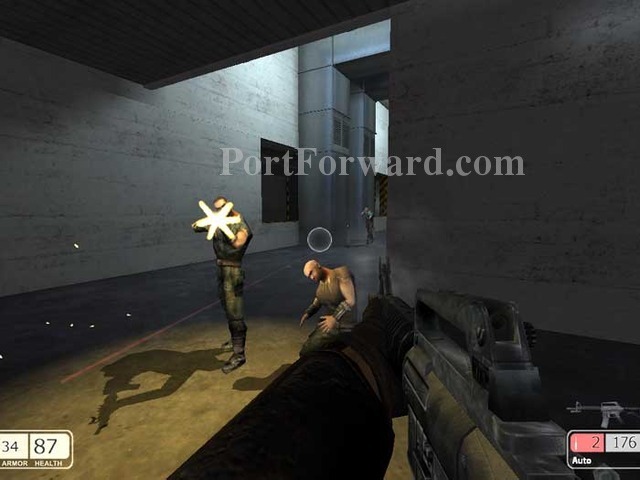
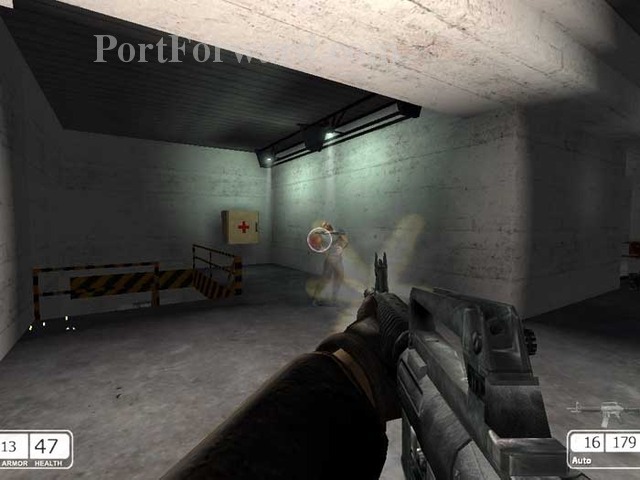
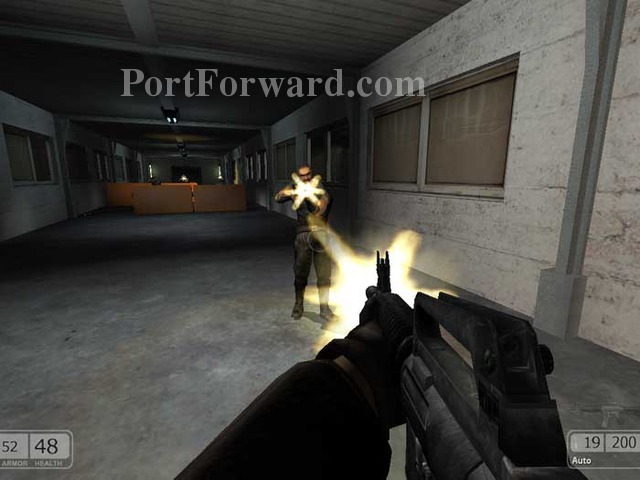
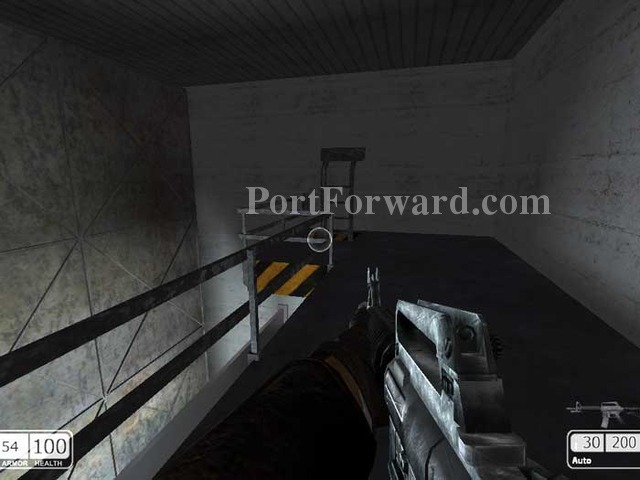
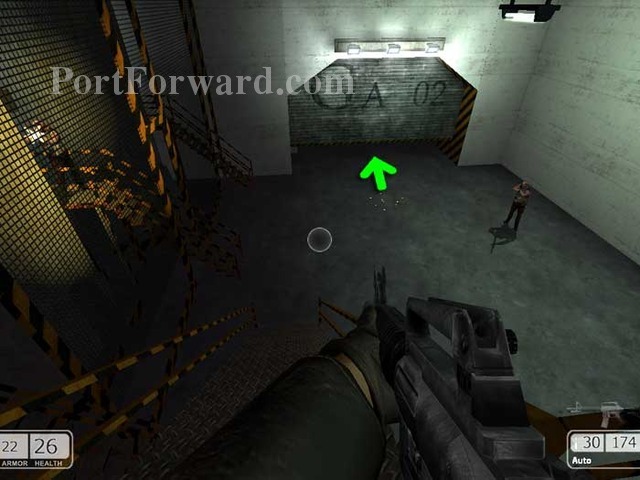
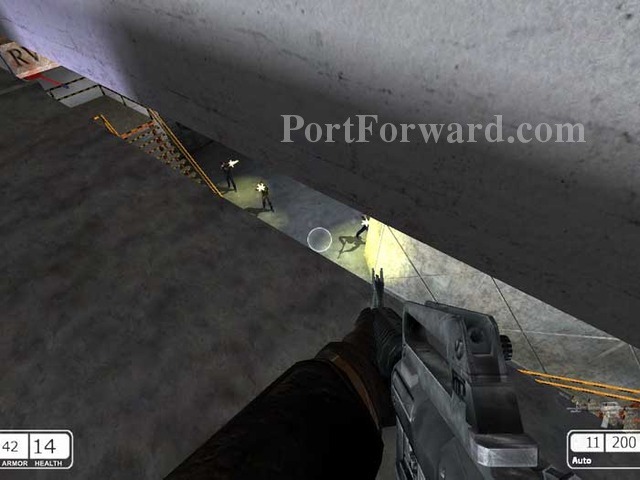
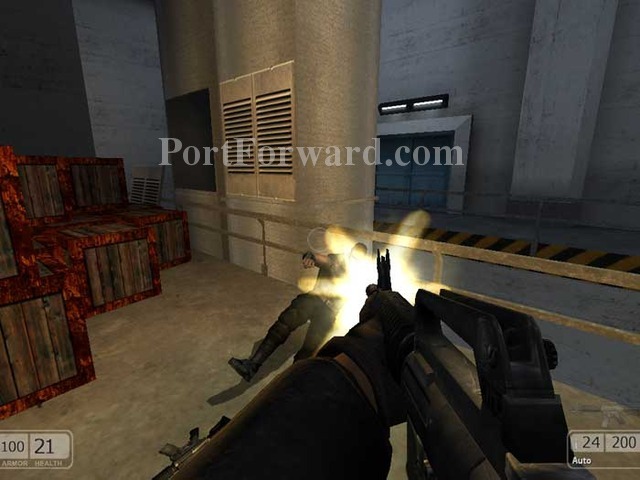
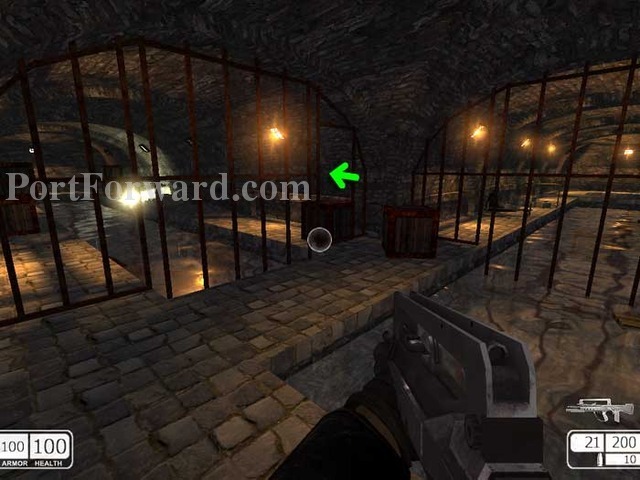
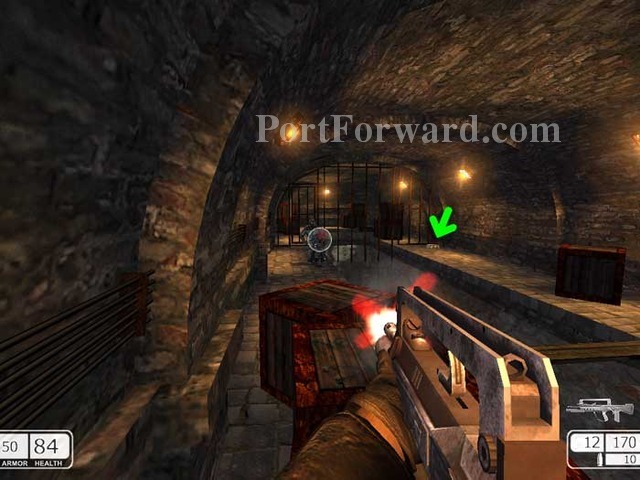
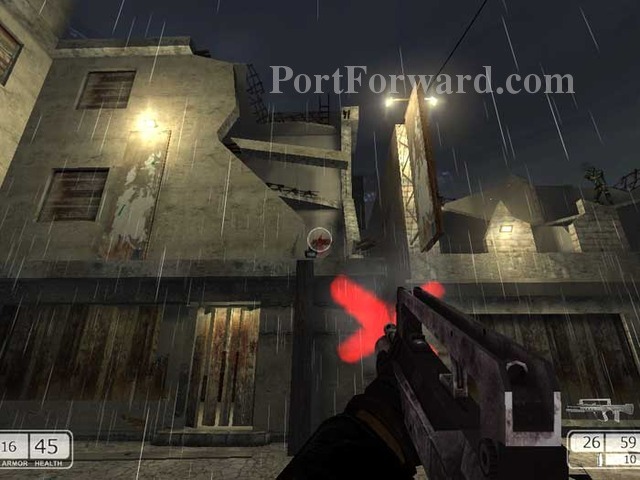
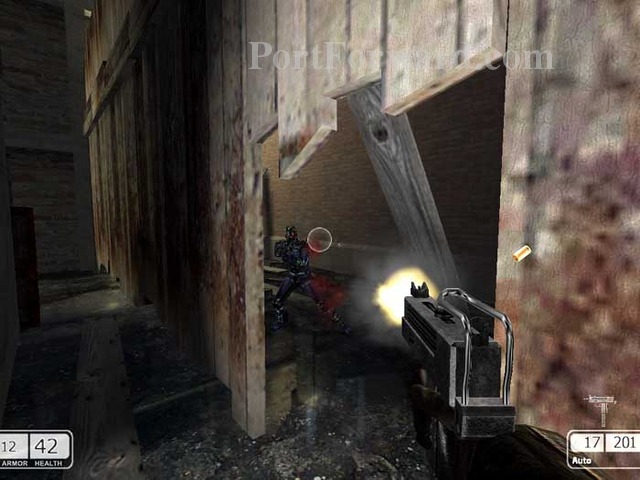
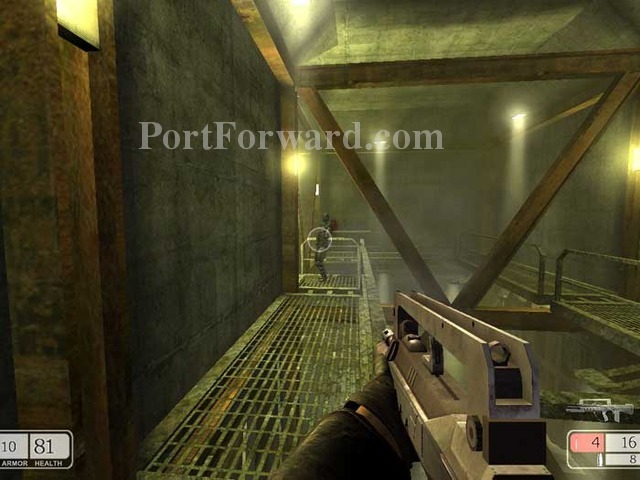
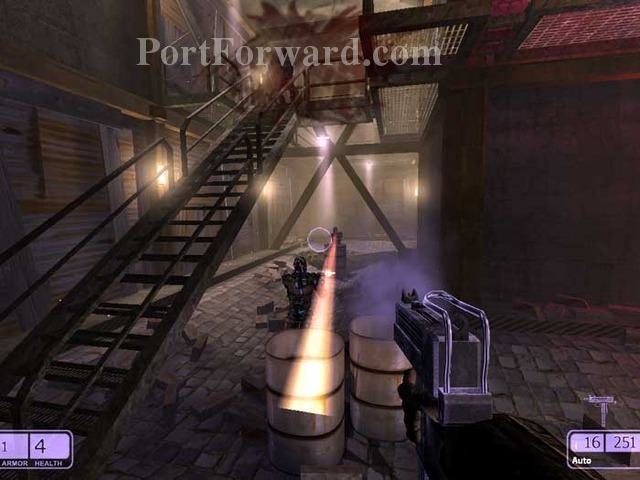
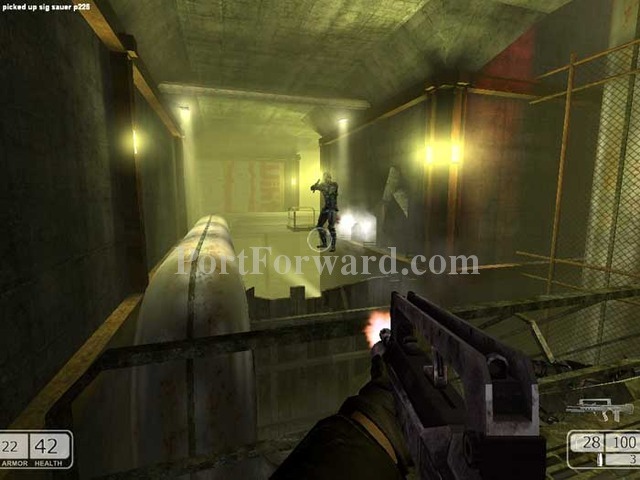
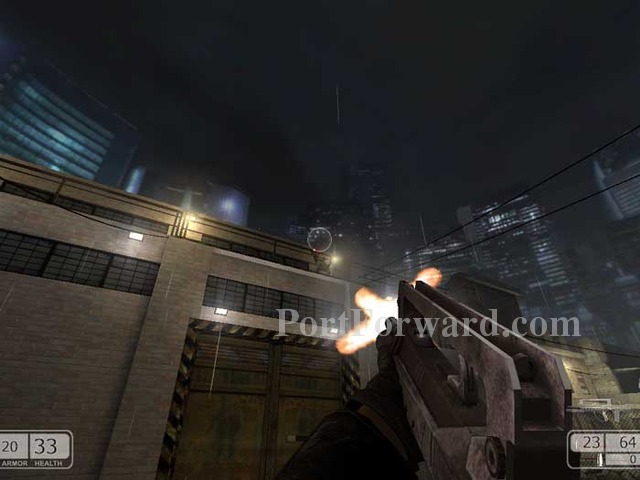
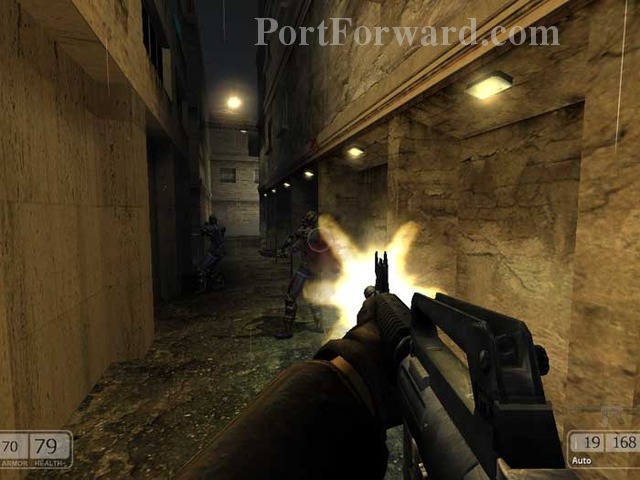
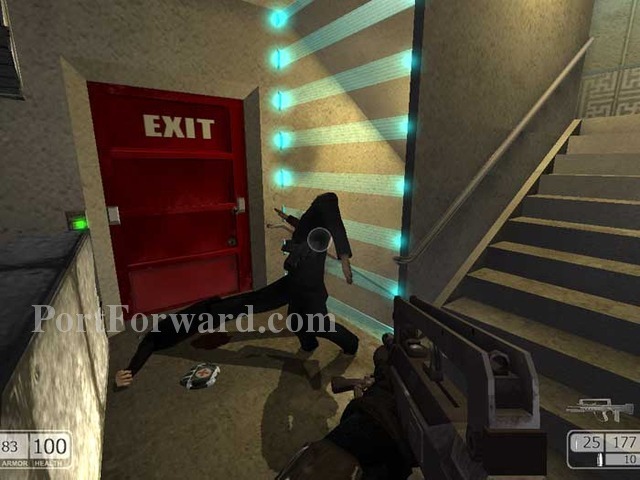
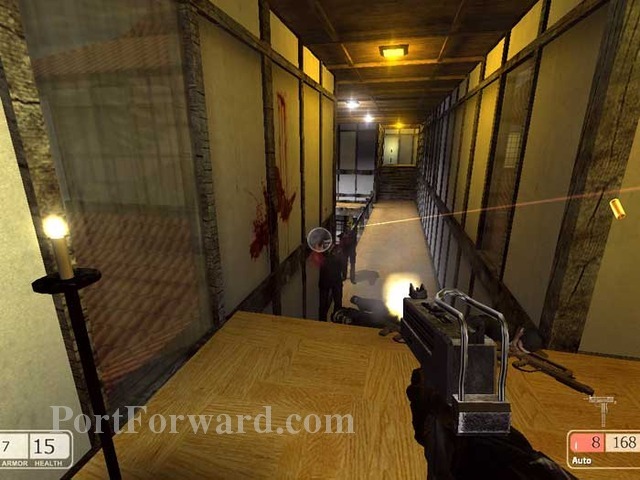
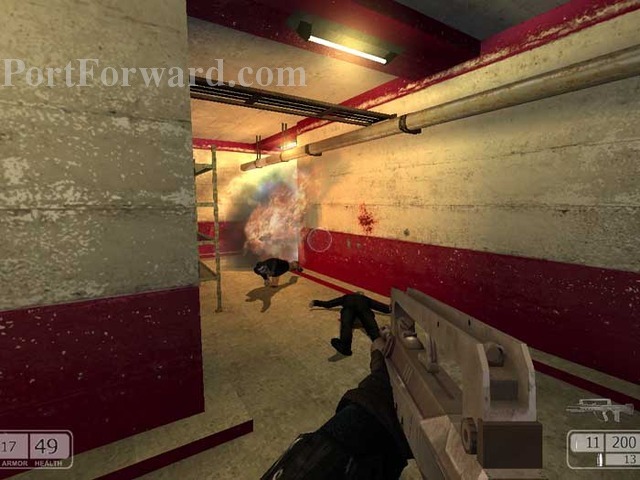
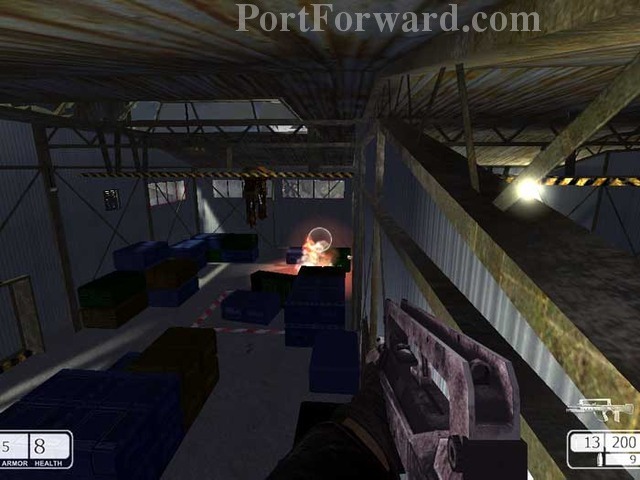
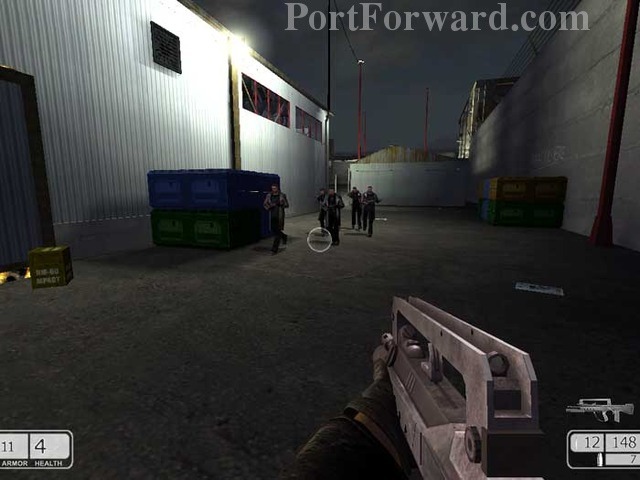
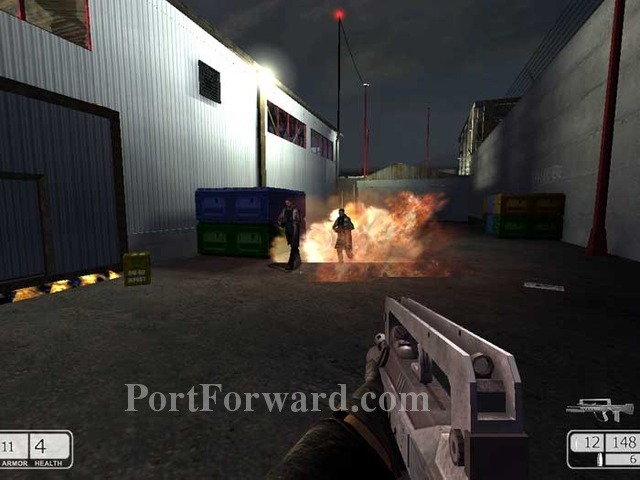
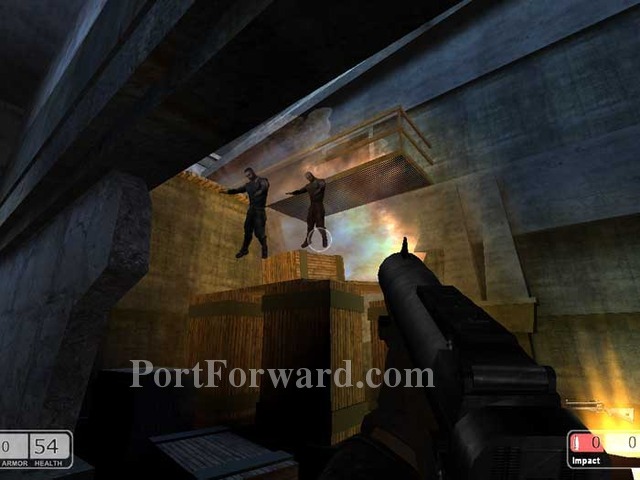
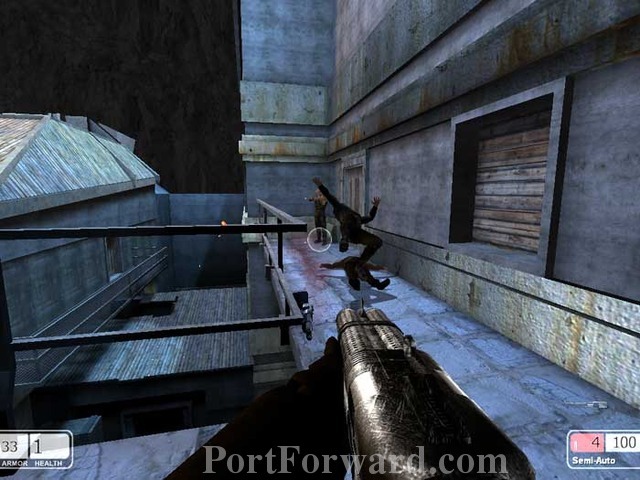
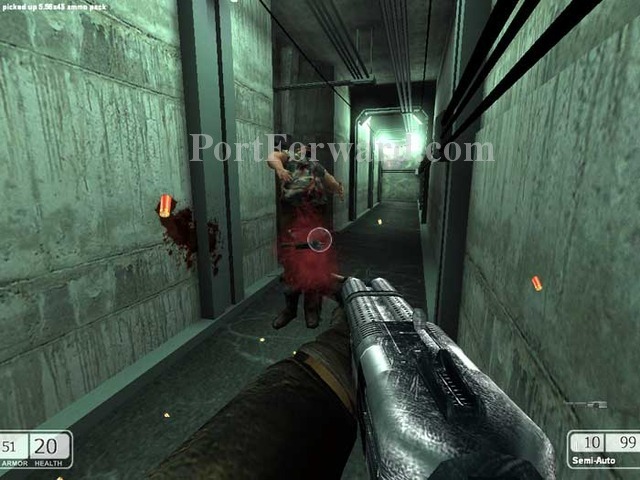
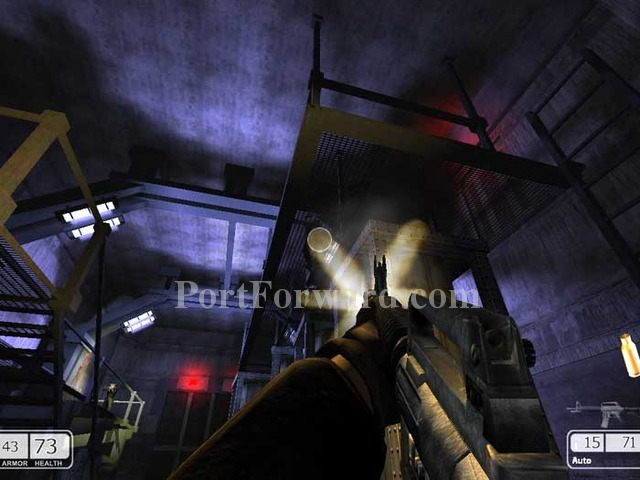
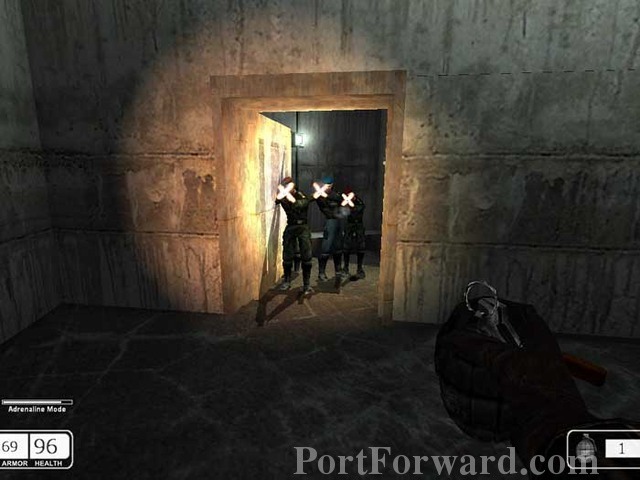
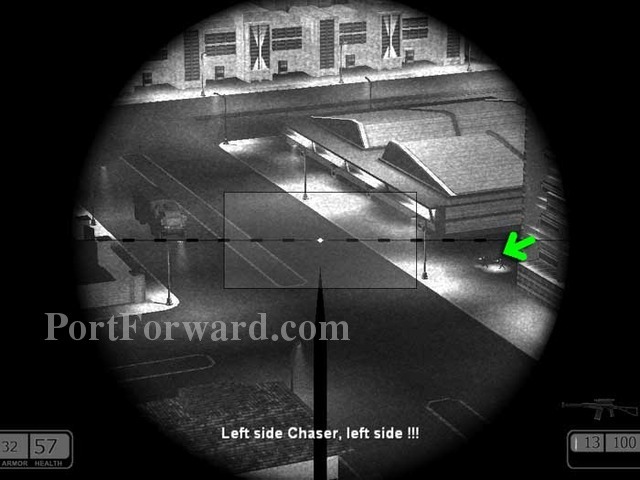
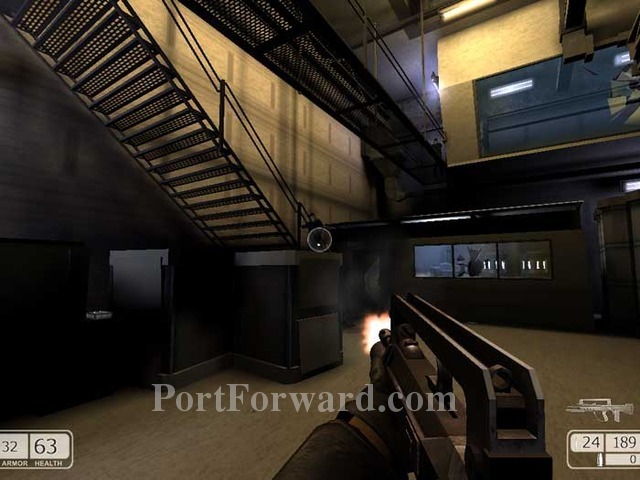
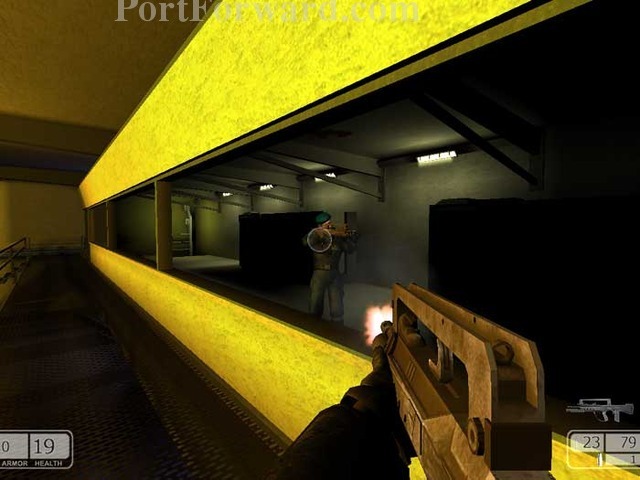
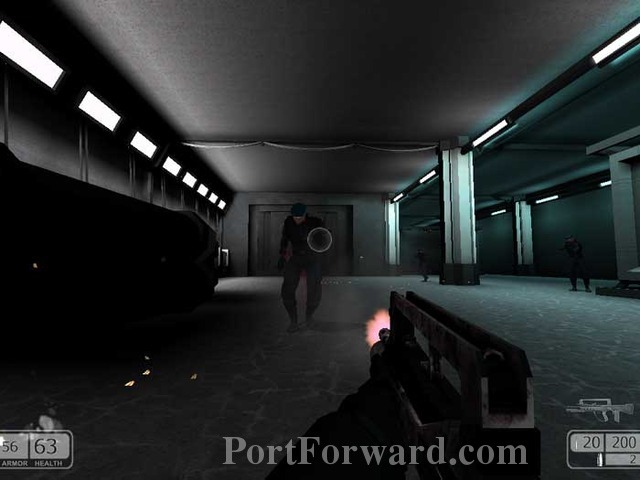
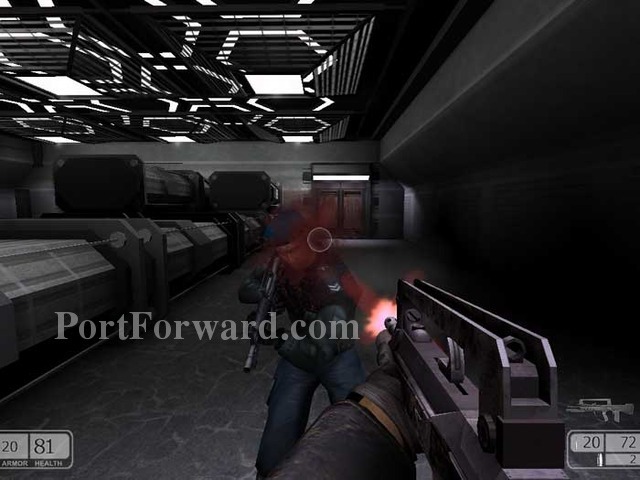
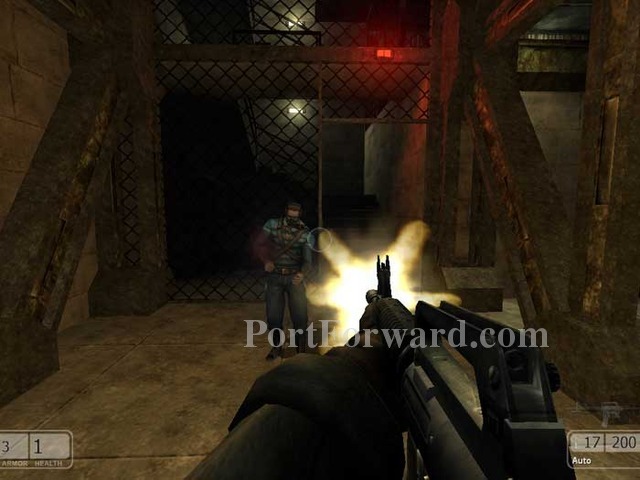
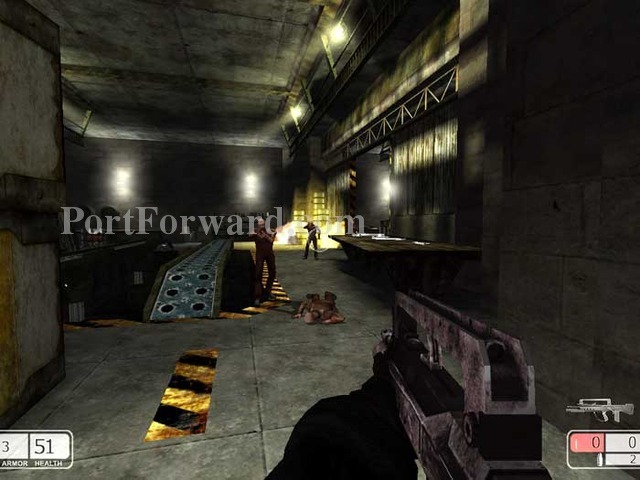
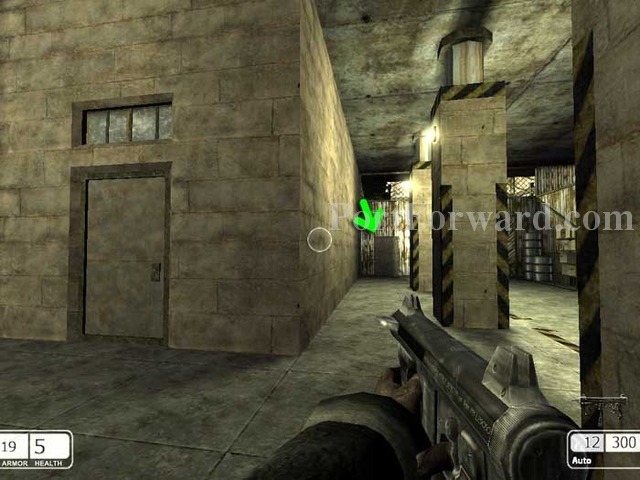
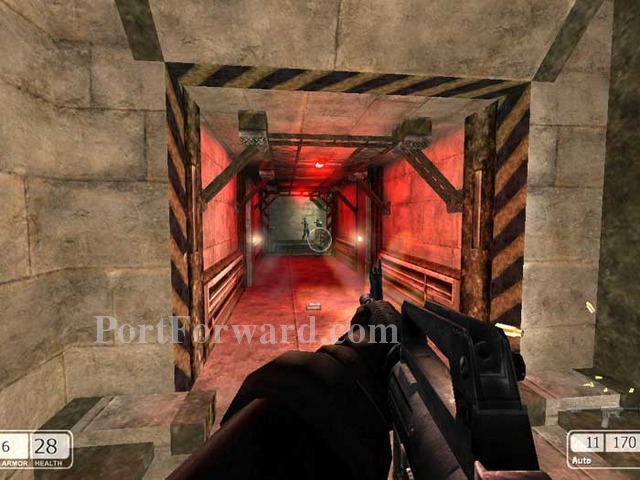
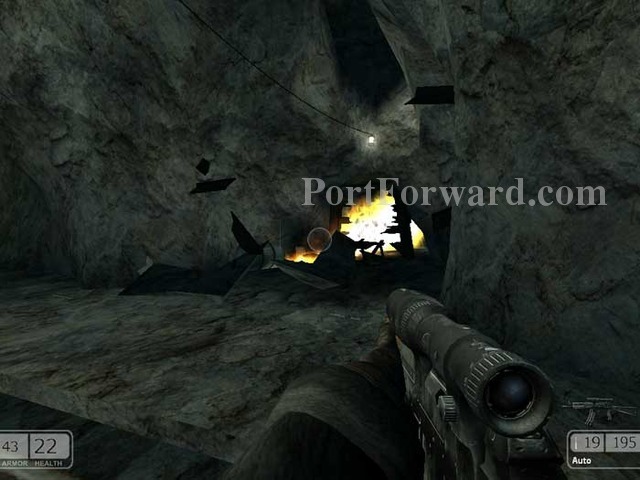
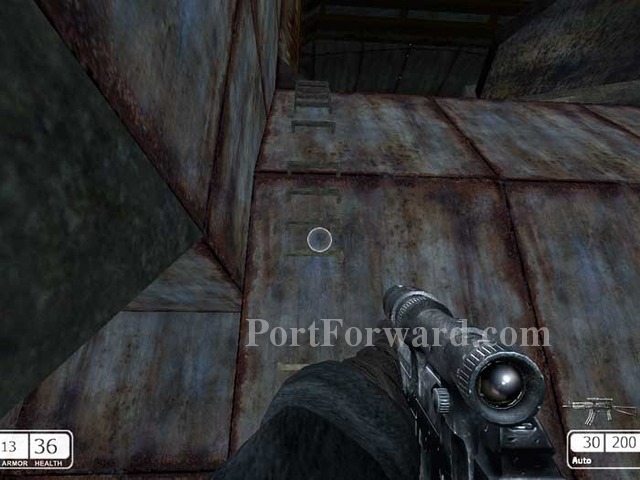
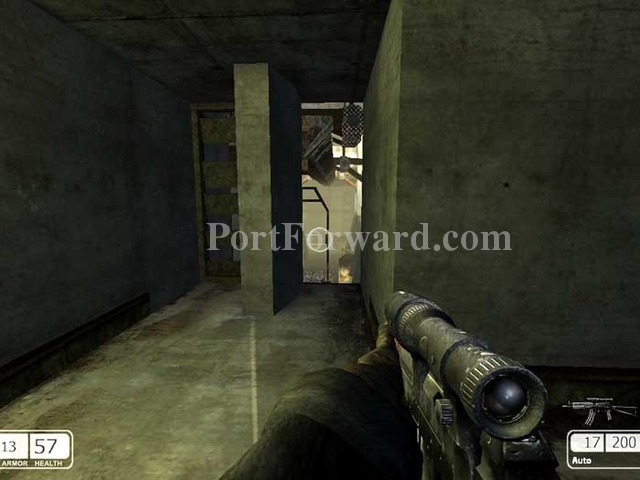
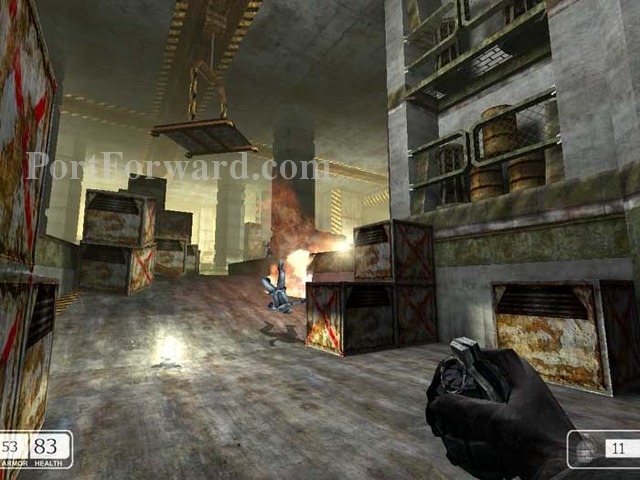
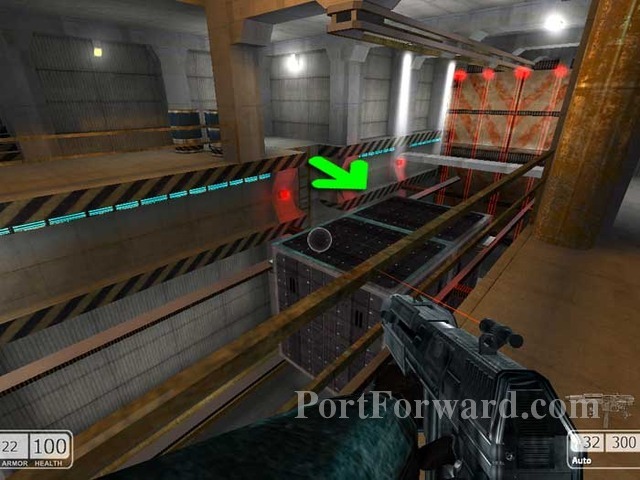
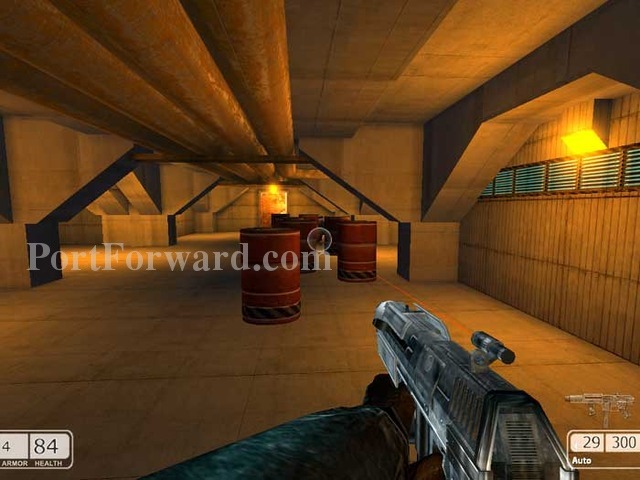
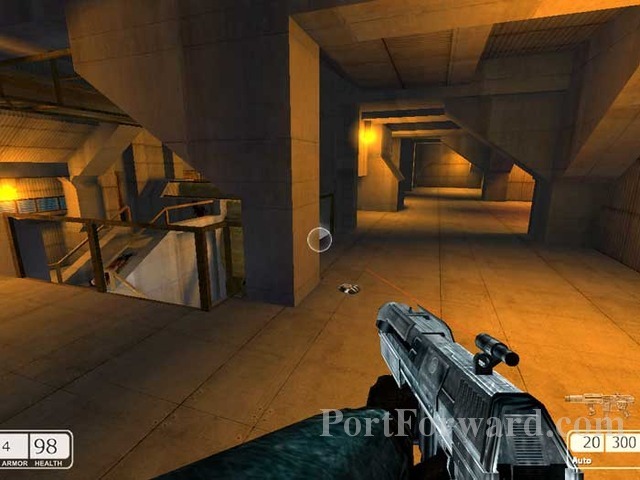
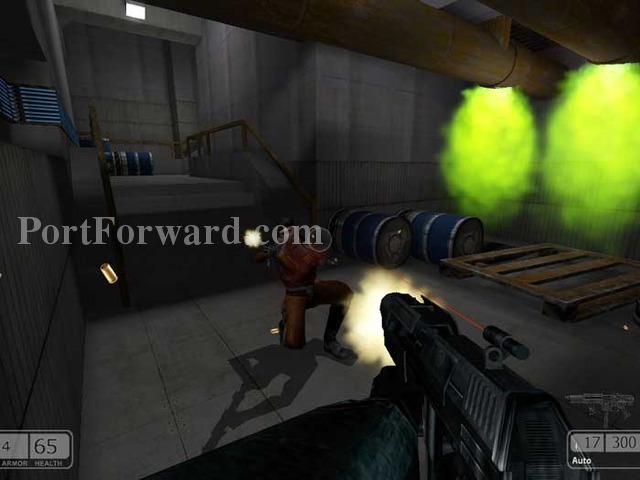
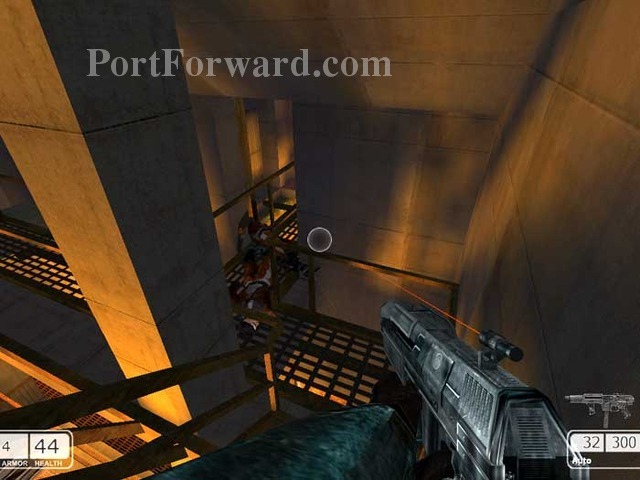
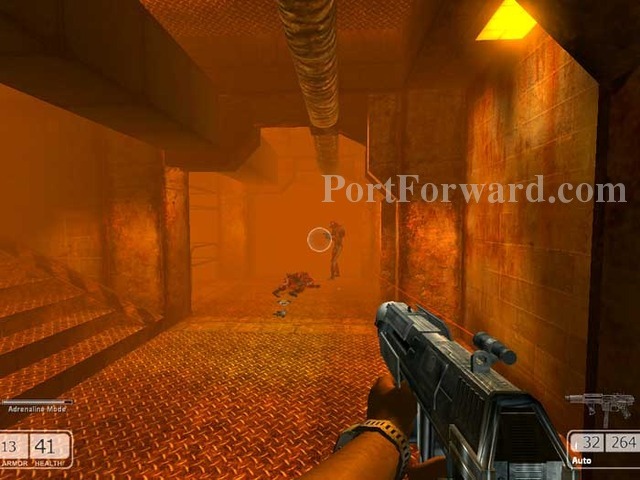
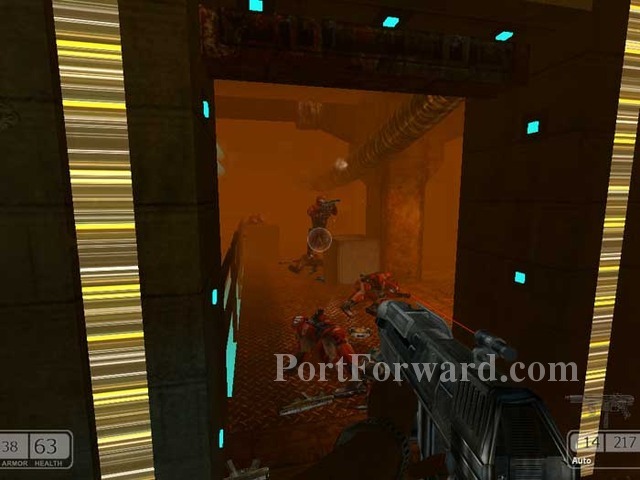
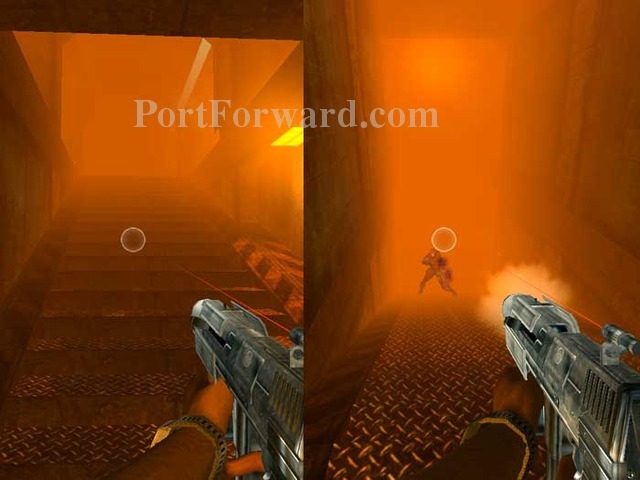
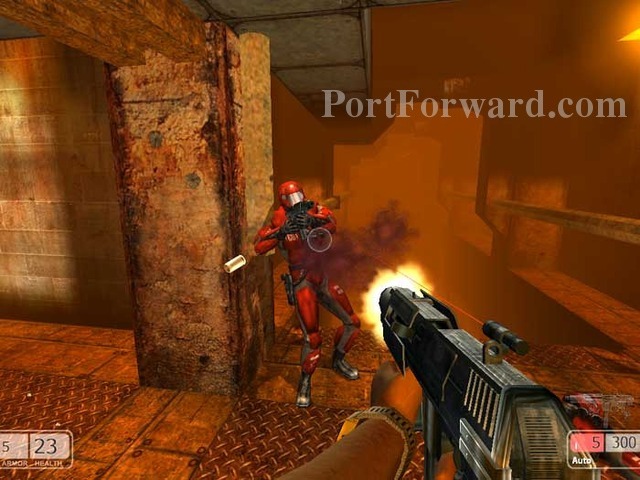
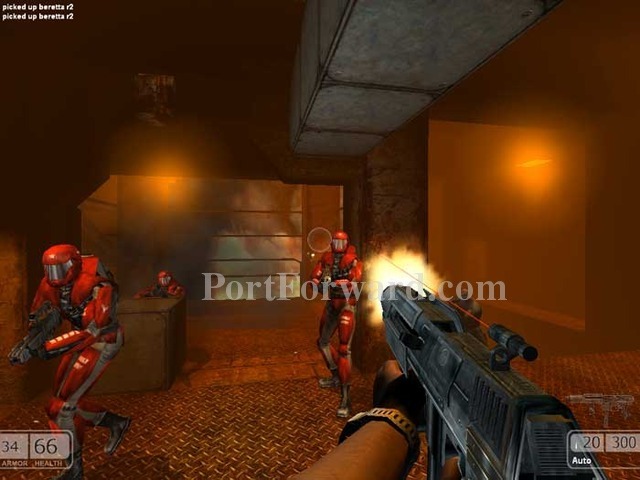
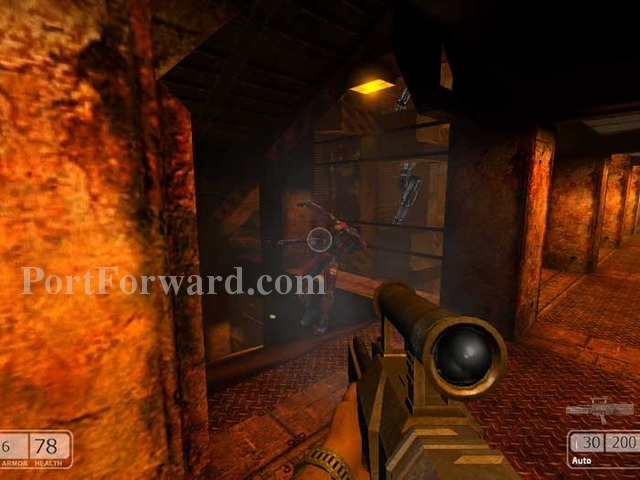
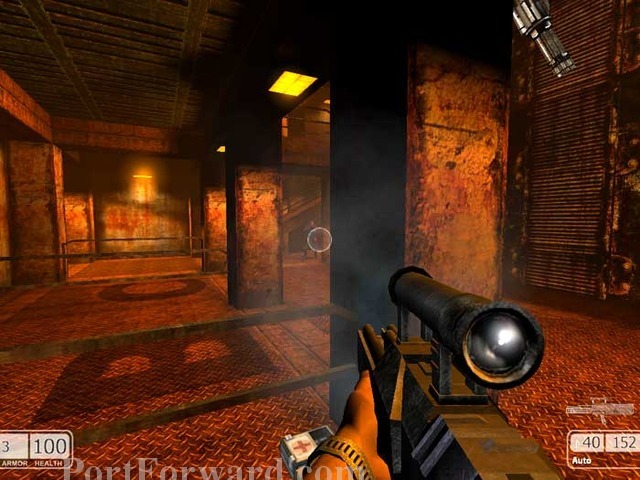
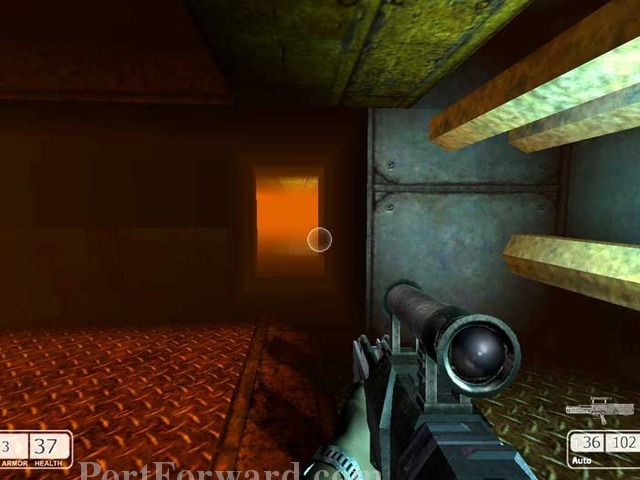
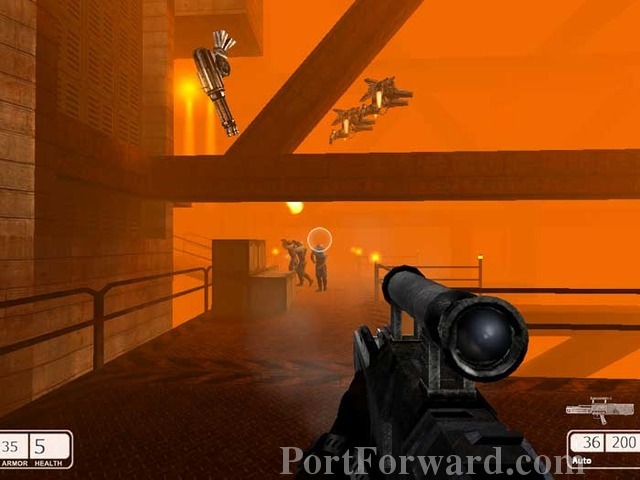
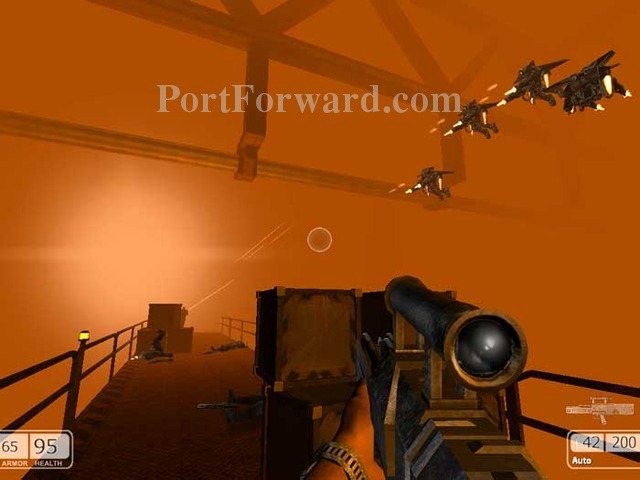
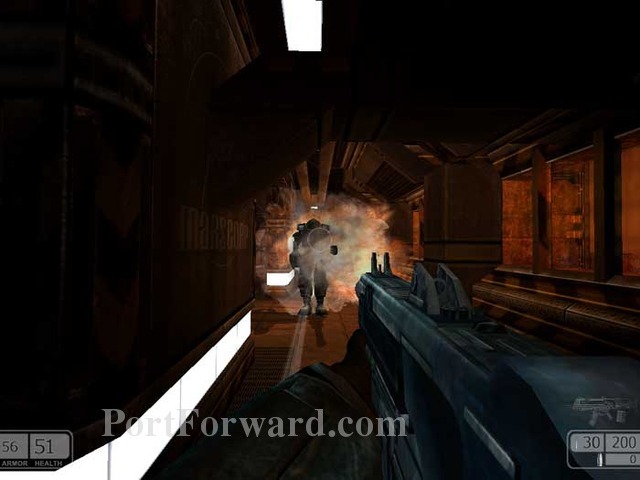
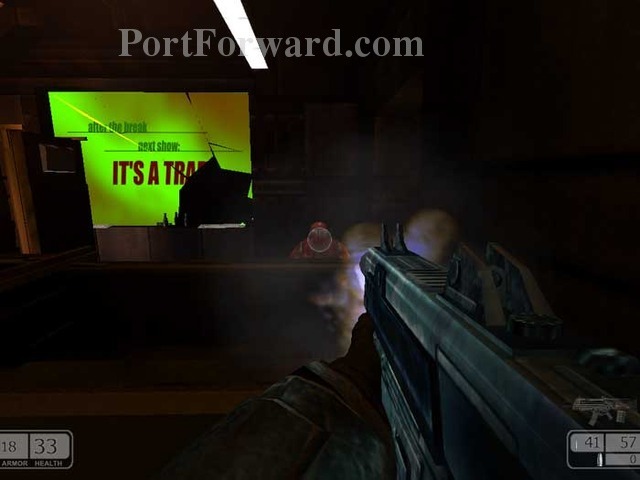
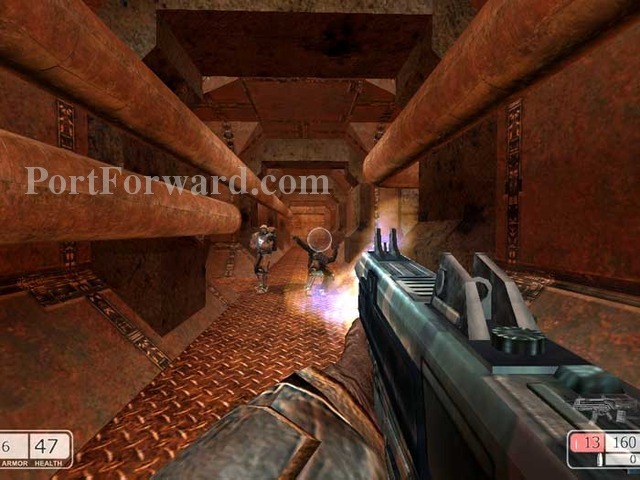
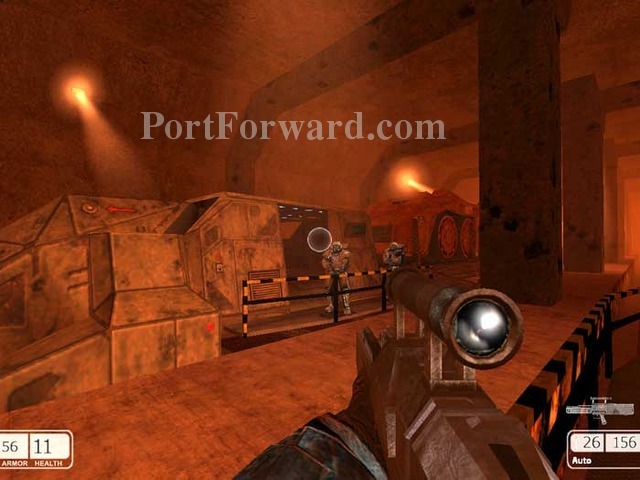
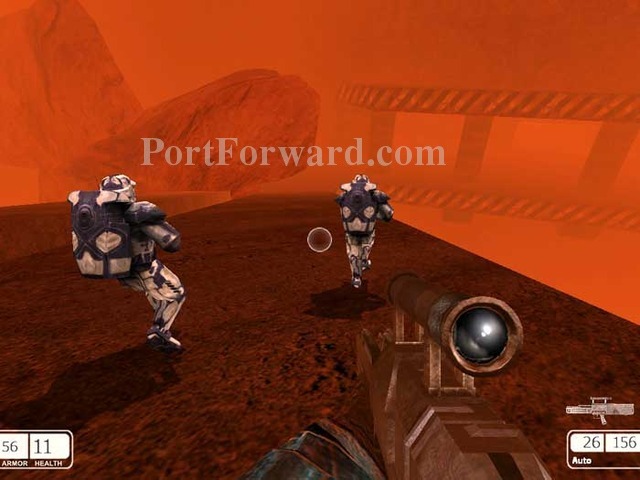
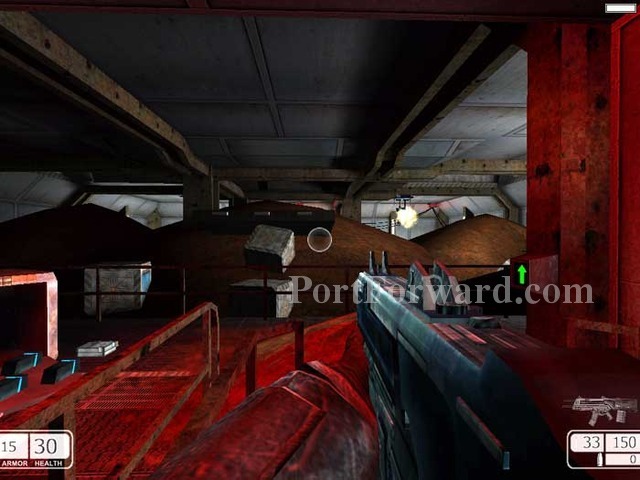
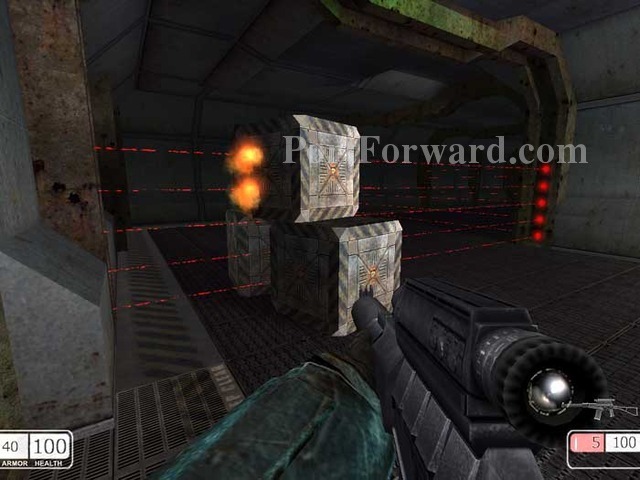
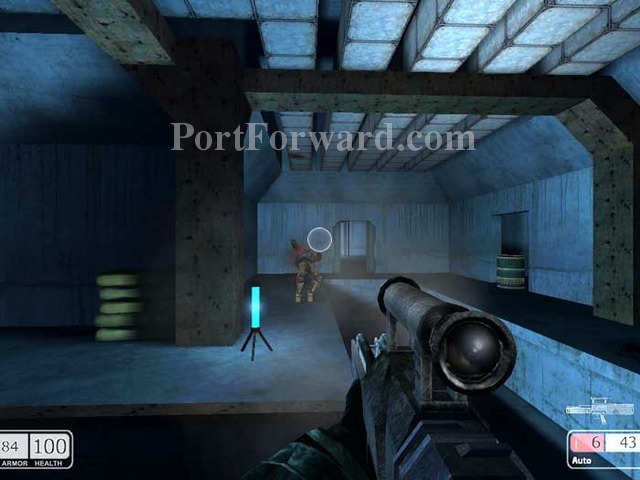
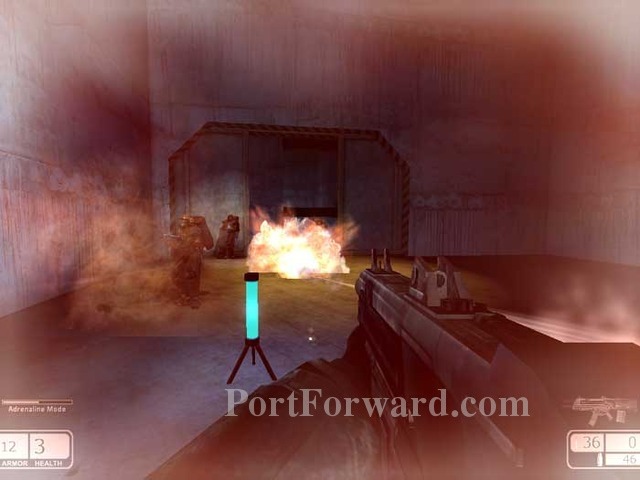
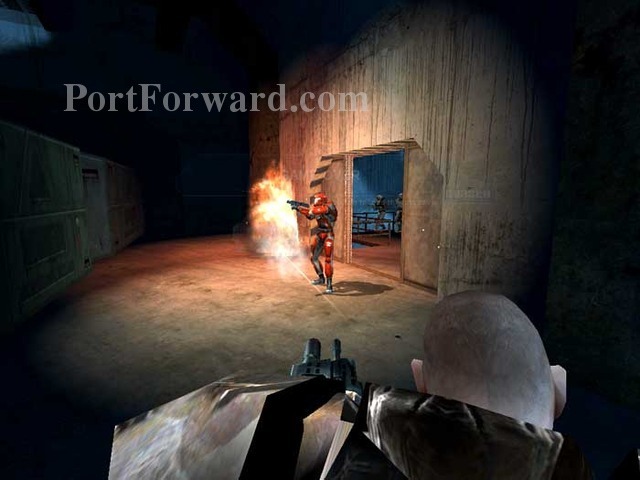
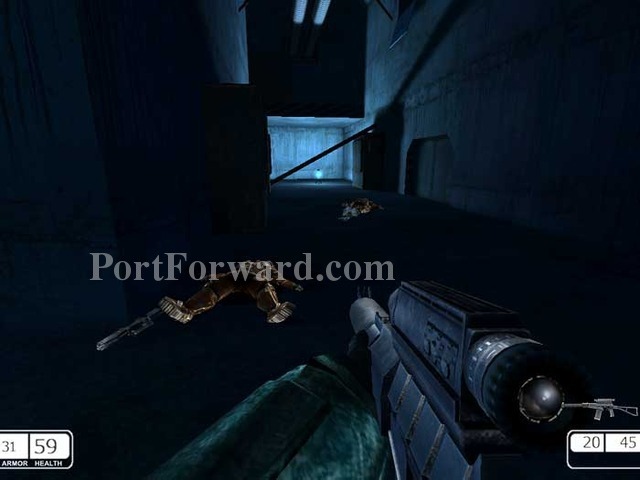
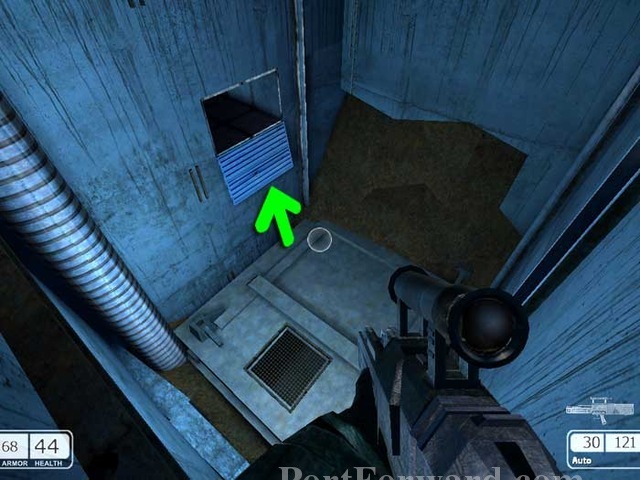
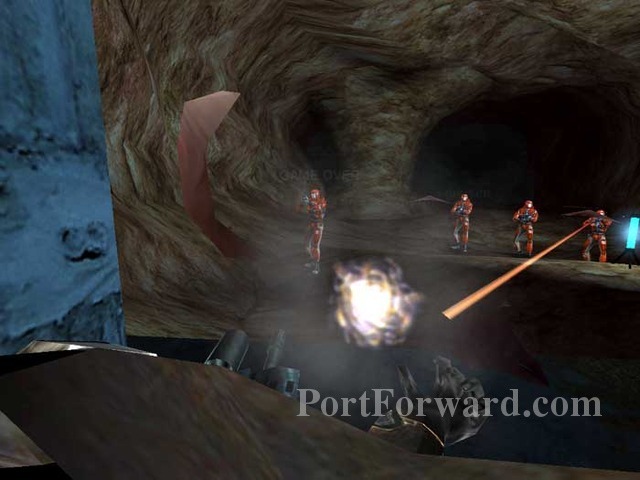
More guards attack from the left, then these guards attack from the right. Prepare for a fight then proceed through the door with the yellow panel seen here on the left.
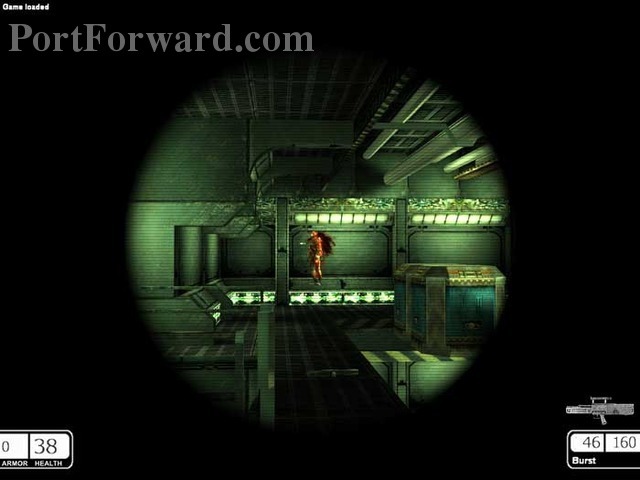
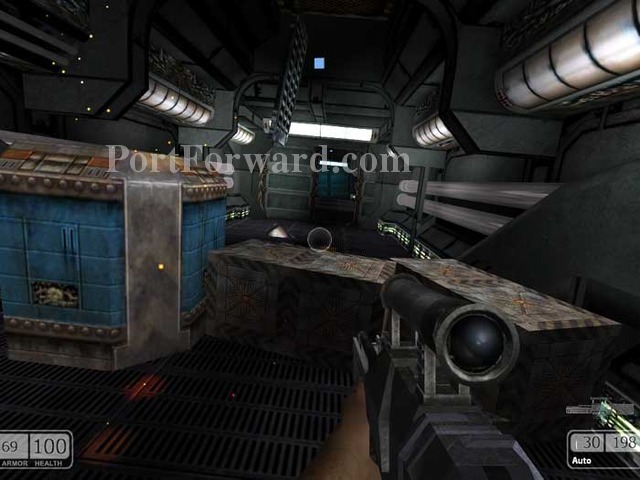
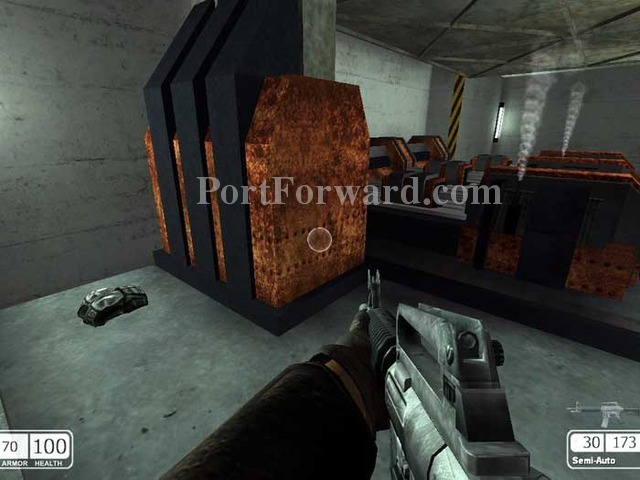
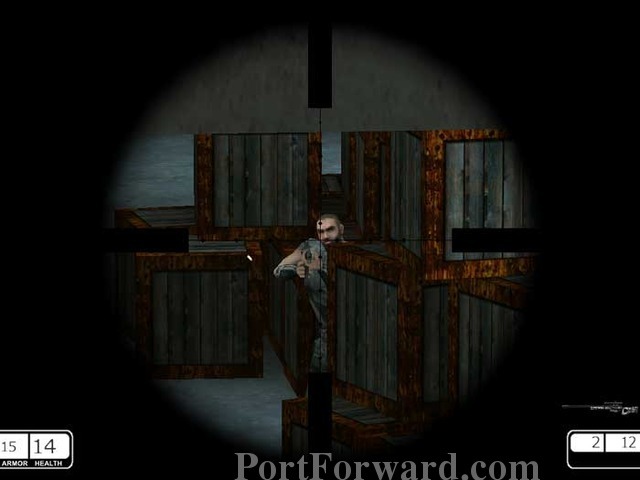
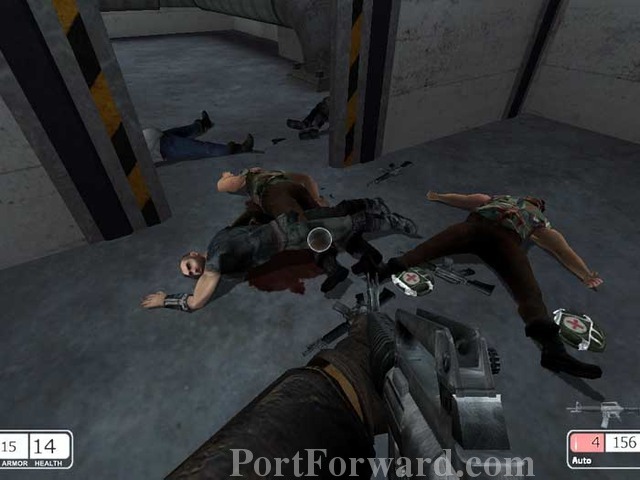
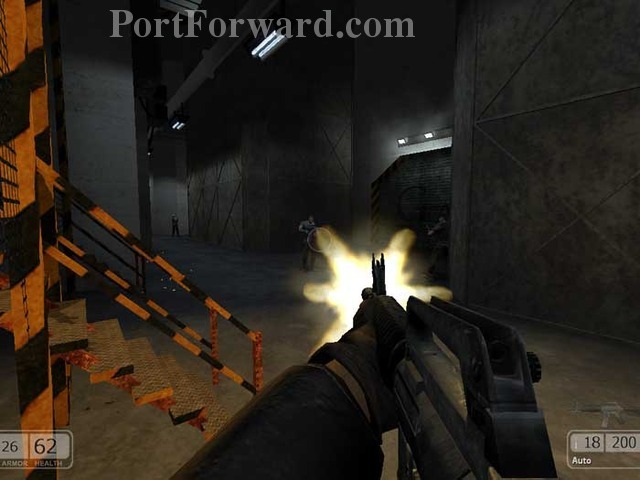
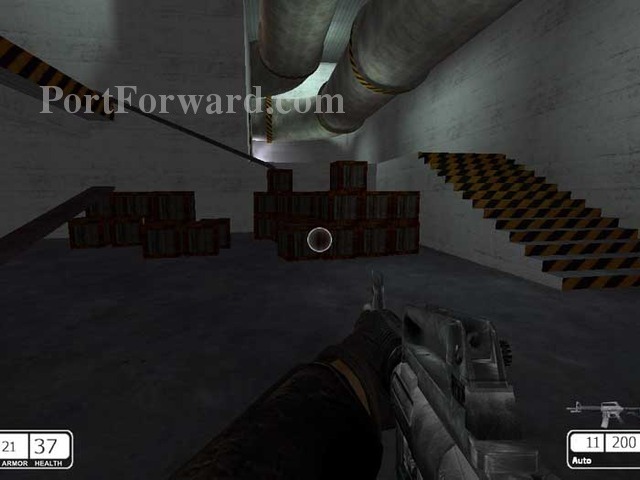
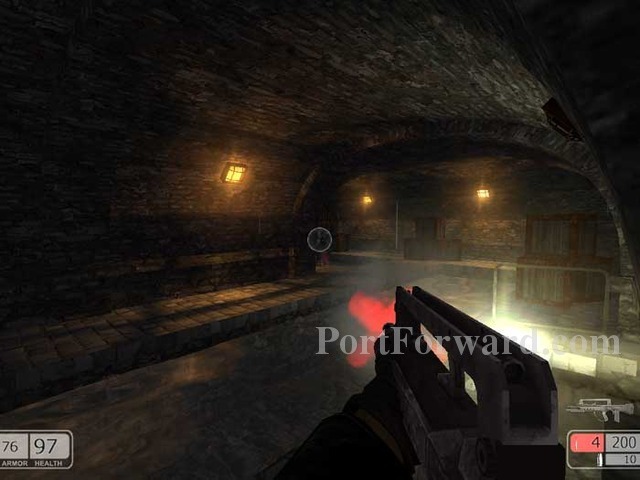
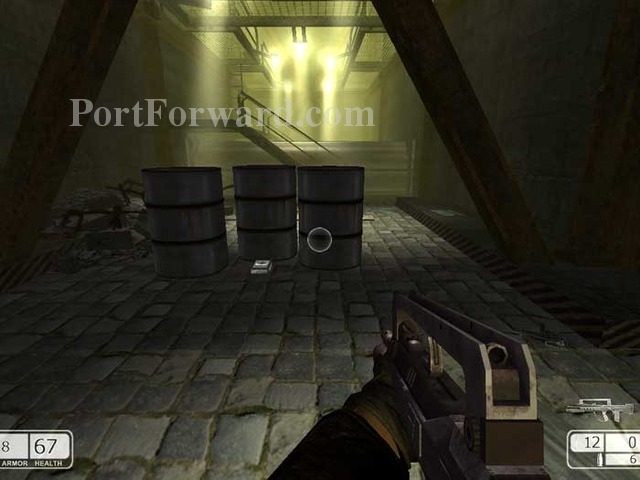
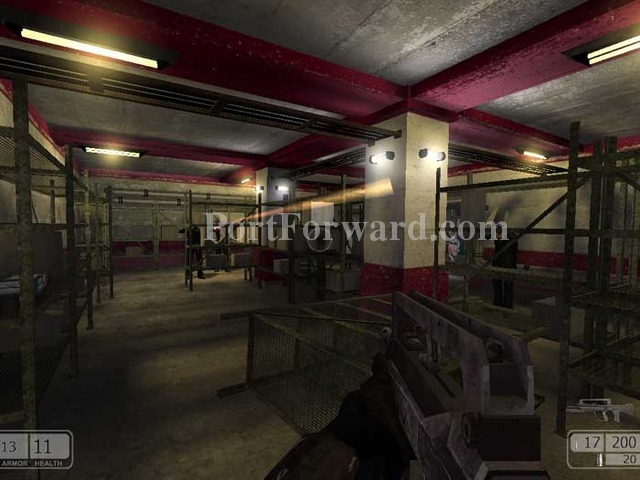
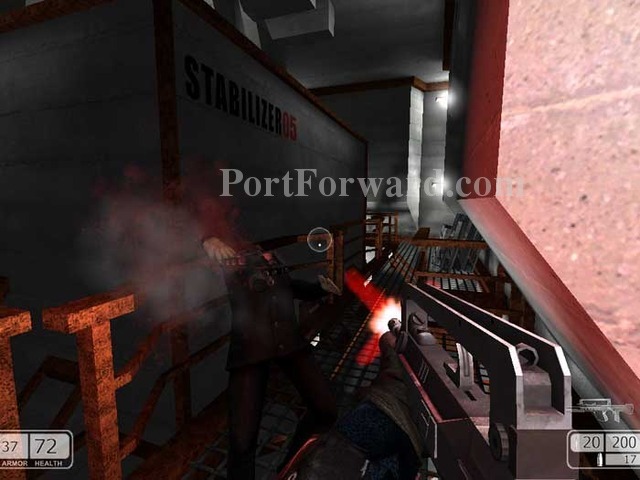
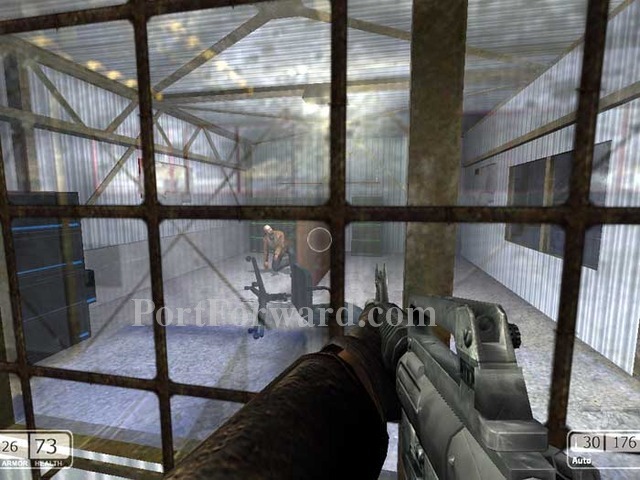
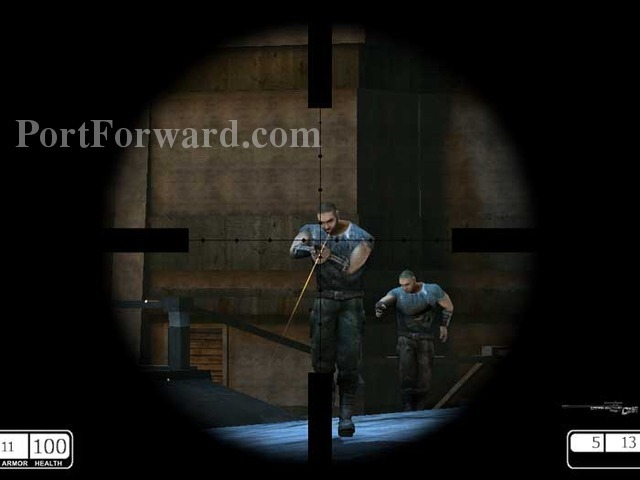
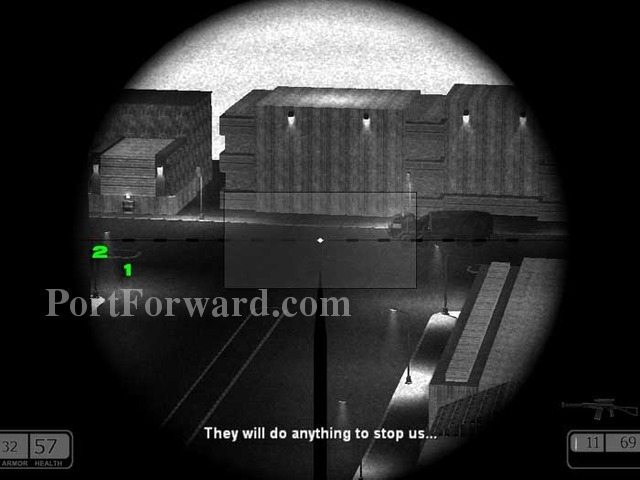
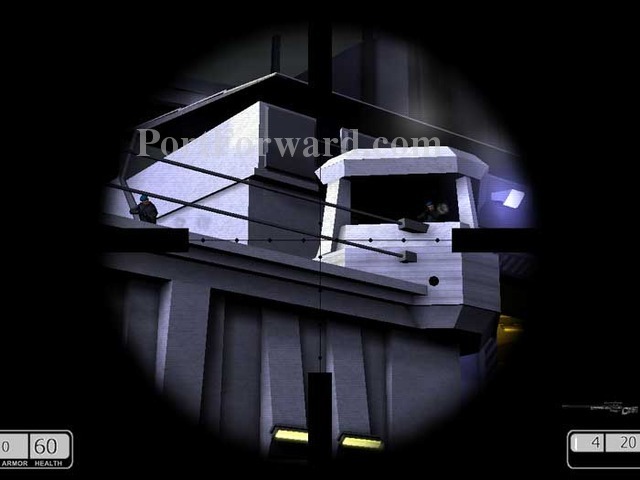
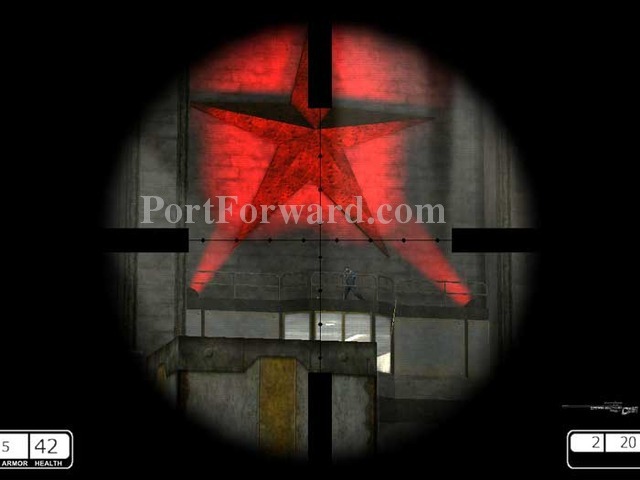
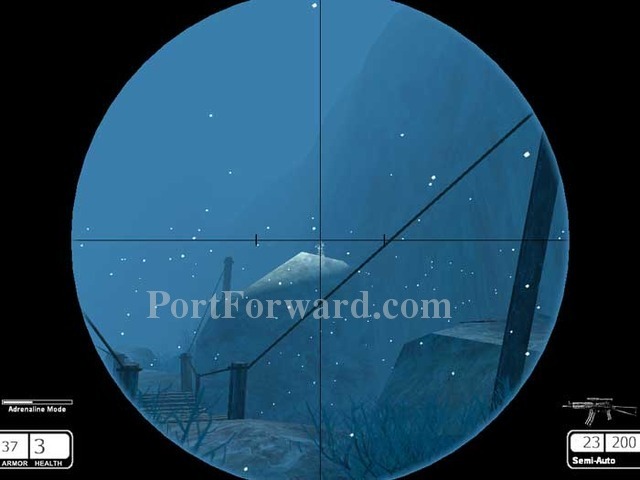
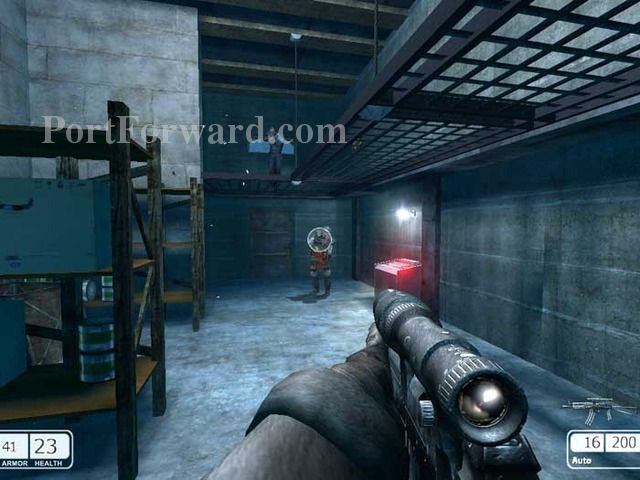
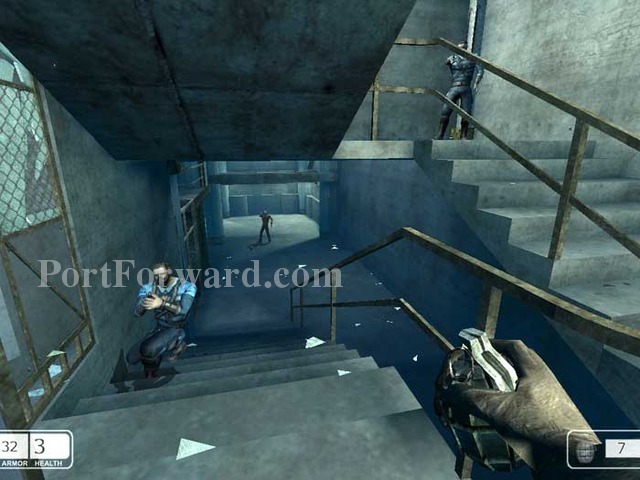
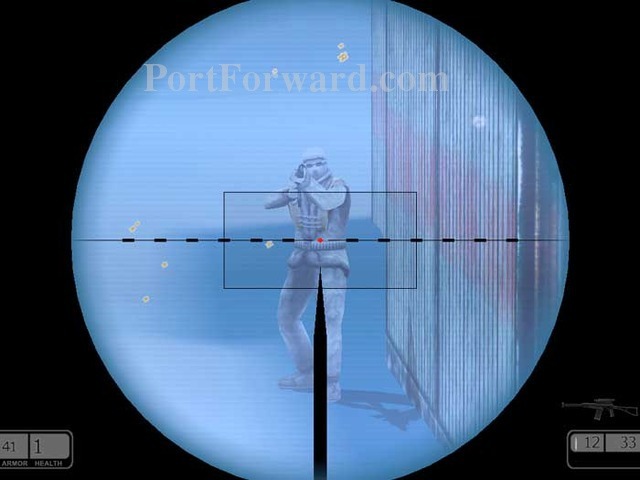
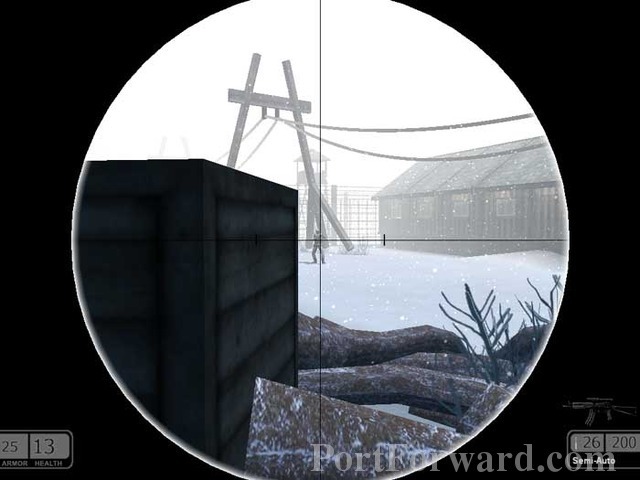
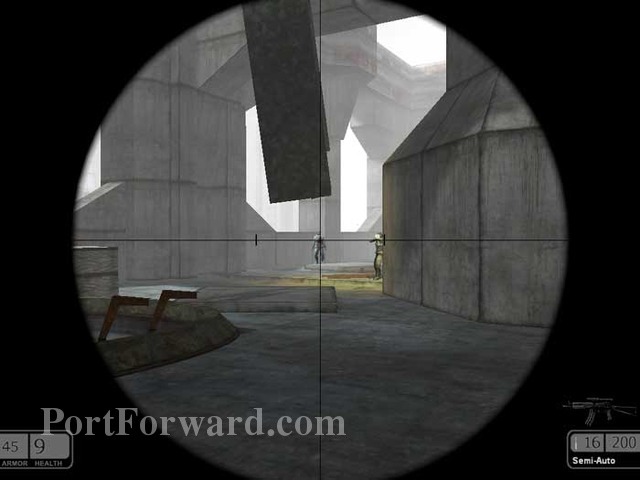
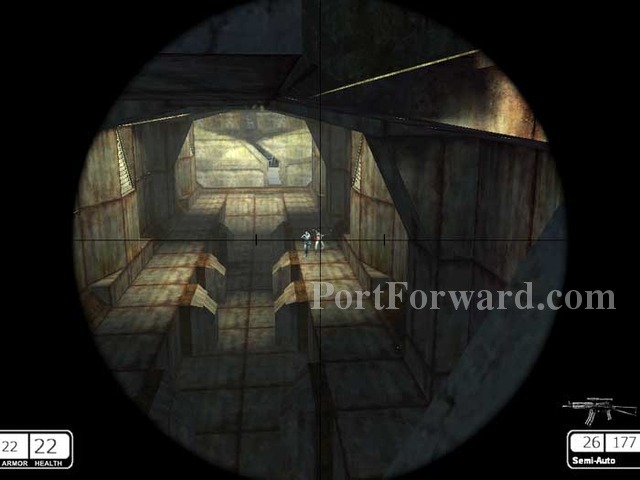
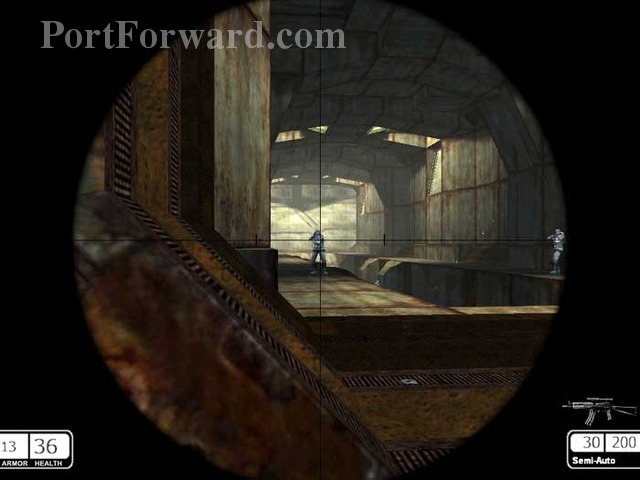
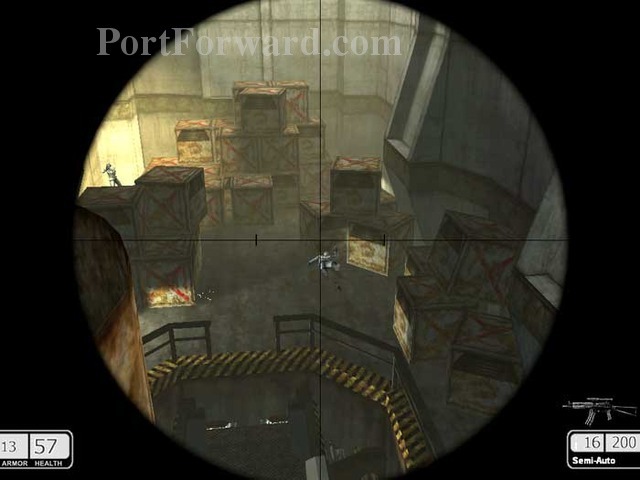
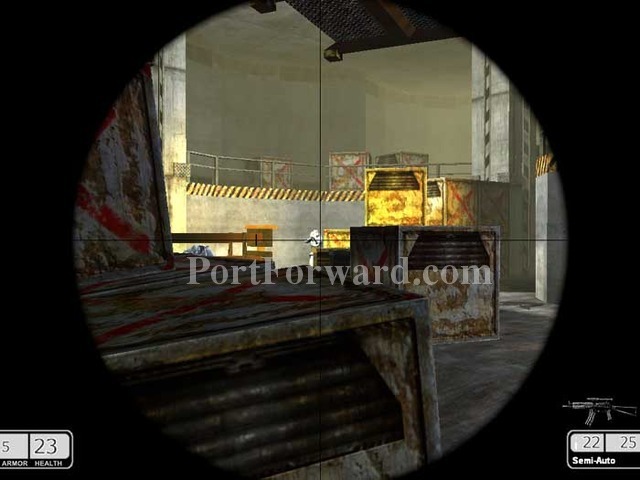
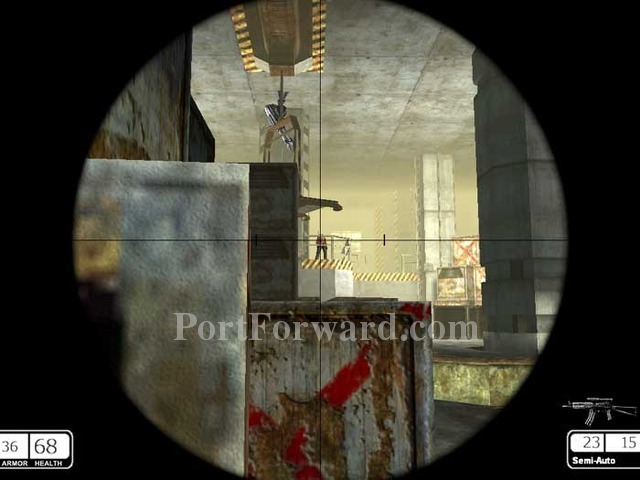
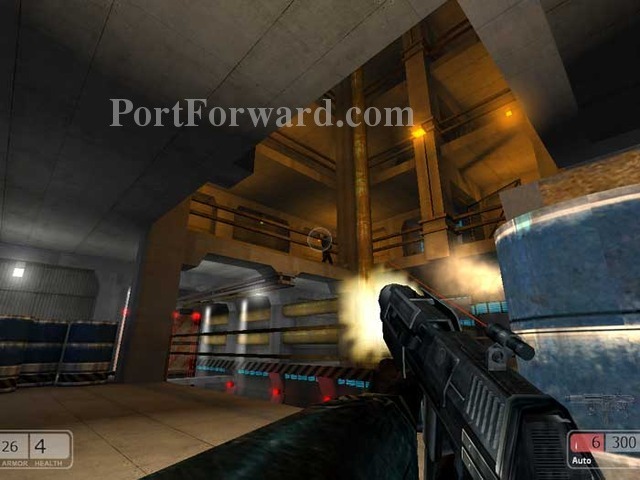
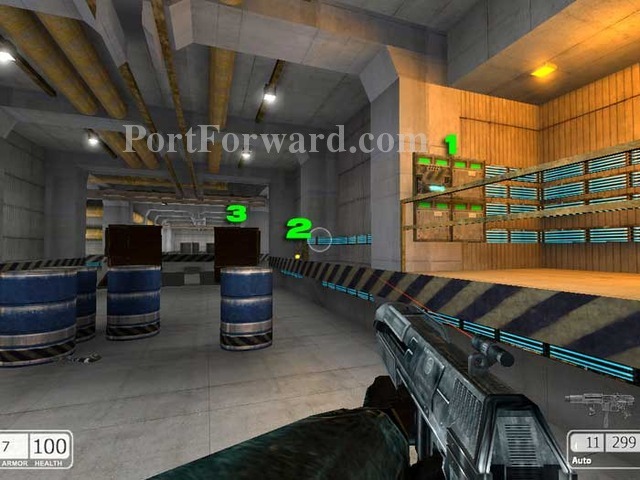
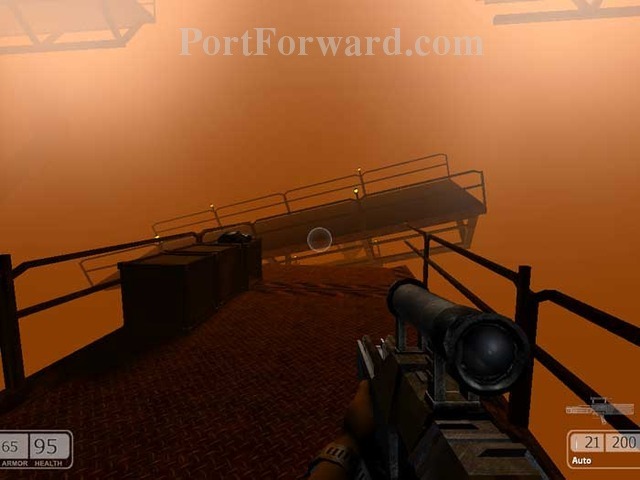
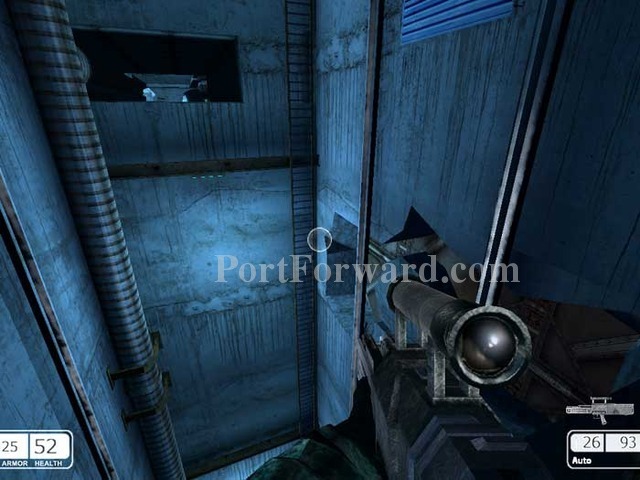
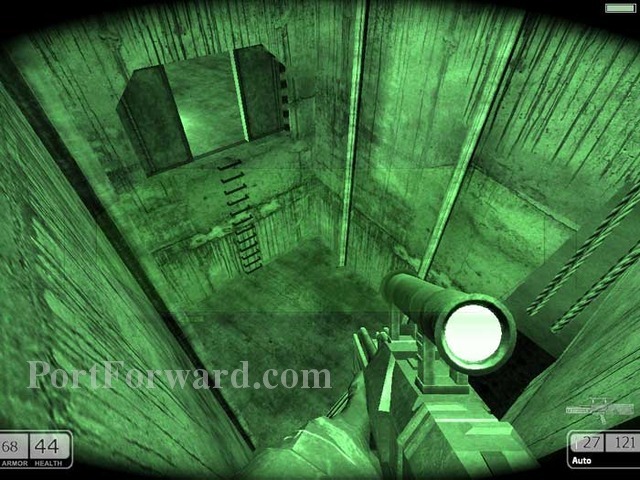
Immediately take cover behind the crate on the right. Use your sniper scope to take out the topmost guard seen here. More guards will enter the room from your left. Once you've dispatched them, take out the guard on the middle level seen here on the right.
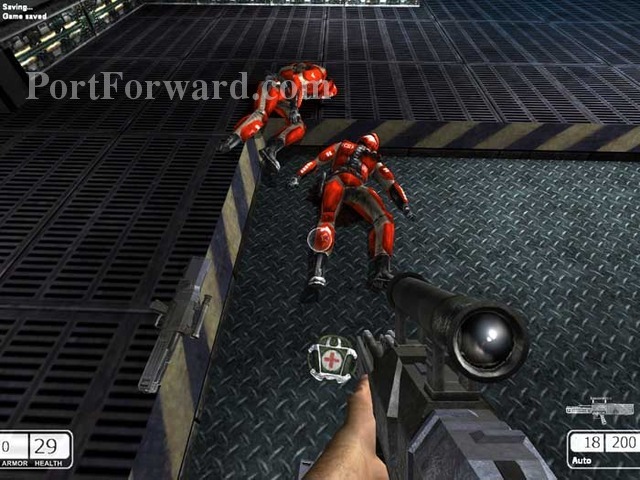
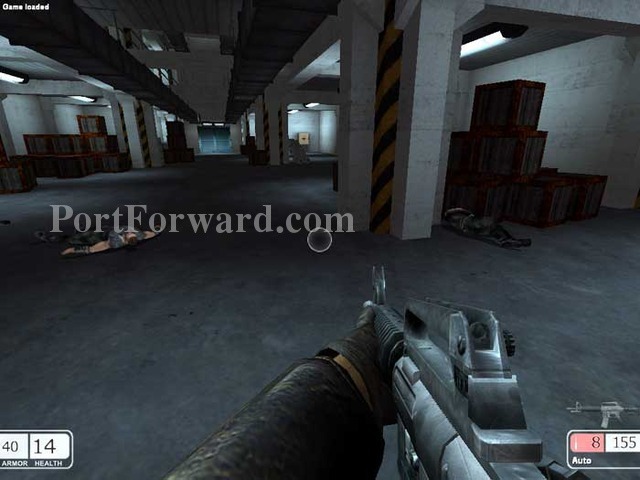
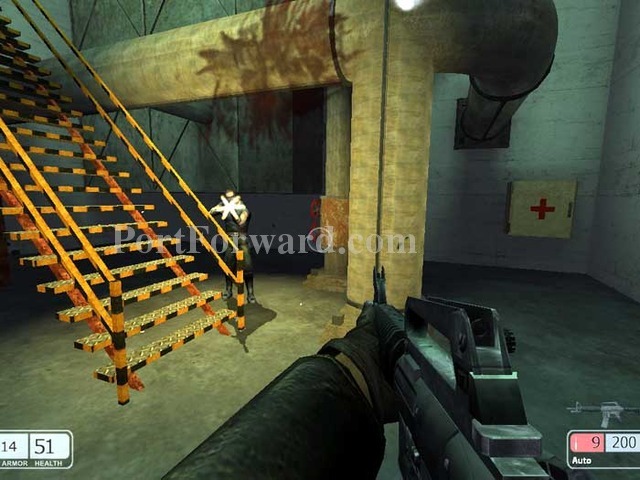
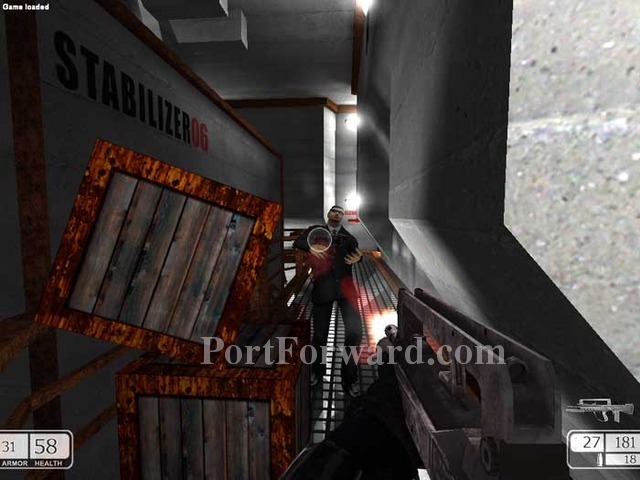
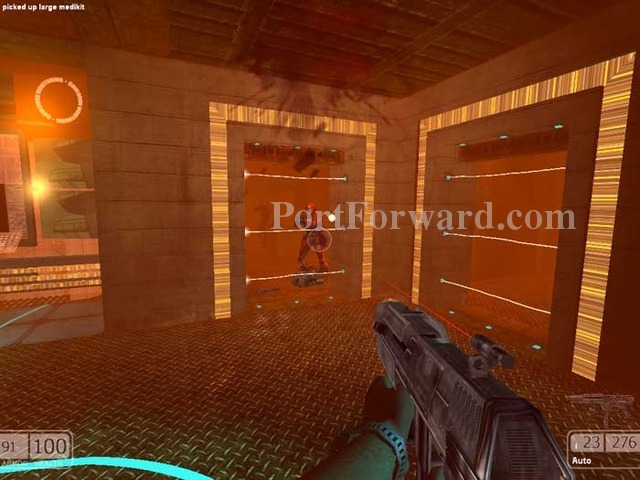
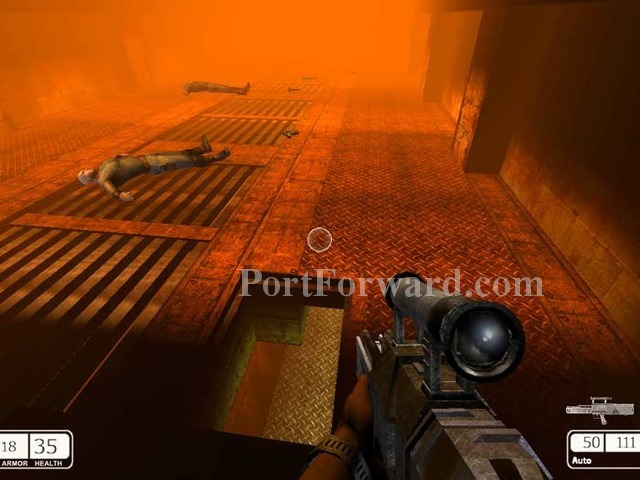
Bodies will randomly drop medkits. Always check fallen bodies for supplies.
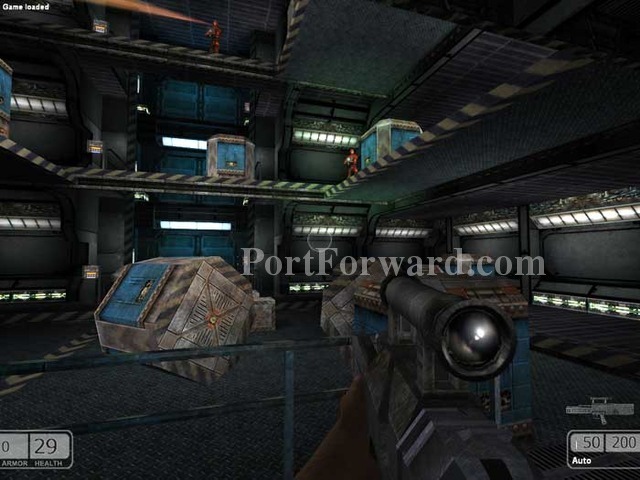
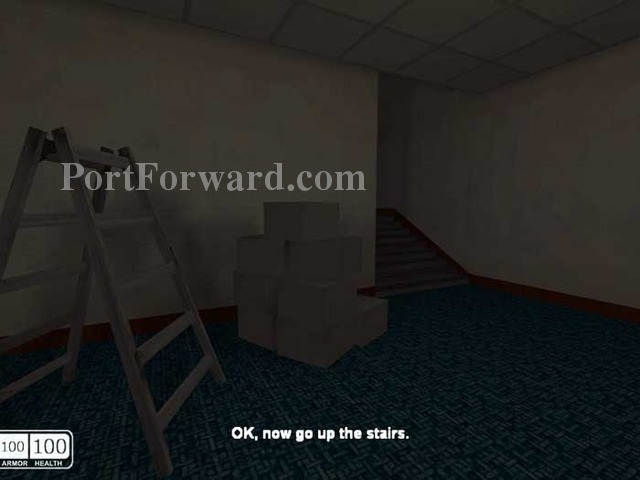
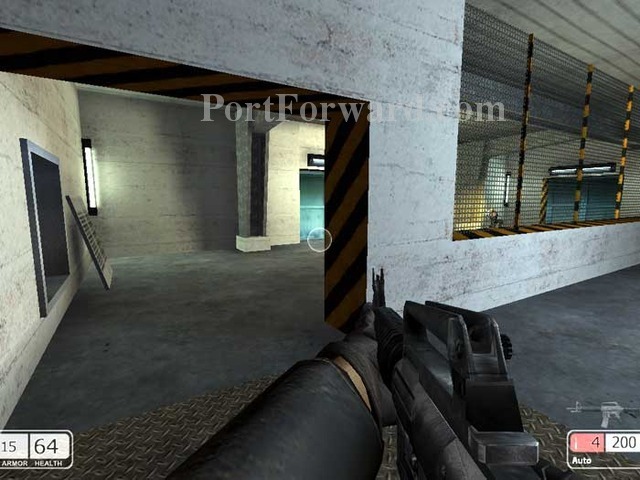
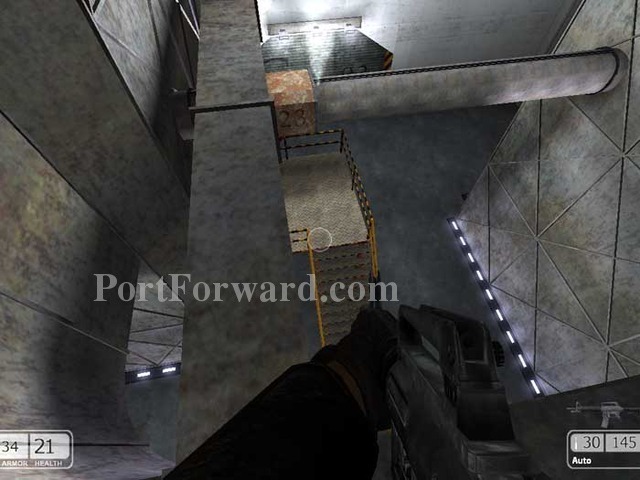
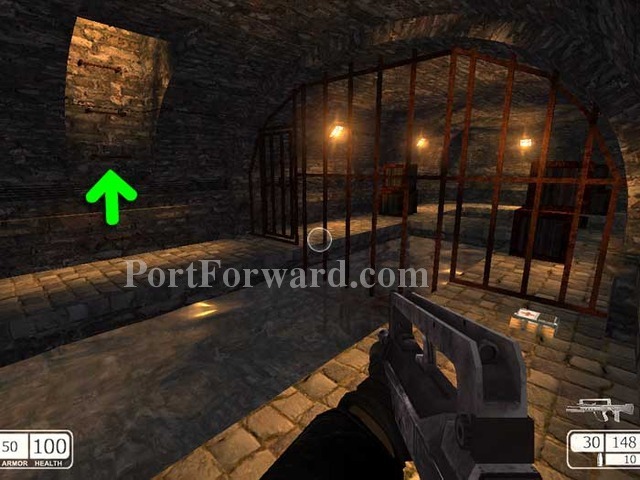
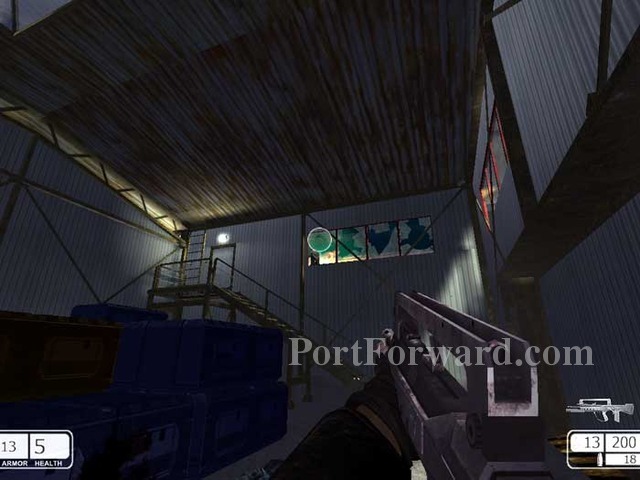
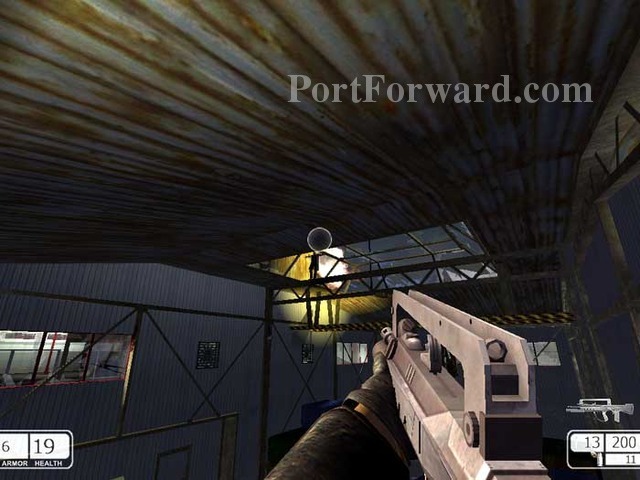
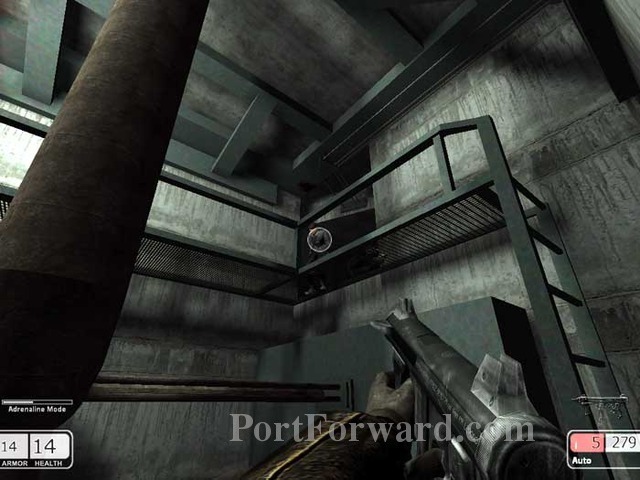
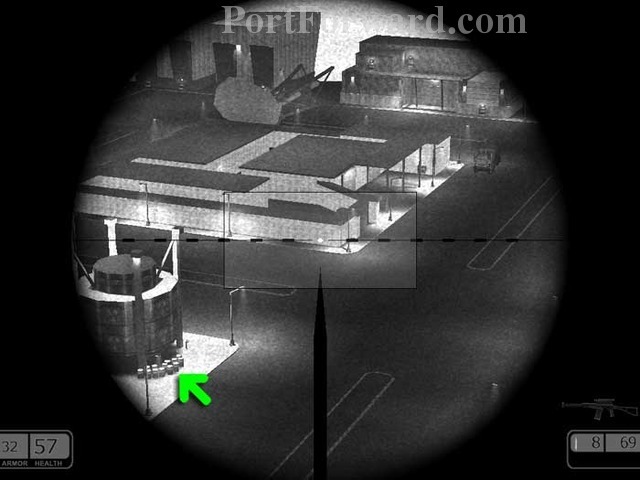
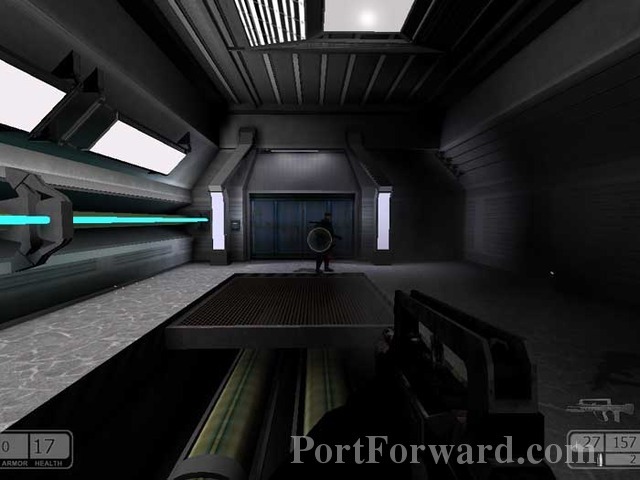
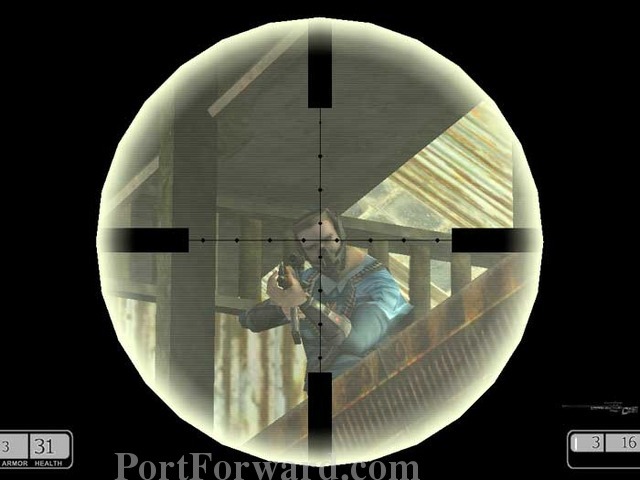
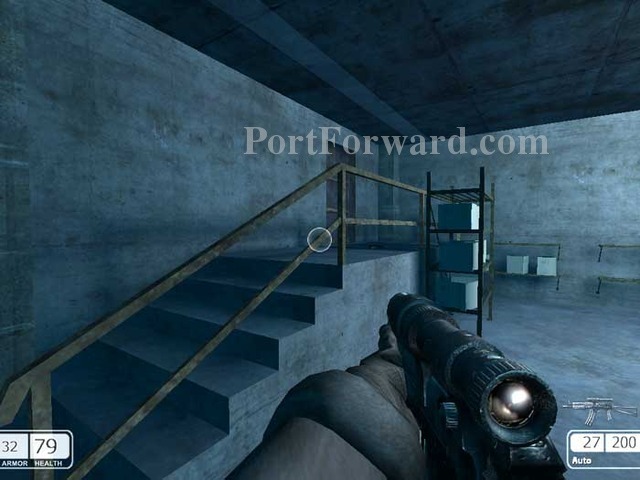
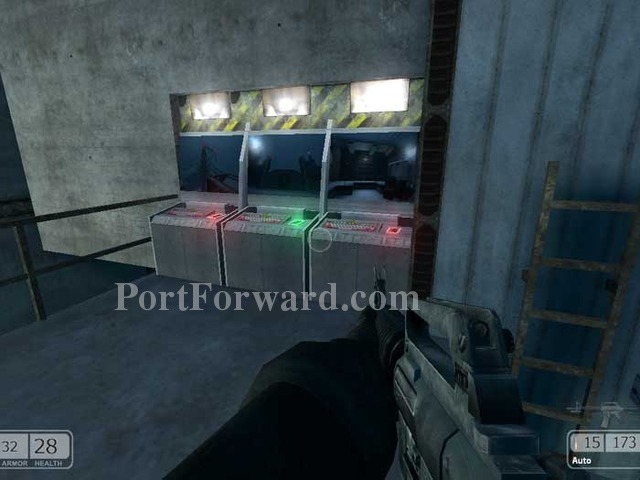
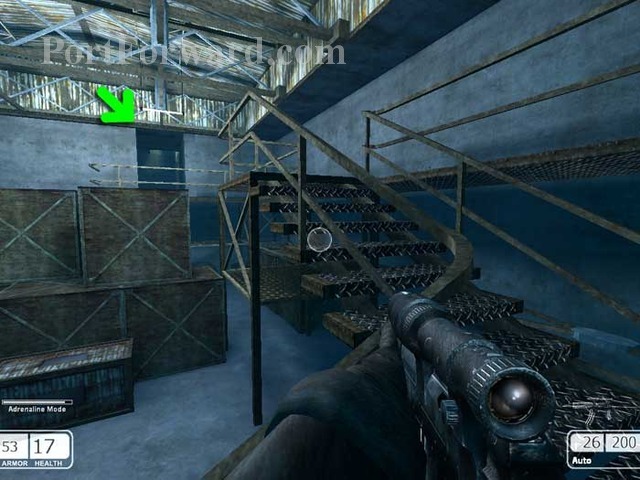
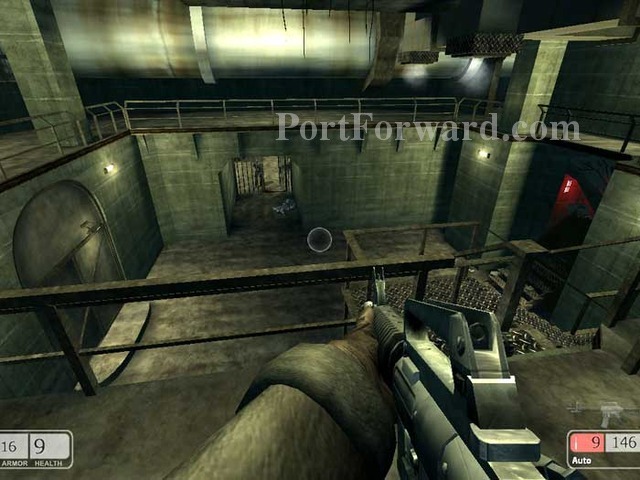
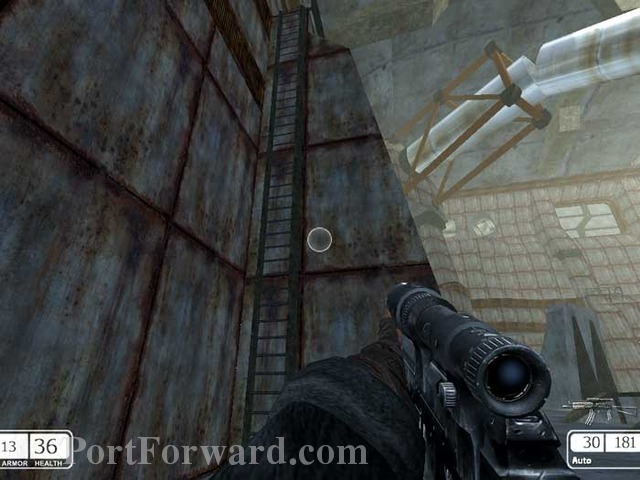
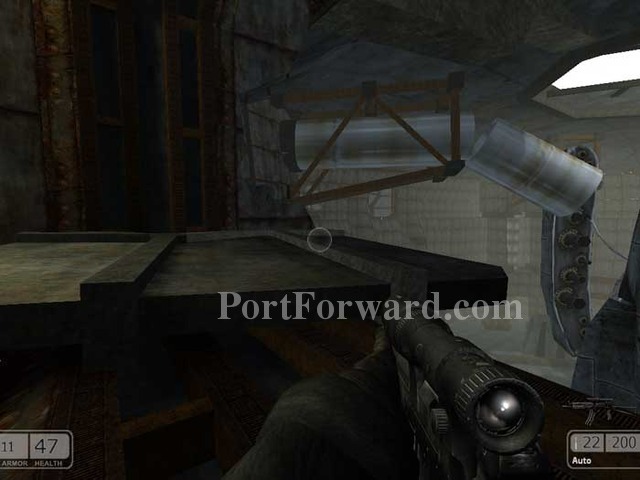
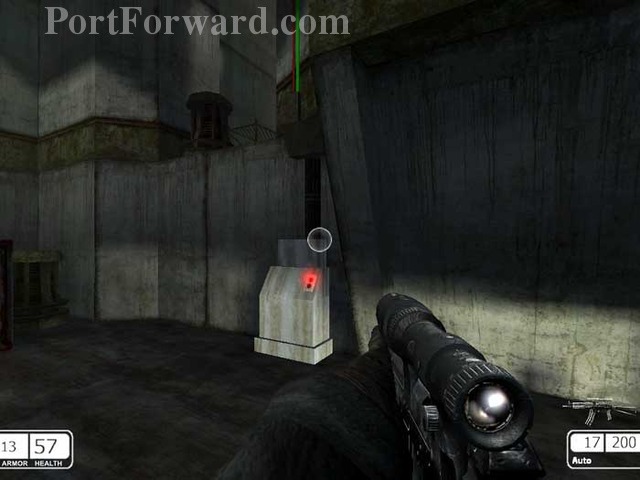
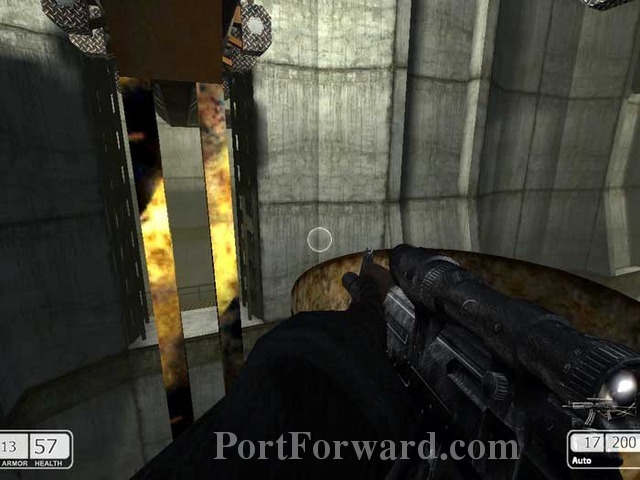
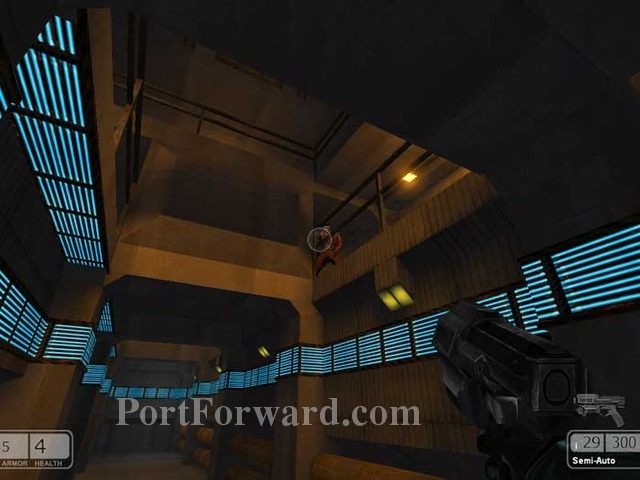
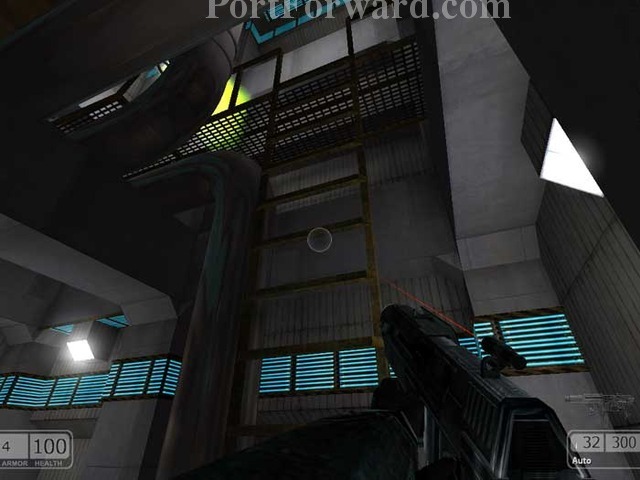
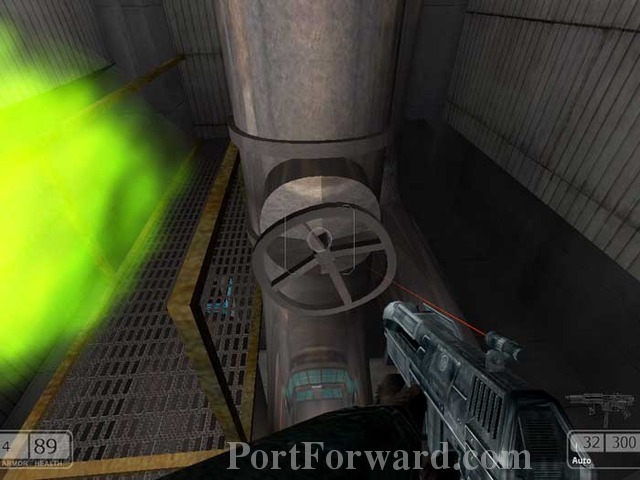
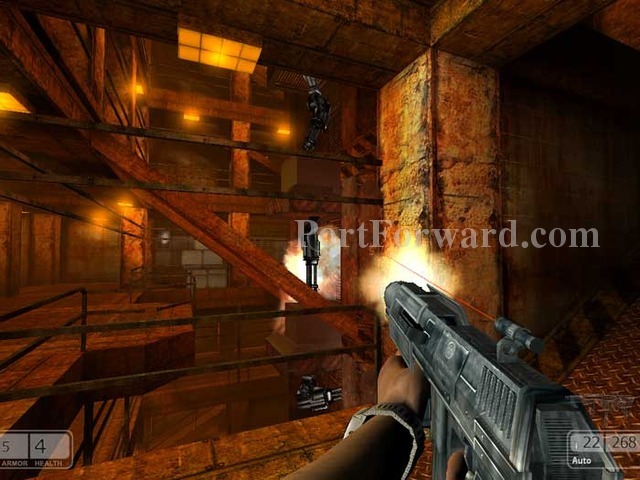
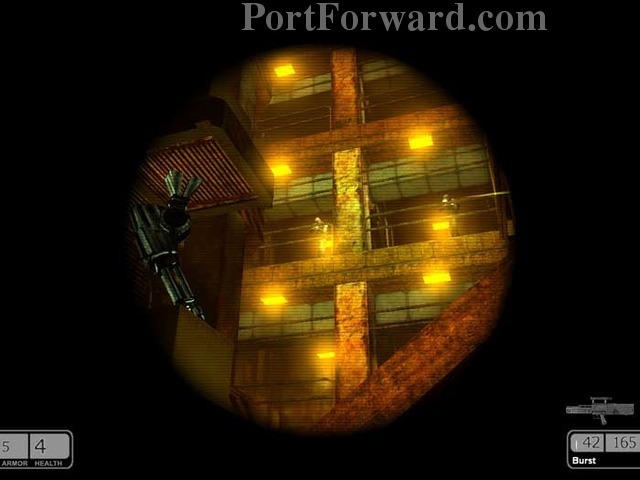
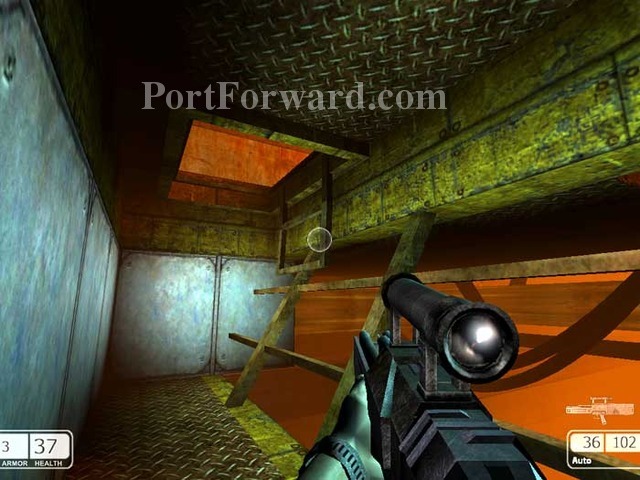
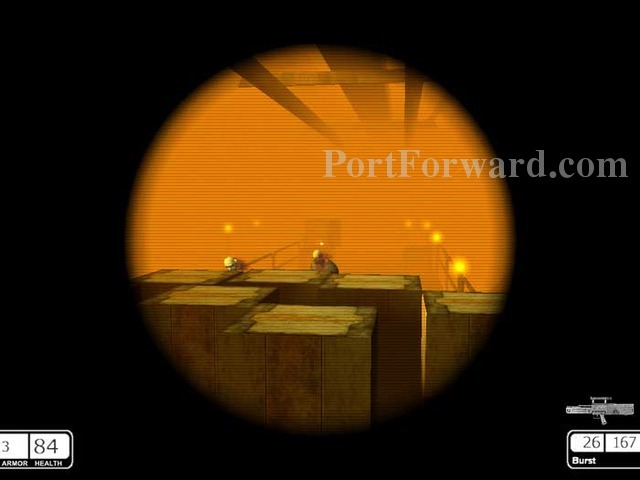
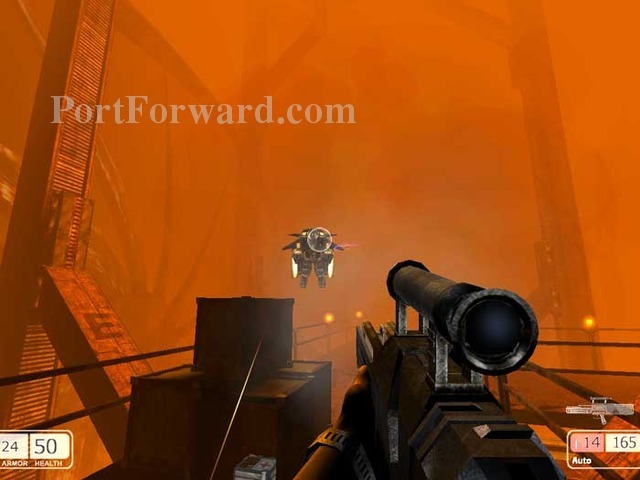
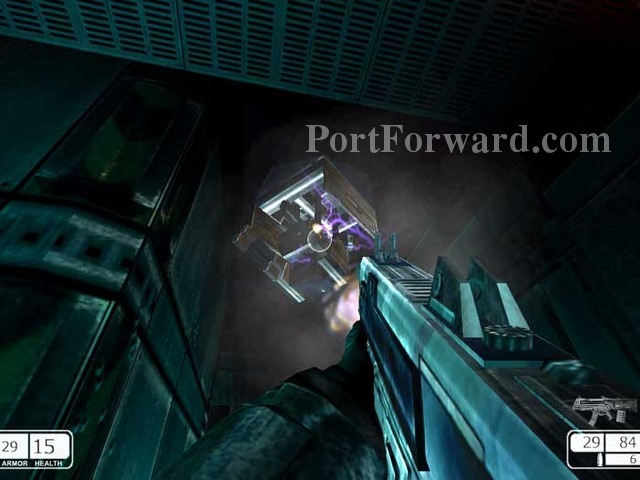
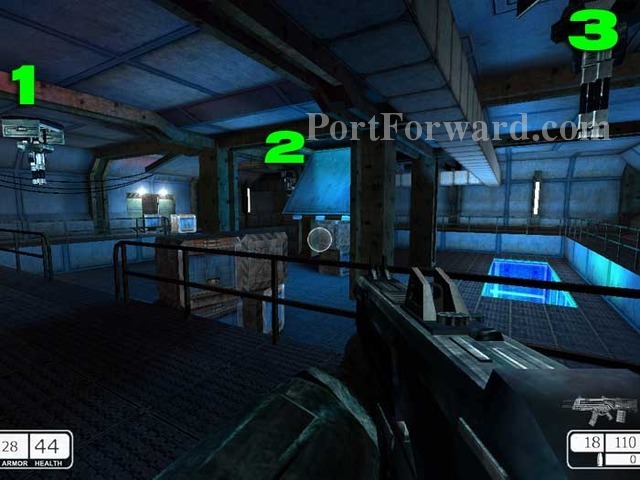
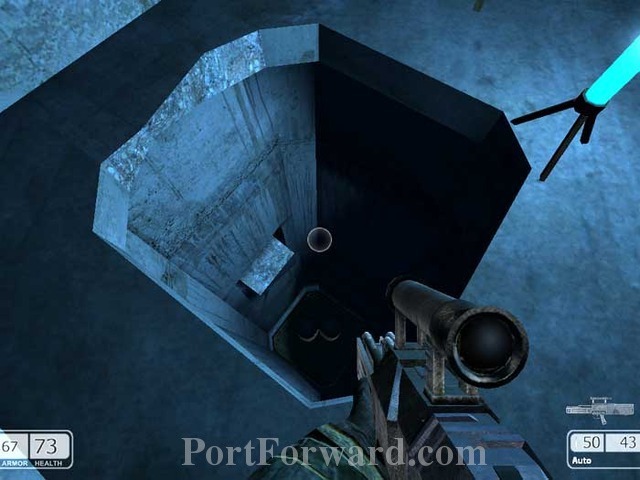
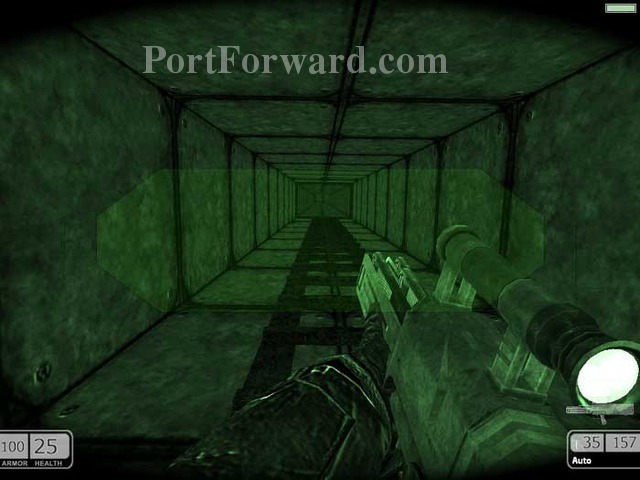
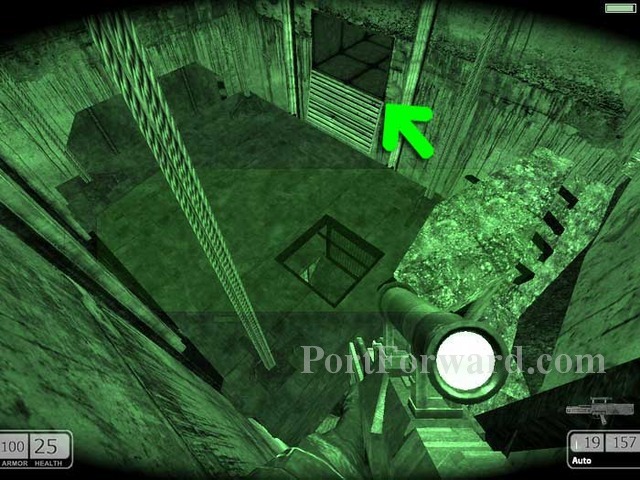
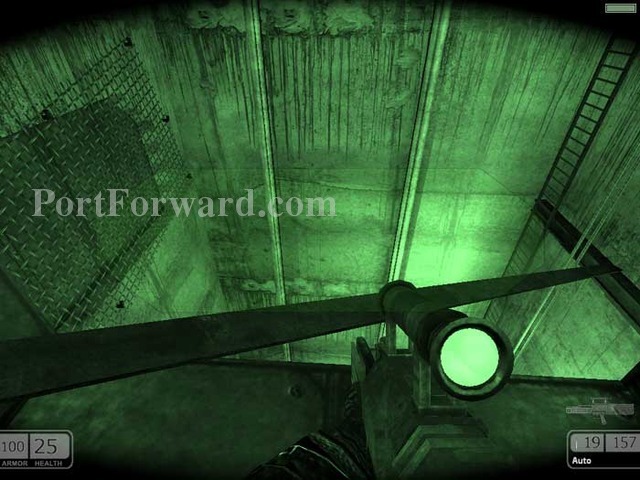
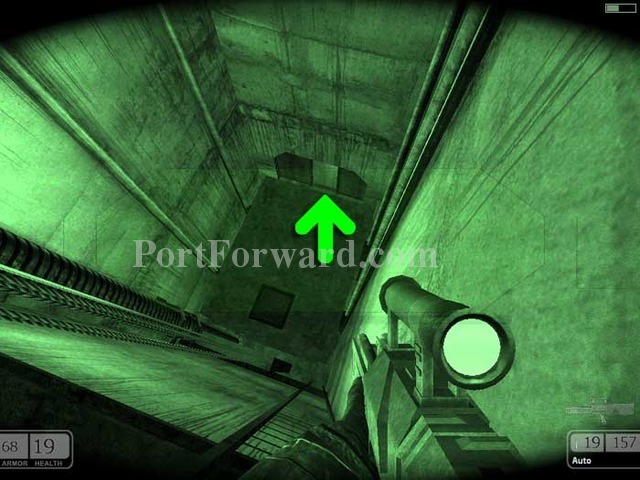
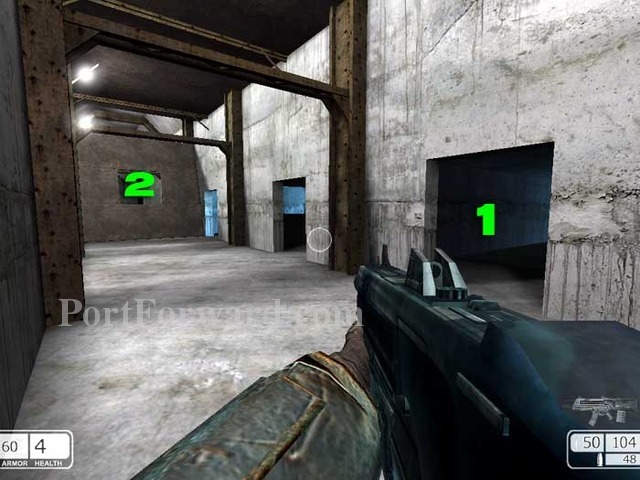
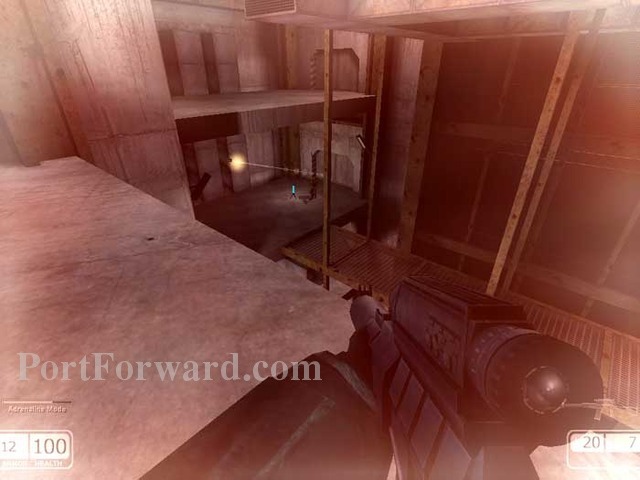
Activate the indicated switch and ride the lift up to the next level. Take out the guard patrolling the topmost level (inset).
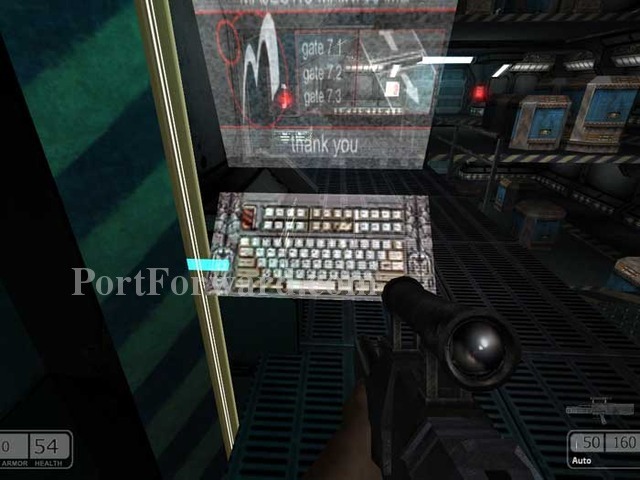
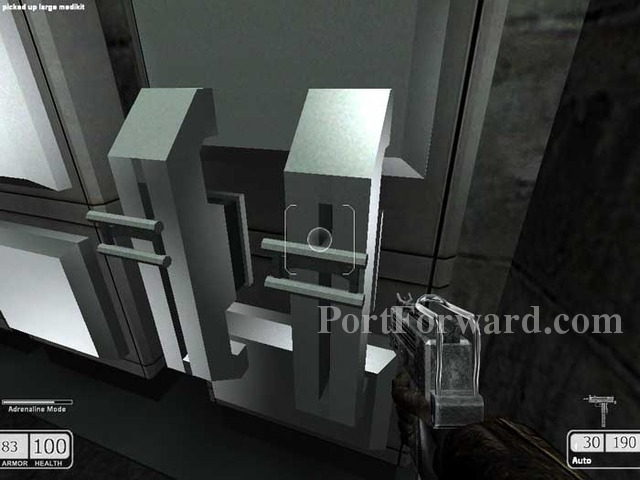
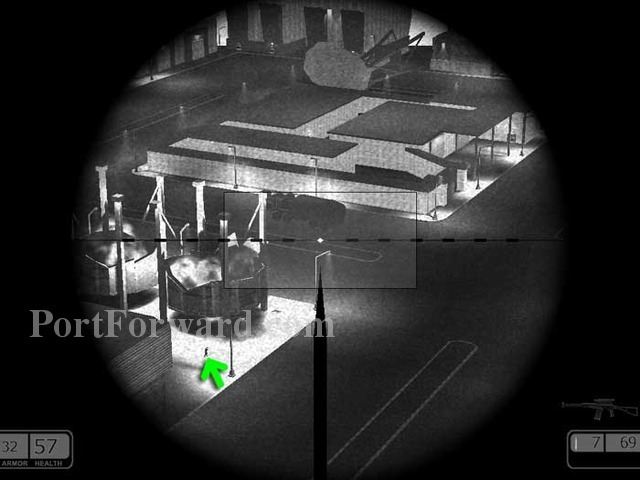
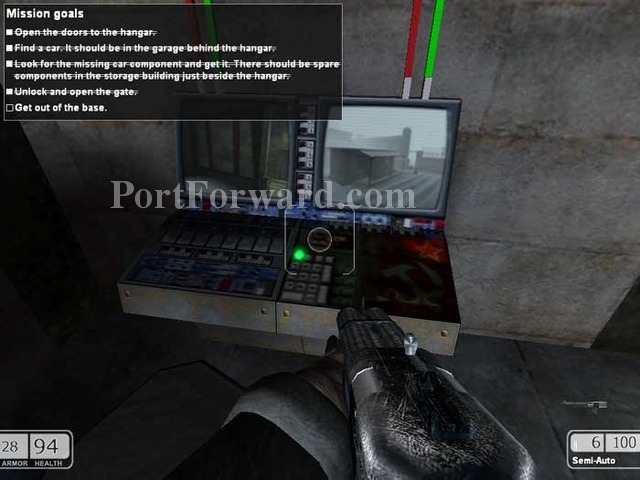
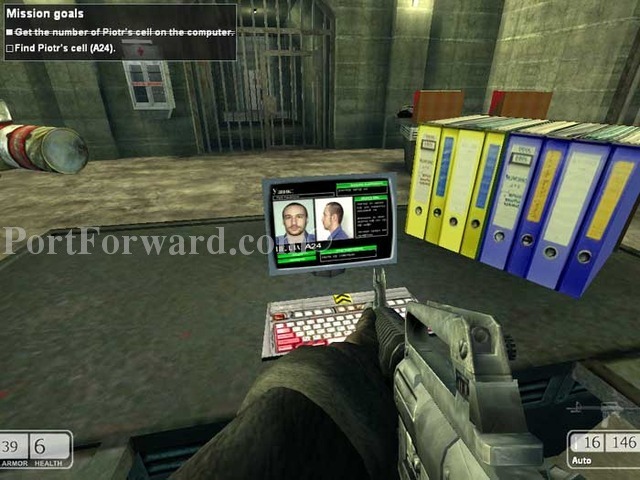
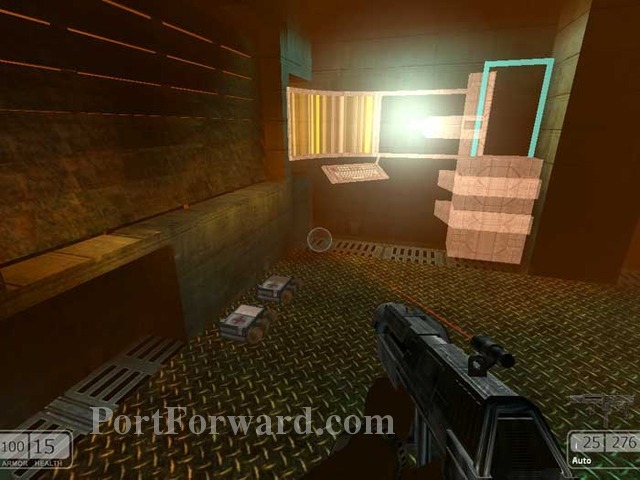
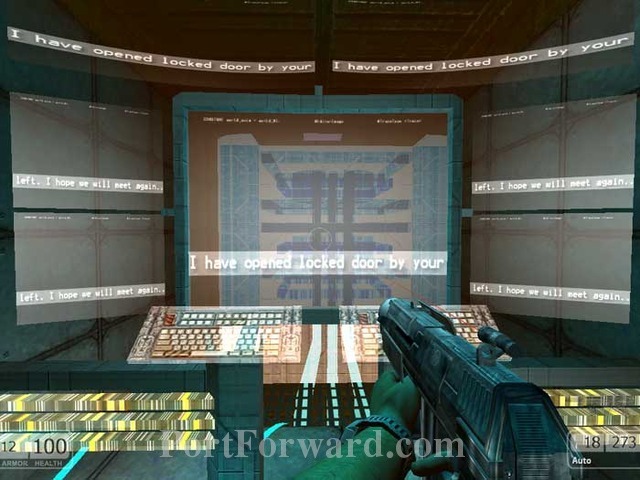
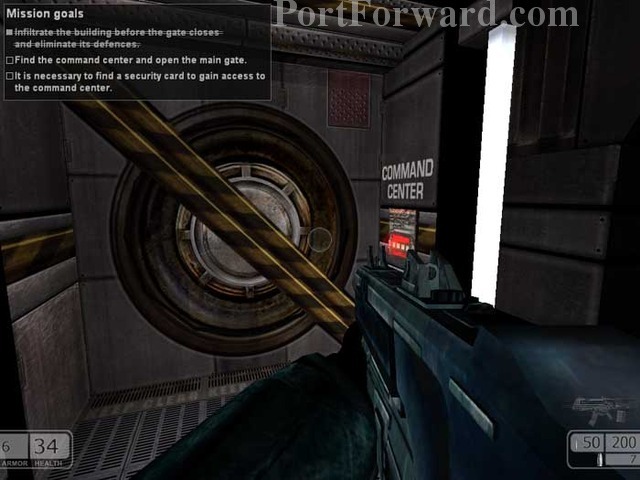
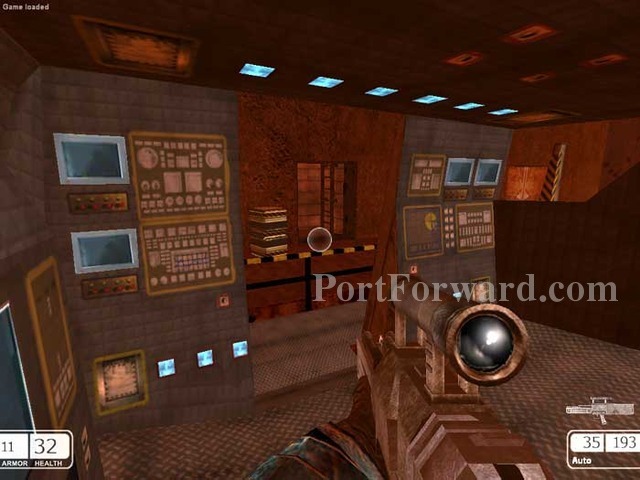
Use this computer.
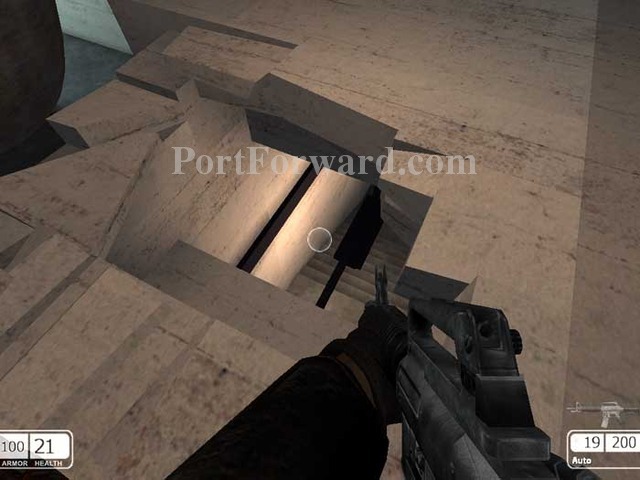
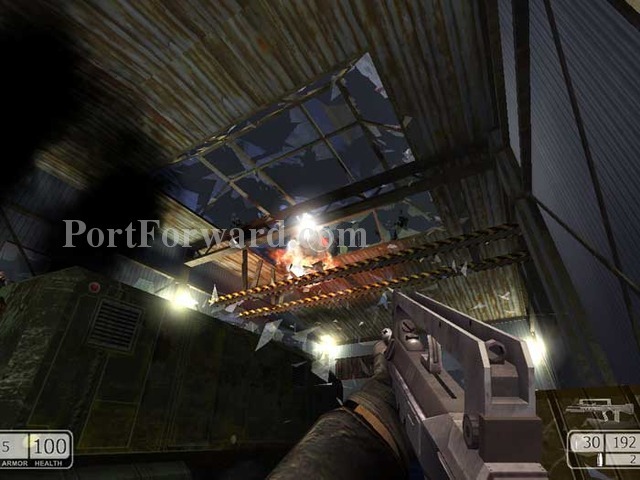
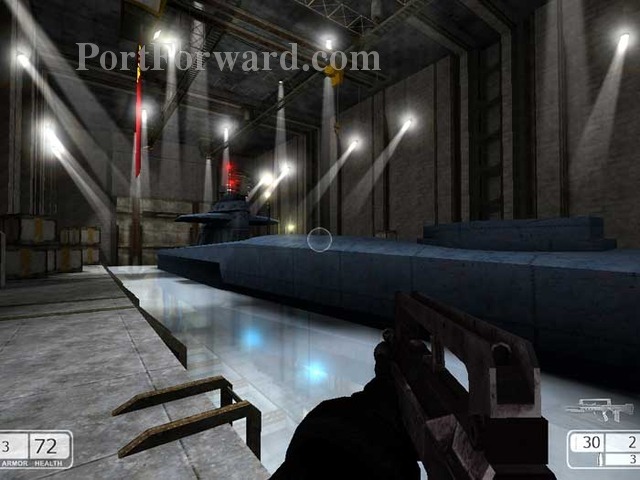
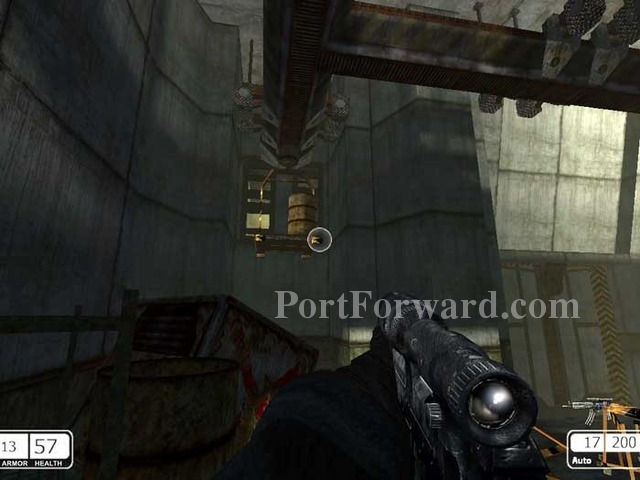
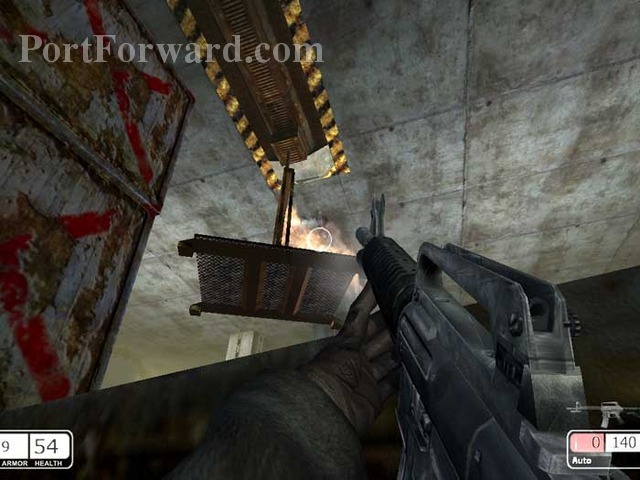
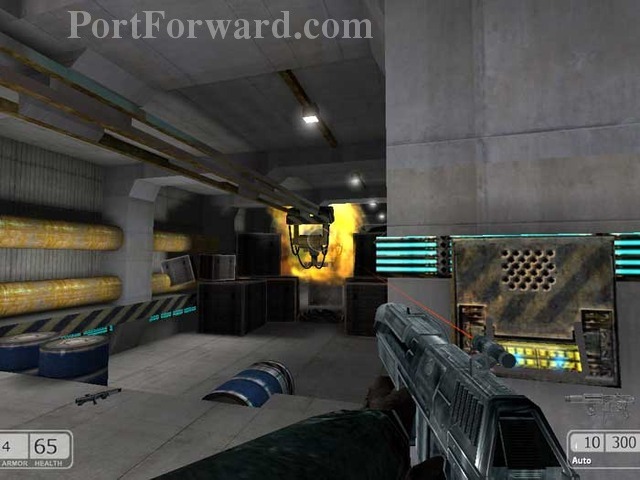
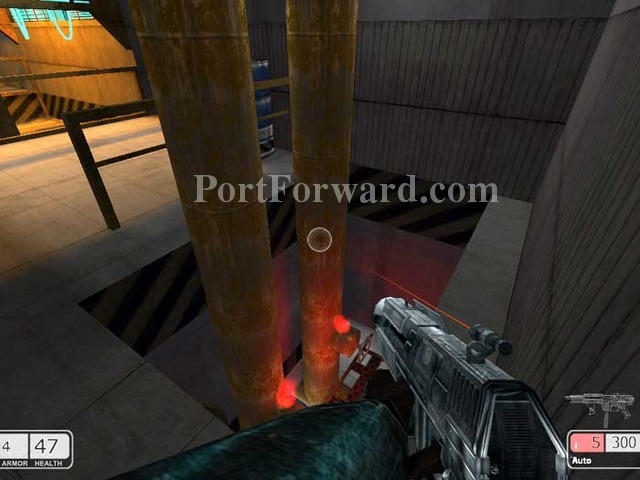
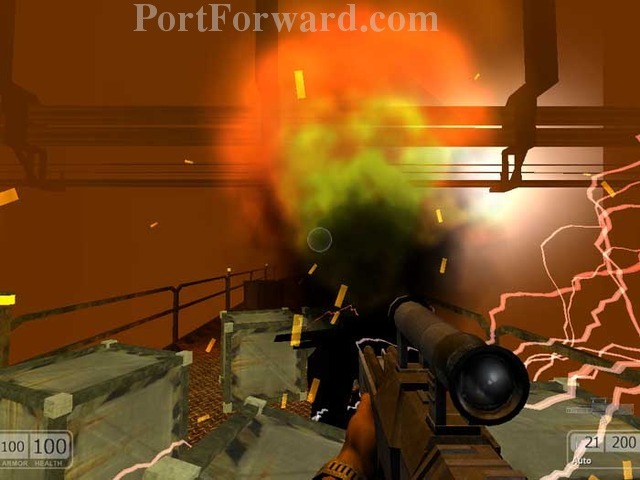
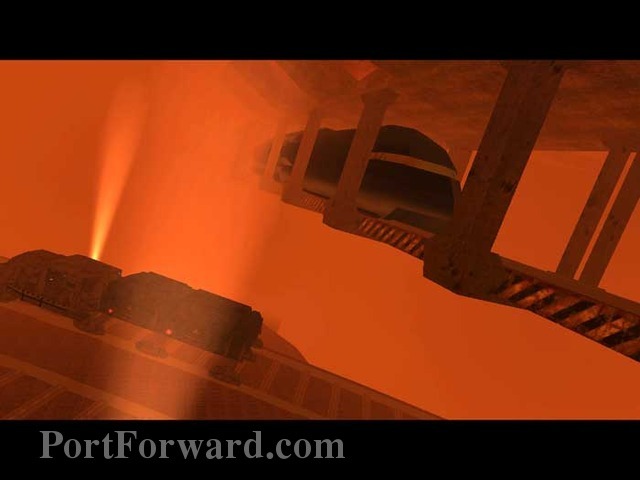
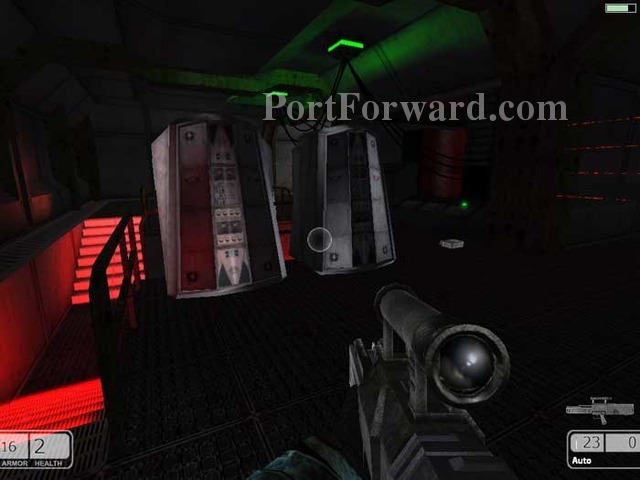
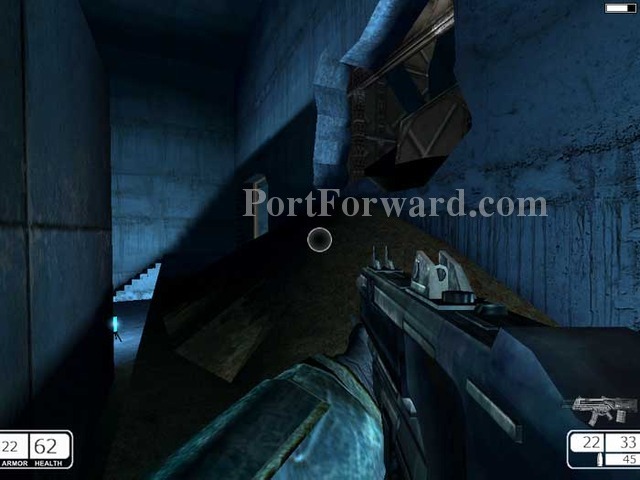
A brief cutscene shows some crates falling from above.
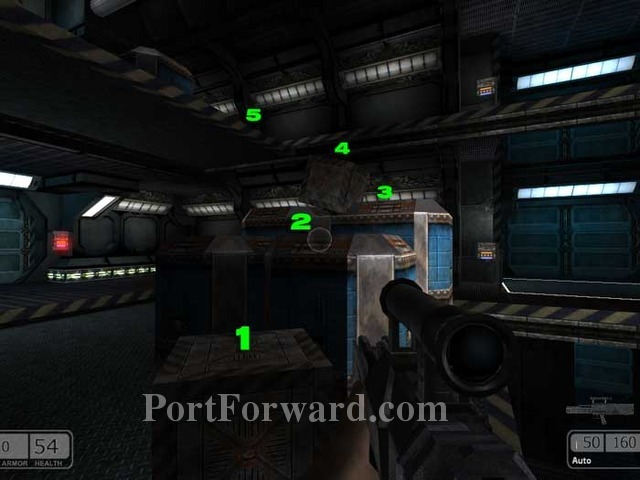
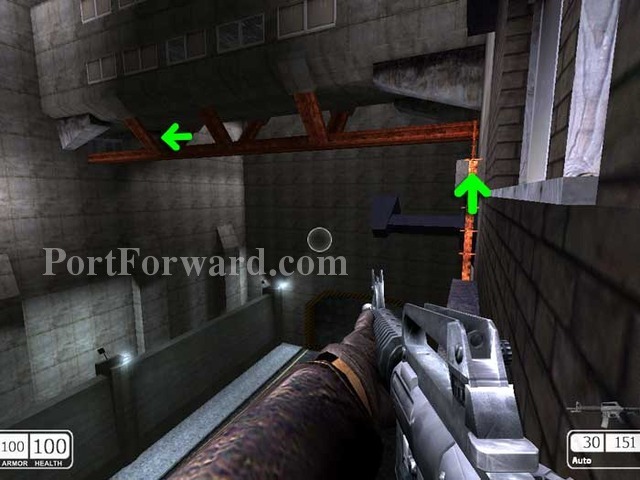
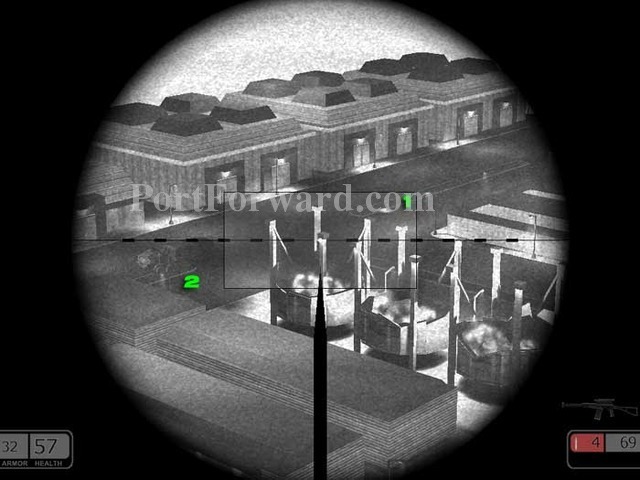
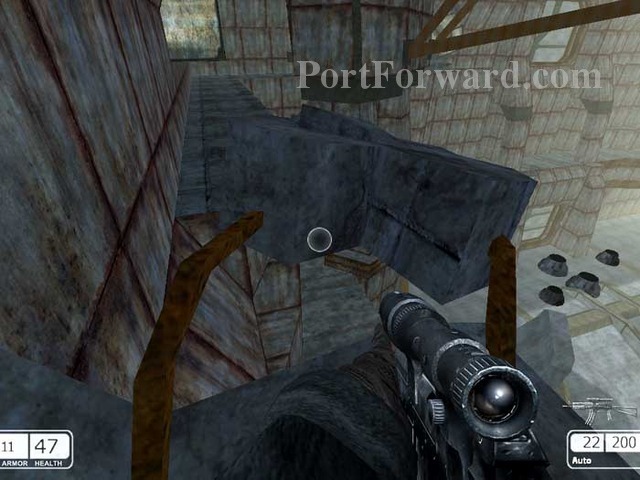
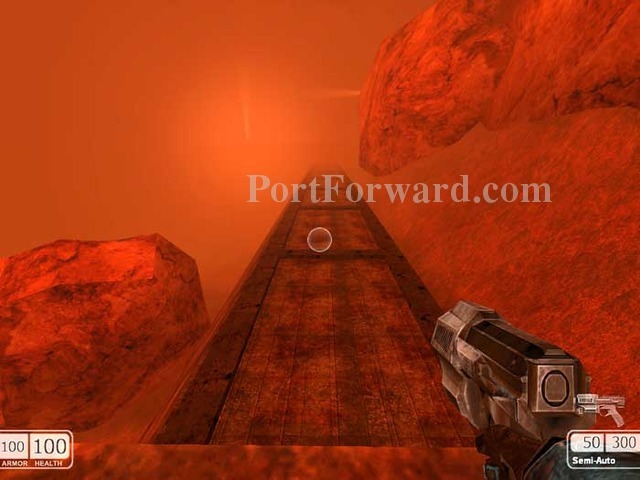
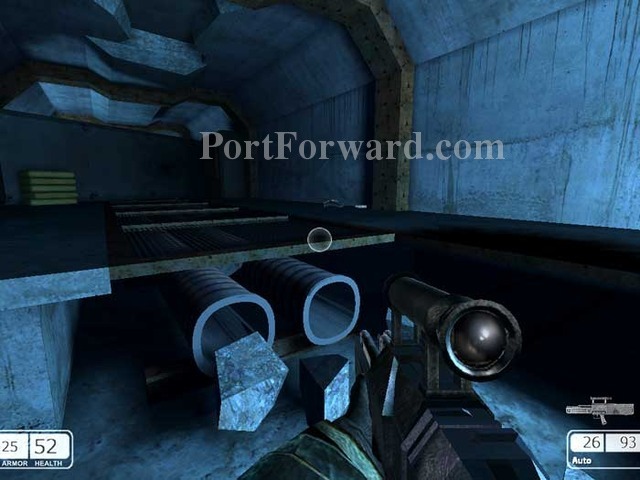
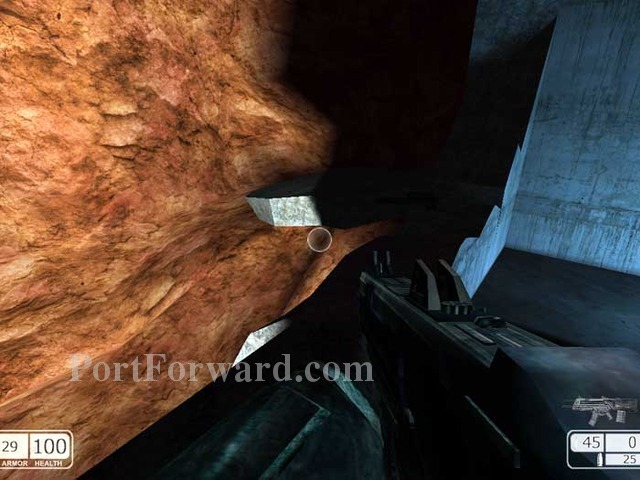
Jump by numbers. It looks simple, and it should be, but the jump from 4 to 5 is very difficult because of your short jumping ability. This is where many players get stuck.
The jump can be made to either ledge, but I find this ledge to be a bit easier. The trick is to do a running jump, then crouch immediately after you are air born. You may find it helpful to have 'Always Run' turned on under options/player setup.
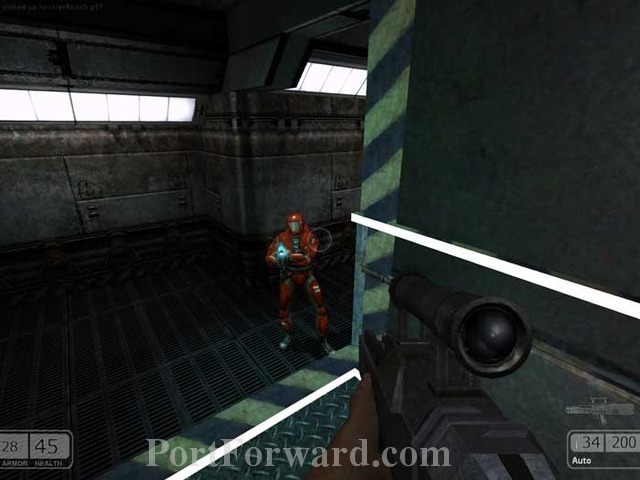
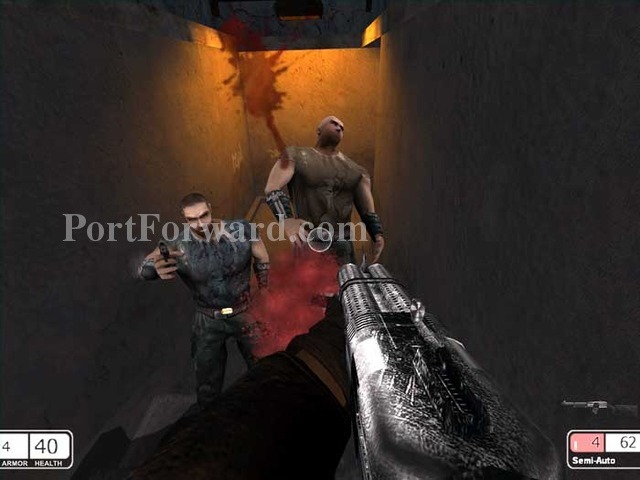
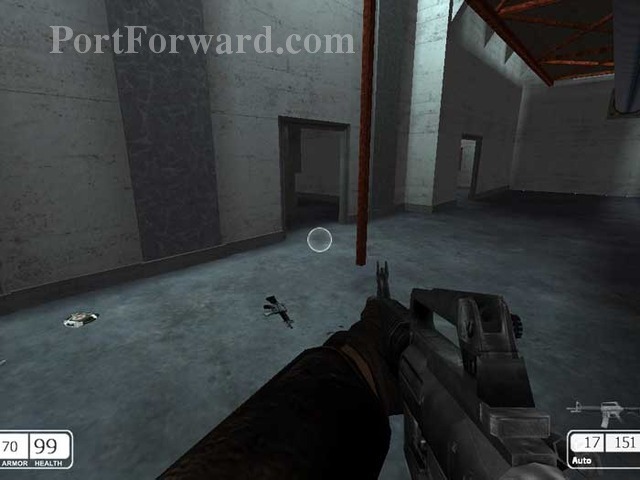
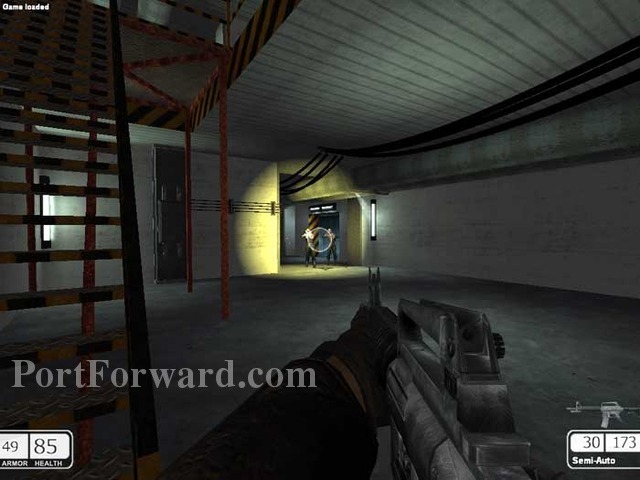
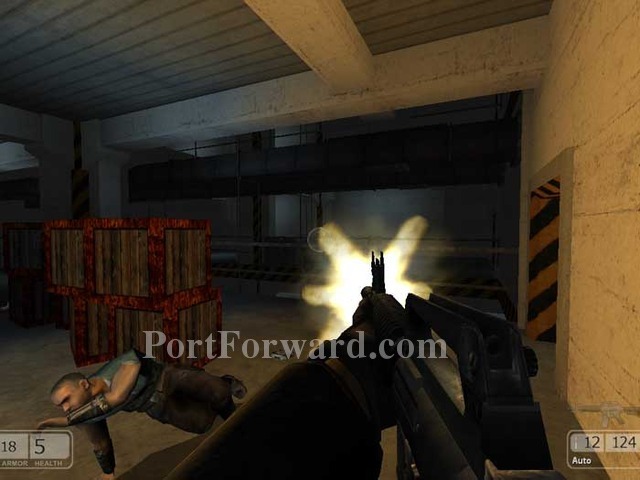
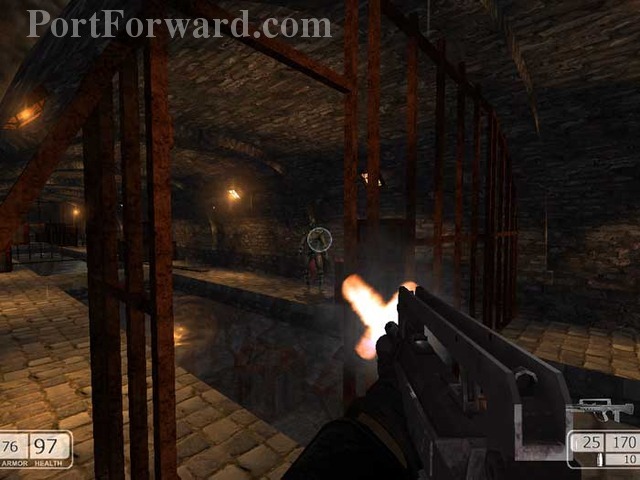
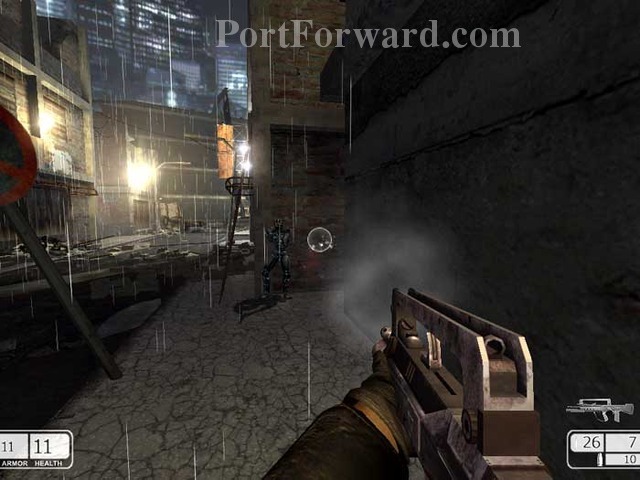
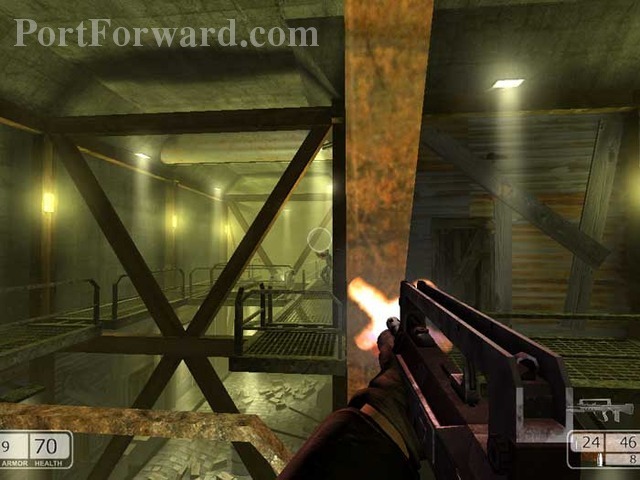
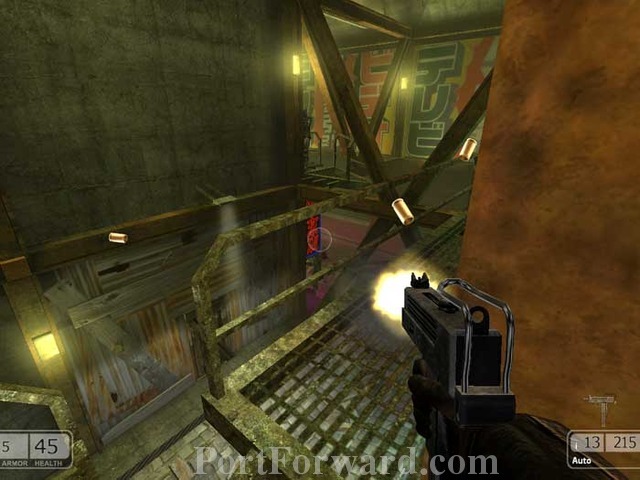
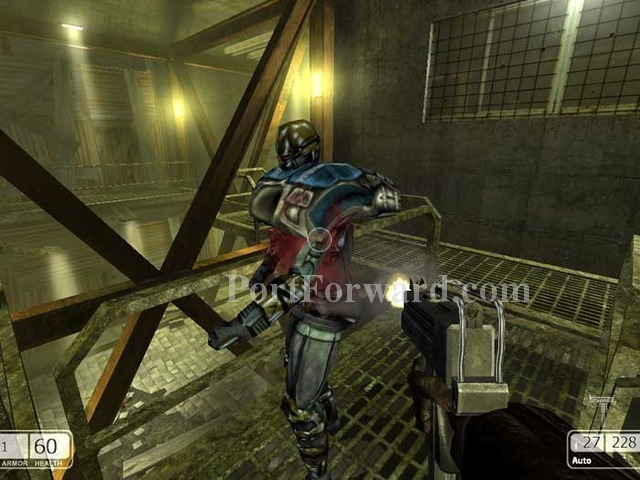
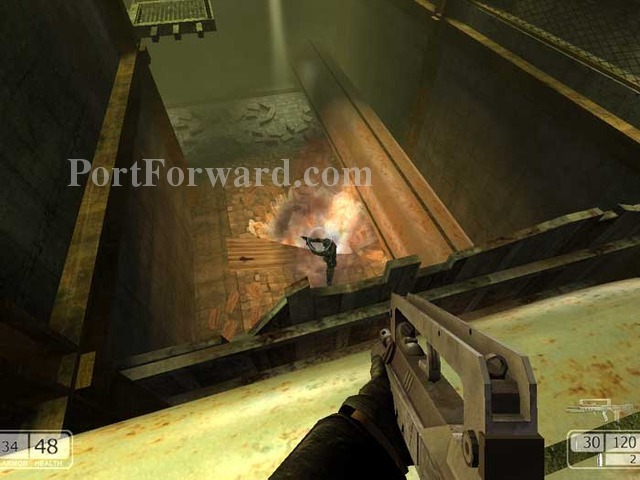
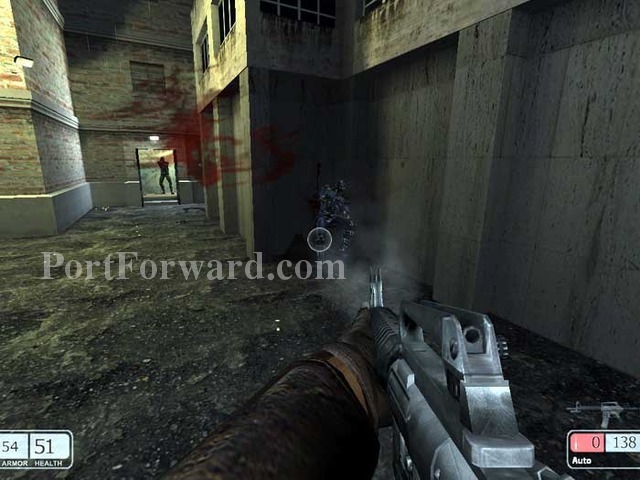
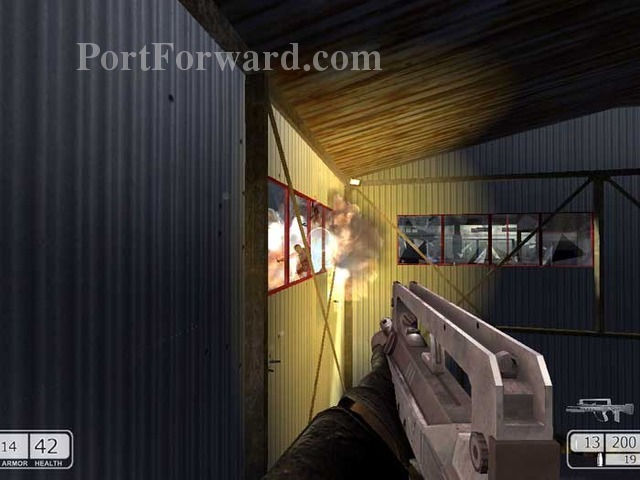
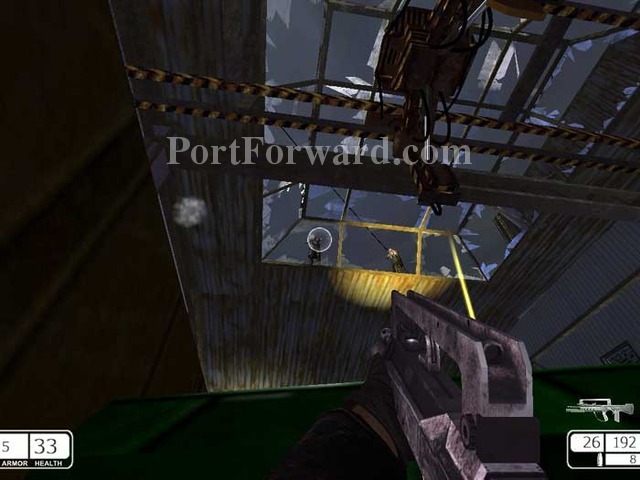
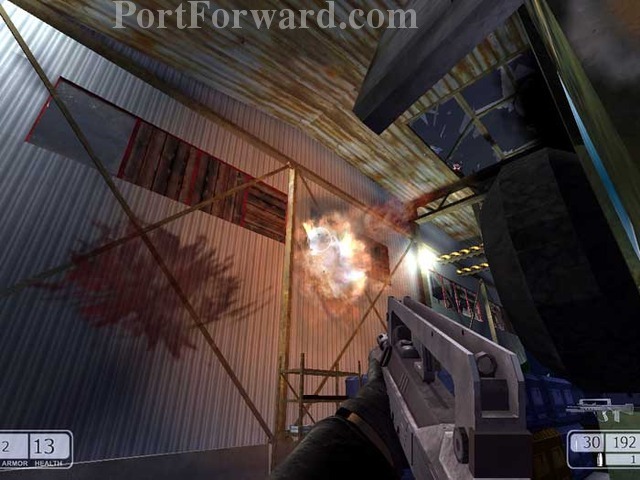
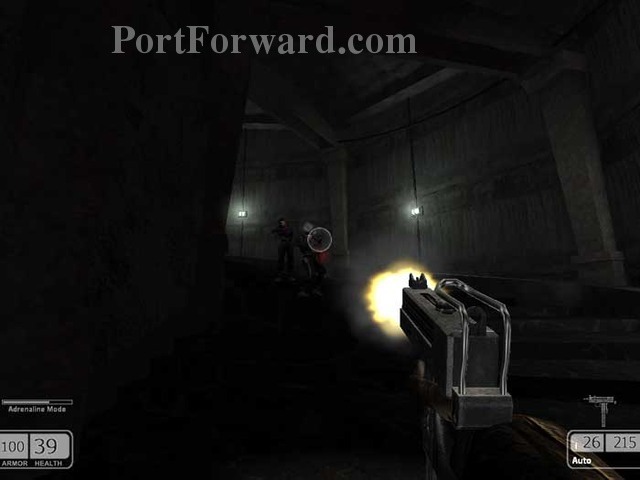
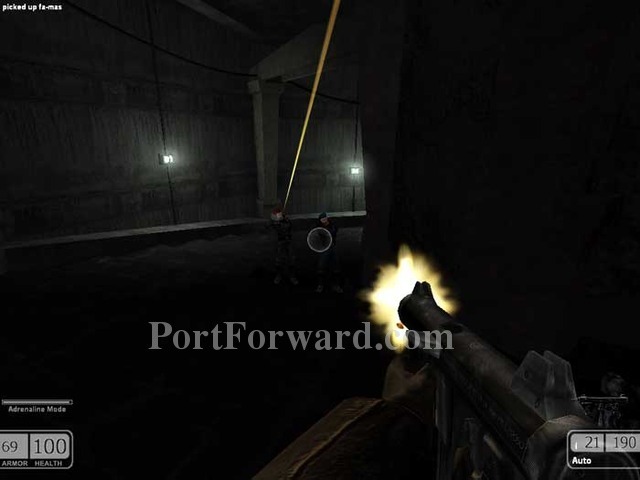
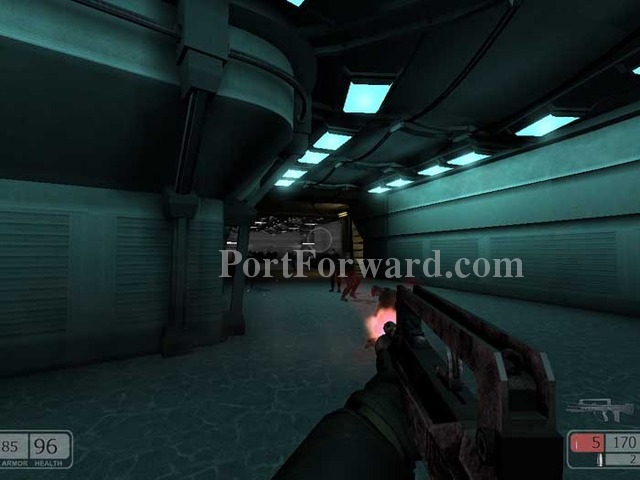
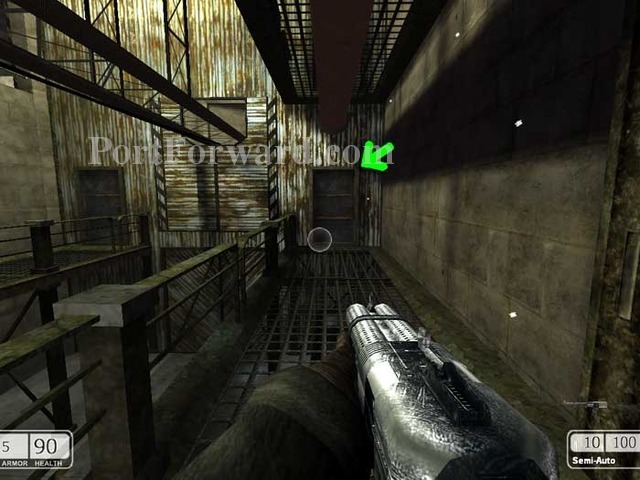
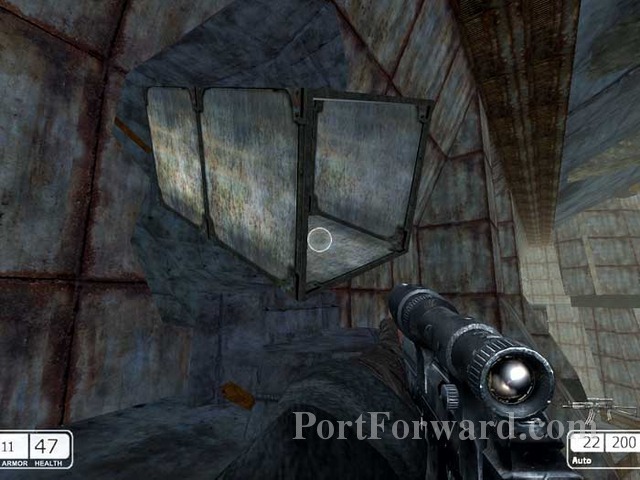
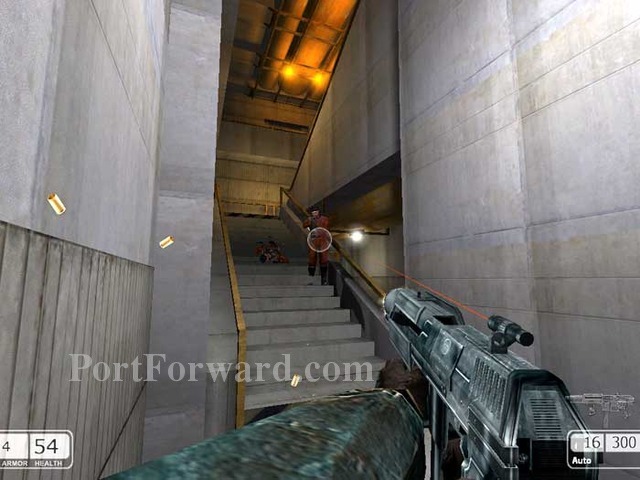
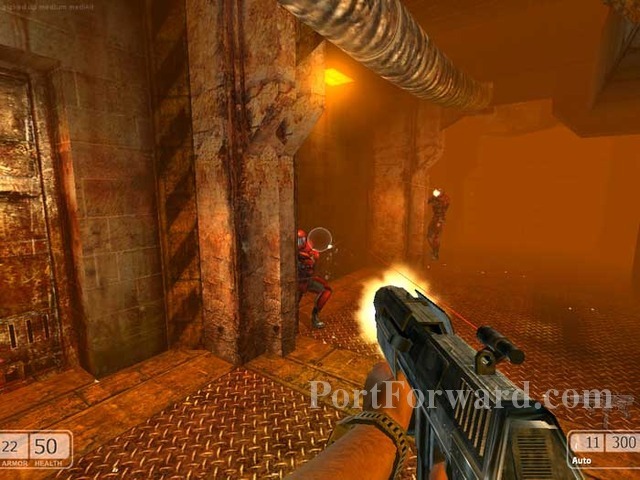
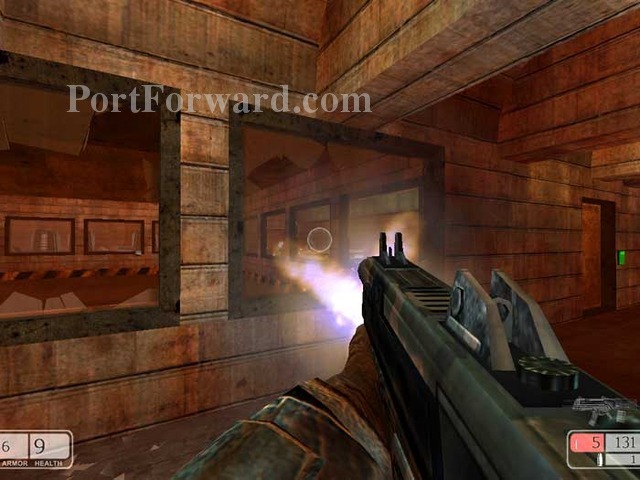
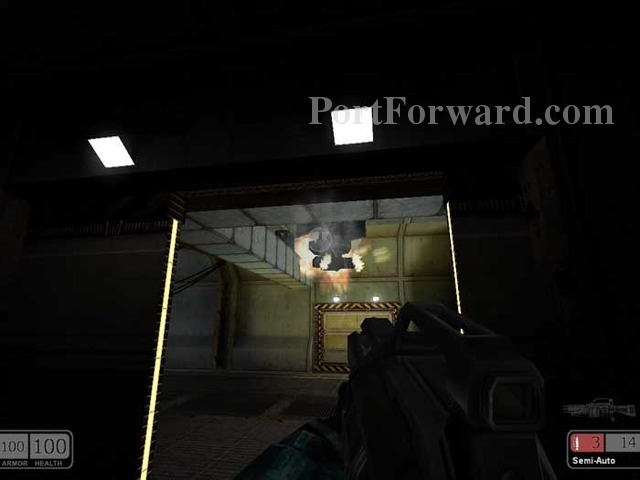
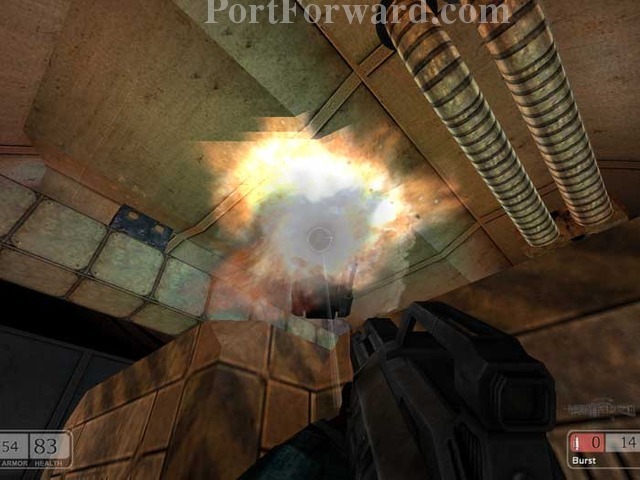
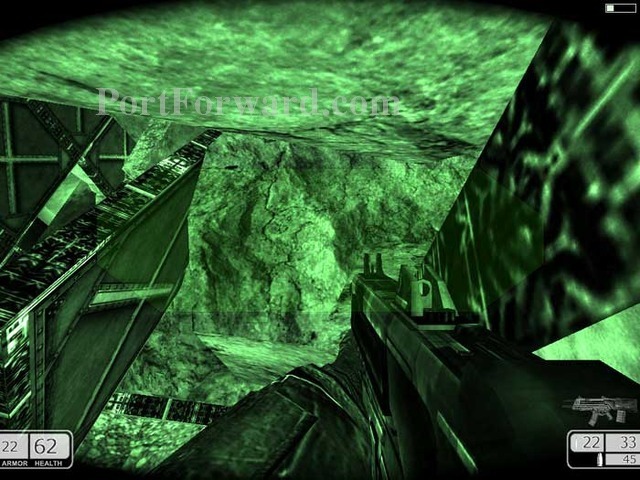
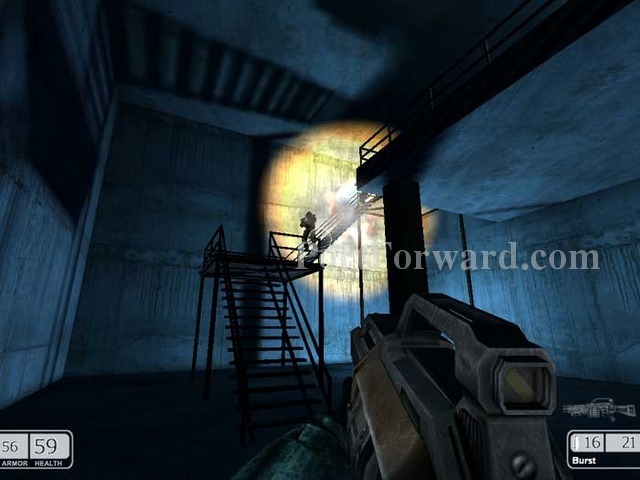
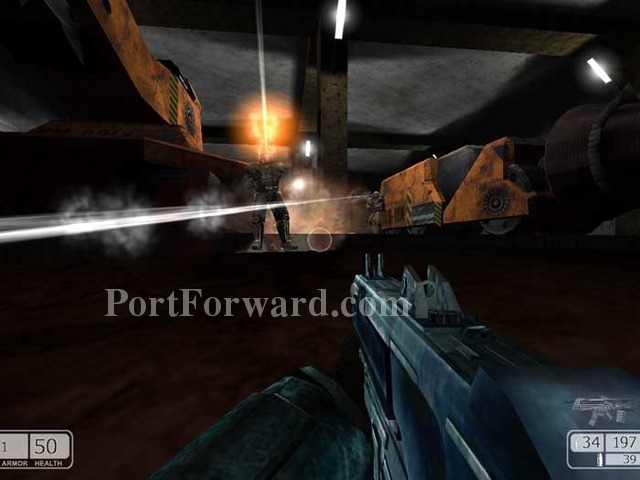
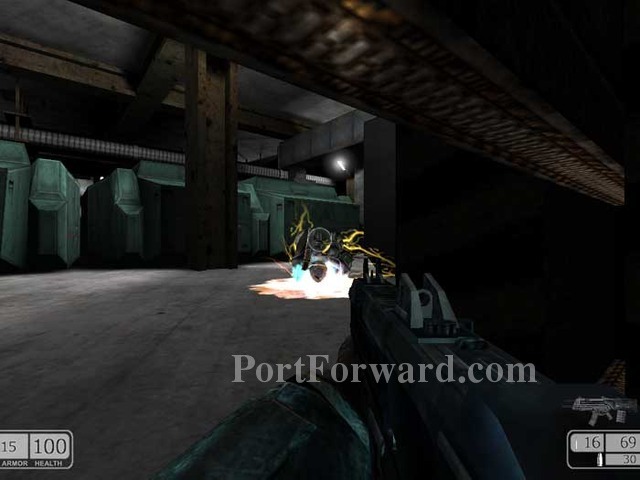
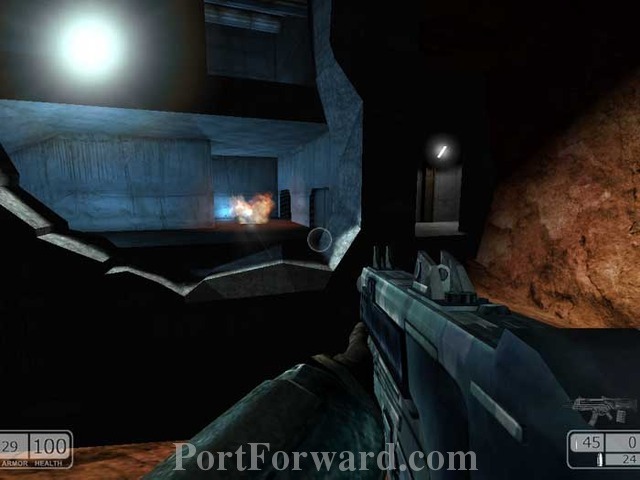
To make matters worse, you'll immediately come under fire from this guard across the room, and more guards will enter the room from the door directly behind you.

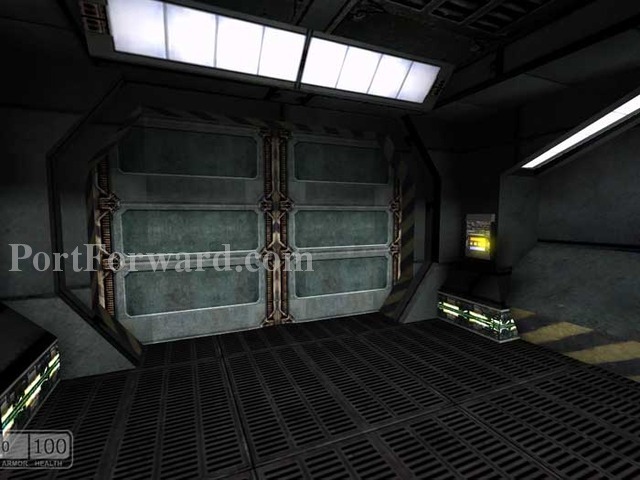
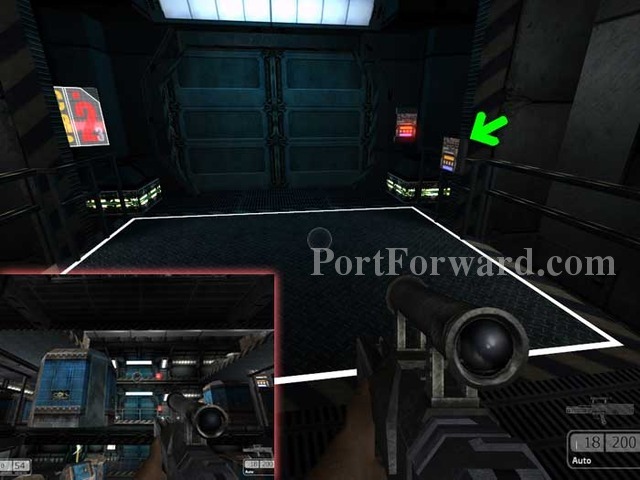
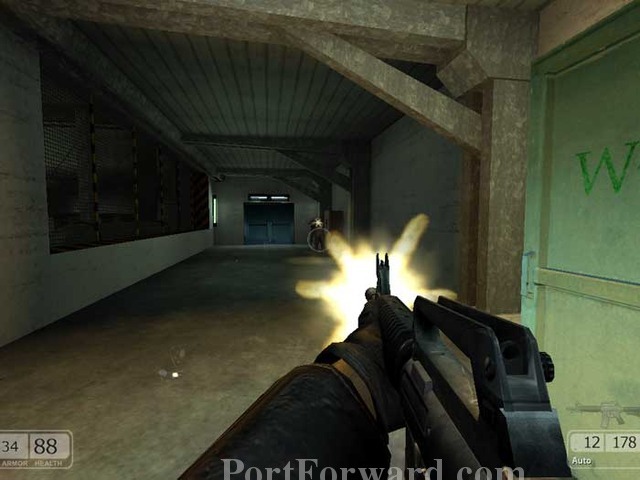
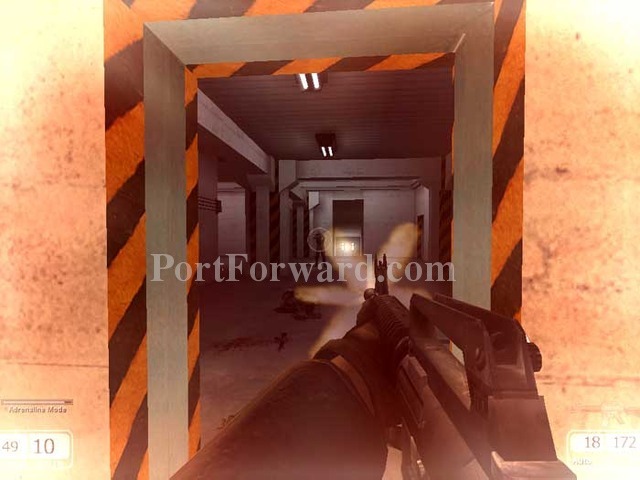
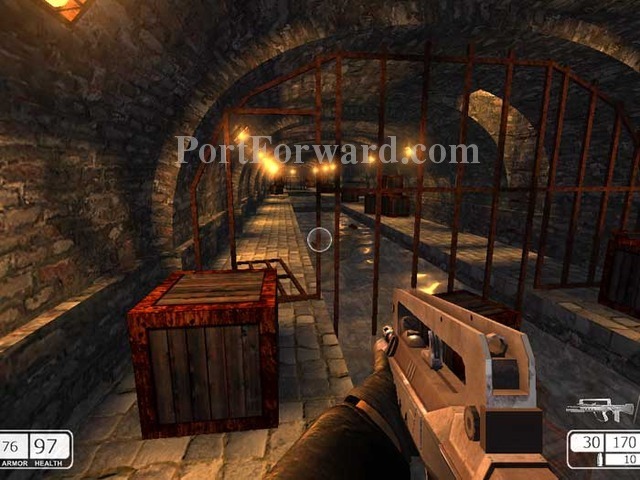
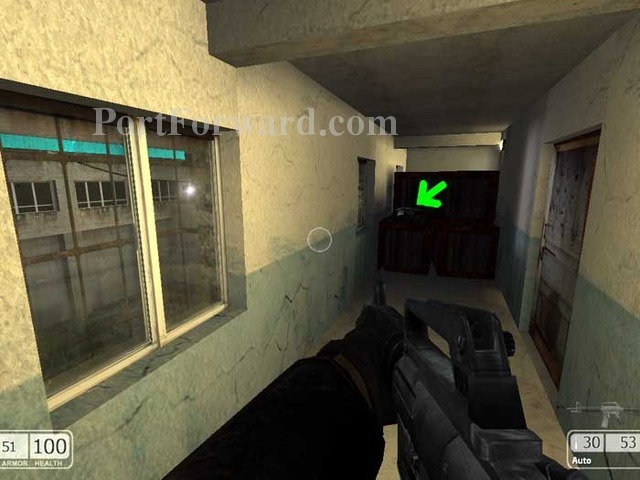
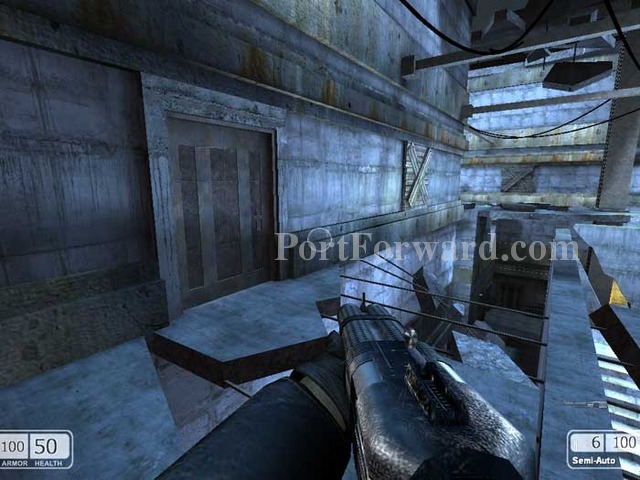
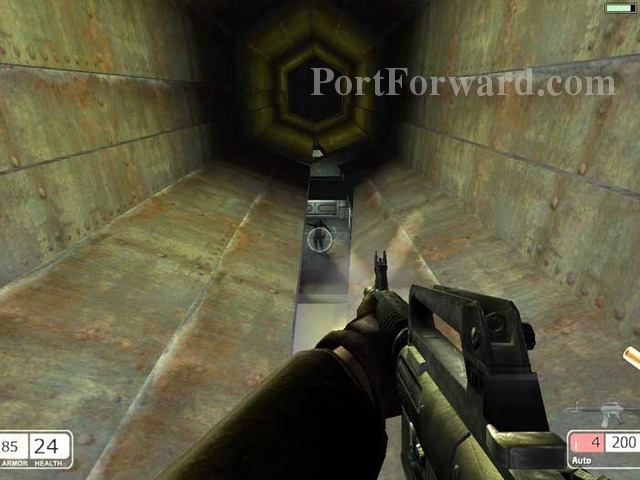
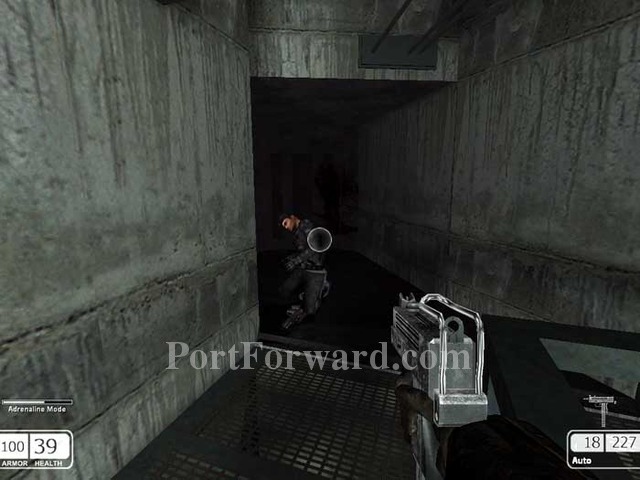
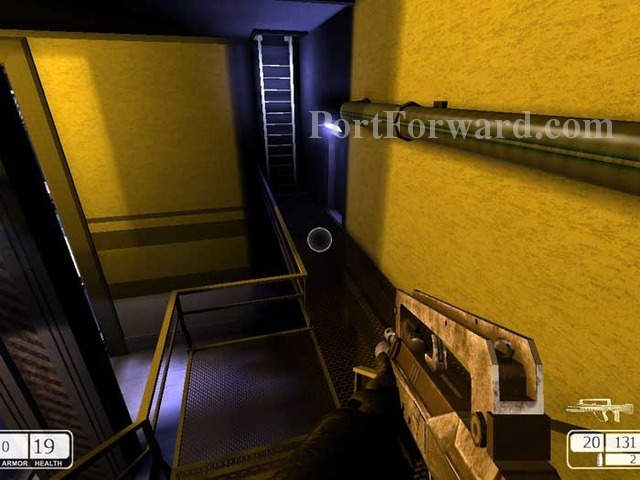
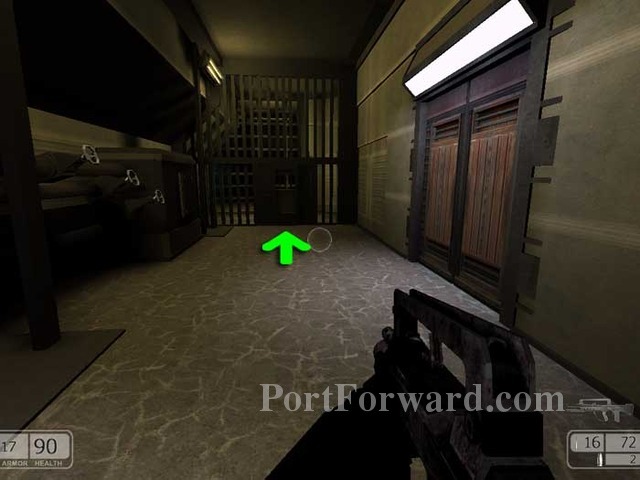
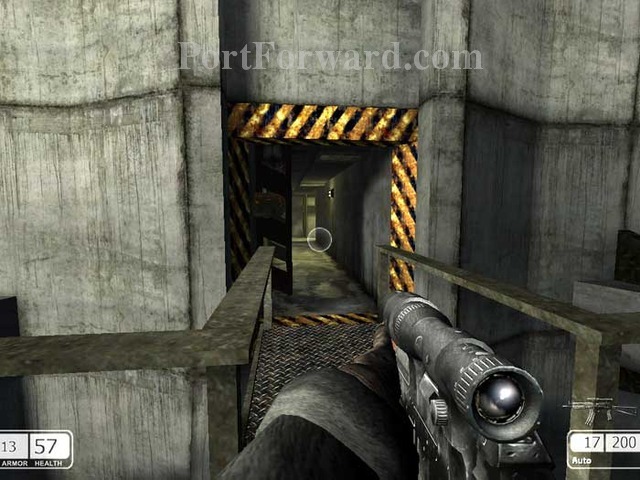
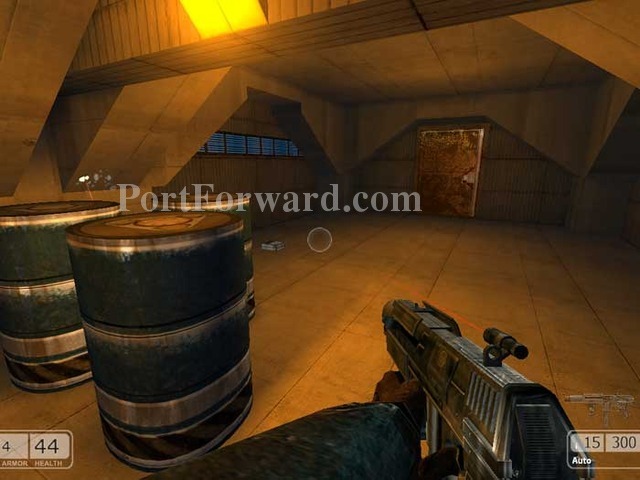
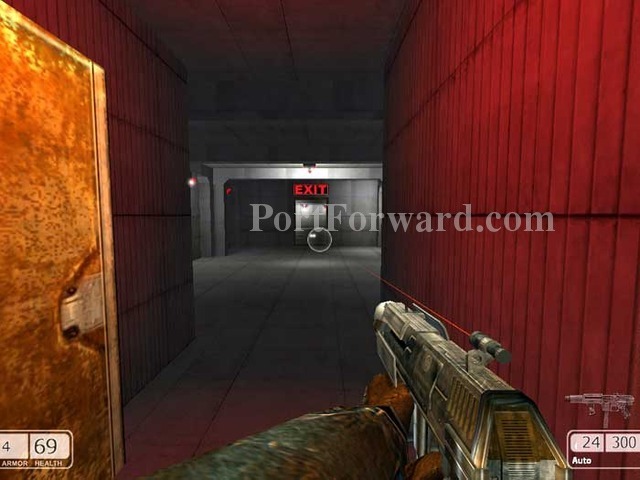
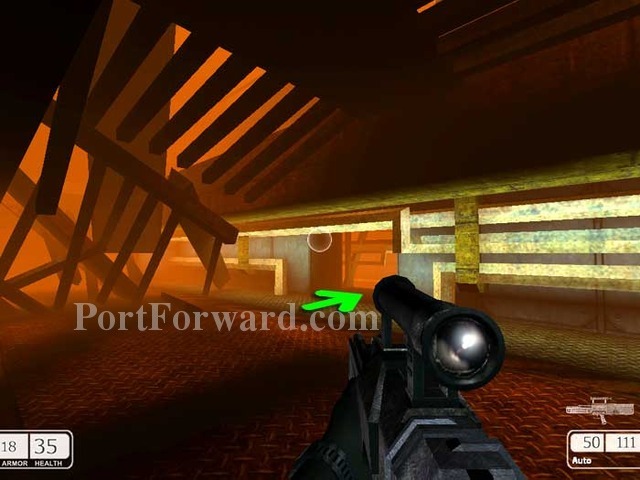
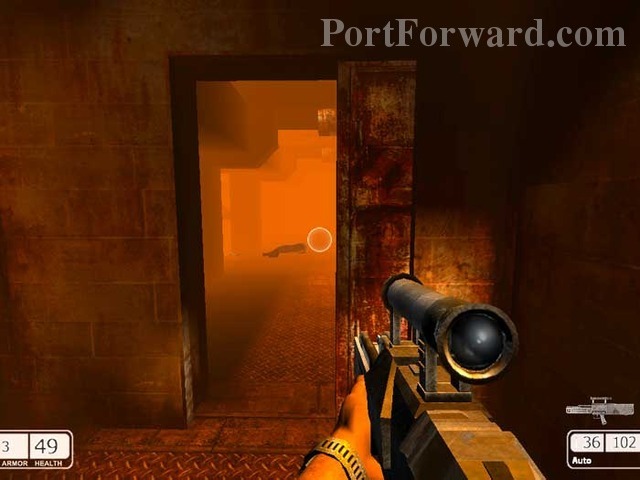
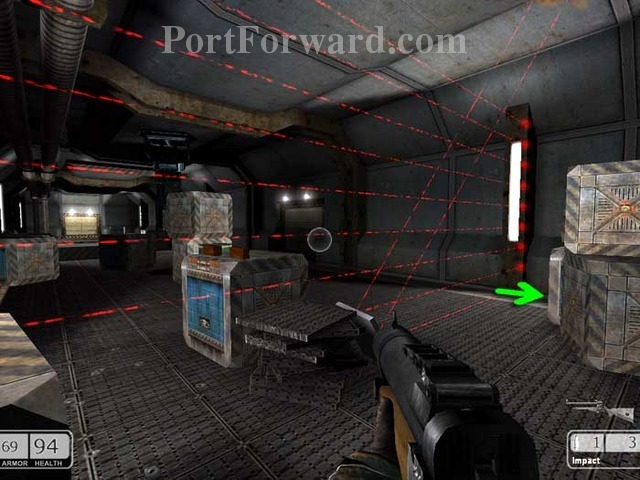
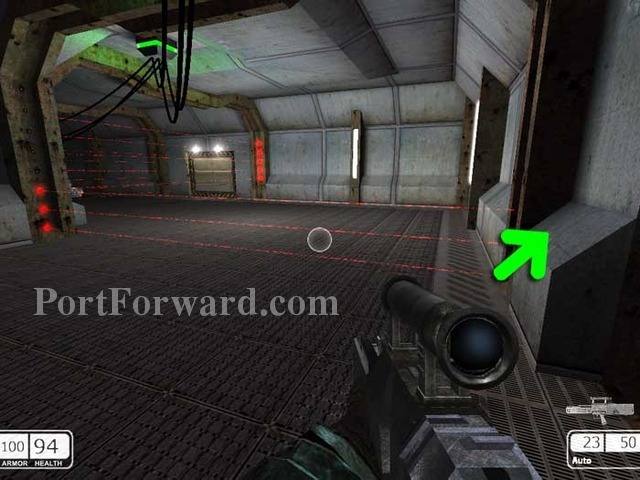
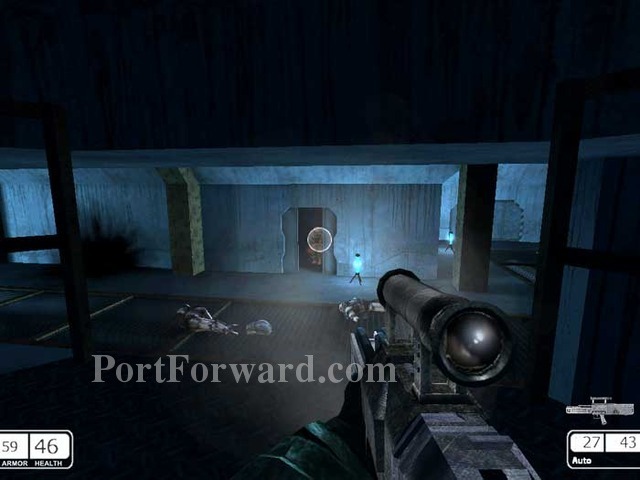
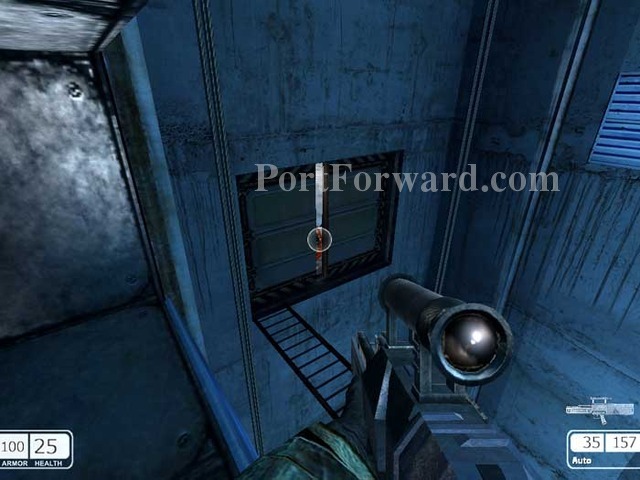
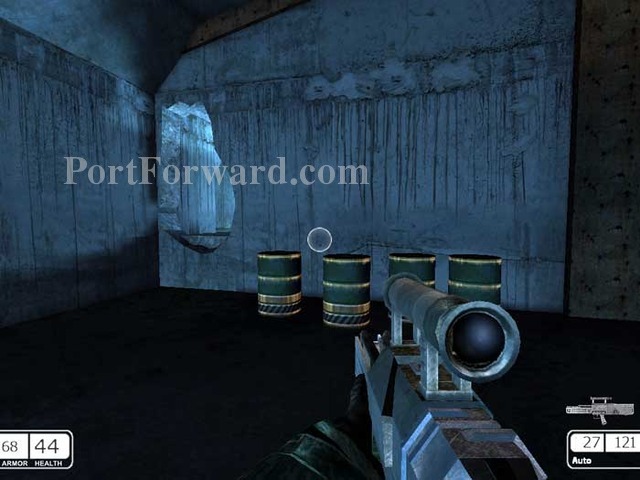
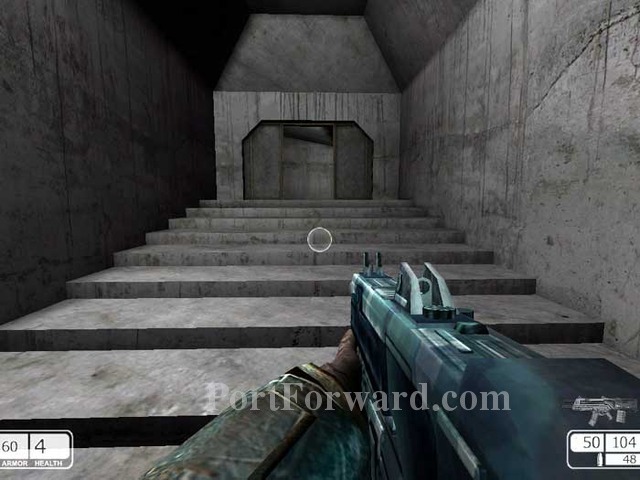
Continue through this door with the yellow panel.
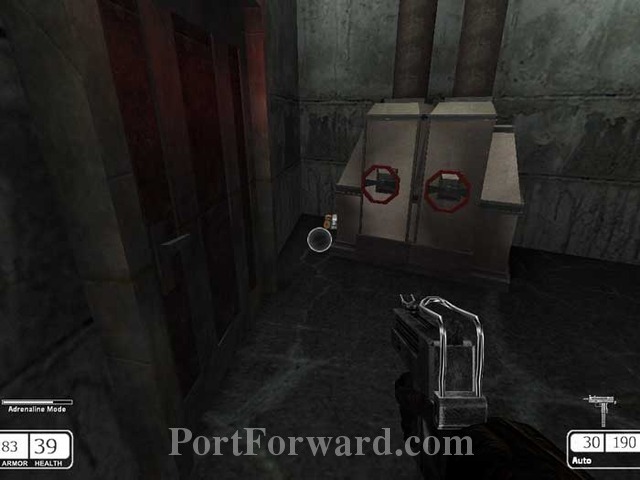
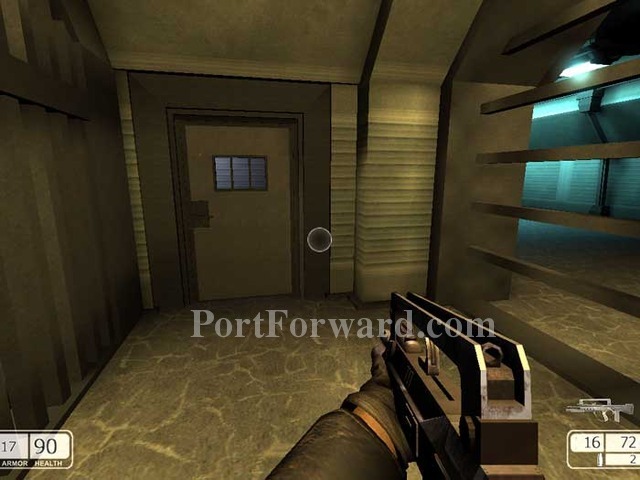
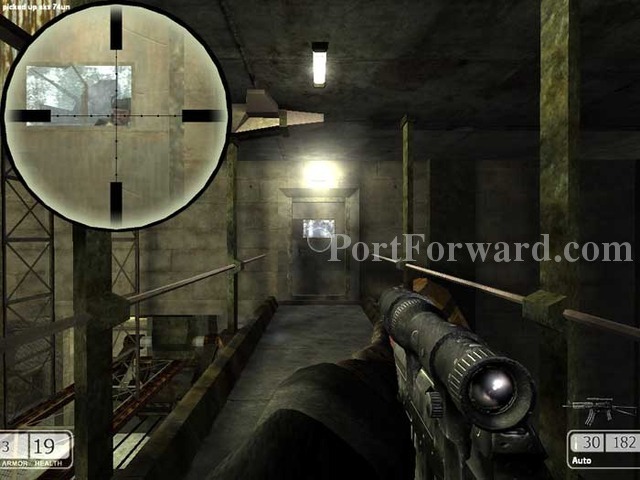
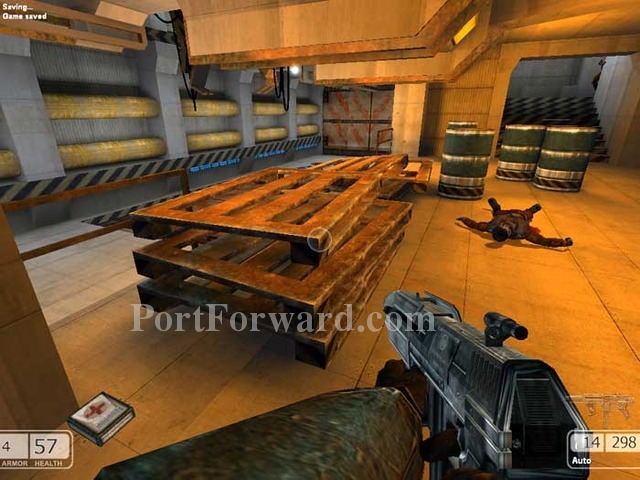
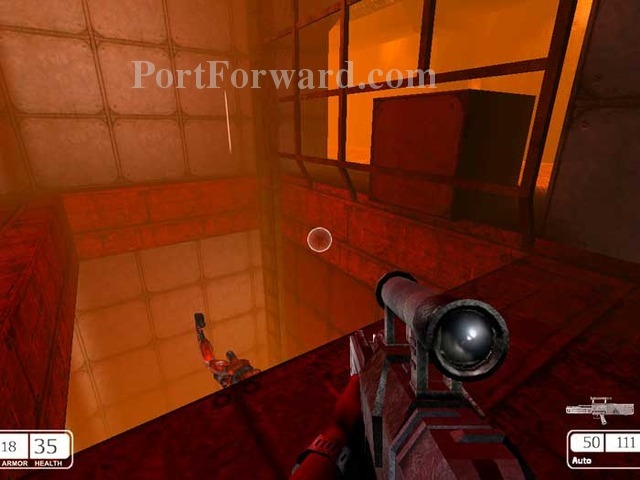
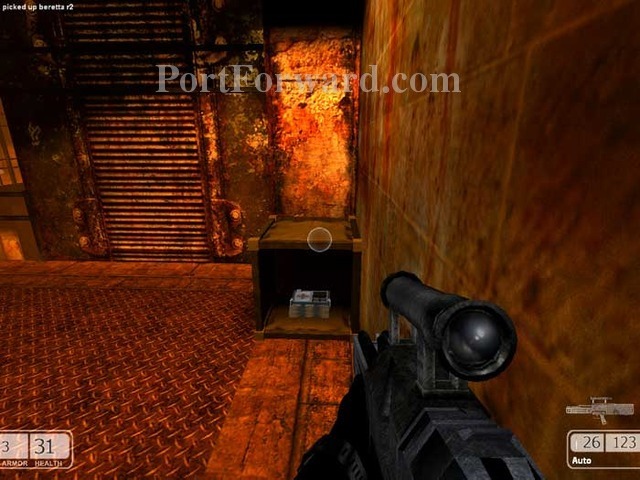
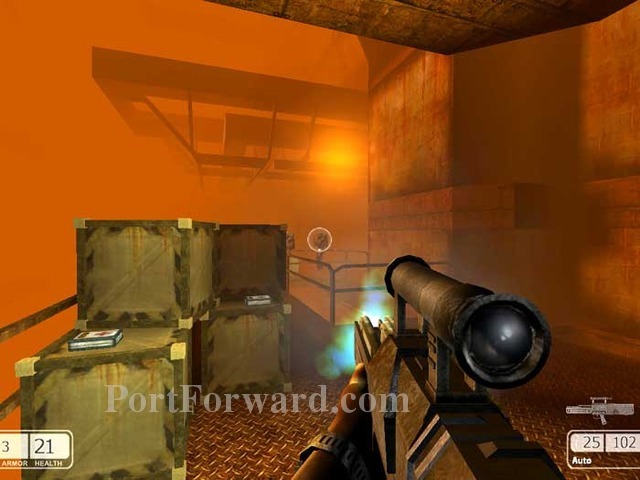
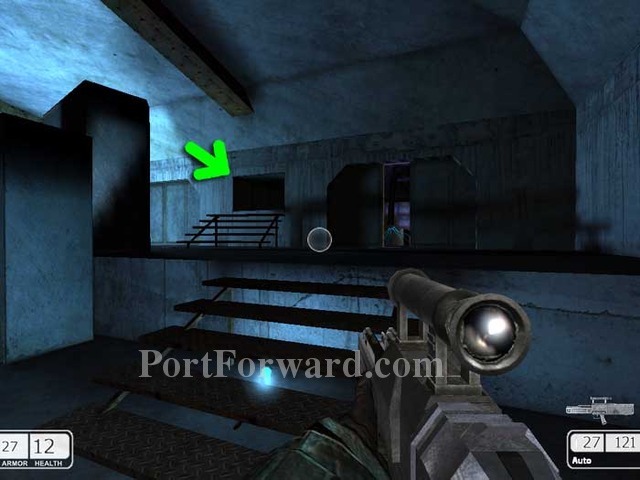
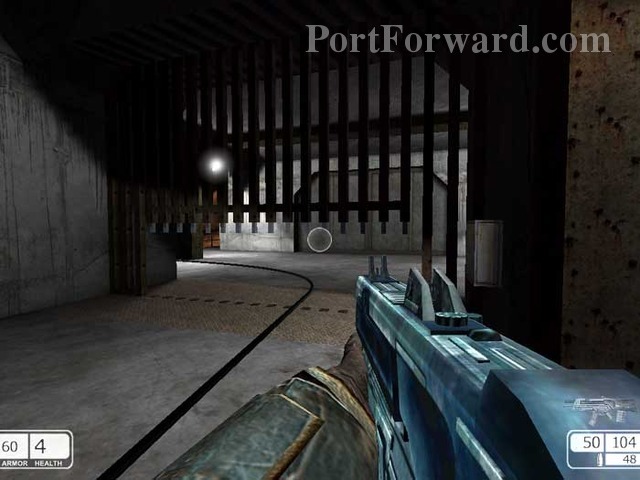
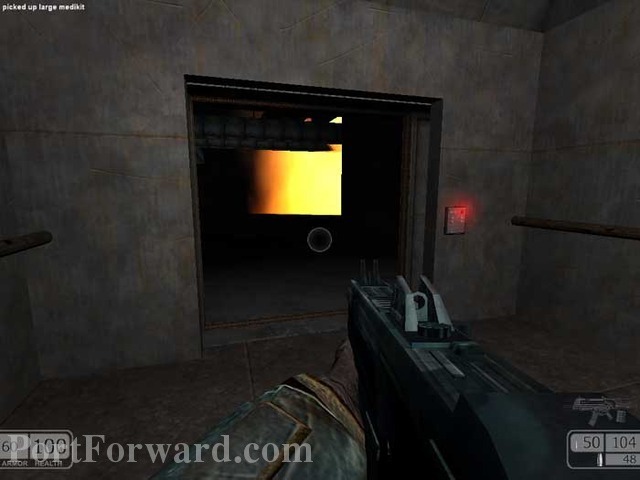
Grab the medkit then pass through the door on the right.
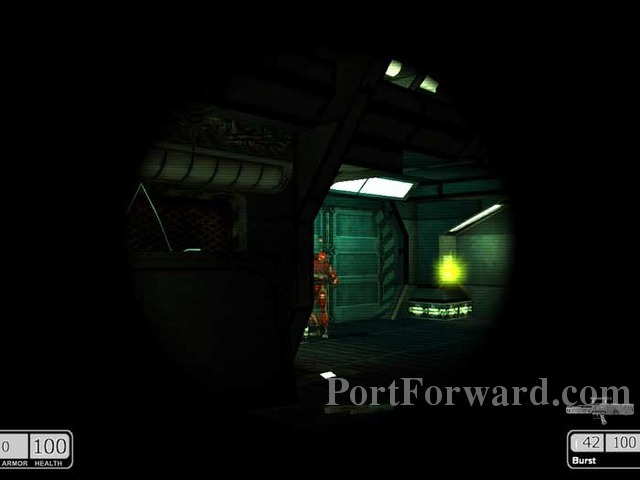
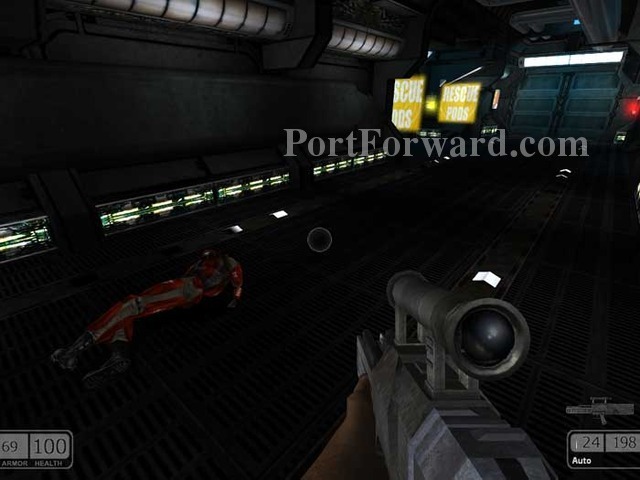
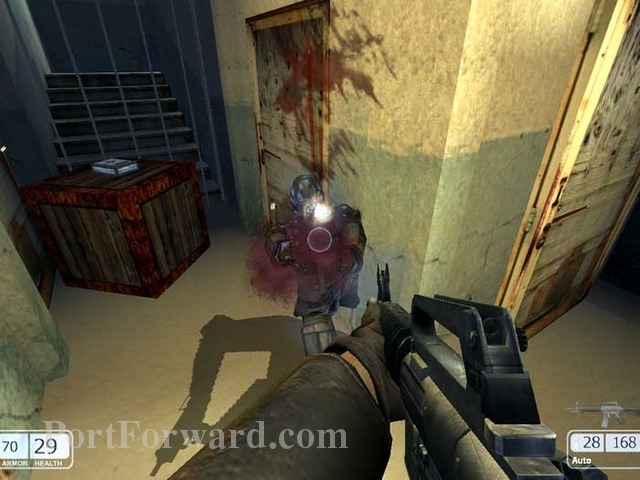
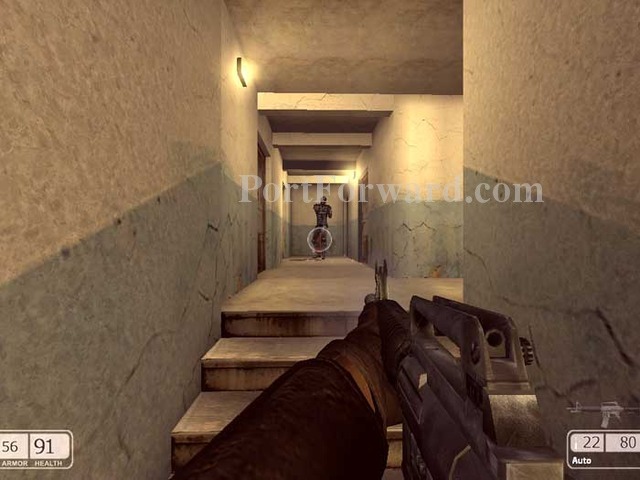
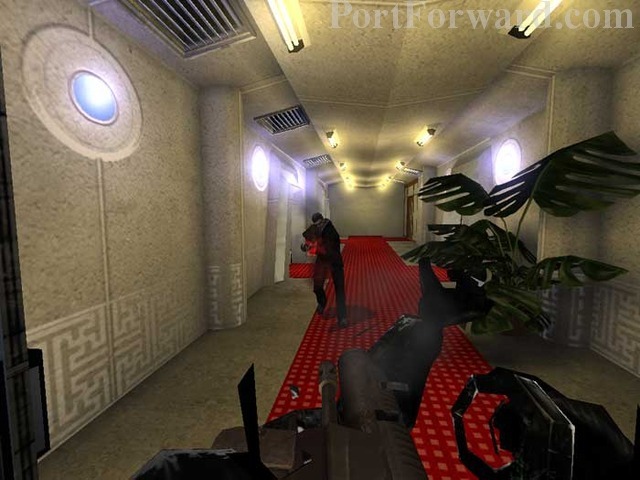
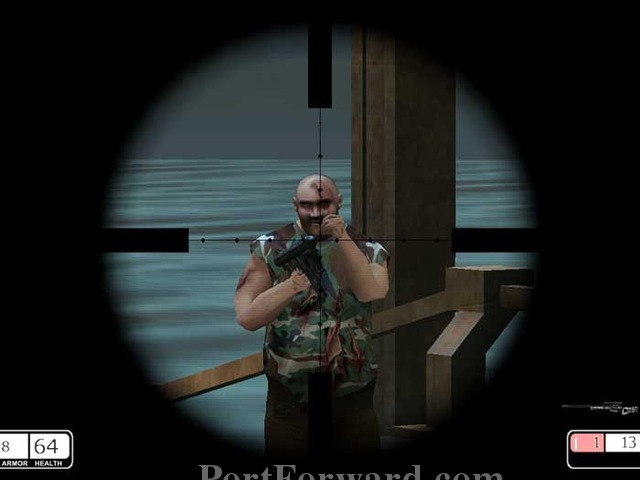
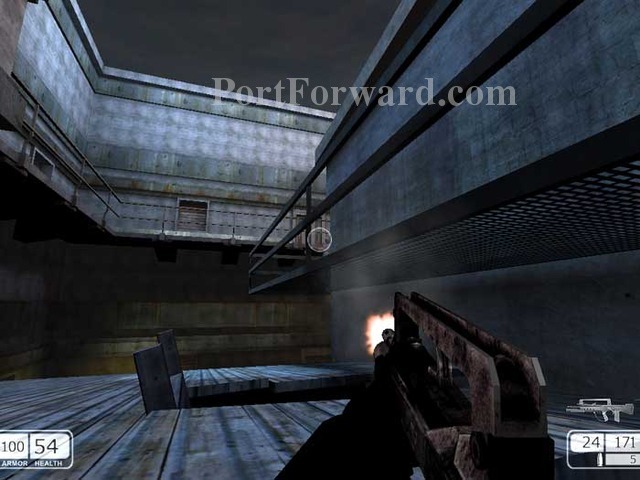
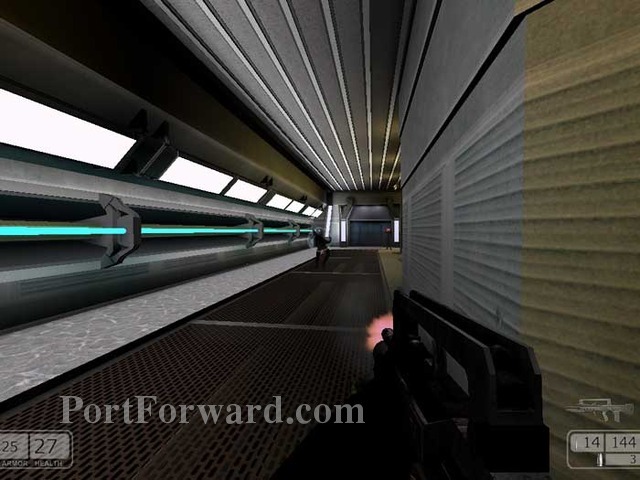
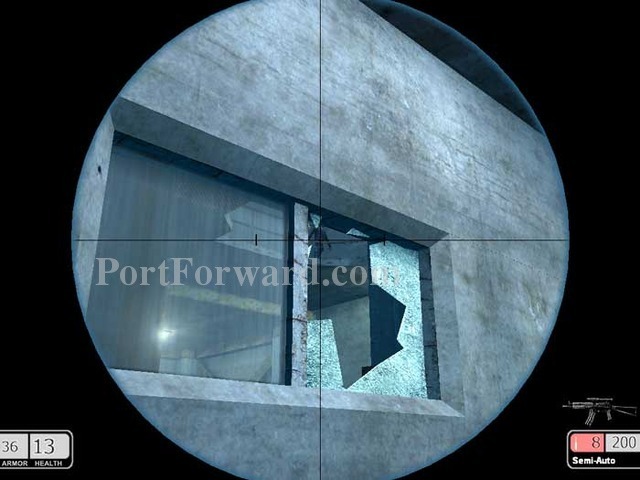
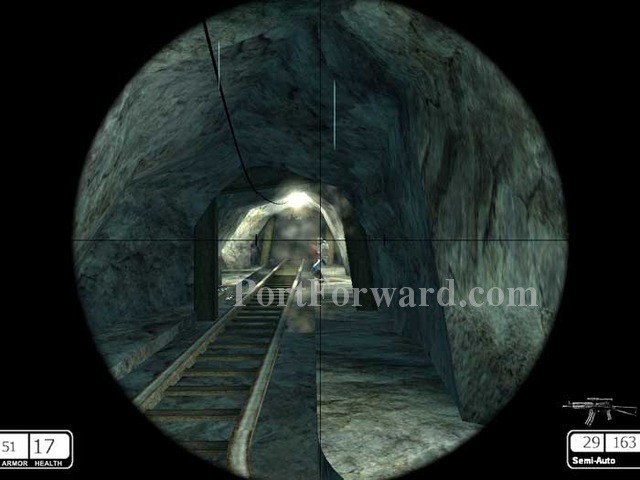
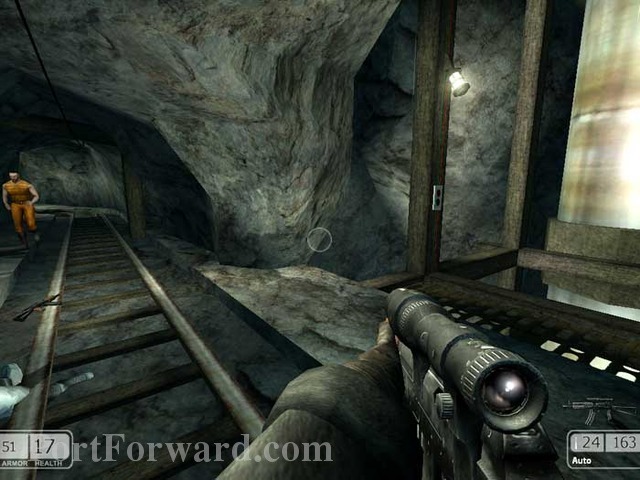
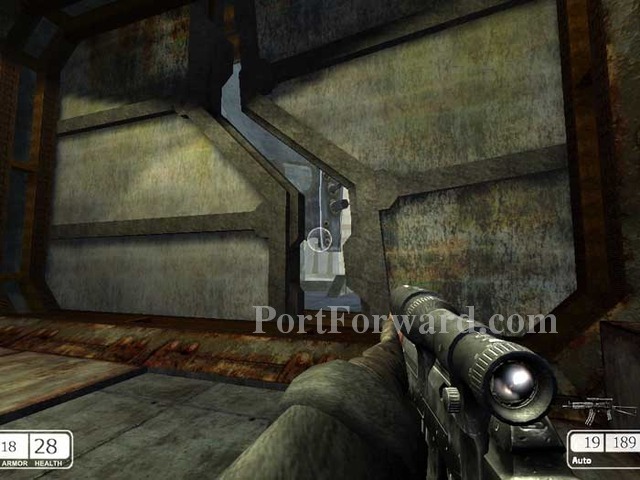
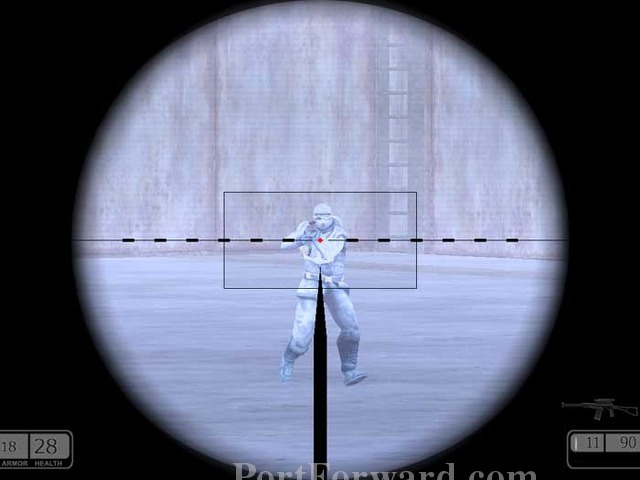
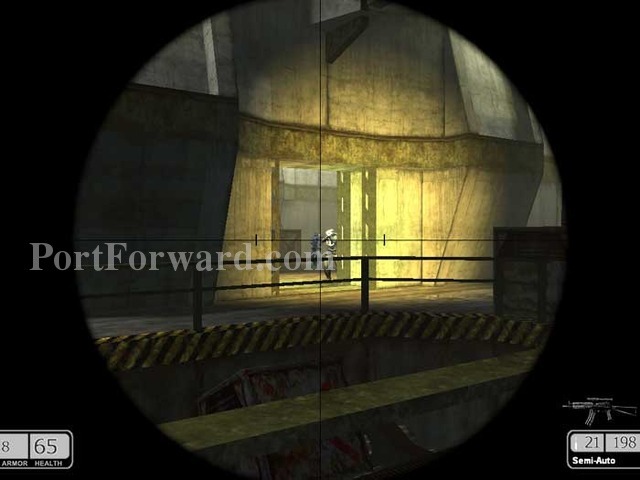
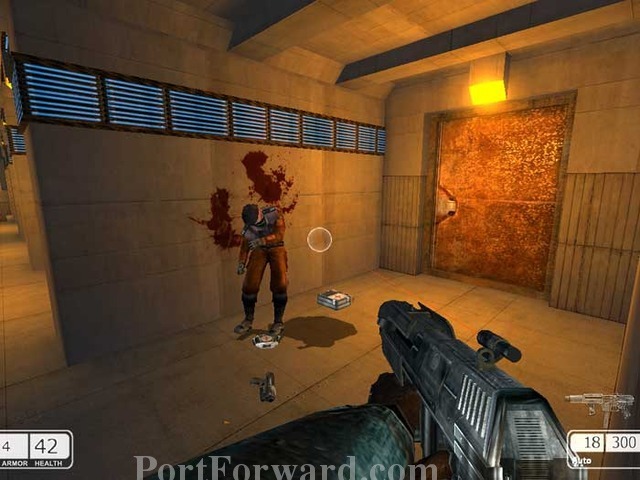
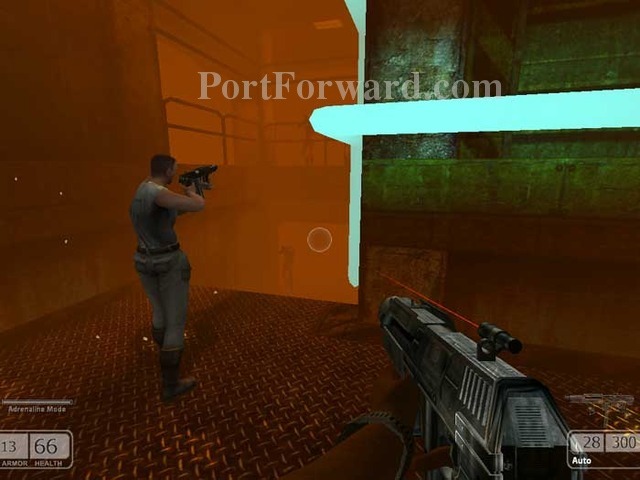
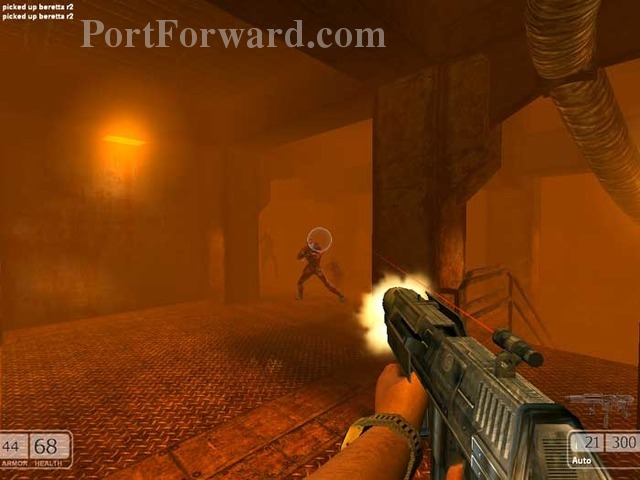
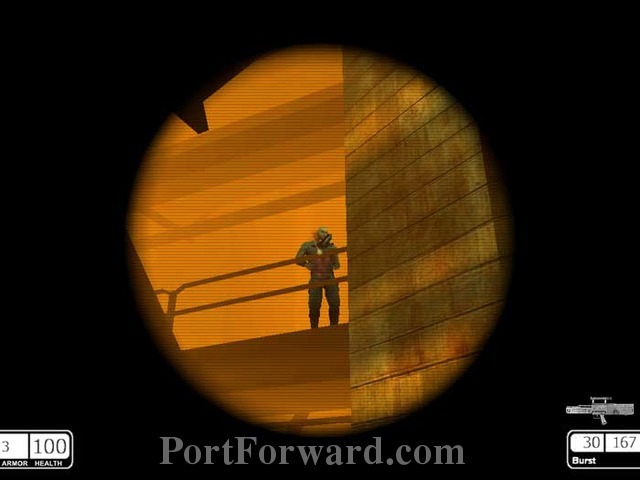
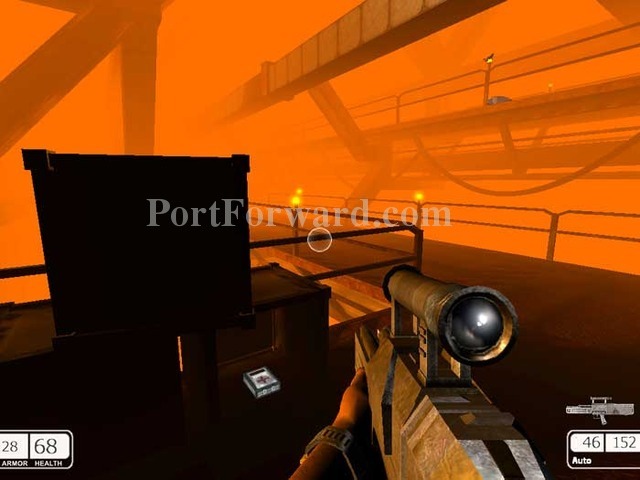
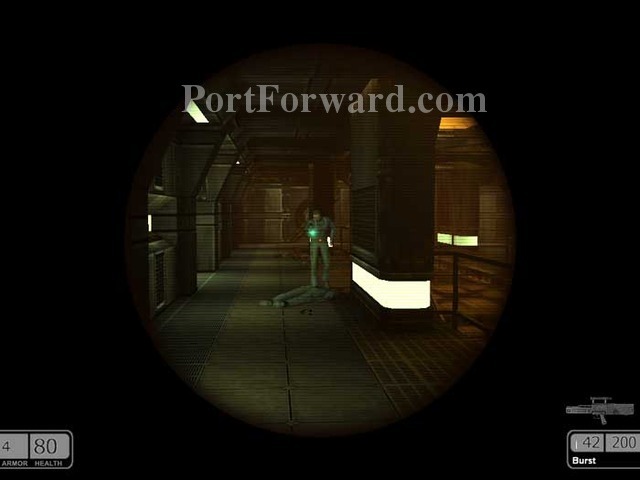
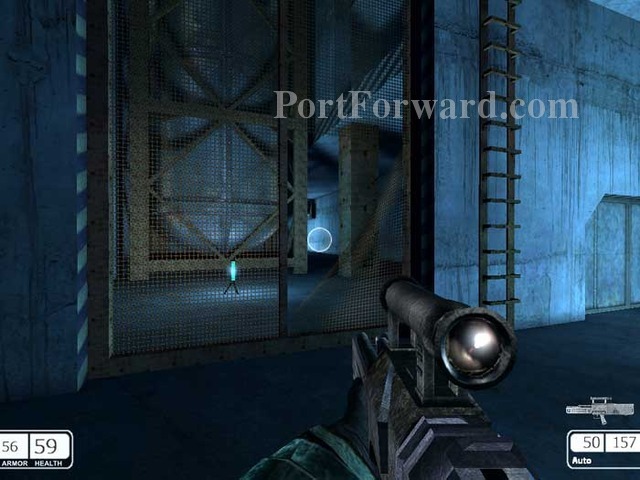
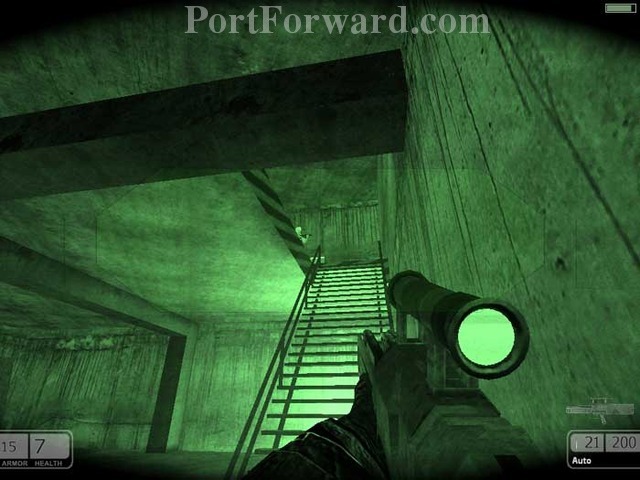
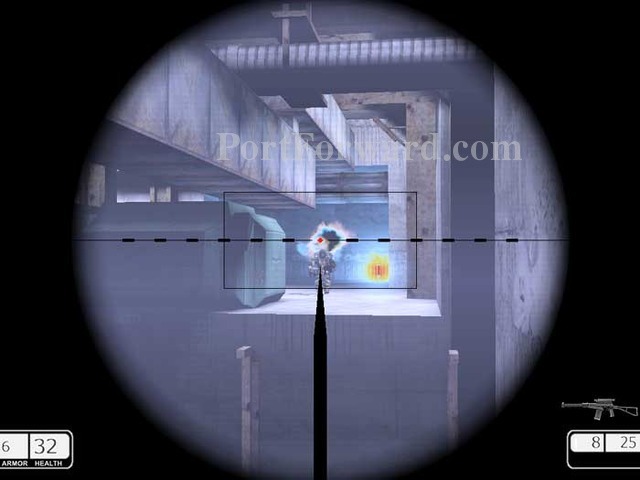
The lone guard in this corridor can be easily taken out with your sniper scope. Note that the G11 fires in burst mode while scoped.
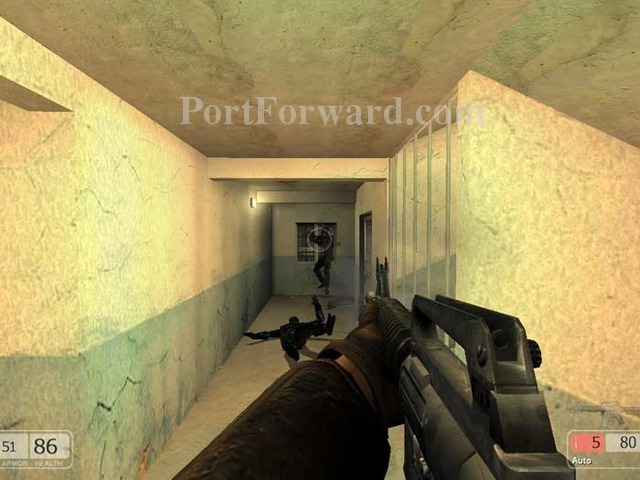
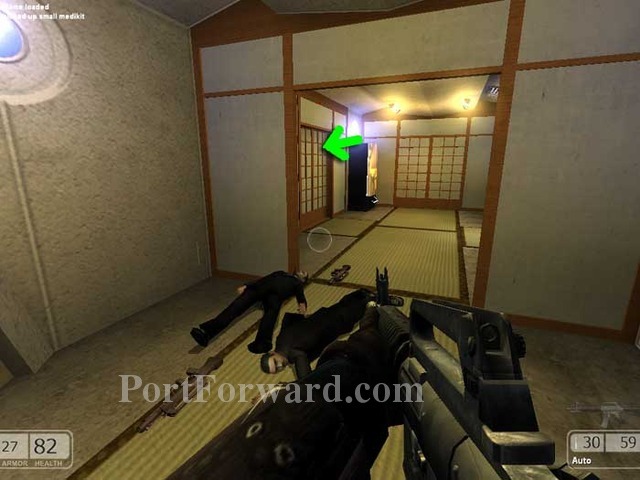
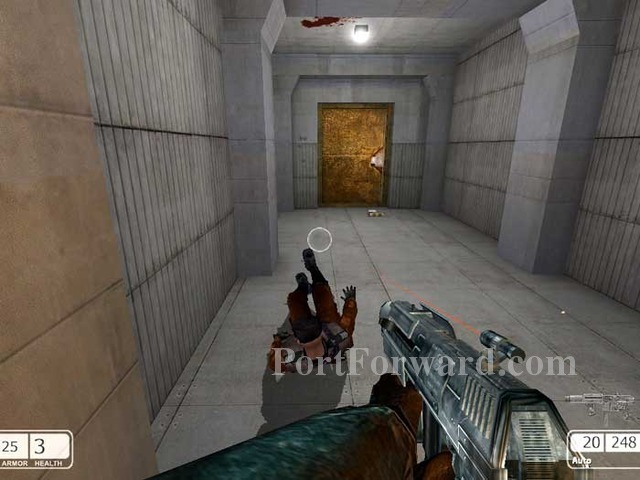
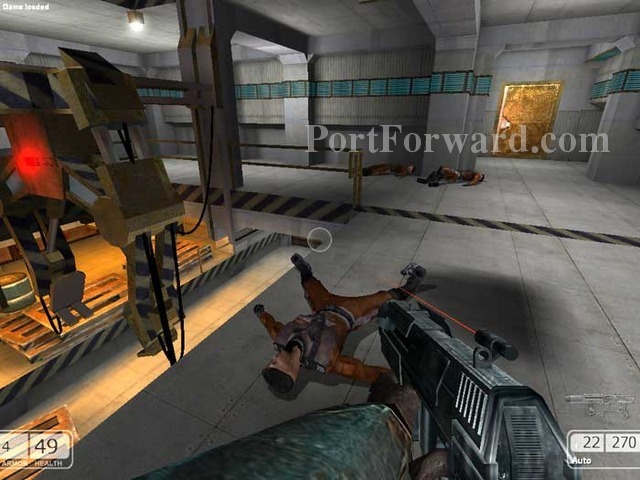
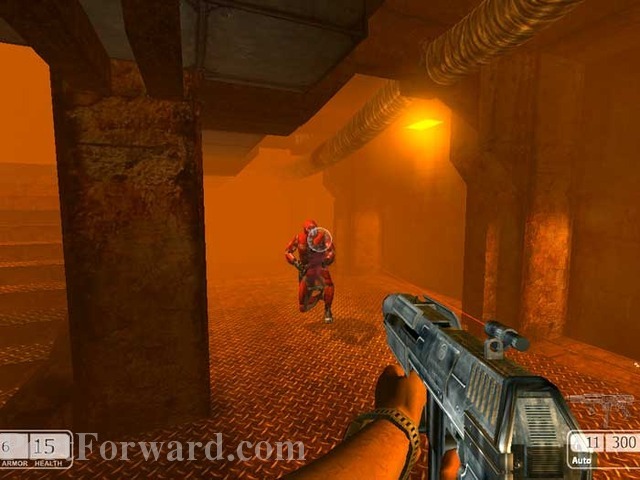
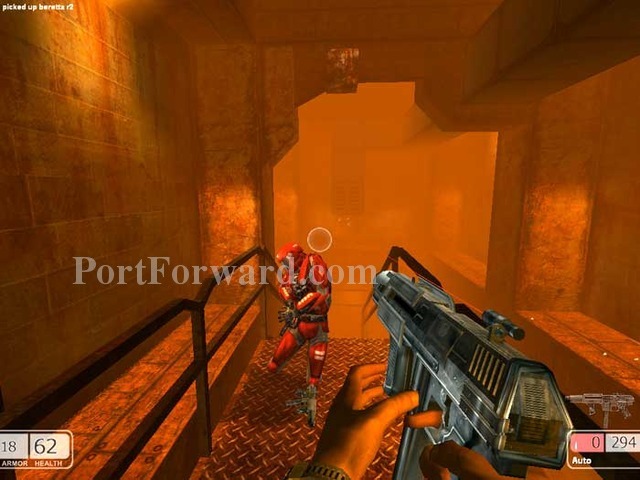
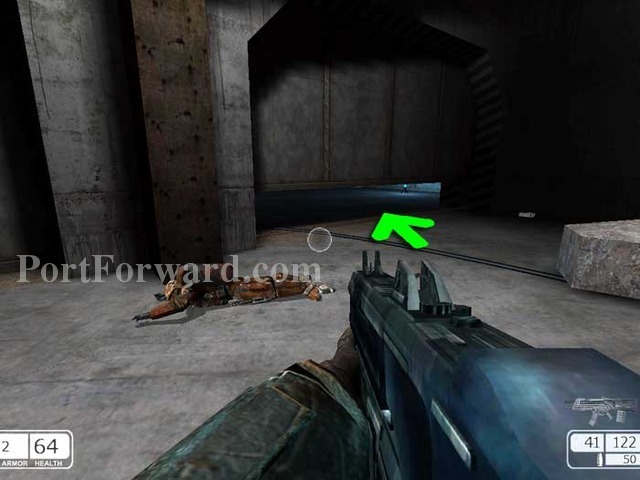
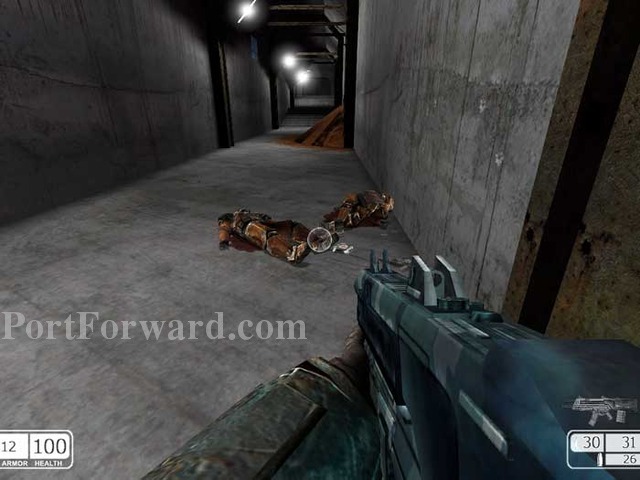
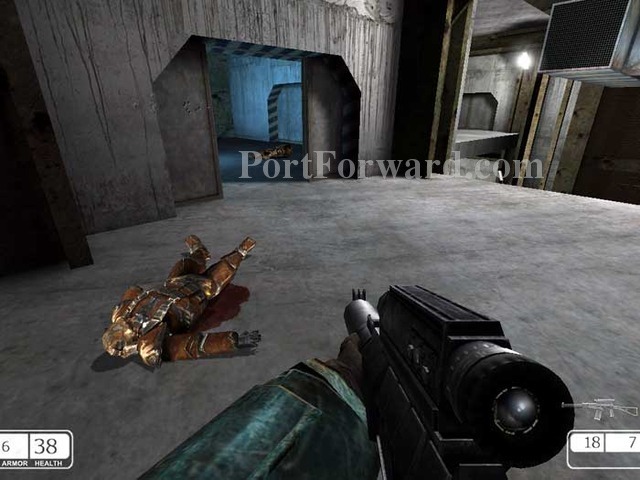
Take down this guard and grab the medkit. Proceed through the door ahead and take down another guard just outside the door.
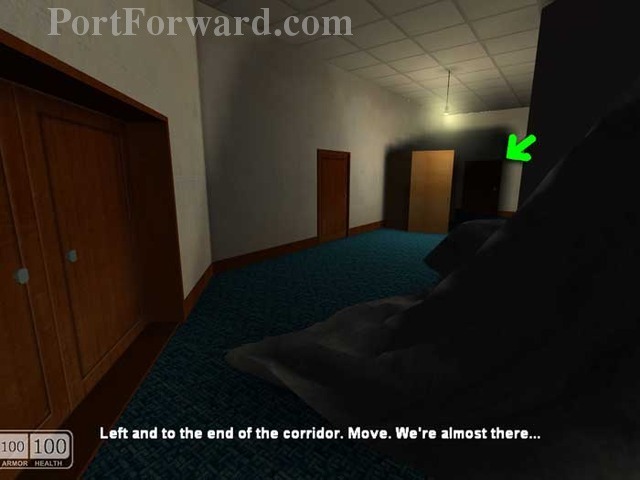
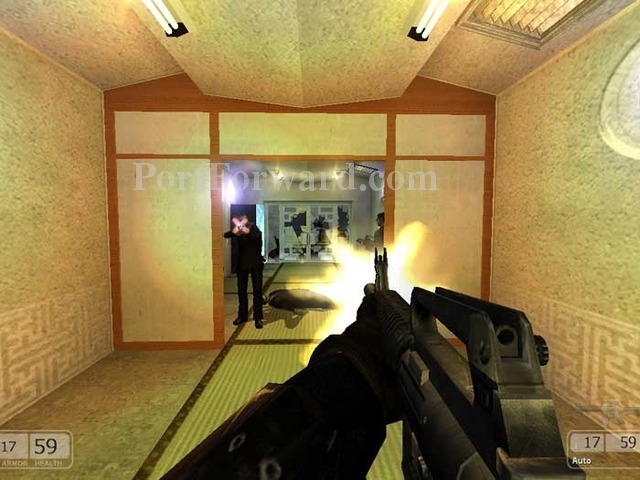
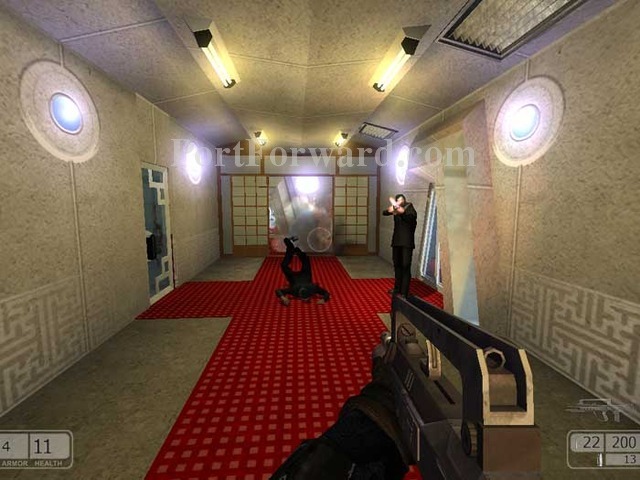
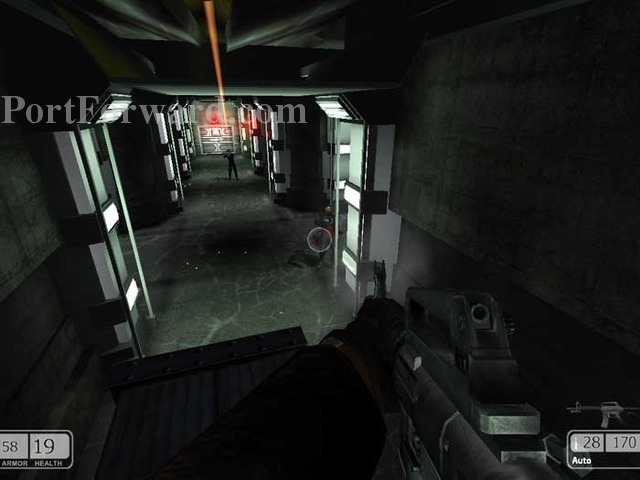
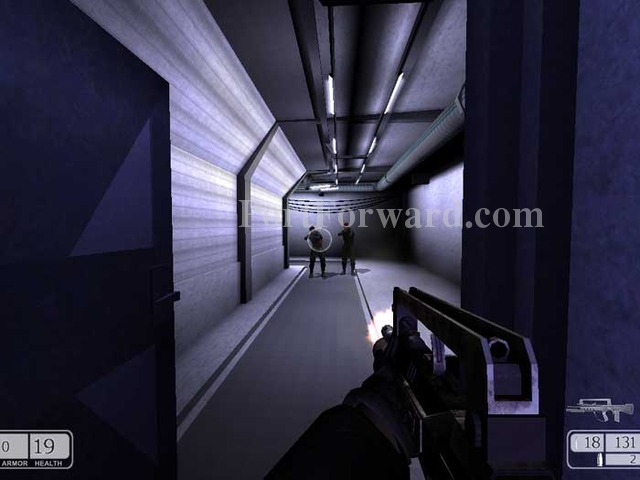
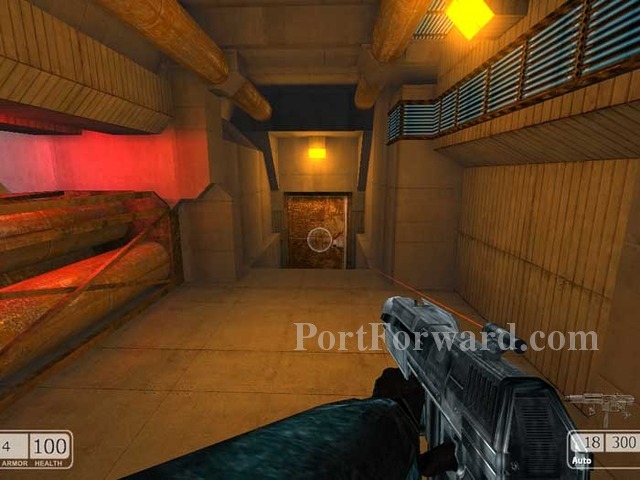
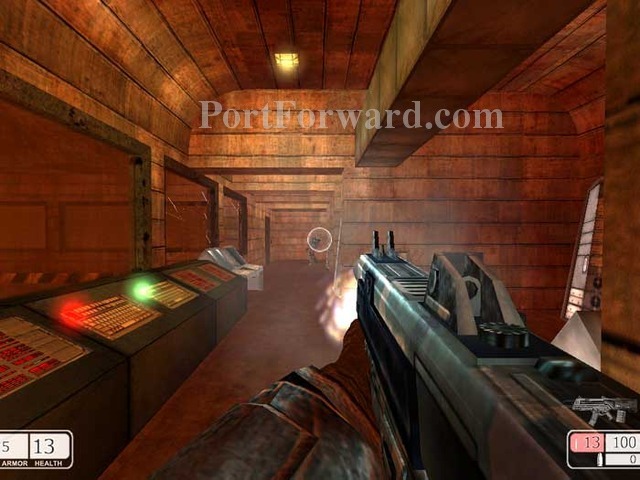
Turn left and guards pour in from these two doors. Continue through the door at the far end of the corridor.
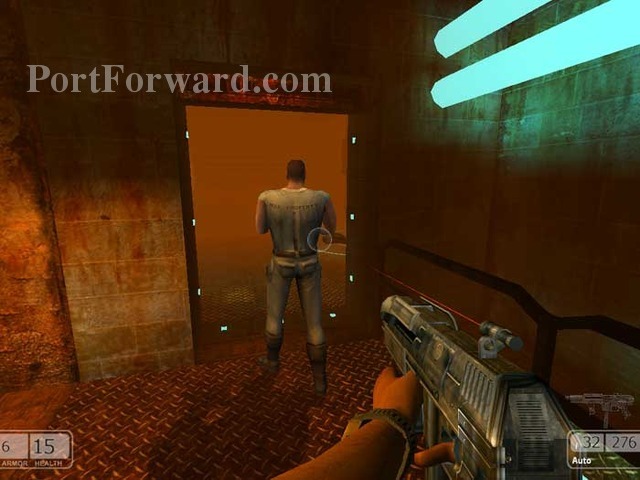
Greet this guard just inside the corridor then continue through the door next to the yellow panel visible straight ahead.
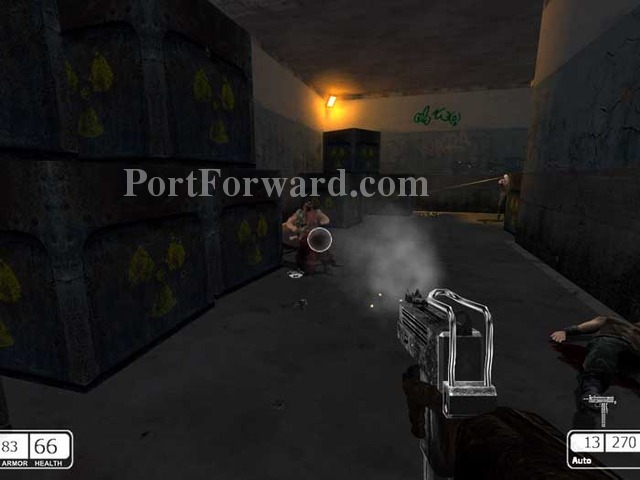
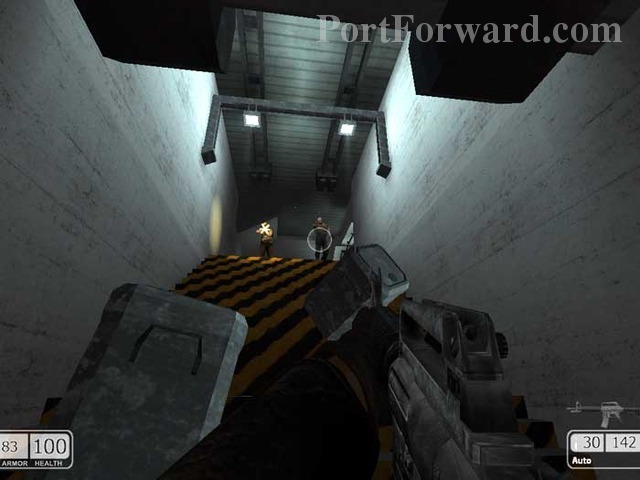
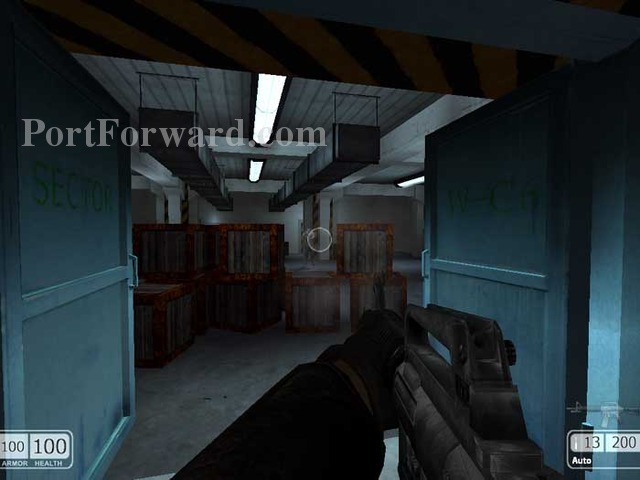
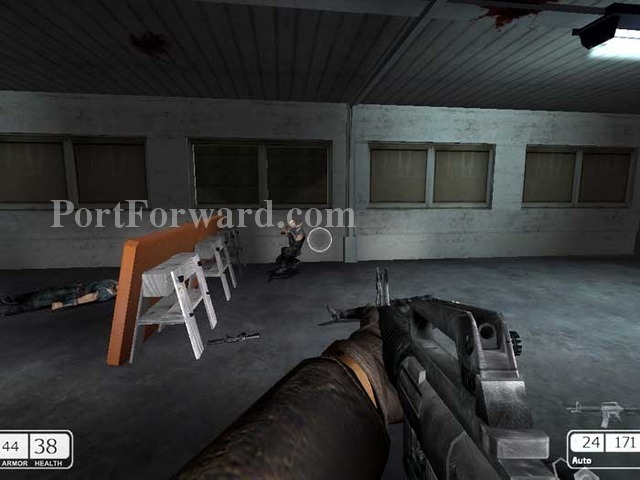
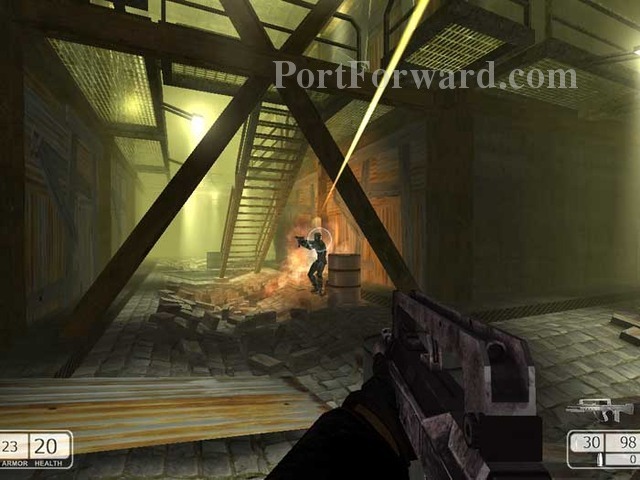
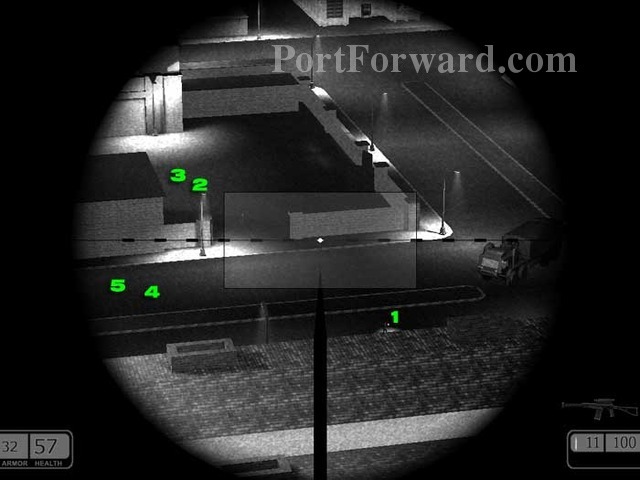
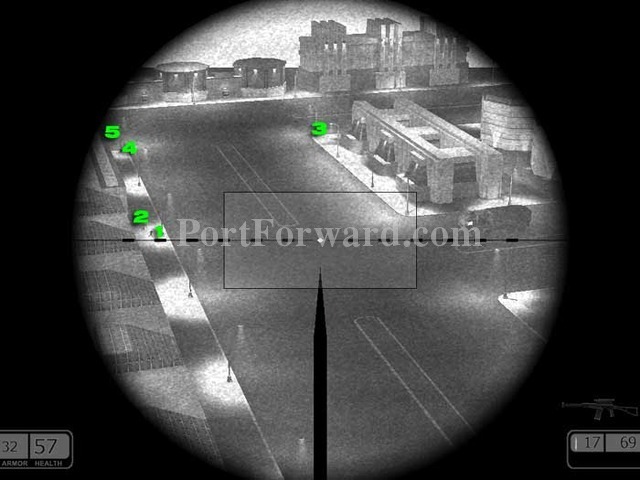
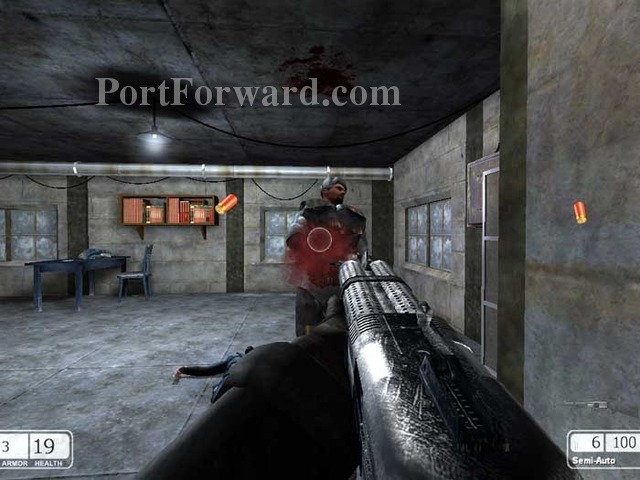
Time for a moderate firefight against six guards, starting with these two seen here. Don't miss the medkit.
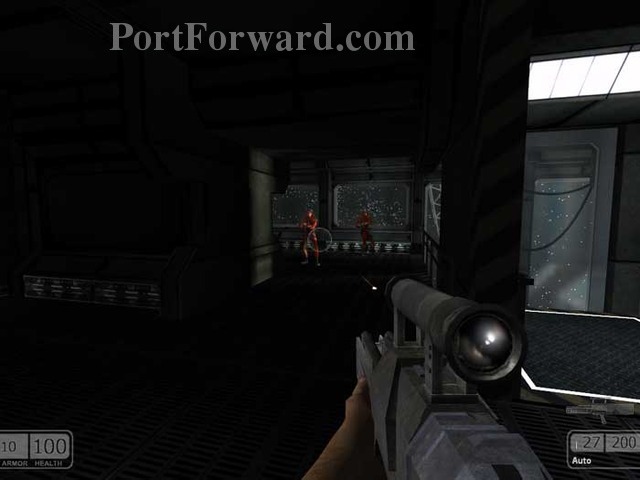
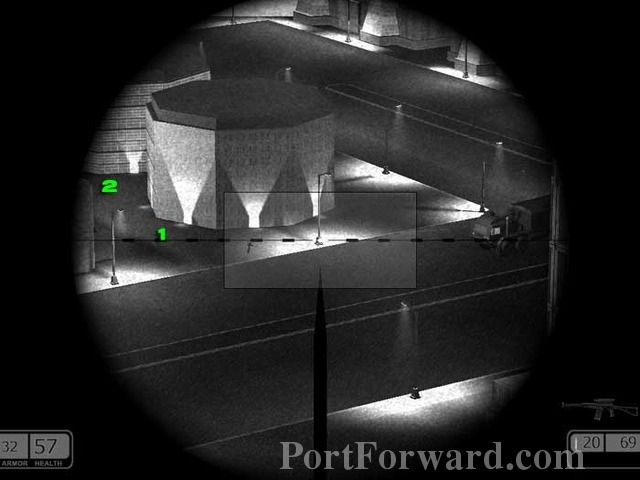
Two more guards patrol this corridor to the left.
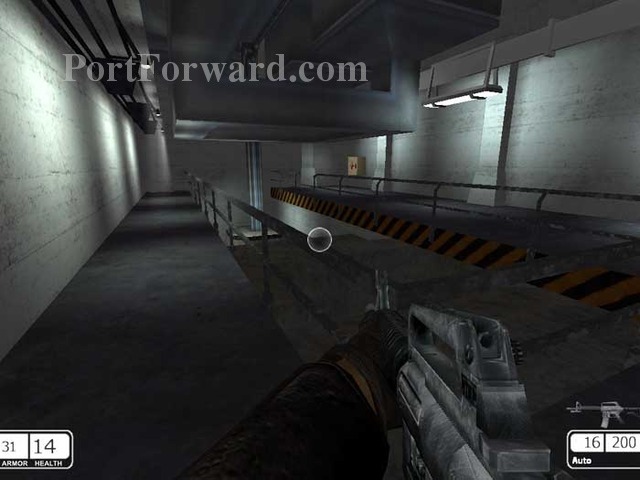
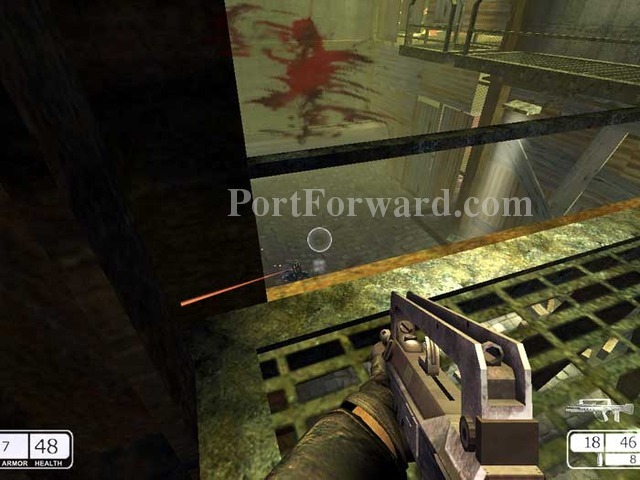
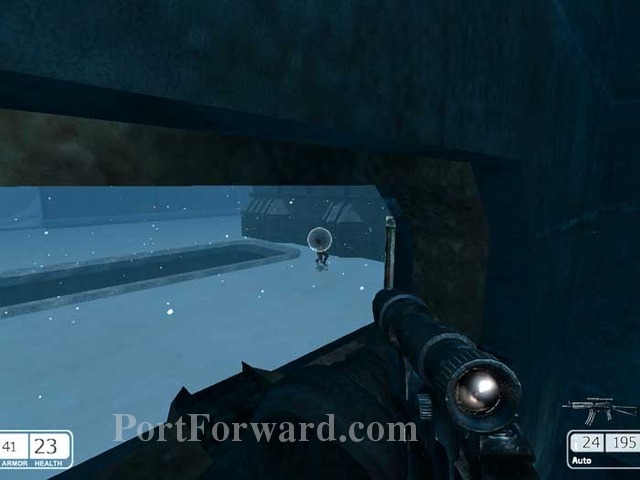
Two more patrol below. Snipe them from this railing.
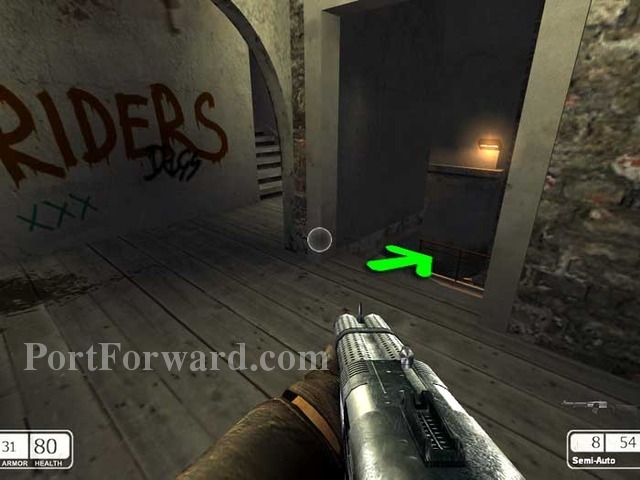
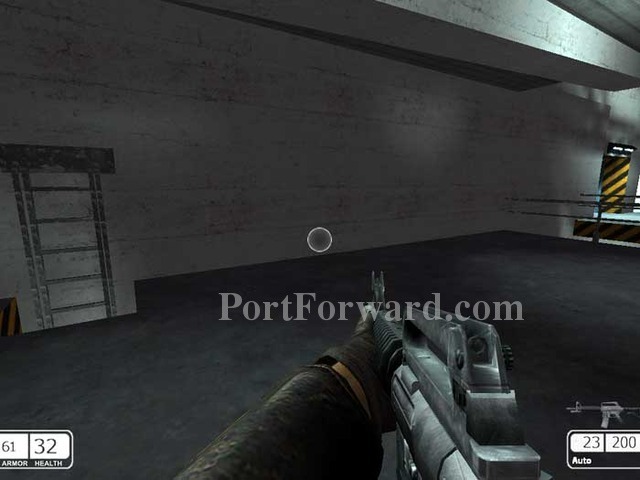
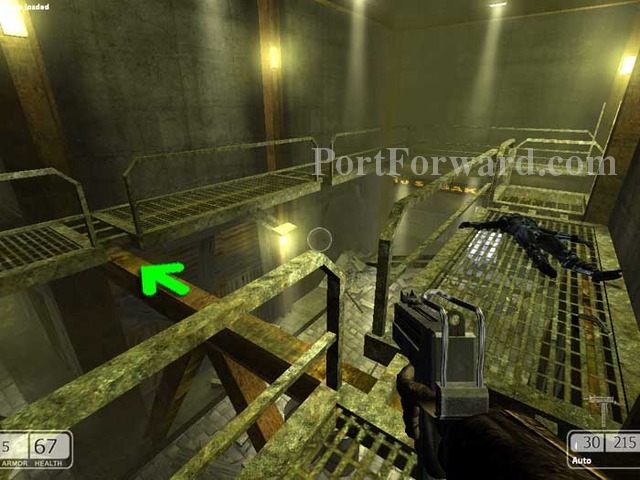
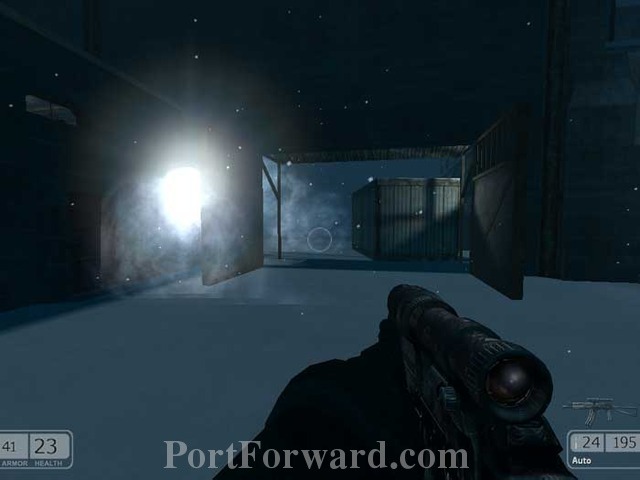
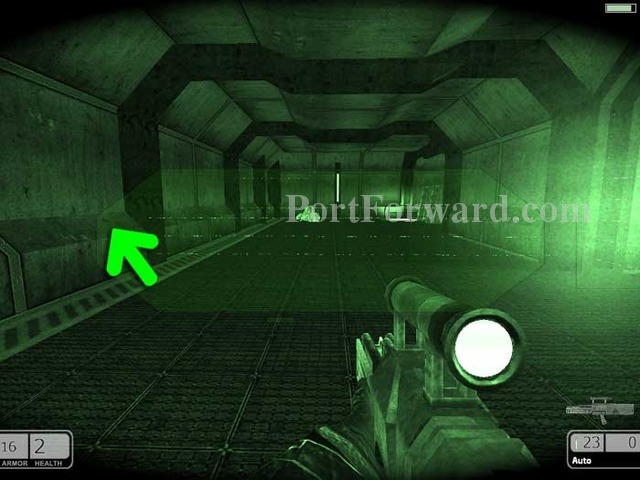
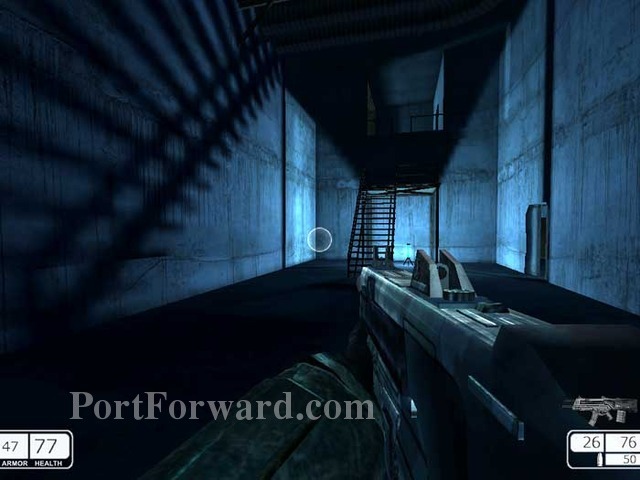
Hop over the railing or ride either of these lifts to the level below. The door visible to the left with the yellow panel leads to a dead end.
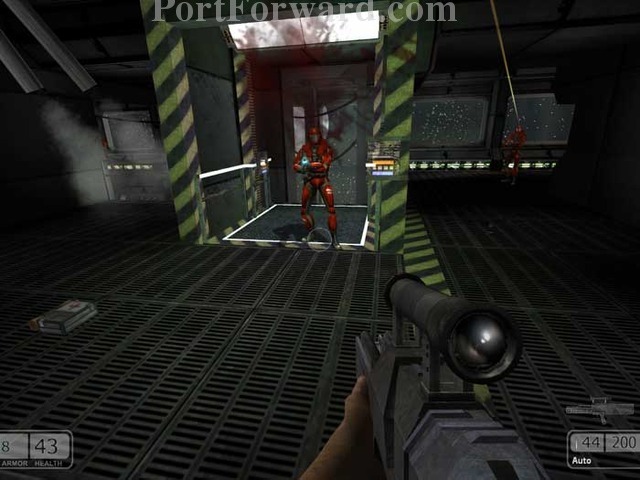
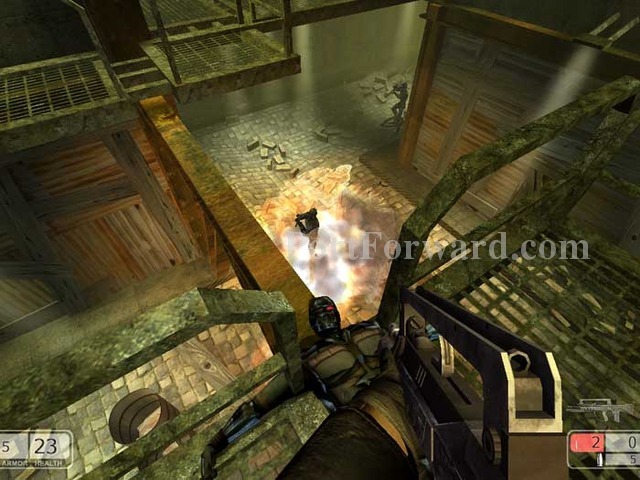
Drop in on this guard waiting at the bottom. Dispatch two more guards, one to the left and one to the right.
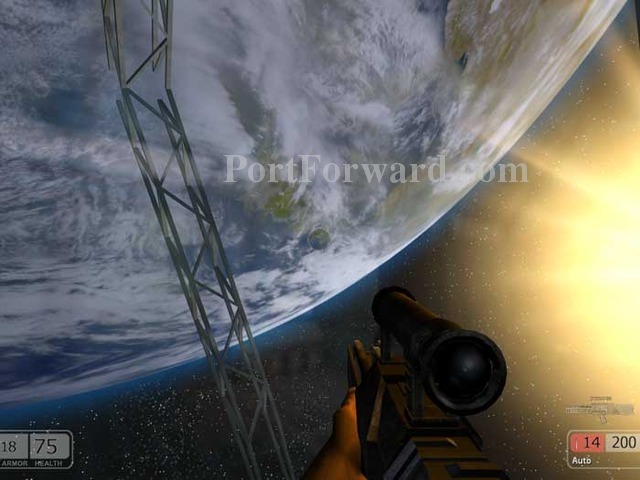
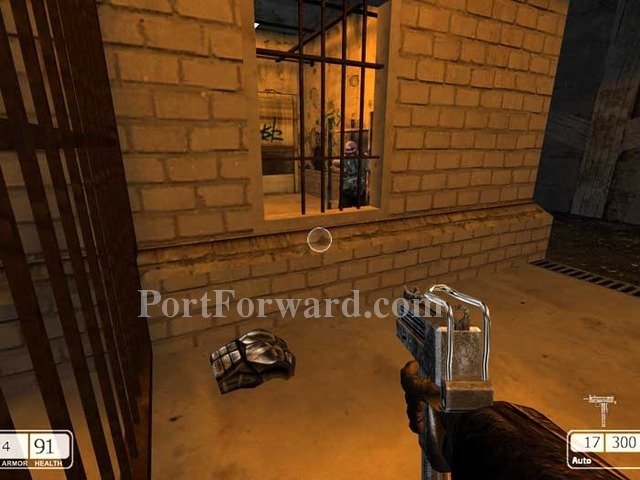
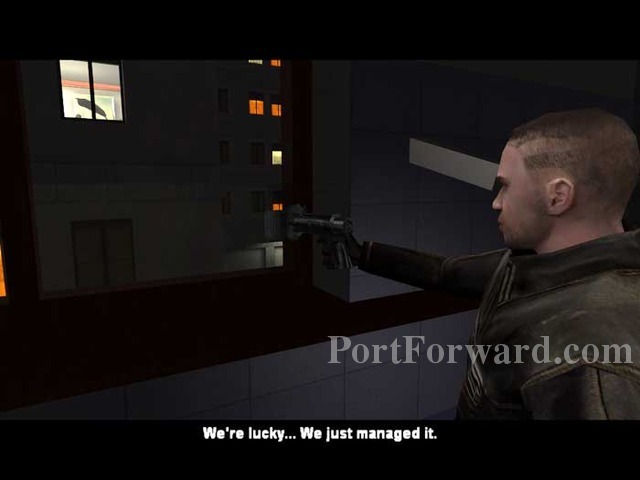
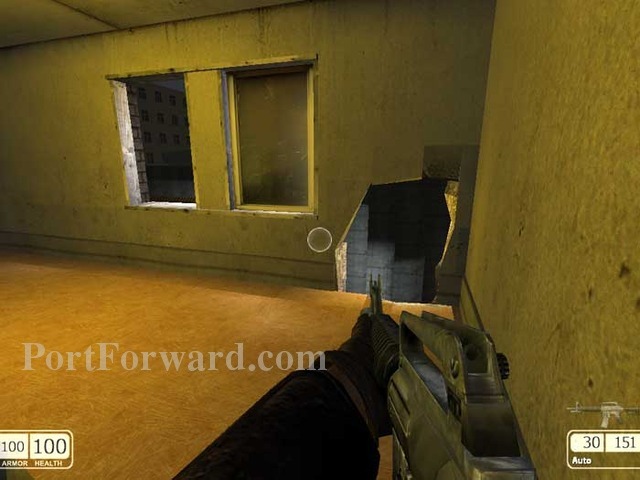
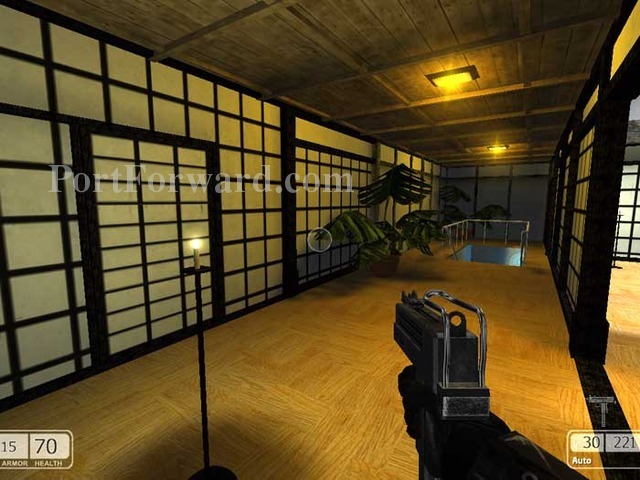
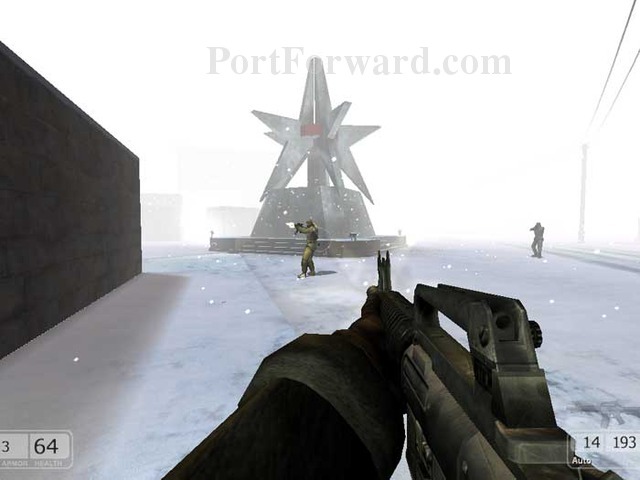
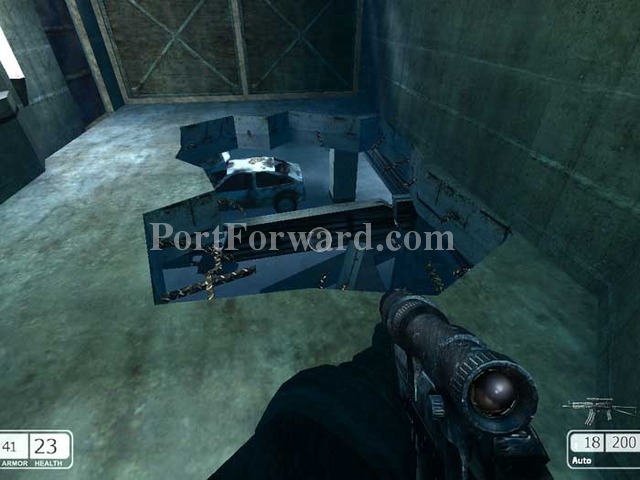
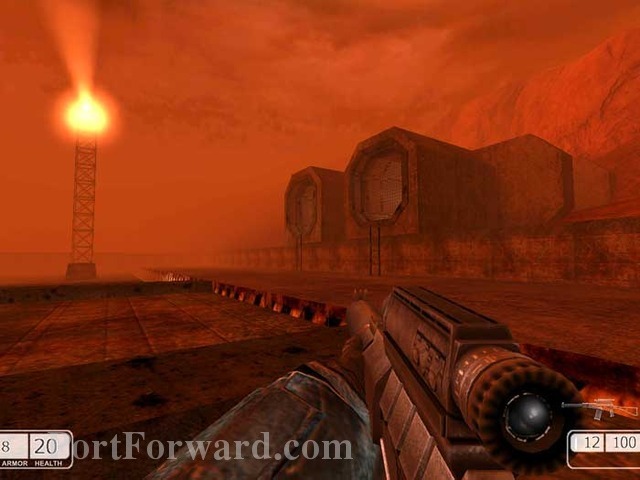
The view out the window is pretty cool.
Take the door on the left.
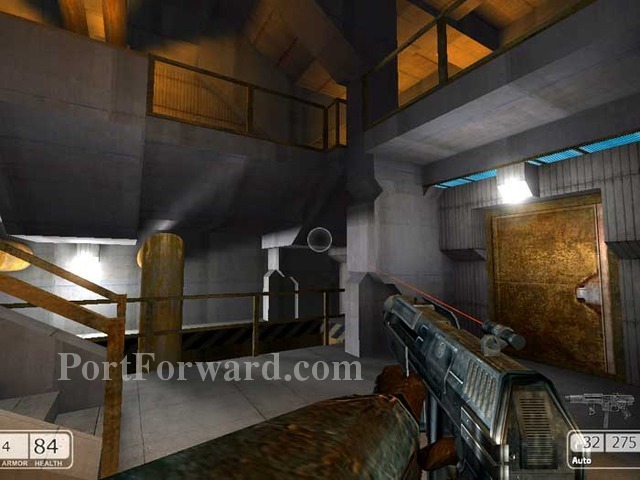
Through another door on the left you'll find this guard. Continue through a door with a yellow panel to the right.

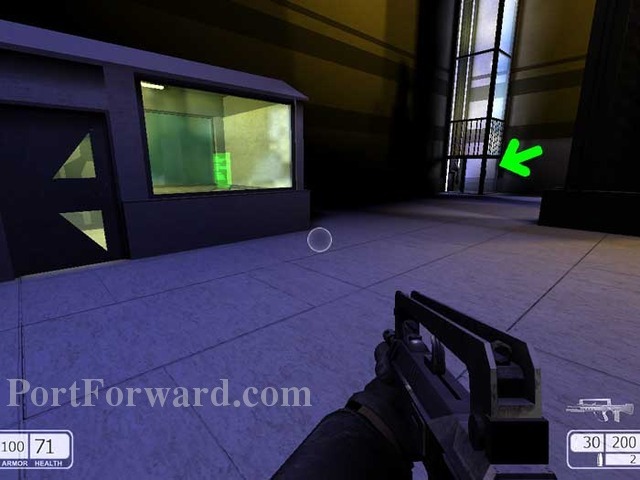
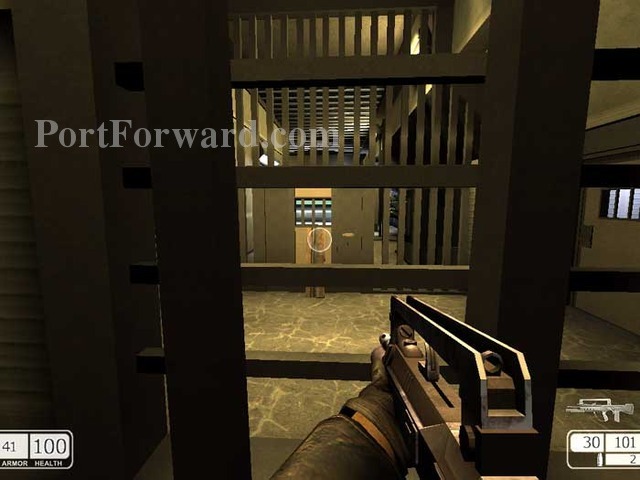
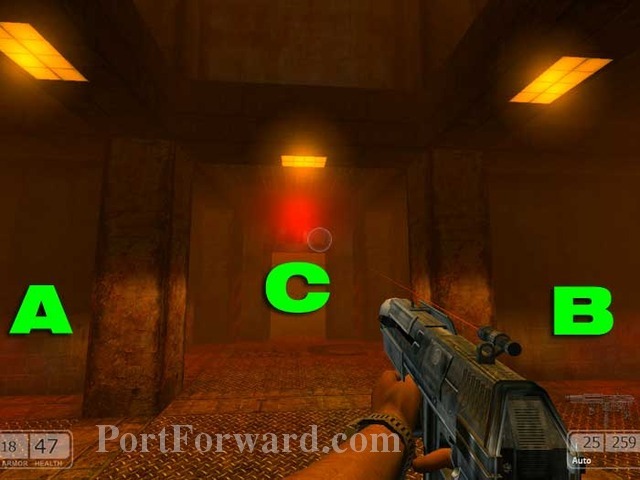
Don't miss the medkit visible dead ahead. There are several ways to proceed at this point. I will walk you through the path of least resistance. Turn right and go through the door next to the yellow panel visible ahead.
Drop under the railing as indicated.
Continue through this door on the left. Use the burn marks on the other door for reference.
Next is this door on the left.
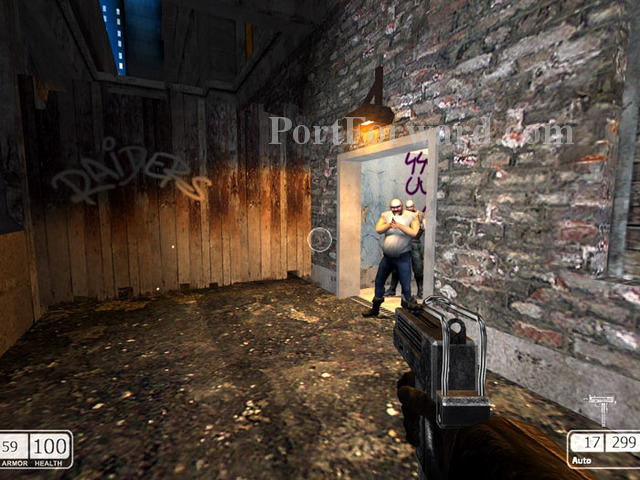
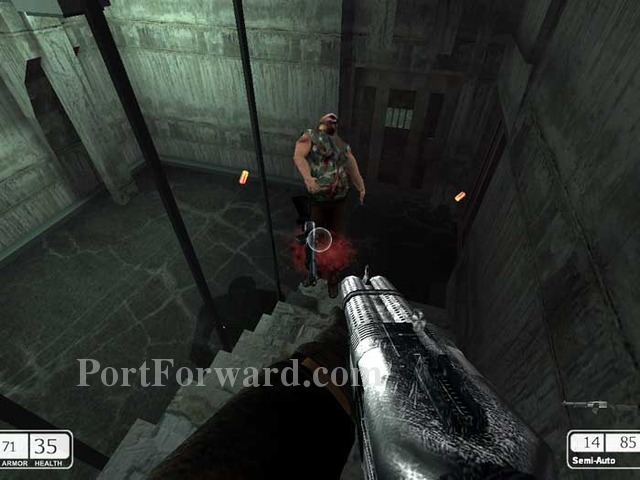
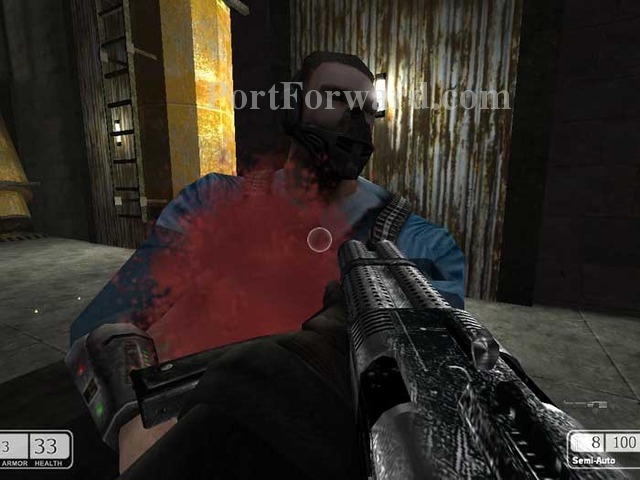
Open the door beyond and dispatch this guard waiting on the other side.
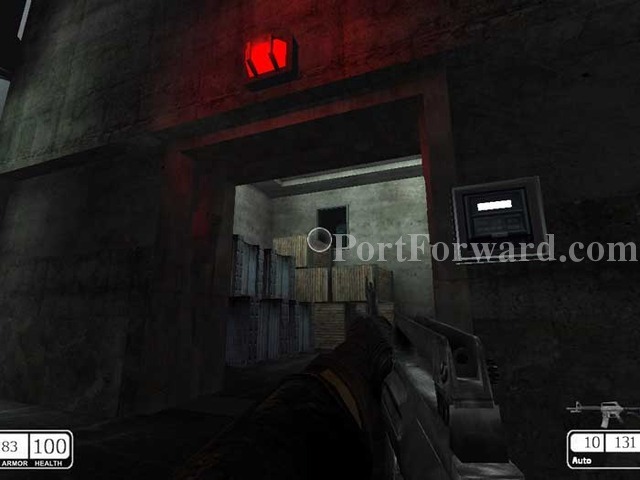
Ignore the stairs. Instead, grab the supplies (including an armor vest and medkit in the crate to the left) then proceed through the door visible next to the yellow panel straight ahead.
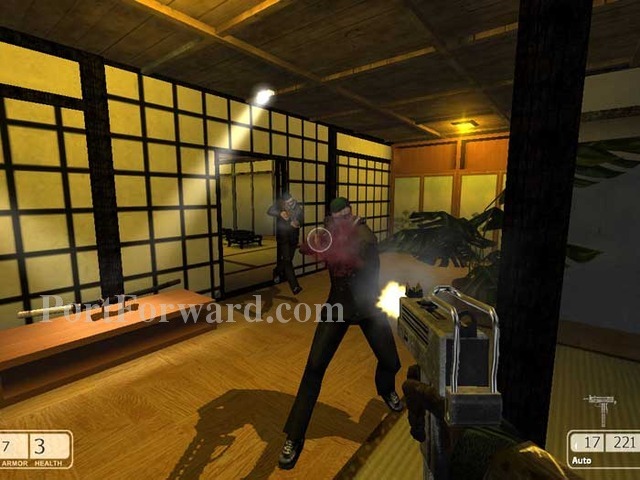
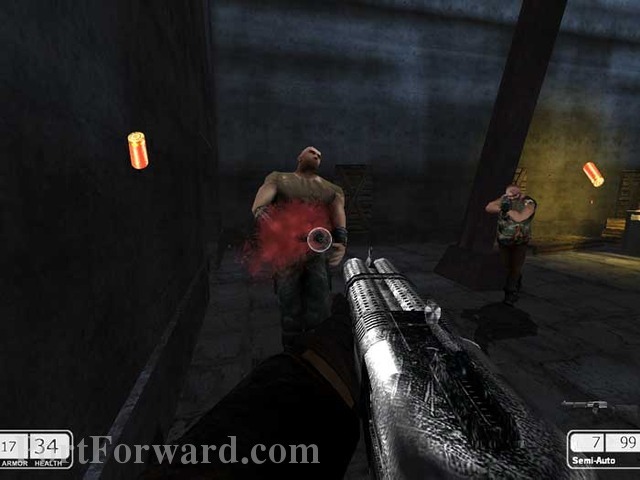
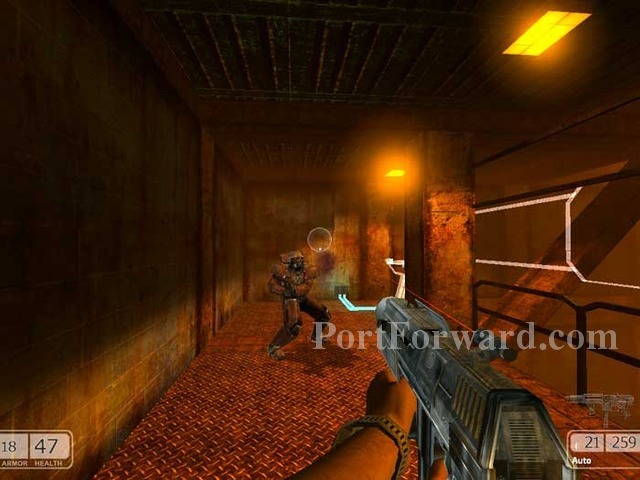
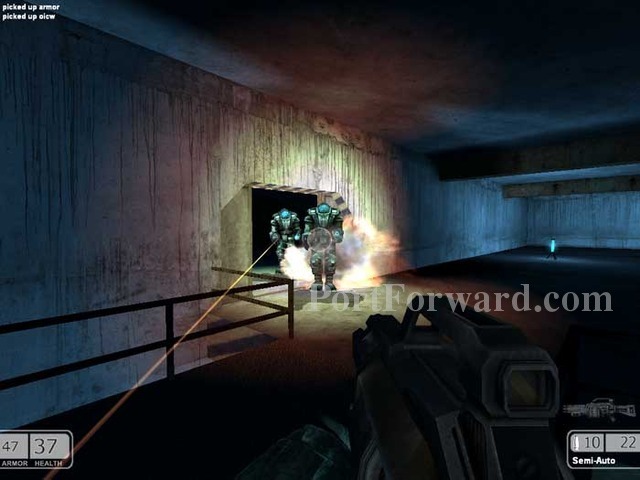
You'll be confronted by these two guards, plus a third on the right.

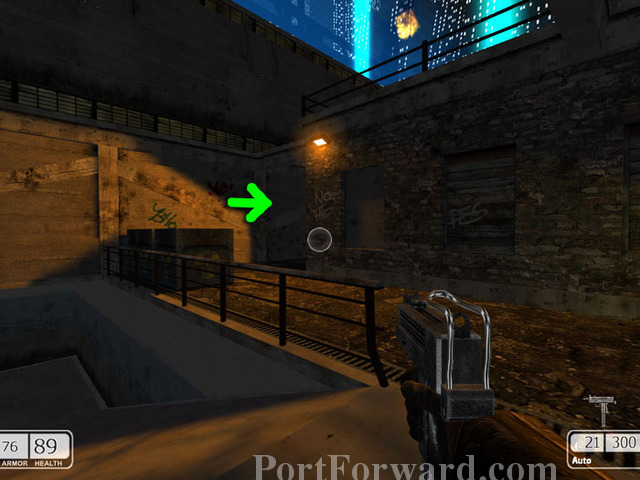
Continue through this door on the right.
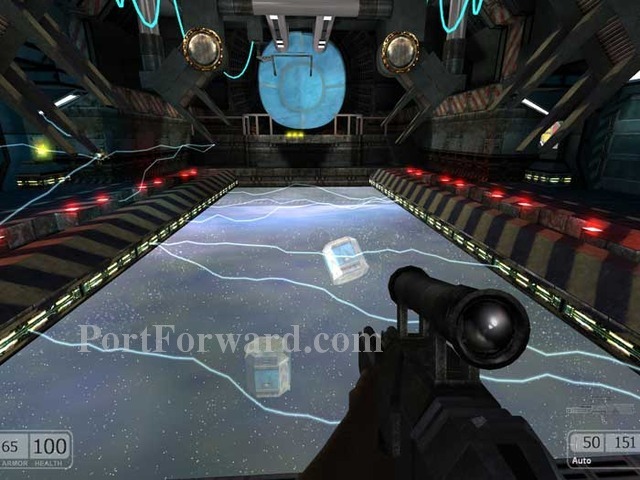
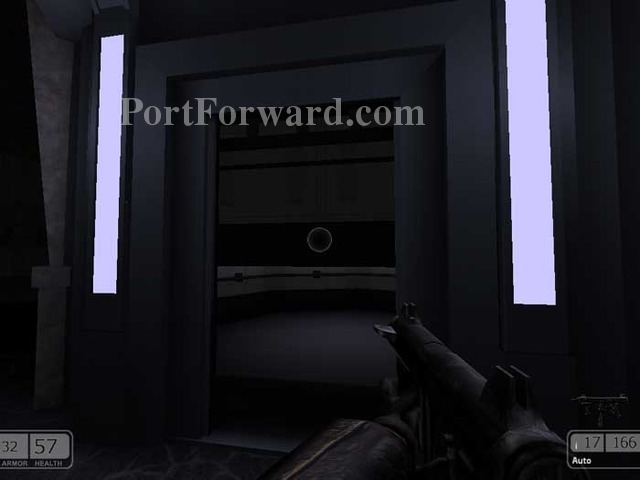
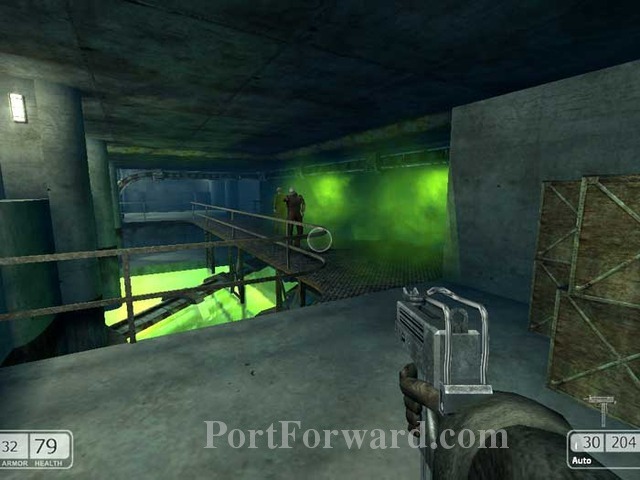
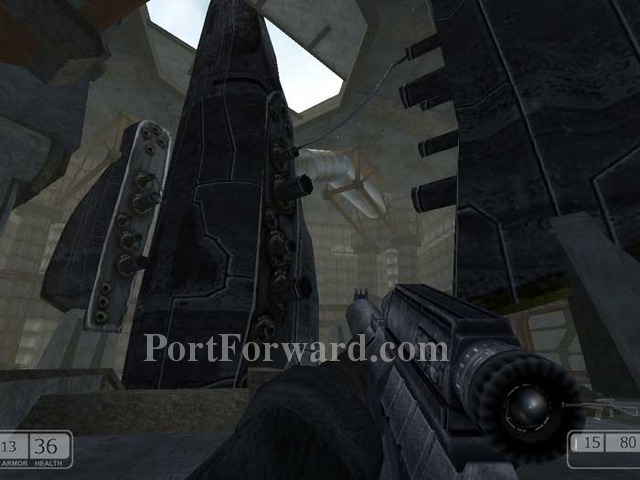
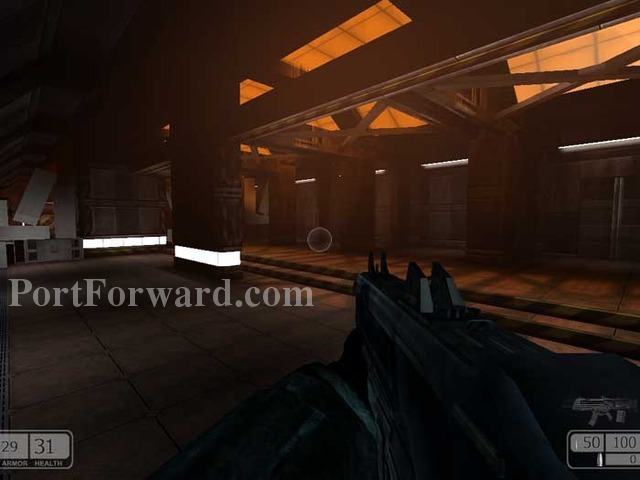
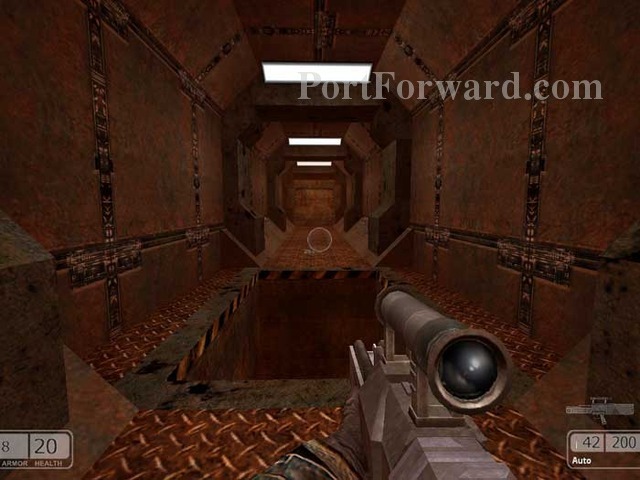
This room looks very cool. Just make sure to avoid the sparks. Head to that small balcony ahead.
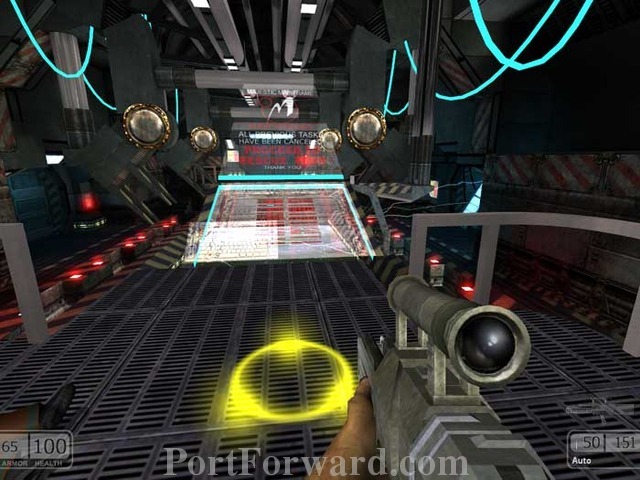
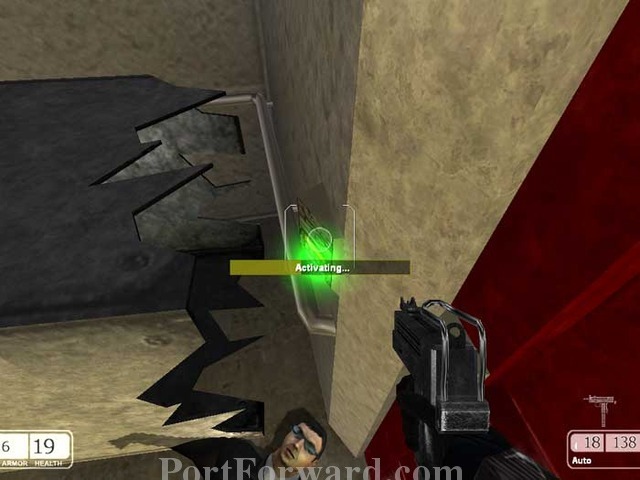
Stand on the yellow circle and this console lowers, instructing you to proceed to the rescue pods. Carefully approach the door on the right.
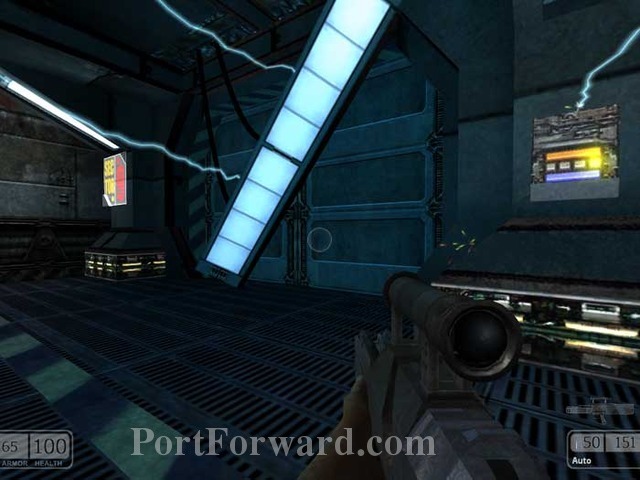
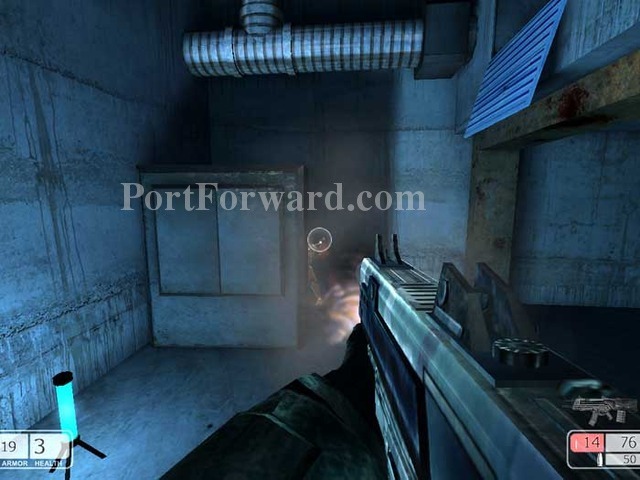
Crouch to avoid the sparks and proceed through the door.
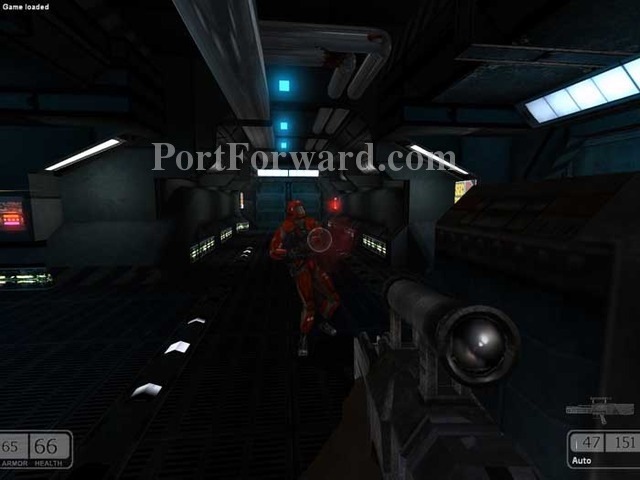
This guard will be to your left and another will be to your right.
Proceed through the door seen here on the left.
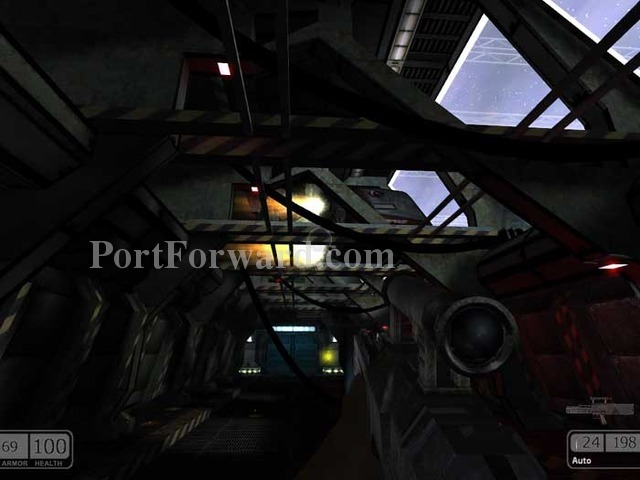
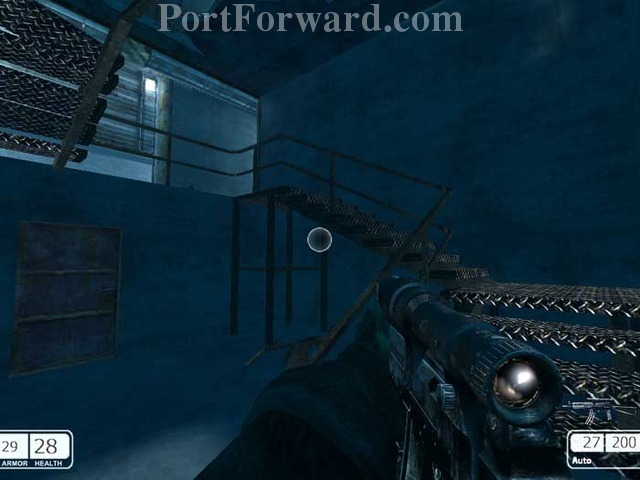
The station is breaking apart. An explosion sends this corridor tipping to the right. Continue through the door straight ahead.
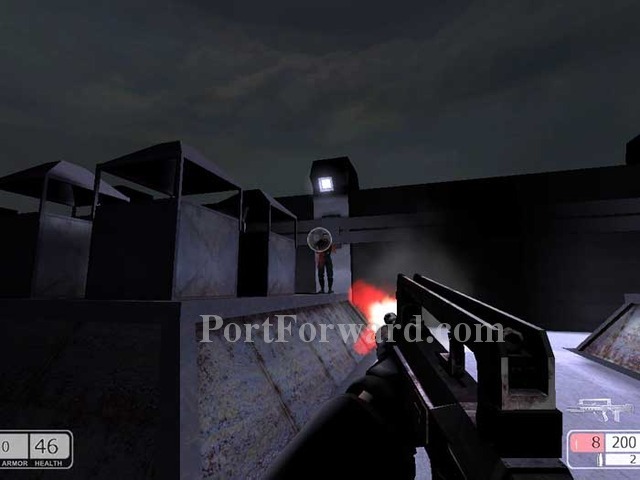
Take out this lone guard on the right, then follow the "Rescue Pods" signs.
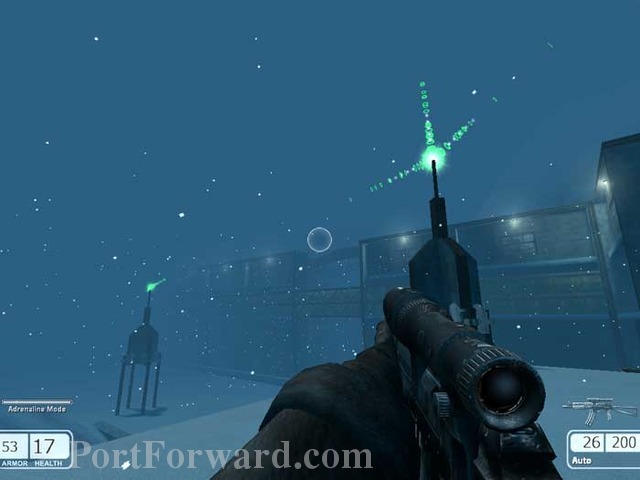
Look up to witness the pods fleeing the station. Continue through the door straight ahead.
This explosion takes out the lone guard patrolling the hallway.
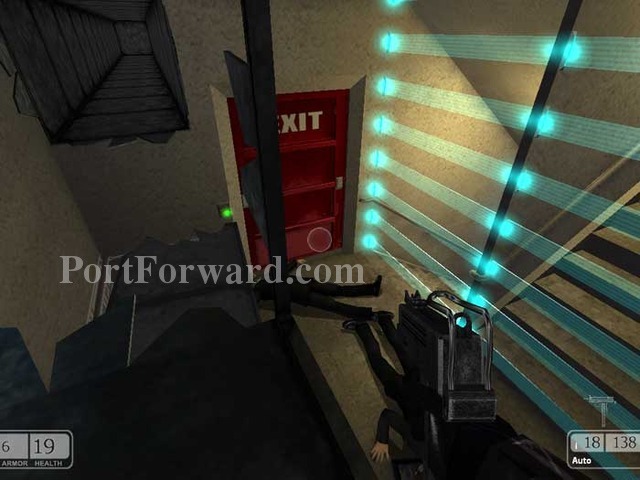
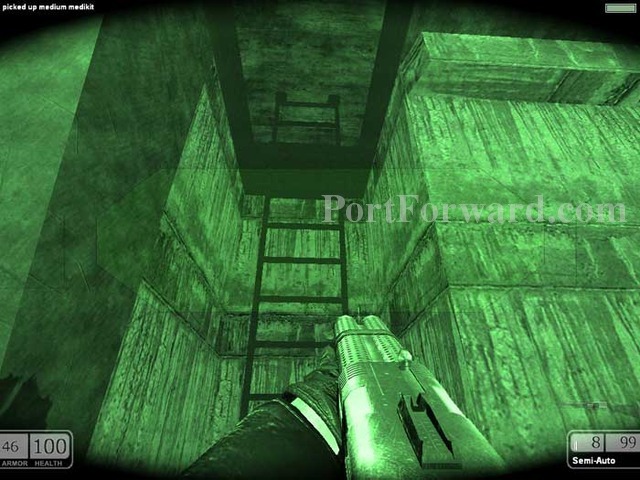
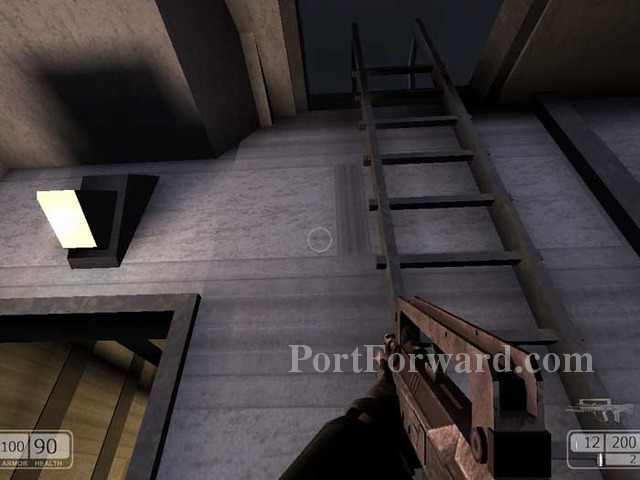
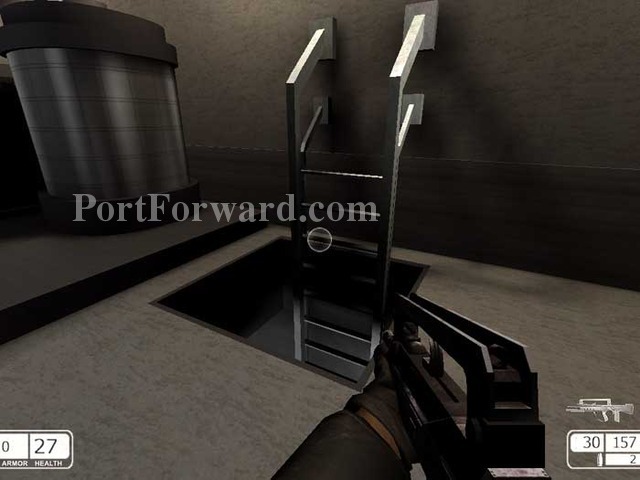
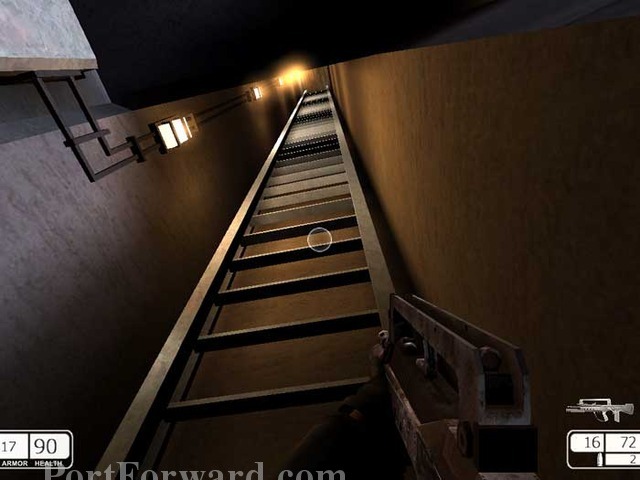
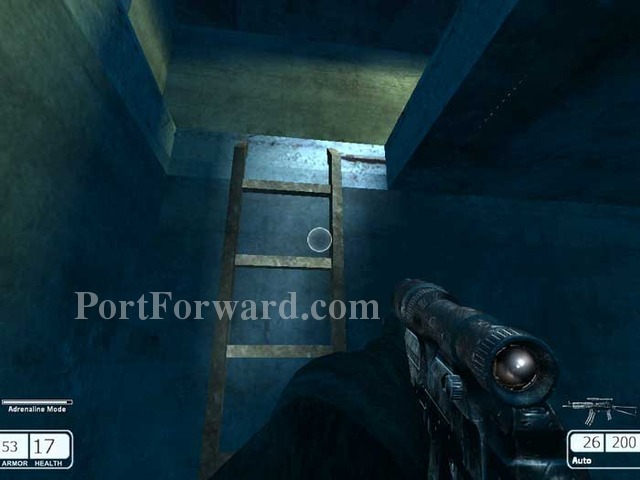
Pass through the next door then climb this long ladder.
Exit through this door marked, "Rescue Pods."
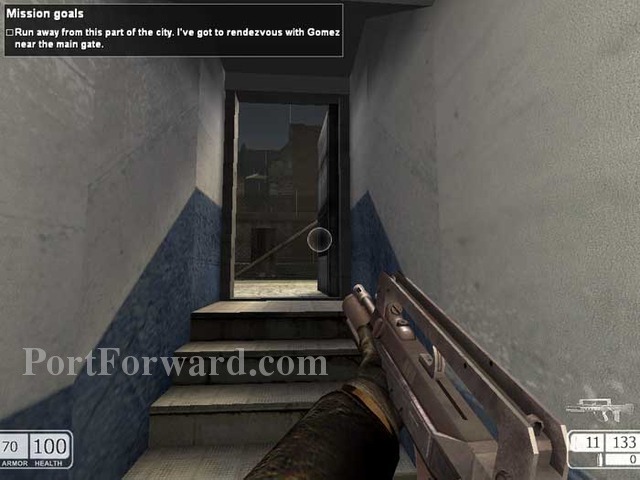
Follow the corridor left to your awaiting escape pod and end the level.
Chaser Walkthrough Montack City
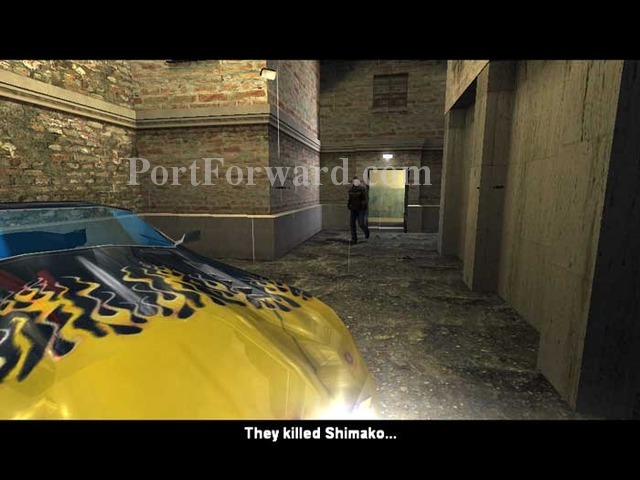
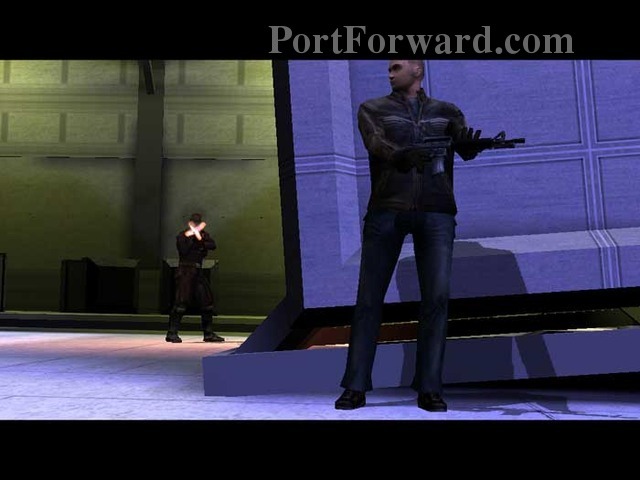
While his escape pod crashes to the planet surface, Chaser has flashbacks of an armored solider with the name tag "Stone." The pod comes to rest in this building. Chaser narrowly escapes being crushed after exiting the module.
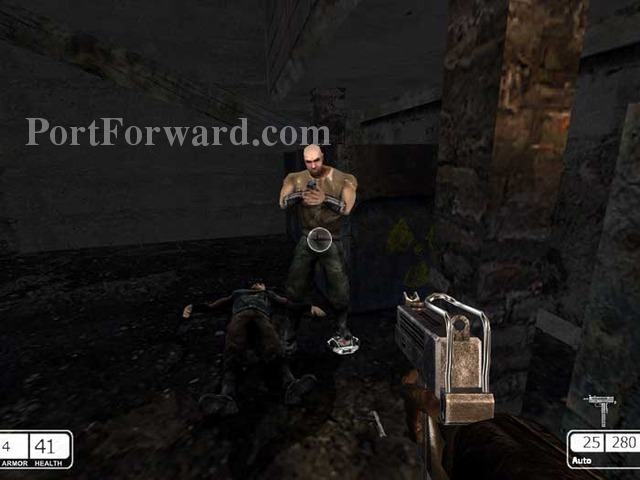
Drop to the floor below and grab the Winchester DB Auto from the fallen resident. Continue down the corridor straight ahead, snatching ammo from the shelves on the right.
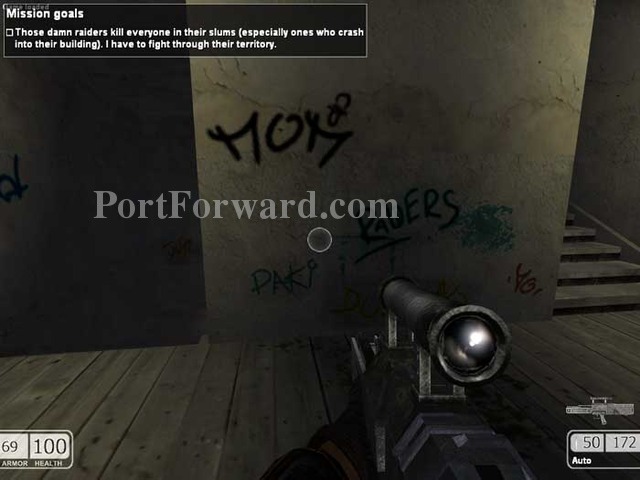
Check your mission goals to learn that you have especially angered the local gang. Ascend the stairs on the right.
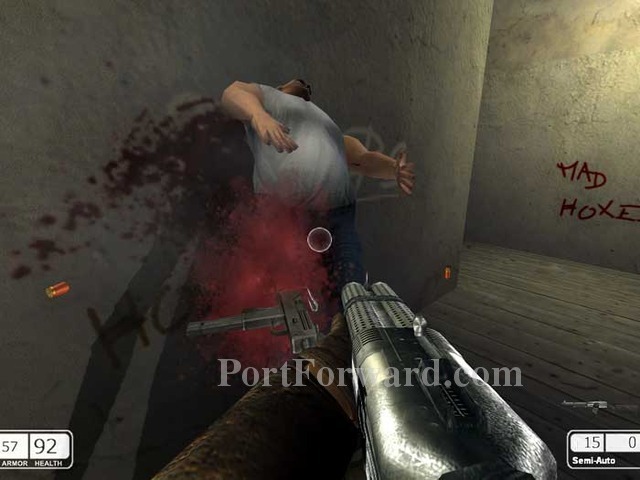
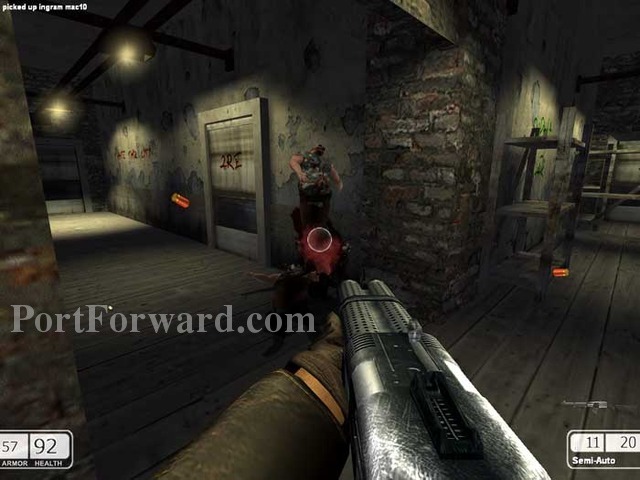
Switch to the Winchester and blast the angry resident upstairs. Grab his Ingram MAC 10 seen flying here.
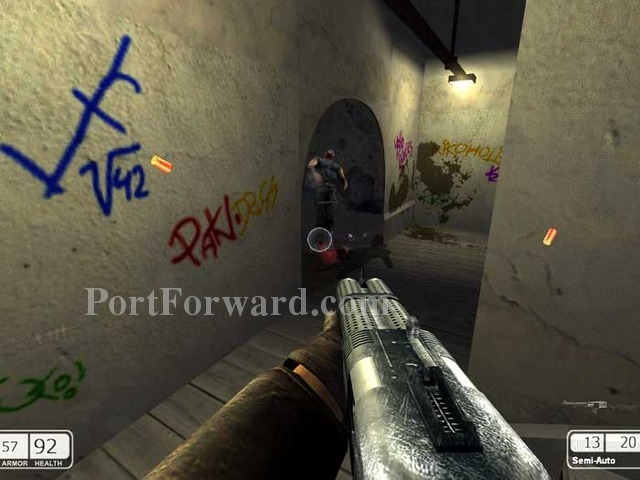
Follow the stairs below and take down this raider -- he'll drop another Ingram in case you missed the guy upstairs. Continue up the hall.
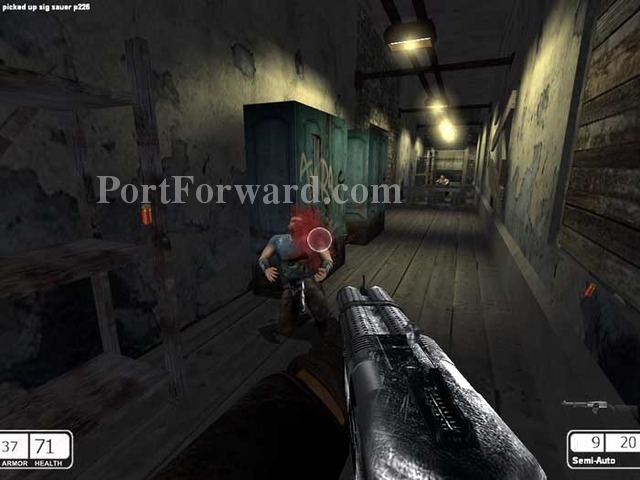
Two more angry raiders to the left. Send them flying with your Winchester. Pick up the Sig Sauer P226.
Continue all the way down the stairs, blasting this raider waiting at the bottom.
Two more raiders are barricaded in the hallway. Take them out and snatch the ammo on the shelves at the far end.
Return to the other end of the hall and exit the building as indicated.
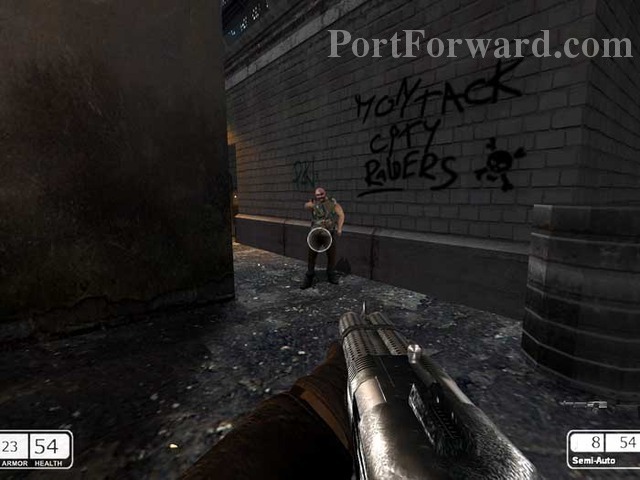
Drop this raider at street level. Another is down the alley past that barrel on the right, but the alley is a dead end and can be avoided if you prefer.
Advance through the falling debris then continue up those stairs to the left. Pass through the opening in the wall.
Blow away this raider waiting for you on the other side.
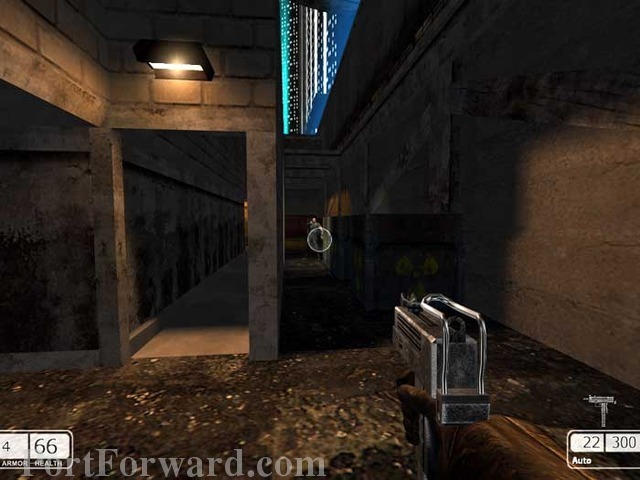
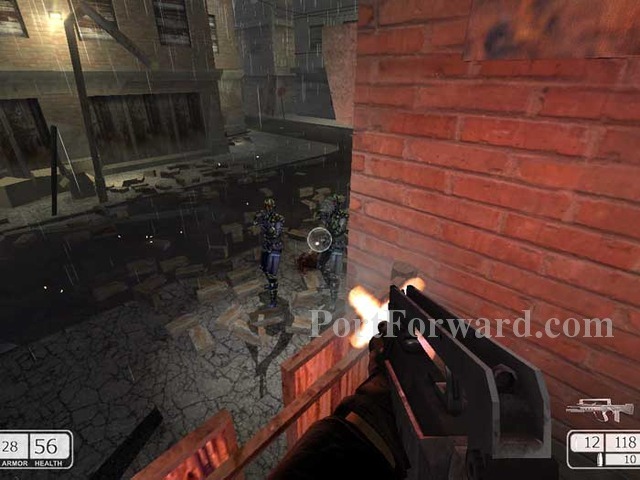
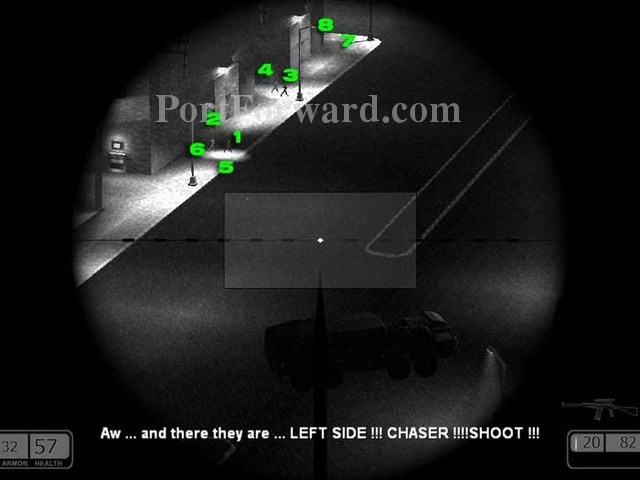
Switch to a rapid-fire weapon like the MAC 10 to take down these two, plus a third on the roof to the left. Your G11's scope works well on a fourth who will emerge from the road on the right.

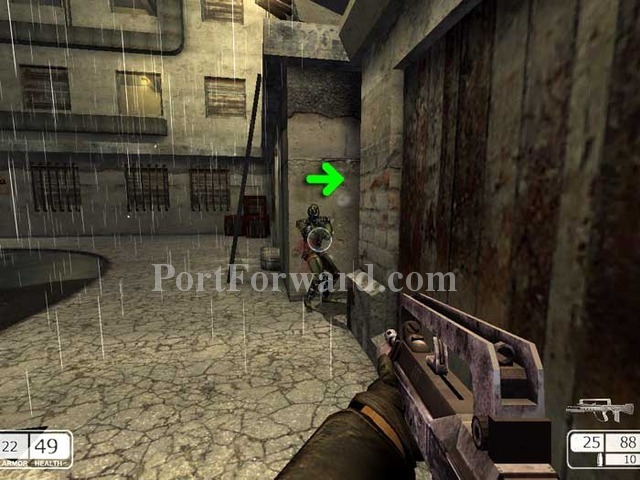
Down the alley to the left is this medkit and another raider.
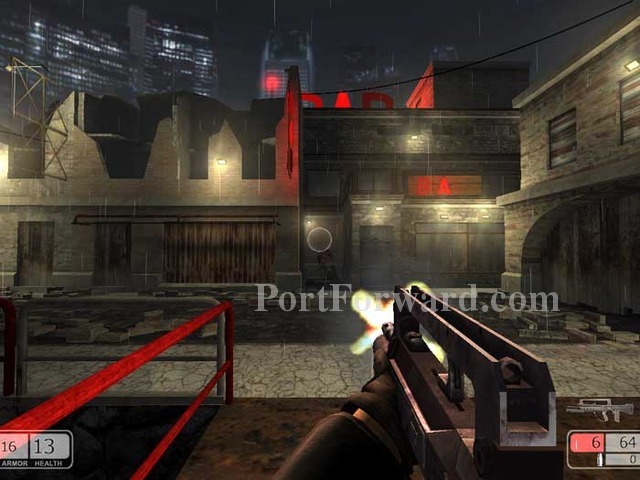
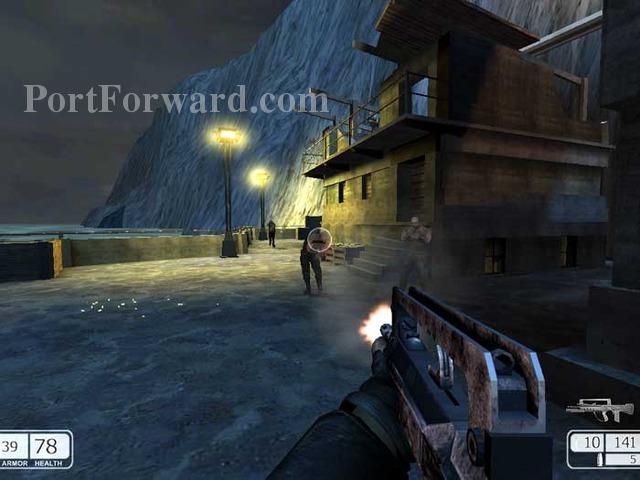
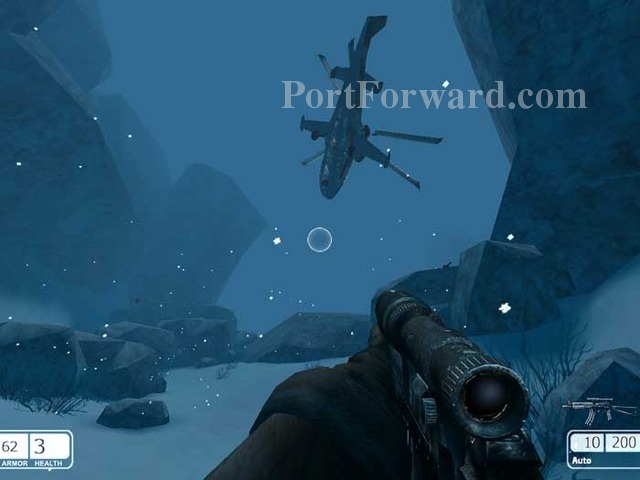
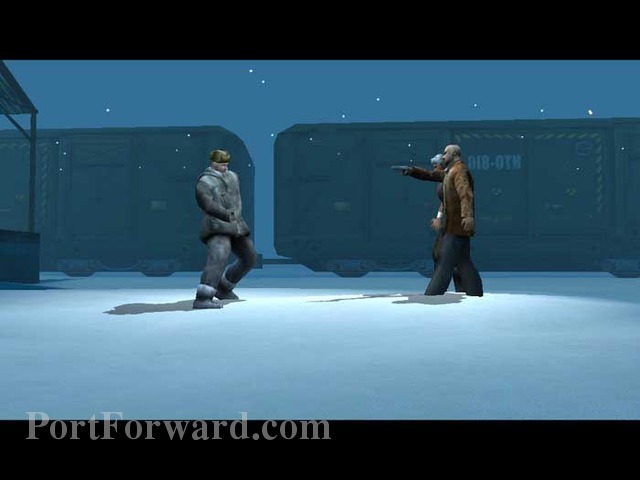
Follow the road a short distance and spot an aircraft lifting off. Approach and a gun battle ensues as large chunks of the Majestic station come crashing down around you.
Engage the street thugs, including this one on the rooftop.
After finishing off the remaining raiders on the street, take a glance at the chaos above.
Ready your Winchester and head up those stairs to the door beyond.
Take out this raider ascending the stairs and his friend on the ledge to the left.
At the end of the hallway you'll find this large medkit and a Colt M4.
Return back downstairs. As you approach the door you'll find another raider has spawned in this nook. Exit the way you came.
Upon exiting you'll find that three more raiders have spawned. Finish them off and search the area for supplies.

Enter the building through this door on the left.
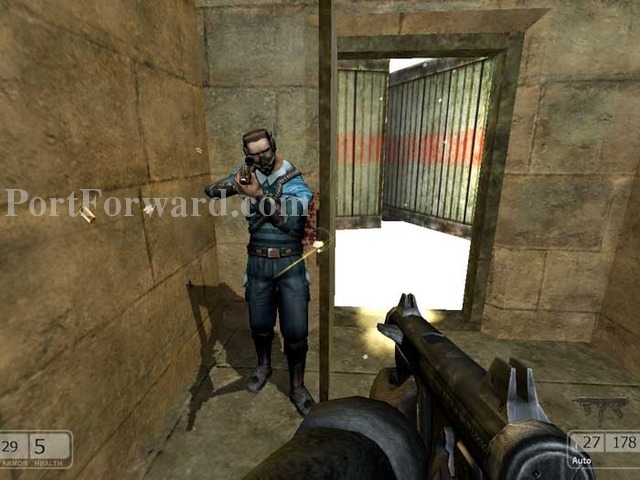
These two raiders are waiting for you just inside the door.
If you're fast with the Winchester this next part is a breeze. Note the medkit and ammo on the right.
Follow the stairs to the upper floor, then back down the other side to these two. Here's a tip: if you are critically low on health use your quicksaves to repeat firefights until someone drops a medkit.
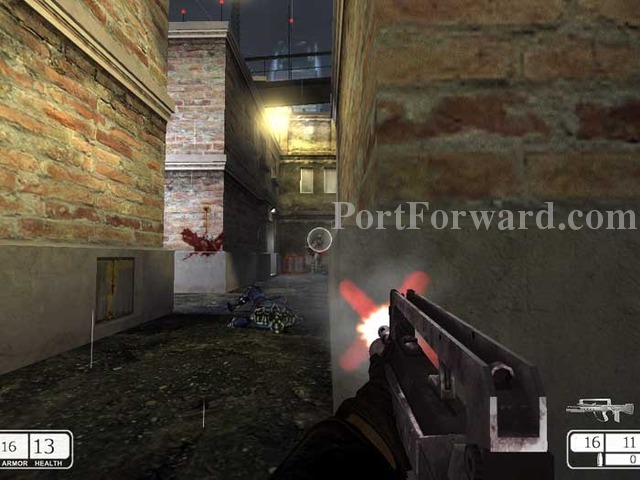
Follow the hallway to exit the building and battle these two.
Take out their friend in the alley behind you.
Further down the alley is this armor vest and another raider to battle through the window.

Backtrack through the alley and descend this ramp.
I like the rapid fire of the MAC 10 to take out these four raiders down here.
Exit up this ramp and continue as indicated.

Witness a firefight between the raiders and these troopers. Hold back to battle the victors or engage them early -- it's up to you. Search for supplies including a medkit between the crates on the right.
Battle these two raiders then enter the building.
On your way through the hallway you'll have this brief flash appear before your eyes.
Exit the building and battle this raider at street level...
...plus two more on the balcony above.
Take out this raider and enter the doorway beyond.
More flashbacks...
Exit the building and a train passes overhead. Take out the three thugs and search the area for supplies.
Climb these crates and jump over the fence. If you fall you can crawl through a hole in the fence.
Spy the two medkits on the shelves. An armor vest is just inside the door.
Continue straight ahead and a cutscene plays to end the level.
Chaser Walkthrough Watergate
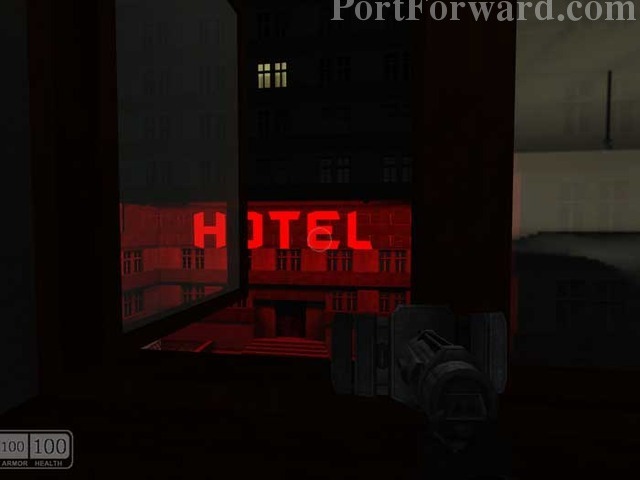
This is a stealth mission. You can't be seen and you can't shoot anyone. Avoid this street with the motel -- you can just make out a patrol at the end of the lane. Instead, head right. Continue down here to the next left.
You'll hear music as you stroll down this lane.
Either side of the street is fine.
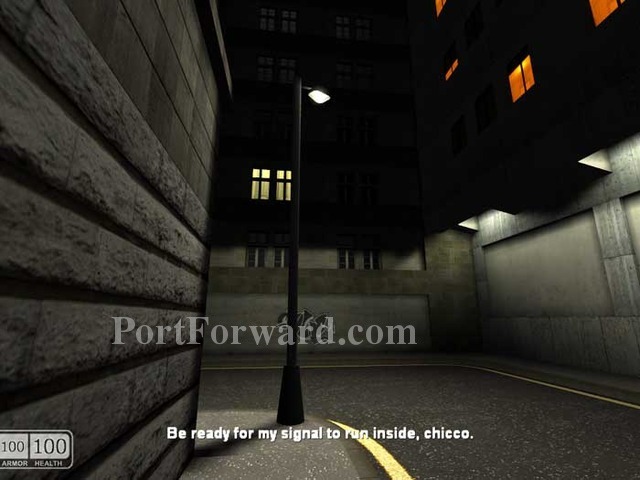
Turn right and hug this left wall. As you approach the street light you'll be instructed to wait here. Do not advance further or the mission will fail. The patrols up ahead will investigate the sound of broken glass. You'll then be instructed that it is time to go for it.
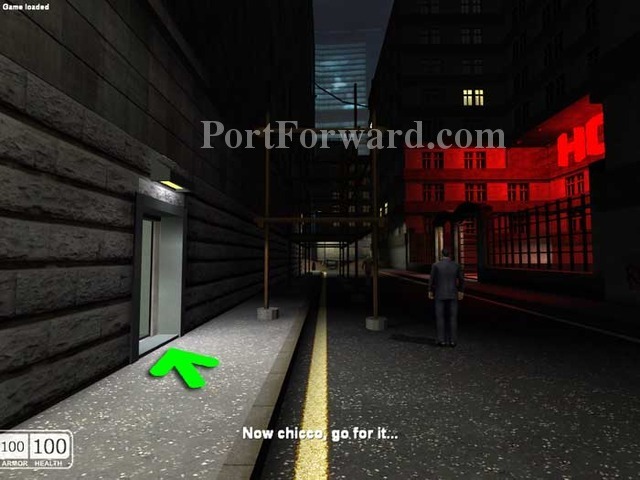
Proceed through the indicated doorway.
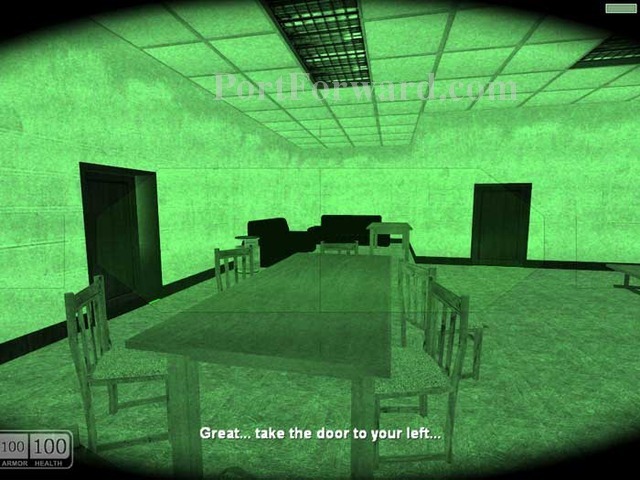
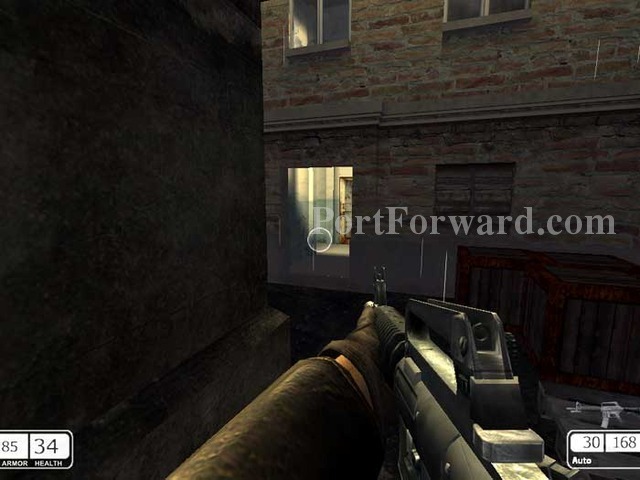
Follow the hallway through another door and activate your night vision. You are instructed to take the left door.
Duck through that door on the left.
Continue through the door ahead.
Proceed as directed.
Meander through the furniture to the door opposite.
Ascend the stairs as directed, but only up a single flight. If you continue to the next flight of stairs you will be instructed to go back down.
Once here, you'll receive further direction. Avoid the camera down the left corridor.
There's your door on the left.
Next, take this door.
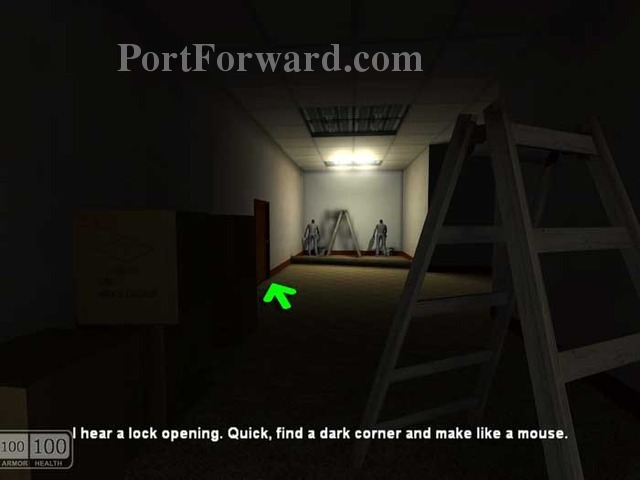
Wait for the painters to move on, then follow them through the door ahead.
Ascend the stairs as instructed. Move quickly to avoid the security camera to the left.
Avoid the painters and move quickly to avoid the cameras. Hang a left as indicated.

Turn right here, avoiding the camera ahead.
Take this door, then continue through a door on the left.
Proceed through this door on the left.
Sneak past the snoozing patrol as indicated.
Here's your next door.
Take the door on the right and step into the room. A cutscene takes over as you record the conversation of the Yakuza.
After the cutscene, leave through this door and take the door to the immediate left.
Hold position here while the patrol moves on. Crouch to remain stealthy and enter the big door ahead.

Approach the window on the left to trigger the next cutscene.
You resume recording the Yakuza conversation.
Uh-oh. You have to find a new way out -- through an open window.
Backtrack through this corridor, taking the door all the way at the end.
Open one of these windows, jump-crouch onto the sill then jump to the street below. You don't have to use the scaffolding.
There's the car up ahead. Approach the barricades to initiate a cutscene.
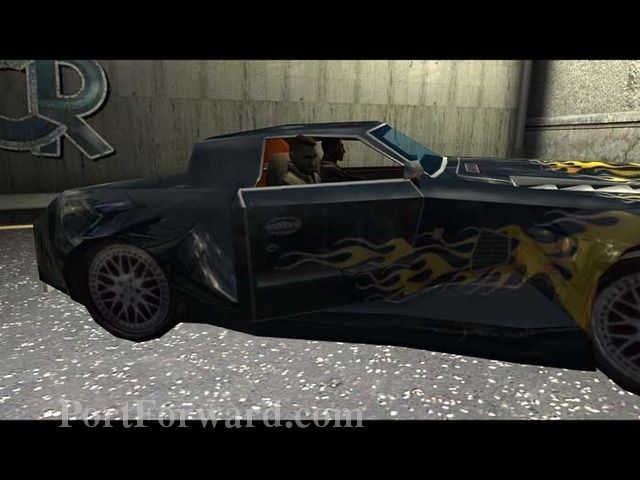
You hop in the car and drive off to finish the level.
Chaser Walkthrough Waterworks
Don't bother participating in the firefight. Instead, run down the road in this direction.
Enter through this open door and the unlocked gate beyond.
Ascend the stairs to the top floor. Exploring other floors is pointless as they all dead-end.
Pass through this unlocked gate then continue through the doorway at the end of the hall.
Once in this room you'll spot that hole in the wall. Crawl through and drop to a ledge outside.
Climb the two ladder-like pipes on the right then follow the beam to an air vent.

Ready your Colt M4 then drop through the vent to battle these two, plus a third above.
A medium medkit is in thorugh the first doorway and armor is through the second.
Pass through those blue doors and battle two patrols beyond.
Fight your way up these stairs.
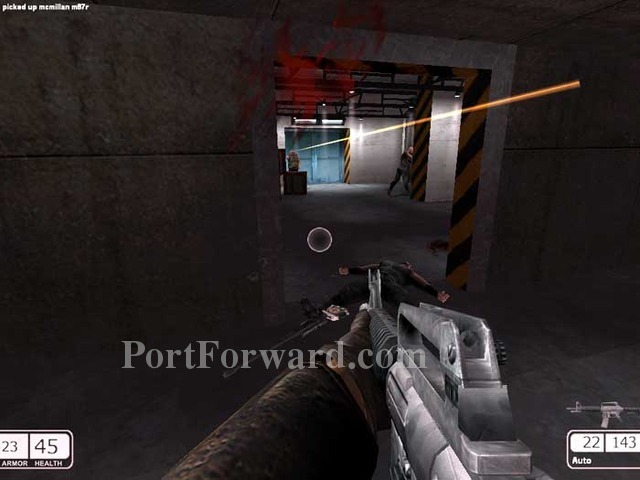
Defeat three guards - two are equipped with McMillan M87Rs - before descending the ladder at the end of the hallway.
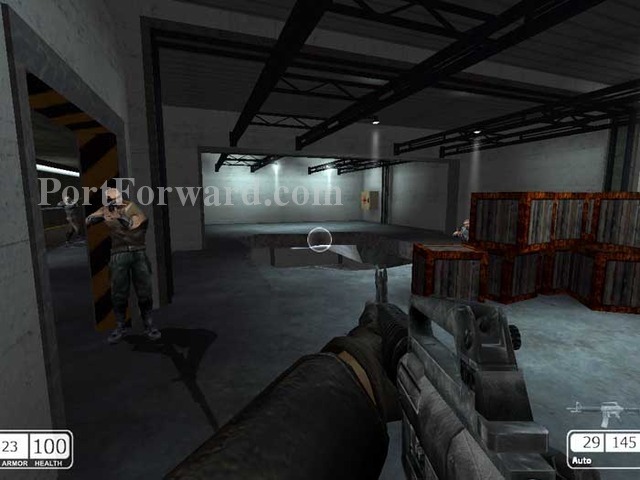
Step onto the balcony and battle these three in the next room.
Grab the large medkit from the cabinet seen on the left before descending the ladder seen on the right.
Defeat these three before grabbing the armor from the cabinet on the far-right wall.

The balcony affords a view of the firefight you left at the beginning of the level.
Drop to the floor below. If you are lucky you can take out this patrol two floors down.

Defeat these four before descending the stairs.
You'll find an armor vest hidden back here.
Descend the nearby stairs to the lower level. Defeat these two and grab the armor from a cabinet behind them.
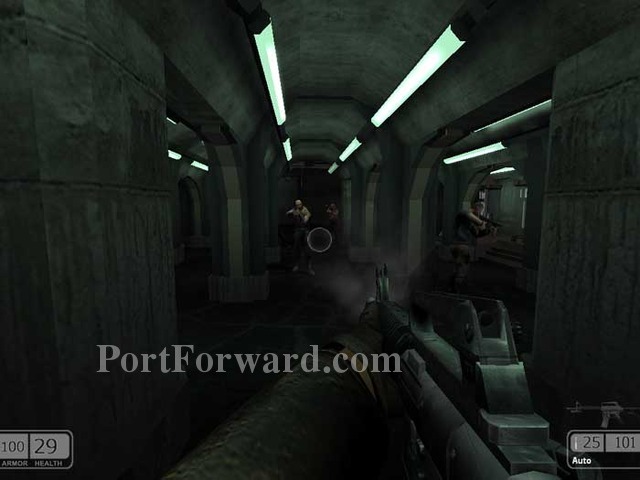
Ready for a major battle as you pass through these doors.
Clear out the opposition before descending the ladder seen on the right.
More of the same down here. Clear out the area then approach the nearby stairs.
Before descending the stairs you'd be well advised to snipe this patrol waiting at the bottom.
Clear the area then grab the large medkit from the cabinet visible far-right. Proceed through the door behind you.
Take out the lone patrol on the right before ascending the stairs to the left.
Advance through those blue doors on the left.
Two patrols and a cabinet with armor are ahead.
To the left you'll find more resistance below. Descend the stairs.
A cabinet by the stairs holds armor. Defeat these two before climbing the ladder ahead.
Here's the welcoming committee when you reach the top.
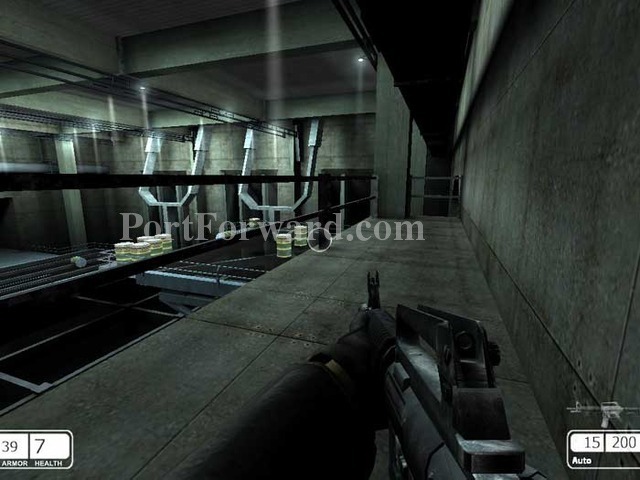
This is a tough area to clear -- more guards will pour in from upstairs.
On the upper level you'll find another guard behind the grating on the right. Hop through the vent on the left.
There are two guards to defeat here. Grab armor from the cabinet and descend the stairs.
Clear the area then descend this ladder on the left. Ignore the door visible on the right for now.
After a small battle you can grab the large medkit from the cabinet seen on the left.
Rotate this pipe to stop the leaking steam on the level above.
Backtrack up the ladder, past the broken (but no longer steaming) pipe, then prepare for a battle as you open the blue doors ahead.
You'll find this guard just inside the door, plus three more popping up from behind these barricades.
A fifth is waiting in ambush here.
Through yet another blue door you can see your reward up ahead - a cabinet with armor. Jump over the broken railing in front of the cabinet to the crates below.
You'll find this medkit here.
Proceed down this ladder.
You'll battle these three guards, plus a forth up the stairs on the left. A large medkit is in a cabinet down the right corridor.
You'll find two guards and a cabinet with armor in this small room.
Follow the outer wall to this position, where you'll find three guards, including one just visible under the stairs.
Ascend the stairs, then take these stairs back down. Defeat the two guards then climb under the large door as indicated.
You'll find armor behind those crates. Ramp up the board to the level above.
Ramp up this board and follow the pipe.
Climb into the vent above.
Exit from the vent and clear out these three below.
Drop to the vent, then the pipe, then the stairs to the level below.
You'll find armor in the cabinet seen on the right.
Climb your last ladder of the level.
Defeat this guard then climb through the vent behind him.
Drop through this hole to the ledge, pipe, then stairs below.
Four guards are on the other side of this door - a good time for adrenaline mode.
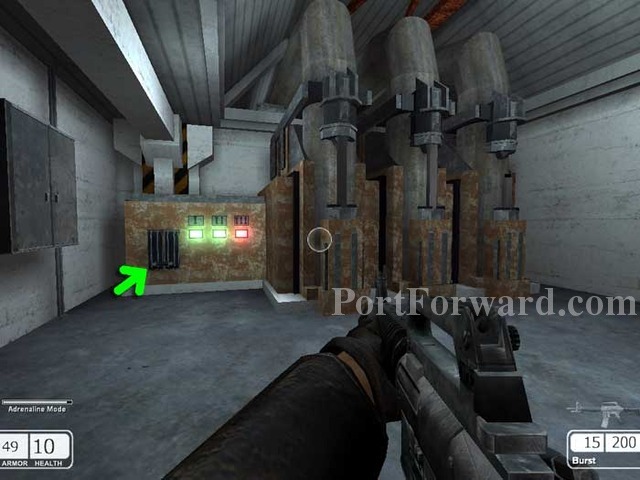
Activate the indicated switch, then watch the three rods on the right rise into place. Once all three lights have turned from red to green, you're good to go.

Descend the stairs and continue past the formerly-steaming pipe. Your sniper rifle and/or adrenaline mode helps take out the three final guards of the level.

Once all three are down, descend that ladder visible rear-left.
You've found the barrels. Walk toward the end of this walkway to trigger the ending cutscene.

A firefight ensues.
But your comrades are unable to prevent the barrels from falling into the water, contaminating the waterworks.
Chaser Walkthrough Little Tokyo
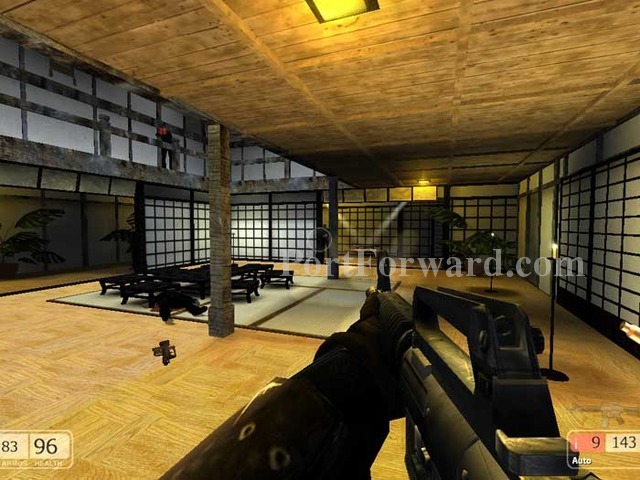
You'll find a patrol just inside this first right corner.
To your left you'll find the indicated opening. Note the floodlight and hole in the wall beyond -- that area is accessible by alternately following around to the right, but following the arrow is the more direct approach.
Take out the patrol on this corner.
Continue around the corner and through this fallen gate.
Take out this guard on the right before passing through yet another opening.
Take down this patrol and grab the indicated medkit. (I've knocked a crate out of the way so you can see.)
As you approach the medkit, notice the indicated ladder on the opposite side. Ready your weapon and climb the ladder to exit the tunnels.

Be prepared for a fight. You'll immediately come under fire from this guard, plus two others across the street.
Climb the crates and battle these two before jumping over the fence.
Head right then drop this guard before ducking into the indicated alley.
This area is tough, with lots of respawning enemies. Hold here for a moment and lay in wait for this guy. There are snipers on the rooftops across the street -- pop out briefly to bring them down.
Carefully back out of the alley, addressing three snipers above, plus another gunman hidden behind the boarded-up windows on the lower-left.
Turn around and advance further up the street. More enemies spawn. You'll find a large medkit down the alley to the right, where you'll hear a woman scream.

More enemies spawn on the rooftops behind you. Secondary fire from your FA-MAS dispatches them easily.
Resume your advance up the street. More enemies spawn from the left.
Advance down the road on the right, then down the alley behind this patrol.

Hug the fence to the opening on the left.
Slip through the hole in the fence after defeating this guard.
Drop through the hole to end this short level.
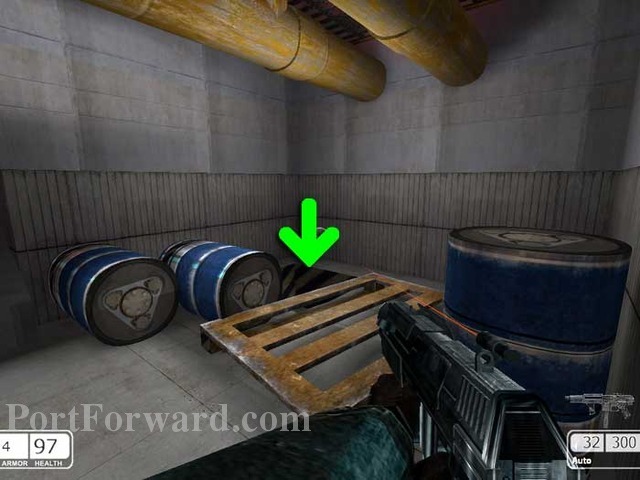
Grab the medkit before dropping through the opening in the floor.
You'll land on a grate which will break open, allowing you to fall to this underground area (note the red grate). You can drop to the ground below or remain on the catwalks, it doesn't really matter. Take down this initial opponent seen here.
If you drop below you'll find a medium medkit here.
Advance to battle this ninja-like warrior on the right.
You'll also have this ninja to contend with below-left. Continue left to the end of the catwalk visible ahead.

Peer through the boards and take down two more ninjas. This area is your ultimate destination.
You can't get through the boards so we'll have to take the long way around. Head right and this ninja pops up from around the corner.
Around the next corner you'll have more ninjas, above and below.
Advance across this beam. If you've already dropped below, use the rotating sign as reference.
Advance ahead and you'll come under fire from a ninja above the red sign, a second below the red sign, plus a third to the right.
As if that isn't bad enough, you'll have these three respawn behind you.
Drop below if you haven't already and finish off this final ninja of the area. Search for health and ammo before continuing.
Climb through this opening on the right. Note the boarded-up fence on the left that we had fired through earlier.
Battle this trio of ninjas then ascend these stairs.
A fourth will spawn above. Here he is dropping an armor vest.
Two more ninjas up ahead. This one above and another below. Advance across the left board -- the right one is unstable.
Here's a shot of some serious ninja jumping action. Follow the left ledge to the large pipe ahead.
A hole in the fence will allow passage to the other side, but you want to be on the pipe to drop over this fence up ahead.
This area is tough. Clear out as many ninjas as you can before ascending those stairs.
There are more ninjas behind those pipes, plus another behind the fence far-left. You don't have to deal with them, though -- just make a mad dash for that door straight ahead to load the next level.
Here's your start position. Exit out that door - backwards.

Look up to find snipers on the roof.
Reload your weapon and pass through this opening in the fence.
These two spawn in the initial doorway. Grab the Colt M4.
A sniper has spawned on the roof.
Once again pass through the gap in the fence. As you cross this small bridge a patrol will appear in this doorway. Another will target you from the rooftop on the right. Through the doorway ahead is another maze area.

Soldiers are waiting in ambush inside this greenhouse, and a single sniper is on the roof above.
This corner provides cover as you clear the alley ahead.
Around the right corner you'll witness this firefight. Open fire and catch them by surprise.
A patrol will be waiting in ambush here. Note the striped barricade for reference.
Turn away from the barricade and make a slight left around the corner to this door.
Inside to the right you'll find this guard and a medium medkit.
Exit out this door.
Fight your way down this alley to another alley on the left.

This is the alley you want, guarded by three more ninjas. The indicated blue door is your clue that this is the right alley.
Once you reach the end of the alley you'll find another ninja here on the right and the blue door swings open as more ninjas pour out.
Keep and eye out for a sniper in this window. Enter the now-open blue door.
Turn left. Grab the medkit seen here on the left before climbing the stairs.
This ninja is waiting for you at the top.
Plus these two are in the hallway to the right. Follow this hallway to initiate a cutscene.
Mike Gomez busts his hot wheels through the gate and orders you to get in.
Grab the indicated armor vest.
Return downstairs and out the blue door.
Approach the car to initiate the final cutscene.
Chaser Walkthrough Nippon Hotel
Walk along the rooftop to this open vent.
Crawl through the vent and it will collapse. Ready your weapon to take out this patrol immediately upon exiting. Ascend the stairs.
You'll need to go right to proceed through the map, but I recommend clearing out the area on the left first.
Here's the scene as you pass through the left doorway.
Make use of your MAC 10's medium-range capabilities in these dead-end corridors.
Once the area is secured, return past the stairway (visible ahead) and pass through the opposite door.
Here's what you'll be greeted with.

Ascend these stairs.
After this firefight, continue up those stairs ahead.
Defeat this guard before proceeding through the open window to the roof. Drop to the garden below.
Approach your backpack (visible on the ground next to Chaser) to initiate this cutscene. Grab your bag and proceed down this opening.

Open this grate.
Follow the vent to this room, seen earlier.
Activate this switch to load the next area and end the level.
Grab the armor vest and medium medkit on the right. Turn left down the corridor.
Battle through these doors down another corridor to the left.
Battle your way down the corridor through this doorway on the left. We'll take the other door in a moment.
Lots of targets. Bring them down before approaching the broken glass door to initiate a cutscene.
At first, Valero's men think they are meeting Franklin, a comrade. They learn it's Chaser and declare you a dead man.
Prove them wrong. A few well-placed grenades go a long way.
Once you've taken out all of Valero's men outside the glass door, backtrack here and proceed through the other door that you bypassed before. These guys have spawned around that desk ahead -- hold back as you hear a quickening beep. Approach after the explosion.
This can be a difficult firefight. Use grenades and adrenaline mode to assist. Shoot out the glass and proceed through what's left of the door.
Fight through another corridor on the left.
That brings you to this corridor alongside the tennis courts. You can either enter the courts through the broken glass (from your gunfire or theirs) or run full-sprint to a door at the other end, which is my preference.
Another gunfight through this door and you're almost out.
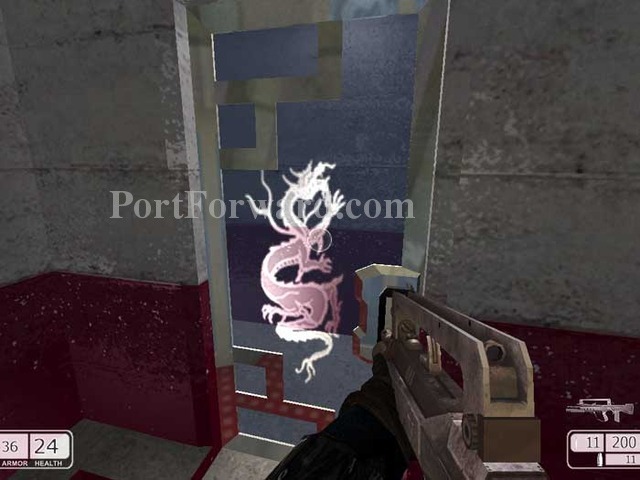
Don't go toward the tennis court. Instead, head left. Your way out is through that dragon-etched door straight ahead.

Drop these two then take the hallway on the right.
You'll find three on patrol behind these shelves.
Grab the medkit from the left shelf before proceeding through this door.
Enemies are on both sides of the door. The corridor to the right dead-ends, so continue down this corridor to the left, then through the doorway far-right.
You'll be met by immediate resistance. Keep an eye out for enemies behind these doorways.
Fight your way down the hallways to the door seen here on the right.
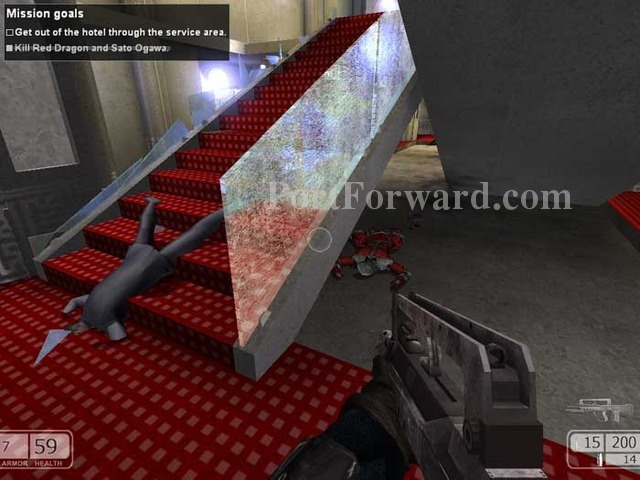
Once entering, you'll meet heavy resistance as seen here. Grab the large medkit on the left. Upon exiting through the door visible on the right you receive a new goal: kill Red Dragon and Sato Ogawa.
I recommend making an immediate left and taking shelter under these stairs. Let them come to you and use secondary fire from your FA-MAS to take them out.
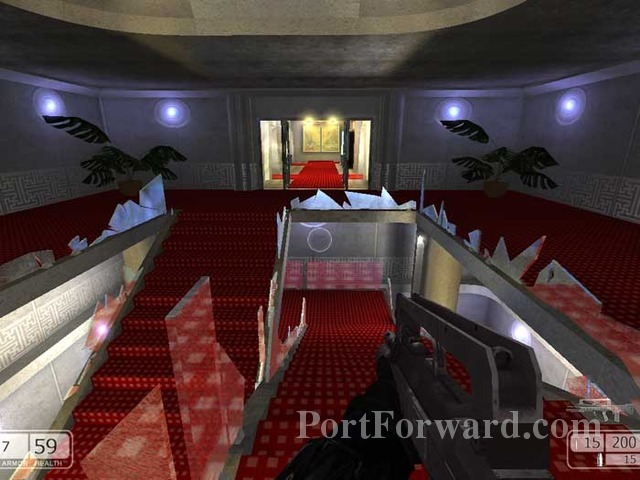
Both sets of stairs lead up here. Continue through that door directly ahead.
Fight your way down this hallway, continuing through the door far-left.

At this doorway you'll have a patrol on your left. Proceed through the door on your right to a room with indoor fountains.
You'll find a guard above (visible on the right) and another below.
Descend the stairs then head down this hallway. Continue through the door on the left.
Inside are two guards and a medium medkit. Exit through the door visible on the right. You'll find a medium medkit just outside the door.
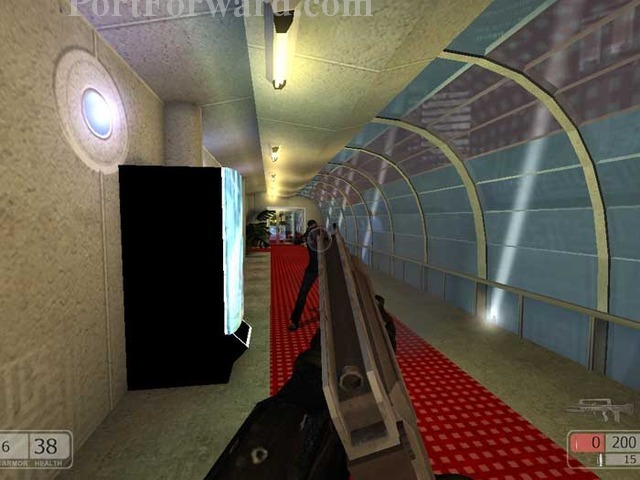
You're almost there. Fight your way down this hallway.
Exit out this door to load the next level.
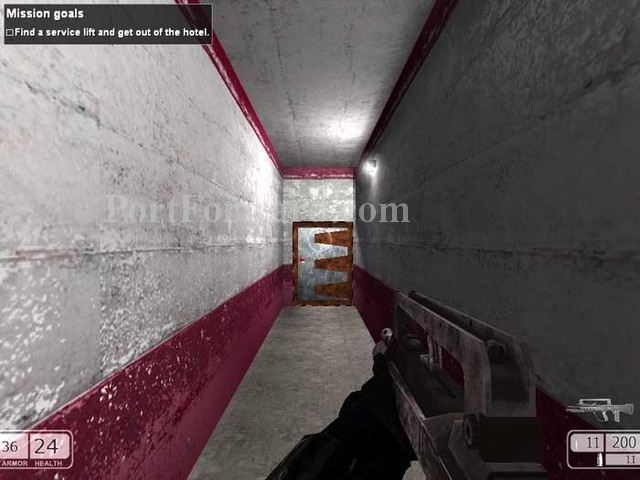
Head through the door straight ahead.
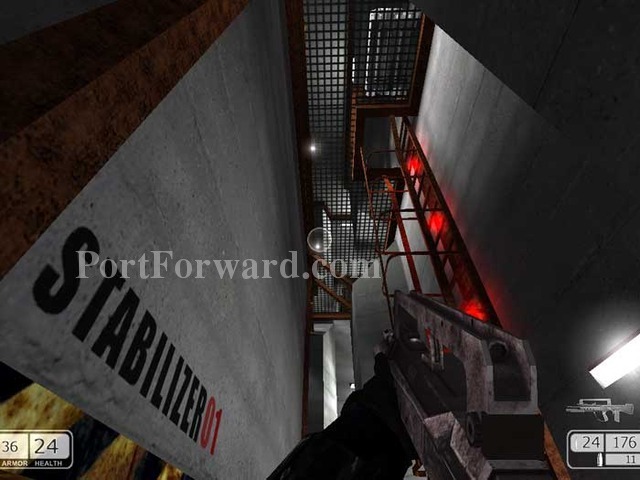
You begin here at stabilizer 01. Guards patrol above -- shoot them through the catwalk or climb the ladder on the right.

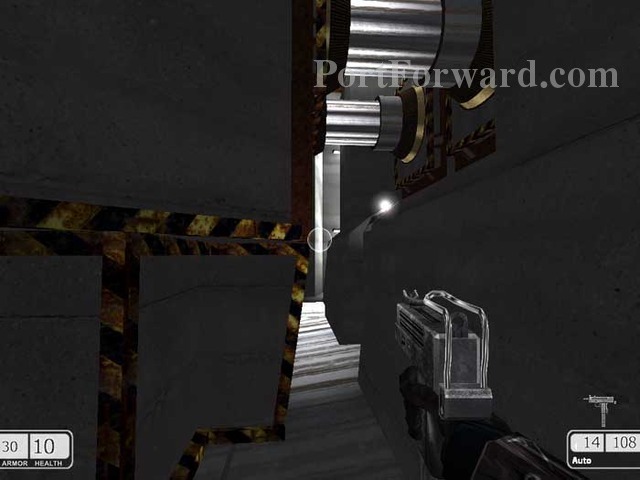
Past the ladder you'll find an open vent that will take you to stabilizer 02.
Dash across either side of the stabilizer, timing your move to synchronize with the oscillations. A small gap midway will allow you to safely traverse the distance in two segments.
You are now at stabilizer 05. Another guard is on the catwalk above. Ascend the ladder on the right.
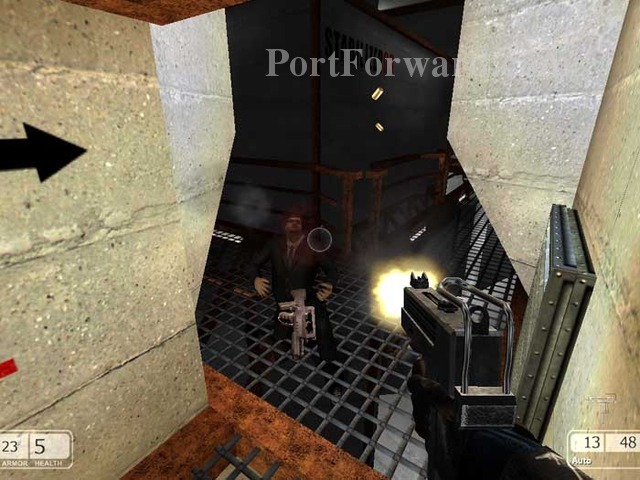
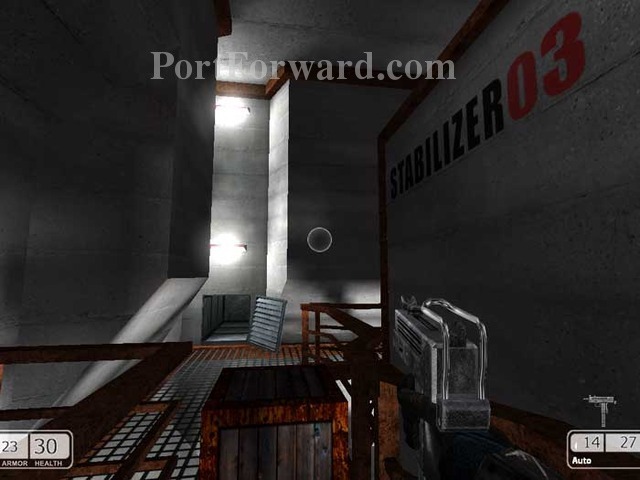
Defeat the guards above, passing through this opening to stabilizer 03.
Crawl into that open vent.
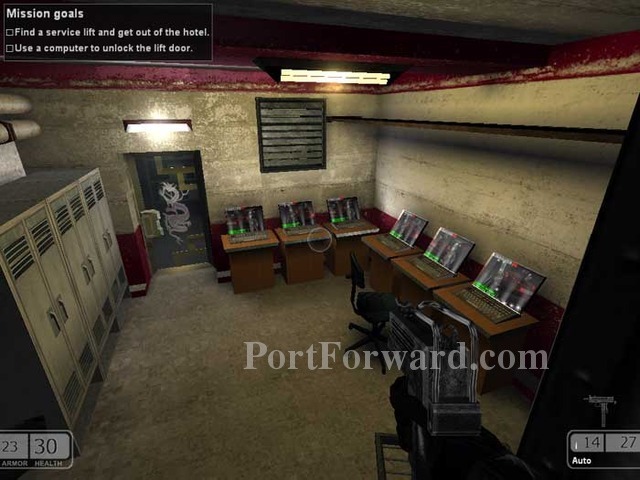
The vent leads to this computer room. Your mission goals are updated: use a computer to unlock the lift door.
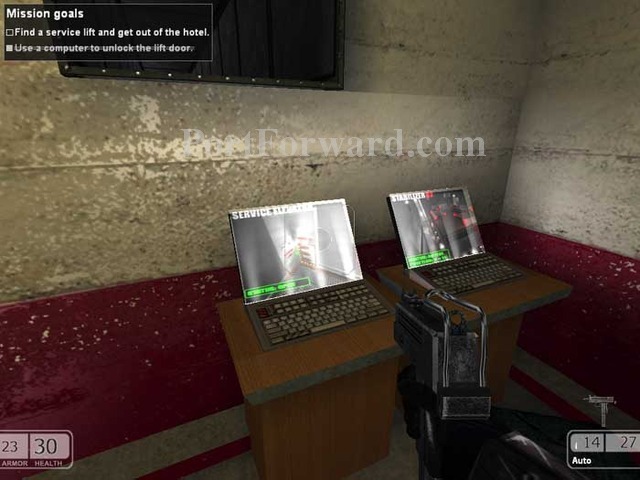
This computer, directly under the vent, is the one you need. Armor and a medium medkit are in the nearby lockers.
Crawl back through the vent then continue along the catwalk to stabilizer 04.
Fight your way further down the catwalk to stabilizer 05.
Lastly, make your way to stabilizer 06. Continue to the "Elevator" sign up ahead.
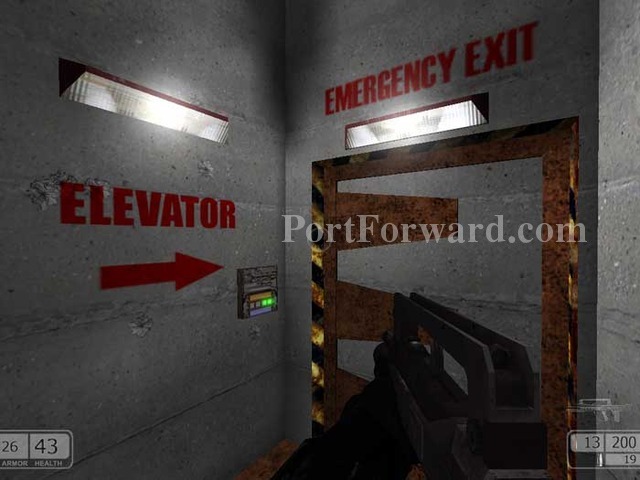
Activate the green panel to load the next level.
Chaser Walkthrough Portland

You'll find secondary fire from your FA-MAS to be useful at taking out these respawning snipers. Note the medium medkit dead-ahead.
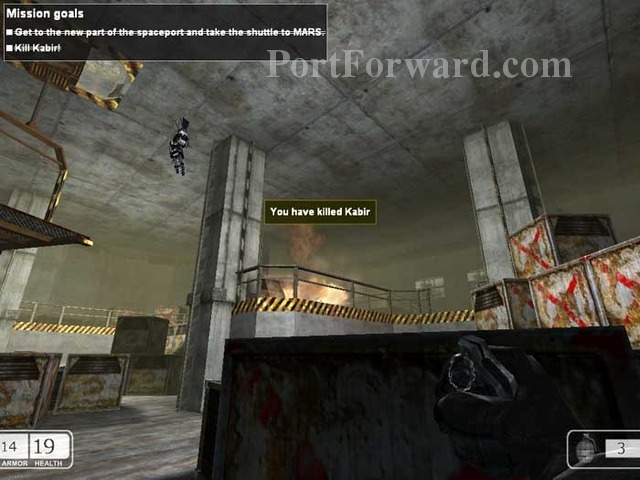
Kabir is in this central room, cowering in fear.
The firefight continues in this neighboring room. The top of those stairs provides a good vantage point to fight the enemies in this room. From the ladder you can take down enemies in the previous room.
Take out the series of spawning enemies in this window.
Another series of enemies spawns up here.
Another enemy will snipe at you from this position.
A series of two enemies will spawn above. Take cover behind these crates and start taking them out.
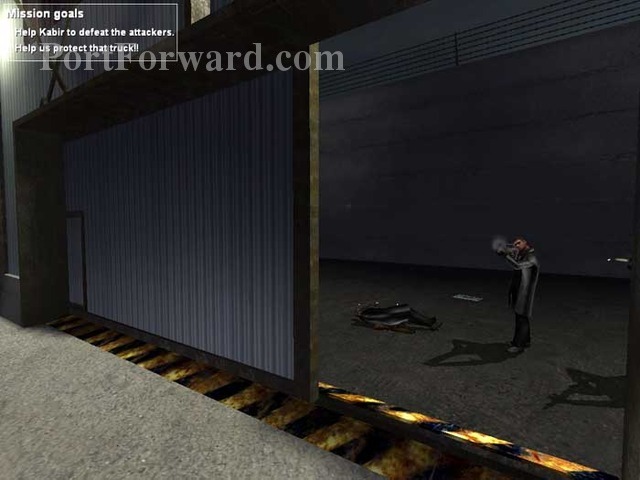
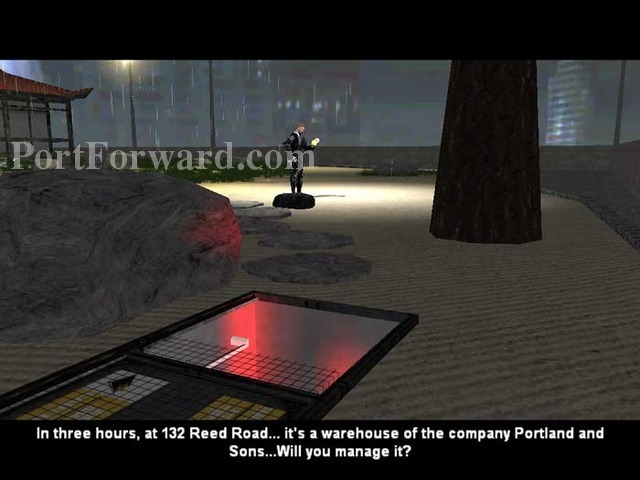
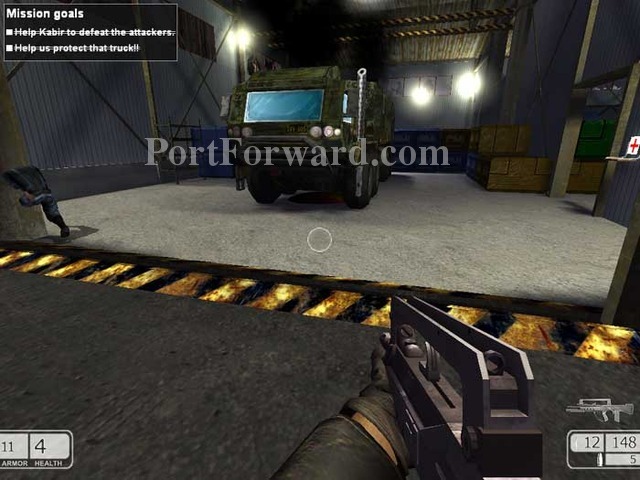
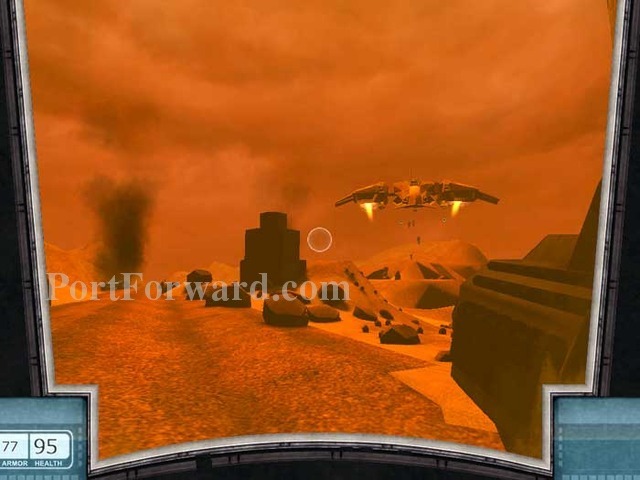
A cutscene shows a truck coming under fire -- your mission goals are updated. Protect that truck!
Once it's safe to move, grab this medkit and hurry to protect the truck ahead.
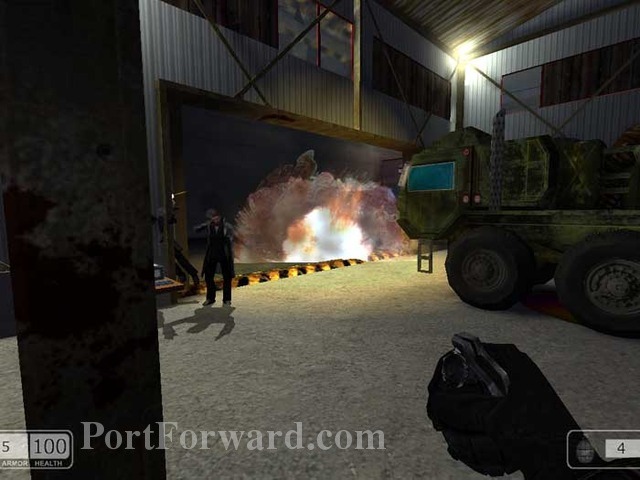
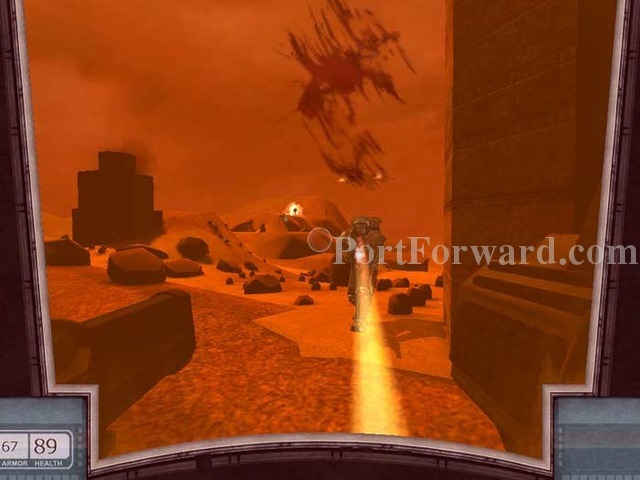
This is where many players become stuck. Protecting this truck is required to advance in the game, yet no health bar is provided to show how much damage the truck can take. It's frustrating, it's repetitive, and it isn't fun. Start with a few grenades to take out the horde at the garage door. Save your game here.
In addition to the garage door, you'll have to defend the truck from attackers in this position above.
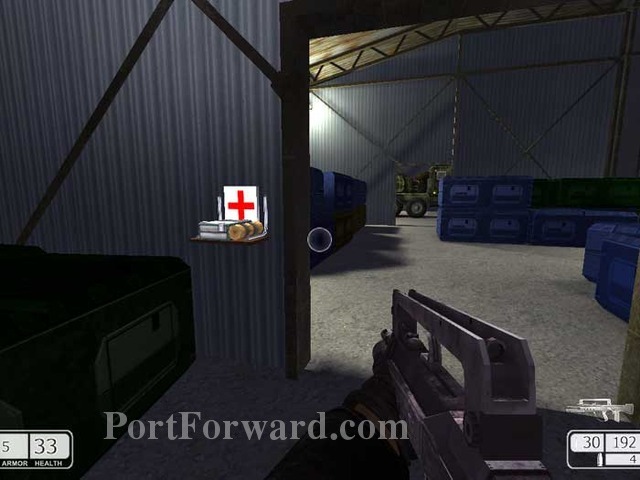
And from this window as well. The shelves below hold a medium medkit, armor and ammo.
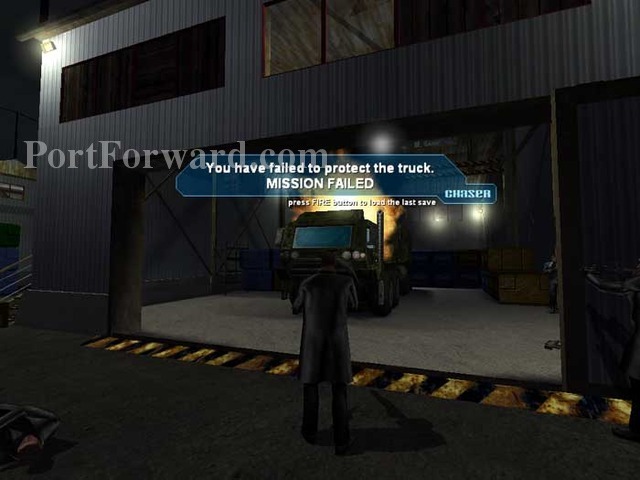
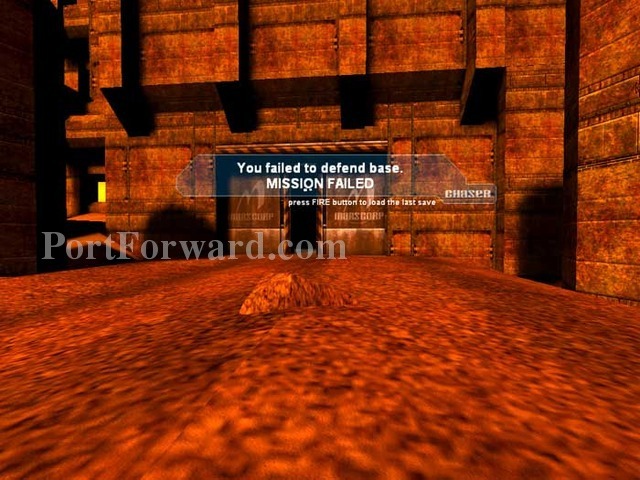
When the truck reaches a heavy level of damage you will hear, "It's going to blow." After the truck takes more damage, you'll be greeted with this MISSION FAILED screen. Reload your save game.

Take note of this pattern: killing an enemy out here...
...often results in the spawning of an enemy up here. Be prepared to dash between these two locations.
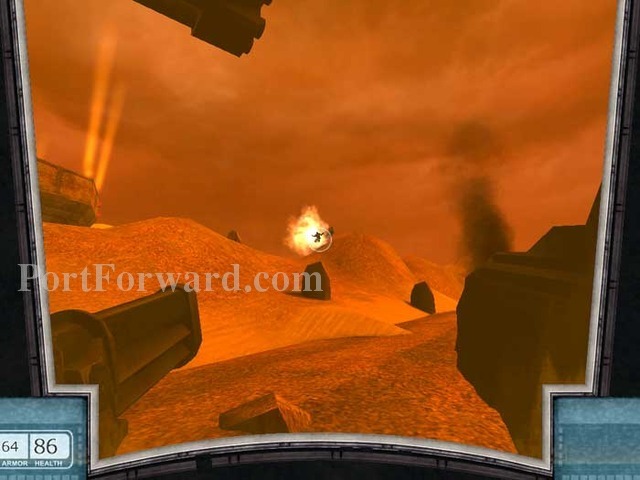
Enemies will also be spawning behind the truck. Rarely, one will drop a rocket launcher.
When you see this large crowd of enemies approaching, you're almost done.
Grenades or secondary fire from your FA-MAS will finish them off quickly.
At long last the goal is completed.
In the ending cutscene, Kabir emerges from hiding and the truck pulls out.
Chaser Walkthrough Lighthouse
Snipe these enemies as you walk around the lighthouse.
More enemies are on the cranes.
This makes a good sniping platform to clear the area below before descending the stairs.
Enter the building through this door.
Fight three gunmen inside. If you want to see everything, descend those stairs. Everyone else can skip ahead.
A single enemy is at the bottom of the stairs, then these two through this door.
Continue through the door on the right, then through this door.
In addition to two enemies, this room holds armor, a large medkit and ammo.
Backtrack upstairs and proceed through that door straight ahead.
Defeat the men inside then continue through that hole in the wall.
Hit them with your boomer before they hit you with theirs. Grab the armor under the crates before climbing to the rooftop above.
There are enemies on the catwalks above, and a medium medkit down the ladder ahead.
Time for a fierce gun battle. This would be a good time for adrenaline mode. Make your way around the left side of that building.

Enter through that opening. The ladder visible inside leads to the roof where you will find the short way -- you folks can jump ahead. Everyone taking the long way, continue through the hole in the wall next to the ladder.
Pass through the door on the right to this firefight.
Continue through the door seen here on the left. Defeat the lone gunman inside.
Fight your way through this door, grabbing the ammo from under the stairs before heading up.
Grab the armor under these stairs before ascending further.
Proceed through this door.
Blast past these three to the door seen far-right.
Drop the guard and grab the armor.
Descend these stairs.
And these. Exit to the right.
You'll find ammo to the right of those valves.
Pass through the door directly behind this guy.
Take down this guy, plus another on the right, where you'll find a medium medkit.
Climb this ladder.
Defeat the guards in here, as well as those on the catwalks above.
Climb this ladder.
Go through this door.
If you've taken the short way you can climb the roof then jump to this catwalk as indicated.
You'll find a small medkit as you follow the catwalk to this door. Jump across to the ladder ahead.

Grab the armor seen far-left before dropping through the indicated opening.
Climb into this tunnel, taking the first left.
Drop through this opening.
Take out the guards in the corridor.
Explore the various rooms for health, armor and ammo, but this is the room you need to advance. Shoot out the grate as seen here and climb in.
Ascend this long ventilation shaft.
Shoot out the grate at the top to enter this room, where you'll find heavy resistance.

Avoid the stairs. Instead, climb this ladder to the catwalk above. Pass through the door next to the ladder.
Time for adrenaline mode. You'll find guards just inside this door and on the catwalks above.
Climb the ladders to the top level.
To your left is this door, behind which you'll find armor and a grenade.
After returning, this guard has spawned. Defeat him then continue through the door ahead.
Fight your way to the door at the top of these spiral stairs.
Snare this large medkit next to these valves.
Activate this lever.
You've attracted an audience outside the door -- time to use the grenade you picked up earlier.
Fight your way down the spiral stairs.
At the bottom of the stairs is this elevator. Approach and the doors open. Enter to end the level.
There are three windows in the lighthouse. Approach this one left of the door.
Chaser signals the truck to begin moving.
The truck is marked by the arrow. Enemies will spawn in the sequence indicated. Just as in Kabir, the truck can only take so much damage before the mission fails, and unfortunately no health bar is provided.
Secondary-fire brings up the scope, your scroll wheel zooms in.
The truck changes direction, then two more enemies rush out from this alley.
The truck will run over the enemy at (1) so focus your early attention on (2) and (3).
You have time to reload now. This smokestack crashes onto the road and the truck has to turn around.
Four enemies spawn to the left, then another four after the first group is defeated.
Time to switch to the middle window.
Here is the middle window. This is another good time to reload.
Two enemies spawn here.
Five more enemies emerge in this sequence.
Two enemies rush out of this corner.
Take out the grenade launcher by firing at these barrels.
Watch out for this gunman as the truck makes the turn.
Take out these two before reloading and moving to the third window.
Five enemies spawn in this sequence.
Lastly, these four are all that's left. If you are repeatedly failing the mission, restart from the beginning. Remember that the mission fails once the truck has taken too much damage.
The truck exits left behind these buildings.
This door opens. Approach the ladder for a cutscene.
Mike Gomez (or someone who looks like him -- it's not clear) rats you out.
Climb the ladder and another cutscene shows Chaser making a rocket-powered getaway...

...into the sea.
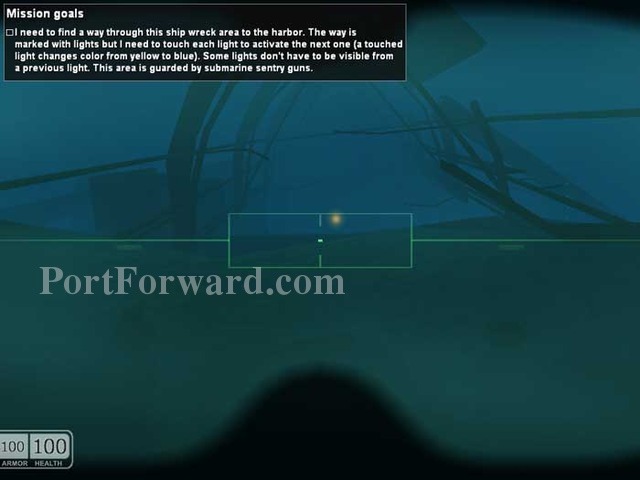
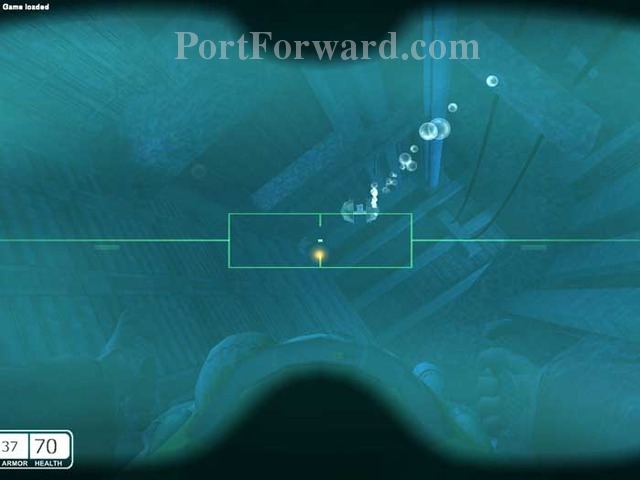
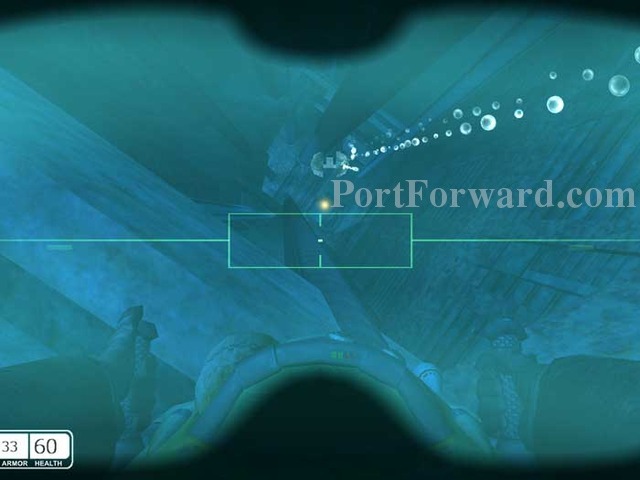
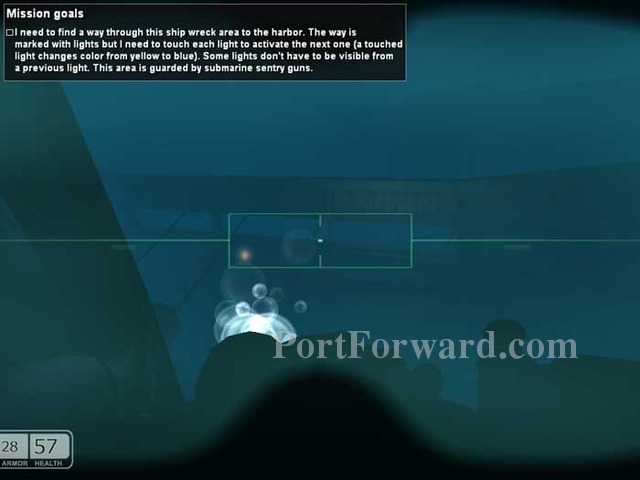
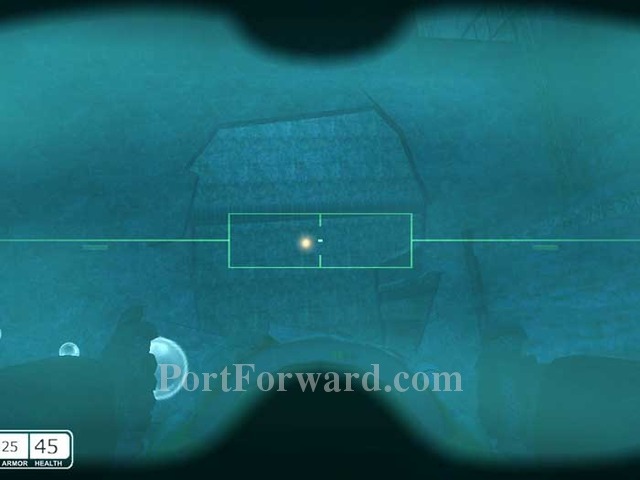
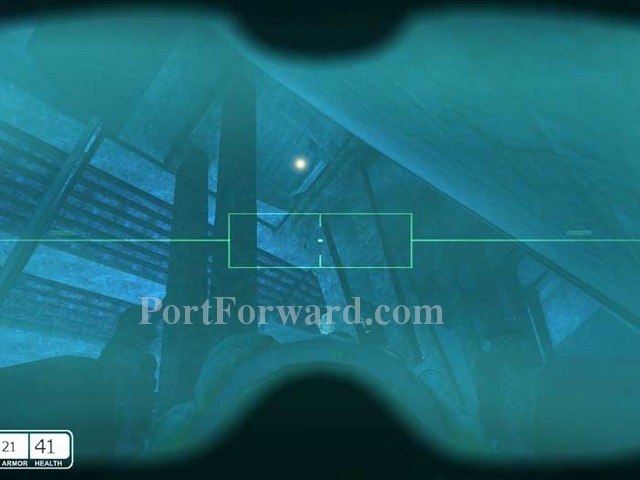
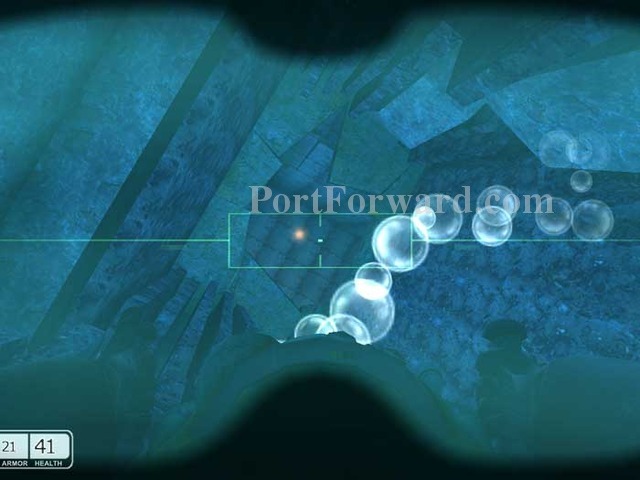
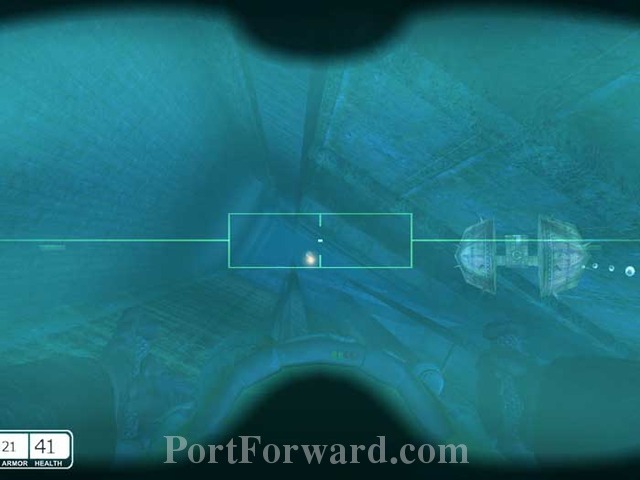
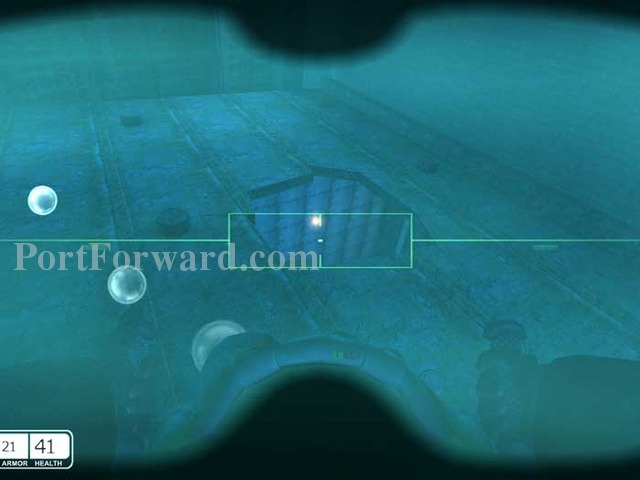
These next two levels take place inside a mini-sub. Your objective: touch all of the yellow lights.
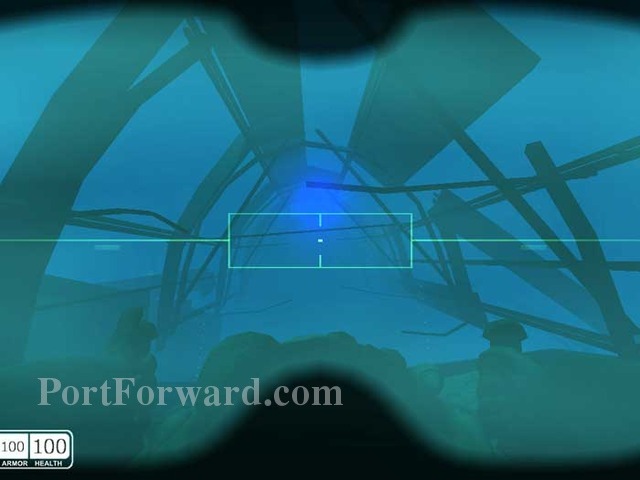
As you touch each light, the color will change from yellow to blue. The next yellow light in the sequence will then shine.

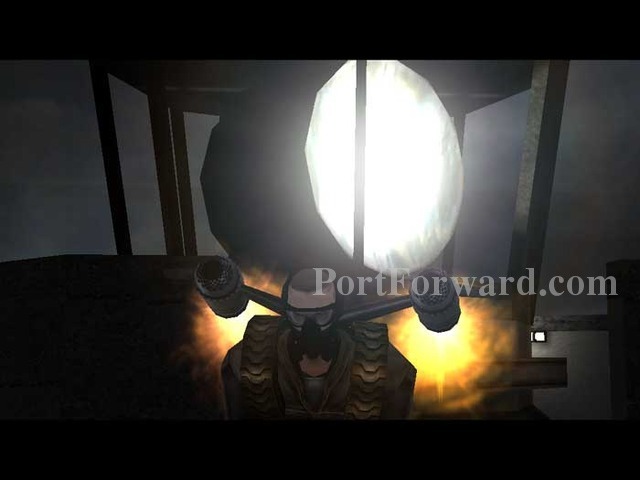
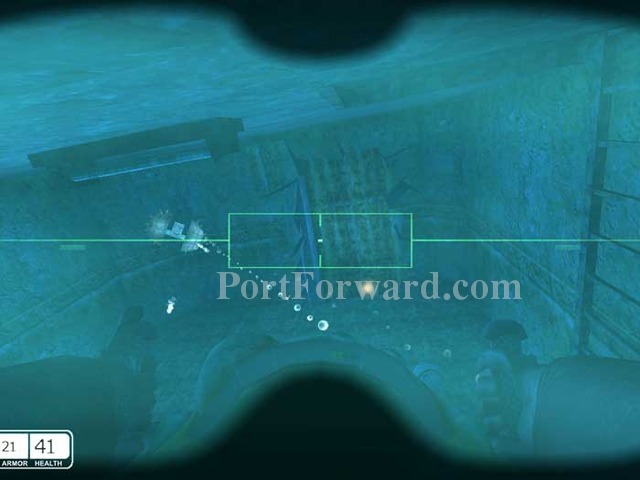
Sentry guns such as this stand in your way.
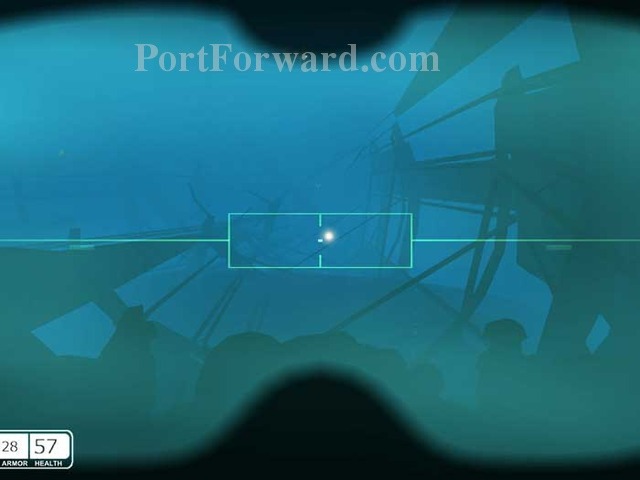
Here's light #2.
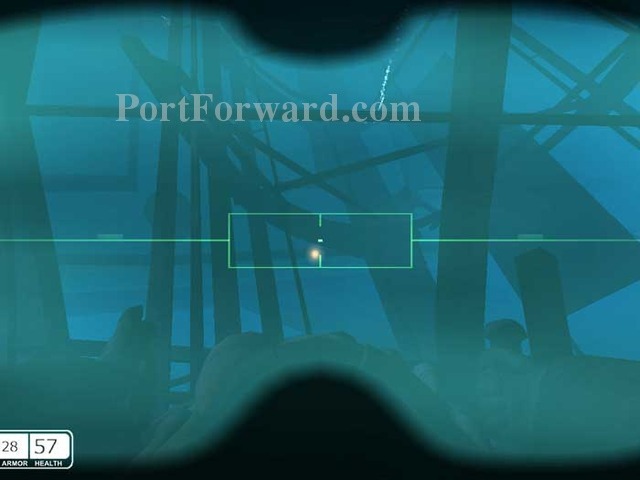
Light #3.
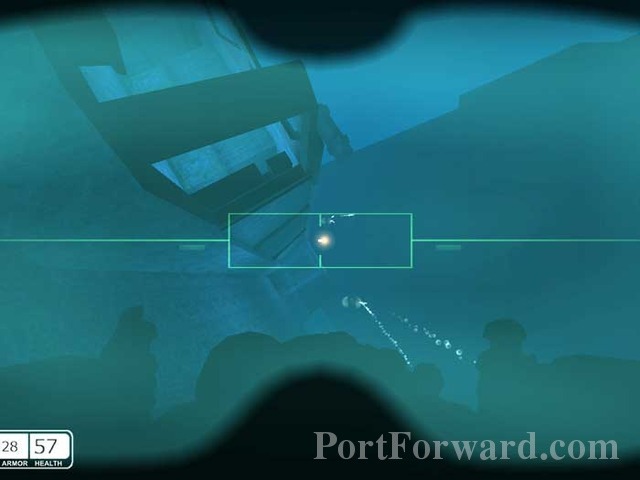
Enter the ship to touch light #4.
Follow the ship's corridors here to light #5. Don't worry about shooting the sentrys -- just keep moving.
Go down the ladder to light #6.
The room next door has light #7.
Down another ladder to light #8. This area is very disorienting -- a compass would have helped a lot.
Light #9. The sentrys are thick as thieves in here.

Light #10.
Light #11.
Straight ahead and down to light #12.
Light #13.
Exit through the hole behind light #14 to end the level.
Here are the second pair of lights. Light #1.
Light #2.

Light #3.
Light #4.
Light #5.
Enter the ship and head below to find light #6.
Light #7.
Light #8.
Light #9.
Continue through that hole above light #10.
Through a door and another hole to light #11.
Through a larger hole to light #12.
Light #13.
Light #14.
Light #15.
Exit through this hole to end the level.
Chaser Walkthrough Harbor
After you enter through the gate, there are two soldiers in each of the three rooms on the left. The farthest room has armor. Shoot out one of the windows on the right and jump-crouch through.

Clear out this dock area (including the sniper tower above) before entering through this door.
You'll find heavy opposition inside. That room ahead has a single soldier but provides good shelter once he's dispatched. Note the medium medkit on the left. Armor is behind some crates on the right. Climb the stairs.
Search the area for supplies before passing through the door near the top of the stairs. Climb this ladder.
Soldiers await atop these air vents. Clear them out.
There's also a sniper tower as well.
Step down to the roof below and drop through the indicated air vent.
Activate your night vision and crawl through the vent.
Descend this ladder.
Fight your way through this corridor. Activate the green control panel to pass through the door ahead.
Fight your way down this corridor and hang a right at the end.
Continue through this door.
Collect supplies in this room, including a large medkit, armor and ammo. Climb the ladder.
Prepare for a firefight before proceeding through the door on the right.
Defeat two soldiers behind these crates.
Your sniper rifle makes short work of these two -- the soldier in the tower is lobbing grenades your way.
Proceed further down the dock, fighting your way to that corner office.
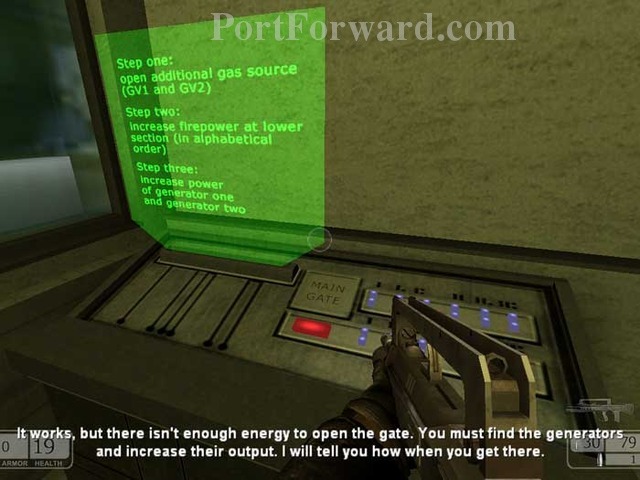
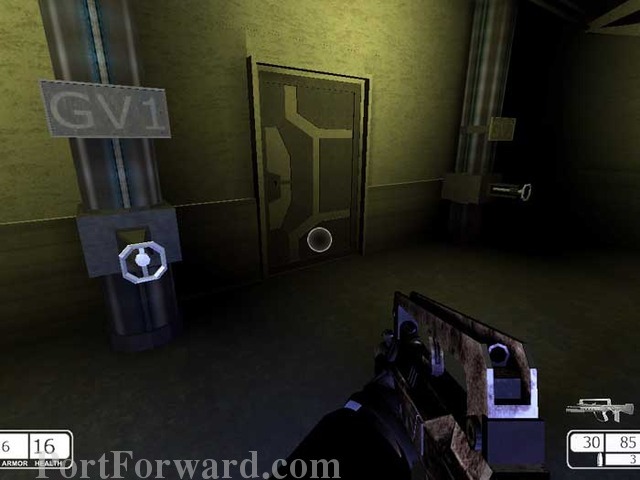
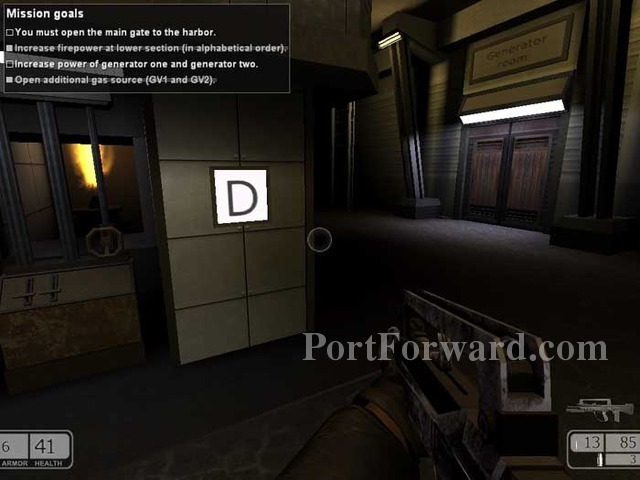
Activate the main gate switch and your mission goals are updated: open additional gas source (GV1 and GV2).
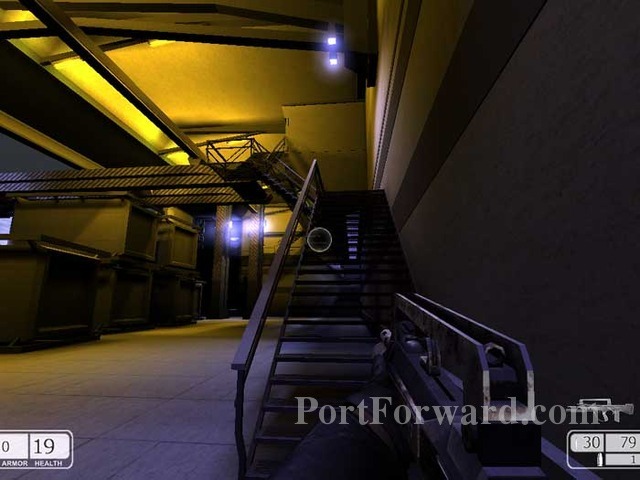
Climb these stairs.
Defeat these guards and search this room and the room below for supplies before descending the stairs ahead.
Continue through the door on the right.
Defeat these two guards, then descend the ladder to the immediate right.

Grab all the supplies you need.
Backtrack past the main gate control room to the indicated elevator.
Defeat the guards and pass through the door directly ahead.
This large firefight ensues. Hold back at this corner and let them come to you. Advance to the crates ahead to take out the stragglers.
Shoot the wooden board blocking this door.
Continue through either of these wooden doors.
Fight your way to identical wooden doors across the room.

Activate the green panel to proceed through this door, and another just like it ahead.
You've circled back to this position, but because you've shot this board, you can now proceed through the indicated door.
Continue through this door to the left.
Pass through the door at the top of this long ladder.
Ready for a fight before descending this ladder.
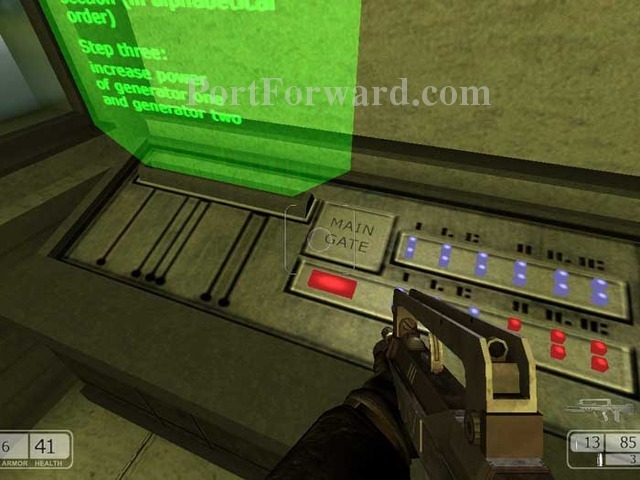
As you fight your way to the bottom level, Kabir instructs you to turn two valves.
Turn both valves and your objectives are updated: increase the flame controls in alphabetical order.
Ready for a fight before descending this ladder behind you.
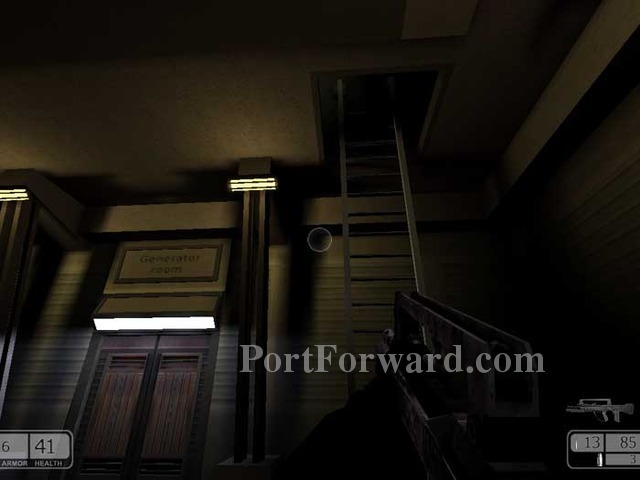
Defeat the guards before turning these valves in alphabetical order. Kabir instructs you to increase the output of the generators and return to the gate. Enter the generator room seen here on the right.
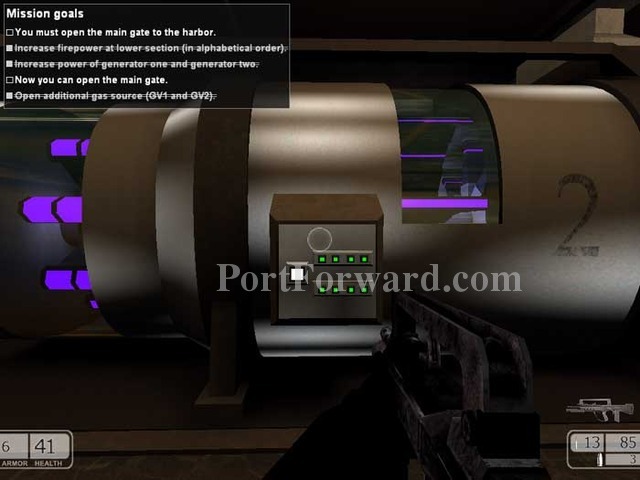
Activate the panel on both generators to complete the goal.
Backtrack up this ladder.
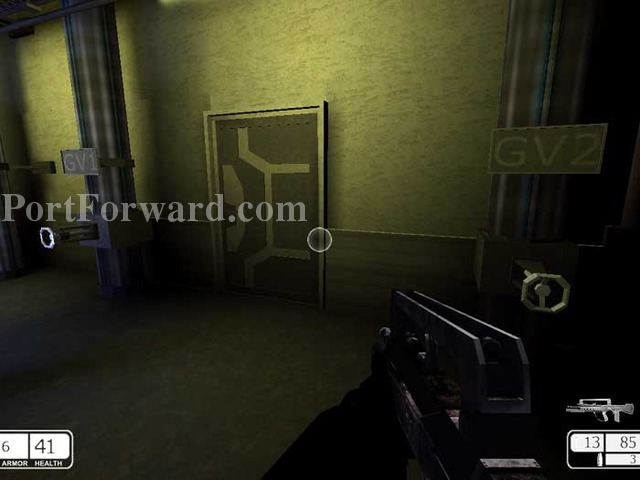
Go through this door between the valves.
Exit out this door to the dock outside.
Walk farther onto the dock to initiate a cutscene.
Ambush! Tommy, the new head of the Family, is determined to kill you.

You don't have to defeat the Family here. In fact, I never fired a shot. Just make your way to the main gate control room.
Activate the main gate control.
Kabir thanks you in the ending cutscene, then the submarine is loaded and it sets sail.
Chaser Walkthrough Anadyr
Hold back and snipe as many guards as you can before advancing.
Your exit is a door behind those crates in the far-left corner.
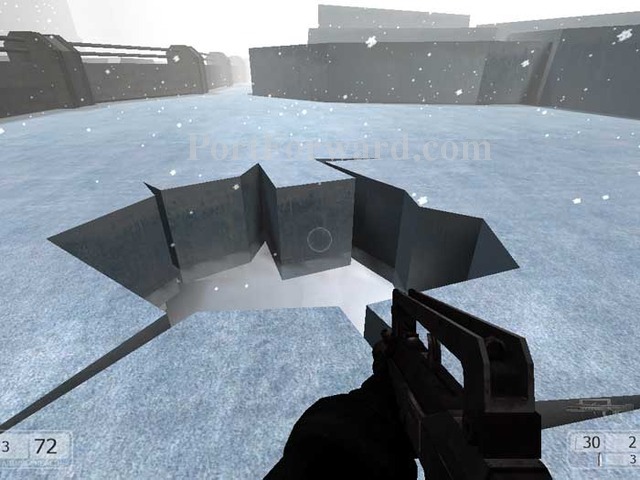
Jump into this ice hole.
Swim into this intake.

Surface here and jump through that hole in the wall.
Fight your way along the corridors through this door.
Throw this switch to activate power before continuing through the door.
Continue up those stairs.
Fight your way through this room where you'll find a medkit and this door on the left.
Lots of enemies out here. Watch for snipers on the walkways above.
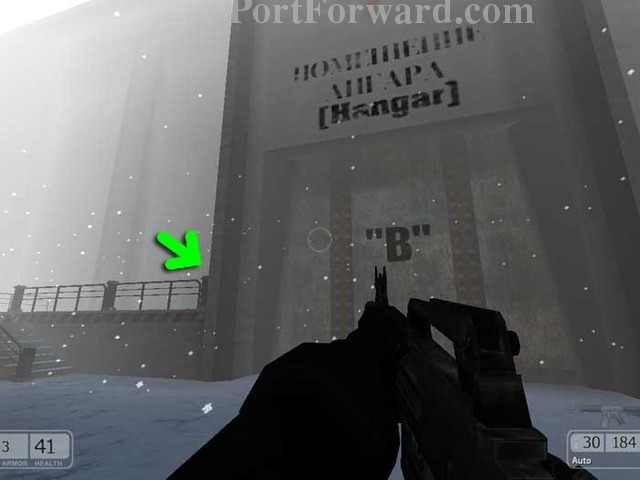
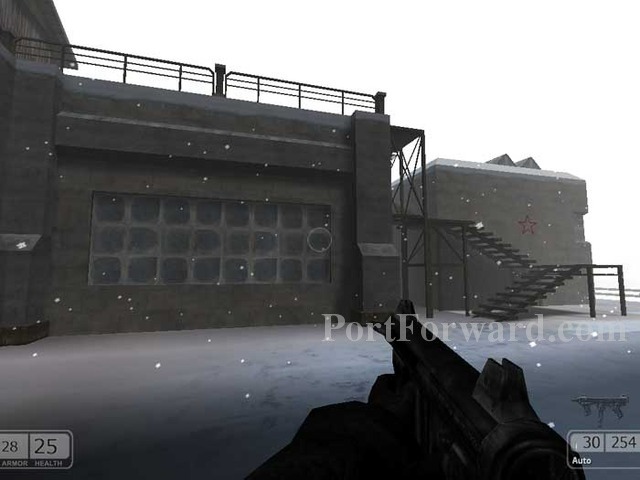
Here's the hangar. Activate the switch where indicated to complete the goal of opening its doors.
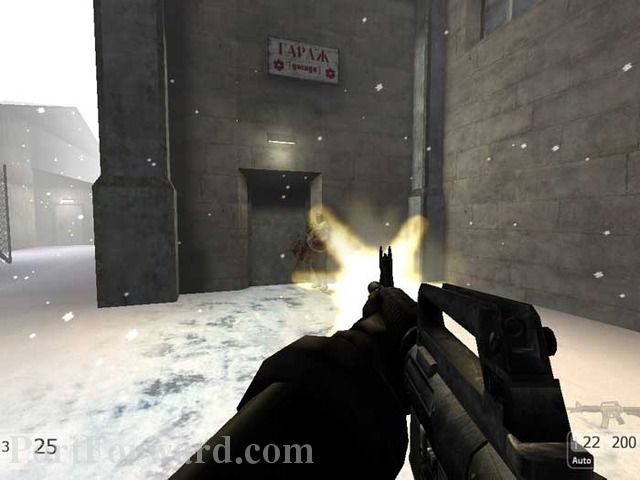
Follow the road a short distance to the garage entrance.
Secondary fire from your FA-MAS clears the area. Continue to the right.
Here's the car. Approach to update your mission goals. Be careful as there is a soldier underneath.
Grab this medium medkit before exiting the way you came.
Fight past the newly-spawned enemies to this position next to the hangar. Climb the stairs.

Enter here.

Corridor (1) leads to rooms which hold more enemies and supplies, plus a spiral staircase. Corridor (2) is a direct route downstairs. Your choice.
Fight your way to the indicated door.
Here is the part you need, next to a medium medkit. You'll hear the muffled sounds of a man banging the walls nearby.
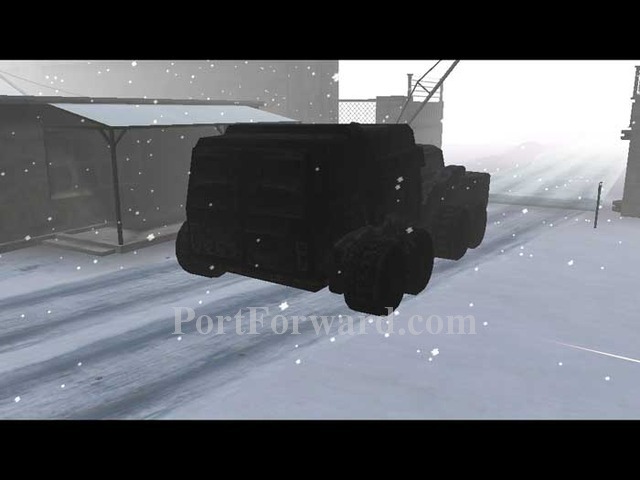
Return to the car and a cutscene shows it driving from the garage to the hangar.

Your mission goals are updated: unlock and open the gate. Proceed through this door.
Be ready for this guy waiting just inside.
Fight your way upstairs and through this red-lit corridor. Note the medkit on the floor ahead.
Use your sniper rifle to take out enemies below the catwalk from a distance.
Advance through this door.
Your Winchester is good for getting up close and personal with these first few guards.
Then switch to your sniper rifle to take out the guards farther away.
Drop below, then climb these stairs all the way to the top.
Fight your way along the catwalk, then snipe the guard through this door.
The second guard can kiss your Winchester.
Inside this room you can find health, armor and ammo. Most important is this gate switch. Activate it to update your goals.
Leap over the railing to the bottom floor below.
Use the door seen on the left to trigger the ending cutscene.
The truck leaves through the now-open gate under a hail of bullets.
Chaser Walkthrough Novyy Yeropol
Head left and snipe the guards that'll be there. Continue across this bridge. The music here sounds awesome in headphones.

The path splits and merges in several places, but you'll eventually come to this snowman. His nose points the way.
Follow this chopper to a firefight up ahead.
The snow swirling around these lights is a nice effect.
Climb this beam to jump over the wall and update your objectives.
Fight your way inside the base to this console. Use it and the light changes from red to green.
The battlements above will assist in clearing out the area outside.
Pass through this now-open gate.
Drop through this hole on the right.
Grab this medium medkit.
Continue through the door at the top of these stairs -- beware of a gunman directly above the door.
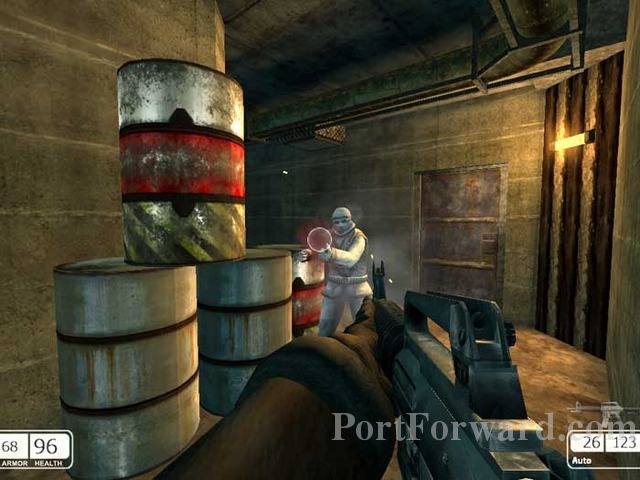
The toxic vapors will drop these two. Stay back, or you'll succumb as well.
Climb these stairs.
Clear the area of enemies. There are lots of dead ends around, but this door is what you want.
Snipe as many guards as you can through this window before entering the stairwell ahead.
Take out these guards then go up the stairs.
Activate this middle panel to unlock the main gate. Descend the ladder to the right.
Approach this door and it slides open.
After a brief firefight, climb these stairs, continuing through the indicated doorway.
Climb this ladder and head outside.
You'll notice that the beacons have turned from red to green. The music here is very Dr. Zhivago.
Approach this gate and it will open automatically.
Pick off the surrounding troops. Note my low health -- this area is a bit of a challenge.
Enter this small building.

Activate this console.

Lastly, activate this switch.
The switch changes from red to green and the ending cutscene plays.
Kabir betrays Chaser, shooting him.

You awaken, alive and recuperating thanks to an old Russian.
He explains that a mysterious man had chased away Kabir and given you an injection. After you leave, another mysterious man shoots Yevgeniy.
Yevgeniy had sent you to find his son in this labor camp.
Take out the surrounding guards.
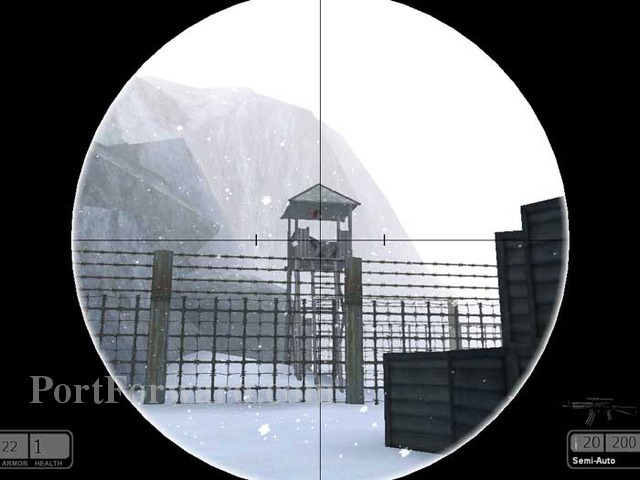
There are a number of guard towers like this -- snipe the snipers before they snipe you.
Here's your destination
Use this door to load the next area and end this very short level.
Chaser Walkthrough Gulag
Continue up these stairs.
Go down these stairs in the neighboring room. Fight past those guards through the gate up ahead.
Access this computer to update your mission goals. Note the health on the left and the armor on the right.
Piotr is in cell block A. You can continue to block C or B, but if you choose B you'll get a large medkit.
You'll find the medkit here on the right.
The door on the left leads to blocks C, then D and A. Instead, climb the stairs ahead for a more direct route to block A.
Fight your way around this corner to the A block cells up ahead.
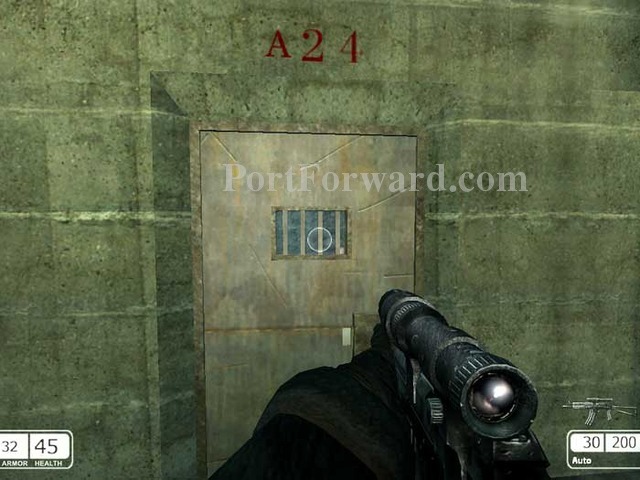
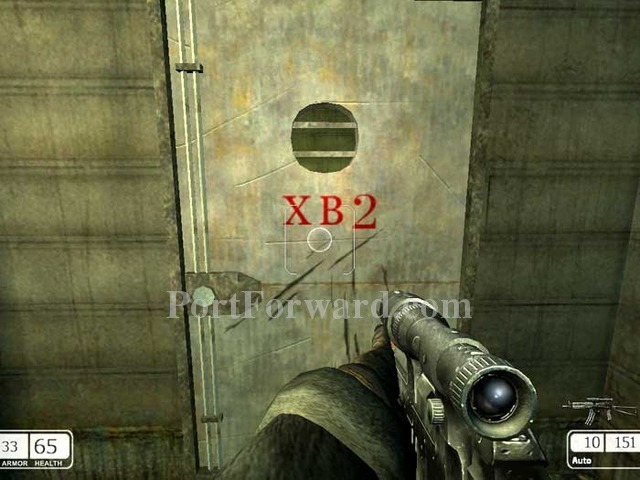
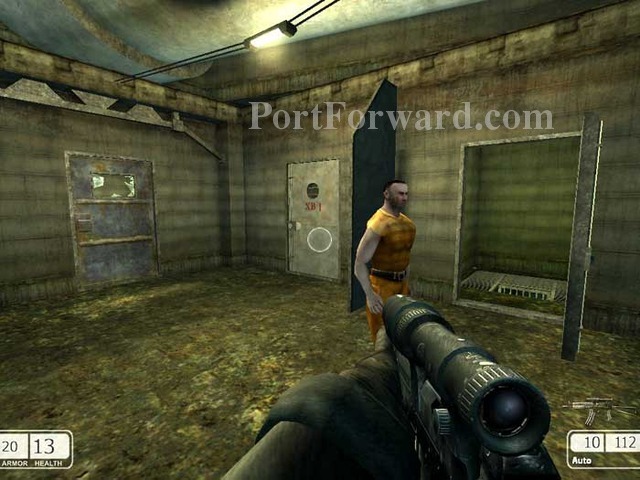
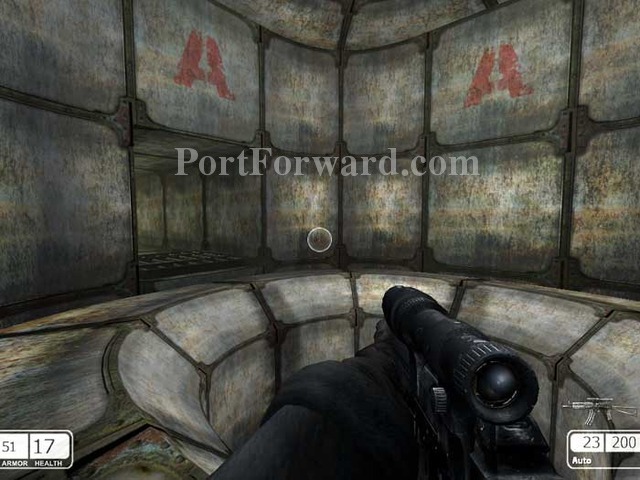
Here's the cell you want - A24. Open the door to initiate a cutscene.
Piotr has been transferred to cell XB2 for punishment. You're told to look in zone 12.
Descend the stairs on the right before continuing through the gate on the left.
Grab the medkit on the right then pass through this door.

Head downstairs and fight your way past the guards. Ouch.
This is the corridor you want.
Open this door to initiate a cutscene.
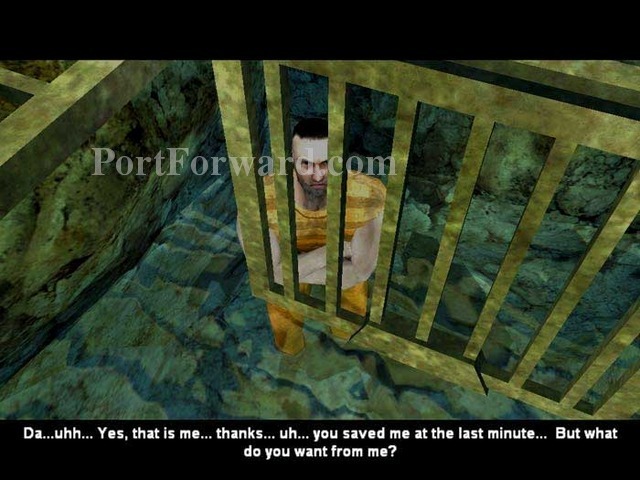
You've found Piotr -- time to make a break for it.
Yippee an escort mission. Backtrack through that door on the left.

Ascend these stairs. Piotr will only follow you if you choose the right direction.
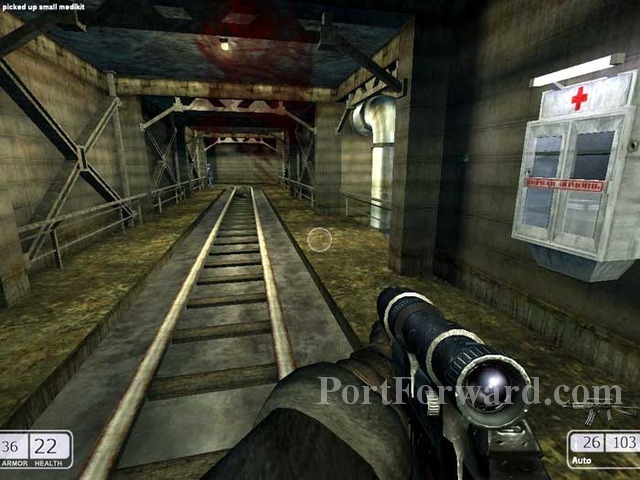
Fight your way to these train tracks. Grab the medium medkit on the right.

Descend to the lower level. Small temblors rock the cavern.
This explosion causes a small cave-in, blocking the tunnel ahead.
Backtrack here and another explosion opens up this tunnel.
Snipe the guards ahead.
Use the switch on the right to call an elevator above.
Activate the elevator switch to ride it down and end the level.
Chaser Walkthrough Spaceport
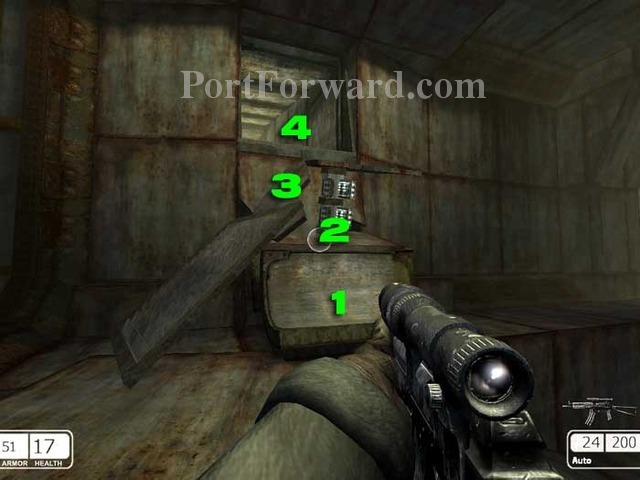
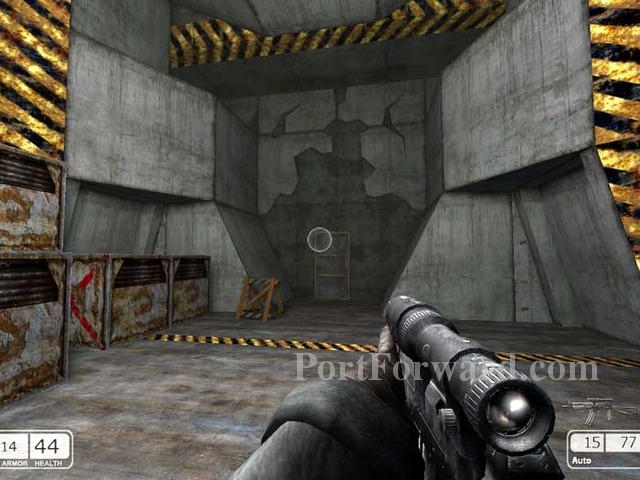
Descend the ramp and continue through the opening ahead. Jump by numbers. Just be sure to jump-crouch to (2).
Continue through the open doorway on the right. Note the ladder in the fan pit in case you fall in.
Follow the tunnel to the end, where you'll be able to knock over that grate on the left.
There are a number of short dead-ends in these tunnels. When you get here, continue through the grate ahead, avoiding the long dead-end on the right.
Continue down the ramp marked "B" straight ahead.
Exit the shaft then drop into this tunnel on the right.
Exit the tunnel through the opening seen on the left. Climb into the pipe on the right through an opening just off camera.
Exit out this break in the pipe to your left, and onto that beam.
Follow the arrows to climb to the surface.
You'll be met with immediate resistance so ready for a fight as you exit.
Fight your way to this position. Jump-crouch to (1) then jump to (2).
Climb through this opening in the fan. A gunman is just inside the opening so be careful.
Climb down that ladder on the right.
Defeat the lone gunman then proceed to the opposite side of the room.
Drop through this hole below.
Snipe the many guards on patrol.
Drop to this rock column then continue to the ground below.
Pass through this opening.
Snipe the guards blocking your progress.
An old rocket rusts away in the center of this area.
Climb one of these ladders.
Climb this rubble.
Leap to this ladder. A few jumps will get you to the top.
More resistance up here.
Jump onto this rubble to the ledge ahead.
A running jump will take you safely from the rubble ahead to the ledge beyond.
Hop into this vent.
Fight your way further into the cosmodrome.
Activate this console and the light changes from red to green.
Follow this lift as it moves in front of this grate.
Climb these nearby stairs.
Proceed through this corridor.
Take this hallway on the right.
Knock the grate out of the way and step onto the lift.
Activate the lift and ride it to the neighboring room.
Snipe the patrols below.

Climb down these crates and approach the green light ahead.
Use the console to activate the train. Ride it to the other side of the cosmodrome.
Exit the train to initiate a cutscene and update your objectives -- kill Kabir.
Take cover immediately. Turrets like this and many gunmen are protecting Kabir.
Use the crates for cover and snipe Kabir's henchmen.
Down here you'll find two medkits, two armor vests plus grenades and ammo.
This is a well-fortified position. Hold tight and eliminate the enemy as he comes to you.
Take shots at Kabir when the opportunity arises.
A few well-placed grenades will take out these fortified turrets.
Lastly, finish off Kabir. Here I bring him down with more grenades.
Open this door to initiate the ending cutscene.
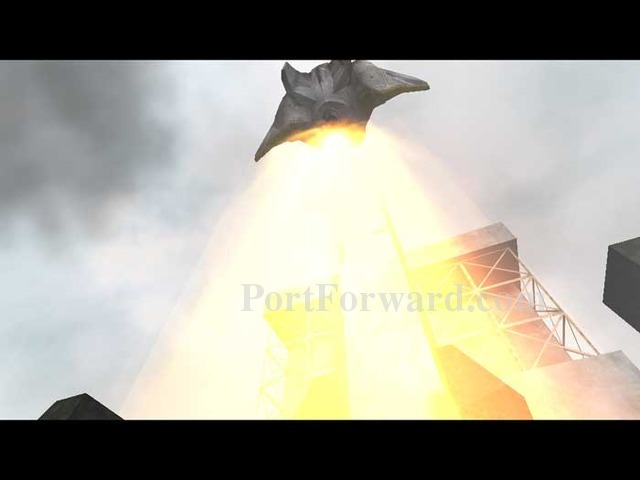
The shuttle blasts off the launch pad and you are on your way to Mars.
Chaser Walkthrough Mars Spaceport
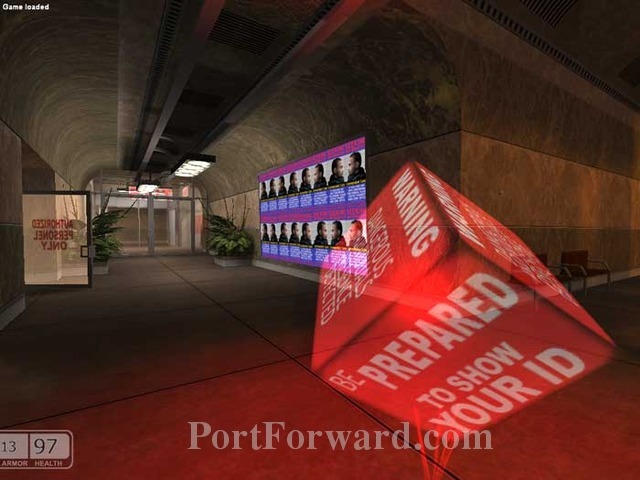
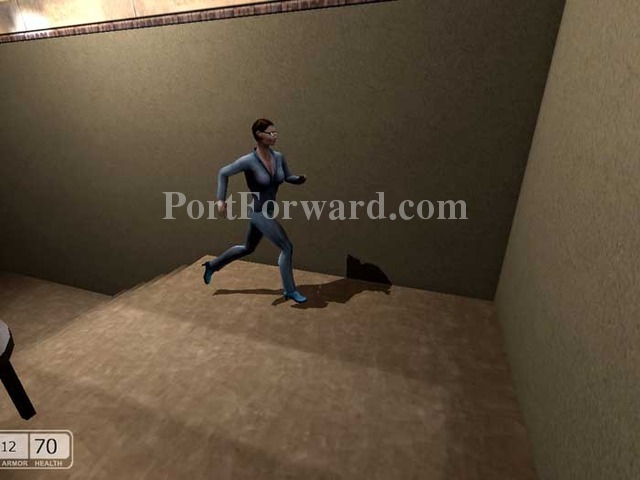
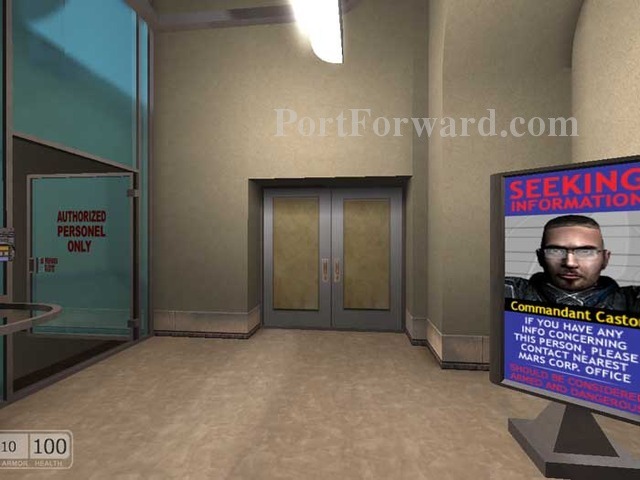
You arrive at Mars, but are immediately pursued by Martian authorities. You have no weapons. You must run. Start by going through that "Authorized Personnel" door on the left.

Through this door on the right, then the next door on the left.
Descend these stairs then take the door on the left.
Keep right.
Use the door on the right.
Run down these stairs.
Run all the way to the bottom of the stairs. You'll pass many hysterical women here -- very funny.
Continue through these doors, then through the second door on the left.

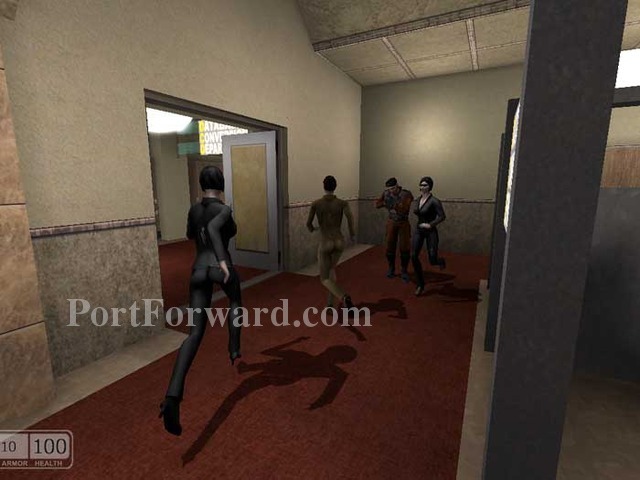
LOTS more screaming. Continue through the door far-right.
Run into the smoking room. Grab the medium medkit on the middle chair then exit out the doors on the right.
Go through the "Authorized Personnel" door and descend the stairs.
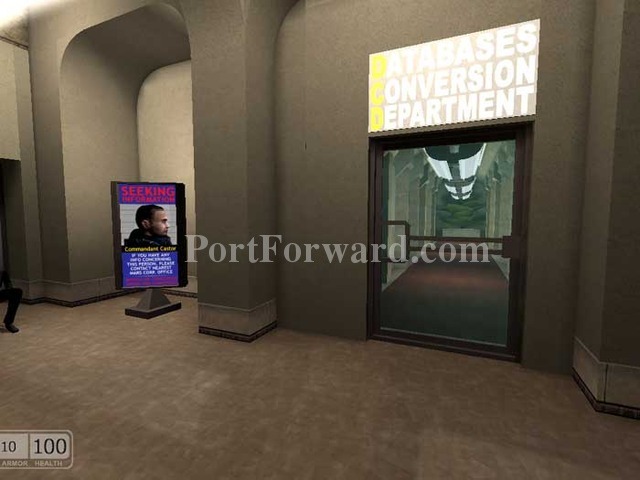
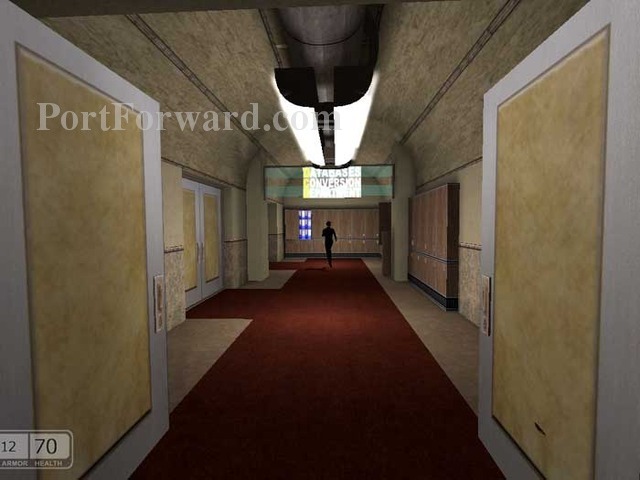
Exit out the Database Conversion Department door then continue through the door far-right.
Avoid the guard seen here as you charge out this door.
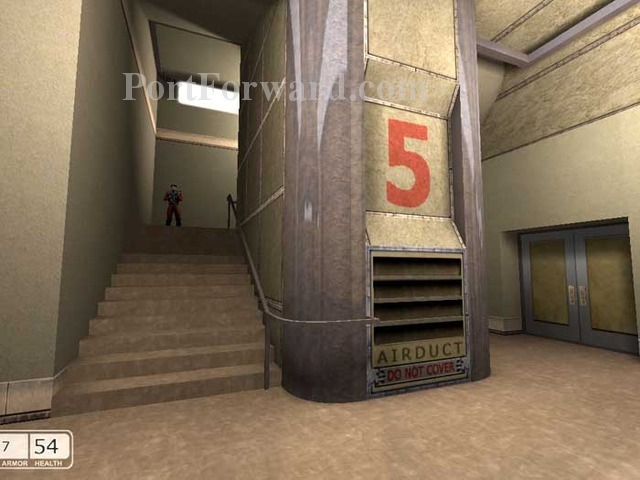
DON'T go up the stairs. Instead, go around the air duct to the right.
Exit out this door.
Drop below to end this level and load the next.
You drop onto a guard and take his pistol.
You can also pick up a Beretta R2 once you drop these guys.
This is an open area that can be traversed multiple ways. You'll want to ultimately proceed through that door ahead.
Several gunmen are waiting above.
Proceed to this difficult firefight. Do your best to take cover and isolate one enemy at a time.
Upstairs you'll find the large medkit seen by the door.
Jump as indicated onto a moving crate.
Hop over these horizontal beams so that you are not pushed off the crate.
Battle the guards up ahead and prepare to jump off where indicated.
Take out all the guards in this area.
You'll find medkits here.
Activate the console (1) then the console (2) to extend the bridge (3).
Cross the bridge and defeat the newly-spawned enemies. Activate this yellow panel on the right and a crane moves a barrel into place. Shoot the barrel as seen here to cause an explosion which will clear the way through those crates.
Note the medkit on the left; climb the stairs on the right.
Clear out the area of enemies then proceed through the door on the right.
Continue through here.
The large medkit on the right is always here.
Continue through this door labeled, "Processing".
Take out the guards in this room before passing through the door on the right.
Turn left and keep a safe distance from the barrels before shooting them, clearing out the corridor ahead.
Repeat on this corridor to the left.
I guess this guy was sick the day they taught the lesson about hiding behind explosive barrels.
Note the medkit here.
Continue through this door.
Take out the lone guard (visible on the stairs to the left) and grab the small medkit seen directly ahead.
Continue through these two doors.
Stay right then climb this ladder.
Take mild damage by walking through the vapor then turn this valve to stop the flow.
Climb the next ladder and fight your way to these leaking pipes.
Fight your way up these stairs to the right of the leaky pipes. (A medium medkit can be found further to the right of the stairs.)
Drop below and turn both valves.
Return to the leaky pipe area and find it clear to drop below.
Fight your way through this door.
Turn the valve on the left, allowing you to climb the ladder on the right.
You'll come to this room with lots of guards. Be especially careful of the guards on the catwalk above.
Climb this ladder on the opposite side of the room.
Continue along the catwalk ahead.
Drop to the floor below.
Approach the exit sign to initiate the ending cutscene.
In the cutscene, Mike Gomez fires a tranquilizer dart into Chaser.
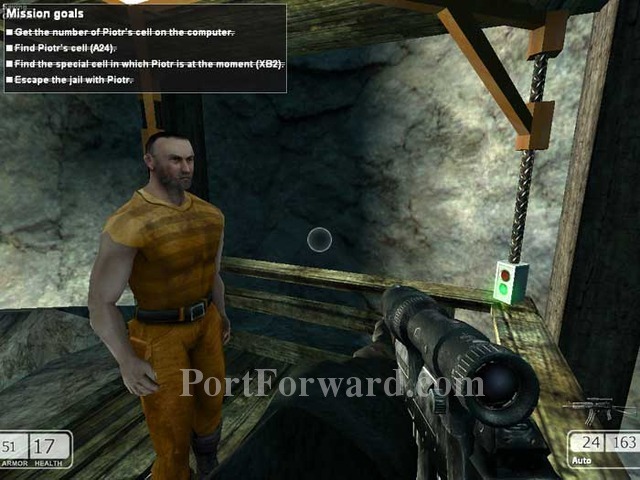
Chaser Walkthrough Jailhouse
Jay is either none-too-bright or he's helping your jailers -- it isn't entirely clear which.

Follow Jay out of the cell, staying as close as possible.
When Jay pauses, as seen here, pause with him.
Follow Jay through this access panel.
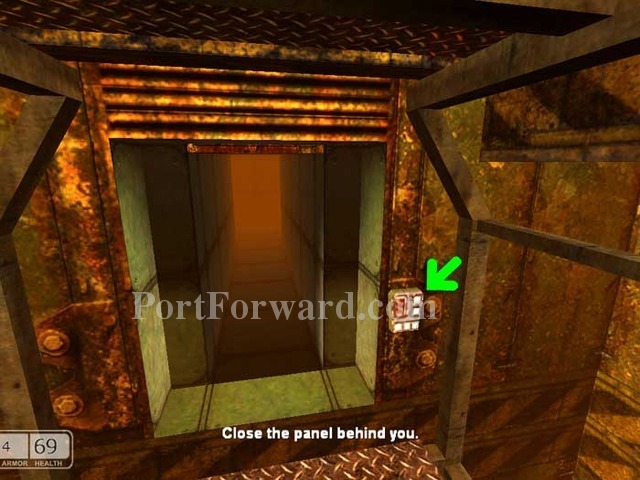
Use the indicated switch to close the panel. The lift will carry you down without Jay.
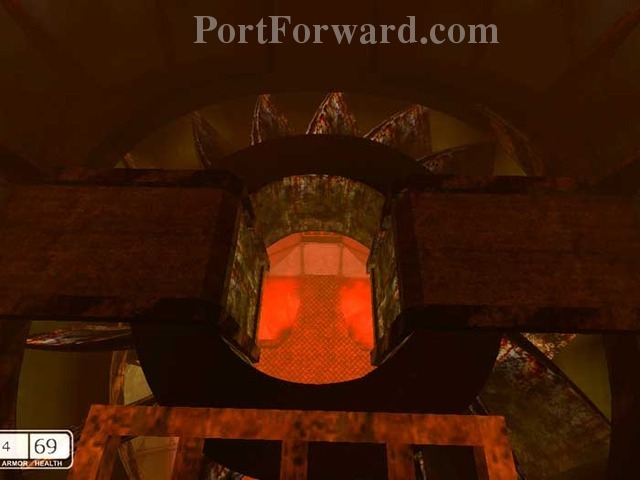
Crawl through the ventilation shaft then drop through here.
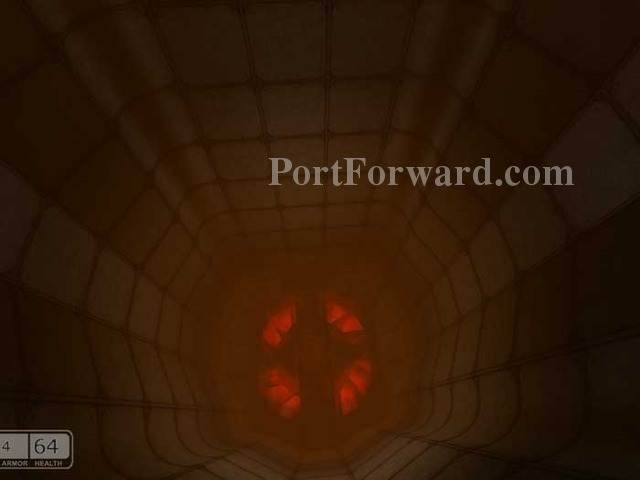
Further into the shafts you'll make this leap of faith. The updraft will allow you to drop softly.
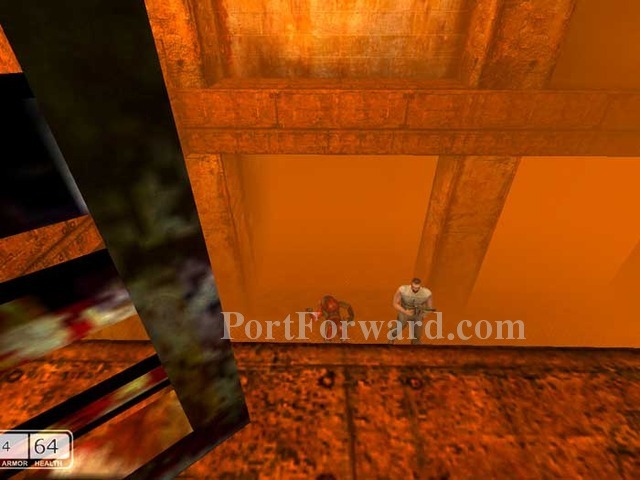
Exit the vents and drop to Jay below.
Resume your pattern of following Jay. Walk when he walks, run when he runs, crouch when he crouches.
Wait here while Jay takes out another guard. When Jay returns, approach him and he'll resume.
Jay takes out another guard. Grab the Beretta and use it on this guard.
You'll have to take the lead through this next bit. Jay will hold still until you clear the path of guards ahead. Don't venture too far though or you'll set off an alarm and end the mission in failure.
Take out these guards then follow Jay up the stairs where you'll find more resistance.
Help Jay take out these guards. You're shooting, yet no alarms are sounding. This is very confusing. Is it a stealth mission or not? And who is escorting whom?
Jay won't continue until you take out this guard at the bottom of the stairs.
Follow Jay to this control room.
A brief cutscene plays.
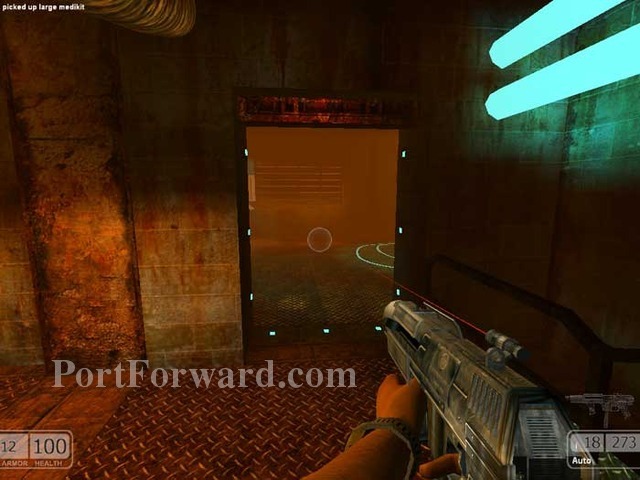
Grab armor and health back here.
Hold off the guards while Jay works the computer.
Another short cutscene.
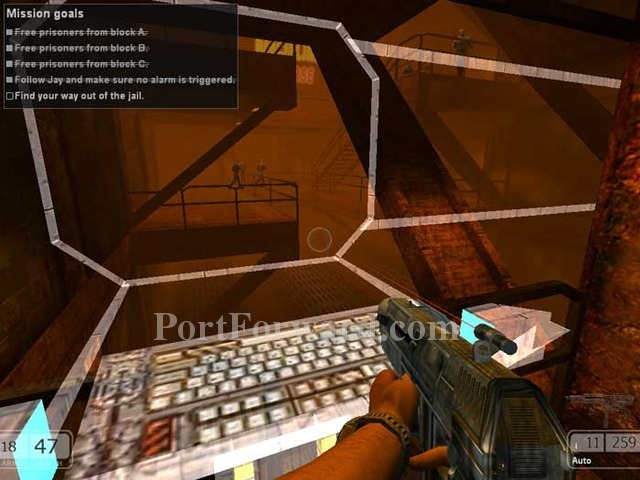
Your objectives are updated -- free prisoners from cell blocks A, B and C. The force fields are down and you can now exit the command center.
Go upstairs. You'll know that you're on the right path when you meet more resistance.
Watch for enemies spawning behind you. Descend the stairs on the right.
Turn right then continue down these stairs.
Don't miss this medkit on the right.
Go up the stairs seen on the left then go down the stairs seen on the right.
The control rooms for cell blocks A, B and C are as indicated.
Inside each is an armored trooper.
Activate these consoles to free the prisoners.
Return upstairs and activate this now-working switch to open the door.
Fight past these two. A large medkit is around the corner to the left.
To the right is the command center where you had left Jay.
Jay is gone, but this message on the computer tells you to exit out the left door.
Here's the door. Continue through the corridor to end the level.
Fight your way along the corridors and down these stairs.
Through a door on the left you'll find this armor and large medkit.
Return upstairs and fight your way down the stairs seen here on the right. The prisoners you just freed will also attack you -- go figure.
Drop through this opening.
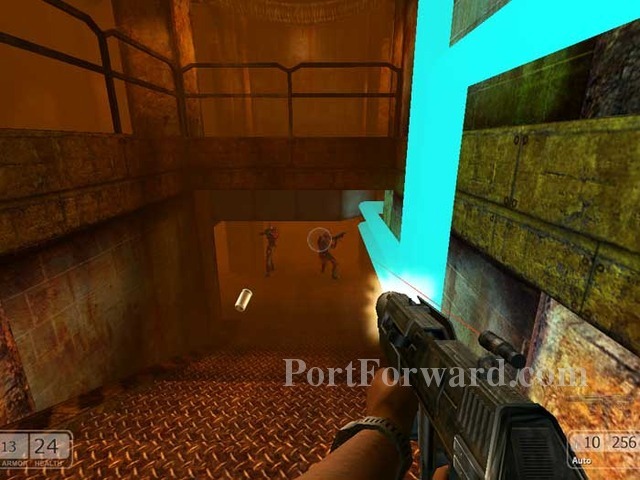
A battle rages above between the guards and the prisoners. Continue through here.
Guards fall down this shaft. Climb the ladder far-right.

Climb the bars to the ladder upper-left.
Hold position here and lure the enemy into your crosshairs.
Fire on these two gun turrets while their firing sequence is winding down.
Head left to these two large medkits. Descend the ramp ahead.
Note the health and ammo on the left.
Fight your way farther down the stairs.
Destroy these turrets whenever you can get a clear shot.
Keep an eye out for newly-spawned enemies above.
You'll find a medkit in this crate under the stairs.
Another medkit can be found here. Continue through a door behind those stairs ahead.
Head through this door.
Drop below.
Drop through here.
Approach this passage to load the next area.
Climb through that opening above.
Defeat these guards and the prisoners beyond. Note the medium medkits on the left.
Snipe the snipers above.
Climb onto a crate to get a bead on these two, then jump over the crates to the other side.
Another medium medkit can be found here.

Armor, health and ammo can be found far-right. Descend the stairs on the left.
Shoot down this flying - whatever it is. Grab the large medkit on the left. Continue to the right.

This area is pretty cool. Up ahead is armor and a medium medkit. Go right to find ammo and a large medkit before heading left.
Destroy that turret and another just like it ahead. Armor and a large medkit are up the ramp on the left.
A large explosion and then more flying monkeys attack the prisoners.
The deck above knocks out this pathway. Grab the armor and large medkit on the left.
Turn around and it really hits the fan.
Ramp up this debris, conveniently delivered by the explosion.
Turn left at the top then ready for a fight as you enter that door on the right.
Eliminate the opposition then jump over that railing to the floor below.
Climb these stairs.
Ride this lift up.
Step off the lift to initiate the ending cutscene.
Chaser and Jay are reunited.
And they drive off in this very cool police car.
Chaser Walkthrough Military Depot
This is the area most aptly identified by the box's "Fight your way through hell" statement.
Keep moving. Don't bother to fire upon the enemy, just do your best to dodge their fire.
This really is a spectacular sequence. Your objective is the open door seen here on the left.
Once inside, clear the area of hostiles then hunker down and wait for your buddies to close the door.
Armor and a large medkit can be found here.
Follow your comrades through the newly-opened door. Otherwise, you'll be caught up in an explosion.
You'll want to take cover immediately. I recommend holding up behind one of these pillars and picking off the hostiles as they approach.
Crouch and advance under these grates then pop out and fire at the drop turret ahead. It takes quite a few shots to destroy the turret so be patient.
Clear the area of any remaining hostiles. Continue through this door.
Activate the red panel seen here on the right to update your mission goals.
Advance through the corridor ahead, where you can enjoy a view of the rocket's red glare.
Fight past the guards through another round door and up these stairs. Note the large medkit on the left.
Your sniper scope comes in handy here.
Continue through the door on the right. The door on the left will short out.
Turn right and fight your way to this position. Inside the lounge you'll hear dance music and find a large medkit and armor. The room to the immediate left holds some ammo and a solitary guard.
The room to the left of that holds the security card you need. It's that blue rectangle on the floor.
Search the rooms to the right for supplies, including this one with a medium medkit far-right.
Backtrack past where you turned right and instead continue left. Fight your way through more guards, including this big guy.
More guards will fire from behind the debris on the left. Continue through the door on the right.
Lots of guards in here, and a medium medkit in the center of the room.

Head into the armory. I guess the British spelling dominates in the future.
Lots of goodies in here. Help yourself.
Big guy has spawned outside the armory but he's very slow. Hide behind a pillar, pop out and get in a few shots then repeat.
Up ahead is this blue panel. Use your security card to unlock the door.
Downstairs you'll find more guards and an automated turret. Upstairs is the command center and this medkit.
Enter the command center, shoot out the ceiling turret, then toss a grenade onto both of these energy devices. The force field blocking your path is dropped.
More turrets ahead. They shoot in burst mode, so fire at them between bursts.
There are two turret-protected command center doors. You want this one on the left.

Activate this keyboard to initiate the ending cutscene.
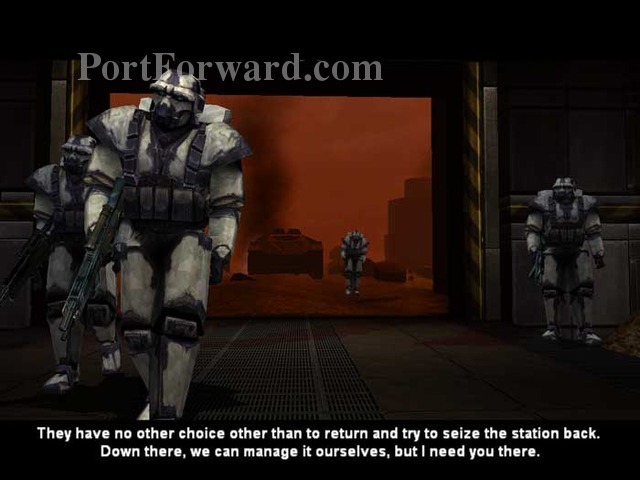
Your comrades capture the depot, but you will have to hold the fort as an attempt to recapture the station is impending. They mention something about an exoskeleton.
You've been outfitted in an exoskeleton -- sort of like a mini version of a Herc from Starsiege.
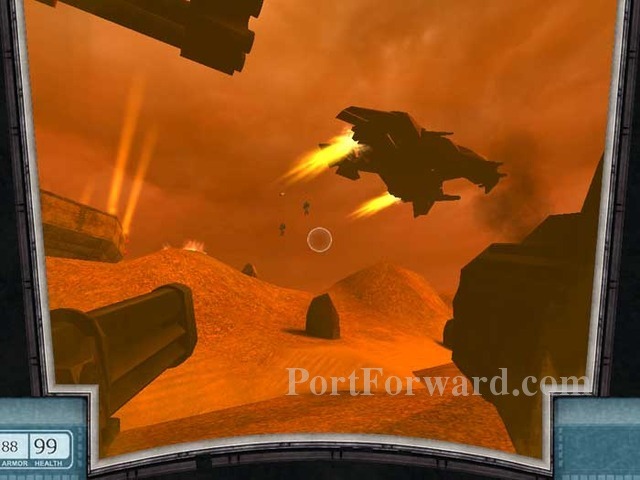
Aircraft will be dropping troops and launching rockets your way.
Your objective is to guard the gate.
Don't venture far or the mission will end in failure.
Take out troops as they come over this left hillside.

Troops will also approach from this hillside at a distance. You have unlimited ammo, so blanket the area with rockets using your alternate fire.
Use your primary fire when they get up close as seen here. If they drop a medkit it will be of no use.
Keep your right flank covered to keep them from sneaking up on you.
And watch your back -- it's possible for them to airdrop right behind you.
Hold out long enough and the final cutscene plays to end the level.
Chaser Walkthrough Ravi Vallis
After you approach the ledge, drop to this walkway below.
Drop to the ground and head to that walkway ahead.
Take out this patrol, then climb the ladder at the end of the walkway, visible here on the right.
Head left and crouch-jump over this ledge.
Approach this heavily-defended area with caution. I found sniping them to be difficult -- their RPGs are too fast. Respond in kind with your own rockets. The defenders above can be safely avoided once you are under the overpass ahead.
Enter through this door on the left.
Descend the ladder then exit through a door and head right. Fight your way down the train tracks.
Climb that ladder for a large medkit. Be careful as it is defended by a guard. Come back down the ladder and continue ahead.
Go through this door and climb a long ladder.

If you hadn't taken out the guards above, you'll be on even ground with them now.
Climb up the left ladder.
Grab the large medkit on the other side of this opening, then drop through to an easy jumping puzzle.

You can take some damage as you drop to these pipes -- that's another large medkit at the bottom. Drop through another opening in the floor and prepare for a fight.
Continue to the right after grabbing two medium medkits and an armor vest straight ahead.
Drop below and continue through the door with the green panel visible ahead.

Activate the green panel seen here. The large door blocking the tracks opens. Drop to the train below.

Hop aboard and the train begins moving on its own.
When the train comes to a rest, climb the ladder seen ahead.
Enter the door with the green panel seen here on the right. Be careful as there is a guard just inside the door. The guard I am firing at here is protecting ammo, armor and a medkit.
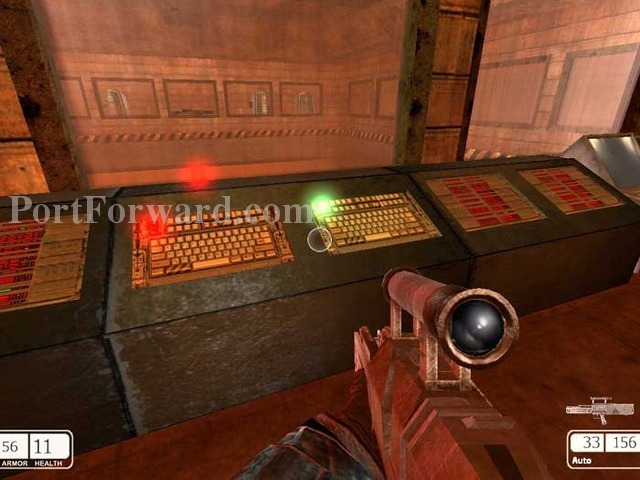
Activate the green panel seen here then rush back to the train.
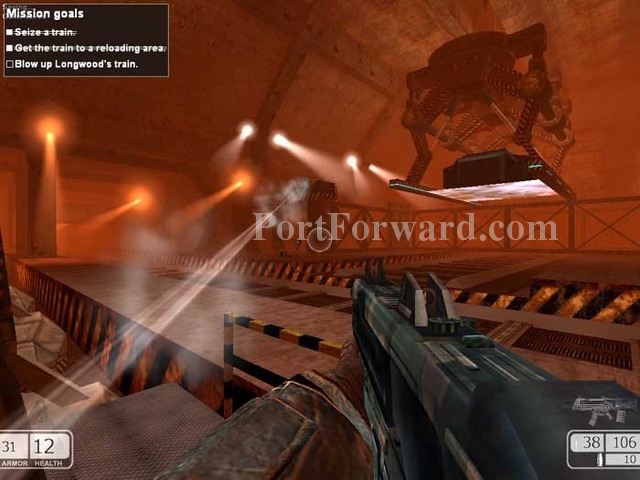
Ride the train to this reloading area.

Climb this ladder.
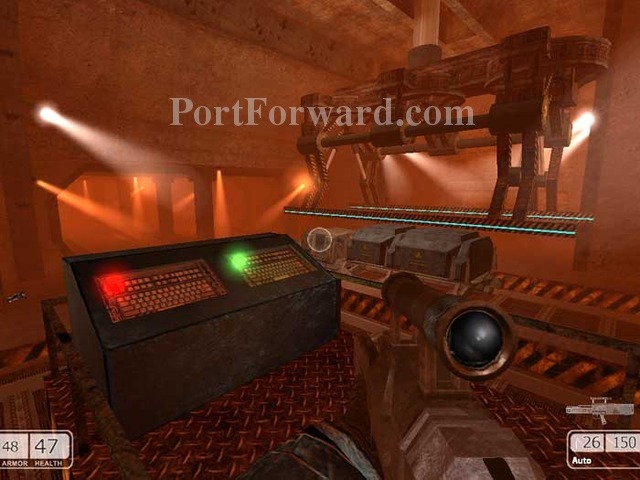
Activate the green panel to load these explosives. Return to the train and it continues down the tracks.
When the train comes to a stop, climb the ladder seen ahead, similar to the one you climbed earlier.
As before, fight your way to a green panel and activate it before rushing back to the train.
As the train continues down the track the next area will load.
Ride the train for a very long way, including over this bridge.
You can choose to engage these enemies or just hunker down inside as the train speeds past.
A brief cutscene plays of the train arriving at its destination.
Exit the train and follow your comrades.
A cutscene shows Longwood's train passing over the explosives. The train is destroyed in the explosion that follows and the next level loads.
Chaser Walkthrough Lomonosov Crater
After you run into the room, you'll find an armor vest. Use the doorway for cover and destroy the turret. Continue through the door visible across the hall.
Duck behind these crates on the right and take out this ceiling turret.
Destroy this turret on the other side of the laser field.
Destroying the explosive barrel opens up a grate in the floor.
Follow the shaft, descend a ladder, then explode this barrel to open the exit.
Destroy another ceiling turret before riding this lift up. Note the large medkit.
Destroy this ceiling turret and grab the large medkit and ammo seen on the left.
Destroy a second ceiling turret, seen here on the left, before climbing over the dirt and continuing through the door in the center.
You're now on the opposite side of the laser grid seen earlier. Grab the armor vest on the left, the large medkit on the right, then continue through the door in the center.
Hide behind the crates in the center of the room and destroy all three turrets.
The neighboring room has four turrets, three of which can be taken out from here. The one in the center of the room can be destroyed by firing upon explosive barrels underneath. The one seen here can be taken with direct fire, as well as a similar turret to the right. Just be sure to avoid the blue sparks seen here on the left. Jump over the crate and into the the room once it's safe.
The fourth turret can be taken out by exploding the barrel seen towards the end of the hall. Continue through the door at the far end of the hall after grabbing the large medkit to the left of the lasers.

The water is electrified so keep your distance. Grab the ammo on the left, and avoid the temptation to grab the medkit on the floating crate.
Backtrack under the laser grid and through a door on the right to these stairs. Hop through that broken grate and descend the ladder.
Hug the right wall to protect yourself from the turrets above. Pop out and fire at the three turrets until they are destroyed.
A large medkit, armor and ammo are found here. Continue through the door ahead. Be cautious, as there are more turrets.
The two ceiling turrets and the malfunctioning laser grids can be bypassed by slipping behind these crates on the right, descending a ladder, climbing through the shaft to the other side then climbing up another ladder. I still prefer to destroy the turrets. Note the ammo on the crate ahead.
Approach this door and it slides open. One turret is on each side of the door. Note the large medkit on the crate. Continue to the right after destroying the turrets.
Explosive barrels take out the next turret. The one after that you'll have to destroy yourself.
Two more ceiling turrets as well as ammunition are found in this hallway. Continue through the door on the right.
Grab the large medkit from this crate then fight your way through that doorway on the left.
This guy will spawn behind you. He is slow and can be easily outrun if you prefer.
Destroy the ceiling turret on your right as you exit, then ramp up this debris and jump over the laser field.
Grab the large medkit and armor vest seen here, then jump-crouch onto those crates far-right to return to the other side of the laser field.
Continue through this door. Note the medkit and armor on the left. You can return for those once you need them.
Climb these stairs -- note the grate on this side is intact.
Destroy this armored guard on the right.
Jump-crouch across these crates and destroy a second armored guard. Move quickly to avoid the toxic orange vapor.
Don't try to jump over these lasers directly. Instead, jump to the indicated ledge first, then hop over the lasers. Crouch under the lasers beyond.
A medkit, an armor vest and ammunition are down the red steps. Another medkit is seen on the right. Activate the green console on the right.
Backtrack to this position and jump onto the indicated ledge before jumping over the lasers. You can now crawl under the lasers beyond and pass through the door. (Another green console just visible to the left can be ignored.)
Fight your way down this hall, using the crates for cover as you destroy the ceiling turrets. There is ammo on this crate on the right.
Pass through this door, search the room for health, armor and ammo, then exit out the bluish doorway beyond to load the next level.
Go through that doorway on the right.
This rubble comes crashing down from above. Don't bother with the battle through the opening on the right. Instead, head left. You'll hear strange noises and then this explosion opens the way ahead.
Drop to the ledge along the right then climb the ladder to the opening seen here to the left of the ladder.
A medium medkit and armor can be found along the right wall. Crawl alongside these pipes to the next room.
Shoot the explosive barrels at the bottom of this hole. Drop to the ledge jutting out then drop all the way down.
Take out this guy across the way. If you hadn't already shot out the explosive barrels, he could shoot them now, killing you.
Turn left, then continue through this door on the left after grabbing the large medkit and armor vest through the door on the right.
You can avoid a firefight through the right door and just go up the stairs.
Watch out for this guy hiding behind here.

Drop through this ladder on the left.
I found Adrenaline Mode to be useful for this firefight.
Climb through this hole for a very not-fun jumping puzzle.
You need to start out crawling, not jumping. Crawl left, then right, then circle around to this middle area, where you begin jumping.
Climb straight ahead and use these broken metal rods as a ladder to go higher.
Now you can drop straight ahead.
Lastly, crawl through to here, drop to the ledge and climb out.
This battle is another good time for Adrenaline Mode.
Here I am being killed. That door ahead is where you want to go, and there are a lot of enemies behind it. I ultimately found it helpful to use the sniper scope and slowly chip away at them one at a time.
Health, armor and ammo are back here. Don't bother going downstairs.
Instead, continue through here.
Climb down that ladder and hop over the bent wire mesh.
Battle your way up these stairs.
More big guys wait for you up top. If you head right you can ramp up some debris where you'll find a large medkit and an armor vest, then swing around back to this position. Continue through the door ahead.
Crawl into that open ventilation shaft to load the next level.
Start by climbing this long ladder.
Take out as many guards as you can before dropping to the catwalk below. Descend a ladder to the right.
Jump onto the concrete rubble on the right then leap to the indicated vent. If you cause the elevator to fall you can climb the ladder back up to this position. There isn't anything inside the elevator so your best to just avoid it.
Scurry along this beam to the ladder far-right and climb down. Guards will start firing at you from behind the grate on the left, so move fast.
This elevator drops to the bottom of the shaft. Hop down to the roof of the elevator and exit as indicated.
Grab this small medkit and the Taff 20-4.
Climb those barrels to reach the vent above.
You've just emerged from the opening on the left. Drop as indicated to the ladder below.
Descend the ladder to this position, drop to the catwalk ahead and enter the opening on the other side.
Crawl to this neighboring shaft, where a bridge-like piece of rubble drops into place, allowing access to the ladder far-left.
Descend the ladder then climb into the indicated vent.

Climb out onto this plank then leap to the ladder far-left.
Descend all the way to the bottom, then climb the ladder seen ahead to exit out that door and load the next level.
Hop through this hole in the wall.
Continue through the indicated shaft. The door to the right leads to nothing but trouble - three rocket-launching guards and no booty. Avoid it.
Take out the opposition before dropping below.
Hug the right wall to avoid falling into the chasm. Enter the indicated room to find a large medkit and three grenades. If you're itching for a fight you can continue downstairs, otherwise continue through the door straight ahead.
To the left is a sealed cavern. You want to head right and help your comrades in this battle.
Pick up a medkit and armor vest here.
Climb this fallen vent to the indicated opening.
Next up is a nasty battle against a number of RPG-wielding enemies, including these two exoskeletons.

Activate this panel seen on the right then jump through the opening that appears on the left.
Continue through the opening where this explosion is seen here.
Enter the doorway at (1) then descend the stairs and hop into a neighboring room to emerge on the other side of the partition at (2).
Ascend through here.
Save your game before approaching this gate -- it's about to fall and you are about to be ambushed.
These bombs drop from the ceiling. You can hear their beeps counting down to an explosion.
Quickly make your way to this elevator at the opposite end of the hallway, to the left. You can safely wait out the explosion in here. You don't have to close the door but you can if you like.
Return through the gate that closed on you before, then continue to this battle. These guys are deadly accurate with their RPGs and are not very vulnerable to yours. I recommend primary fire as seen here.
Once the area is secured, slip under this door.
This is a very easy jumping puzzle. Just keep the distances small as you take short hops to the bottom.
Climb through here.
Help your buddies in battle then continue through this tunnel.
Ascend the stairs then go through that door ahead.
Here I am being killed by the welcoming committee on the other side. I actually found it best to snipe them from just outside the doorway.

If you proceed straight ahead you'll be mowed down by automatic turrets. Instead, defeat two guards on this bridge above then head through the indicated doorway.
Climb a ladder and these stairs to defeat two more guards above.
You'll have a better angle on the turrets (and guards) from up here. Hop below, using the green machine seen on the left to break your fall.
Destroy this turret.
Slip under the partially-opened door behind this drilling machine. Note the large medkit to the left.
Take out two exoskeletons.
Snipe this exoskeleton before descending the ladder seen at the bottom of the scope.
This vehicle powers up. Take out these two guards, plus a third to the rear.
Climb the opposite ladder then take down this exoskeleton. Two large medkits are around the corner on the right.
Follow that jutting rubble to the rocky ledge.
Guards pursue through the door next to the explosion. Continue through the doorway on the right.
Defeat these two then pass through a door on the right.
Use Adrenaline Mode and your sniper rifle to take out the guards below.
You'll also have these two guards to contend with as well.
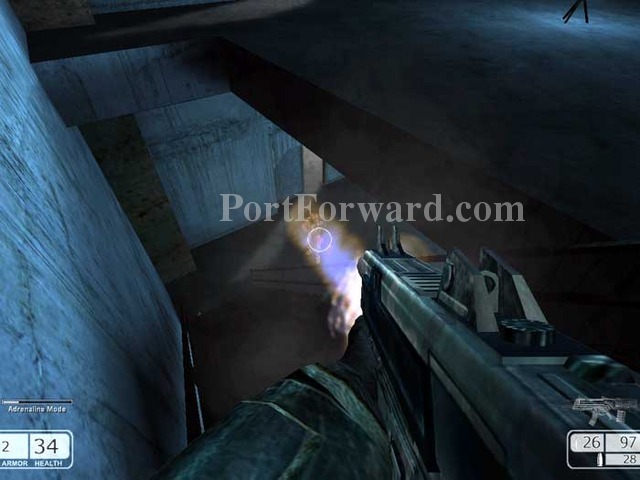
Fight your way down these stairs and across the catwalk.
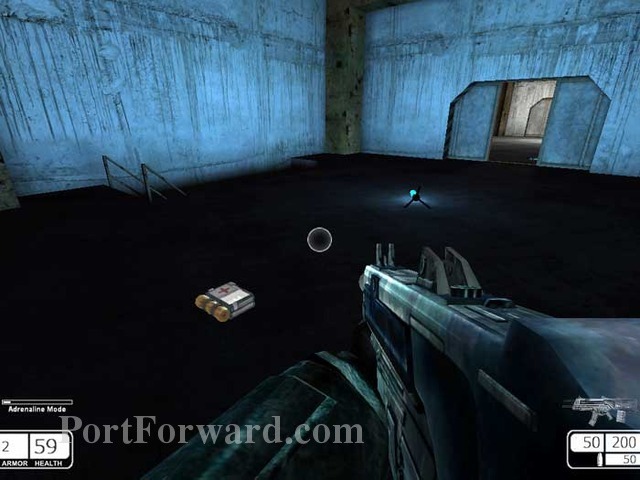
Grab this large medkit before carefully descending those stairs.
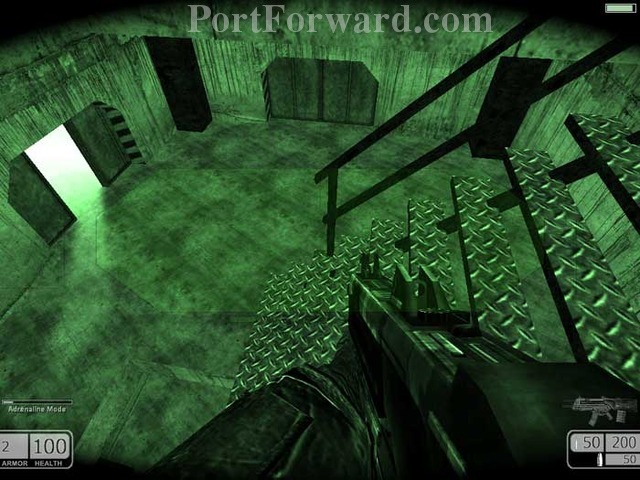
Avoid the hole at the bottom of the stairs. Continue through the open doorway.
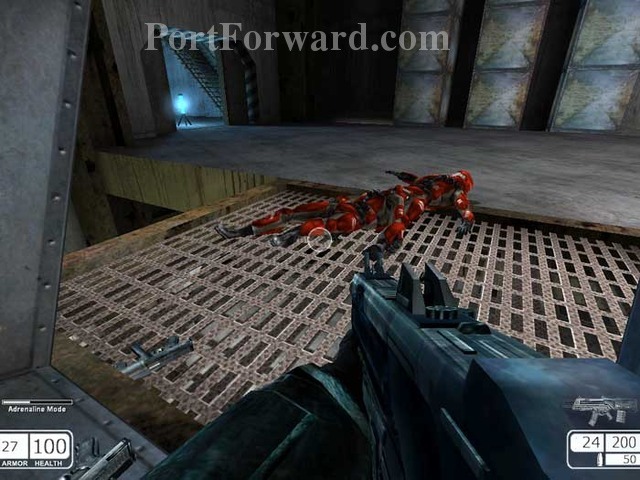
Ramp down this fallen air shaft. (Defeat or ignore the turret to the right.) Ascend those stairs ahead.
Proceed through the indicated opening.
Make your way through the tunnel, continuing past the drilling machine as indicated.
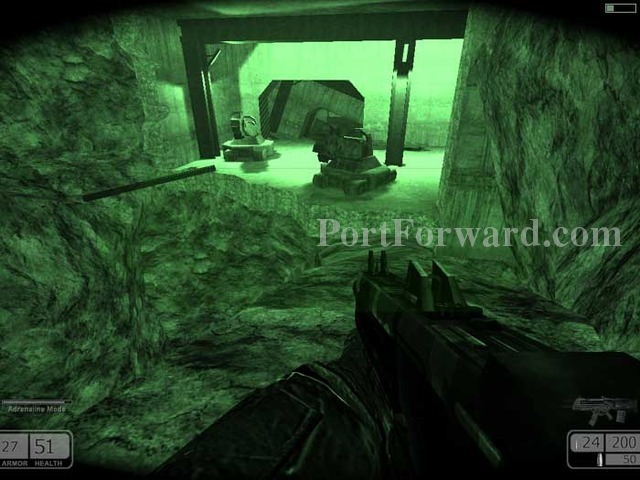
Carefully step across the chasm to the doorway straight ahead.
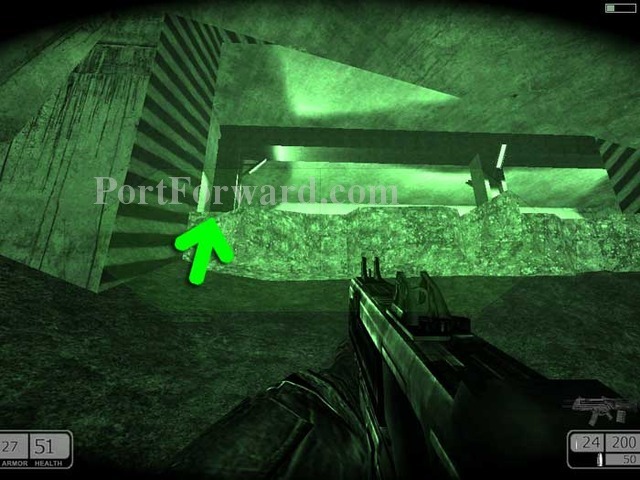
Jump-crouch to the ledge above as indicated.
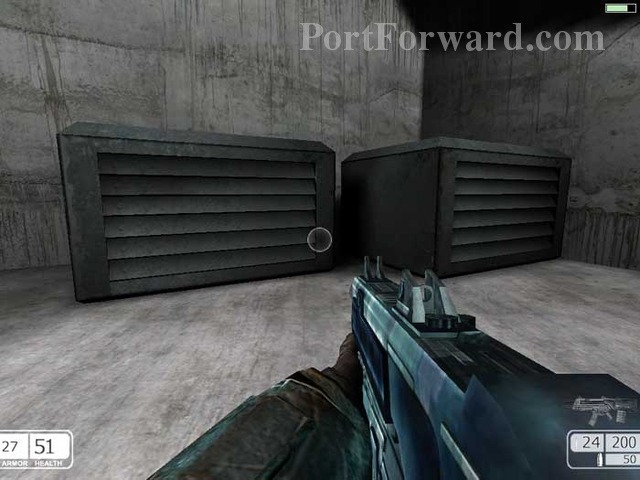
The tunnel caves in behind you. Drop through a hole behind these ventilation units.
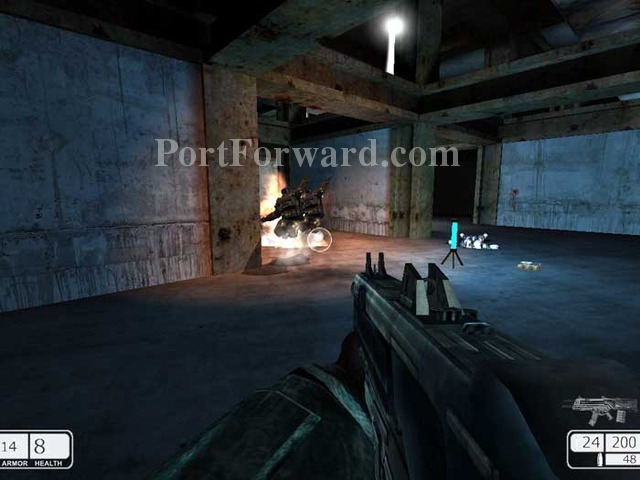
You're now in a maze. Watch your back as enemies spawn behind you. Fortunately, many medkits can be found in this area.
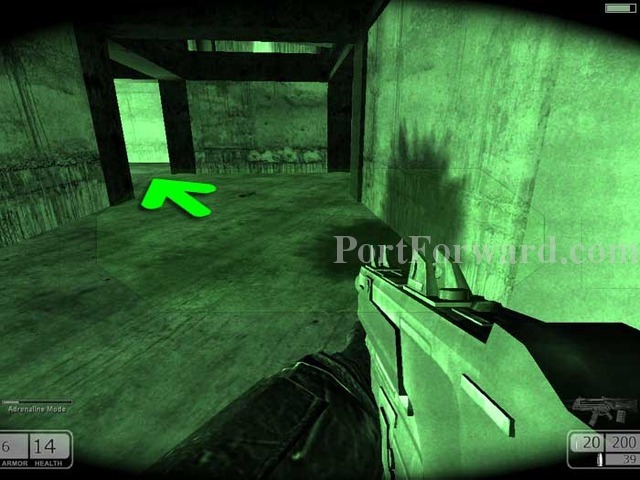
You're almost out when you see the stain to the right. Continue as indicated.
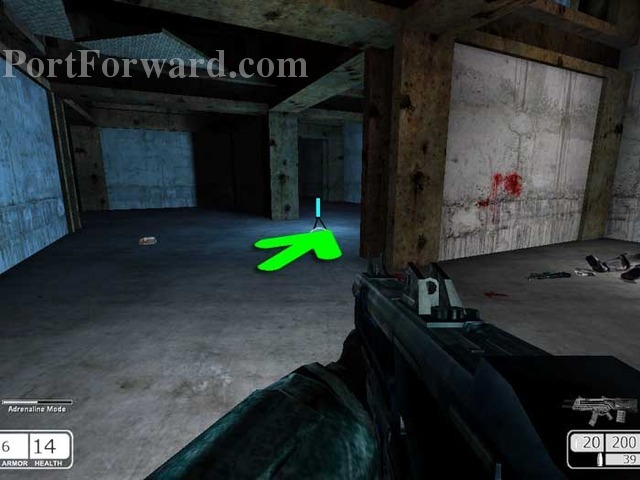
Bear right as indicated.
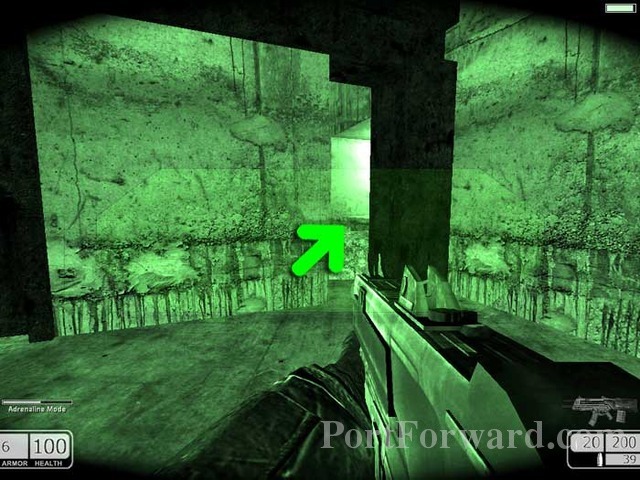
To the back-left is this opening, only visible once you are upon it. Pass through the opening to trigger a cutscene and load the next level.
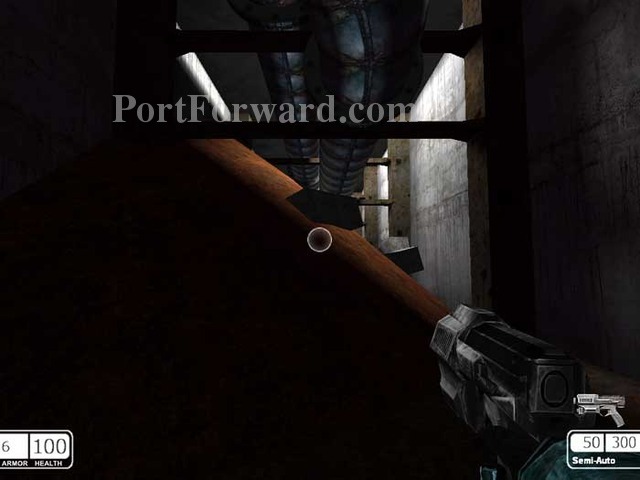
You've only got one weapon, but you won't need it. Your shooting days are over.
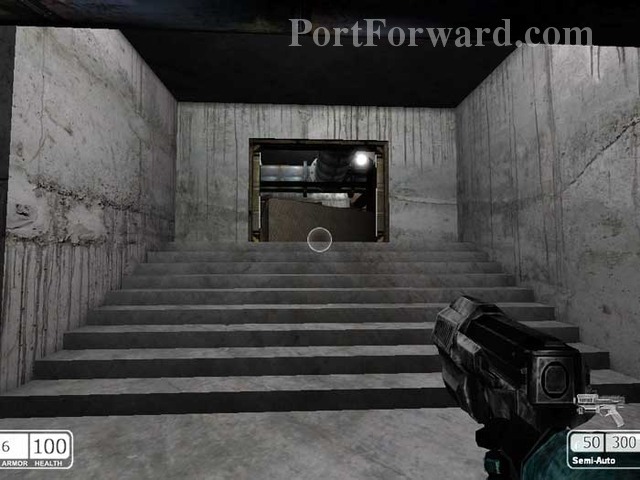
There's not much to do but advance through the corridor.
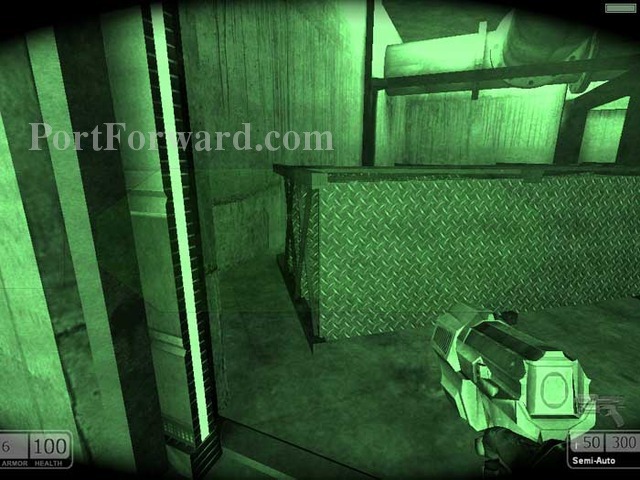
Squeeze left past these fallen shelves.
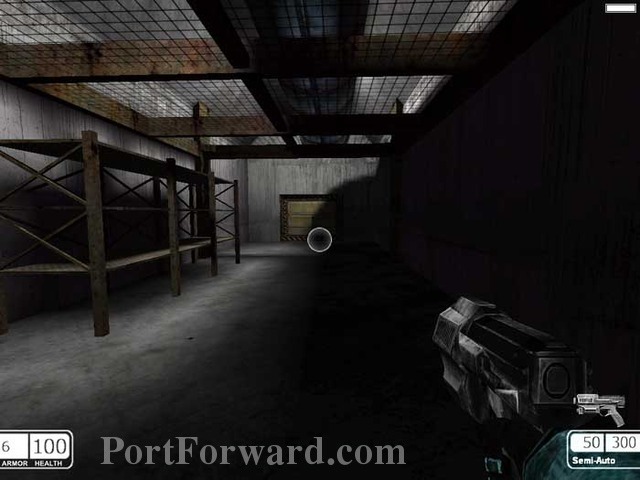
Approach that door to initiate the ending cutscene.
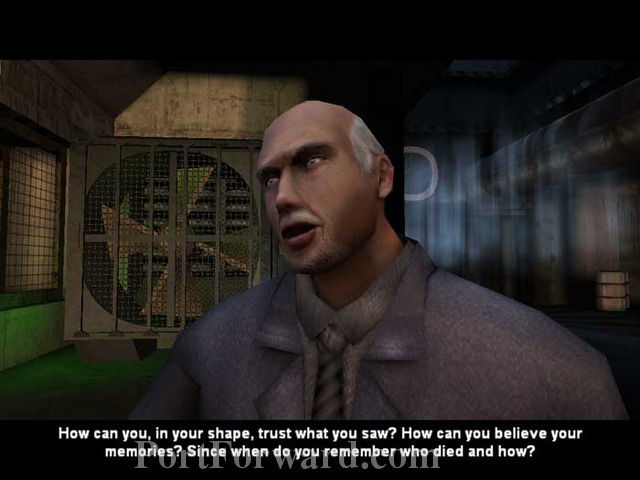
Longwood captures you. Apparently he wasn't killed in the train explosion.
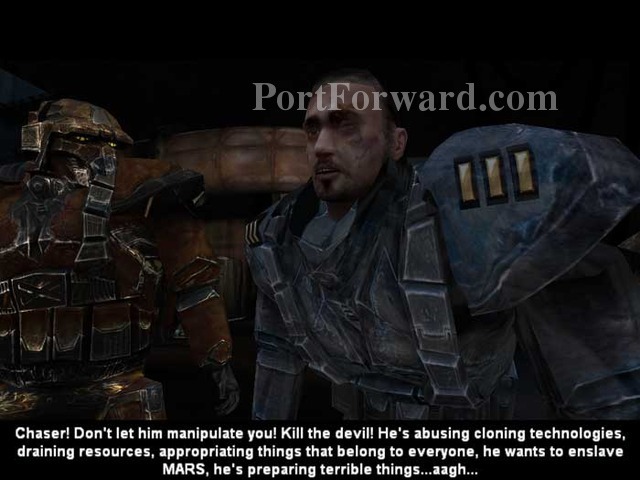
Castor has been captured, too. (Is that Jay?) It's all very confusing.

Longwood claims that Castor was behind the attack on Majestic Station, and Castor claims that it was to prevent Longwood from obtaining rebel secrets from your memories.
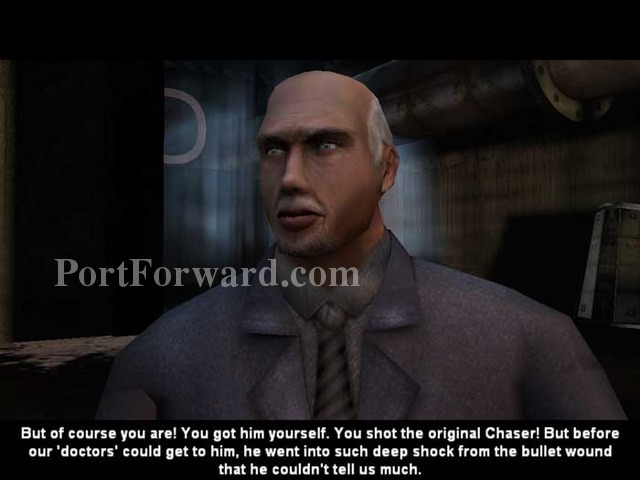
It gets worse. Longwood claims that you are Scott Stone, and that you killed the real chaser. Keeping up?
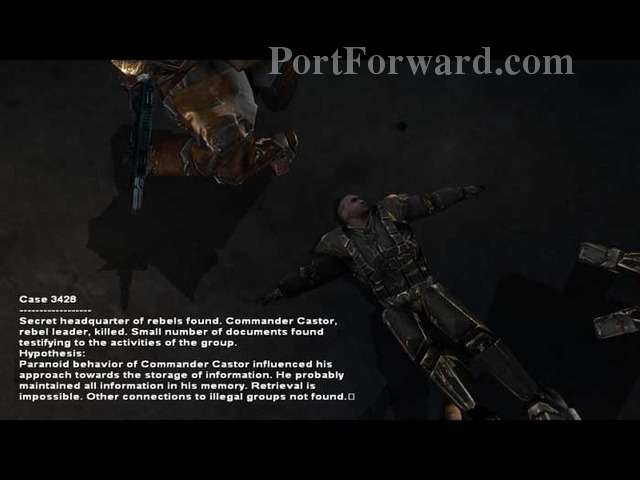
Chaser (or Stone, or whoever he is) has to choose whom to believe. He chooses to believe Longwood and he shoots Castor.
And then Longwood has his men kill you. Oh well -- easy come, easy go.

Lastly, the end credits. I hope you enjoyed this game and of course, I hope my walkthrough helped you! Game on!
 2014 FIFA World Cup Brazil Game Guide & Walkthrough
 Batman: Arkham Asylum Walkthrough Introduction
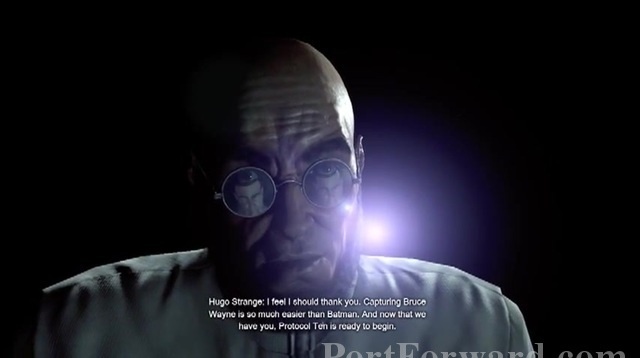 Batman: Arkham City Walkthrough 1. INTRODUCTION
 Bioshock Infinite: Burial at Sea - Episode Two Walkthrough La Poche Du Temps Cafe
 BioShock Walkthrough Welcome To Rapture