BioShock Walkthrough Welcome To Rapture
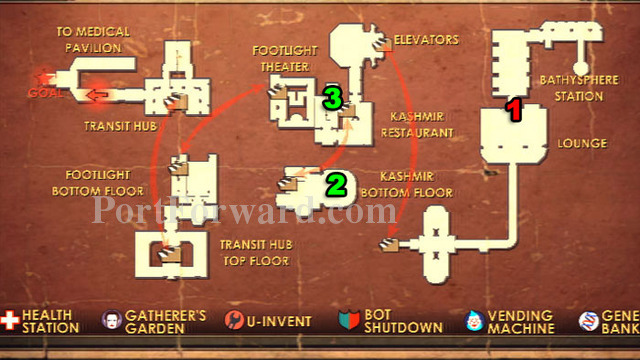
Here's a map of the level.
Map - Welcome to Rapture
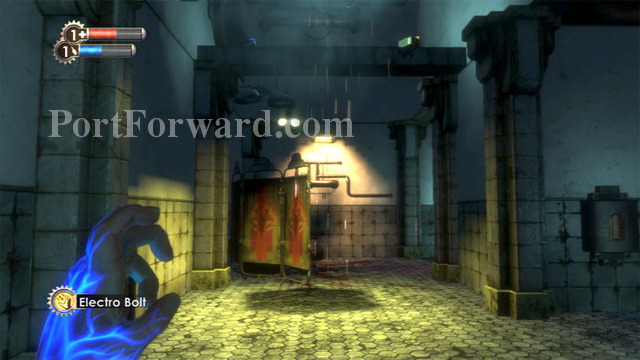
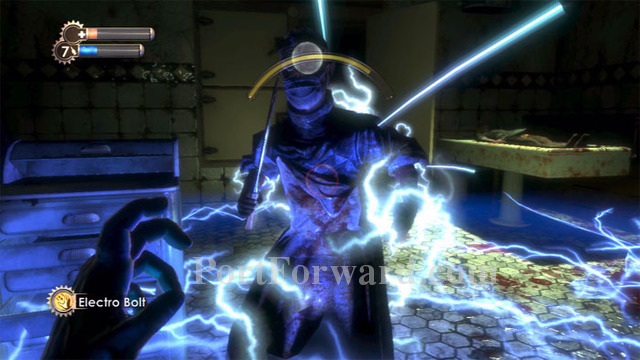
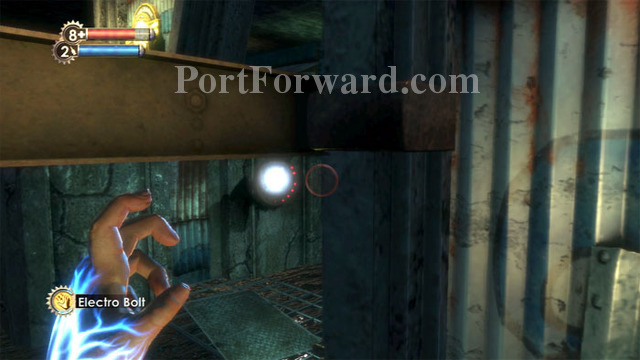
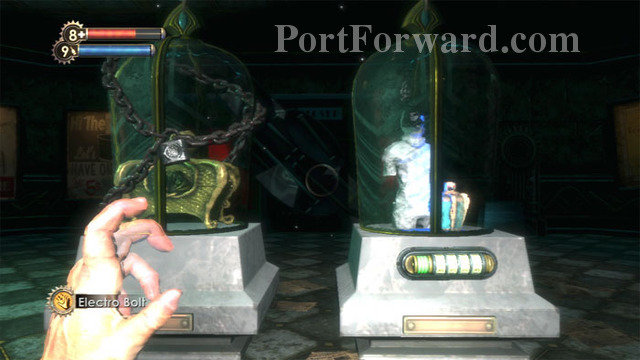
1. Electro Bolt - Plasmid
2. New Year's Eve Alone - Audio Diary
3. Hole In The Bathroom Wall - Audio Diary

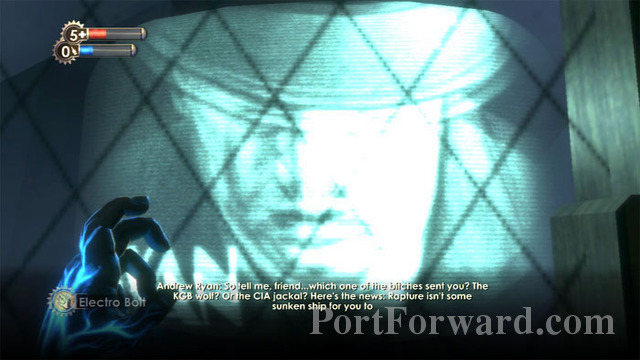
This still from the opening cinematic shows Jack with a present from home. And a bit of foreshadowing.

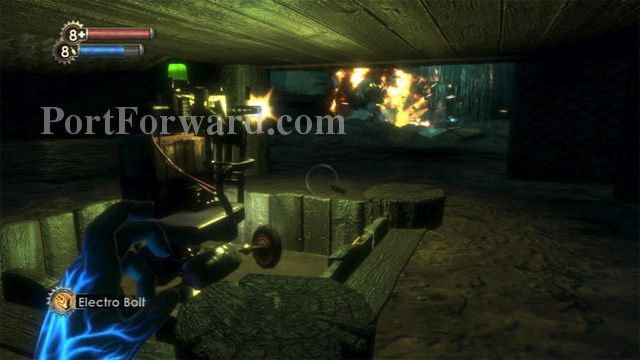
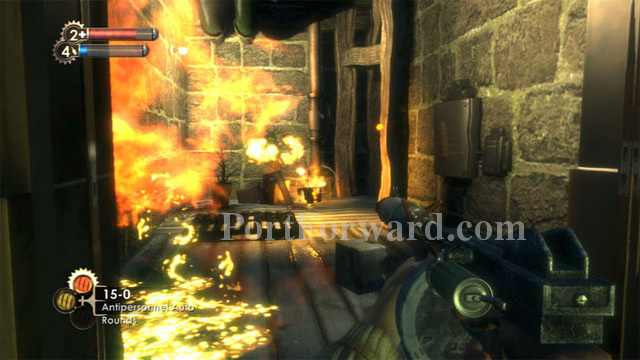
The plane crashes, but Jack (you) survives. Surrounded by flaming wreckage, the only path forward is through the opening in the flames seen ahead.

More flames block your path, but you can see this building to the right of the plane's tail section.

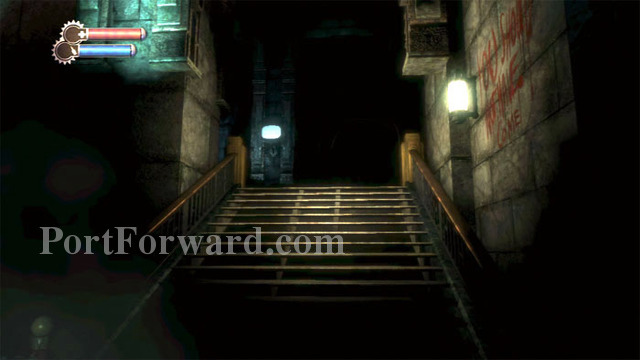
Swim to the building and climb the stairs. If you turn around and wait long enough you can actually witness the plane's tail section sink into the ocean.

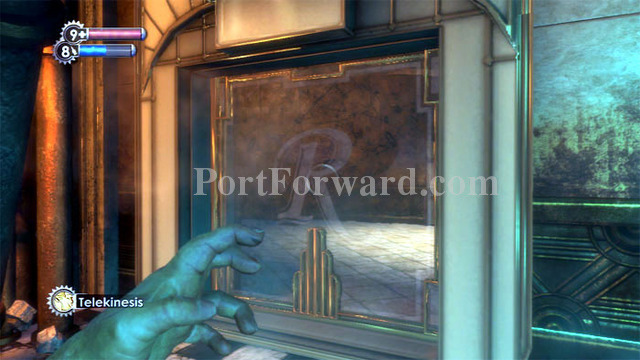
Enter the strange building here. The door closes behind you.

This statue and slogan are your first introduction to the philosophy of Andrew Ryan.

The lights come on automatically as you descend the stairs to the bathysphere. Step inside and pull the lever.

The door closes and the bathysphere descends into the sea.

This kitschy film strip gives you further introduction into Andrew Ryan's philosophy. Note the ambiguity of the phrase, "petty morality." Is this a a criticism of morality in general, or only those attempts to define morality which Ryan rejects?

And here is Ryan's creation, the undersea city of Rapture.

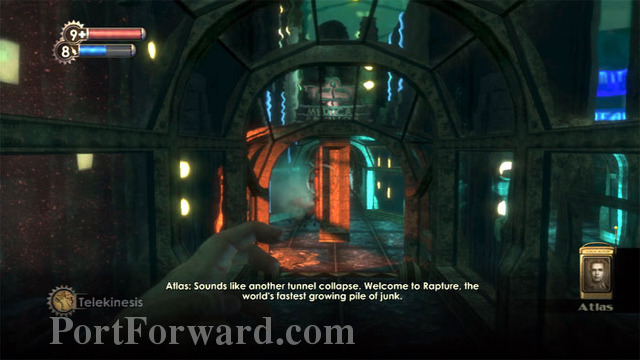
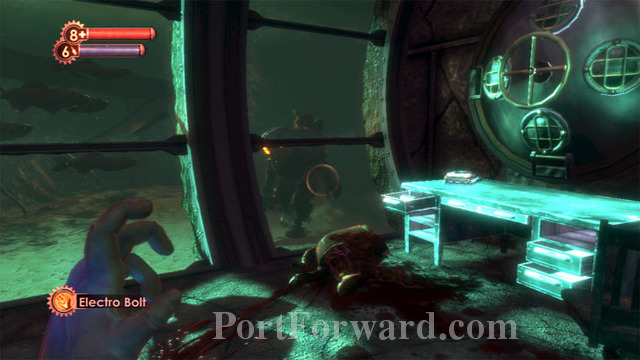
The bathysphere carries you into Rapture. This is one of the best openings to a game since Half Life's tram sequence.
Wonder turns to horror as you witness Johnny's slaughter through the bathysphere window.
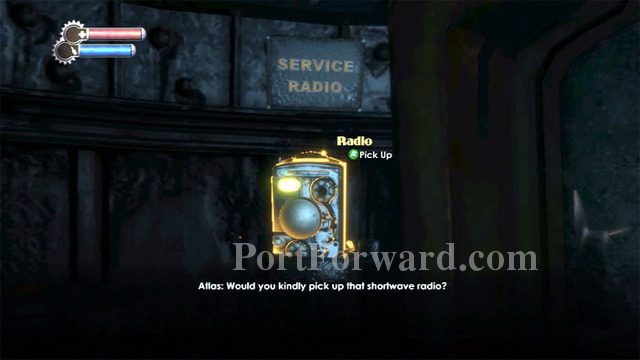
Take this radio so you can continue to receive instructions from Atlas, BioShock's counterpart to System Shock 2's Polito.
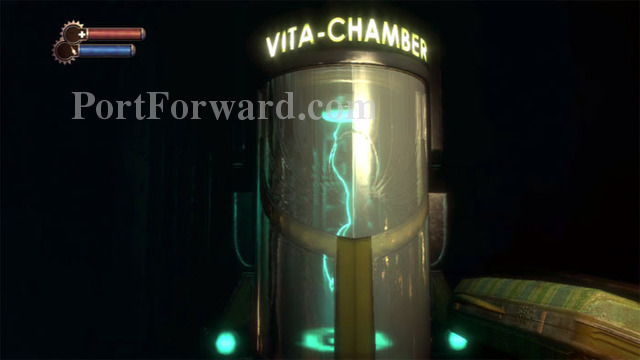
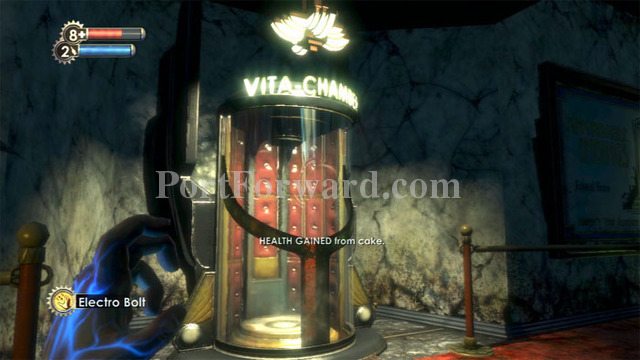
Exit the bathysphere and find this Vita-Chamber to the right. You will respawn at the nearest chamber upon death, making constant game saves unnecessary. The game world will continue uninterrupted upon your respawn. All enemies will retain damage but your spent ammunition will not return.
Ascend these stairs on the left.
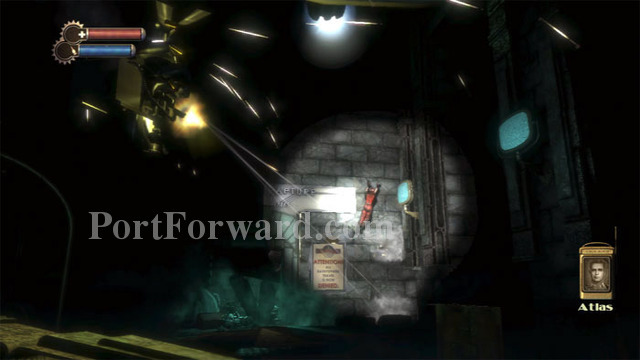
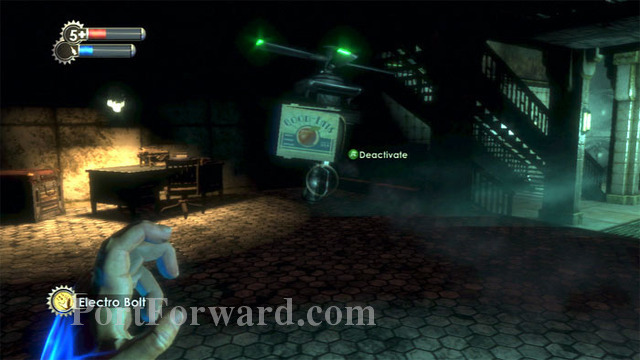
Atlas has a security bot chase the Splicers away. Jump over the debris in front of you.

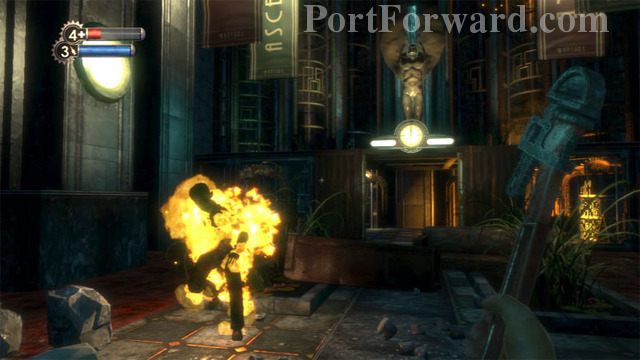
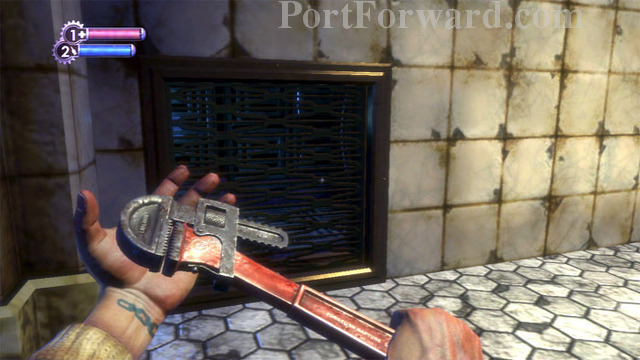
Grab this wrench and use it to smash the debris blocking the door. Crouch to squeeze through, then avoid the flaming furniture as you ascend the stairs to the lounge.
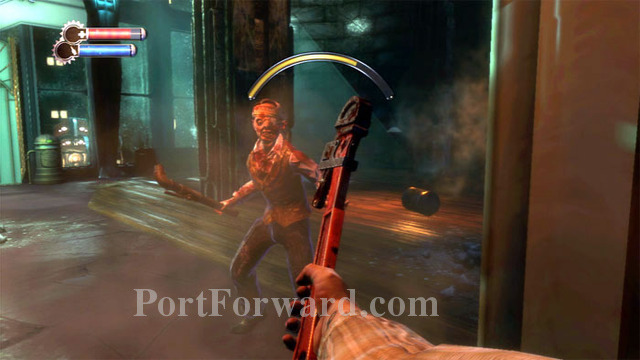
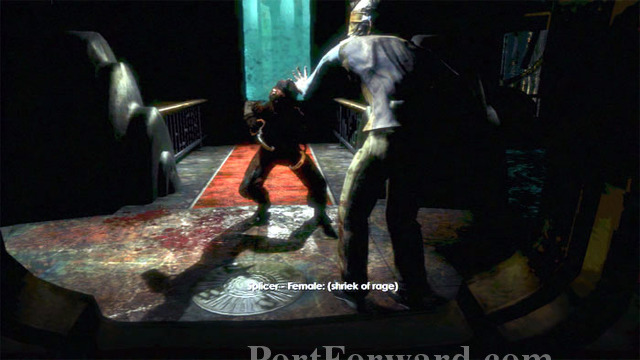
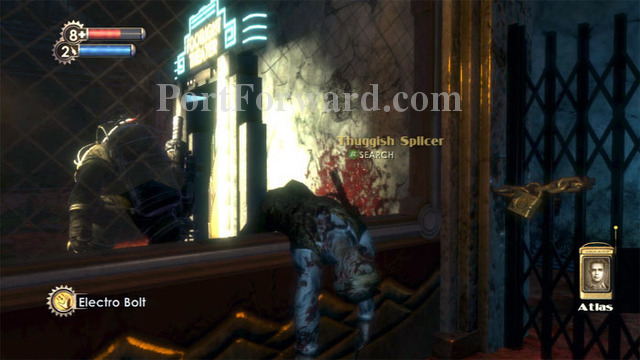
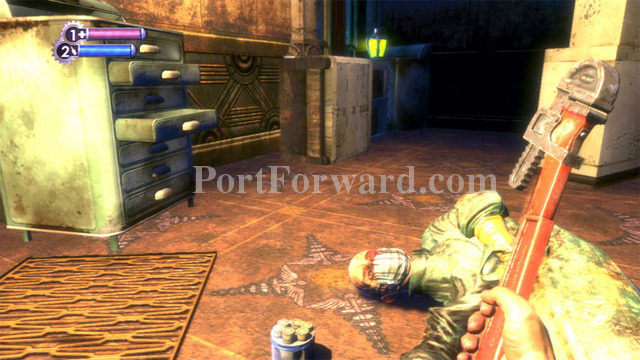
This Thuggish Splicer is at the top of the stairs. Finish him off with your wrench. Thuggish Splicers are identified by their melee weapons, and are vulnerable to melee attack. The females sound like Toot Braunstein from Comedy Central's Drawn Together.
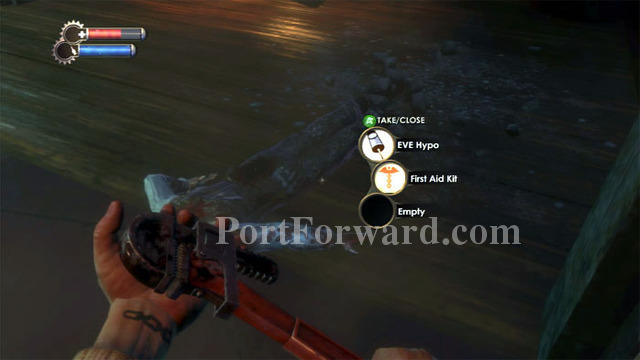
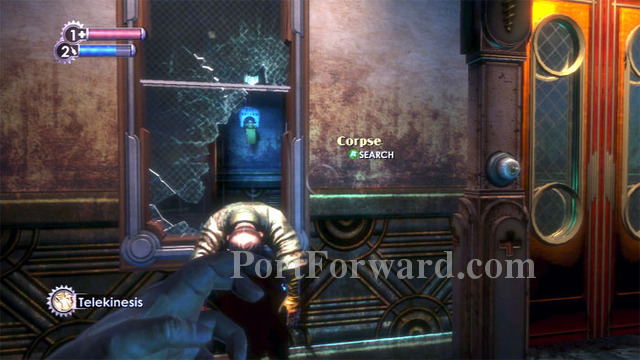
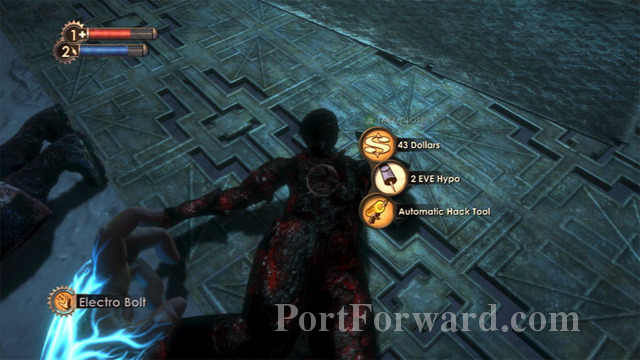
Once defeated, Splicers' corpses can be looted for health, ammunition, and other supplies.
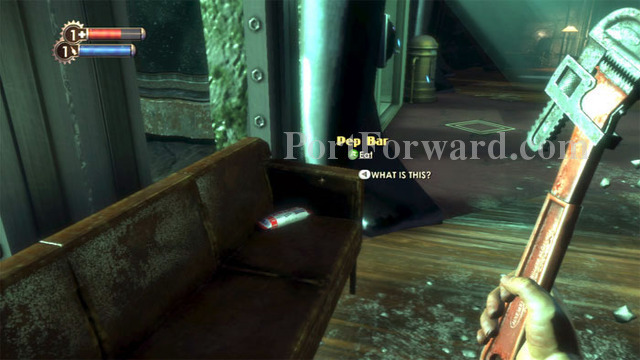
You can also find supplies scattered around the levels, like this Pep Bar on the couch. Pep Bars give you a small amount of health (the red bar upper/left) as well as a small amount of EVE (the blue bar upper-left). Another Pep Bar and a bag of chips can be found on the table near the lamp seen on the right.
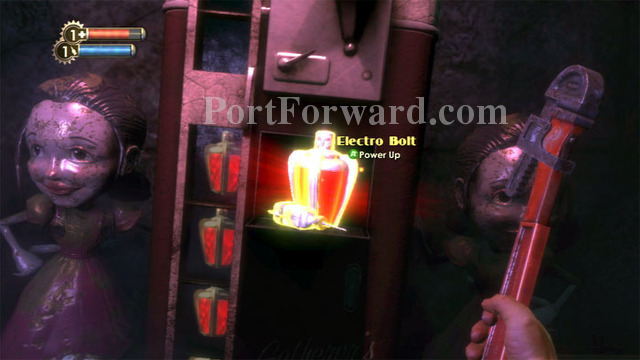
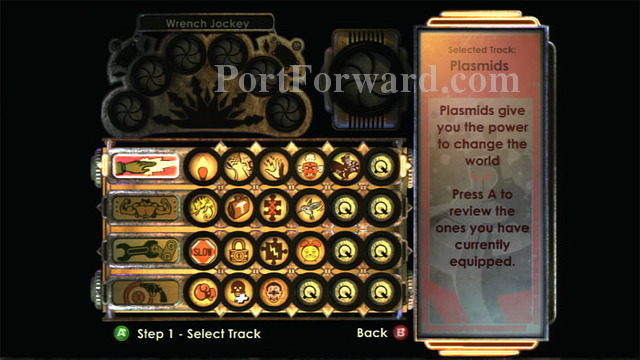
Climb the nearby stairs and find your first Plasmid at this Gatherer's Garden.
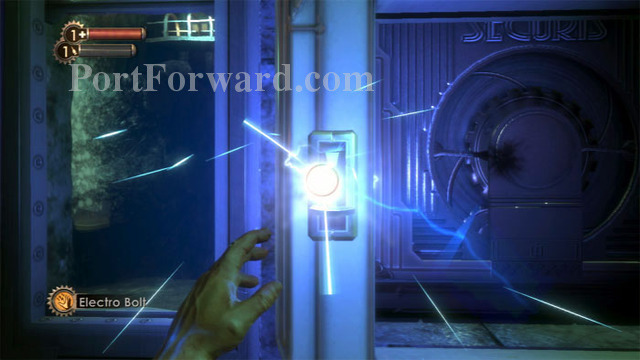
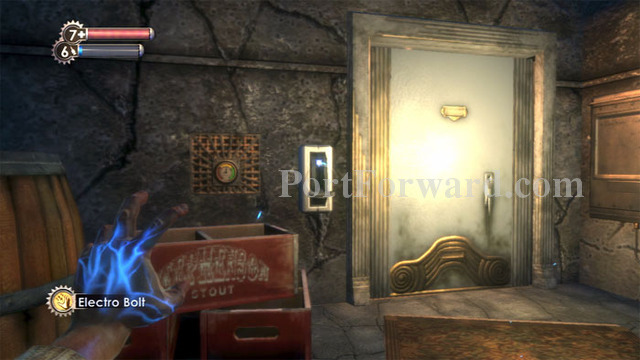
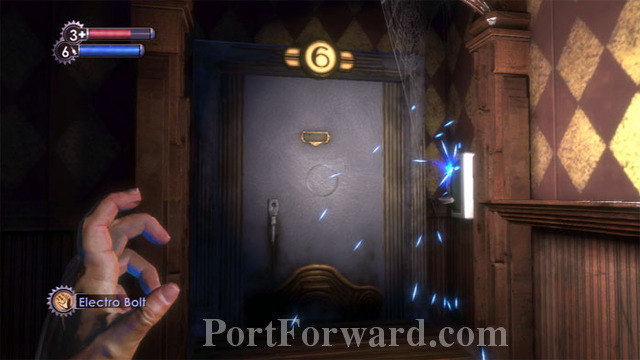
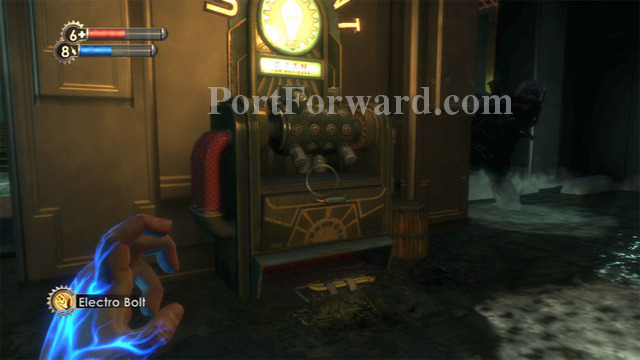
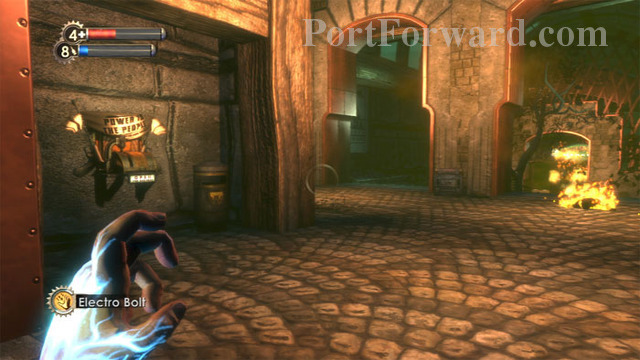
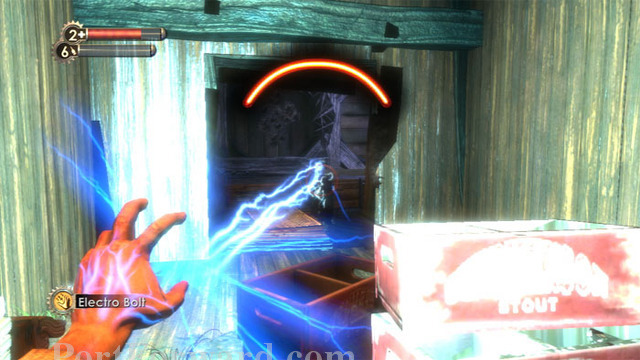
After the cutscene, press your controller's left trigger while aiming at the door control. Your new Plasmid, Electro Bolt, will open the Securis door.
The plane's tail section crashes into the walkway.
Enter the plane's fuselage then exit here on the right.

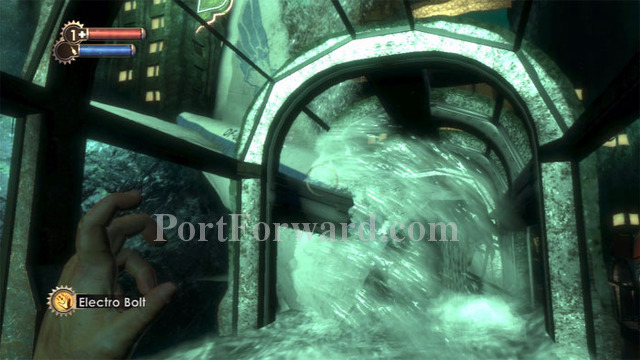
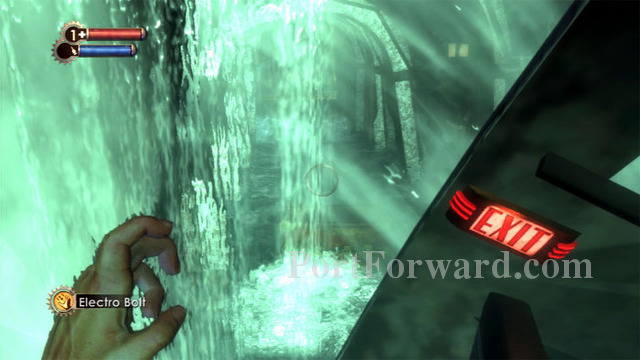
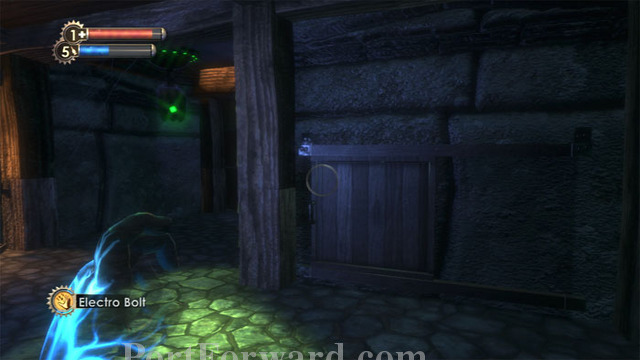
The door on the left is flooded shut. Continue to the other door at the end of the walkway.
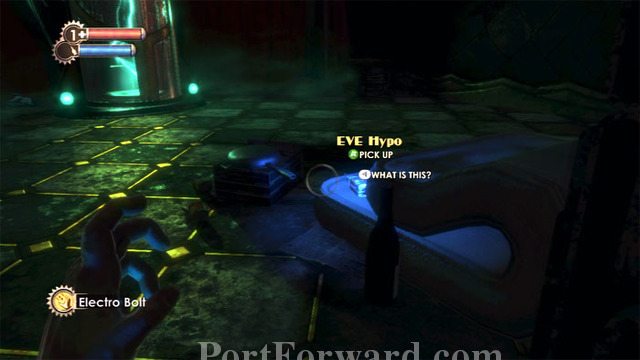
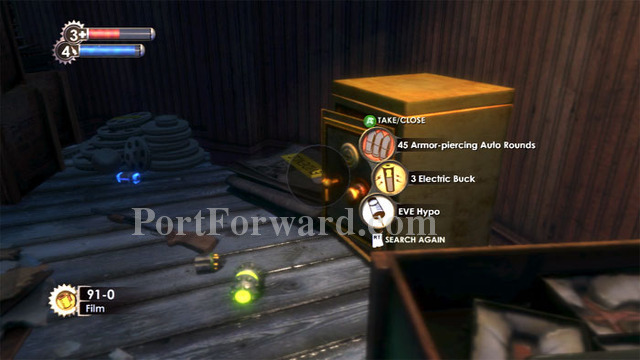
The room on the left has a Vita Chamber, an EVE Hypo, and Arcadia Merlot. Alcohol and cigarettes will increase your EVE slightly at the cost of a small bit of health. A storage crate is in the far corner.
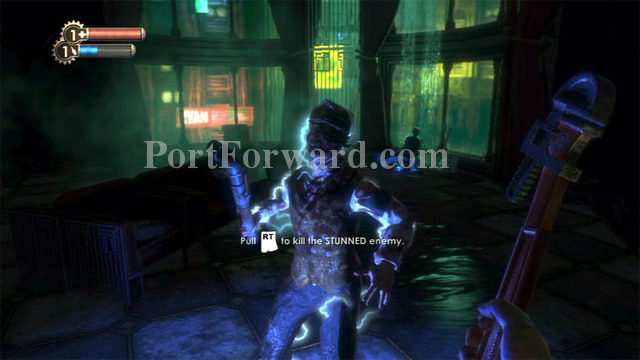
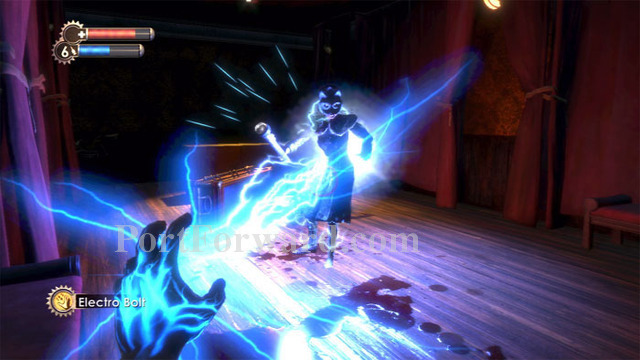
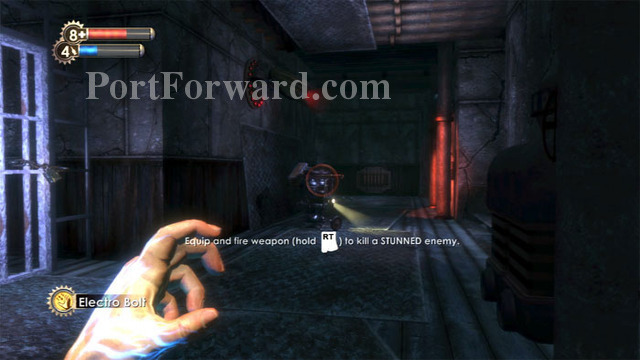
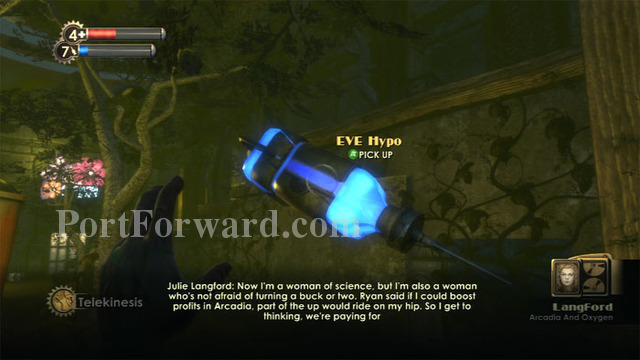
A Thuggish Splicer busts in as you move to the opposite room. Atlas advises stunning the foe with your Electro Bolt, then finishing him off with your wrench. Atlas calls this stun-and-smash tactic the, "one-two punch." Note the EVE hypo by the body against the window.
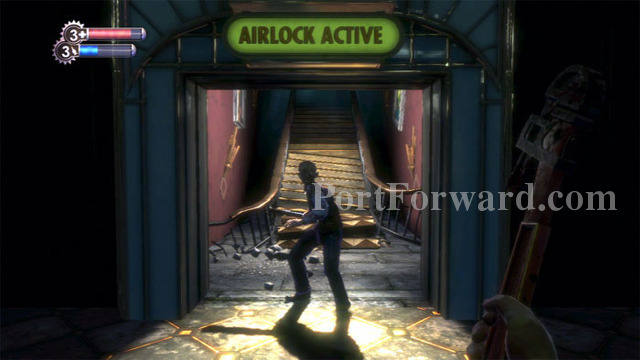
Defeat another Thuggish Splicer as you exit out the now-available airlock.
Ascend the stairs then witness a flaming elevator crash to the ground. Defeat this Thuggish Splicer then continue through the doors ahead.
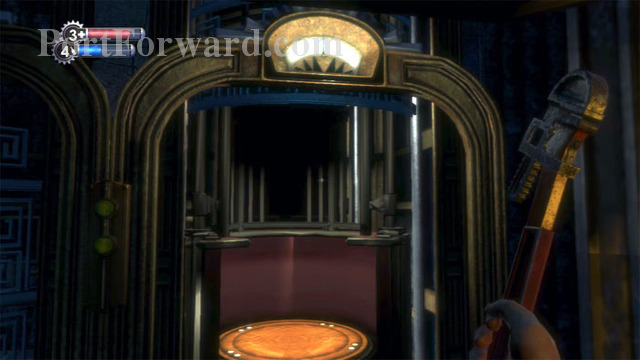
Enter this elevator. Hopefully, it won't suffer the same fate as the other lift.
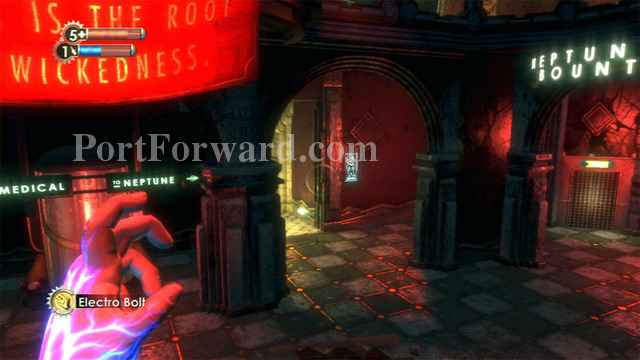
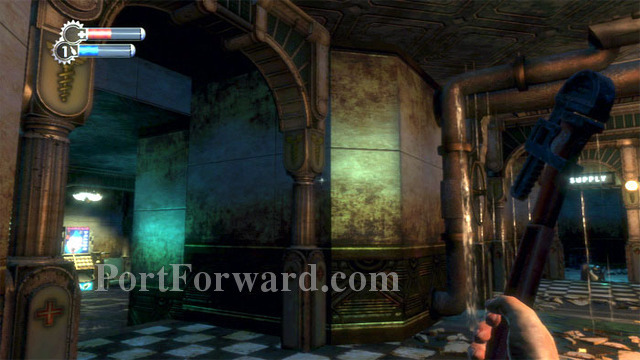
As you ride the elevator up, Atlas gives you a new goal: go to Neptune's Bounty.
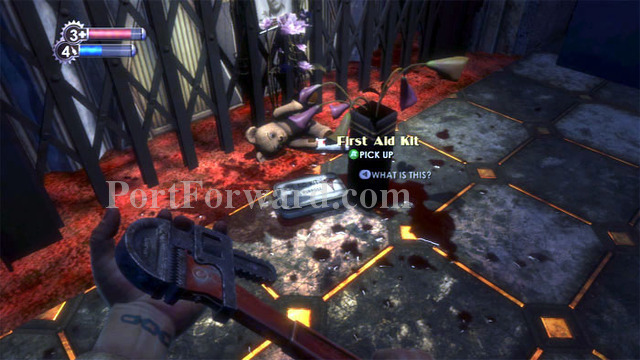
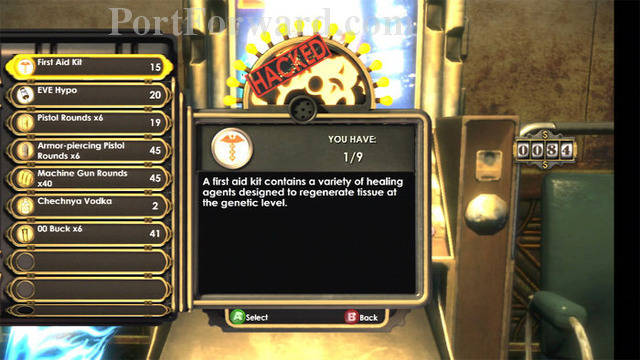
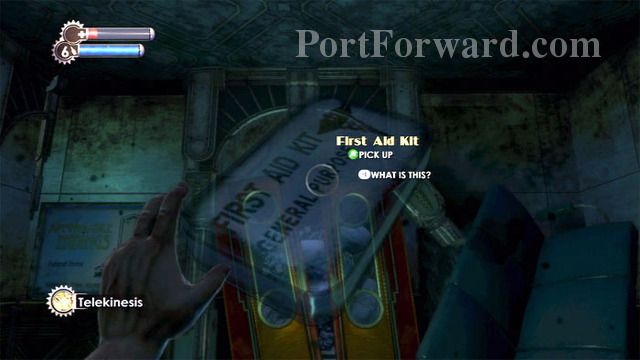
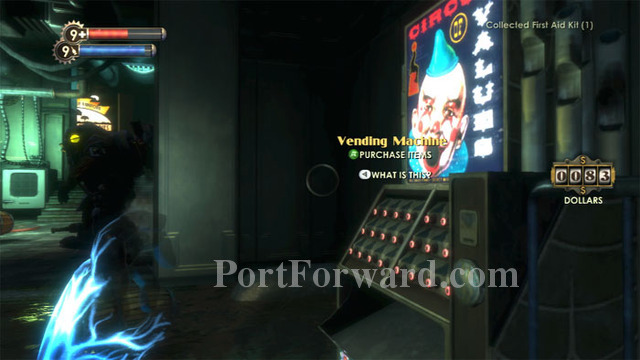
Step off the lift and turn left to find this First Aid Kit and a Pep Bar.
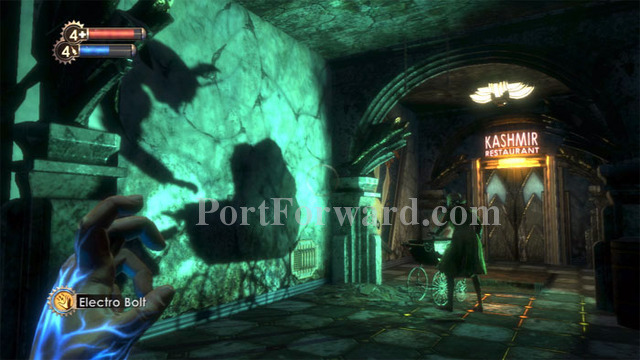
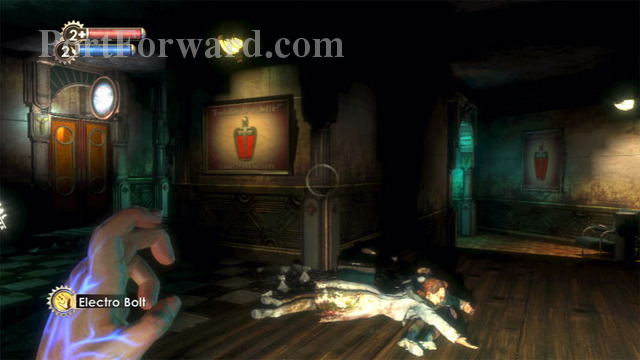
Turn right to witness this disturbing scene. Finish off the Thuggish Splicer and grab the revolver in the baby carriage.
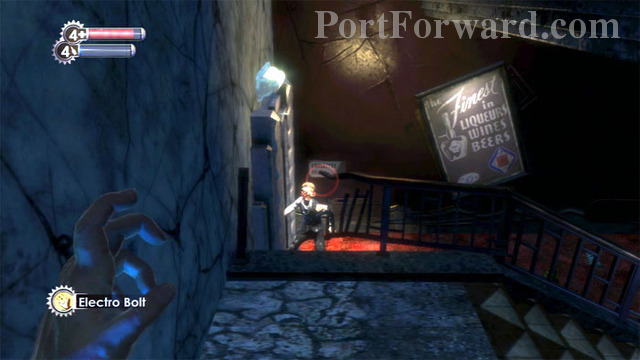
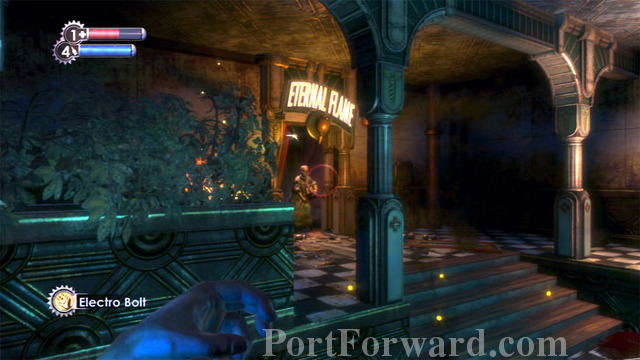
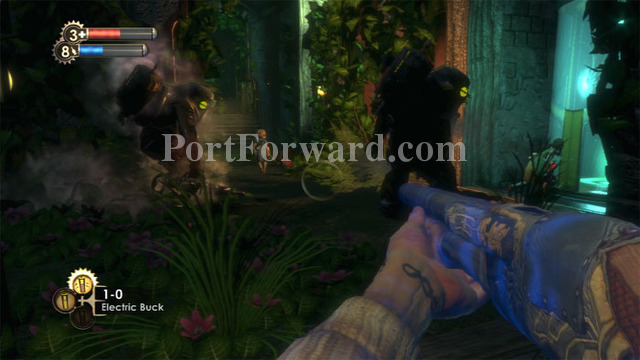
The game begins in earnest here in the Kashmir restaurant. Descend the stairs on the right and defeat the Thuggish Splicer pounding on the door.
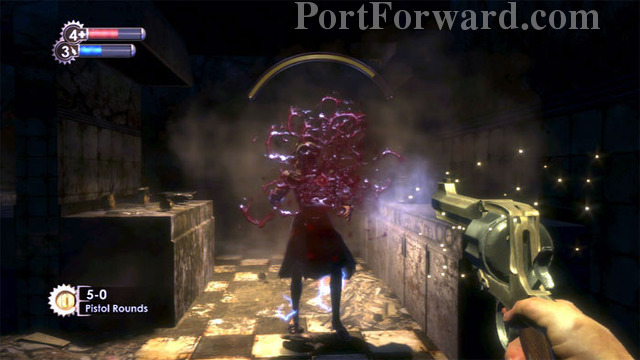
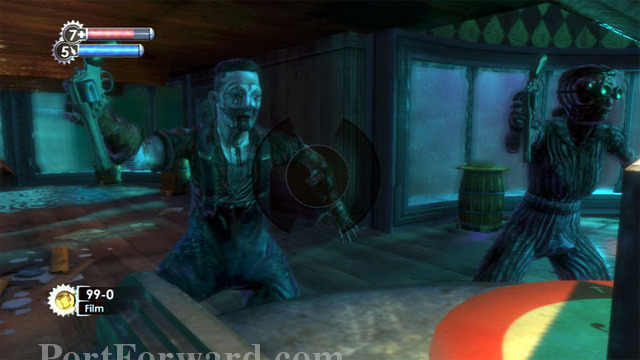
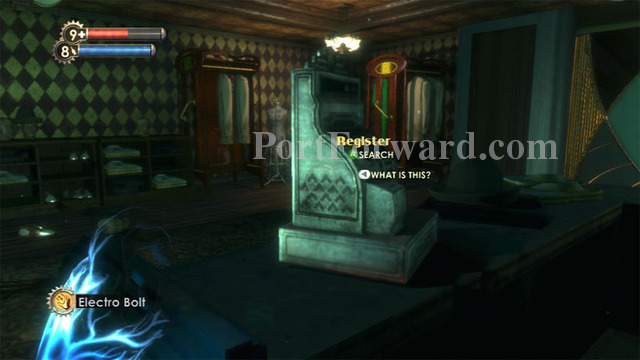
Here's the target of his angst. Meet your first Leadhead Splicer. These gun-toting foes are vulnerable to gunshots themselves. Search the counters for a First Aid Kit and cash. More funds can be drawn from the cash register near the corpse on the floor.
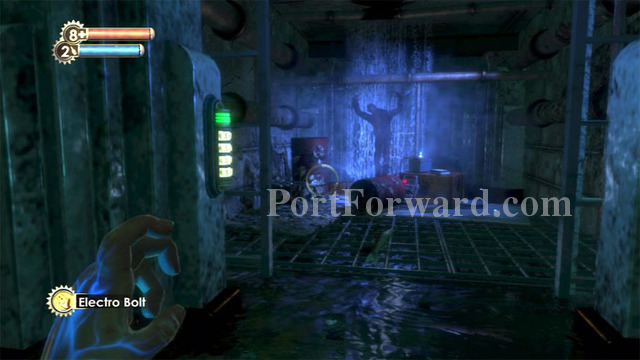
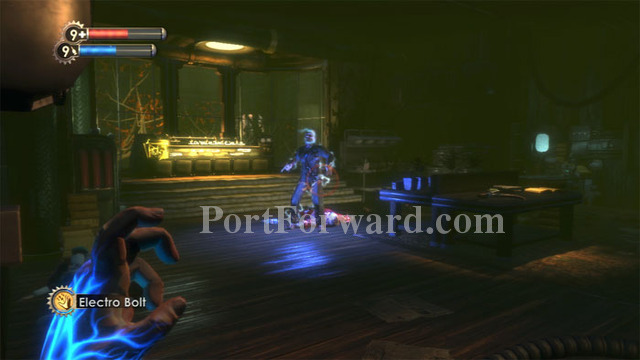
Two Splicers are in the water outside the kitchen. Zap them with your Electro Bolt to earn the Toaster in the Tub achievement.
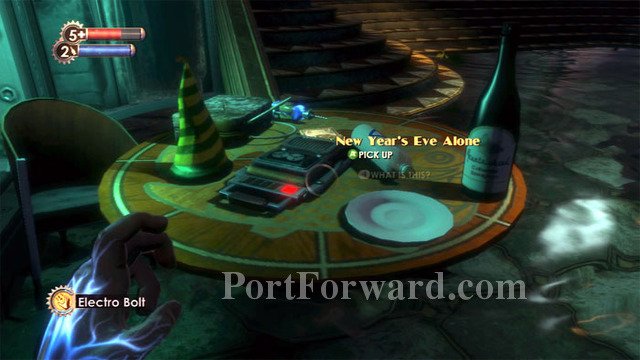
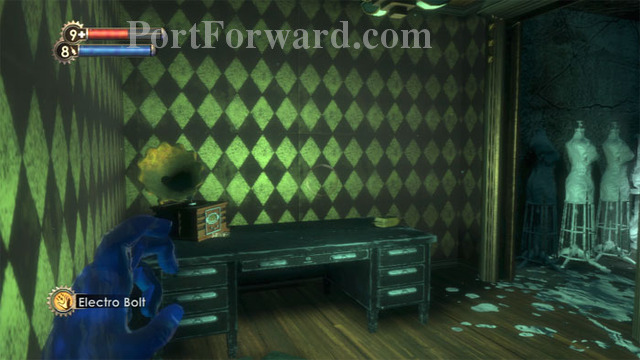
Diane McClintock's audio diary, New Year's Eve Alone, can be found on this table, alongside an EVE hypo and some cash. A First Aid Kit can be found along the bottom of the curved window.
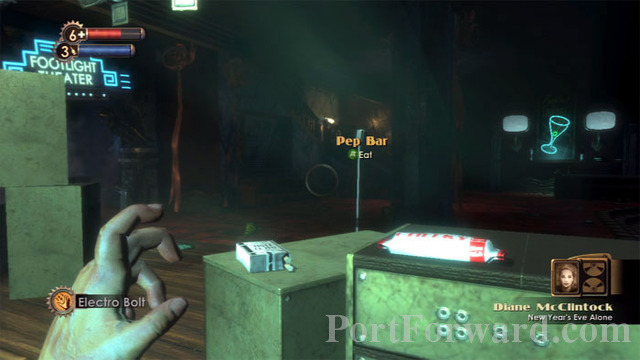
A Pep Bar is found here and another EVE Hypo is at your feet. The Footlight Theater door is blocked. A First Aid Kit and cash register are behind the bar by the neon cocktail sign on the right.
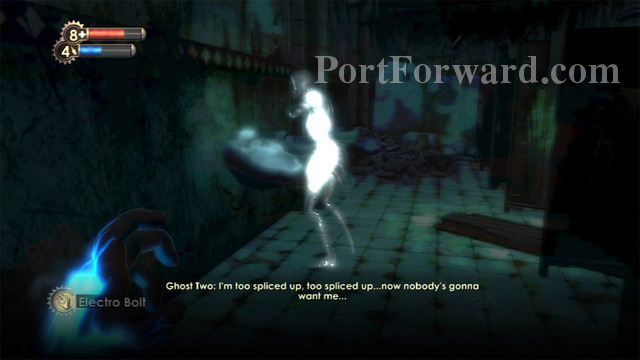
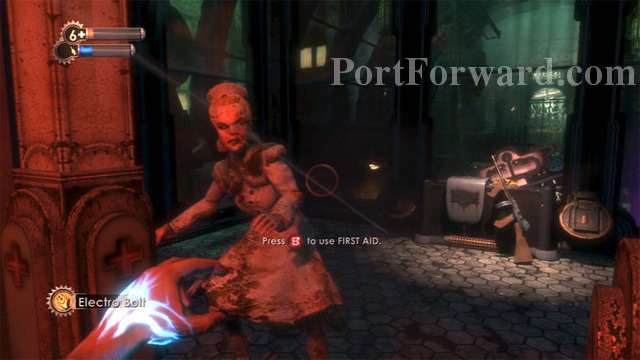
Return upstairs and defeat another Splicer as you turn right into the ladies' room. (Search the nearby pay phone area for a First Aid Kit and some cash.) Witness this sorrowful soul then listen to Steve Barker's audio log, Hole in the Bathroom Wall. Find a First Aid Kit in the farthest stall on the right. A Thuggish Splicer is in the closest stall.
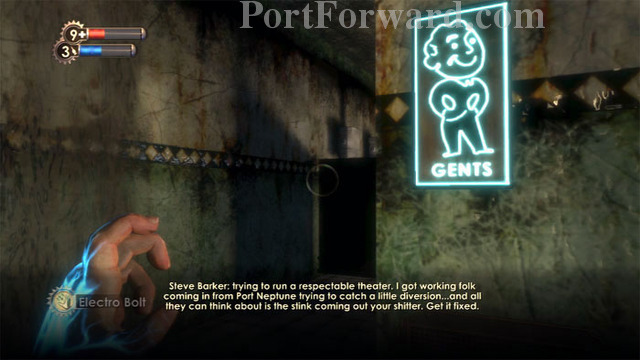
The hole mentioned in the audio log is in the neighboring men's room, the last stall on the left.
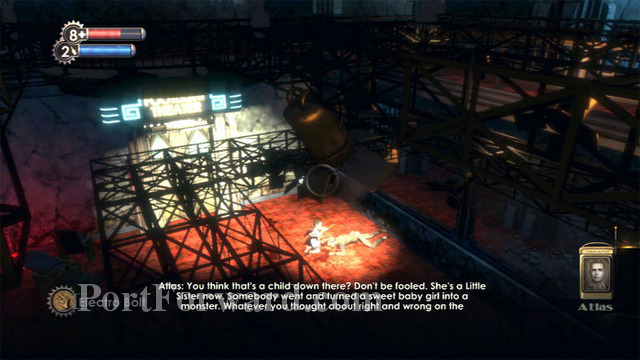
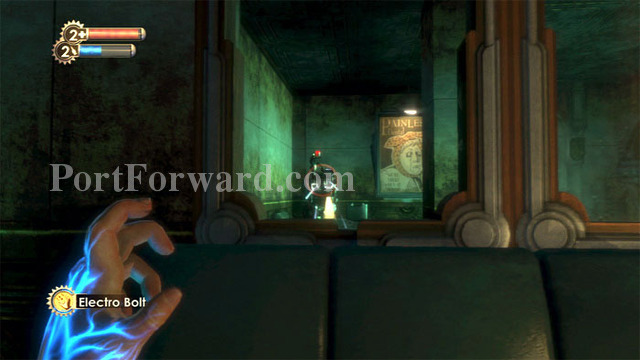
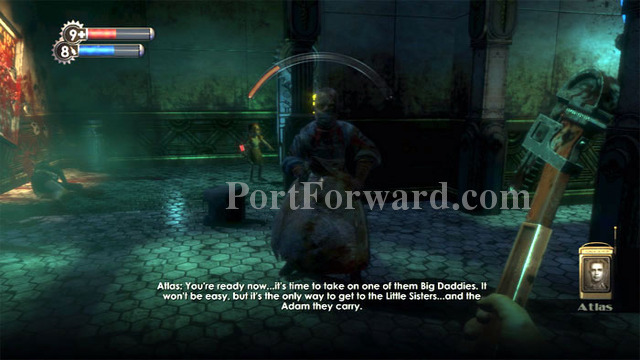
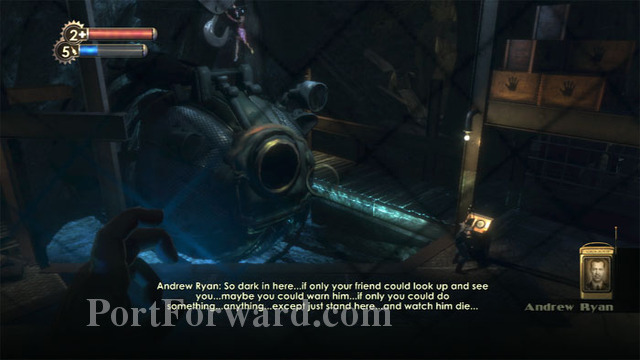
Follow the catwalk over the Little Sister below, then descend the stairs on the other side of the room as Atlas explains it all.
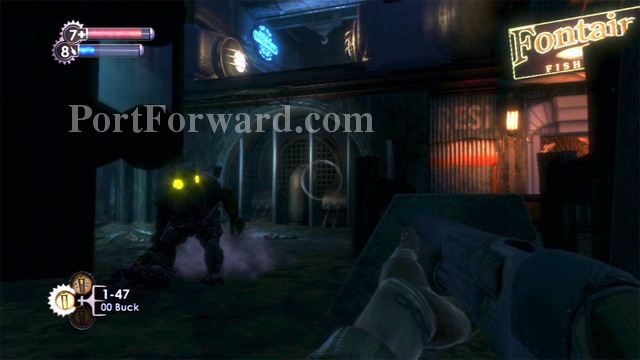
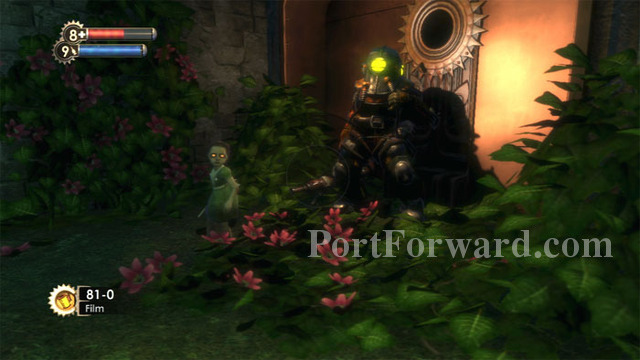
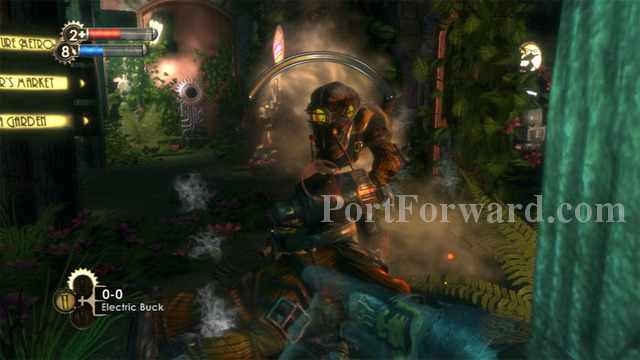
This Splicer is threatening the Little Sister, but she summons a Big Daddy.
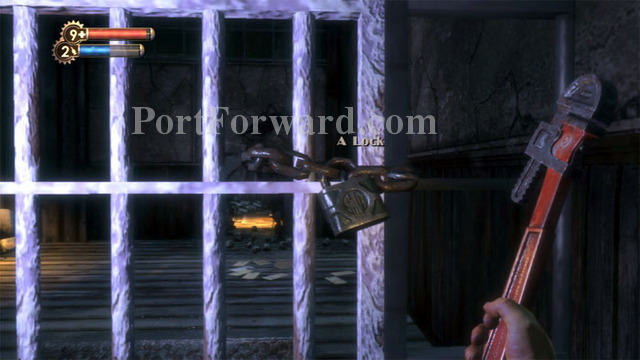
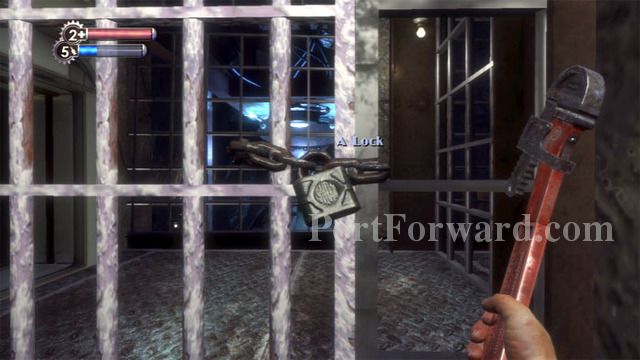
Once the Big Daddy has finished off the Splicer, smash the lock and chain with your wrench to proceed through the gate on the right.
A Vita-Chamber is here and that can only mean one thing - combat! Search the corpse on the left for supplies before heading right. Ready your pistol for a Leadhead Splicer female.
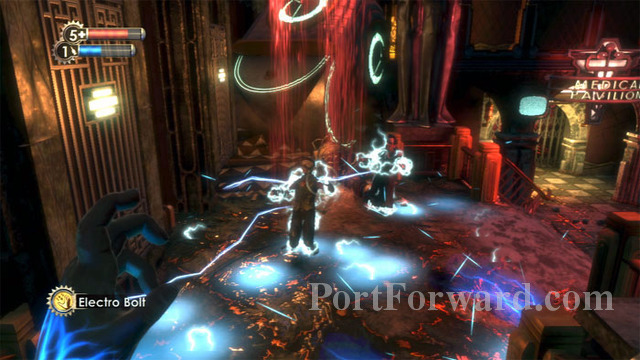
Defeat the Leadhead and her Thuggish companion before descending the stairs to zap these two with your Electro Bolt.
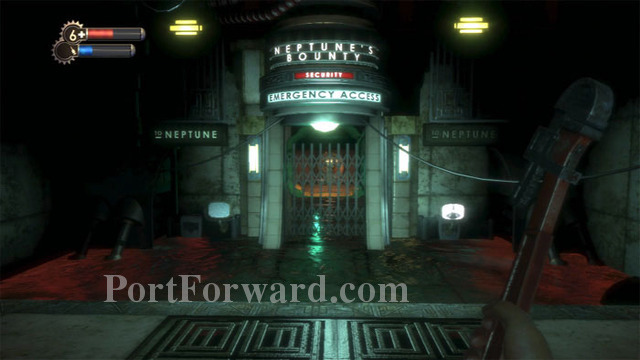
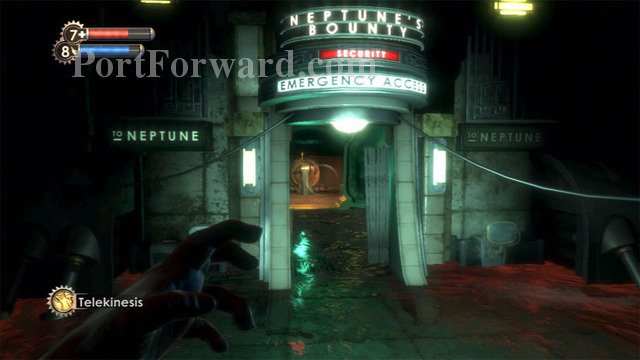
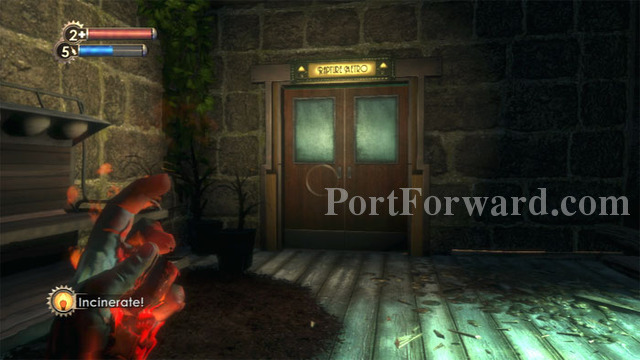
Before approaching the entrance to Neptune's Bounty on the right, search the men's room ahead for bandages near a toilet.
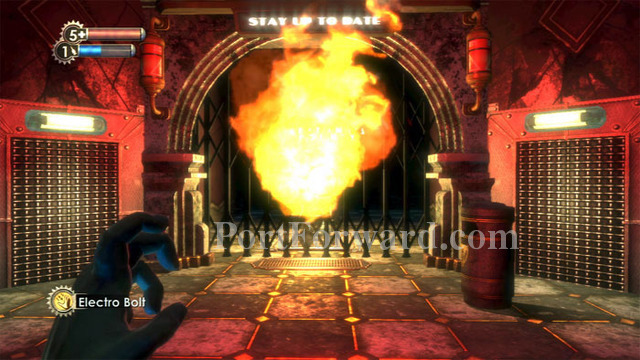
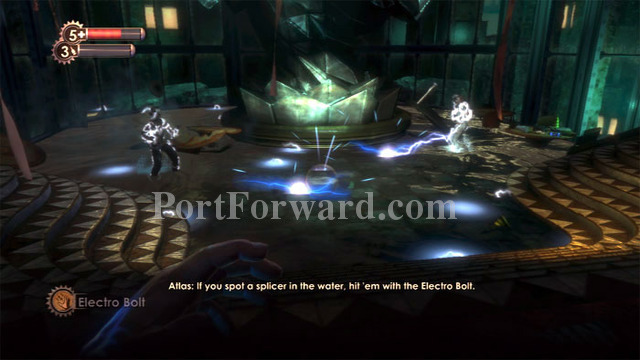
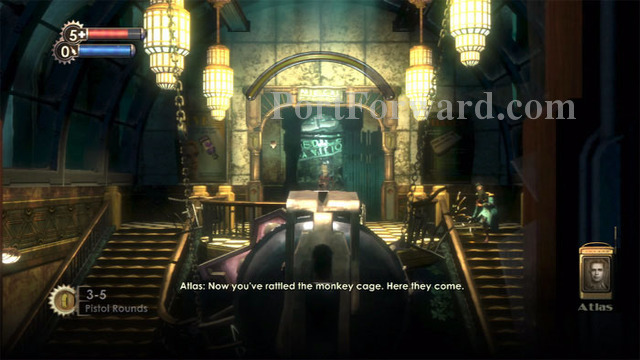
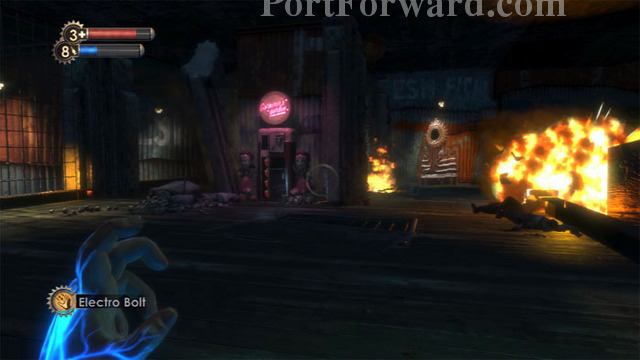
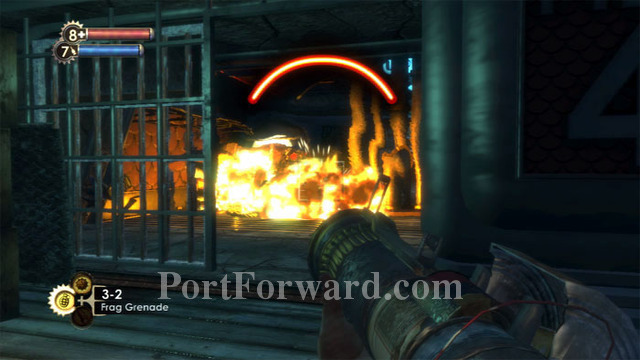
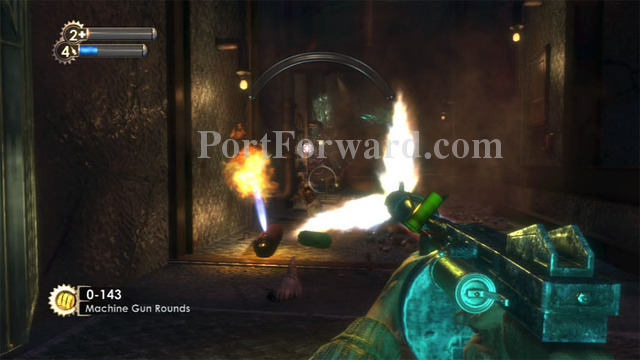
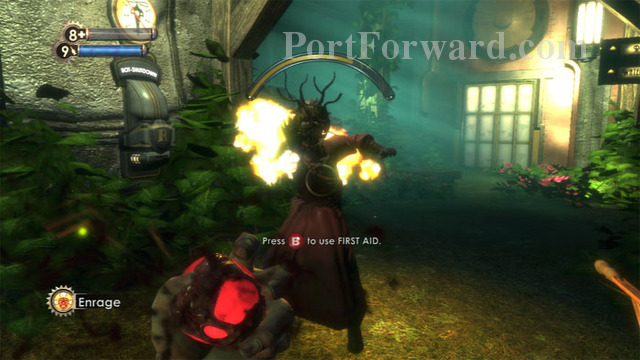
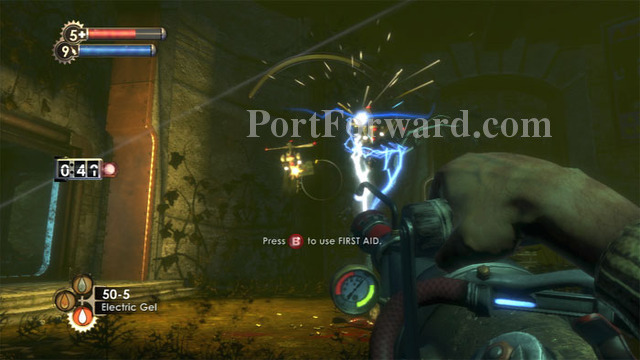
Be ready to back away once you approach the entrance to Neptune's Bounty. A security lockdown is triggered and a flamethrower turret is activated. It's showtime!
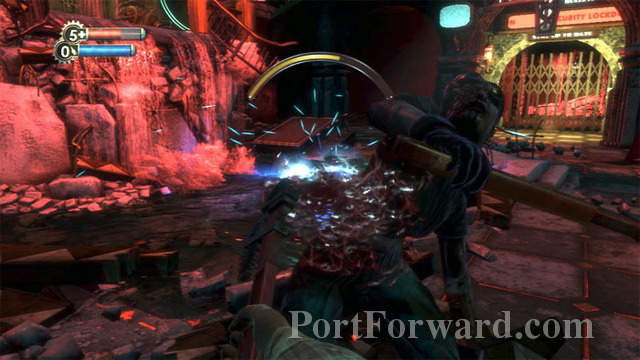
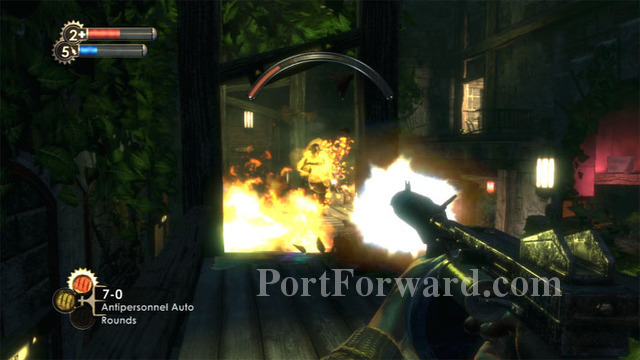
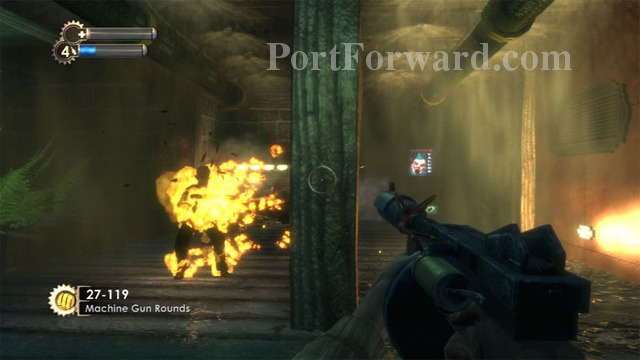
Two waves of Splicers attack. The nearby Vita-Chamber makes for convenient respawning should you have difficulty.
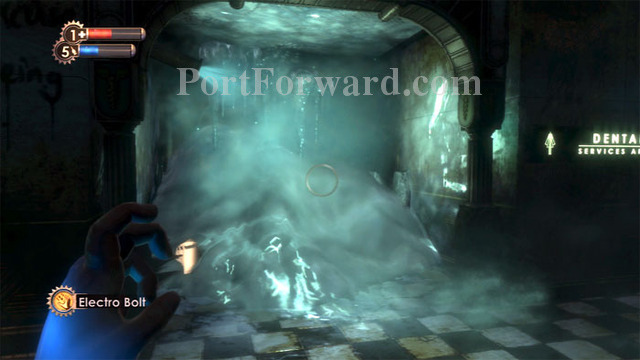
Make life easy for yourself and stay close to the water. Three Splicers from each wave will jump in, allowing you to finish them off easily with your Electro Bolt. Continue to the gate on the right after searching three crates to the left of the water.

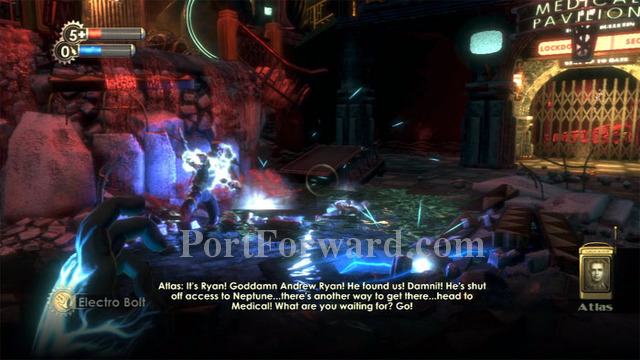
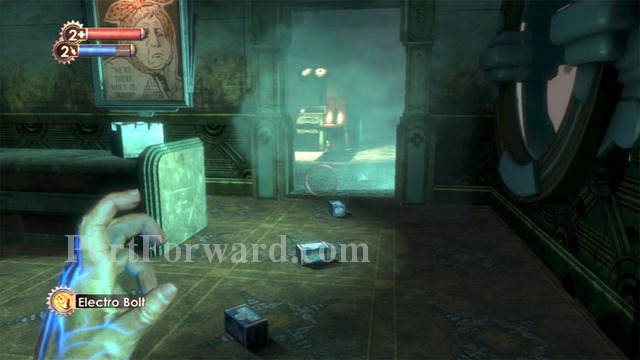
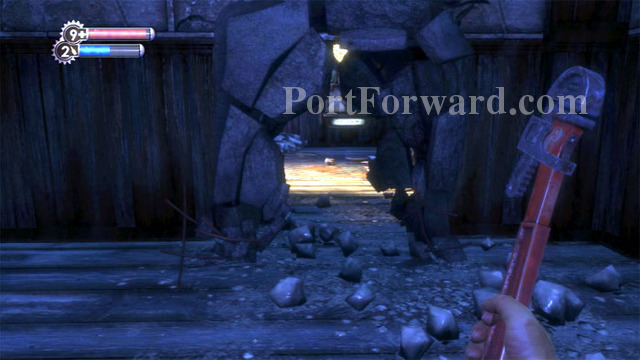
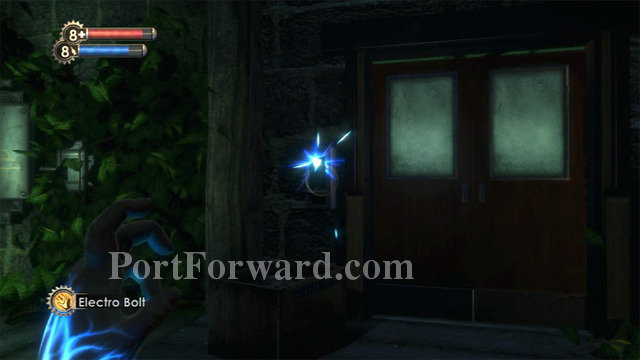
Hop over some debris then approach the pressure door seen here to trigger the next sequence.
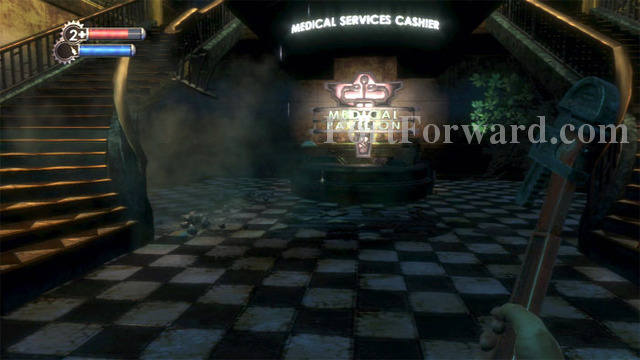
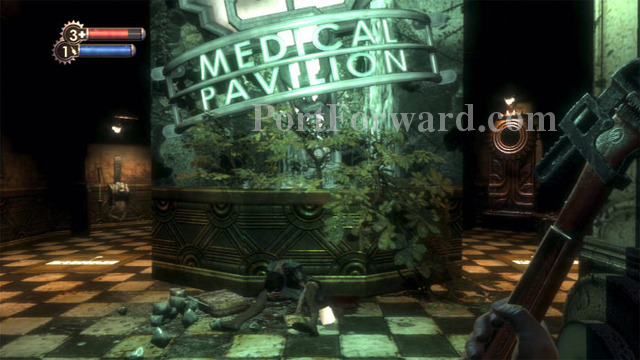
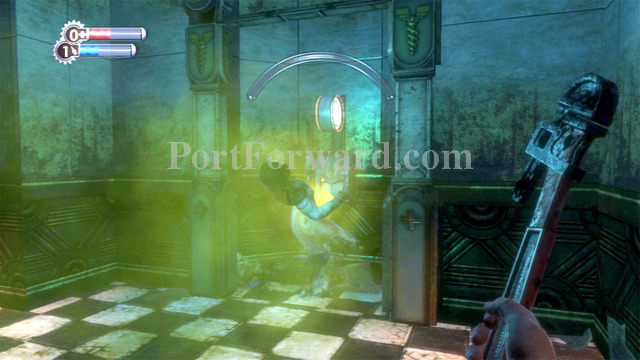
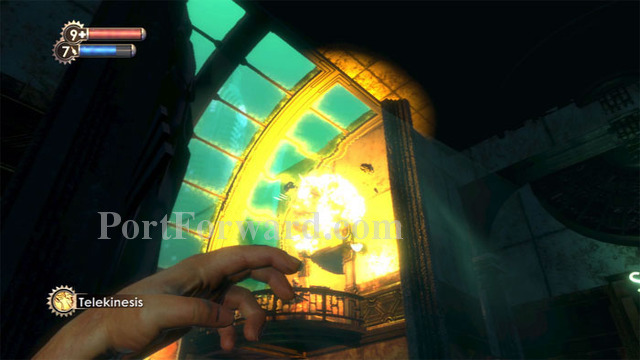
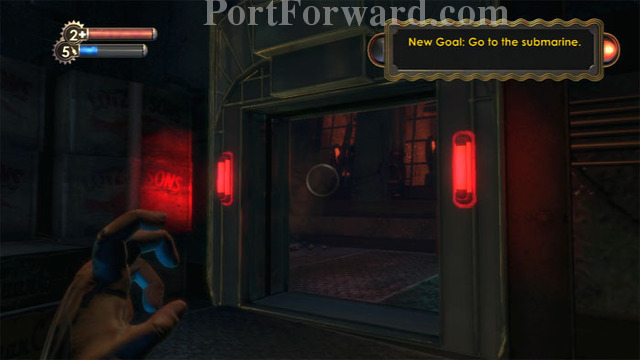
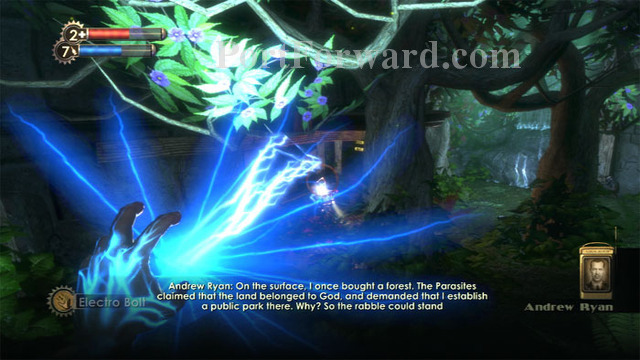
Watch this message from Andrew Ryan. More Splicers attempt to get to you, but are held back by the safety glass. Atlas is able to re-activate the pressure door. Use it to advance to Medical.
BioShock Walkthrough Medical Pavilion
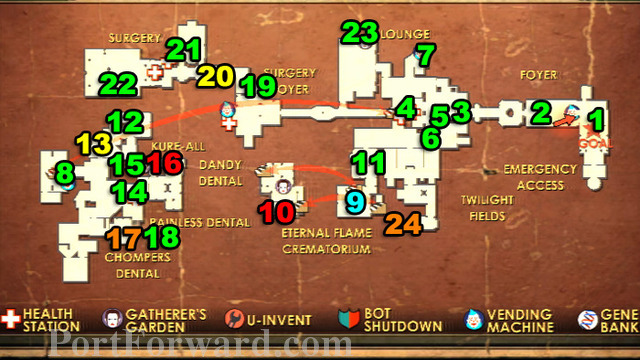
Here's a map of the level.
Map - Medical Pavilion
1. ADAM's Changes - Audio Diary
2. Released Today - Audio Diary
3. Higher Standards - Audio Diary
4. Love For Science - Audio Diary
5. Parasite Expectations - Audio Diary
6. Limits of Imagination - Audio Diary
7. Vandalism - Audio Diary
8. Freezing Pipes - Audio Diary
9. Hacker's Delight - Physical Tonic
10. Incinerate - Plasmid
11. Surgery's Picasso - Audio Diary
12. Enrage Trial - Audio Diary
13. Wrench Jocky - Combat Tonic
14. Useless Experiments - Audio Diary
15. Testing Telekinesis - Audio Diary
16. Telekinesis - Plasmid
17. Speedy Hacker - Engineering Tonic
18. Plasmids Are The Paint - Audio Diary
19. Symmetry - Audio Diary
20. Static Discharge - Combat Tonic
21. Aphrodite Walking - Audio Diary
22. Not What She Wanted - Audio Diary
23. Gatherer Vulnerability - Audio Diary
24. Security Expert - Engineering Tonic
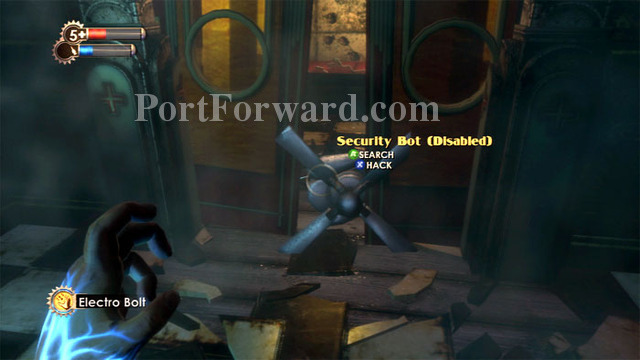
Turn right, then keep left around the first corner to find this Security Bot. Approach and press "X" to initiate your first hacking attempt.
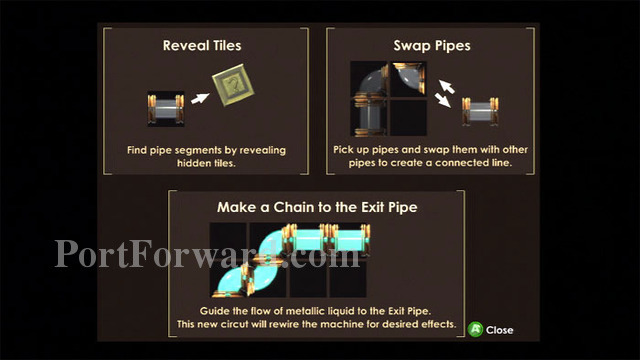
Here are the instructions for the hacking mini-game. It's pretty straightforward and not as difficult as it looks, once you get some practice. It's essentially another version of the Pipe Dream game.

The water moves very slowly during this training hack. Here is one possible solution.
Once hacked, the doors will open and the bot will stay by your side and defend you. While two Splicers fight it out to the right, approach the desk on the left to find the ADAM's Changes audio diary, machine gun ammo and a First Aid Kit. There is also a storage crate to the left of the desk.
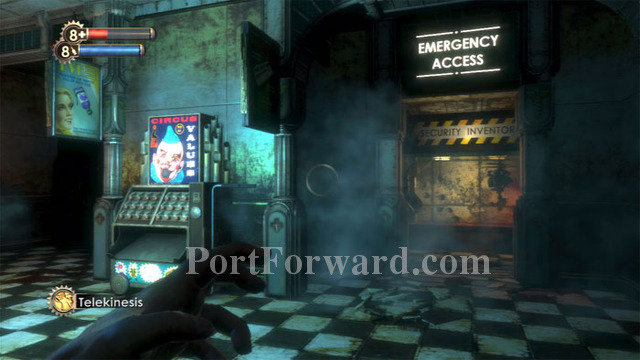
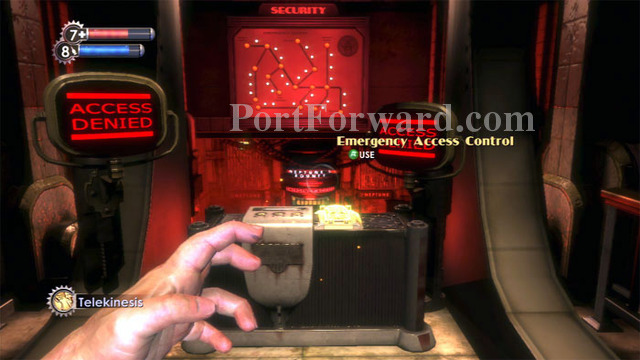
You can backtrack a bit to hack the Circus of Values vending machine, but it is much more difficult to hack. Ahead is the Emergency Access you've been looking for, but you'll find it locked. Pistol ammo is behind a column on the right.
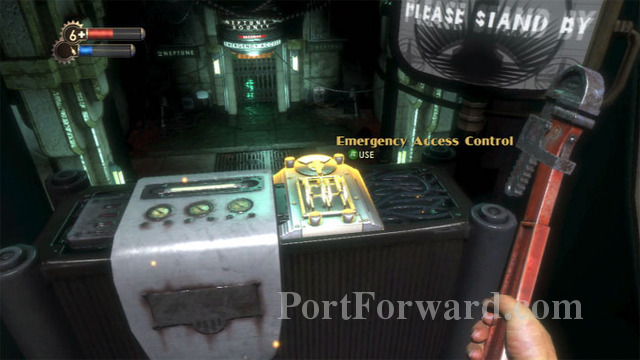
Defeat the victor of the dueling Splicers, then find a storage crate under the stairs before ascending them to this Emergency Access Control. Using it triggers a new goal from Atlas: get the key from Dr. Steinman.
Pass through the now-unlocked door behind yourself and defeat this Thuggish Splicer. Grab the machine gun and search the storage crate on the right before activating the Electrical Override Switch ahead.
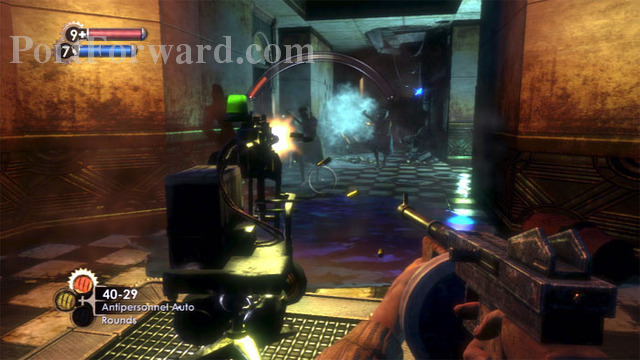
Activating the switch triggers a Splicer attack. Press the right stick to zoom your revolver and tag the Splicers as they rush through. Your hacked security bot will engage them. Survivors will attack through the door behind you.
Jump below, and approach the reception desk to find the Released Today audio diary, along with a handful of supplies. Ascend the curved staircase.
More supplies are found here, including cash and pistol rounds.
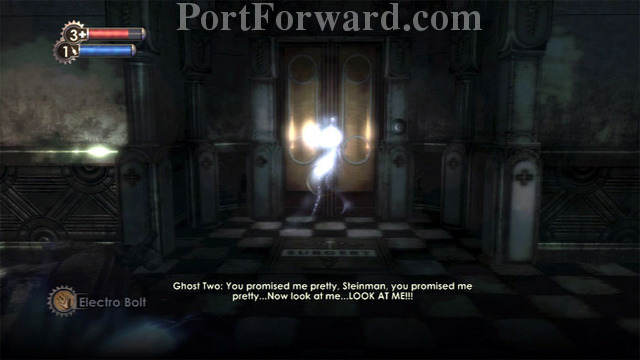
Witness the apparition before the power is restored. Use the door control to the right of the doors and continue ahead.
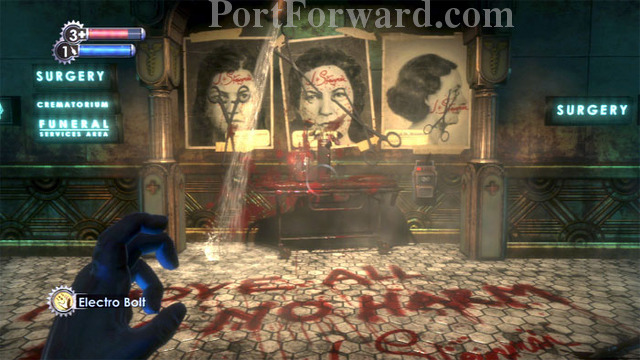
You'll emerge in a large rectangular hallway. Funeral services and the crematorium (plus an EVE hypo) are to the left, surgery (plus a searchable trash can) is to the right. Find Steinman's audio diary Higher Standards under the rightmost poster.
Proceed cautiously around the corner. This turret, plus another in a storage room on the right, must be hacked to make the unfolding battle winnable. Zap the turret with your Electro Bolt to temporarily disable it, then quickly approach and press "X" to hack it.
This storage room makes for a decent, albeit temporary, refuge against the onslaught of Leadhead Splicers. Inside you'll find a First Aid Kit, Armor-Piercing Bullets, storage crates and a cabinet to search.

The Armor-Piercing Bullets are special ammo for your revolver, effective against turrets and other armored targets. Use the D-Pad to change ammo type, seen in the lower-left of your screen.
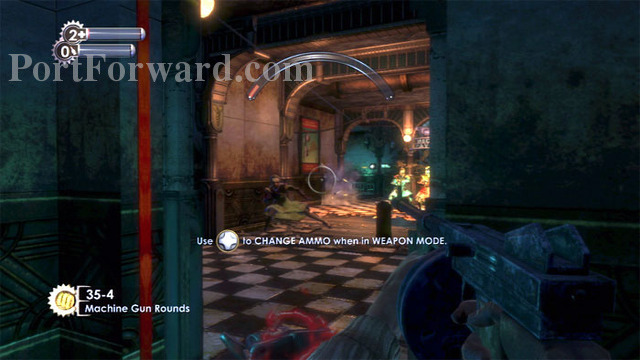
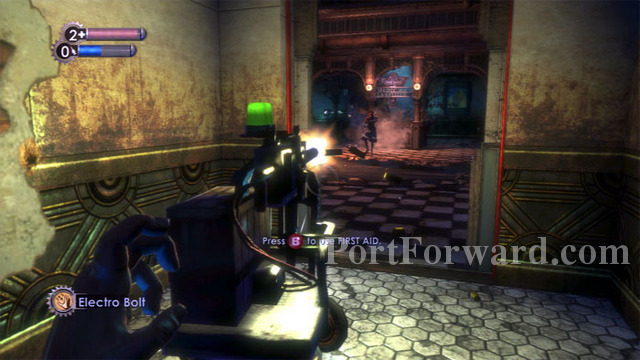
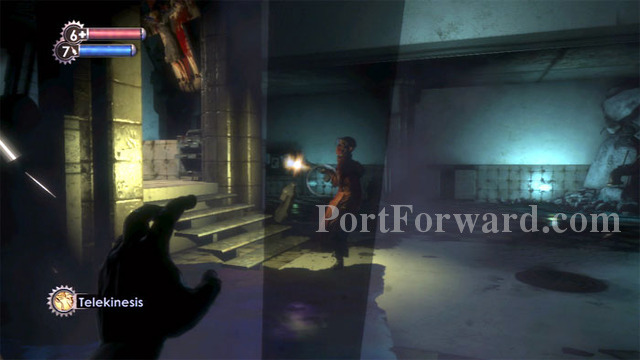
Lots of Leadheads Splicers join the battle. Your Machine Gun is useful when there are this many foes, but its kickback makes aiming very difficult, at least for now. In fact, this is one of the more difficult battles of the game. You are not yet Spliced for battle and your weapons are not yet modified, yet there are plenty of enemies about.
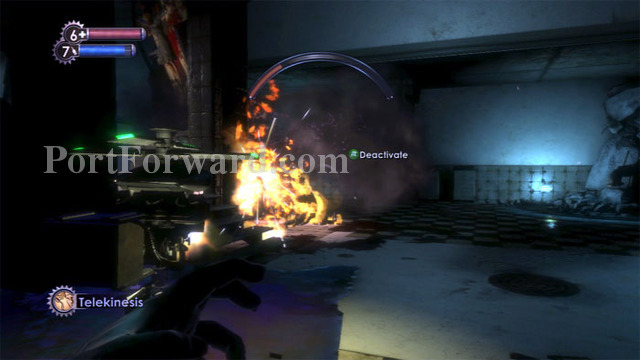
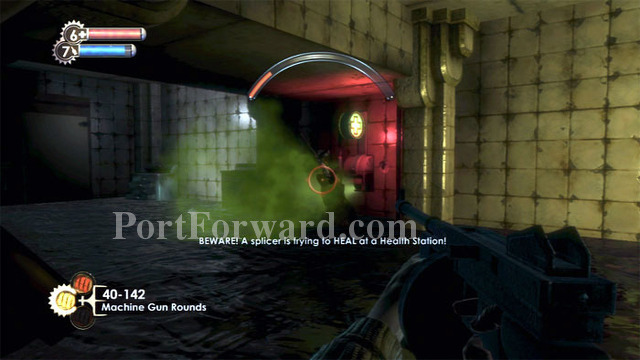
Two Health Stations are in the area, and they will be at the service of the Splicers. Hacking them will inflict damage on any Splicers who attempt to heal. Muahaha! Now the battle is turning!
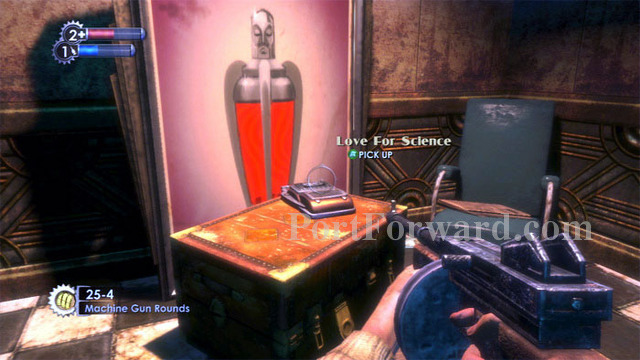
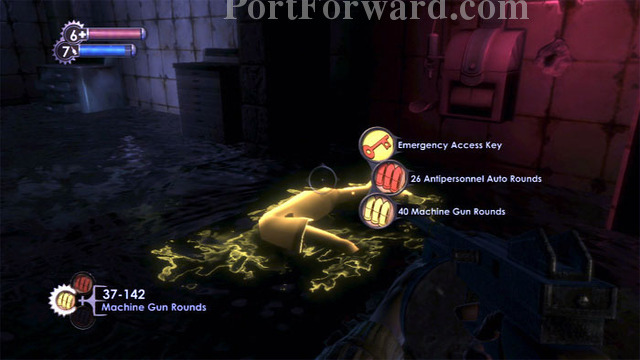
Once the battle calms, search the immediate area for goodies, such as this Love For Science audio diary. (Avoid the Eternal Flame crematorium -- you don't want to open that can of worms just yet.)
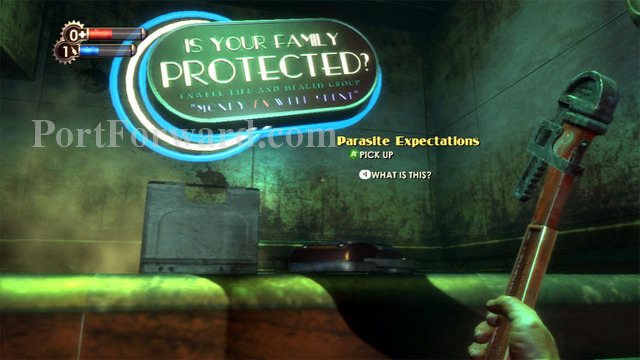
The Parasite Expectations audio diary can be found here. Search the nearby cash registers for money.
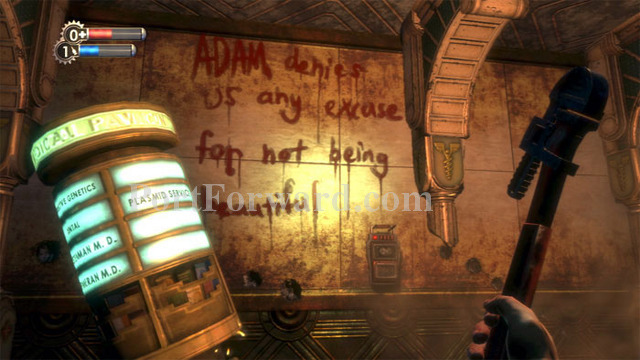
Steinman's Limits of Imagination audio diary is found on this wall.
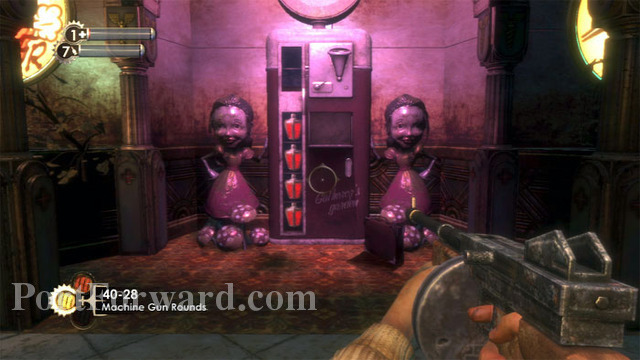
Enter this side hallway on the left to find Circus of Values and El Ammo Bandito vending machines, plus Andrew Ryan's Vandalism audio diary. Note the supply-room sign on the right to get your bearings.
It is more difficult to hack the vending machines, but you are rewarded with more items to buy, and everything will be less expensive.
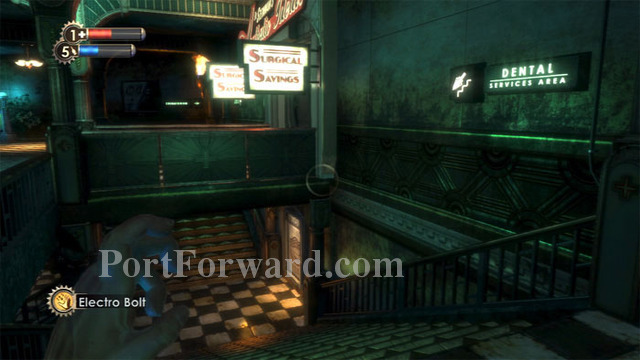
Descend these stairs to the Dental Services area.
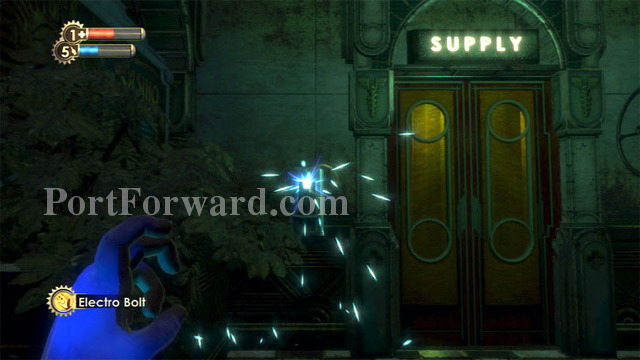
Storage crates, trash cans, and this supply room with an Automatic Hack tool are found. Use your Electro Bolt to open the supply room door.
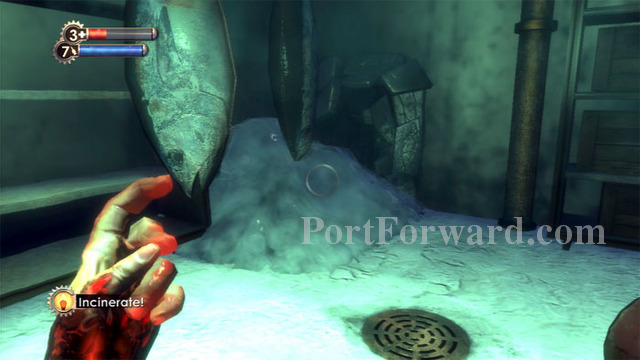
The path to Dental Services is blocked by ice. Pull McDonagh's Freezing Pipes audio diary out of the ice for some background. If only there were some way to melt the ice and unblock the path...
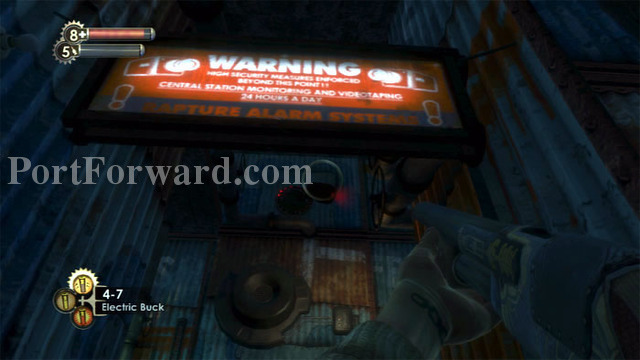
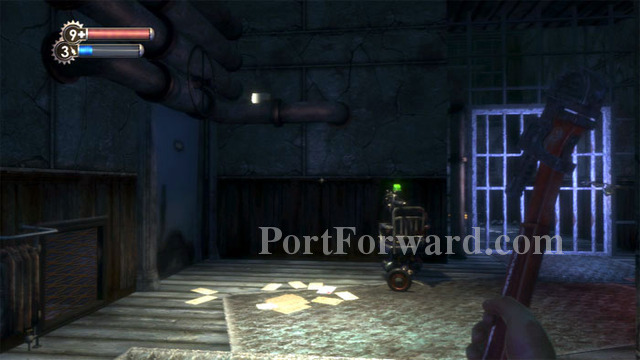
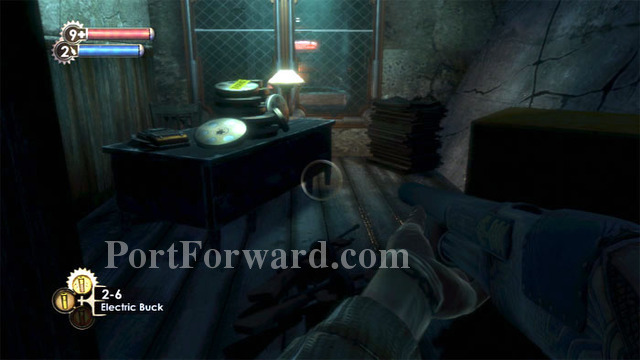
Now would be a good time to visit the Eternal Flame crematorium. Keep left up the stairs and find it here on the right. A Thuggish Splicer is blown to bits by this guy, your first Nitro Splicer. Electric Buck ammo is on the ledge to the left.
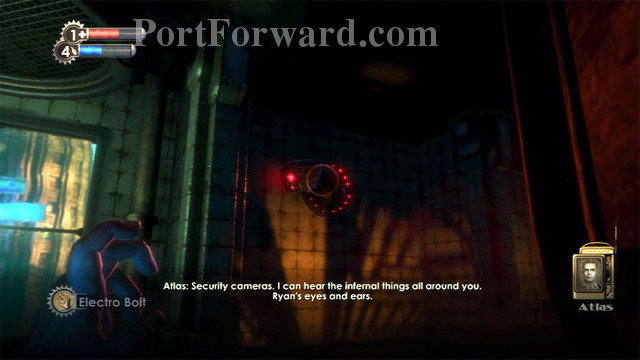
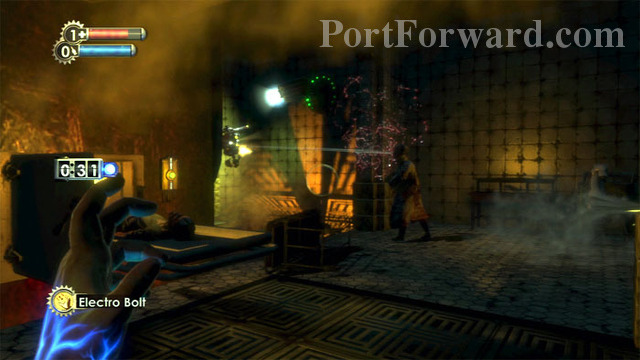
The Nitro Splicer tosses bombs your way and is the deadliest foe you've seen yet. Zap him with your Electro Bolt then rush to this back room inside Eternal Flame. Zap the security camera then hack it quickly.
Lure the Nitro Splicer to the camera and its security bots will assist you in taking him down. Note the body at the incinerator on the left.
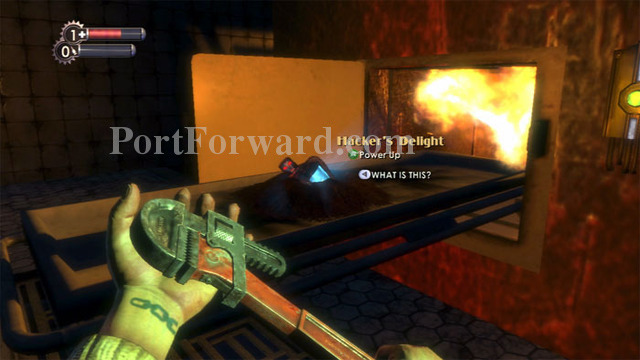
Press the furnace control button on the right to incinerate the body and receive this Hacker's Delight. This Physical Tonic awards you a small amount of health and EVE after a successful hack.
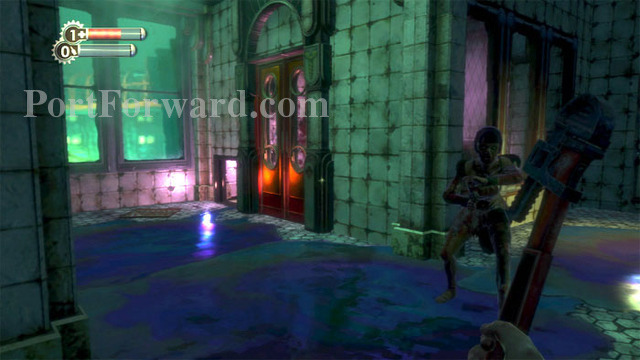
Ascend the nearby stairs then rush past this Splicer to the crawlspace left of the door ahead. Notice the oil slick on the floor.
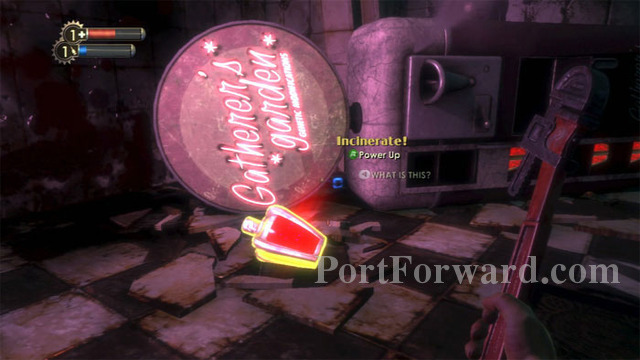
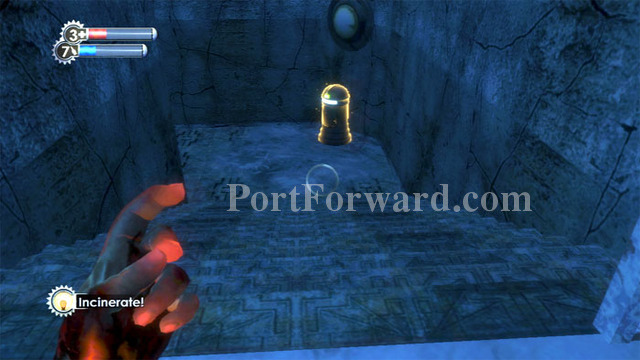
The Incinerate Plasmid is found inside. Spot the EVE hypo behind the Gatherer's Garden. Another EVE hypo is found on the desk to the right.
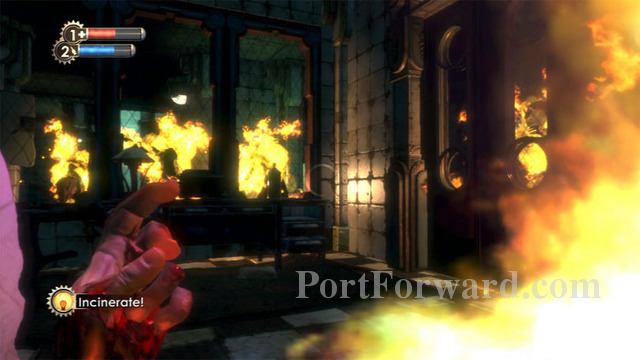
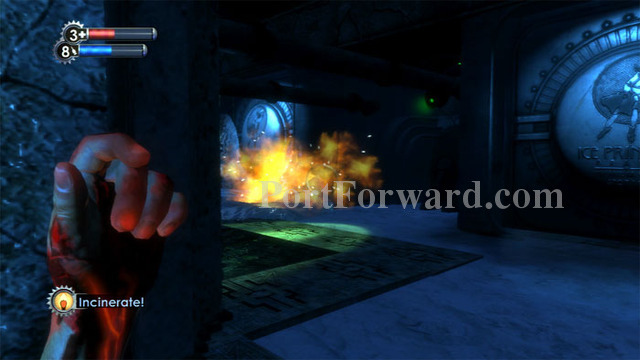
Splicers attack, surrounding the room. The oil slick you noticed a moment ago trails a bit through the crawlspace. Hit it with your new Incinerate Plasmid to set all the Splicers ablaze!
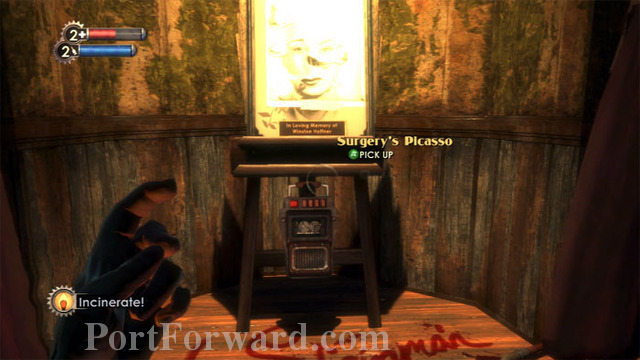
Find a First Aid Kit in the hall before returning downstairs and searching for more goodies, including this troubling audio diary from Steinman, Surgery's Picasso.
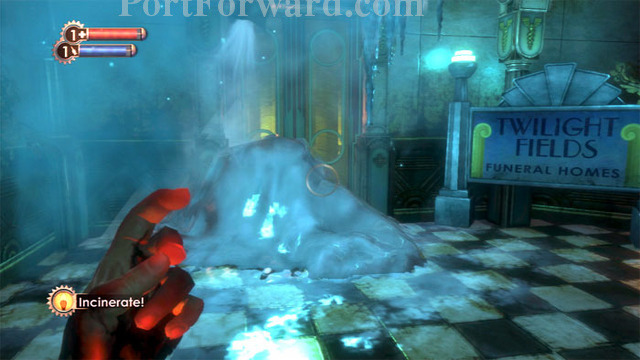
Return to Dental Services and melt the ice blocking your path with the Incinerate Plasmid. You'll also want to melt the ice blocking this door upstairs at the Twilight Fields funeral home. Don't head inside just yet -- we'll be back.
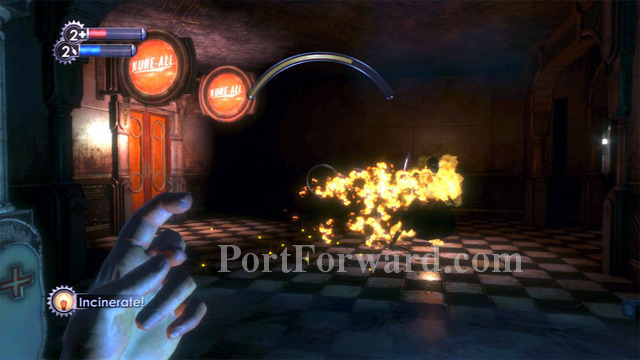
Incinerate also makes short work of this Thuggish Splicer. Find bandages on the floor to the right before proceeding to Kure-All on the left.
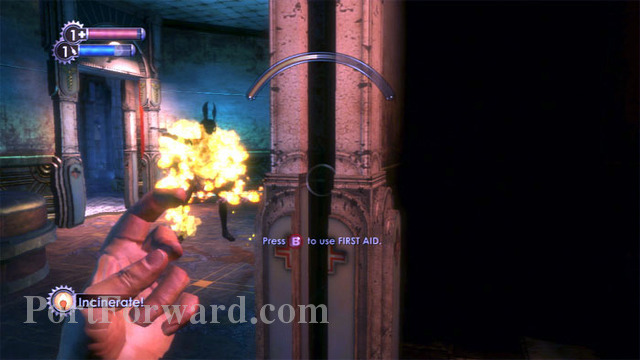
A Leadhead Splicer is in here and there's a nasty rocket turret on the right. I'm still using Incinerate in this shot, but I recommend switching to Electro Bolt to disable these foes before quickly hacking the turret. You can then take cover behind it while it attacks the Splicer. You'll find a First Aid Kit, a Cash Register, Bandages and Armor-Piercing Pistol Rounds near the turret. Continue through the door seen on the left.
Directly ahead is SuChong's audio diary, Enrage Trial. Don't approach it just yet, however, as a security camera is covering the area. Notice the EVE hypo and Electric Buck ammo on the beam above -- if you can't reach them by jumping, you'll be able to retrieve them once you have Telekinesis, coming up soon.
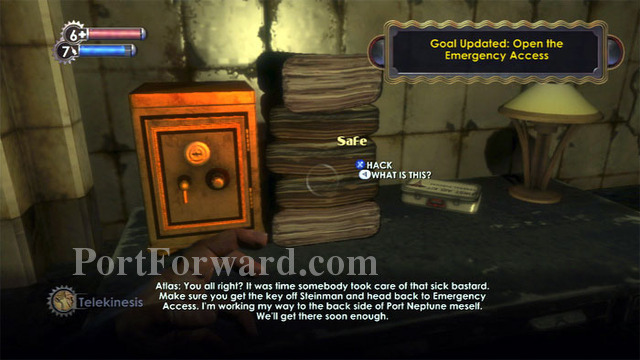
Turn right, then find the security camera on the left. I prefer to zap it with Electro Bolt before approaching. Once underneath, look up and maneuver yourself until you see the "X" to hack the camera. An EVE hypo is on the nearby bed. Note the safe under the camera which can be hacked for supplies.
With the camera hacked, you can listen to SuChong's audio diary in peace. Find this grate on the right as you head for the door. Smash it with your wrench then climb into the vent.
Emerge in this room to find health, ammo, and the Wrench Jockey Combat Tonic, seen ahead. A Thuggish Splicer is now available outside the air vent for you to test your newly-found wrench strength.
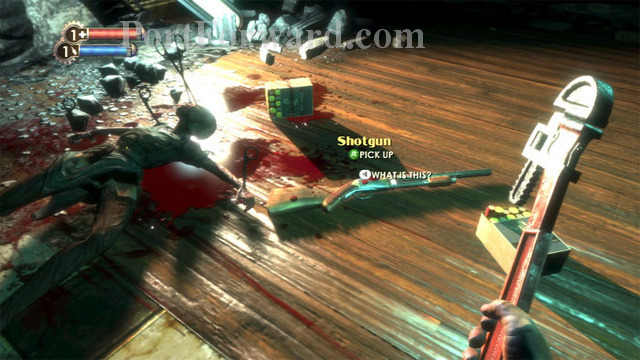
Exit the Kure-All and find this Shotgun in the room across the hall. Grab the Shotgun and trigger an ambush.

The room is sealed and Splicers attack all around. This is a great time to learn the Shotgun. Reload as soon as you pick it up and you shouldn't have any trouble. Just keep circling backwards and fire as they approach.
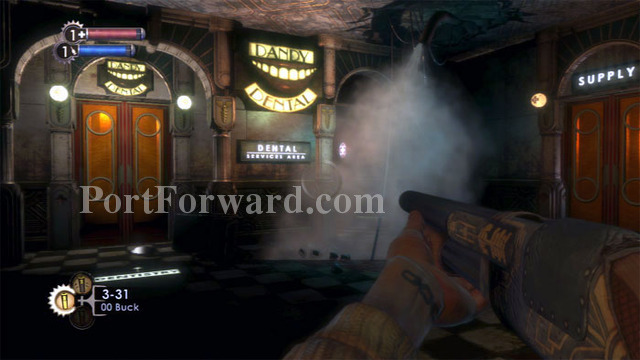
Loot the room after the battle ends then find Tenenbaum's audio diary, Useless Experiments outside the Dandy Dental door on the left. Enter and find plenty of supplies and no enemies. The supply-room door on the right is locked.

Most importantly, make an immediate left after entering to pass through a glass door and find the Telekinesis Plasmid at this defunct Gatherer's Garden. SuChong's Audio Diary Testing Telekinesis is propped against the console on the right. You now have three Plasmids but only two Plasmid slots. I choose to replace Incinerate with Telekinesis and keep Electro Bolt, which I find very useful for temporarily disabling turrets and cameras before I hack them. (Warning: without Incinerate, you won't be able to melt the ice blocking the funeral home. If you want to keep Electro Bolt, don't take the Telekinesis Plasmid unless you've melted the ice outside Twilight Fields.)
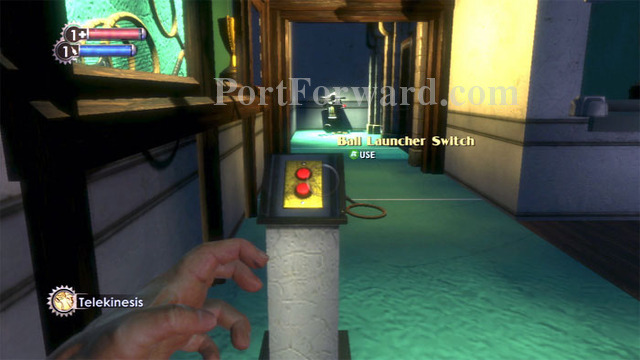
You can practice your Telekinesis skills by activating this switch. Catch the balls as they are thrown by holding the left trigger. Release the left trigger to throw the ball.
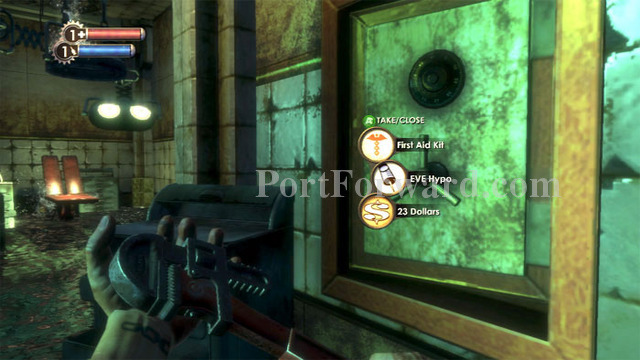
Crack this safe for decent loot, and check the front counter for cash.
Exit to the hallway and continue past the locked Painless Dental door on the left. (The dead-end on the right has a Vita Chamber and some Pep Bars.)
Beware of this turret as you round the left corner. An Electro Bolt disables the turret long enough to crawl through the window and hack it.
You're now inside Painless Dental. Cash and Electric Buck is behind the counter. A trail of bandages leads to the next room. Note the empty examination bed directly ahead.
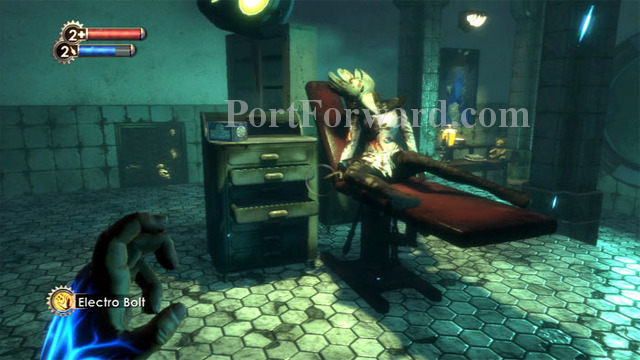
You become disoriented by mist as you enter the room. You hear footsteps, and then this corpse appears on the bed that was previously empty! Creepy! SuChong's Plasmids Are The Paint audio diary and a Speedy Hacker Engineering Tonic are on the right. Crawl through the vent on the left to battle a Leadhead Splicer and find an Automatic Hack Tool, Armor-Piercing Pistol Rounds, Electric Buck and snacks. Emerge out the previously-locked supply-room door.
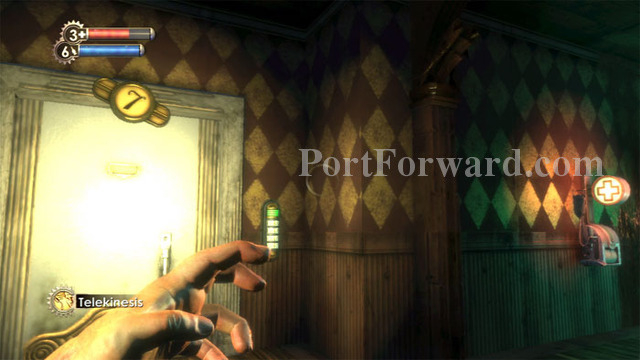
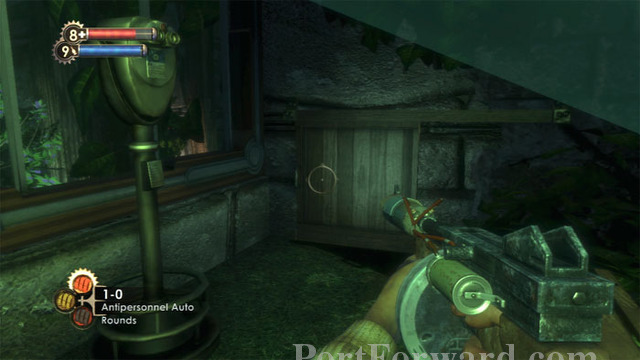
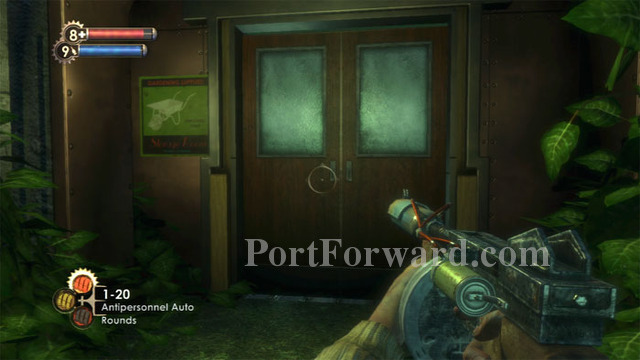
At the end of the hallway is this opportunity to test your Telekinesis skills. The door on the right is locked, but the key is found dangling just through this window. Pull the key to yourself using Telekinesis, then unlock the door on the right. Inside are two security cameras that you'll want to hack so you can loot the area in peace. Included in the take are some Antipersonnel Auto Rounds for your Machine Gun, plus there is a safe in the back room. Return past the melted ice block to begin your pursuit of Steinman.
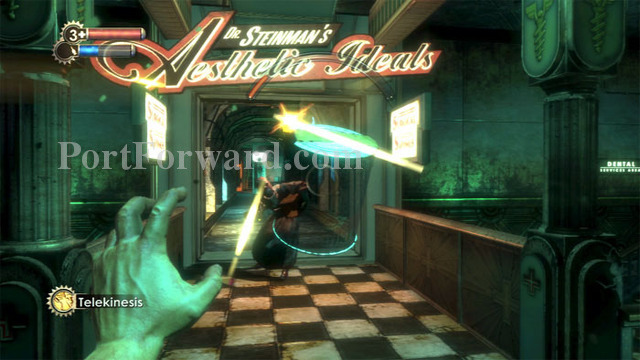
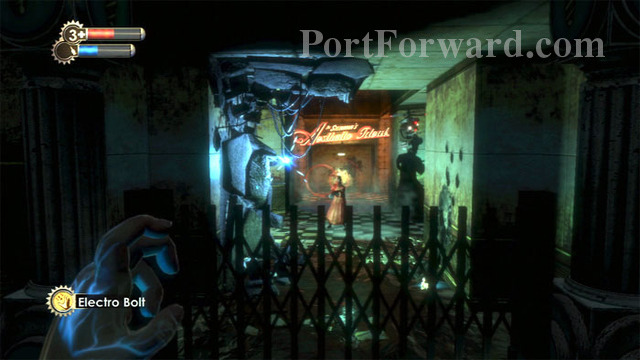
Ready your Telekinesis as you return upstairs. Nitro Splicers are between you and Dr. Steinman's Aesthetic Ideals. Grab their bombs and toss them back.
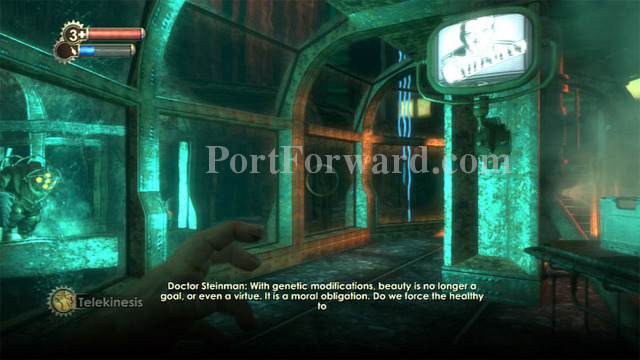
A Big Daddy and a Little Sister are in the neighboring tunnel, and Steinman is spouting his insanity on the TV. I love this tunnel. It's sort of like living in a snow-globe while watching someone else in another.
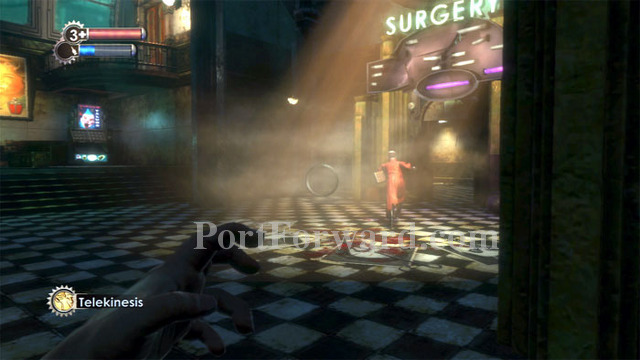
Steinman is in the room at the end of the tunnel. Don't waste your ammo on him, he's invulnerable for now. He tosses a bomb and blocks the exit with debris.
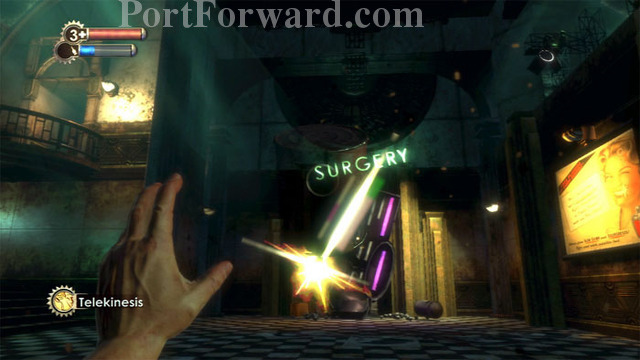
What you need to do is use your Telekinesis to grab one of the bombs being thrown by the Nitro Splicer on the balcony. You can then throw the bomb at the debris and clear the exit.
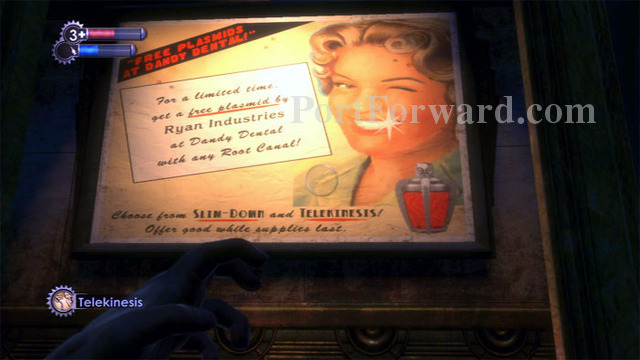
If you didn't already have Telekinesis, Atlas would set a new goal for you to find it. These billboards advertising free Telekinesis Plasmids at Dandy Dental would be your clue to go to Dental Services.
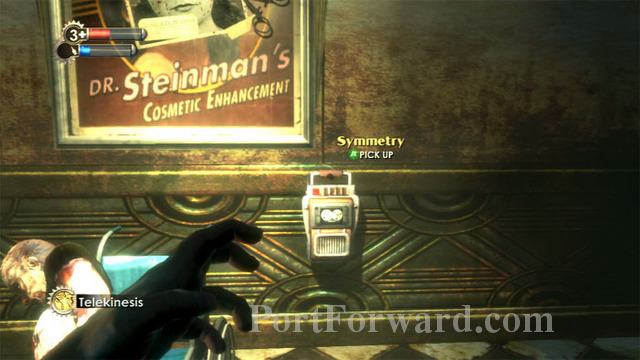
Find money in front of this wheel chair, and Steinman's audio diary Symmetry on the wall.
Steinman activates a turret and sends a security bot after you. Hacking them both will give you additional allies in the upcoming boss battle.
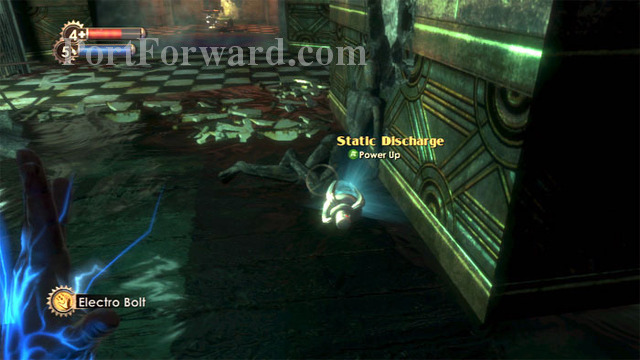
Find the Static Discharge Combat Tonic here. This Tonic will emit an electrical charge against everyone nearby when you are struck.
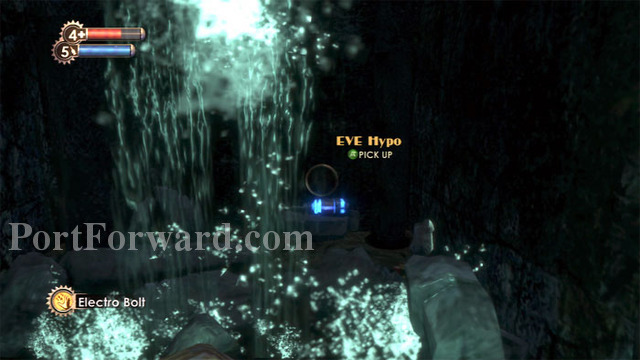
Turn around to find this EVE Hypo.
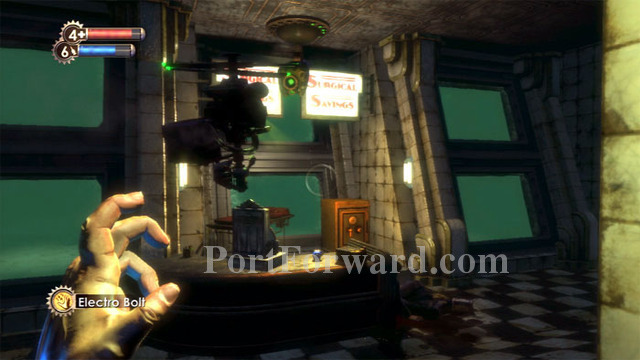
Enter the room on the right. Hack the security camera and you've got a secure place to hide or lure Steinman once the battle begins. An EVE Hypo, cash, ammo, bandages and a safe are found here as well.
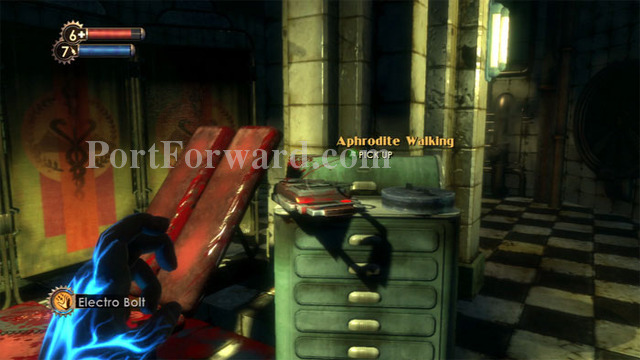
Steinman's audio diary Aphrodite Walking is found here, alongside Machine Gun ammo.
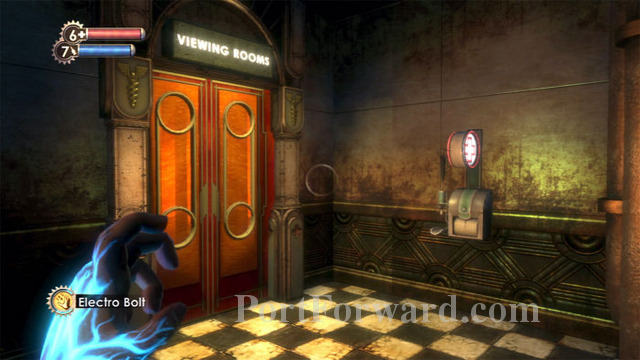
Hack the health station before entering the viewing rooms -- Steinman will use it once injured.
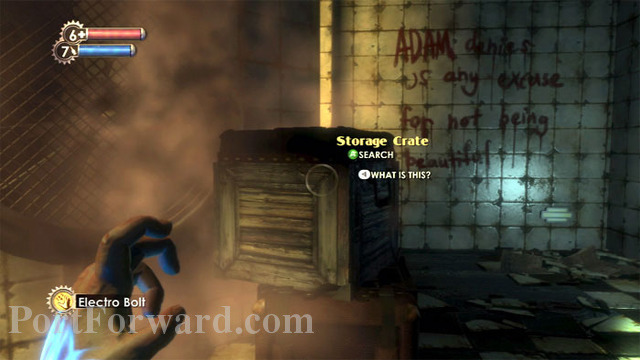
Search these storage crates near the door before approaching Steinman.
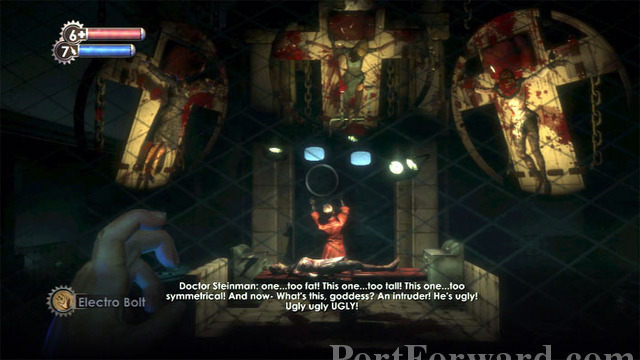
Another crate is to the left of this window, but once you approach, Steinman's insane rambling begins. Once he notices you, head to the door on the right and pass through after it unlocks.
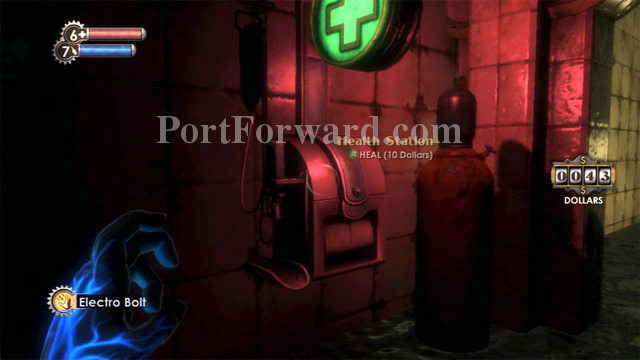
Keep right, then rush down the stairs to hack this health station. Note the flammable canister to the right.
Use your Telekinesis to pick up the canister, then throw it at Steinman.
The resulting explosion, combined with the damage inflicted from your hacked bot, should leave Steinman significantly weakened.
He'll run to the hacked health station, destined to be defeated.
Grab the Emergency Access Key to complete the goal. Poor guy never had a chance.
First Aid Kits abound, one on this table, another on the table to the right, and three more in the safe.
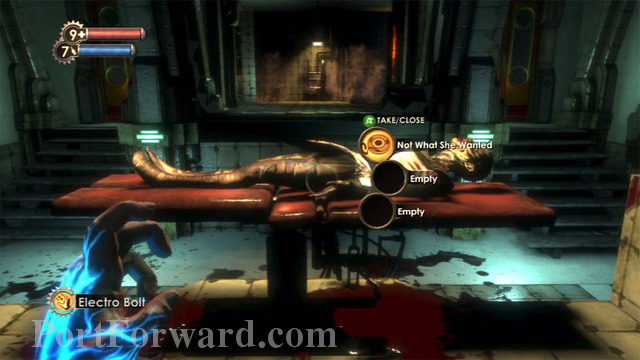
Search this corpse for the chilling audio diary Not What She Wanted. Plenty of machine gun rounds can be found around the room as well.
The machine gun rounds will assist your hacked turret against a small wave of Thuggish Splicers as you exit. Players who have Incinerate equipped should note the oil slick on the floor.
Farther down the corridor, you can finally finish off this Nitro Splicer on the balcony. Use Telekinesis to grab the bombs he tosses and send them back special delivery. Don't miss the First Aid Kits by the Health Station and Circus of Values to the left.
Through the Securis door there will be another tunnel collapse. The previously-available door straight ahead is now blocked, but the door on the left is now open.
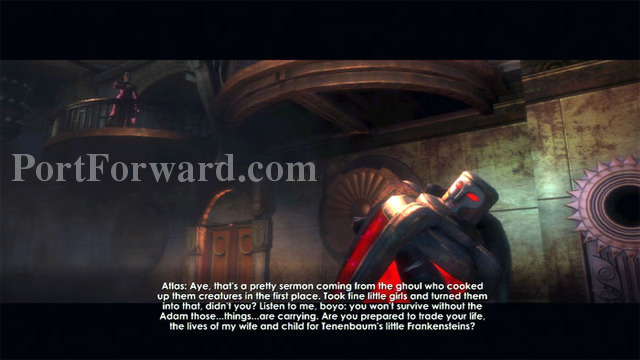
Witness a Big Daddy's defeat, then approach this door to trigger a cutscene.
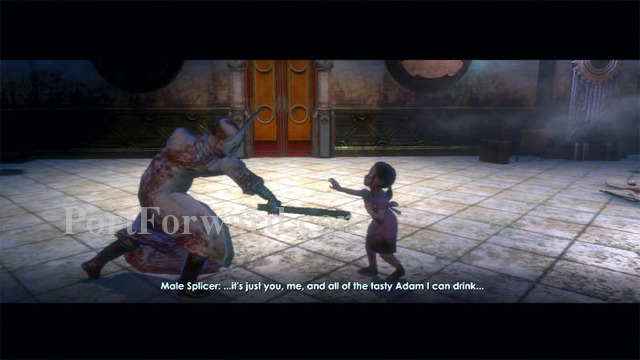
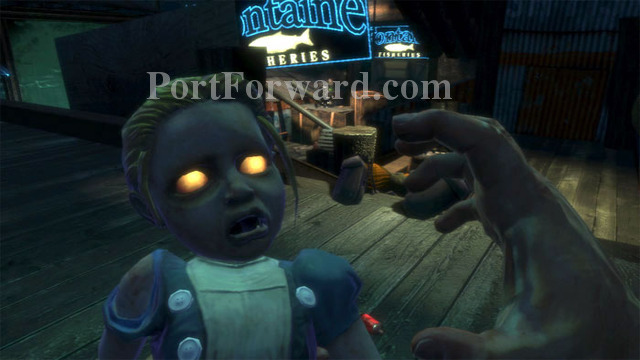
This Splicer is apparently responsible for the Big Daddy defeat you just witnessed. He's about to harvest the Little Sister when Tenenbaum intervenes.
Tenenbaum tosses you an unnamed Tonic that will enable you to harvest or rescue the Little Sisters.
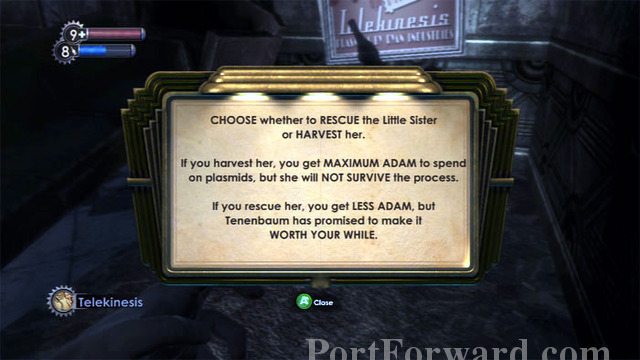
Approach the Little Sister and make your choice (bandages are to the left). Rescue her and receive 80 ADAM, plus a gift from Tenenbaum every three rescues. Harvest the Little Sister and receive 160 ADAM, but no gifts. The moral choice? I prefer to live in a world, virtual or otherwise, where little girls aren't slaughtered like cattle, so from a role-playing perspective my preference is to save the Little Sisters. That said, from a game play point-of-view, I prefer to have the extra Adam to spend. Having played the game both ways, I prefer to harvest.

The Start Menu shows how many Little Sisters are available in your current level, and how many have been rescued or harvested. In this example from an upcoming level, there are three Little Sisters. The first icon shows a harvested Little Sister. The second icon shows a rescued Little Sister, and the third icon shows a Little Sister still under the protection of a Big Daddy.
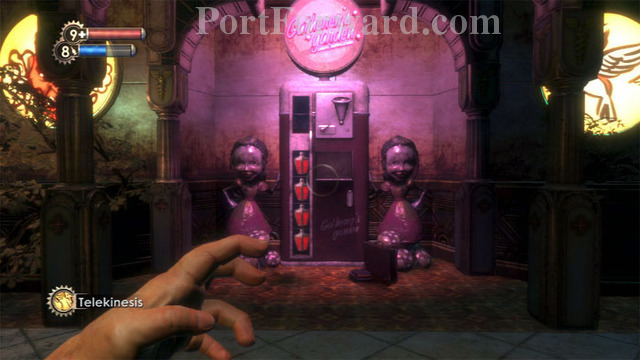
Approach the Gatherer's Garden and find the Gatherer Vulnerability audio log. Supply Crates are on the right.
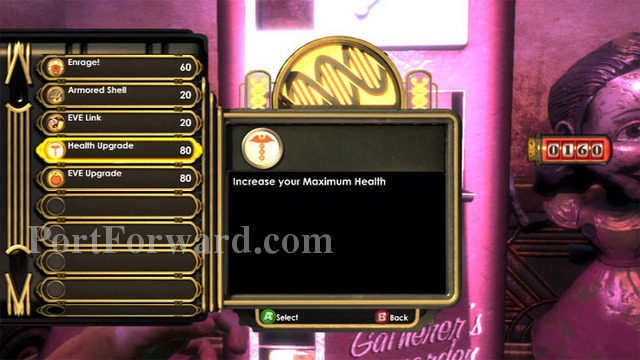
Use the Gatherer's Garden to purchase gene upgrades. My preference is to first buy Plasmid and Tonic slots (not available at this station) followed by Health and EVE Upgrades. Only then purchase new Plasmids and Tonics. Here, I purchase the Health and EVE Upgrades with the 160 ADAM I received for harvesting the Little Sister. (My first play through I rescued all the Little Sisters. This play though I'll be harvesting them all.)
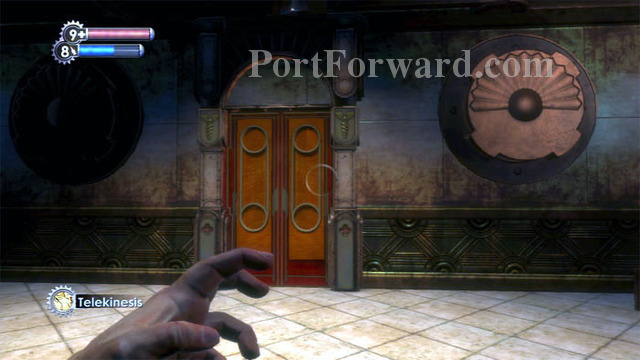
Exit out this door, where you'll find another Supply Crate.
Splicers are about and you'll want to save your ammo for the upcoming Big Daddy, so switch to your wrench or try to avoid them altogether. Note the Little Sister behind this Splicer. Her Big Daddy is just behind the wall to the right.
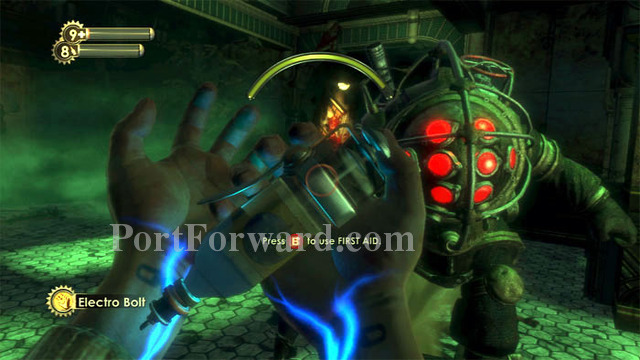
I'm about to die in this shot. No doubt about it, you are not well-equipped to deal with this fight. I used all nine of my Health Kits and died multiple times.
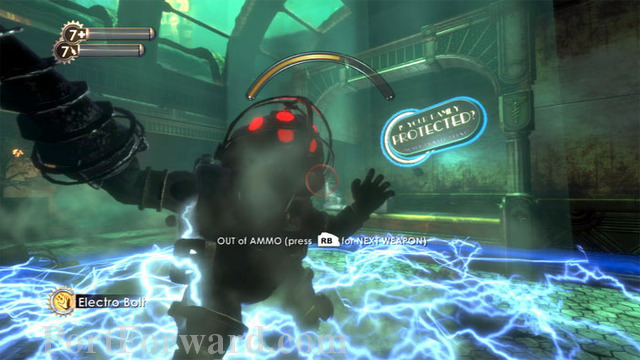
When you die, keep left after exiting the Vita-Chamber to ascend the stairs near Dental. You'll find Big Daddy back in the area near the sign seen on the right. The combination of Electro Bolt followed by your Shotgun (Electric Buckshot is best) or the Machine Gun (don't use Anti-Personnel rounds) whittle's Big Daddy's health down over time, but if you aren't quick, the Little Sister will return through her Hidey Hole and you'll need to wait for another to come back out to play.
Once Big Daddy is defeated, you can return to the Gatherer's Garden to spend the ADAM you've received from the Little Sister. I, however, save my ADAM for the moment.
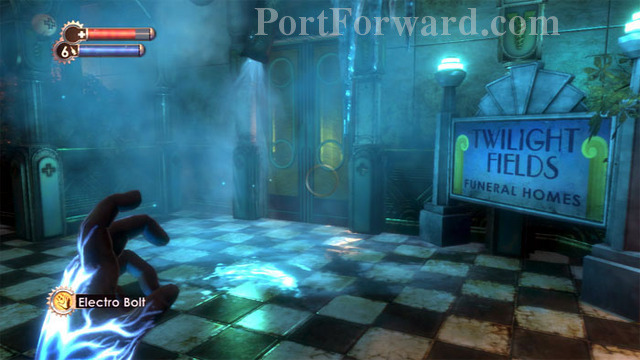
If you've been following the walkthrough, the ice at Twilight Fields should be melted. Return and enter for an optional, but profitable, diversion.
This room on the left has a solitary Thuggish Splicer. Armor-Piercing Pistol Rounds and cash are found behind the cabinet ahead. Beware the turret behind you.
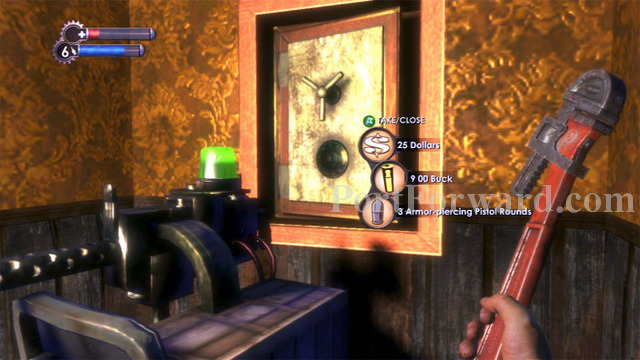
Hack the turret and the safe to obtain some decent loot.
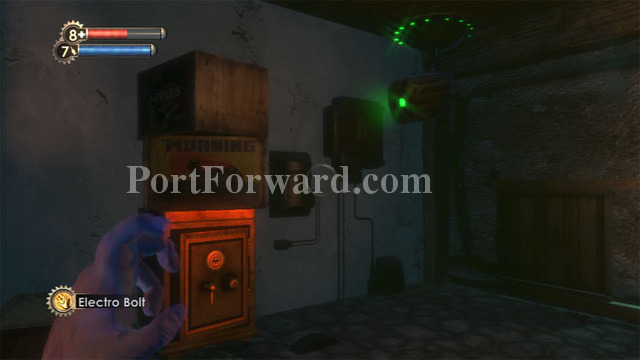
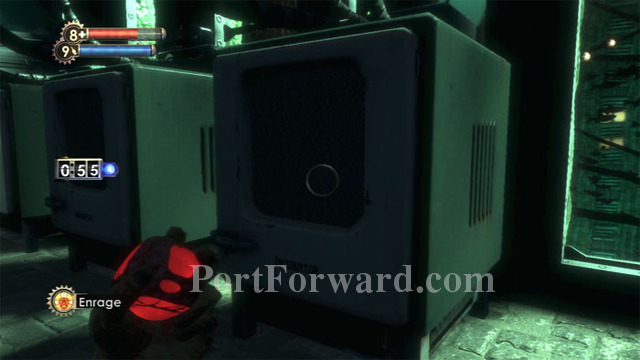
Defeat this Thuggish Splicer in the room opposite, then find cash and Buckshot to the left, plus an EVE Hypo to the right. Under the EVE Hypo is a note with the number, "0451."
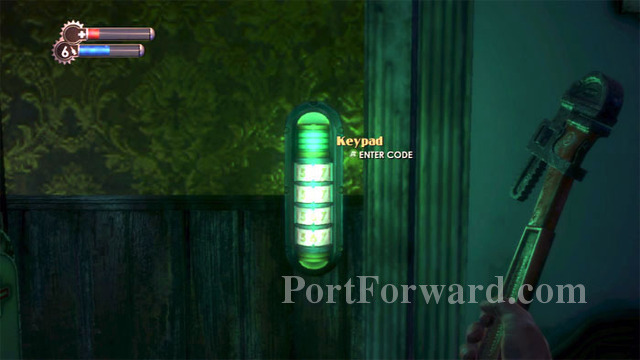
Unsurprisingly, 0451 unlocks the door at this Keypad behind you.

Inside you'll find an Automatic Hack Tool, an EVE Hypo, Buckshot and Machine Gun Rounds.
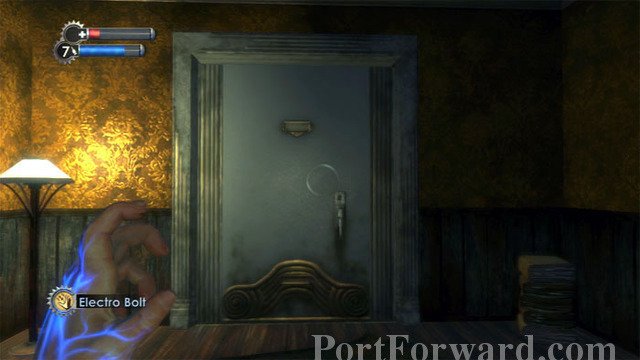
Continue through this door in the central room.
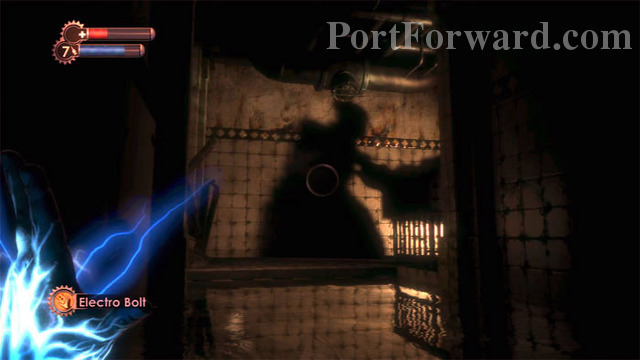
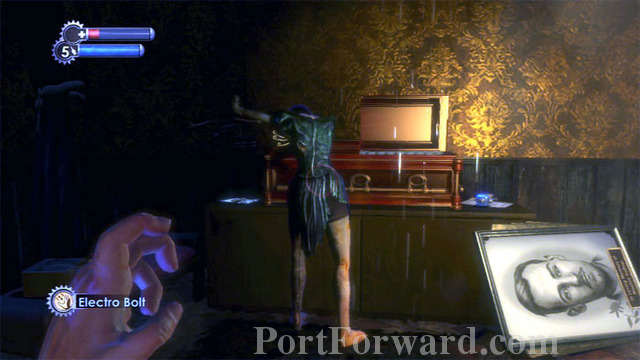
Find some Bandages to the left then spy this shadowy figure before the lights cut out. Some scary music plays...and nothing happens.
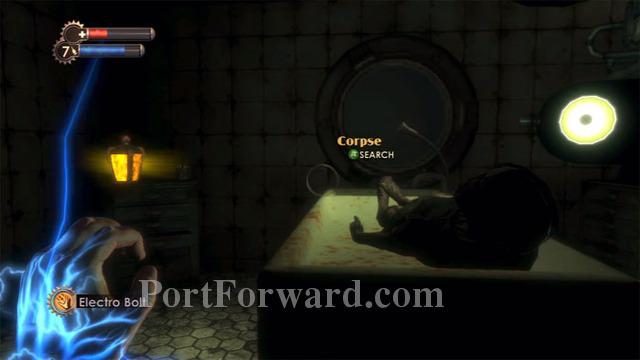
Search the corpse on the right then grab the Security Expert Engineering Tonic on the left. You'll now find it easier to hack security turrets, bots, and cameras. Pistol rounds are also here.
The shadowy figure - this Splicer - reveals himself on your way out.
Defeat the Splicer and now it's time to leave. Grab any supplies you can find, including this First Aid Kit which can be grabbed through the broken door by using Telekinesis.
Before entering Emergency Access, you might want to fill up on supplies at the neighboring Circus of Values. I like to purchase EVE Hypos and First Aid Kits, eight each. That way if I find a ninth I can still pick it up.
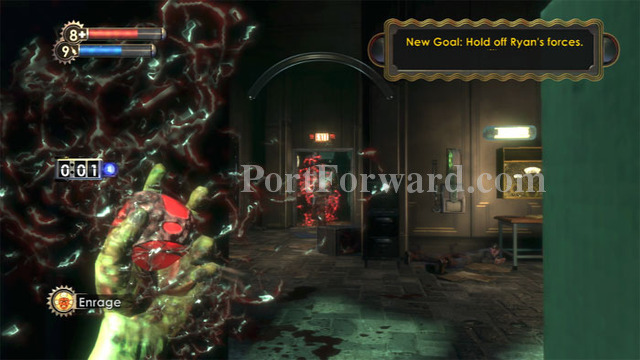
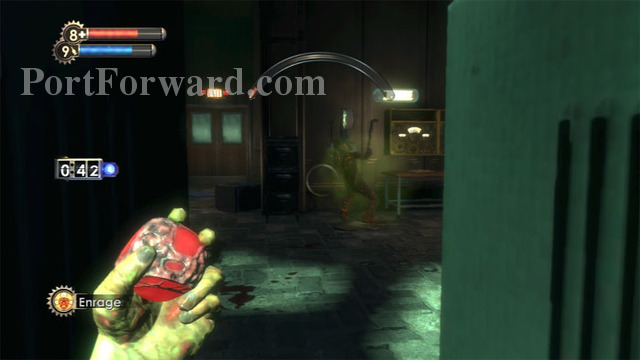
Ascend the stairs and defeat this Nitro Splicer - supposedly Andrew Ryan himself - by using Telekinesis to throw his bombs back at him.
Use the Emergency Access Control switch to disable the security lockdown and unlock the door to the Bathysphere.
Enter the Bathysphere and pull the lever to travel to Port Neptune.
BioShock Walkthrough Neptune's Bounty

Here's a map of the level.
Map - Neptune's Bounty
1. Medical Expert - Physical Tonic
2. Bathysphere Keys - Audio Diary
3. Timmothy H. Interrogation - Audio Diary
4. Fontaine Must Go - Audio Diary
5. Finding The Sea Slug - Audio Diary
6. Picked Up Timmy H. - Audio Diary
7. Masha Come Home - Audio Diary
8. Watch Fontaine - Audio Diary
9. Have My Badge - Audio Diary
10. Security Bullseye - Plasmid
11. Adam Discovery - Audio Diary
12. Eden Leaking - Audio Diary
13. Fontaine's Smugglers - Audio Diary
14. Death Penalty In Rapture - Audio Diary
15. Meeting Ryan - Audio Diary
16. Rapture Changing - Audio Diary
17. Working Late Again - Audio Diary
18. Smuggling Ring - Audio Diary
19. Saw Masha Today - Audio Diary
20. Shorten Alarms - Engineering Tonic
21. Arresting Fontaine - Audio Diary
22. Wrench Lurker - Combat Tonic
23. Focused Hacker - Engineering Tonic
24. Power To The People - Weapon Upgrade
25. Putting The Screws On - Audio Diary

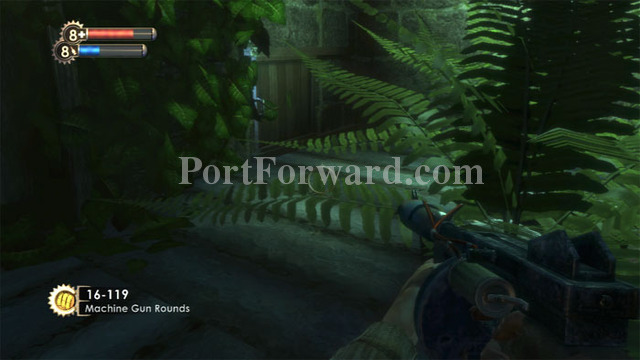
A Vita-Chamber is nearby (behind me in this shot) so you can expect to be coming through here again. I recommend hacking the Circus of Values now.
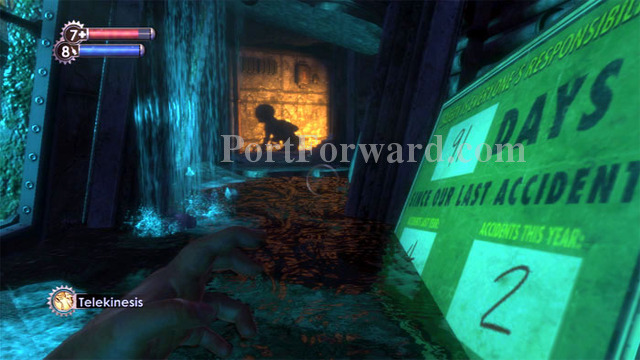
Climb over the debris and pass through a door to this scene. You're catching a glimpse of a new Splicer type, the ceiling-climbing Spider Splicer.

She climbs through this ceiling hole, where you can use Telekinesis to pull a box of Electric Buck. A Health Station is ready for hacking through the next door.
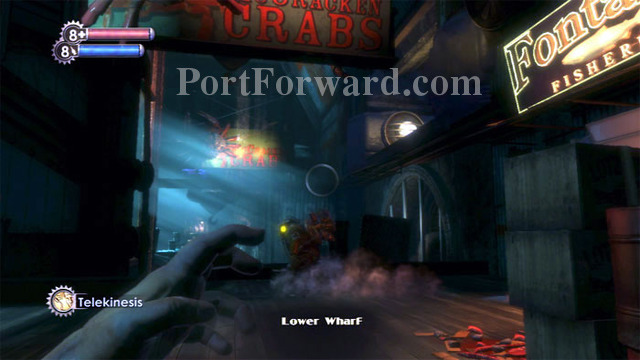
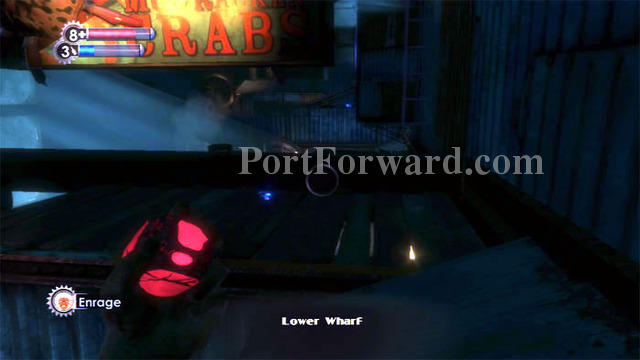
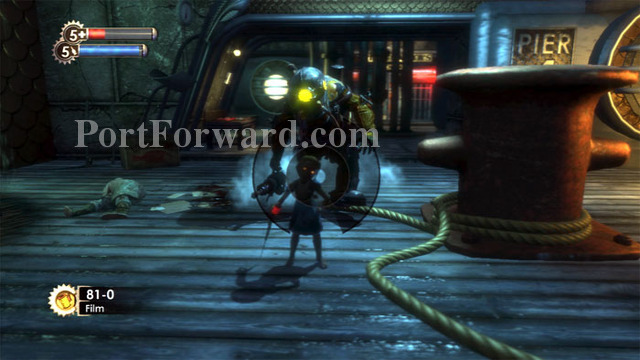
Through another door you'll emerge in the Lower Wharf. A Big Daddy is escorting a Little Sister.
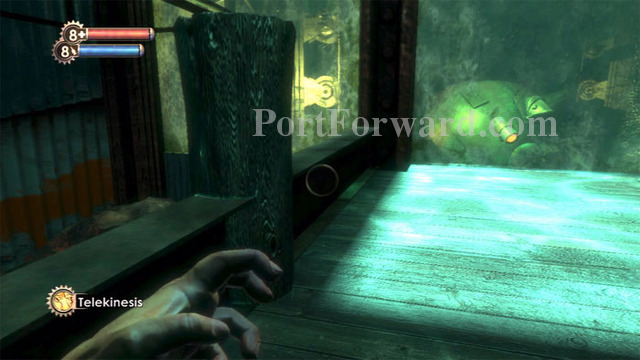
Turn left and hop over the ledge to crawl beneath the boardwalk, where you'll find plenty of goodies.
A Supply Crate will be near your initial position, and this turret is not far away. Hopefully the many Splicers in the area are battling the Big Daddy. Hacking the turret adds to their damage. Pistol Rounds can be found behind some pistons on the right.
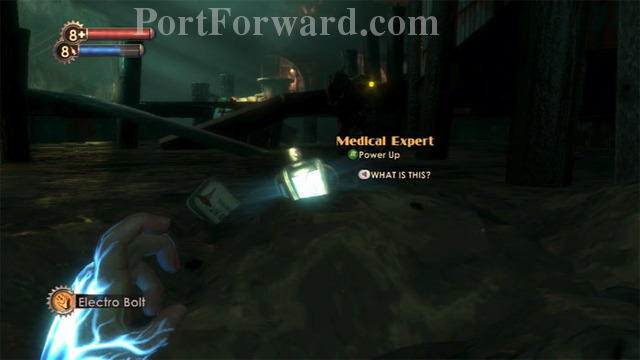
The Medical Expert Physical Tonic is found here, next to a First Aid Kit. This Tonic enhances the power of First Aid Kits.
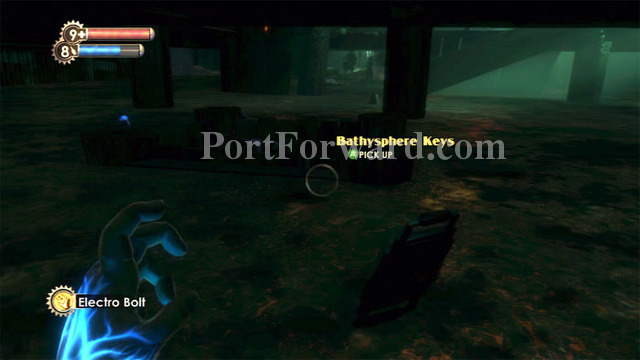
Another turret may be hacked here (already destroyed in this shot) and you'll find Sullivan's audio diary Bathysphere Keys as well as an EVE Hypo. Another First Aid Kit is straight ahead. Machine Gun Rounds and a flammable canister are in the far left corner.

If you take cover and let the Splicers and Big Daddy fight it out (especially if you have Enrage!), you'll have minimal cleanup to finish off the remaining Splicers. There's several pools of water for electrifying the lot, and Telekinesis helps defeat the Nitros with their own bombs.
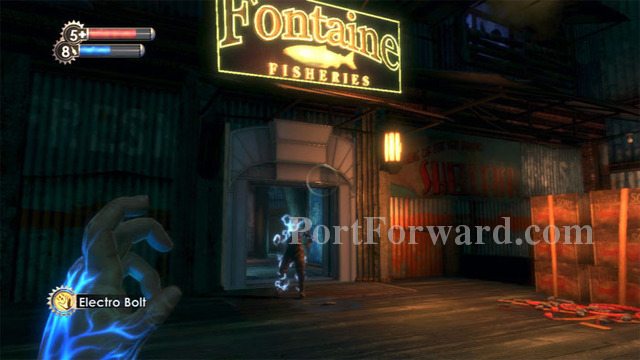
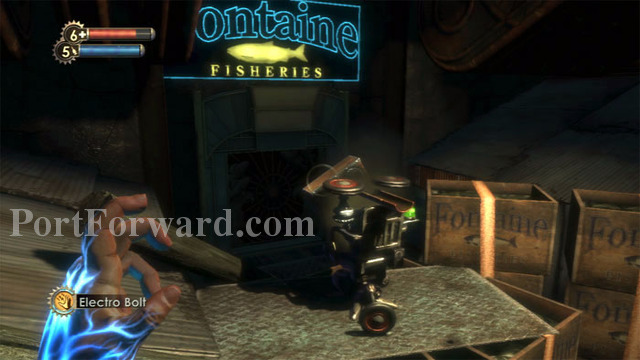
Once you've collected your loot and reasonably pacified the area, enter Fontaine Fisheries.

Your first order of business in the Fisheries (after searching the Supply Crates by the door) is to hack the rocket turret on the right. You may also want to hack the Circus of Values to its left as well.
You'll then want to stand clear of the forthcoming carnage. Note the Gatherer's Garden on the left; a Gene Bank is around the corner as well. With the rocket turret on our side and a new Gatherer's Garden available, it's time to gather some ADAM.
Head outside and find a Big Daddy with a Little Sister. If there aren't any Little Sisters out at the moment, stay close to their Hidey Holes. You can find one just past the Rapture Metro door. Fire on the Big Daddy and lure him into Fontaine Fisheries.

Pull the Big Daddy (this one is of the ranged-weapon Rosie variety) onto the balcony facing your hacked rocket turret. Zap her in place with Electro Bolt and let the rockets tear her apart.
Once Rosie has fallen, collect your ADAM and spend it at the nearby Gatherer's Garden. If you've saved all three Little Sisters thus far, you'll find a Hypnotize Big Daddy Plasmid by the Gatherer's Garden as a gift from Tenenbaum.
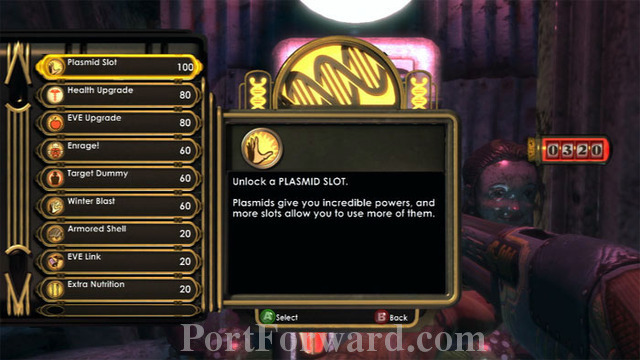
For those keeping score, I've now got 320 ADAM, which I spend on two Plasmid Slots and an Enrage! Plasmid. (I would normally purchase Health or EVE upgrades, but I find Enrage! to be too good to pass up.)
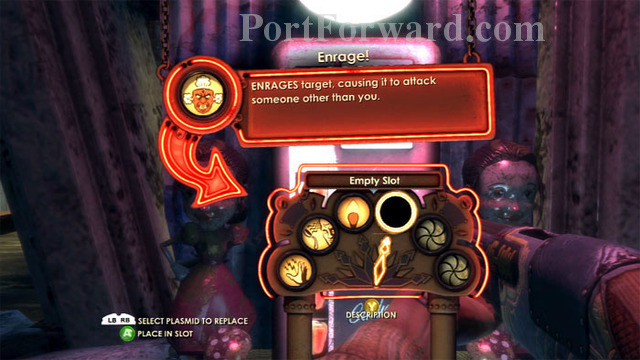
I now have a total of four Plasmid Slots, enough for all of my previous Plasmids, plus my new Enrage! Plasmid.
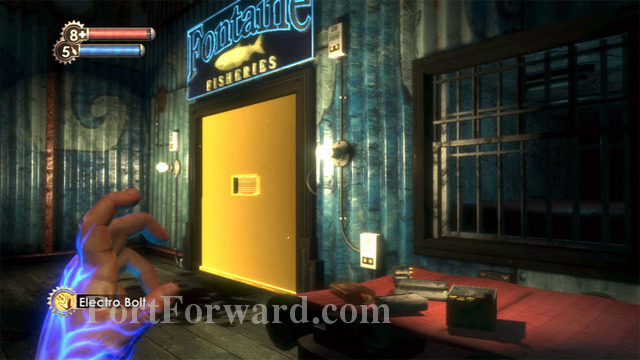
Climb behind your hacked rocket turret and pass through the door under the sign.
The Gorton's of Gloucester fisherman is inside, alongside two First Aid Kits. A Medical Station can be hacked around the corner. Do this now.
Grab these supplies from the conveyor before knocking on the door; a tough battle is coming up and if you die, the supplies go away.
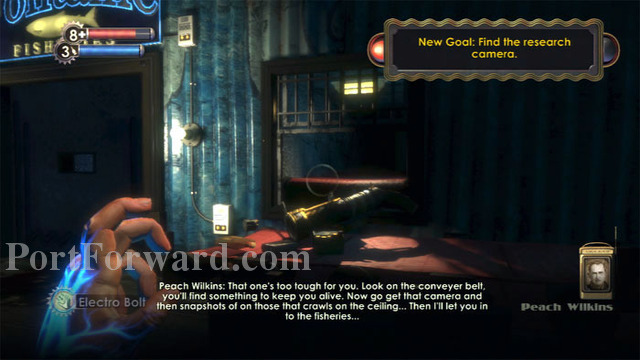
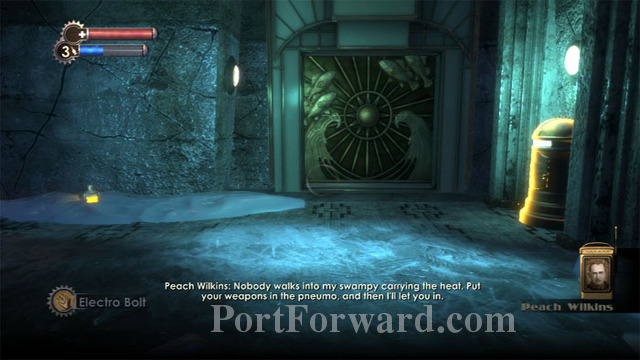
Knock on the door and listen to crazy Peach Wilkins. Upon hearing the approach of a Spider Splicer, he shares his doubts about your current situation.
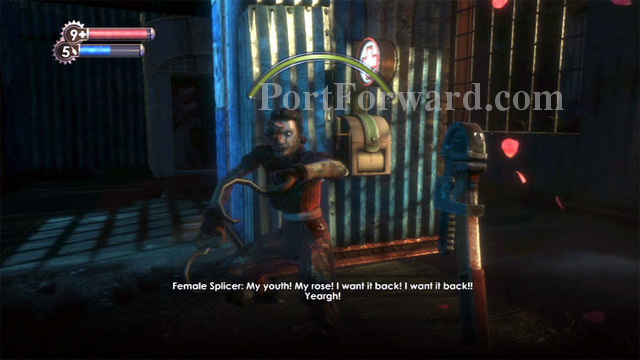
The Spider is your toughest Splicer yet. Your weapons do minimal damage, and this Splicer can climb walls and scurry across the ceiling, all the while tossing firey meathooks at you. Keep moving and try to zap her with your Electro Bolt. Peach sends in a security bot for backup.
The Spider Splicer gets away, but Peach sends you some hefty new firepower: the Grenade Launcher. You also receive a new goal: find the research camera.
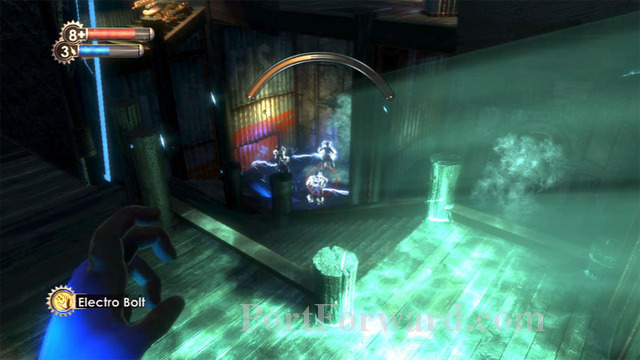
Return past the rocket turret and find a trio of Leadhead Splicers in the water below. Two quick zaps of Electro Bolt takes them down quickly.
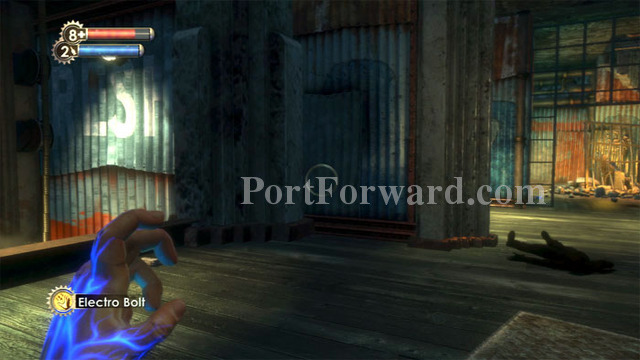
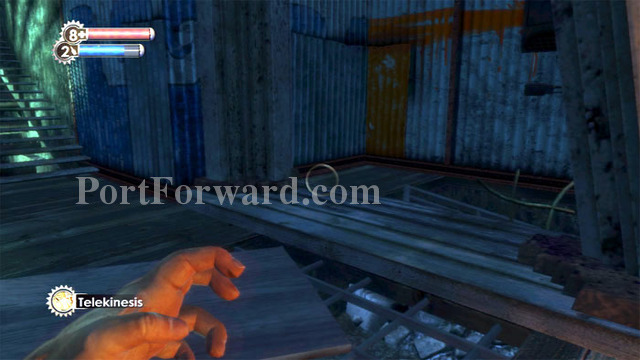
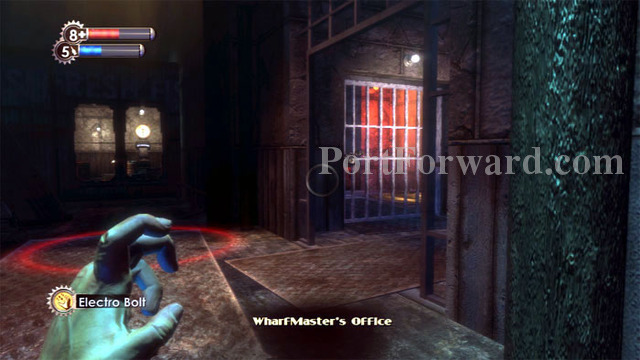
Ascend the stairs and defeat a Nitro Splicer, then find that the corridor to the Wharfmaster's office on the right is now unlocked. Don't go there just yet, though. Instead, hop over the ledge on the left.
Beware this security camera. Hack or destroy it.

The camera is covering this bloody corpse, alongside a Machine Gun, Pistol Rounds, and a security bot which you can hack to escort yourself about the area. Jump over the ledge next to the security camera and search the bodies of the Leadhead Splicers you fried a moment ago.
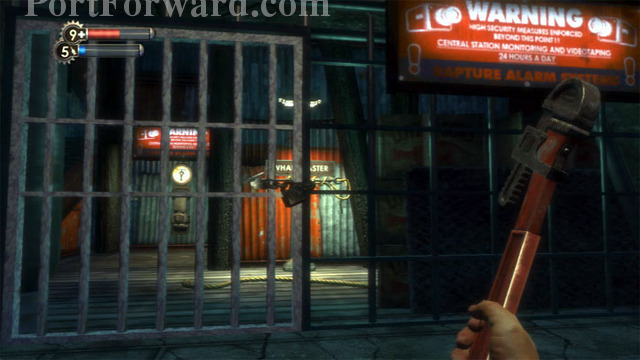
Follow the corridor to this door. You can hack it or enter the code 5380 which you'll find in a bit. Inside is Sullivan's grizzly audio log Timmy H. Interrogation along with a smuggler's crate and Machine Gun Rounds. The body may be searched for some decent loot, and Telekinesis can pull buckshot and Pistol Rounds from behind the bars.
Return upstairs to the unlocked Wharfmaster's corridor. Many Splicers are ahead -- ready your Enrage! if you've got it. Note the EVE Hypo on the floor ahead/left.
After the area calms down, find buckshot on the left and this hole in the floor to the right.
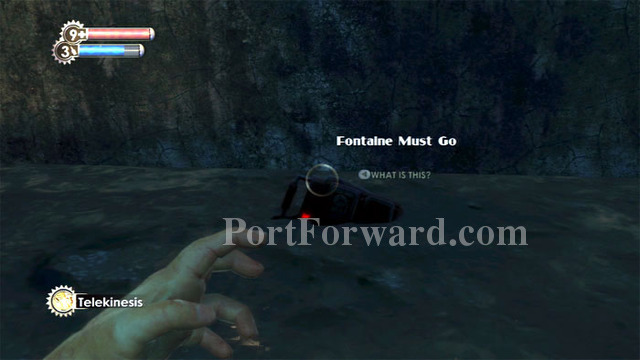
Crawl beneath to find health, ammo, EVE, and Andrew Ryan's audio diary, Fontaine Must Go.
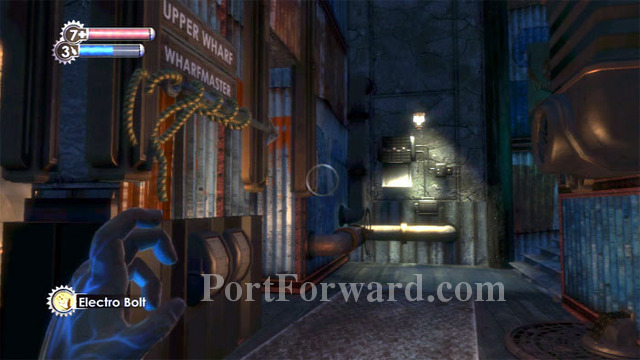
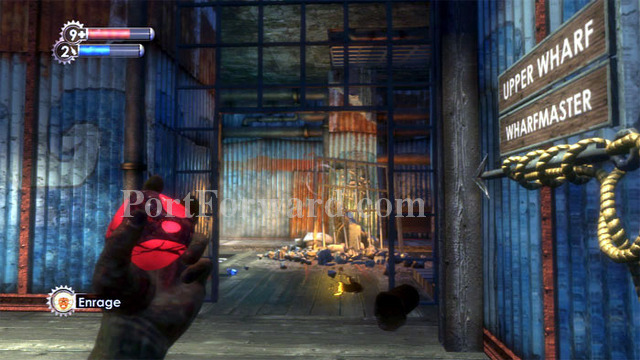
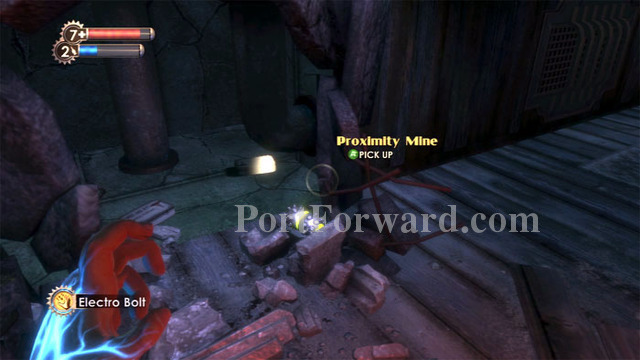
Ascend the stairs to the Upper Wharf, finding a Health Station and crate to the left at this landing. Another crate is behind the Wharfmaster sign. Continue up the stairs to find proximity mines, pistol rounds, buckshot and cash.
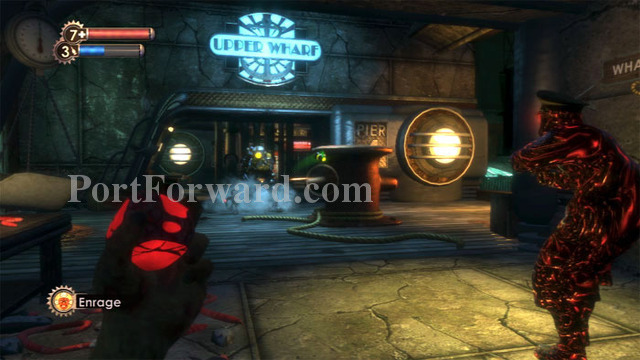
A Big Daddy and Little Sister wander the area on the left. I Enrage a Leadhead Splicer to shave some health off the Big Daddy (and consequently kill the Leadhead) while I search the area on the right.
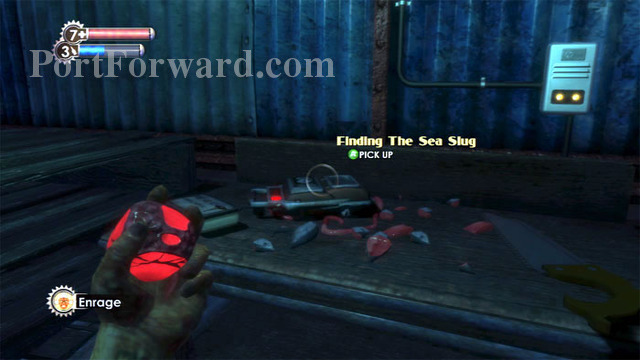
Here on this table to the right is Tenenbaum's audio diary Finding The Sea Slug. A First Aid Kit and a crate are also found here.
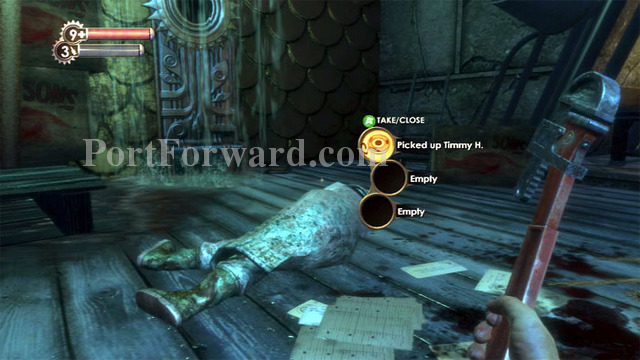
Search this body for Sullivan's Picked up Timmy H. audio diary, revealing the code 5380 for the gate we saw earlier. Another audio log, Masha Come Home, is by the Hidey Hole ahead, and reveals code 7533 for room 7 at the upcoming Fighting McDonagh's.
Find a Lockbox then hop over the adjacent ledge to find yourself on the rooftops of the Lower Wharf. Two EVE Hypos are seen in this shot, and a First Aid Kit is here. There's also Pistol Rounds on a post ahead/left, and a very nice supply crate on an awning to the left.
Smash the lock on this gate then defeat the Splicer on the other side. Machine Gun and Pistol Rounds are to the right.
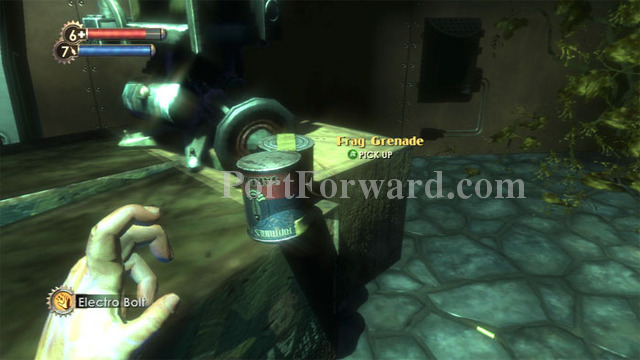
Some bait is on the left, but don't bite until you've taken out this security camera near a Vita-Chamber at the first landing up the stairs. It's too high up to hack, so I resorted to destroying it with a single up-close shot of Electric Buck. Another, easier-to-reach security camera is at the top of the stairs, above some smuggler's crates and left of two frag grenades.
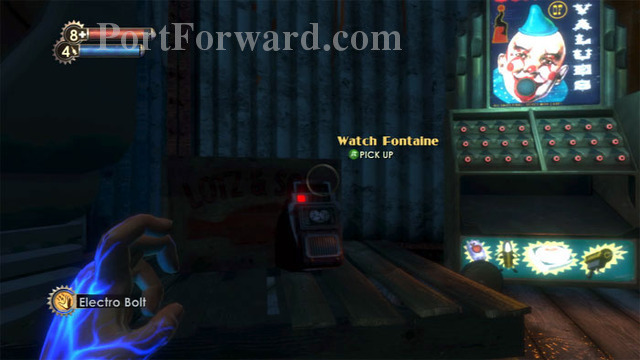
You can now safely search this supply crate, hack the Circus of Values and listen to Andrew Ryan's audio log Watch Fontaine. A Frag Grenade can be pulled via Telekinesis from the upper-left ledge.
Now that you've got a security camera on your side, plus a nearby Vita-Chamber, I'd say it's a good time to confront that Big Daddy we passed a moment ago. Your Grenade Launcher is your best bet against the Big Daddy. Hit him then run up the stairs to your security camera.
The combination of your grenades, security bots, Exploding and Electric Buck, brings down Rosie before too long.
Lots of turrets and security cameras are up here so proceed carefully. The office straight ahead is currently inaccessible. Instead, smash the lock on the gate to the right.
Speed is essential, especially if you intend to hack these turrets instead of shoot them with your Electric Buckshot. This turret is directly ahead from the locked gate and will fire on you immediately. Hit it with your Electro Bolt to temporarily disable it, then rush it and either hack or shoot.
To the right is another turret plus a security camera. Again, move quickly. At the end of the corridor you'll have another turret to the left and yet another on the right. Be careful to not get caught in the crossfire while the turrets are of mixed loyalty.
Two First Aid Kits and a Proximity Mine are found here. Bandages and an EVE Hypo are found near the toilet, and a fallen Big Daddy holds excellent loot.
The Research Camera is found behind the locked gate on the right, but going there triggers a scripted sequence that prevents your return. Instead, proceed by smashing the air vent on the left wall and climbing inside. Note the buckshot on the pipe above/left.

You're now inside the locked office you spotted earlier. This security camera on the right is too high to hack. Have your Shotgun ready to blast the camera as you emerge from the vent.
Lots of good stuff in here, all inaccessible if you had grabbed the camera first: two Machine Guns, a Grenade Launcher, a Safe, plus Sullivan's audio diary Have My Badge.
Exit back through the vent. Now you can break the lock on this gate.
Crawl through this hole in the wall. A Gene-Bank, buckshot, Pistol and Machine Gun Rounds are on the other side.
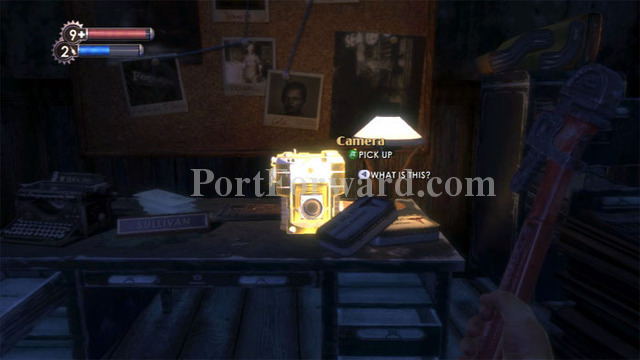
Follow the corridor to a doorway and find the Research Camera here, alongside two First Aid Kits.
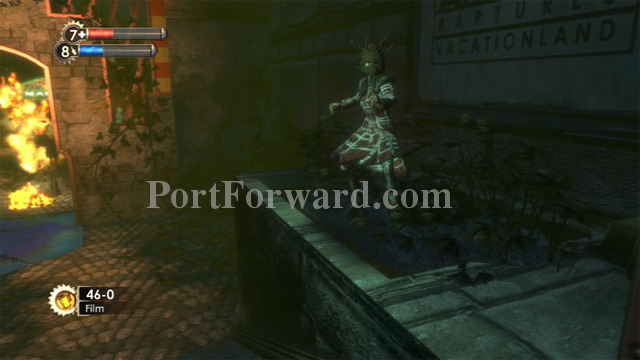
You receive a new goal to photograph three Spider Splicers. Snap your first shot through the nearby window to capture this Spider Splicer on film. I thought this was a good shot, but only earned a "B".
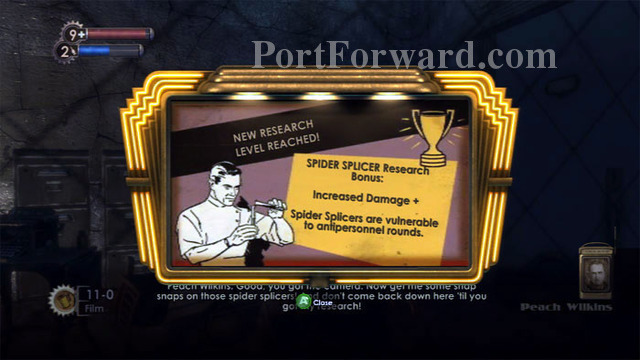
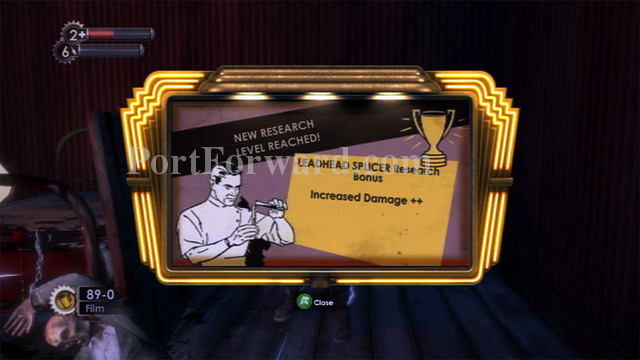
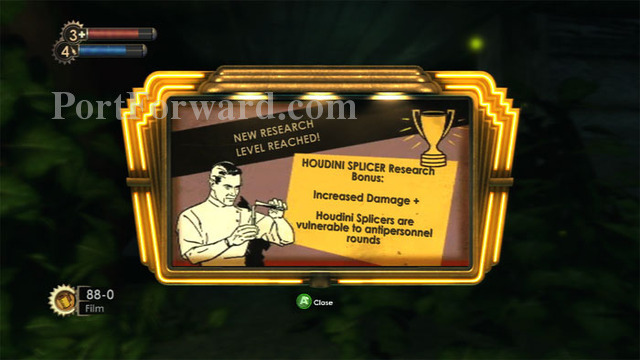
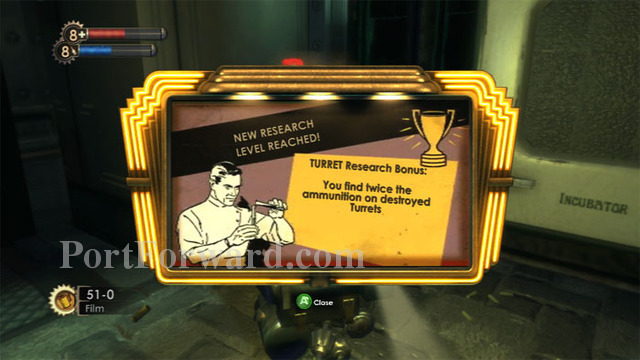
No problem. Even a "C" shot will net you enough research progress to earn increased damage. Note the "+" after, "Increased Damage." Each time the progress bar reaches its maximum, you earn another "+" or a reward until a maximum of "+++" is achieved.

Exit to the hallway and an explosion prevents you from backtracking further. Snap a picture of a Leadhead Splicer to learn they are vulnerable to antipersonnel rounds then exit out this broken window.
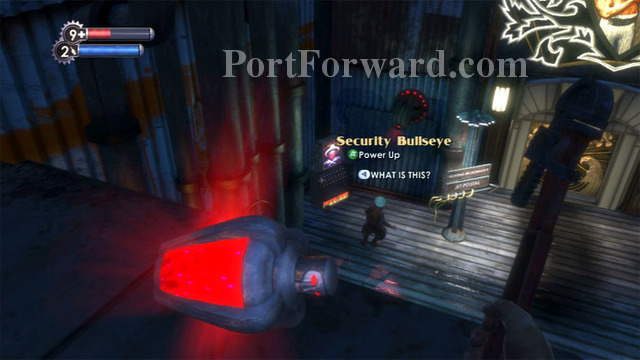
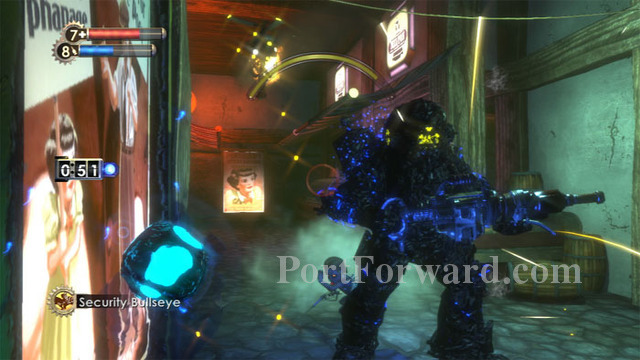
Find a Security Bullseye Plasmid on the ledge. You can use it on the lonely Leadhead Splicer below to make him a target of the security camera. You'll still need to hack the camera to make it your permanent ally, though.
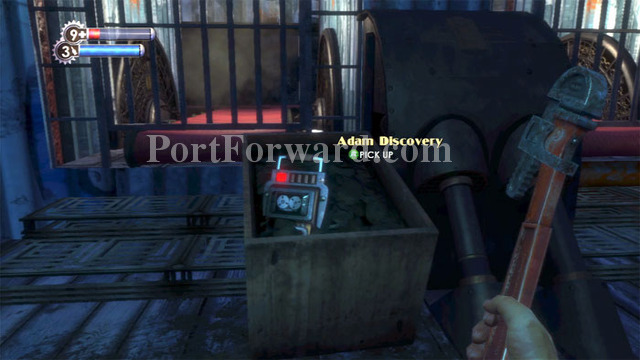
Find an EVE Hypo where you land plus ammo behind the pipes on either side of the room. Tenenbaum's Adam Discovery audio diary can be found here. Continue through the door to the left.
Find McDonagh's Eden Leaking audio diary next to a lock box and some Antipersonnel Auto Rounds. A First Aid Kit is to the left, and a Health Station and another door are to the right.

More Leadhead Splicers are in the next tunnel. Beneath the security camera on the right is Tenenbaum's Fontaine's Smugglers audio diary. A Pep Bar is by a garbage can on the left. (Thanks to Abebil for providing the correct screenshot.)
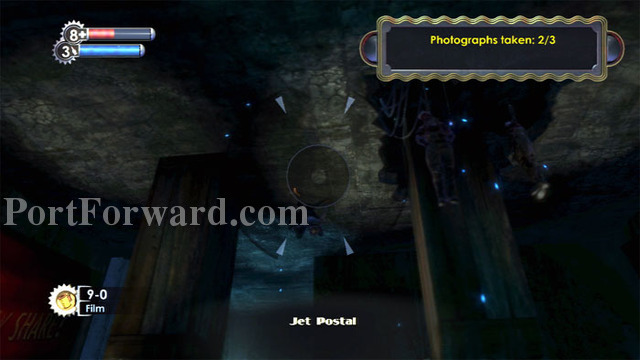
Jet Postal is to the right, and the Fighting McDonagh's Tavern is to the left. Behind the door to each is a Spider Splicer, so have your camera ready before entering. This is the Spider Splicer in Jet Postal -- look up immediately upon entering.
The Spider Splicer at the Fighting McDonagh's will quickly leap away so be sure to snap quickly once the door opens. This should complete the goal to snap pictures of three Spider Splicers.

You'll still want to keep snapping photos to research the many Splicers inside Jet Postal and the Fighting McDonagh's. You'll find a Circus of Values inside the entrance to each.
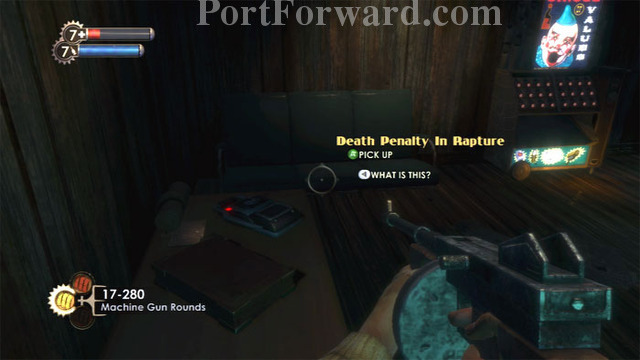
Find Andrew Ryan's Death Penalty In Rapture audio diary at the Jet Postal entrance.
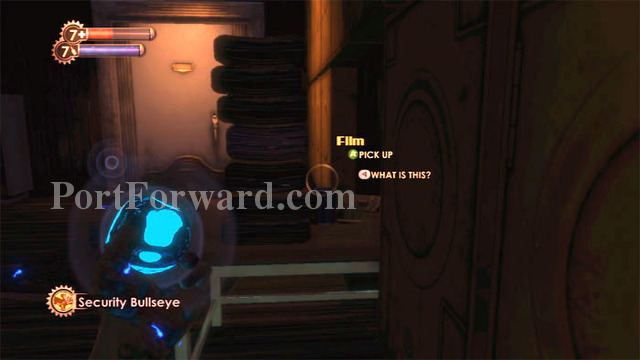
Find Film behind these stacks then equip your Security Bullseye before using the door ahead.
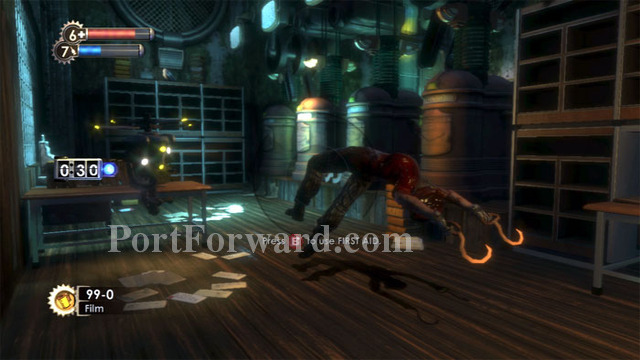
Watch the ceiling for this Spider Splicer then target it with Security Bullseye. Snap photos of the ensuing hilarity to learn that Splicer organs can be used as First Aid Kits. Cash, ammo health and Film is plentiful in this room.
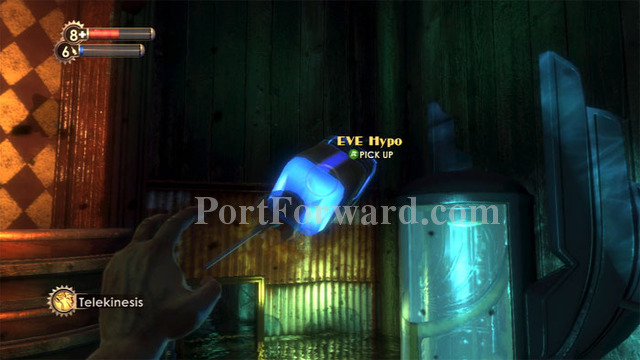
Over at The Fighting McDonagh's you'll be able to use Telekinesis to snatch this EVE Hypo from the ledge above the air vent. Machine Gun Rounds are under the floorboards at your feet and there's a Gene-Bank on the right.
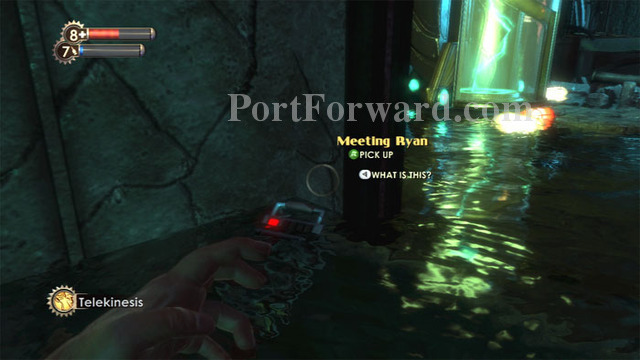
Just inside the vent is McDonagh's Meeting Ryan audio diary.

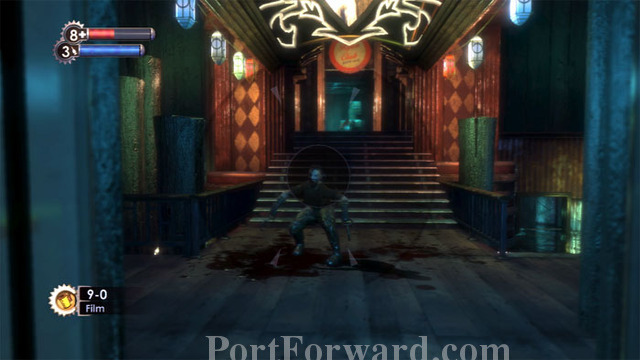
Find Pistol Rounds and Buckshot before smashing your way through the exit grate. Zap these two Leadheads then hack the security camera and Health Station. Find bandages and film in the barrels to the left before ascending the stairs.
Continue through this door on the right.
McDonagh's audio diary Rapture Changing is on the desk. Looking out the window is fun; notice how the school of fish realistically scurries away when disturbed. Film is in the desk drawer.

A First Aid Kit and this crawl space are found behind a stack of crates. Defeat the turret and hack the safe for supplies. Frag Grenades are found in this room as well.
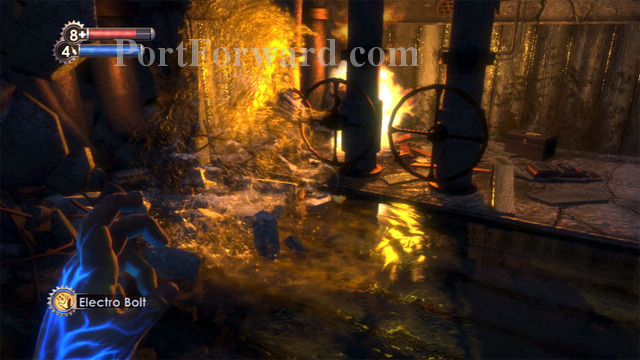
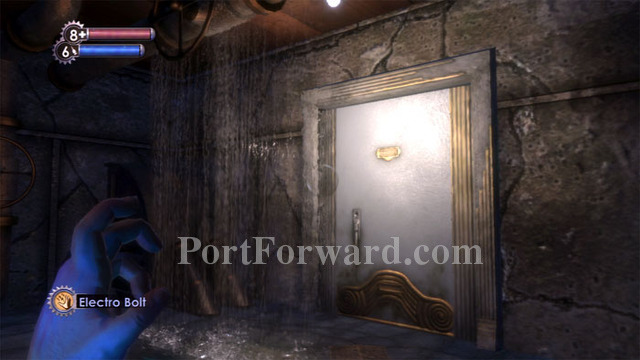
Electro Bolt unlocks this door opposite.
Ready your camera as you enter. Two Leadhead Splicers are inside. Remember to photograph enemies, including turrets and security cameras, before you attack them for maximum research.
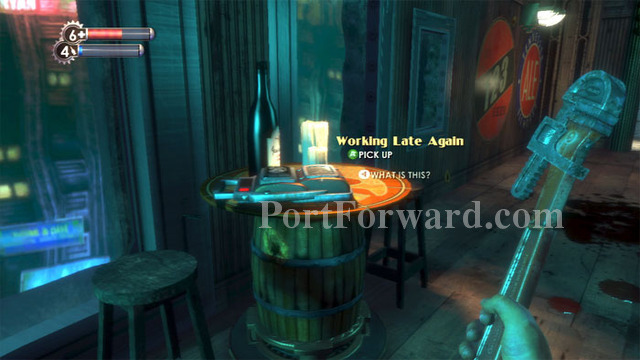
Andrew Ryan's audio diary Working Late Again is found on this table.
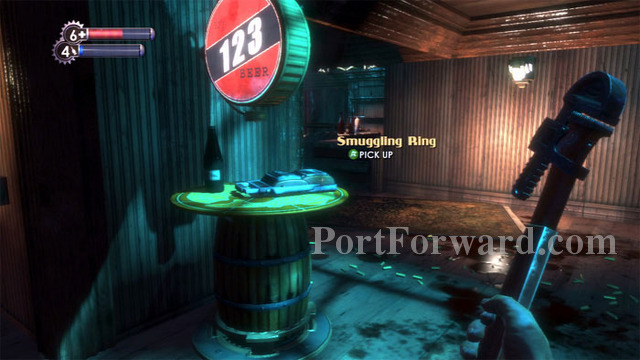
Sullivan's audio diary Smuggling Ring is located on this table. A First Aid Kit is found under a spraying pipe around the corner.
Ready your camera before entering the bathroom. This Nitro Splicer is waiting inside.
These bathroom stalls require five credits to unlock. Proximity Mines and an EVE Hypo are in the left stall. Machine Gun Rounds are found in the right stall.
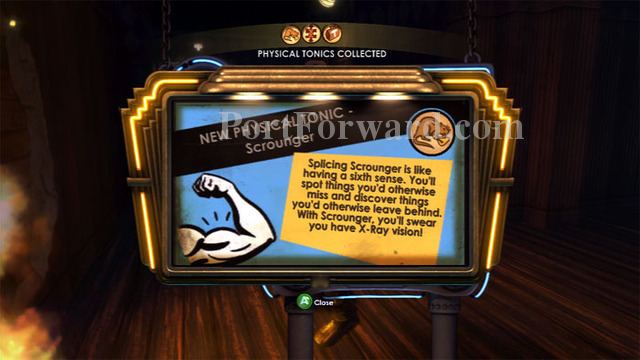
Upstairs you'll battle Nitro, Spider and Leadhead Splicers. Earn a Scrounger Physical Tonic for researching the Leadhead Splicer. This Tonic allows you to search containers a second time for different loot.
Room 5 has a safe, a Proximity Mine, Armor-Piercing Pistol Rounds, a Shotgun and an EVE Hypo.
Find a Health Station at the top of the stairs then enter code 7533 to enter room 7.
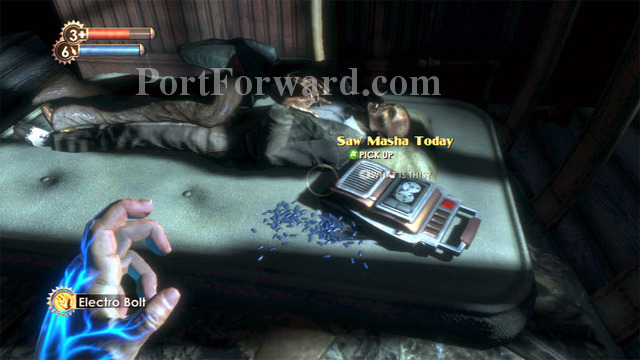
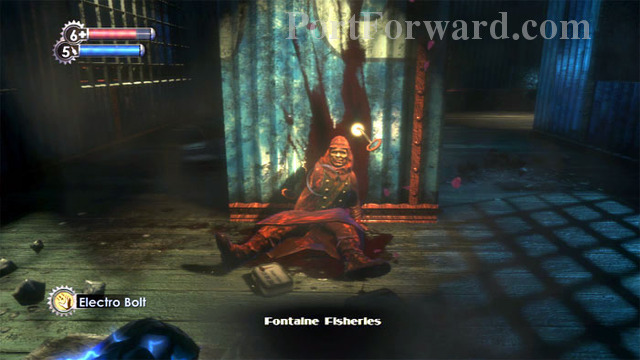
Inside is this heart-wrenching scene and Mariska Lutz's audio diary Saw Masha Today. Turn around to find cash.
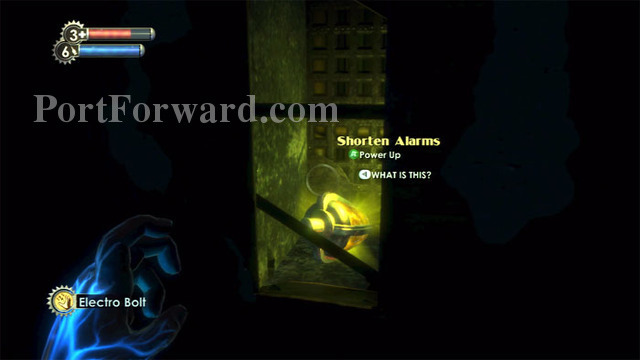
Don't miss the Shorten Alarms Engineering Tonic here in the wall.
Use Electro Bolt on this control switch to unlock room 6.
A Leadhead Splicer spawns behind you, and another is waiting behind the bed. Photographing him earned me Increased Damage ++. Armor-Piercing Pistol Rounds and a First Aid Kit are on the shelves behind him. More Leadheads spawn through the door; be sure to photograph them as well.
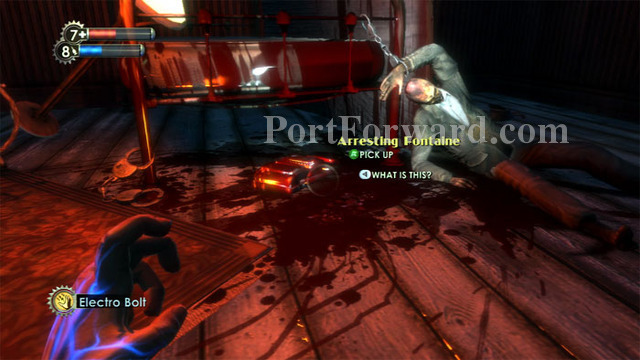
Find Sullivan's Arresting Fontaine audio diary here. An EVE Hypo and film are in the corner behind you.
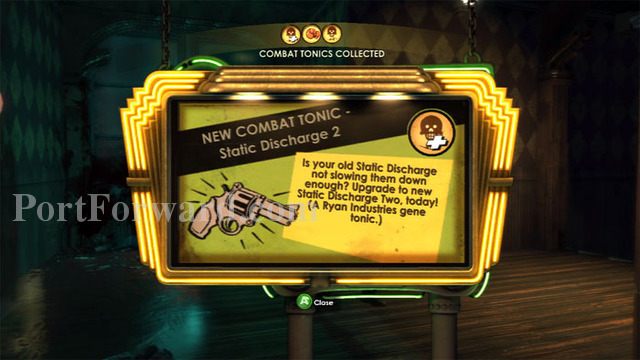
Return to Fontaine Fisheries, snapping photos of enemies as you go. Here I earn the very useful Static Discharge 2 Combat Tonic for researching Leadhead Splicers.
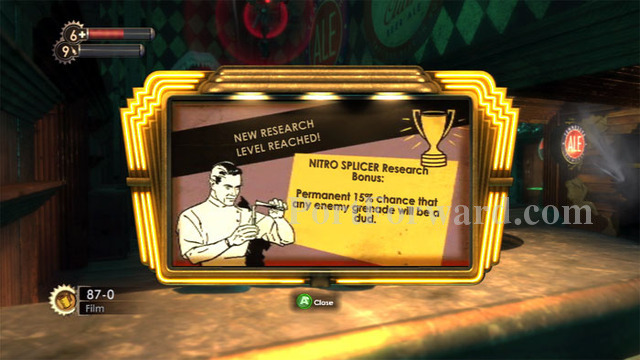
Nitro Splicer research reduces effectiveness of enemy grenades.
Don't forget to photograph Little Sisters and Big Daddies. Little Sister research yields increases in max health and EVE. Here's the third Little Sister of the level. She may alternately spawn in Fighting McDonagh's. I save the ADAM I extract from this Little Sister until I can purchase new upgrade slots.
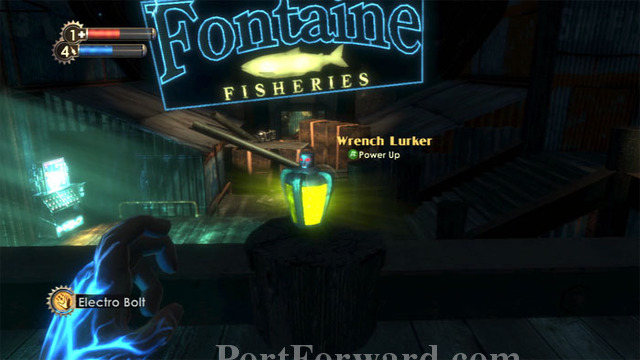
Once back at Fontaine Fisheries, find a Wrench Lurker Combat Tonic here. This tonic quiets your footsteps, and increases damage from melee attacks on unaware opponents. Defeat a particularly nasty Spider Splicer then once again pass through the door behind the debris ahead.
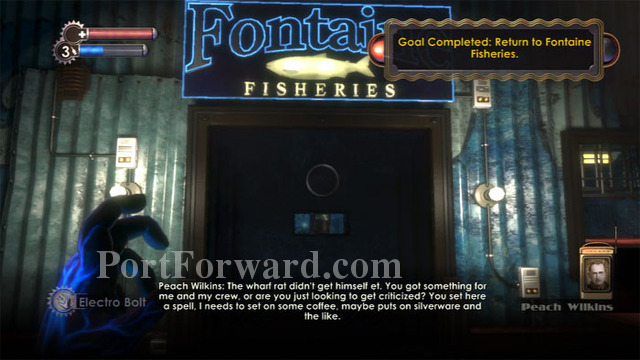
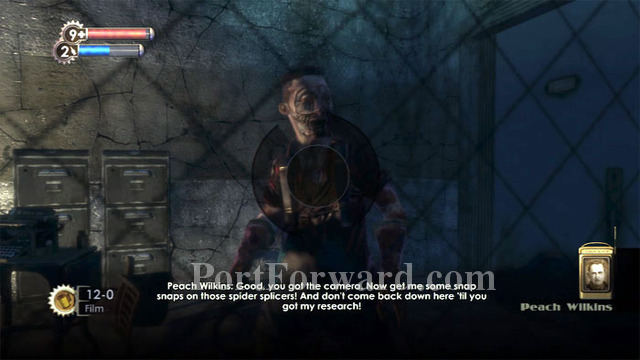
Knock on Peach Wilkins' door and he'll let you in now that you've photographed three Spider Splicers.
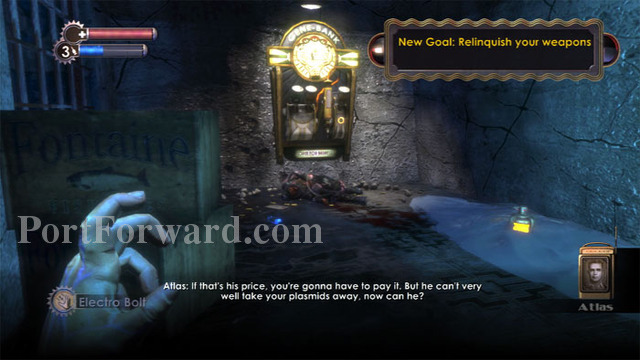
Peach insists that you deposit your weapons in the pneumatic tube before he'll open the next door, but first you'll want to grab that Focused Hacker Engineering Tonic stuck in the ice. Focused Hacker reduces the number of overload tiles when hacking by two.
The nearby Gene-Bank will let you equip Incinerate if you don't have it currently equipped. Melt the ice and grab the tonic. You'll also want to equip any Plasmids and Tonics that will help you defeat Peach in the upcoming boss battle. Incinerate, Telekinesis and Electro Bolt make this a quick fight.
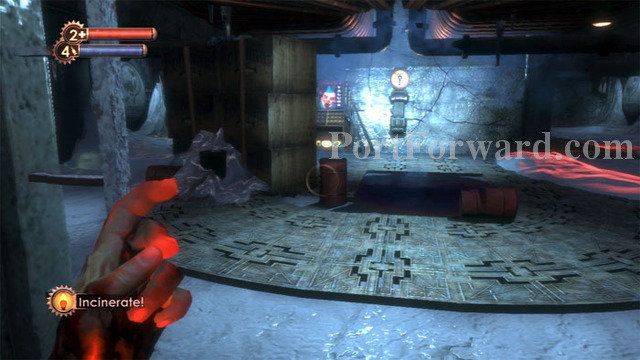
Deposit your weapons in the pneumo and step through the door as it opens. Melt the ice around an Automatic Hack Tool and a First Aid kit on the right, then melt the ice around the barrels ahead/left.

The barrels make great weapons against Peach once he's finished his speech. There are a lot of them and they cause plenty of damage.

Peach is aided by Leadhead Splicers. Telekinesis can toss their dead bodies at Peach for awesome damage as well. Fire users will appreciate the oil slick in front of the Circus of Values to the right.
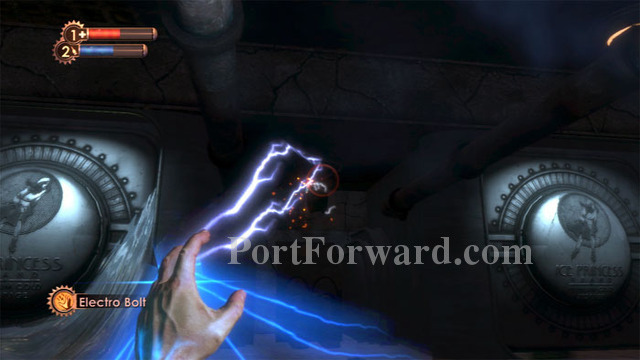
Electro Bolt will help you get close enough to hack the single turret and security camera in the room. (Find a First Aid Kit to the right of the turret.)
There's a Health Station here as well, and the nearby Vita Chamber makes for quick resurrections. Be sure to search Peach's corpse for good loot once he's down.

Find a First Aid Kit and an EVE Hypo between these frozen pressure doors, both leading to the same room. Melt the ice and head inside to find a Leadhead splicer, a First Aid Kit, EVE Hypos, and some frozen corpses with good loot.
Likewise, these frozen doors on the right lead to a room with lots of loot. The door on the right leads to a blocked path, but a corpse can be searched.
Enter the door on the left then melt this ice to reveal a crawlspace leading to plenty of cash and an Automatic Hack Tool.
Descend these stairs and use the Pneumo to retrieve your weapons.

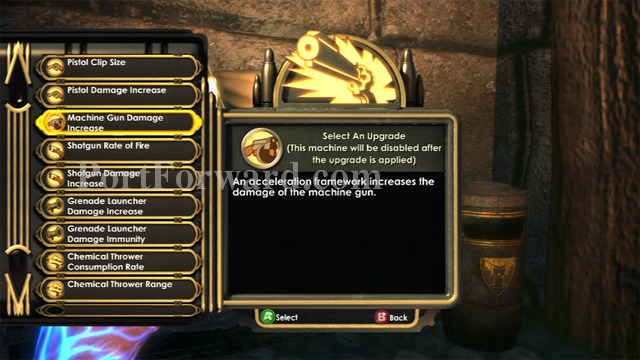
A Power to the People station is ahead. You can choose which weapon upgrade you want, but only one.
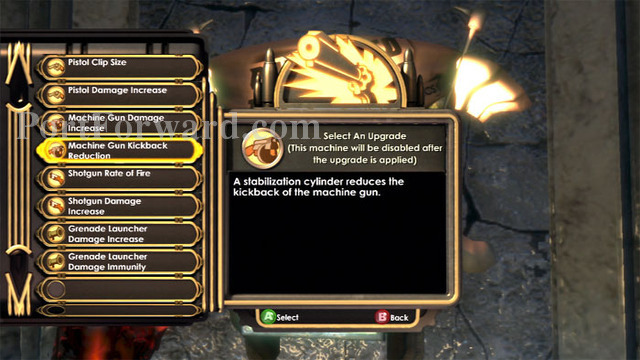
Here are the options. I feel the Machine Gun becomes much more usable once the kickback is reduced, so that's my preference here. A Machine Gun and Pistol are frozen underneath the stairs behind you.

Melt this ice blocking the room on the left. Inside is a Leadhead Splicer and a Nitro Splicer. Use Enrage! for an entertaining, though lengthy, battle.
Also here is this safe, and to the right is Peach Wilkins' Putting The Screws On audio diary.
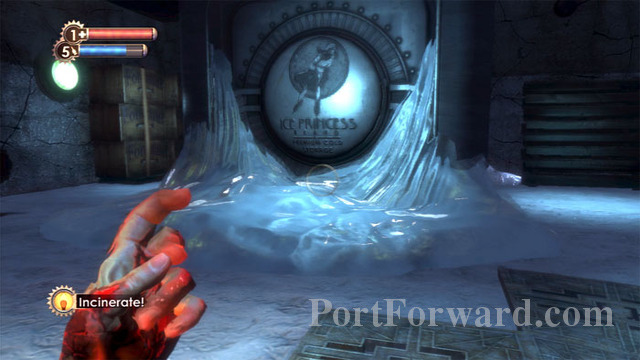
Here is your exit. Melt the ice blocking this door, then enter and melt another patch of ice to advance to Smuggler's Hideout.
BioShock Walkthrough Smuggler's Hideout
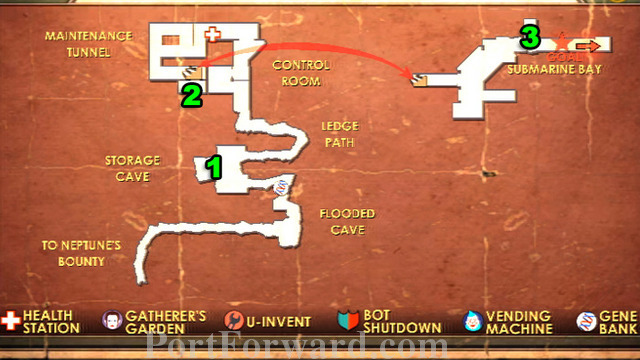
Here's a map of the level.
Map - Smuggler's Hideout
1. Meeting with Fontaine - Audio Diary
2. Kraut Scientist - Audio Diary
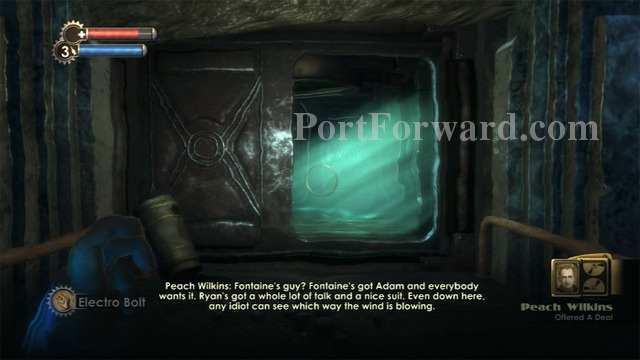
3. Offered a Deal - Audio Diary
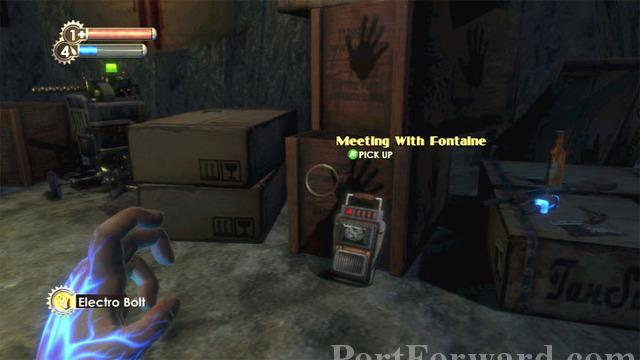
Hack or destroy the turret seen on the left. Listen to Peach Wilkins' Meeting With Fontaine audio diary and grab the EVE Hypo, Shotgun and Pistol on the right.
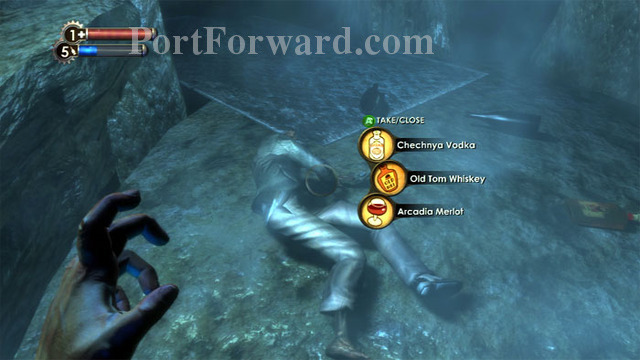
Descend further into the tunnel. Be careful not to automatically take the loot from this corpse, unless you enjoy a blurry screen. A pistol is found to the right.
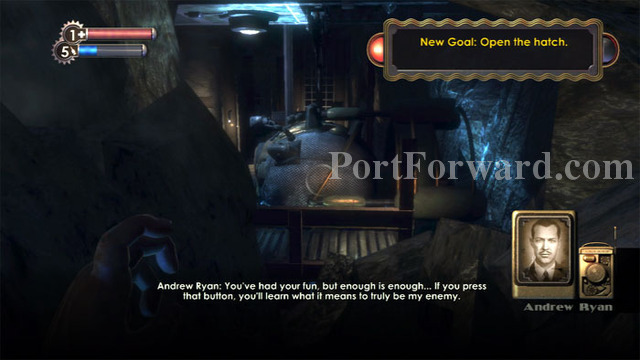
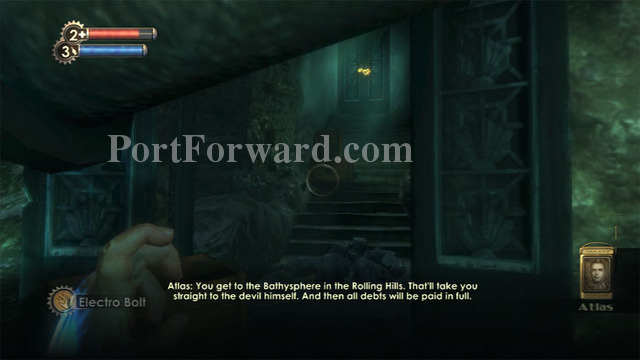
Up ahead, the submarine comes into view. Atlas and Ryan chime in, and you receive a new goal: open the hatch.
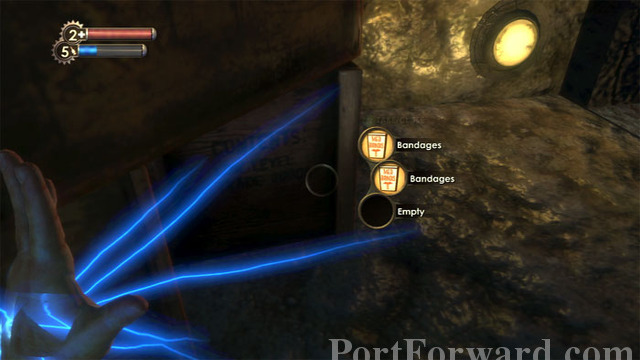
A First Aid Kit (and lots more booze) is ahead, and you may strike it big with these Smuggler's Crates as I have here with two Bandages, but more likely you'll find that these crates are empty.
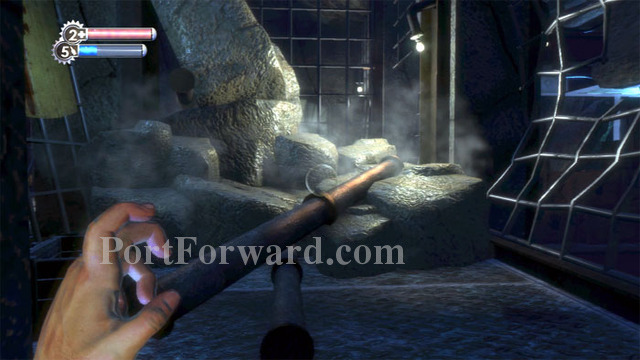
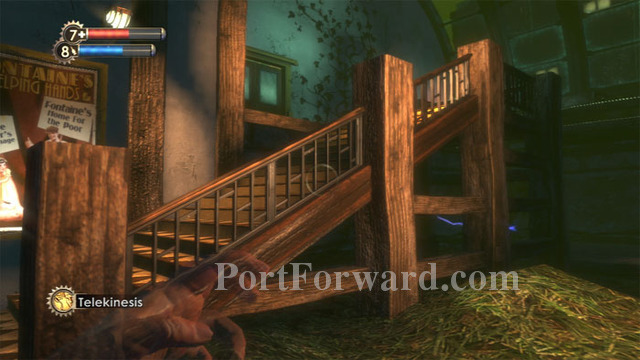
Climb over this pile of debris, then turn left.
Smash this lock.

A bit father along is this Control Panel. Use it to trigger the next sequence.
Atlas talks to you through the glass as he tries to get to his family in the sub, but Ryan sends an army of Splicers to prevent his (and your) escape from Rapture. I don't understand why Ryan would do this, though; I'd think he'd want to be rid of you and Atlas. Oh well...
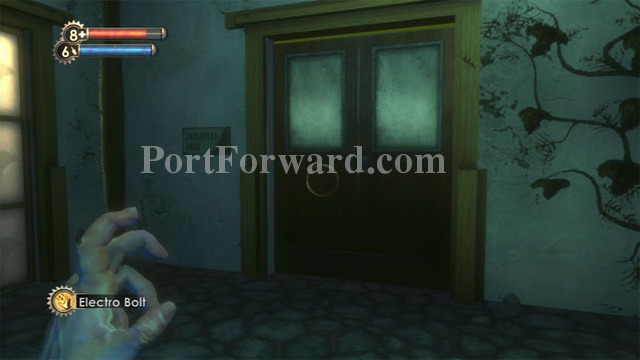
Exit out this door, locked shut a moment ago.
A veritable army of Splicers attacks, including Spiders and Leadheads. Sounds like a perfect time for the machine gun. Barrels and flammable canisters are plentiful as well. Once you hack the Health Station ahead, this becomes a good place to ambush the attackers. A Vita-Chamber is behind you, making death almost inconsequential.
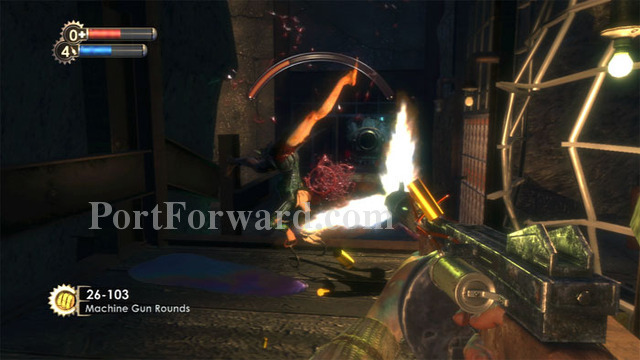
I find the Machine Gun to be a most satisfying weapon now that the kickback has been reduced. Don't forget to occasionally bring out your camera to take some research photos. Look through the beams on the left to find Bandages, a Pep Bar and Armor-Piercing Pistol Rounds on a rock. Note the locked gate on the right.
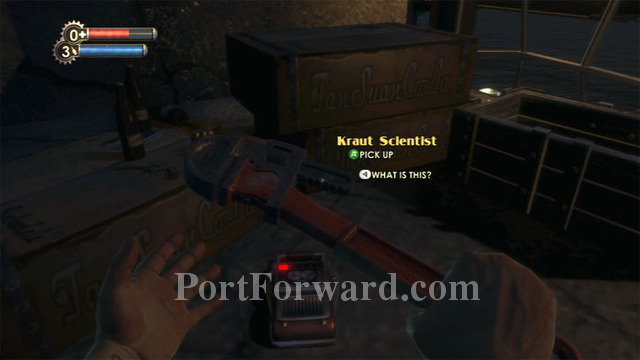
Smash the lock and find Frank Fontaine's crass audio diary Kraut Scientist.
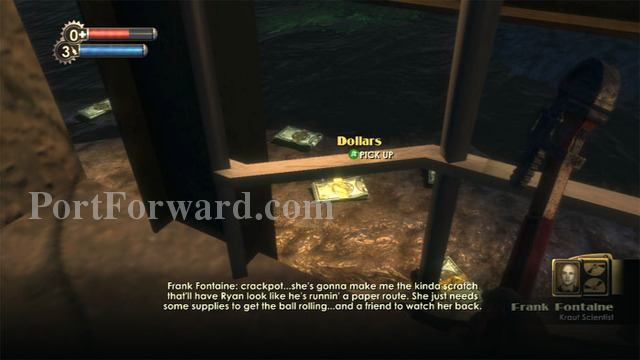
A Pistol and Pistol Rounds are found near the audio diary, and these bundles of cash are found through the fence.
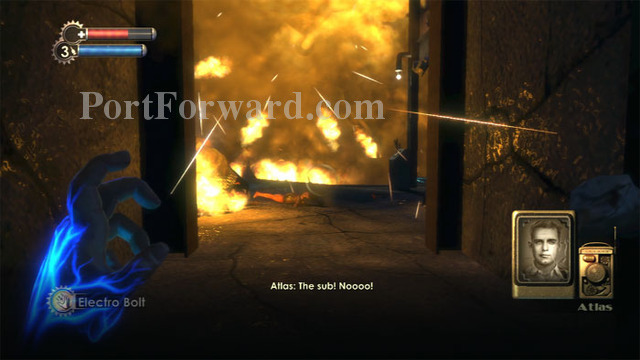
Proceed down the hallway. The sub explodes as you approach.
Continue through this Arcadia doorway after looting the corpses.

To your left are some Bandages, Creme-Filled Cakes and Peach Wilkins' Offered A Deal audio diary.
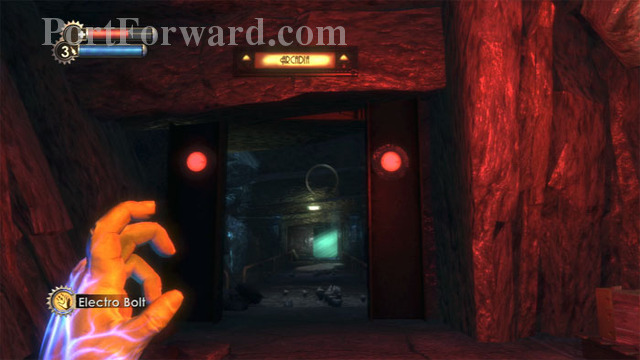
Exit through this bulkhead to enter Arcadia and end this brief level.
BioShock Walkthrough Arcadia
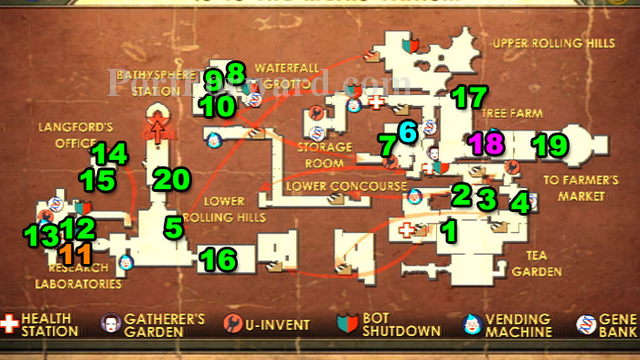
Here's a map of the level.
Map - Arcadia
1. Seeing Ghosts - Audio Diary
2. Big Night Out - Audio Diary
3. Mass Producing Adam - Audio Diary
4. Arcadia Closed - Audio Diary
5. Shouldn't Have Come - Audio Diary
6. Security Evasion - Physical Tonic
7. The Market Is Patient - Audio Diary
8. Offer A Better Product - Audio Diary
9. Early Tests Promising - Audio Diary
10. Heroes And Criminals - Audio Diary
11. Hacking Expert - Engineering Tonic
12. What Won't They Steal? - Audio Diary
13. Teaching An Old Hound - Audio Diary
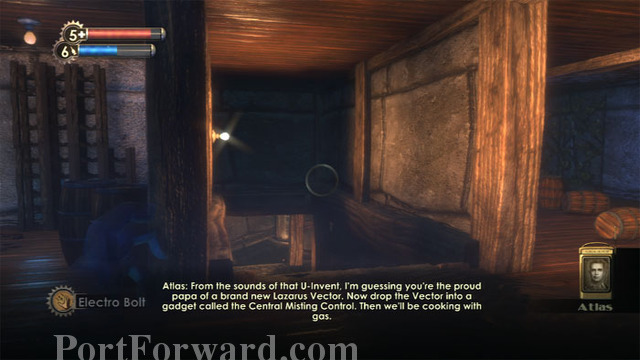
14. The Lazarus Vector - Audio Diary
15. Lazarus Vector Formula - Audio Diary
16. The Saturnine - Audio Diary
17. Arcadia And Oxygen - Audio Diary
18. Power To The People - Weapon Upgrade
19. Maternal Instinct - Audio Diary
20. The Great Chain - Audio Diary
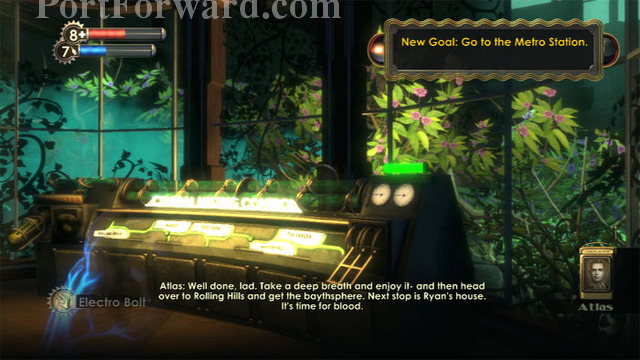
Crouch under this pipe, ascend the stairs, then smash the lock on the door. You receive a new goal: go to the Metro station.
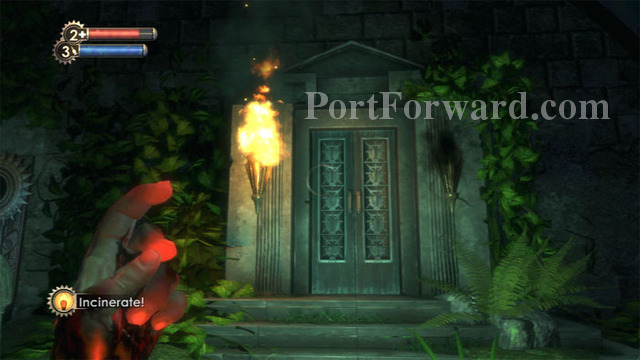
Head straight back and find this locked door. Notice that only one torch is lit. Use Incinerate! to light the other and the door opens. Find plenty of crafting material inside. Don't miss the corpse in a coffin for some decent loot.
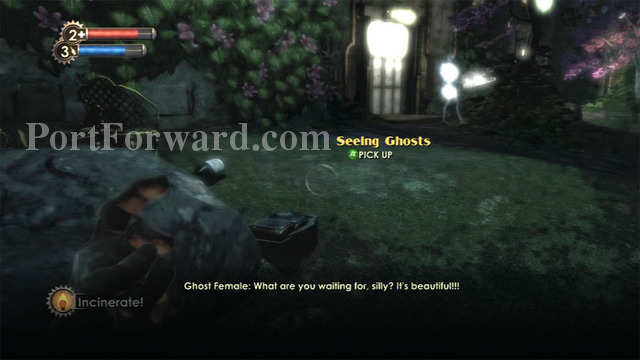
Walk across the bridge and turn left to find McDonagh's Seeing Ghosts audio diary. A corpse, camera and film are to the right, and a Shotgun and Electric Buck are in the far right corner.

Three doors are here. Enter the leftmost one.
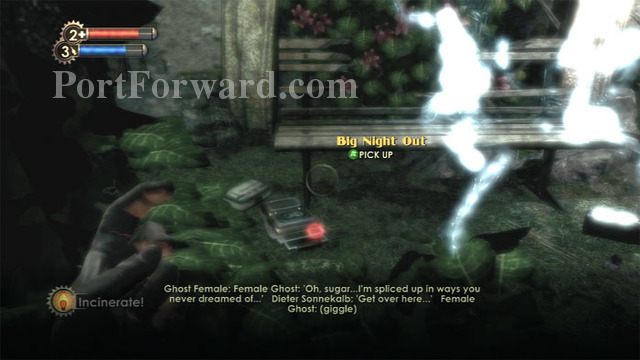
Find Dieter Sonnekalb's Big Night Out audio diary by a First Aid Kit.
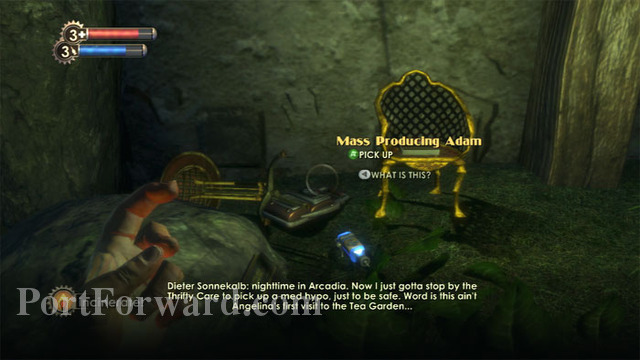
Tenenbaum's Mass Producing Adam audio diary is here on the right next to an EVE Hypo.

Exit out the middle door then ready your camera before entering through this rightmost door.
Snap a shot of your first Houdini Splicer. Even a "C" rating earns you Increased Damage +.
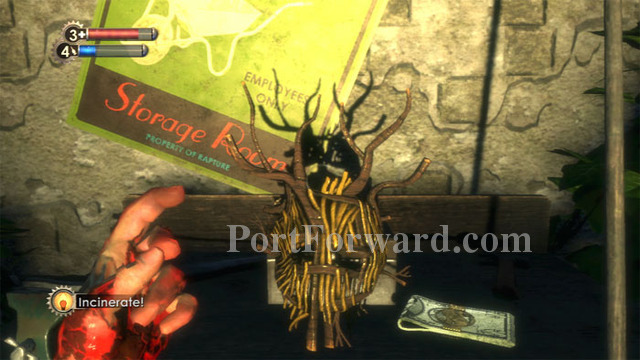
Play hide-and-seek with the teleporting Houdini. He'll lead you to this mask where you'll find some cash. The lights cut out...
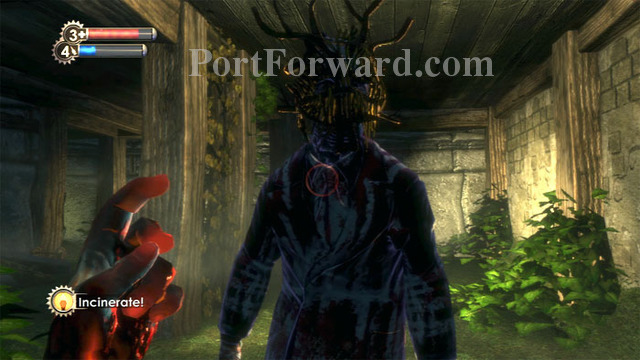
...and he appears behind you. Yikes. Incinerate! him to whittle his health while he zips around.

Search the neighboring storage room for an EVE Hypo, this Grenade Launcher and several Frag Grenades.
Char him some more on your way up the stairs.
Once upstairs, he'll stay put long enough for you to put some Antipersonnel Auto Rounds into him. An explosive canister is nearby and can be thrown for goodly damage.
Once defeated, all that remains is the mask.
Conduct a thorough search for supplies, careful not to miss the two crawlspaces.
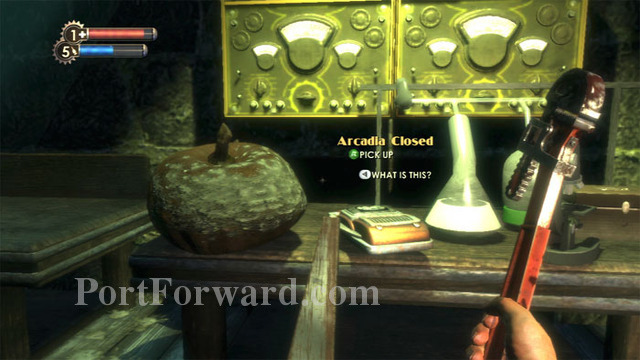
Find Julie Langford's Arcadia Closed audio diary here. A Gene-Bank is to the right.
Exit through this door.
You're now above the Tea Garden, greeted by this Leadhead. Ignite the oil slick he's standing on then gun him down. Another Leadhead attacks from the balcony on the right, where you'll be able to pull some Proximity Mines.
Through another door labeled, "Rapture Metro" is this room with lots of Splicers. I died multiple times -- Enrage! would have been a better option than running-and-gunning. It's a tough room and supplies are running thin. Fortunately there's a Circus of Values, a Health Station and plenty to pick up.
Hack this turret around the right corner and lure the Splicers to their demise. A crawlspace behind the turret leads to the balcony seen earlier.
Open the crawlspace door seen ahead to find supplies and a safe. Another door exits to traps; best to exit the way you came.
Zap this sparking switch to unlock the door and find more supplies.
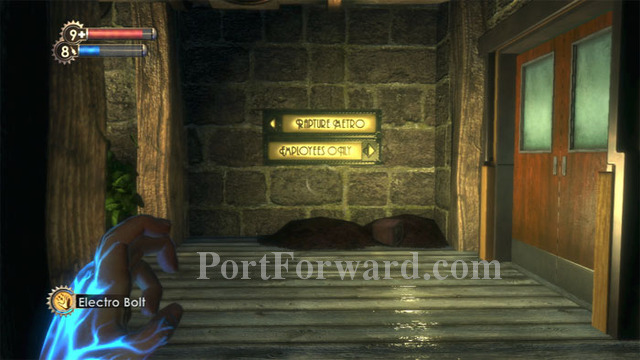
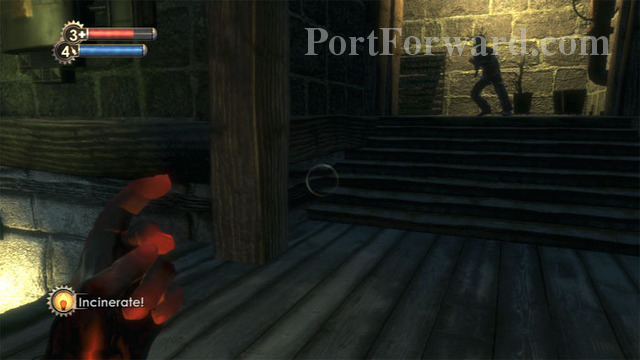
The path ahead is indicated by the "Rapture Metro" signs, but take a side step into the "Employees Only" room.
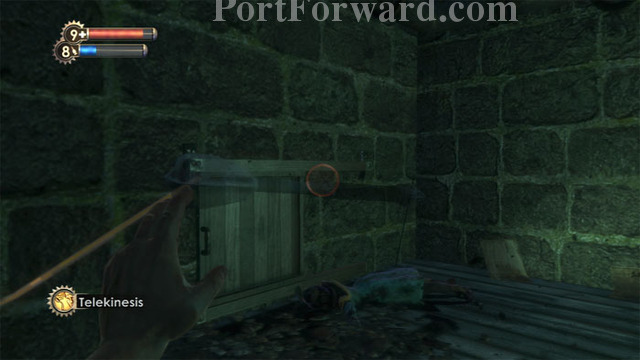
Clear the room of supplies, mindful of the traps set up at the crawlspace exit we avoided before. Traps can be defeated multiple ways. You can use Telekinesis to throw bodies and other objects at the traps to trigger them, or even move the traps into more advantageous configurations.

Return outside and follow the "Rapture Metro" sign down the stairs. Ready your camera if you still need Thuggish Splicer research. This is where I finally earned my SportBoost Physical Tonic, which helps you move and swing the Wrench faster.
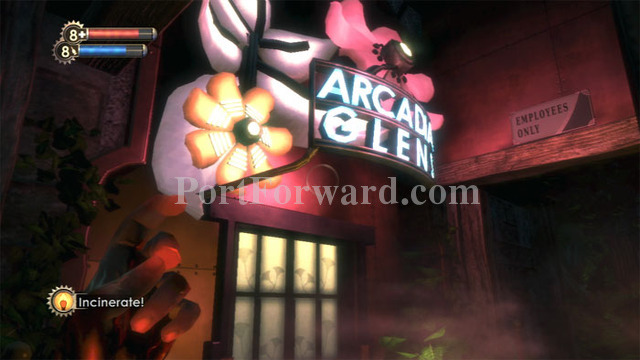
Find Cash, buckshot and a corpse before entering Arcadia Glens.

Witness a tiff between Splicers then find your first U-Invent machine here on the right. Don't miss the Antipersonnel Pistol Rounds in the bottom shelf, and find a storage crate on the ledge upper-right, accessible by climbing the boxes on the right.
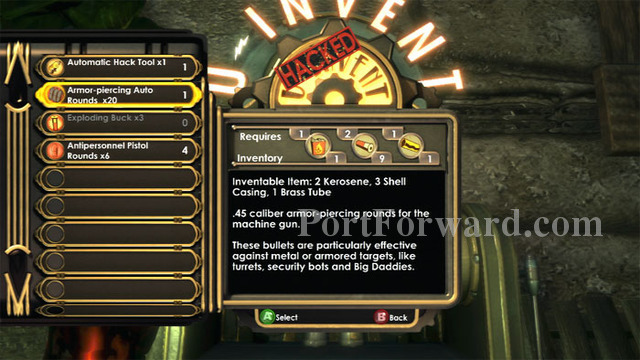
The U-Invent machine is where you do your crafting, and put to use all those odd objects you've been collecting. Hacking the machine allows you to create more with less. My preference here is the Armor-Piercing Auto Rounds -- very useful against Big Daddies.
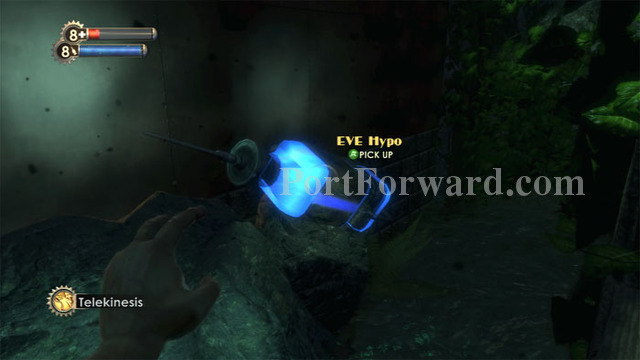
Pull this EVE Hypo from the rock on the left, then ready your camera and drop into the canal for some Houdini Splicer research.
Keep right at this exit sign.
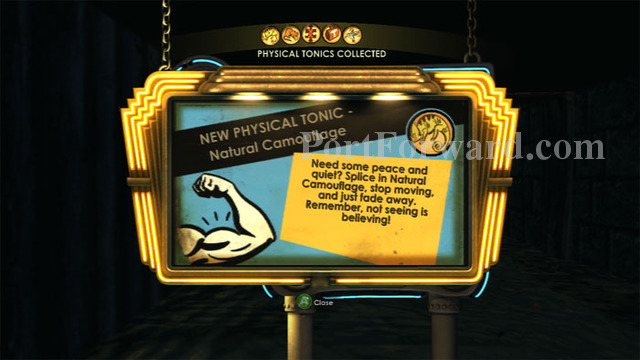
The Houdini will appear when you are about halfway down the path beneath the boardwalk. I snapped multiple photographs to earn one of my favorite Physical Tonics, Natural Camouflage. Having this Tonic equipped will render you invisible while standing still!
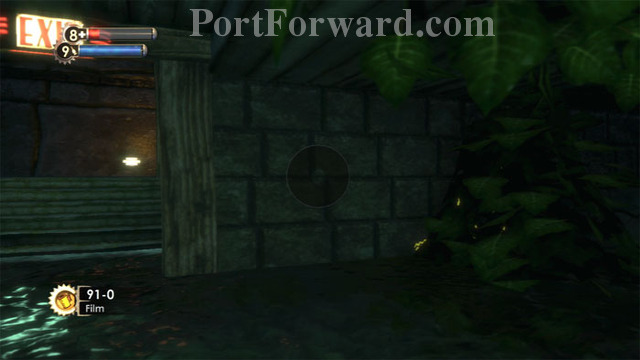
Drop over a short waterfall then come to a clearing with a Circus of Values and this crawlspace. Inside is a safe, a Lockbox and Bandages.
A Houdini waits inside this room -- don't enter until you're ready with a weapon or the Research Camera. Also inside is a U-Invent machine, a Gene-Bank, health and ammo. A Thuggish Splicer will follow you so be prepared for that as well.
On my way out I was met by a Little Sister and her Big Daddy escort. Be sure to snap photos when you see both.
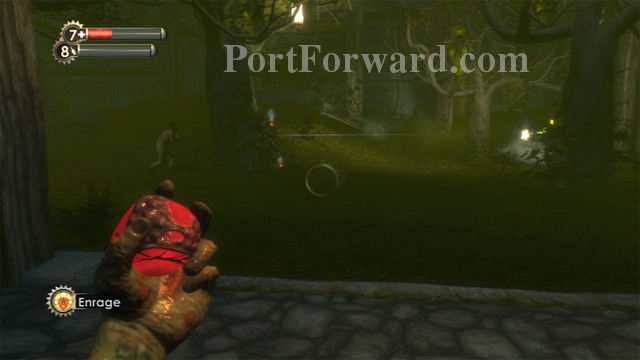
A Houdini Splicer joined us, and I used Enrage! to get the Houdini and the Big Daddy to battle.

I then engaged the Big Daddy and died. The Vita Chamber is near a Gatherer's Garden, and another Big Daddy and Little sister were here as well. This area is reached by going through the exit seen earlier (or by dying, obviously).
Remarkably, the first Big Daddy appeared and lured his Little Sister companion from the nearby Hidey Hole. Now we've really got a party! Two Little Sisters and two Big Daddies!
One of the big Daddy's got caught in the other's crossfire, triggering a violent response. I didn't even have to use Enrage! for one Big Daddy to kill the other.

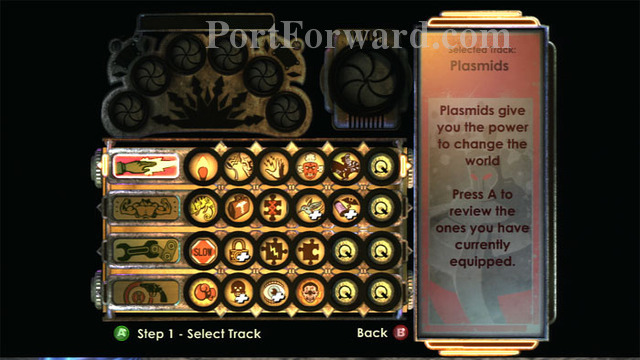
All told, I now have 700 ADAM to spend after adding both harvests to what I already had banked. I purchase a Plasmid Slot, two Physical Tonic Slots, two Engineering Tonic Slots, one Combat Tonic Slot, Health and EVE Upgrades, plus Human Inferno, leaving me with 20 ADAM. It's tempting to purchase Electro Bolt 2, but Electro Bolt 3 will be available in Hephaestus.
Here is my current configuration.

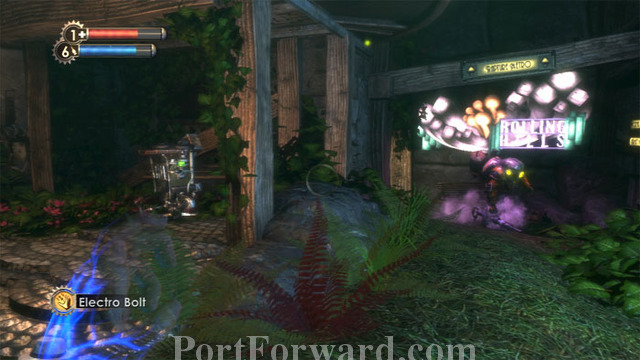
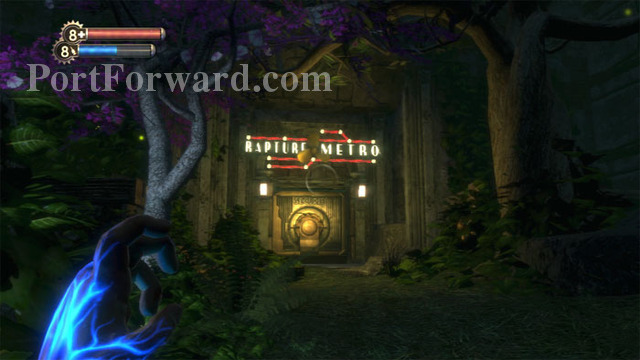
Ignore the nearby Waterfall Grotto for now. Instead, follow the Metro/Farmer's Market signs. Destroy the security camera just visible upper-left before entering the door under the Rolling Hills sign ahead.
Be prepared to zap a rocket turret with your Electro Bolt before entering. A solitary Splicer is also waiting in here.
Loot a corpse near the turret and use Telekinesis to pull an EVE Hypo and cash from a high ledge to the left. Find Mariska Lutz's audio diary Shouldn't Have Come on a rock under the Rolling Hills sign ahead/right.
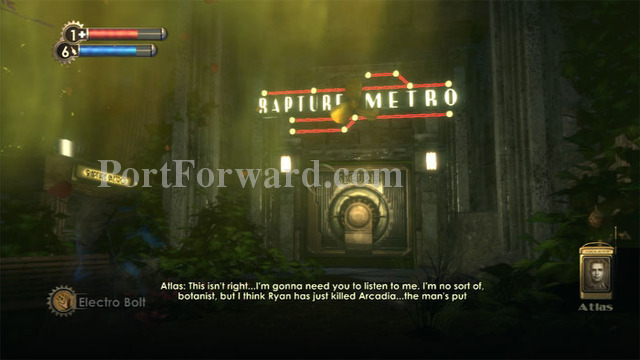
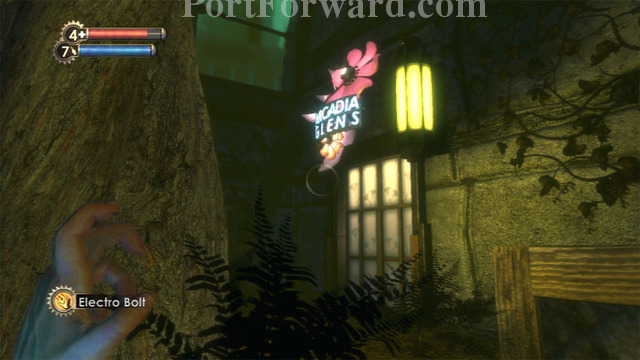
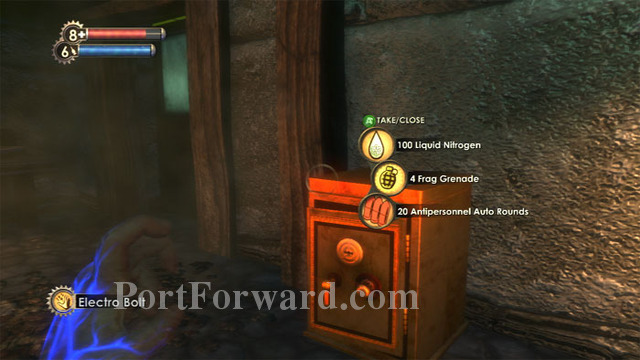
Approach the Metro door and a yellowish chemical falls from above. Ryan is poisoning the plant life in Rapture, eliminating the city's oxygen supply. Find a Handbag and Liquid Nitrogen above the yellow "Rapture Metro" sign on the left.
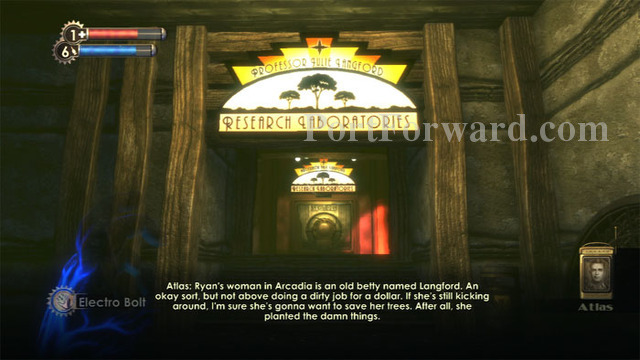
Atlas tells you to find a scientist named Julie Langford. Fortunately, her laboratory is just to the left of the Metro access. Hack or destroy a security camera on the right, and find an Ammo Bandito machine to the left.
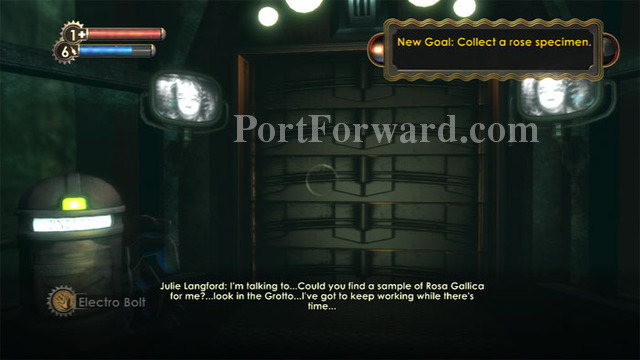
Listen to Langford and receive a new goal, which can be completed back at the Waterfall Grotto.
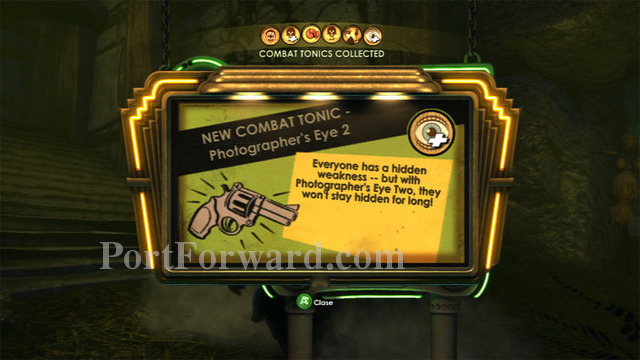
Head to the Waterfall Grotto, directly across from the Gatherer's Garden we were at a while ago. Several groups of Splicers stand in your way, so have Enrage! handy. My Research Camera also proved useful -- snapping shots of a wandering Rosie netted me the Photographer's Eye 2 Combat Tonic. Thuggish Splicer shots earned me the SportBoost 2 Physical Tonic.

Enter the Waterfall Grotto and find this Security Evasion Physical Tonic. (This tonic is not here if you visit the Grotto earlier.) Andrew Ryan's audio diary The Market Is Patient is seen on the bench. A U-Invent machine is to the left next to a corpse with some crafting items. You'll also find a Grenade Launcher and several Heat-Seeking RPGs.

The downstairs area is wired for sound so proceed cautiously. These traps can be disabled with Telekinesis. Avoid a flamethrower turret behind the left wall.
Two turrets are on either side of the room; here they are battling it out after I hacked the one on the left. Proximity Mines are near the left turret and a security camera is in the far-left corner.
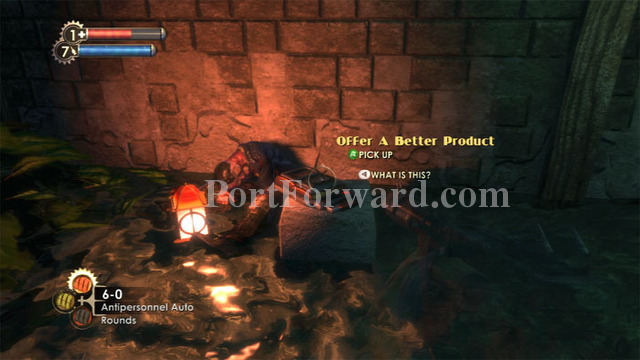
Andrew Ryan's Offer A Better Product audio diary is found here.

Julie Langford's Early Tests Promising audio diary can be found on this crate. Turn around and follow a tunnel to the flamethrower turret and more supplies, then grab a rose from this bush to complete Langford's objective.
Frag Grenades, a First Aid Kit and Potato Chips are under the security camera on the left. Electro Bolt the door control on the right to find a roll of Film, an EVE Hypo, Antipersonnel Auto Rounds and Diane McClintock's audio diary Heroes and Criminals. This room is a good place to hide out while your hacked turrets and security bots decimate the spawning Splicers.

Return to Langford's lab. Listen to what she has to say then use the Pneumo to complete the objective and open the door. A Hacking Expert Engineering Tonic is on the desk, and Langford's audio diary What Won't They Steal? is to the right. Chlorophyll Solution is above the file cabinet.
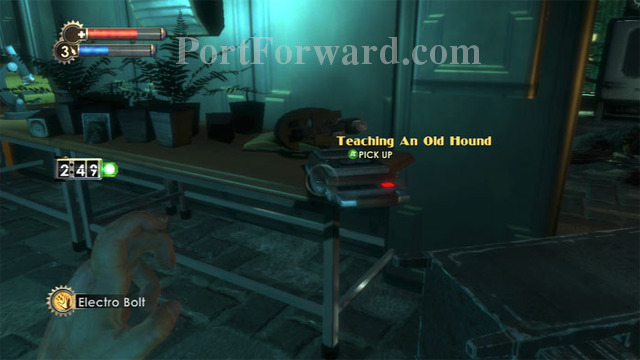
Head through the door on the right and Langford gives you a countdown to make it upstairs before the turrets reactivate. Find her audio diary Teaching An Old Hound here. You've got plenty of time, so search the area thoroughly and hack the Health Station, U-Invent and Circus of Values.
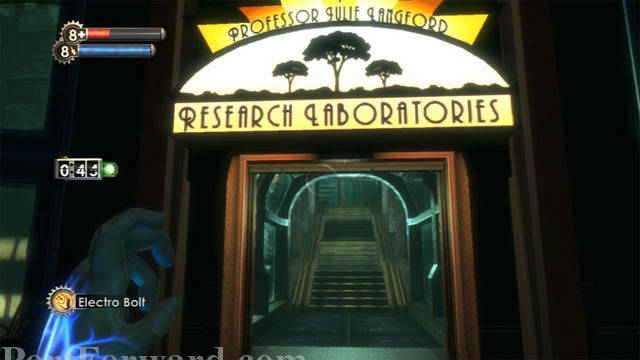
When you're ready to move on, approach the Securis door to open it then ascend the stairs.
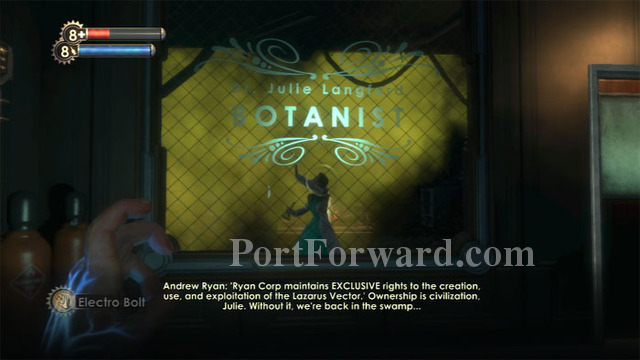
You'll find Langford in her office upstairs. But so does Ryan.
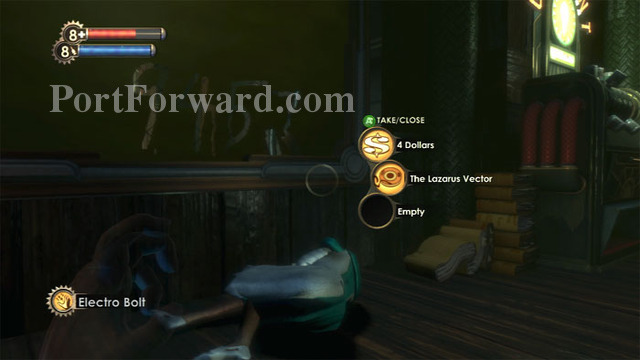
After the gas subsides and the doors open, enter Langford's office and search her body for The Lazarus Vector audio diary. Note that she has scribbled the code 9457 onto the window. A new weapon, the Chemical Thrower, and one of its ammo types, Liquid Nitrogen, are on the table behind you.
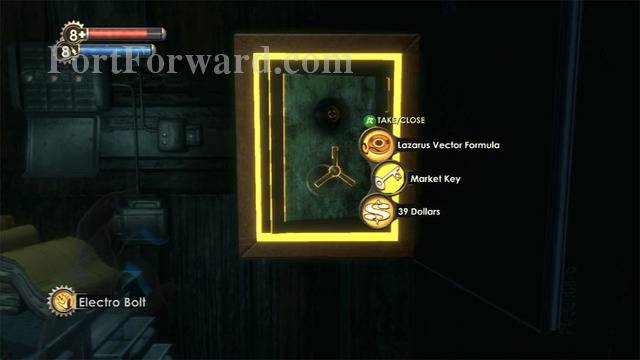
Search the desk on the left for crafting items and use the Botanical Illustration to reveal a wall safe. Code 9457 nets you Langford's Lazarus Vector Formula audio diary, and the key to Farmer's Market.
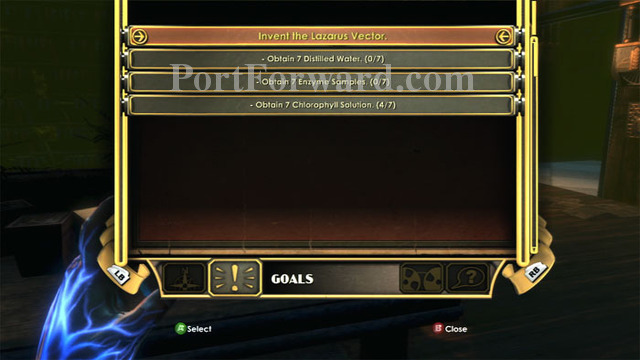
You get a new multi-part goal, requiring seven Distilled Water, Enzyme Samples and Chlorophyll Solution.
A pair of Splicers are waiting as you backtrack through the lab. Enrage! is my alpha-strike preference. Napalm, the Chemical Thrower's fire ammo, is ahead/right, and a security camera is to its left. You'll be returning later so hack away for future assistance.
A Houdini Splicer attacks. Antipersonnel Auto rounds tear him up. Don't forget to snap some photos. Chlorophyll will likely be found on Houdini bodies for a while.
Head to this U-Invent if you need to make anything.
Snap some photos of the nearby turret before hacking it.
I found Napalm in this previously-empty file cabinet before leaving the laboratory.
A Splicer is waiting for you outside. I Enraged him and he went suicidal on a nearby Big Daddy.
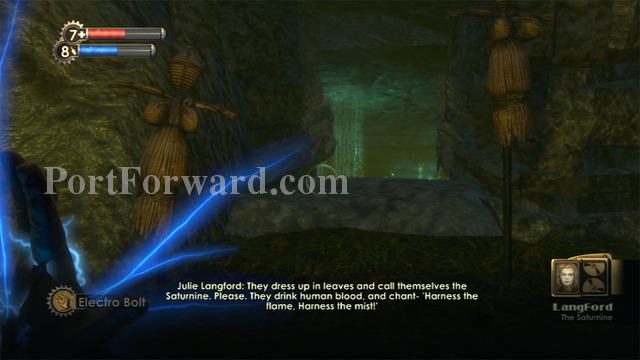
We need to head to Farmer's Market, but first there is a short optional diversion. Julie Langford's audio diaries have mentioned a strange sect of cultists. Find her audio diary The Saturnine just inside this cave entrance to give them a name.

Chlorophyll is here by the makeshift altar. Ready your camera and weapon of choice against a Houdini Splicer.

The Houdini attacks as you approach the cave exit. He'll likely have Chlorophyll on his body.
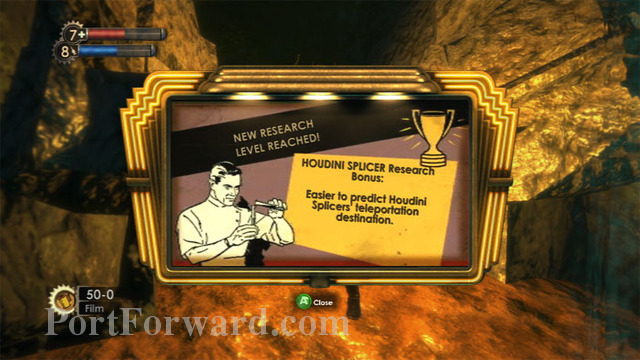
Be sure to continue your Houdini research to earn improved Houdini detection, allowing you to hear and see Houdinis well before they materialize.
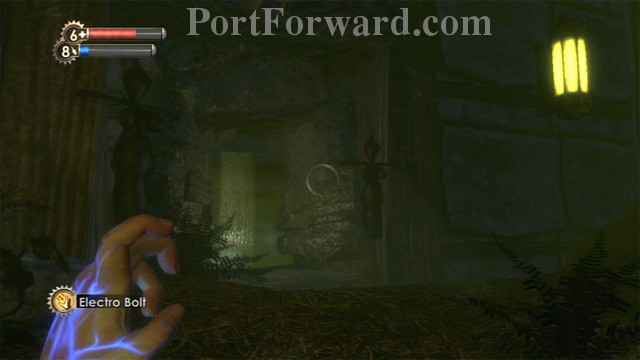
Upstairs is this second Saturnine cave entrance.
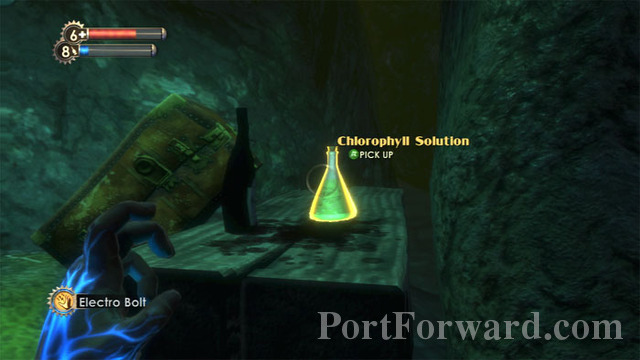
Enter to find Chlorophyll here on the right.

Another Houdini attacks. I'm out of Antipersonnel Auto Rounds but regular Machine Gun Rounds get the job done, too. Search his body for more Chlorophyll and you should have reached your target of seven by now. Don't forget to search the nearby Steamer Trunk.
Exit left then backtrack through this Arcadia Glens door.
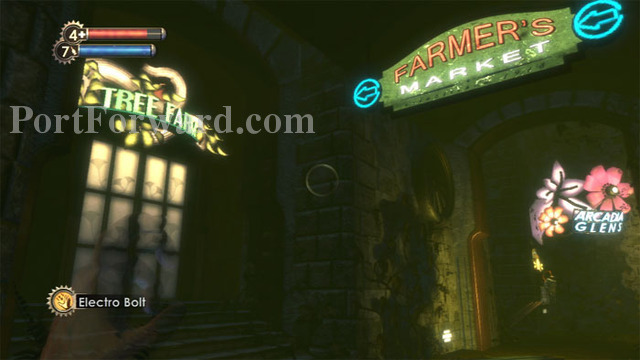
Continue through this Tree Farm entrance, clear of the vegetation that was blocking it before Ryan's defoliant was released.
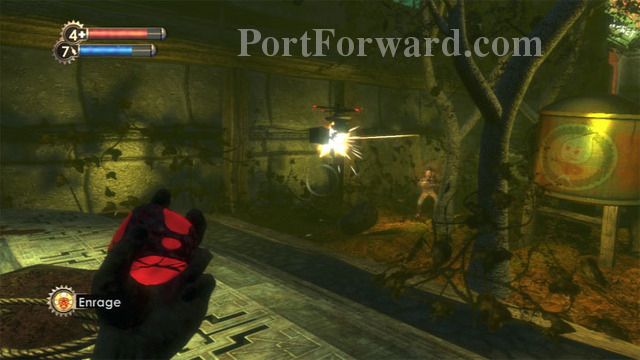
Enrage! this Splicer and he'll attack his own security bot.
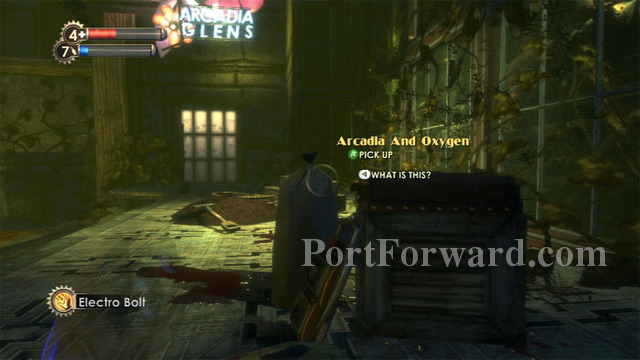
Julie Langford's Arcadia And Oxygen audio diary is found here.
Find this EVE Hypo on the ledge straight ahead. Buckshot can be found by jumping the stair-like beams on the left to reach the small landing upper-right.

Continue through this doorway.
Save your ammo as the Splicer approaches. He'll succumb to the flames without any assistance. Upgrade your weapon of choice at the Power to the People station on the left.
I continue my Machine Gun specialization by choosing Machine Gun Damage.
Find Potato Chips and a Storage Crate at the top of the stairs, and a First Aid Kit and Circus of Values on the left. Have your Research Camera ready before you battle this female Houdini Splicer.
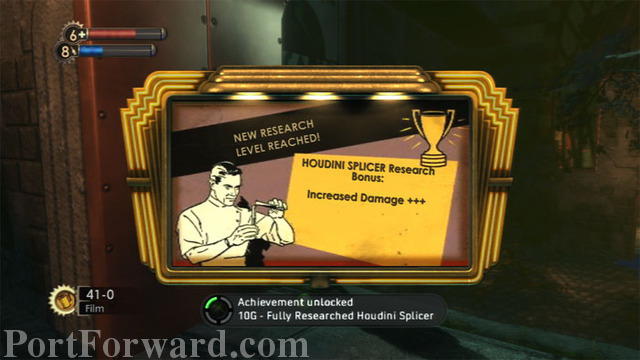
I was able to complete my Houdini Splicer research, earn Increased Damage +++ and get the Achievement.
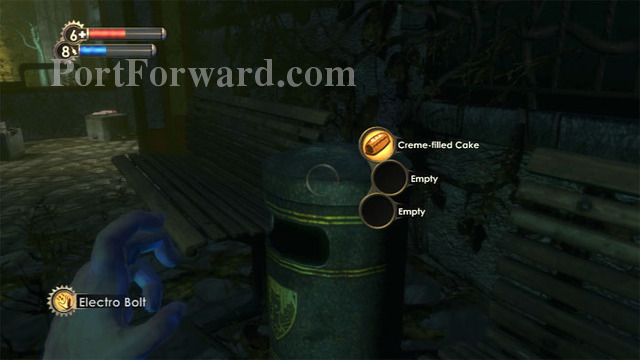
Search this Trash Can for supplies and don't miss the two Pep Bars just visible ahead/left.
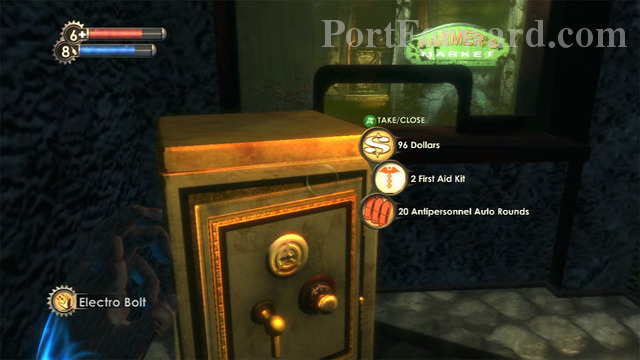
This safe can be found on the far left.
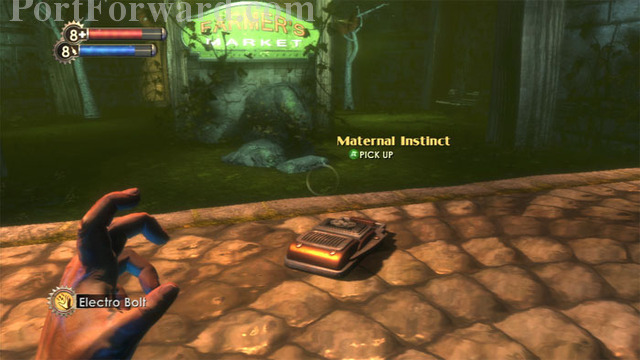
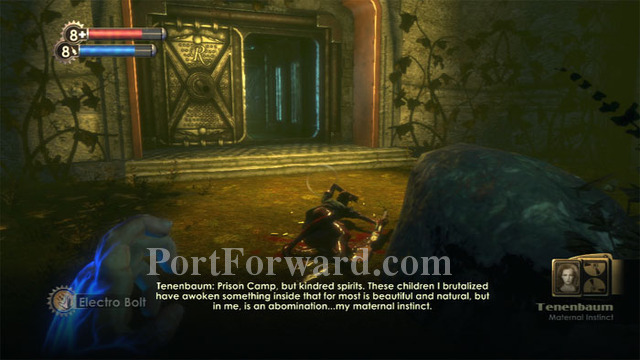
Tenenbaum's Maternal Instinct audio diary is found here.
Find a corpse and a Shotgun before entering the bulkhead to Farmer's Market. You'll have another odd flashback before reaching the door.
BioShock Walkthrough Farmer's Market
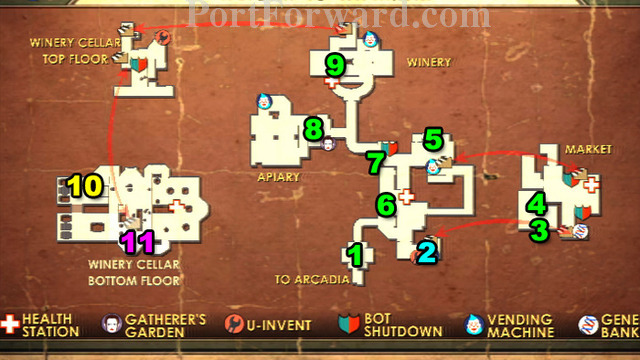
Here's a map of the level.
Map - Farmer's Market
1. Bee Enzyme - Audio Diary
2. EVE Link 2 - Physical Tonic
3. First Encounter - Audio Diary
4. Hatred - Audio Diary
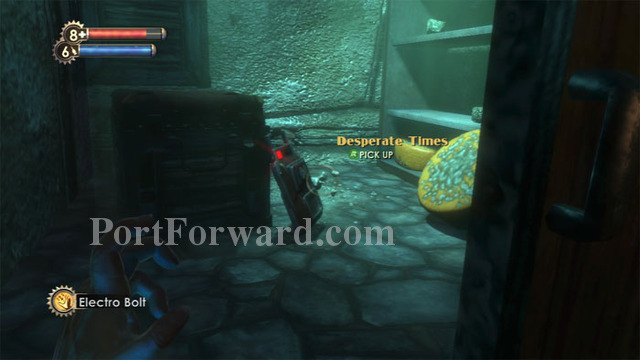
5. Desperate Times - Audio Diary
6. Pulling Together - Audio Diary
7. Water in Wine - Audio Diary
8. Adam Explained - Audio Diary
9. Functional Children - Audio Diary
10. Photographer's Eye - Combat Tonic
11. Power To The People - Weapon Upgrade
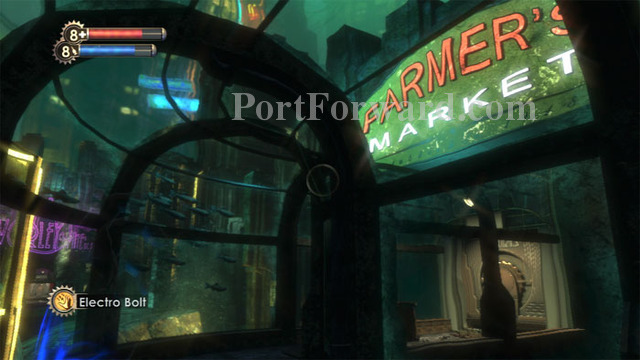
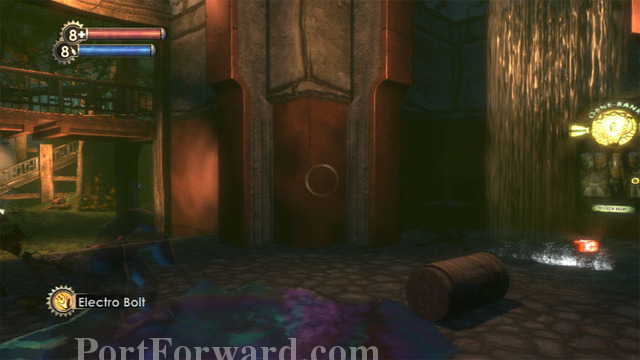
Enjoy the view then continue through the Securis door ahead.
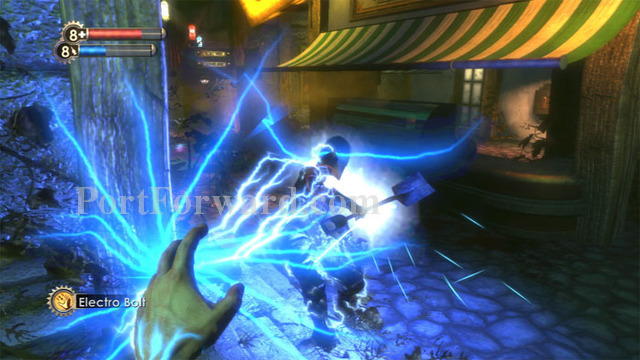
Hold back while a pair of Houdinis chase each other then defeat this Thuggish Splicer. Beware a rocket turret on the right. A Proximity Mine is to the right of the awning.
Snap some research photos of the turret before hacking it, then pick up these Frag Grenades.
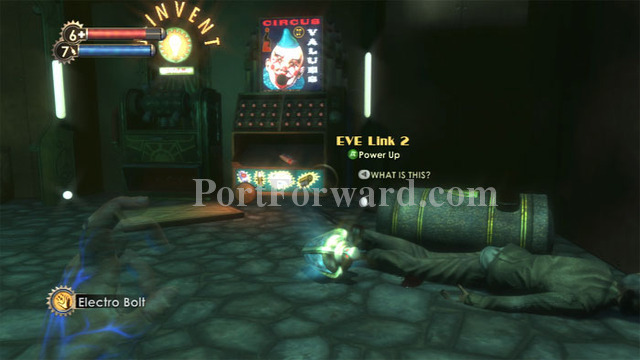
Descend the stairs and find this EVE Link 2 Physical Tonic. A Pep Bar is in the Circus of Values, and an EVE Hypo is on a rock behind you and to the left.
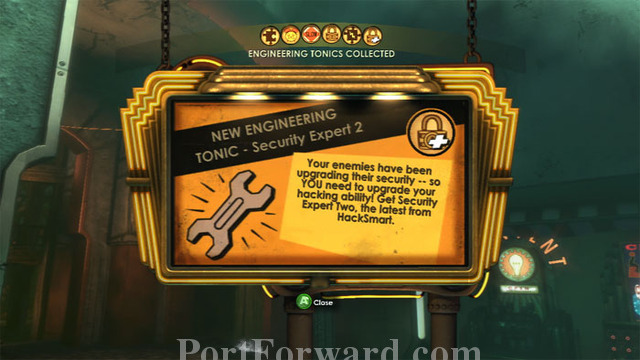
I quickly earned a second tonic by photographing a nearby Leadhead Splicer's Security Bot, earning me this Security Expert 2 Engineering Tonic.
A First Aid Kit and a corpse are to the left of the Gene Bank. Continue left.
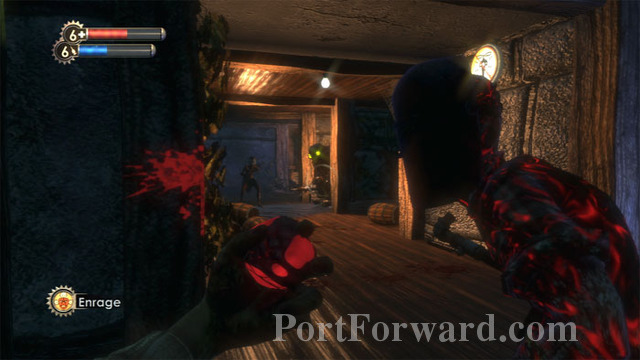
Several Splicers attack, suited up for the big game. Enrage! is my choice here. Finish off the victor then search the bodies for supplies.
Find cash, a Machine Gun and Machine Gun Rounds on this counter. Bandages are found behind the counter.
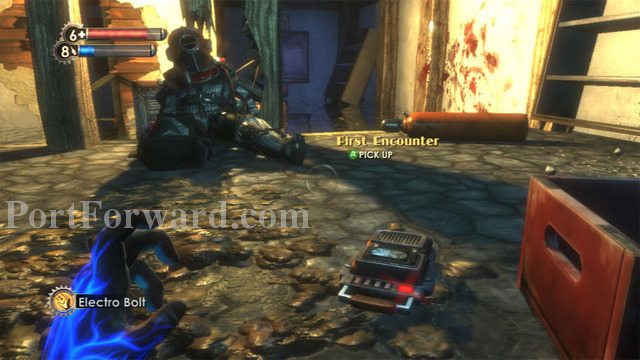
Enter the room marked, "Employees Only." Learn Andrew Ryan's reaction to the Big Daddies by listening to his First Encounter audio diary.

Search the crates in the room and find Tenenbaum's Hatred audio diary on this desk.
This Thuggish Splicer charges you in the neighboring room, falling victim to his own Trap Bolt. Distilled Water is visible on the left, an EVE Hypo is on the right, and a U-Invent machine is straight ahead. Storage crates are also here.

Hack the Pump Room door to find Napalm, Electric Gel, Cash, a First Aid Kit, Armor-Piercing Auto Rounds, a Lockbox and a Storage Crate. The code 0512 is revealed later in Hephaestus.
Search the crate under these stairs before climbing them. Enter the leftmost door.

Inside I found a Big Daddy doing battle with a Houdini Splicer.
The sound of a security camera hints that this is the perfect time for Security Bullseye. Sure enough, the security bots took out both the Houdini and the Big Daddy without me having to fire a shot.
Search for supplies, and don't miss this safe and a crawlspace on the right.
Exit to the hallway and enter this "Employees Only" door.
You're now behind the deli counter. Find Film on the right, then grab Ryan Andrew's Desperate Times audio diary behind this crawlspace door. Climb the storage crates to reach a ventilation duct that leads to the crawlspace seen earlier. A First Aid Kit is found on the top shelf on the right.
Return to the balcony and hack the Health Station on the left before continuing right.
Find bandages on the left, continue through the door ahead, then hack a security camera to the immediate right of the door.
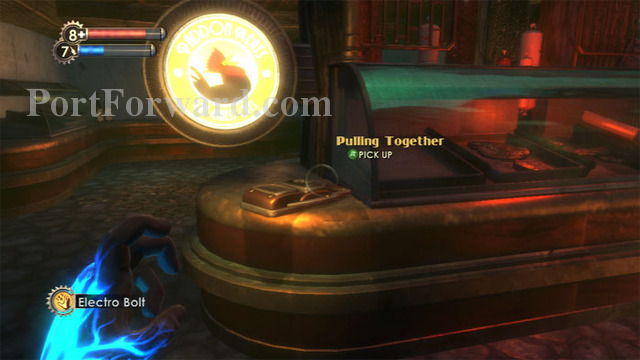
Andrew Ryan's audio diary Pulling Together is on this deli counter. A Health Station is to the right.
Hack/destroy a machine gun turret, then search the room for supplies. Be sure not to overlook this safe. A cash register is to the right. Continue through the door seen on the left.
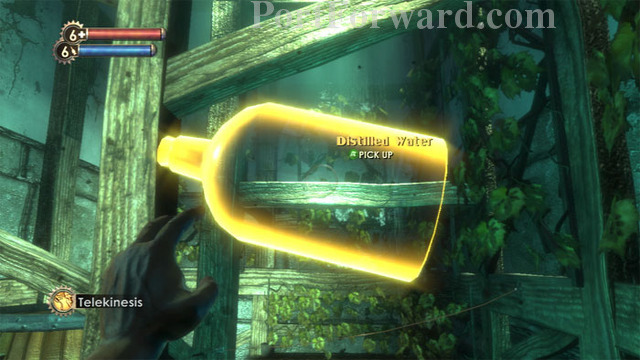
Distilled Water and Pierre Gobi's audio diary Water in Wine are found here on the left. Continue through the Securis door and defeat a pair of Thuggish Splicers. I photographed them to complete Thuggish Splicer research and earn Increased Damage +++.
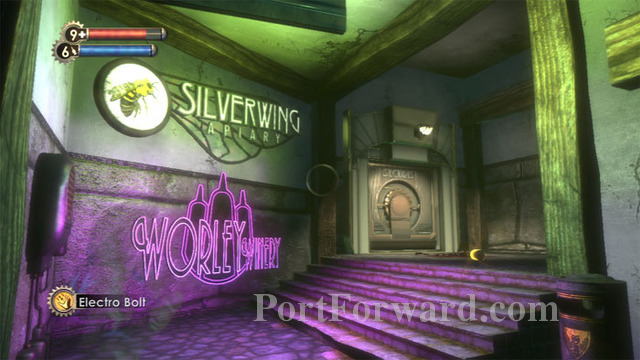
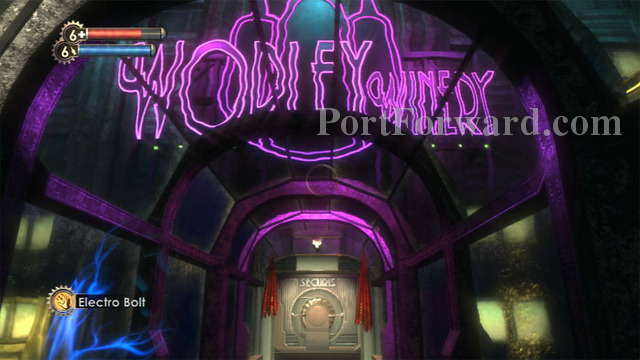
Gobi's audio diary strongly suggests that Distilled Water can be found at Worley Winery, straight ahead. But first, lets explore Silverwing Apiary on the left, where we're likely to find Enzyme Samples.

Tenenbaum's Adam Explained audio diary is on this counter, next to a Pep Bar. A Gatherer's Garden is also found here, where I purchase Combat and Physical Tonic slots for 160 ADAM, leaving me with 20 ADAM.
For the curious, here is my current configuration.
Find a Shotgun and Electric Buck behind the counter before continuing through this door.
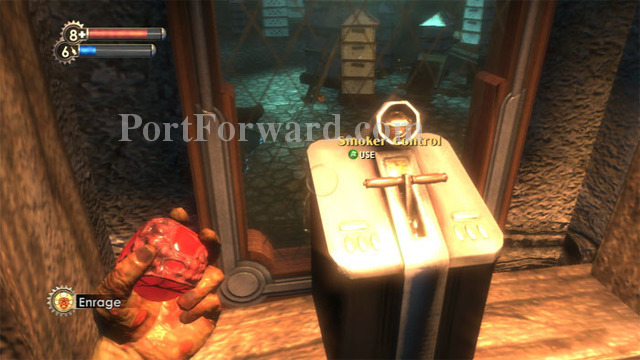
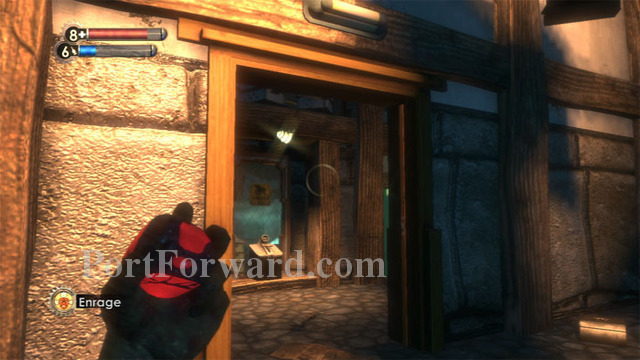
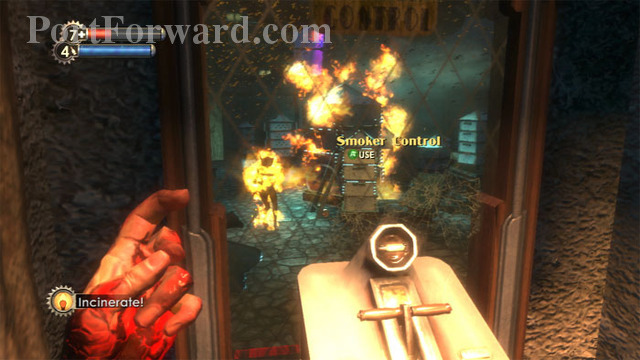
Two Smoker Control switches disperse the smoke necessary to calm the bees in the next room. Ready Enrage! then throw the switch before entering.
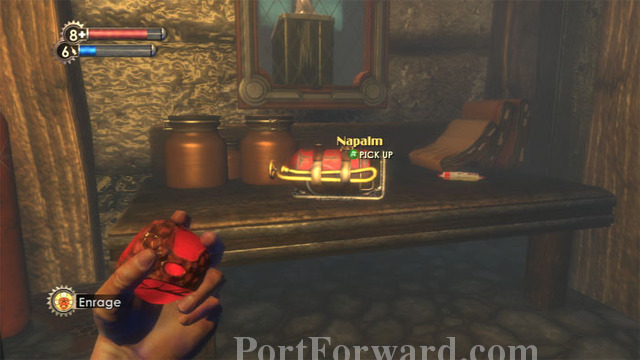
Napalm and a Pep Bar are found on this table, and a Frag Grenade is below.
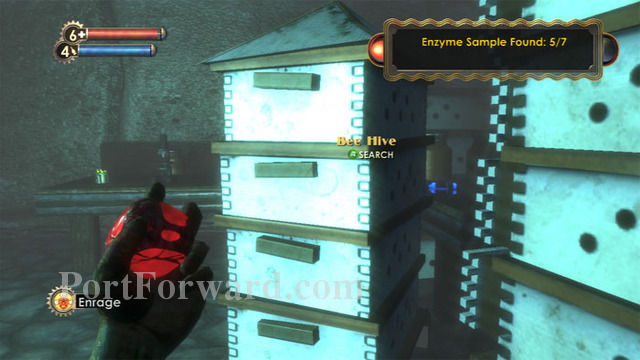
Search the Bee Hives for Enzyme Samples. A ticking sound increases with frequency until the smoke dissipates and you must leave the room. Note the EVE Hypo on the right and the Armor-Piercing Pistol Rounds on the left. A Frag Grenade is under the table farther left.
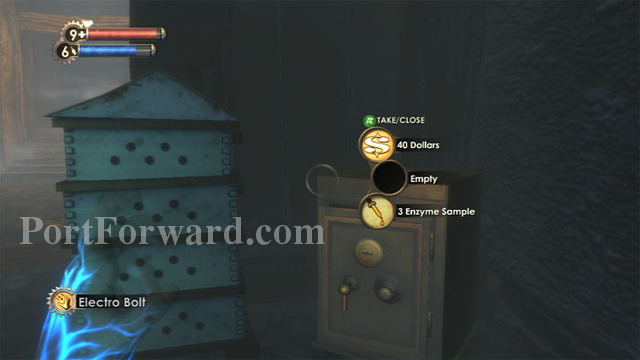
Find this safe along the left wall. In multiple runs, I always found three Enzyme Samples here.
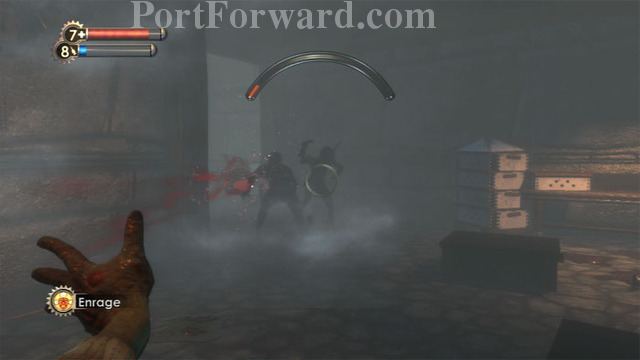
Splicers attack as you search the hives. Enrage! is a perfect solution to this room, as the Splicers keep themselves occupied while the clock counts down, giving you precious seconds to search for Enzyme Samples.
Always remember to go back to use the smoker control again if you run out of time. The bess are hard to fight off.
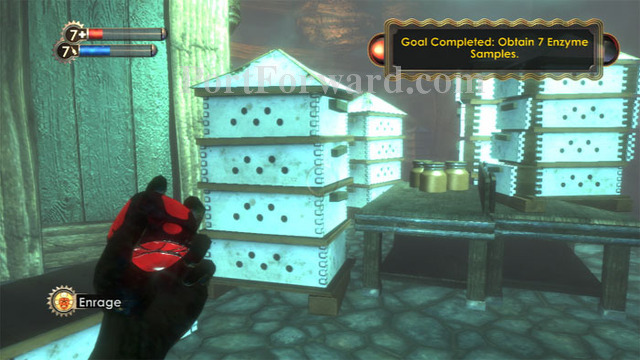
Don't miss this group of hives in the center of the room. A side room has more hives, along with a Circus of Values. The Splicers cease to spawn once the goal is completed, allowing you to thoroughly search the room for supplies, including three Lockboxes scattered about the floor.
Time for Worley Winery. Ready your Electro Bolt and Research Camera.
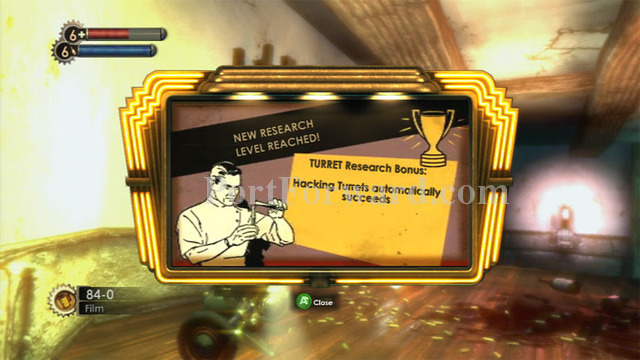
Search a pair of corpses then photograph a turret and a security camera. Turret research ultimately nets the ability to automatically hack them.
The turret and security camera can be seen on the right. Note the Distilled Water on the left. I consistently found two more Distilled Water in the safe to the right. Approach the table at the far end of the room.

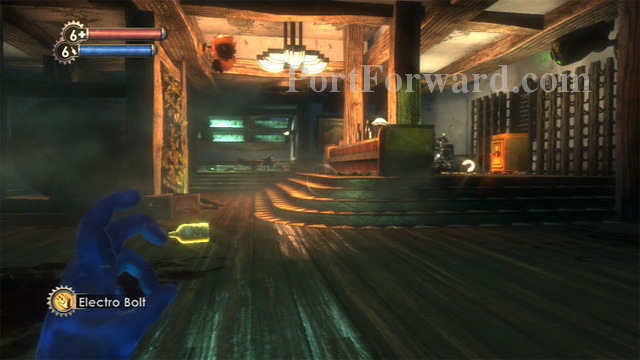
Tenenbaum's audio diary Functional Children is found here. I love the way she pronounces the word, "pliable." Turn around and search a Storage Crate, then head to the room on the right to find two more plus a Circus of Values.
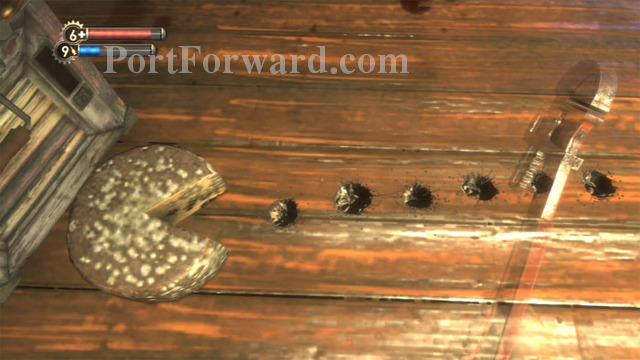
Look down to find this BioShock Easter egg. This cheese wheel and floor gauges form an homage to gaming past: it's Pac Man!
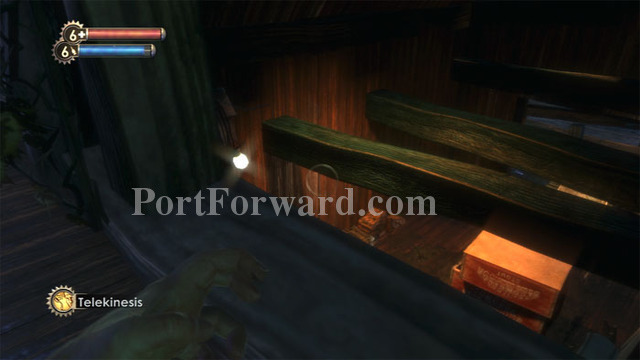
Continue down these stairs, using Telekinesis to grab the Distilled Water from the overhead beam and also disable the Bolt Trap.
I prefer to ignore this drop-down area on the right for now. We can access it later once we are on the lower floor.
Pause before advancing down this corridor on the left. Wait for the perfect conjunction of foes before tossing Enrage! Make the first right to find Distilled Water, a Storage Crate, a Shotgun and a corpse with more Distilled Water.
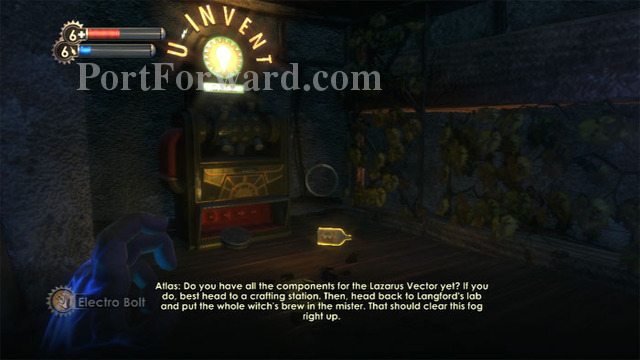
Keep left to find this U-Invent alongside Armor-Piercing Auto Rounds and more Distilled Water. You should now have all the ingredients necessary to create the Lazarus Vector, which you can make at this U-Invent.
Atlas tells you to return to Langford's lab. First, turn around and descend these stairs to explore the winery further.
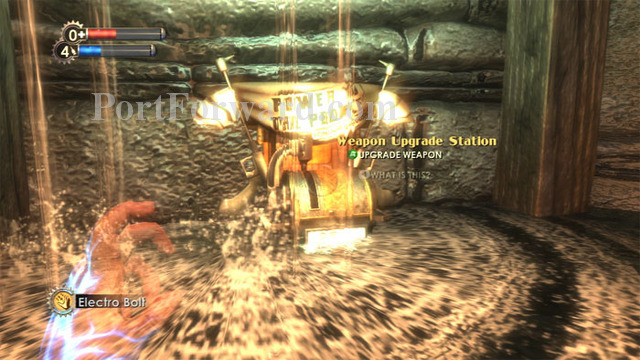
Directly across from the base of the stairs is this Power to the People Weapon Upgrade Station.
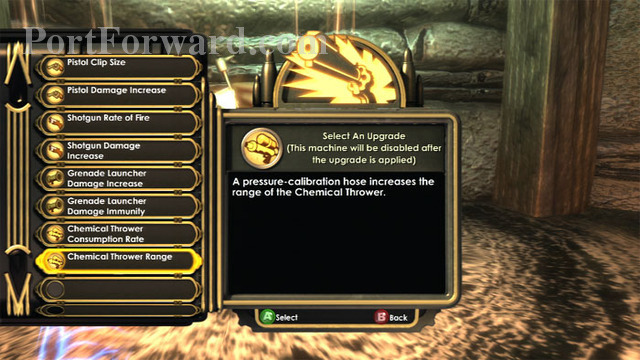
I choose to upgrade Chemical Thrower Range, useful for an upcoming firefight.
More distilled water, a Gene-Bank and lots of Storage Crates are also down here, plus a minor prize can be found in the drop-down room spotted earlier - a Photographer's Eye Combat Tonic. I already earned Photographer's Eye 2 previously, but both Tonics can be equipped to earn even faster research bonuses. Napalm and an EVE Hypo can also be found inside.
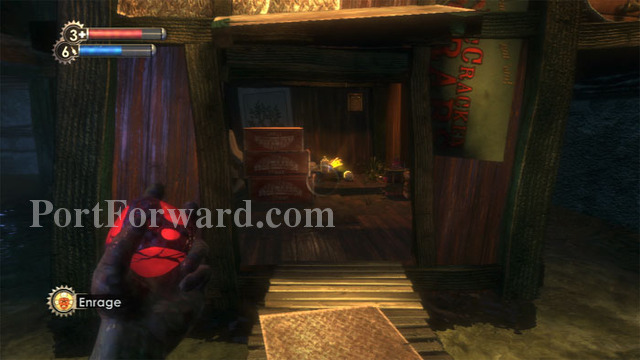
Once you grab the Tonic, Bolt Traps spring into place and Splicers attack. Inferno! causes the Splicers to jump into the water, where you can finish them off with Electro Bolt.
A Lockbox, First Aid Kit - and a machine gun turret - are in this crawlspace.
Once you've collected all the supplies in the area, fill up at the Circus of Values then follow the signs back to Arcadia.
BioShock Walkthrough Arcadia 2
Fire in short bursts with the chemical thrower to conserve ammo and keep moving to dodge the rain of bullets.

A secondary strategy is to fall back to the bulkhead and fire Armor-Piercing Auto Rounds. Chickens and speed runners can just avoid this firefight by simply running away.
Once the coast is clear, begin your trek back to Langford's lab. The Rapture Metro signs lead the way.
The lab entrance is to the left of the Rapture Metro.
Fill up at the Circus of Values and hack the nearby health station if you hadn't done so previously. Return through the door seen in the distance and once again ascend the stairs to Langford's office.
Inside Langford's office, defeat this Leadhead Splicer that you find looting a Houdini corpse.
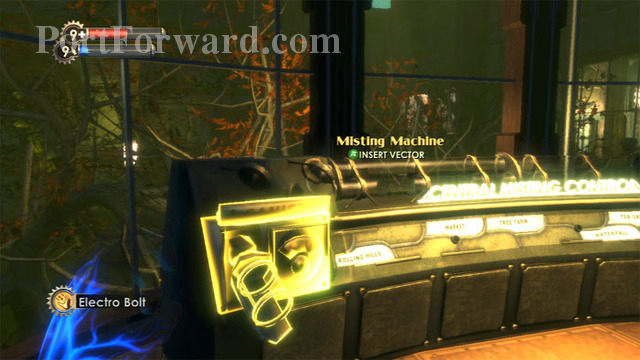
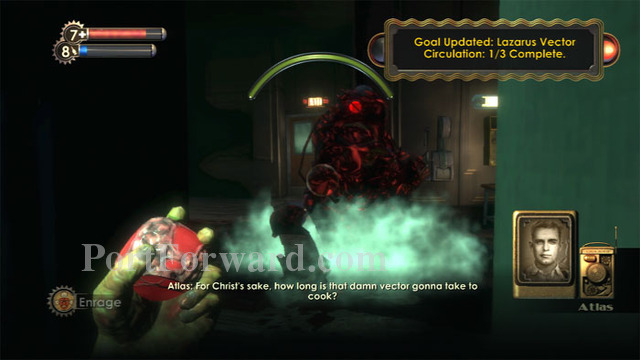
Use the Misting Machine when you are ready to rumble.
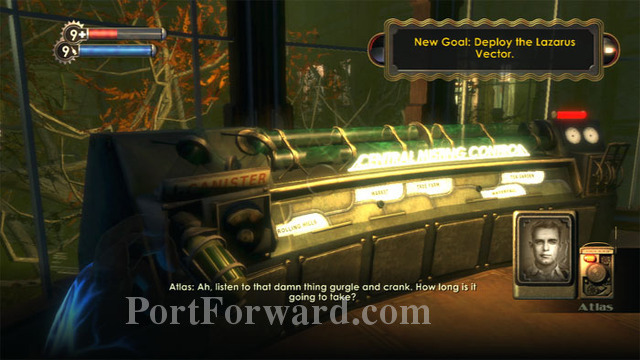
The Lazarus Vector is being circulated throughout Arcadia's irrigation system, but it's going to take time. As long as the control light seen on the right is red, you'll have to wait. Atlas urges you to rush to the main door and seal it shut.

Rush downstairs immediately. Splicers cut through two previously-sealed doors. You can search both alcoves for supplies - later. Right now, you need to rush to the main entrance.
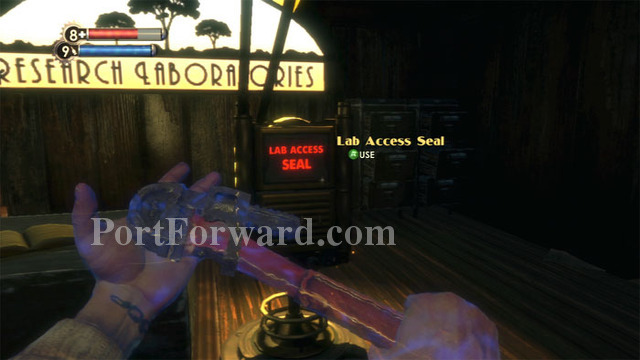
Here's the Lab Access Seal. Use it to buy yourself a little more time.
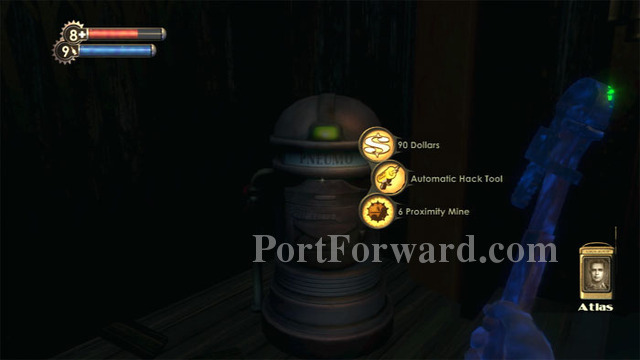
Behind you is this Pneumo where you can collect supplies sent by Atlas.
The space between these Incubators is a good place to hunker down and wait for the Lazarus Vector to spread throughout the irrigation system.
Equip Enrage! and keep your target trained on the door beneath the Exit sign. This is where the Splicers will be coming from.
Keep your wrench handy for anyone who gets close.
The previously-hacked Health Station across the room is awfully handy, both to heal yourself and as entertainment as you watch multiple Splicers succumb to its poison.
Atlas chimes in that you are 1/3 of the way through the onslaught. Enrage! a Big Daddy or, better yet, use Hypnotize Big Daddy to recruit some heavy firepower.
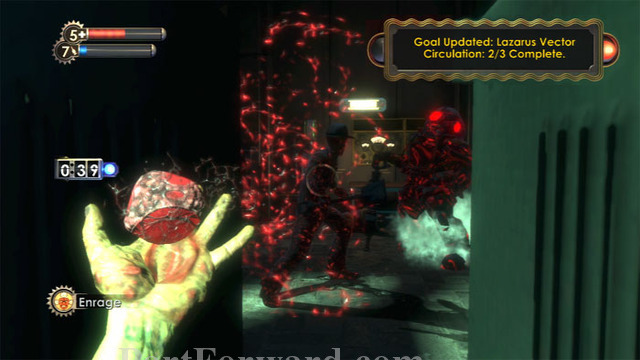
With the Big Daddy, the Splicers and the security bots all fighting each other, this is a loud and furious scene. Hang tight and Atlas informs you that you're over halfway there.
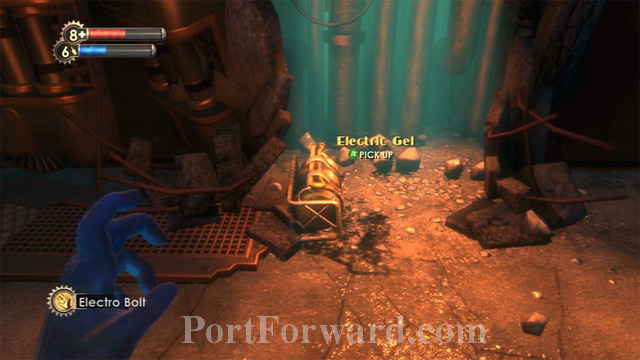
Once Atlas announces that the Lazarus Vector has completed circulating through Arcadia's irrigation system, the battle is over. Search the side alcoves to find a Proximity Mine and Electric Gel.
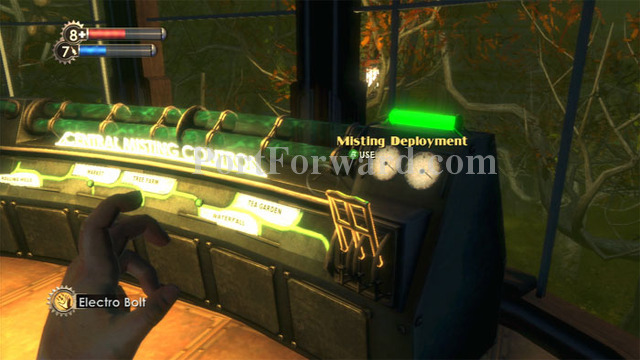
Fill up at the Circus of Values then return upstairs to Langford's office. Use the now-green Misting Deployment switch to deploy the Lazarus Vector.
Like magic, the lush foliage of Arcadia returns. Well done!
Loot corpses and Lockboxes as you exit the lab. Find the now-unlocked door to Rapture Metro on the left.
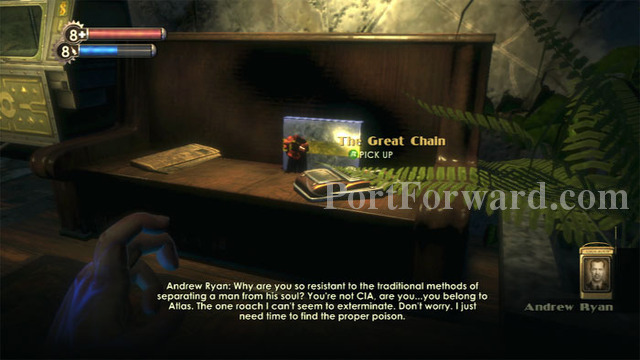
Pass through another door and listen as Ryan analyzes you. His audio diary The Great Chain is here on the right.
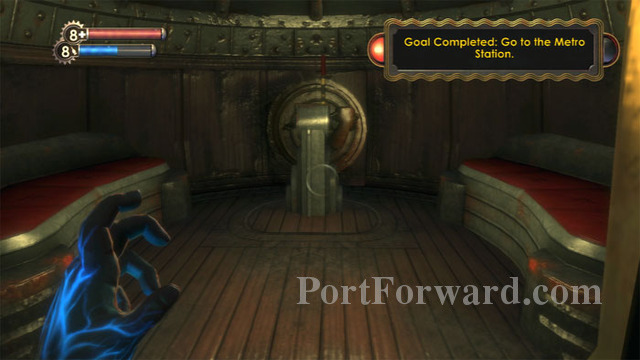
Lastly, enter the Bathysphere and travel to Fort Frolic.
BioShock Walkthrough Fort Frolic

Here's a map of the level.
Map - Fort Frolic
1. Come To The Record Store - Audio Diary
2. The Wild Bunny - Audio Diary
3. Artists' Feud - Audio Diary
4. Fancy Cigarettes - Audio Diary
5. Power To The People - Weapon Upgrade
6. Stood Up Again - Audio Diary
7. Musical Insult - Audio Diary
8. Alarm Expert - Engineering Tonic
9. The Doubters - Audio Diary
10. The Iceman Cometh - Audio Diary
11. Fontaine's Army - Audio Diary
12. Bump Culpepper? - Audio Diary
13. Extra Nutrition 2 - Physical Tonic
14. Power To The People - Weapon Upgrade
15. Guns Blazing - Audio Diary
16. Pregnancy - Audio Diary
17. It's A Gift - Audio Diary
18. Ryan's Stableboy - Audio Diary
19. Medical Expert 2 - Physical Tonic
20. Requiem For Andrew Ryan - Audio Diary
21. Electric Flesh - Combat Tonic
-- Frozen Field - Combat Tonic (Location Varies)

Here's something worth spending your money on. Hit the jackpot and earn the Lucky Winner Achievement. Save before you begin as well as each time you're ahead and always walk away a winner.

Find a First Aid Kit along the left wall, then hack the Health Station on the right. Use the Gene-Bank to equip Shorten Alarms and Natural Camouflage if you've got them.

The U-Invent has many new items for you to create. I create the Hacker's Delight 2 Physical Tonic.
Keep left and smash the two display windows at the Apothecary. Find two First Aid Kits and an EVE Hypo.
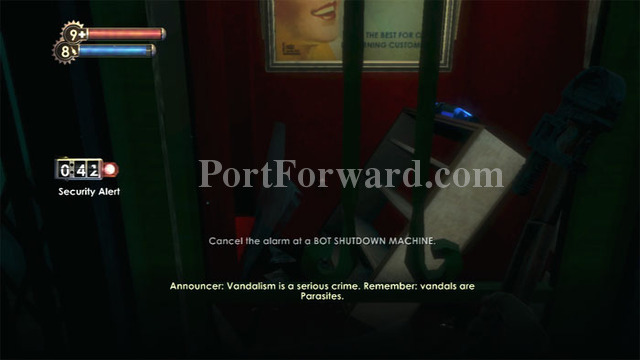
Stand still and the security bots won't notice you. Once the timer counts down, return to the Gene-Bank and configure your character as you like. Alternately, use the Bot Shutdown Station across the hall, across from a corpse and an EVE Hypo.
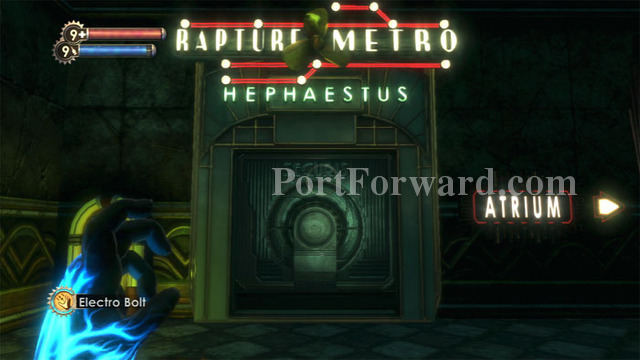
Search the numerous Storage Crates then continue through this Metro door, expecting to travel to Ryan's office in Hephaestus.
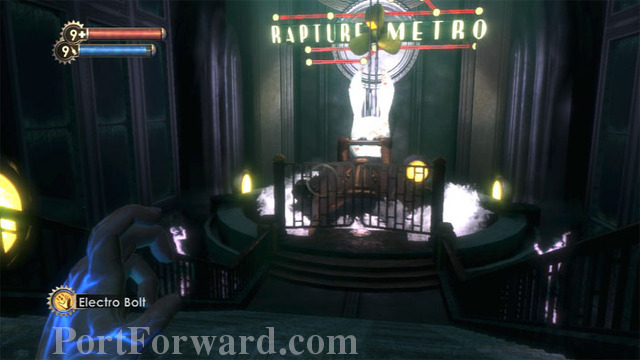
The Bathysphere sinks into the water and the gates close. Hephaestus will have to wait.

Rapture's resident artiste and all-around nutcase is lonely - and he wants to meet you - after a little test. Ready your Research Camera.
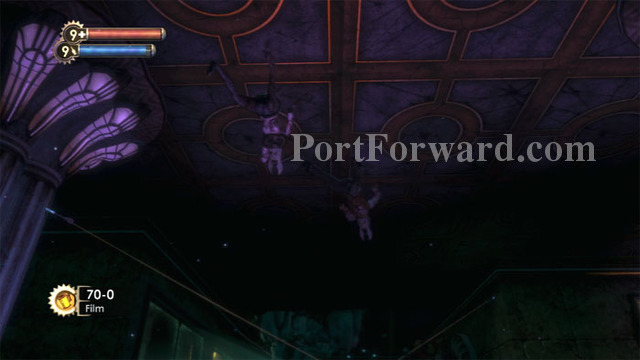
Return to the Metro door and watch the ceiling. Cohen is sending several waves of Spider Splicers after you.
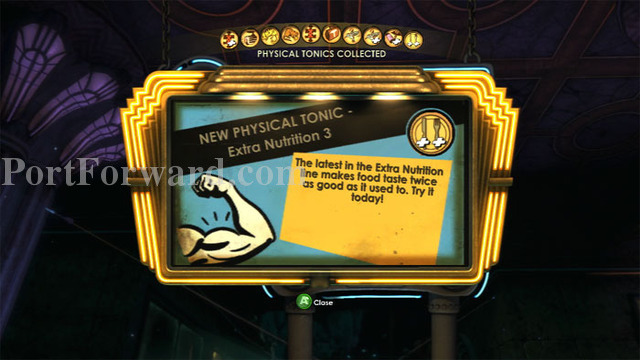
Start snapping photos. If you get enough good shots, you can earn the Extra Nutrition 3 Physical Tonic, and later complete the Spider Splicer research.

Incinerate! is my firepower of preference for this battle. There is plenty of room to move around and avoid the Splicers, so it's easy to ignite one, dodge his attacks, then ignite another. They'll also tend to bunch up around this door, making things even easier. Once the Spiders are defeated, Sander sends you a new goal to meet him in Fleet Hall.
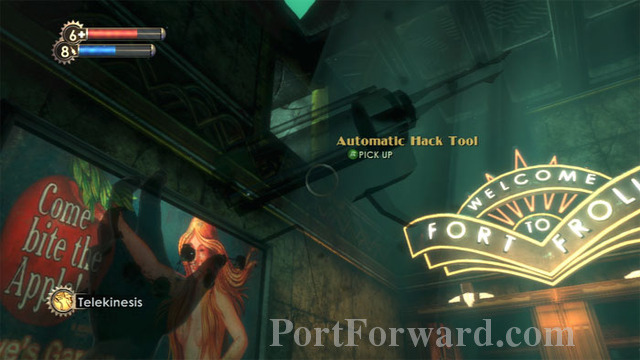
Keep left then use Telekinesis to grab this Automatic Hack Tool from the upper ledge. Continue through the now-unlocked doors beneath the "Welcome to Fort Frolic" sign to find more slot machines and a Circus of Values.
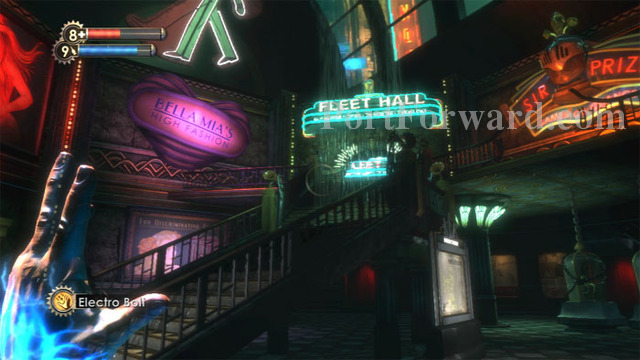
Before heading upstairs to Fleet Hall, explore the shops downstairs.
That's a Medical Expert 2 Physical Tonic on the right. It and the prizes to the left are unavailable, for the moment. Hack the Health Station to the left, and loot the corpse beyond that.
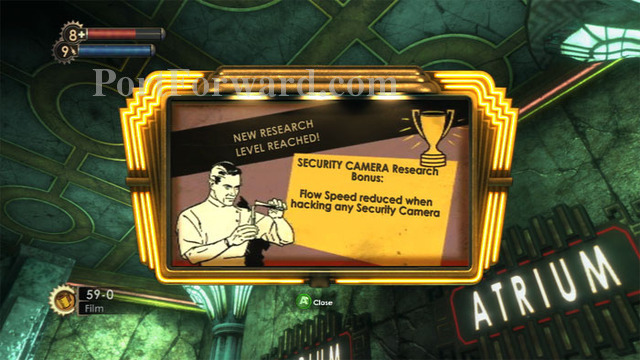
A security camera guards the outer hallway. I snapped a photo to continue my research and was reward with reduced flow speed when hacking. Hacking this camera now is a good idea. There's a Circus of Values here with a leftover First Aid Kit.
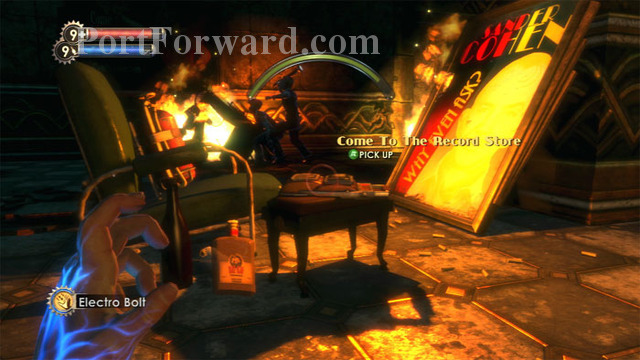
Find Cobb's audio diary Come To The Record Store directly across the hall. Several Splicers battle it out in the background. A rather odd art installation is in the men's room to the left. The ladies' room has a machine gun turret and Liquid Nitrogen.
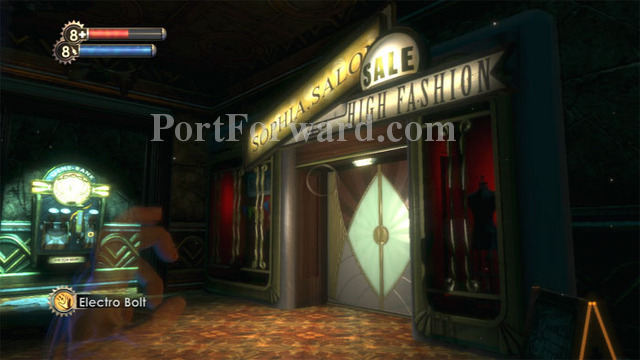
Keep right, then enter Sophia Salon.
Find Film and a First Aid Kit on the shelves seen to the left. This Register turned up empty for me.
Find cash under the Victrola and a Creme-Filled Cake on the right. Search the desk before entering the room on the right.
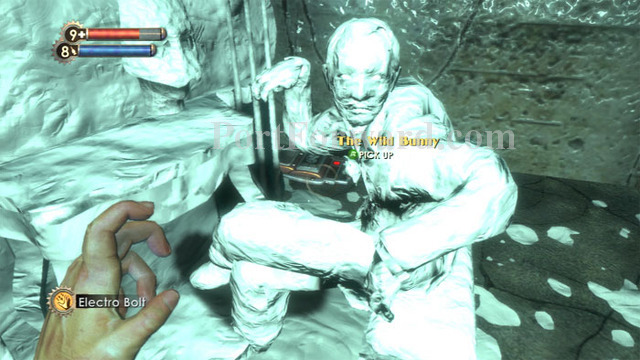
Listen to Sander Cohen's audio diary The Wild Bunny to confirm your suspicions that he's a hyper-emotional nut job.
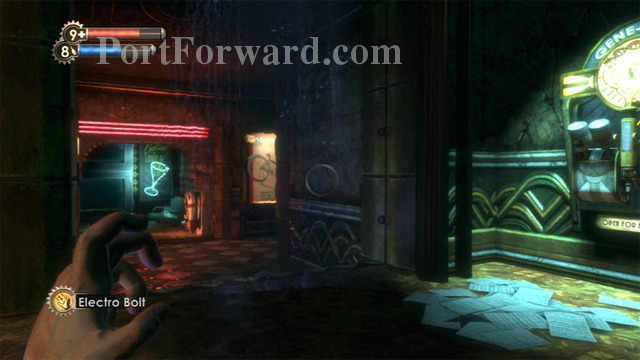
Exit to find a Gene-Bank on the right. A corpse and an EVE Hypo are beneath the Cocktail Lounge sign ahead.
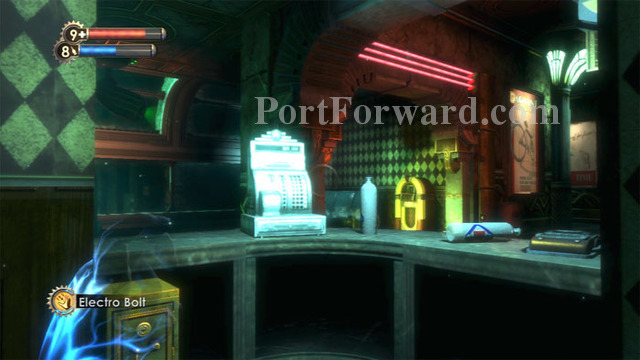
Hack the security camera on the left then find Sullivan's Artists' Feud audio dairy on this counter. Jump over to hack the safe on the left.
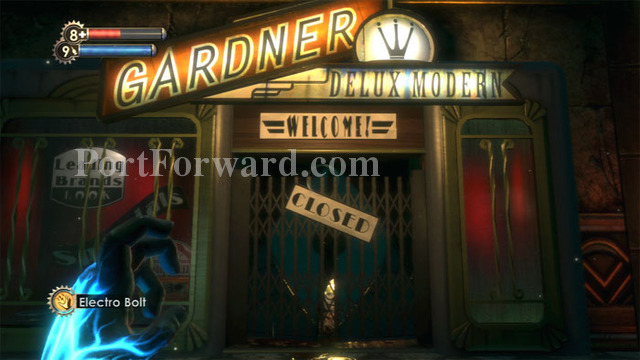
Keep right to find this closed store front. I don't really know what a "Delux Modern" is, but if you smash the left display window you can grab Machine Gun Rounds; just be read for the security bots.

Defeat several Splicers then enter Le Marquis D'Epoque.
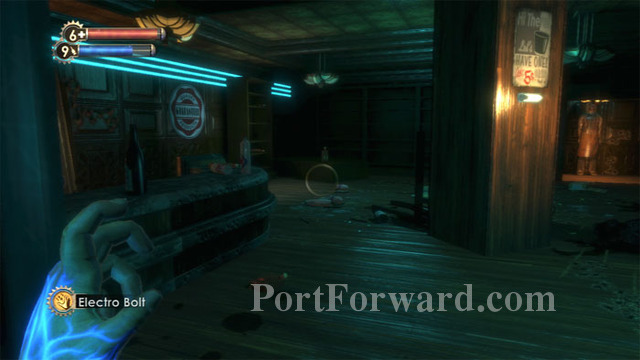
Beware a machine gun turret directly behind the pillar in the center of the room. I photographed it to complete the turret research.
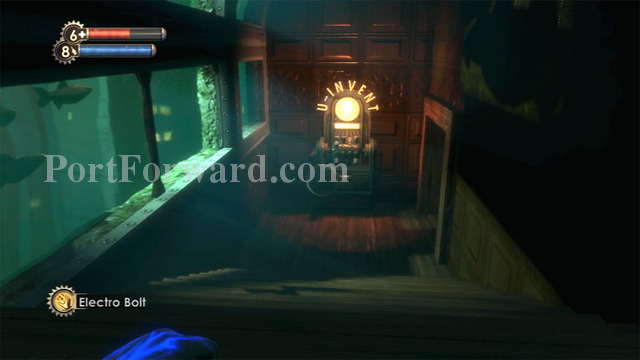
Descend either staircase to the lower level.
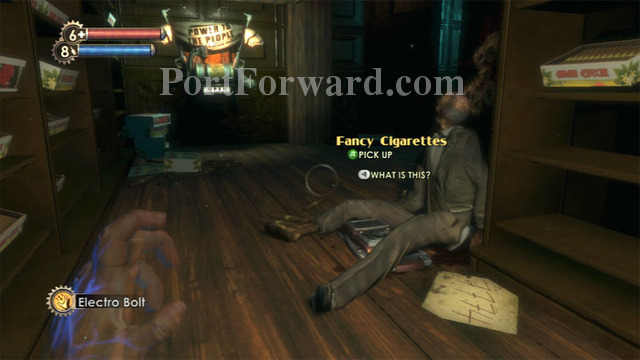
Explore this cigar room to find Albert Milonakis' Fancy Cigarettes audio diary. Bandages are behind me in this shot. Notice the Power to the People station ahead. The code 7774 next to the body will come in handy later.
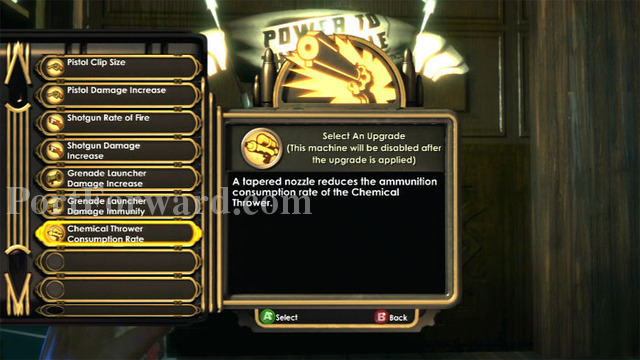
I choose to upgrade the Chemical Thrower Consumption Rate.
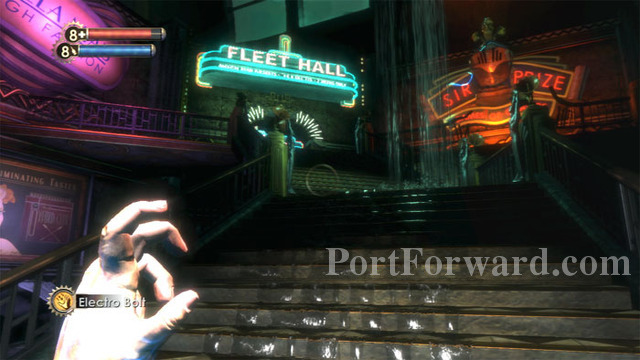
Now it's time to ascend the atrium stairs.
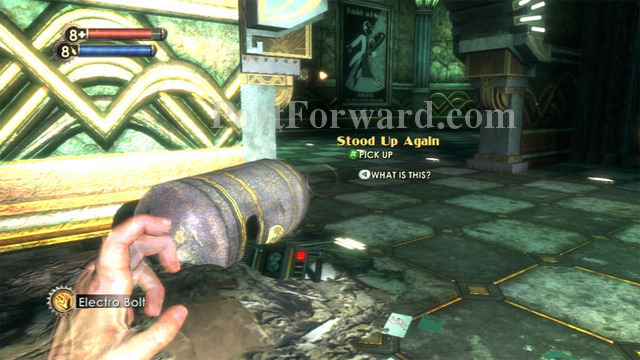
Find sappy Diane McClintock's Stood Up Again audio diary at the top of the stairs. Approach the poster seen ahead.
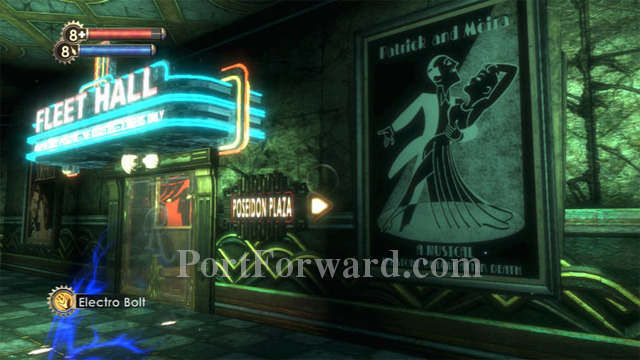
Notice the names "Patrick" and "Moira" are also the names of Atlas' children. Now, would you kindly enter Fleet Hall?
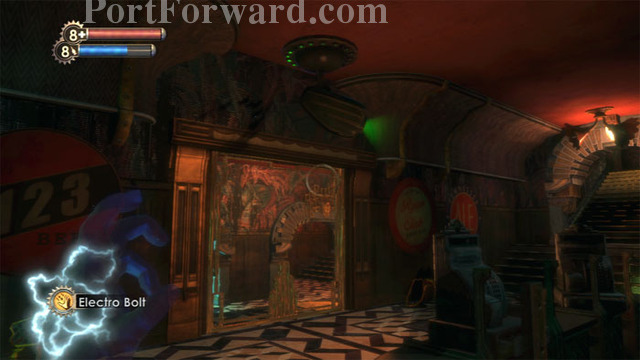
Descend either set of stairs then hack the security camera. Potato Chips and Coffee are found behind the bar. Search crates under the stairs on the right before heading up.

Sander Cohen's Musical Insult audio diary is located here. Film and a guitar you can play are to the left. An EVE Hypo is visible on the shelf ahead, and a U-Invent machine is against the far wall.
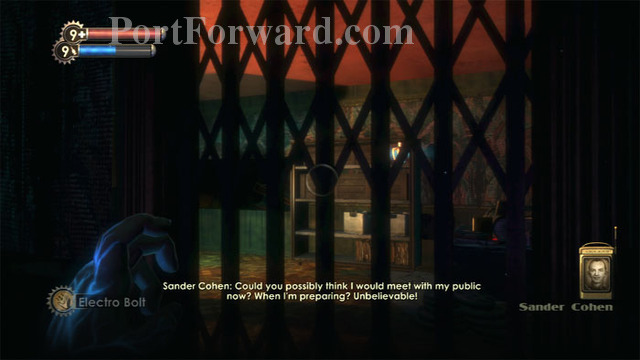
Up a short flight of stairs is the projection room, locked. Sander is inside and he doesn't want to see you yet. A tempting tonic is visible through the gate.

Return downstairs and call this elevator.
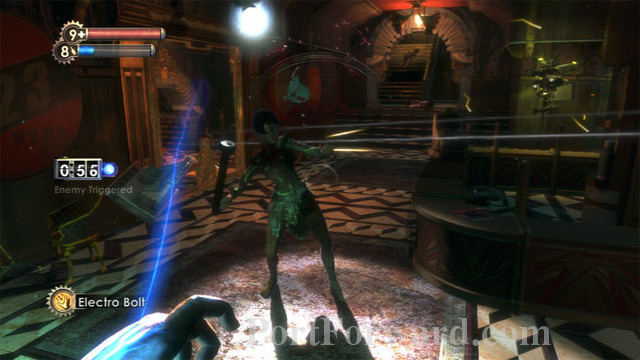
Splicers spawn on the stairs. I prefer to Enrage! them and Electro Bolt the victor while my bots do the rest.
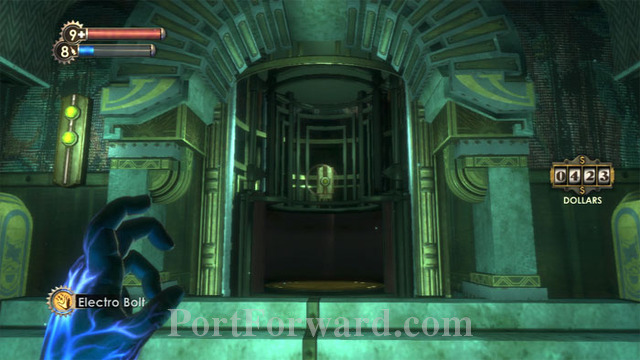
Step inside the elevator then press the button in the back to ride it up.
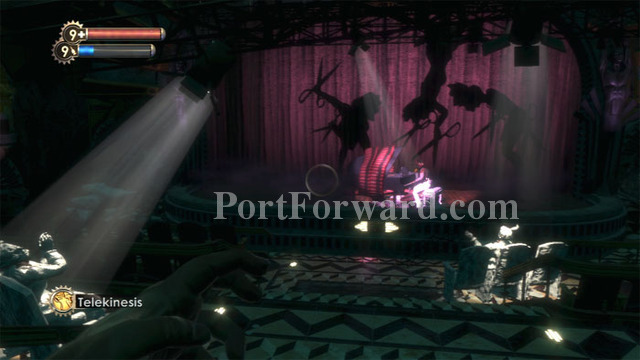
Anyone who hated piano lessons will be able to commiserate with this guy.

Hop on stage and photograph the body for Cohen.
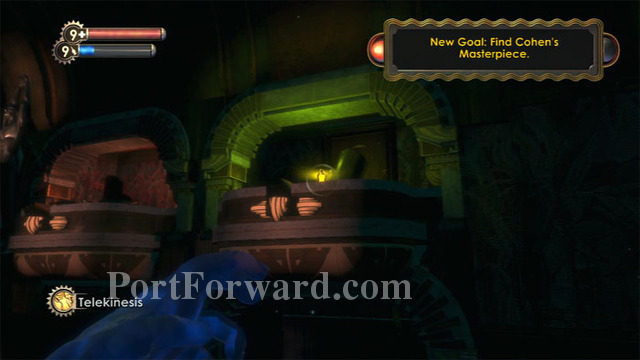
Spy a yellow Tonic while Cohen issues a new goal. Telekinesis won't work on this object -- you'll have to grab it yourself.
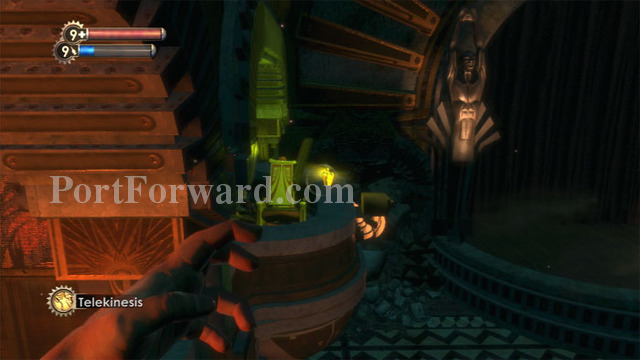
Search the boxes for Potato Chips, an EVE Hypo, and a Pep Bar. The door to the Alarm Expert Engineering Tonic is blocked, so you'll have to jump from this neighboring balcony. A corpse and Exploding Buck are to the left.
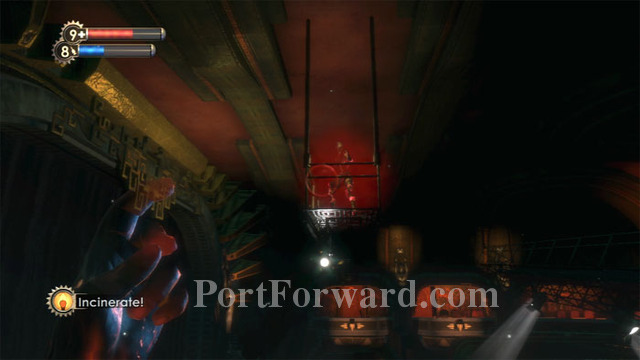
Incinerate! this Houdini Splicer while being careful to dodge the fireballs. Machine Gun Rounds and a Storage Crate are in the hallway.
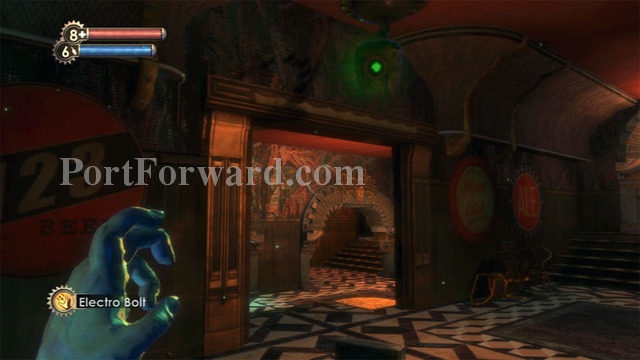
Ride the elevator back down (or just jump from the box seats) and find this previously-locked door is now open.
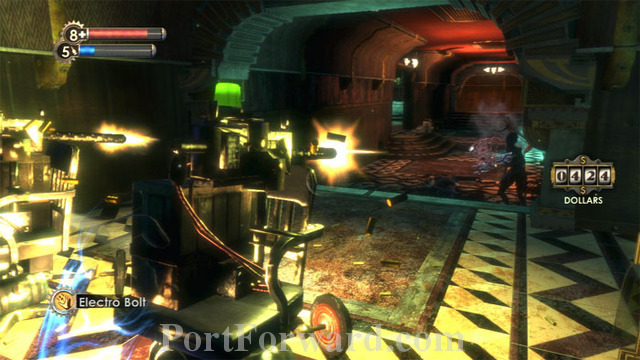
Hack these turrets and take protection behind them as they tear up any Splicers heading your way. A cash register, safe, and Creme-Filled Cake are to the right. A Circus of Values is ahead.
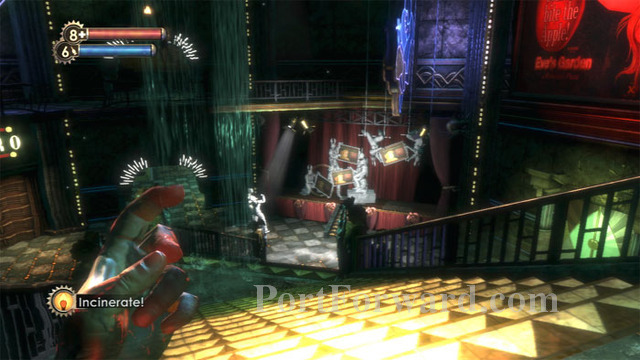
Descend the atrium stairs to find Cohen's bizarre masterpiece, the quadtych.
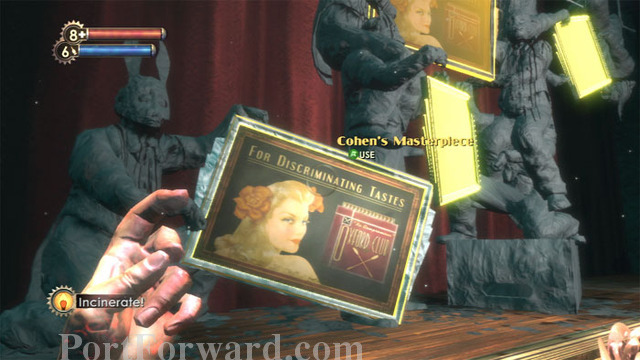
Cohen wants you to make it even more twisted by placing photographs of his four former disciples in the four frames of the quadtych - after they've been killed. Place the photo of Fitzpatrick in one of the frames.
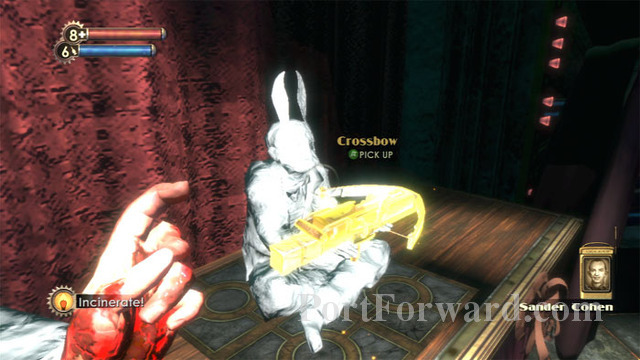
Cohen rewards you with your final new weapon type of the game, the Crossbow, sure to come in handy in completing your new goals: kill Silas Cobb, Martin Finnegan, and Hector Rodriguez.
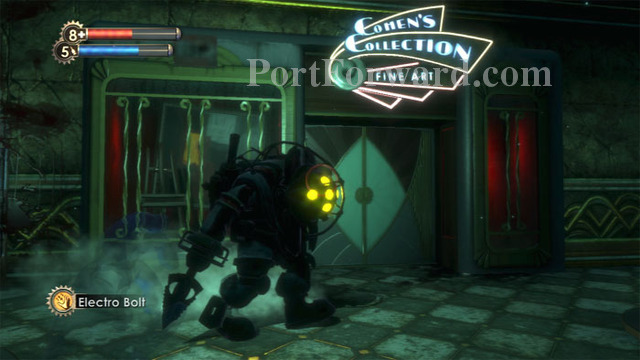
Before beginning your new career as an assassin, however, head upstairs to Cohen's Fine Art Collection, just left of Fleet Hall. A First Aid Kit can be found in the display window.
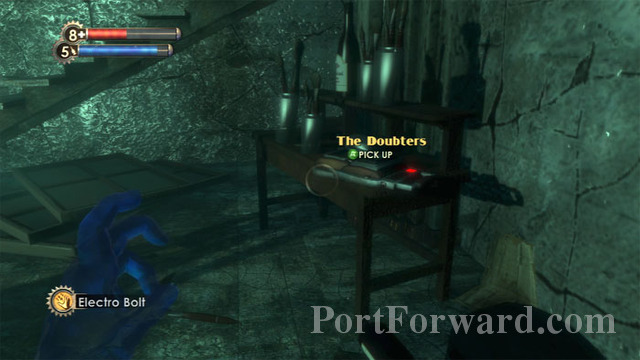
Listen to Cohen's The Doubters audio diary before ascending the stairs.

Hack/destroy the machine gun turret and find three wall safes -- be prepared to battle a Houdini Splicer as you hack each safe. When the area is looted you are ready to move on.

Follow the signs to the Poseidon Plaza entrance. Cohen unlocks the door. Purchase Incendiary Bolts at the Circus of Values.

Martin Finnegan's The Iceman Cometh audio diary is found here. You don't need to thaw it out to grab it. Search the body above and the Trash Can on the right for supplies.

Head through another Securis door and catch a brief glimpse of Finnegan before he disappears. Melt this ice on the left to reveal a Health Station, Crossbow, First Aid Kit and an Automatic Hack Tool.

Finnegan traps you in a block of ice, then inexplicably sets you free.
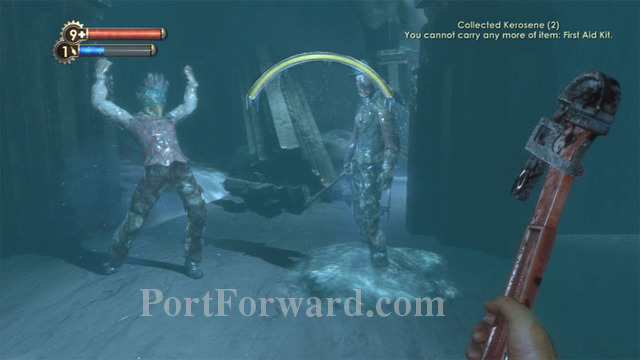
Finnegan is joined by a collection of frozen Splicers around the room. You can ignore them, photograph them, smash them with the wrench, or melt them then search their bodies for loot after defeating them.
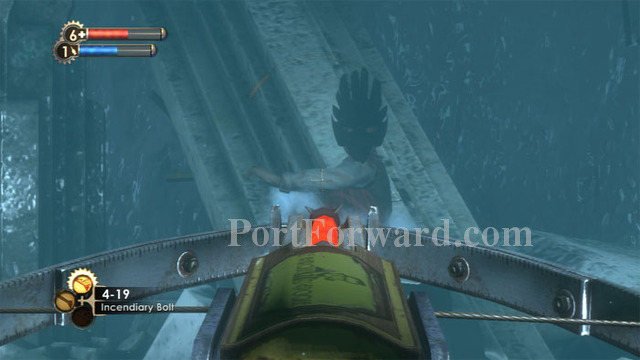
Finnegan himself can be defeated with a couple of your Crossbow's Incendiary Bolts, especially if you have Human Inferno equipped. Clicking the right-stick zooms the Crossbow into a sniper scope as seen here.
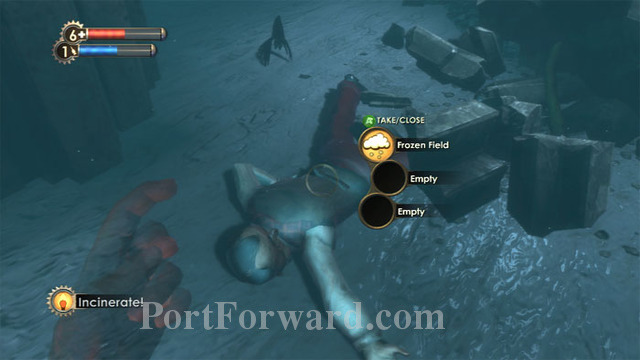
Snap a photo of Finnegan once he's down. Recover your bolts then find a Frozen Field Combat Tonic on Finnegan's body.
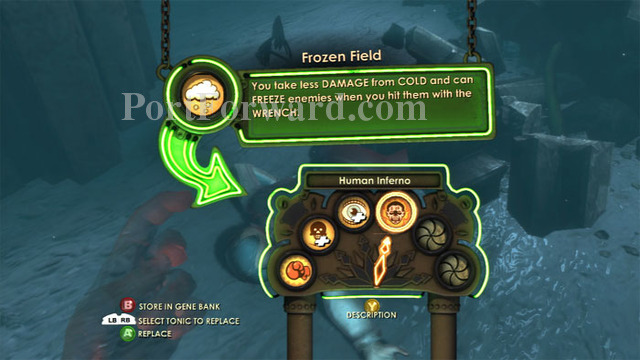
Frozen Field is to ice attacks what Human Inferno is to fire attacks, with the difference that instead of doing increased cold damage, it can freeze foes that you strike with the wrench. I choose to keep Human Inferno installed.
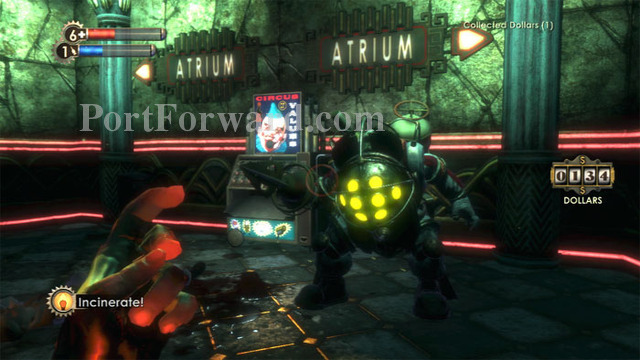
You can either move on to your next target, or do as Cohen says and place Finnegan's photo in the quadtych. I prefer to place the photos in the quadtych as I take them, because Bouncers are likely to be nearby. You haven't seen this type of Big Daddy since early in the game and will likely want to research them.
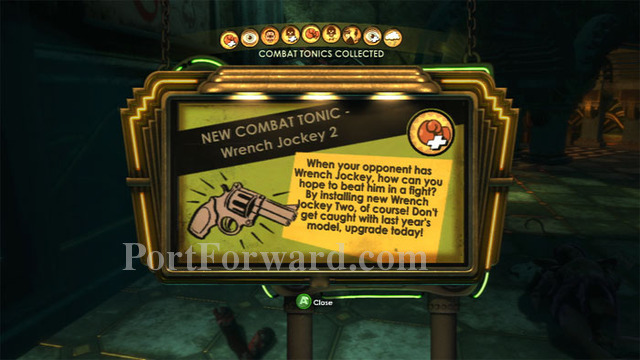
Bouncer research reveals that they are vulnerable to Armor-Piercing Rounds, and also earns you this Wrench Jockey 2 Combat Tonic.
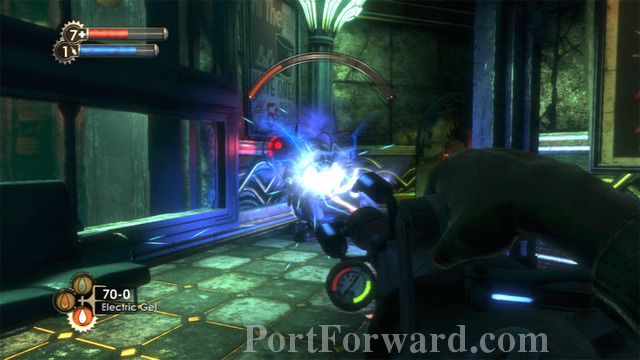
If you haven't tried the Chemical Thrower's Electric Gel on a Big Daddy, you'll be in for a treat when you try. Electric Gel locks the Big Daddy in place while his health depletes. This is the safest way to defeat a Big Daddy that I've tried. Just make sure you're full-up on ammo before pulling the trigger.
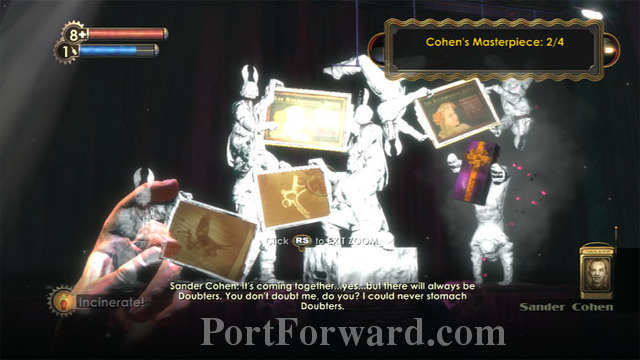
Post Finnegan's photo and receive a new gift of supplies.
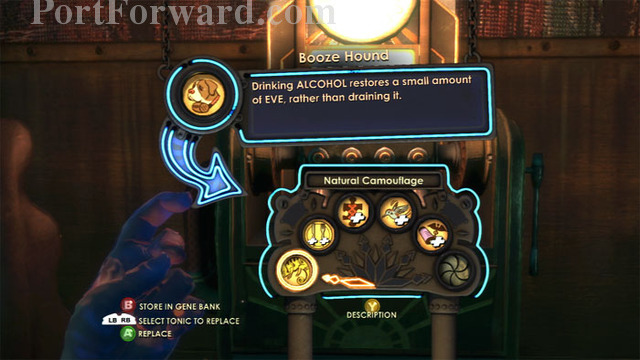
After harvesting the Little Sister, I backtrack to the U-Invent machine in Cohen's dressing room and manufacture a Booze Hound Physical Tonic, as well as more Electric Gel.
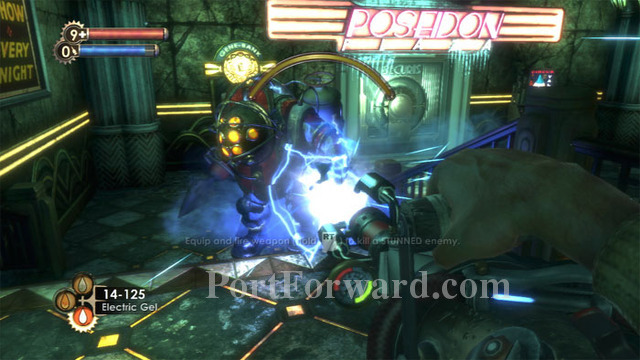
Upon arriving at the Gatherer's Garden to buy a slot for my Booze Hound, I hear another Little Sister at the Poseidon Plaza entrance. Harvesting her brings me to 340 ADAM.
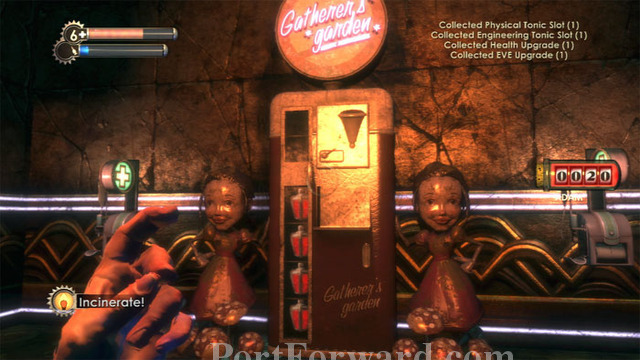
The Gatherer's Garden is just left of the Poseidon Plaza entrance. I purchase a Physical Tonic Slot for my crafted Booze Hound Tonic, an Engineering Tonic Slot for my banked Alarm Expert Tonic, plus Health and EVE Upgrades.
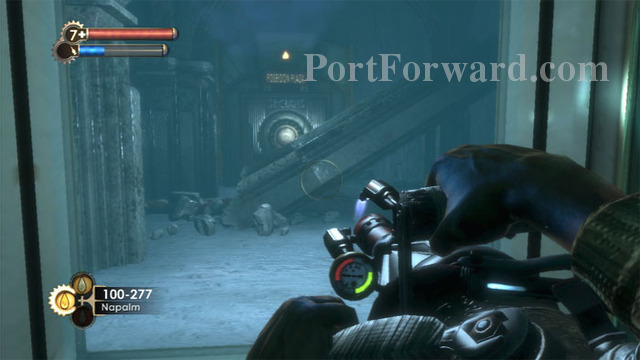
Return through the frozen tunnel then continue through the door ahead to find another short tunnel. Ready your weapon of choice for dealing with lots of Spider Splicers.
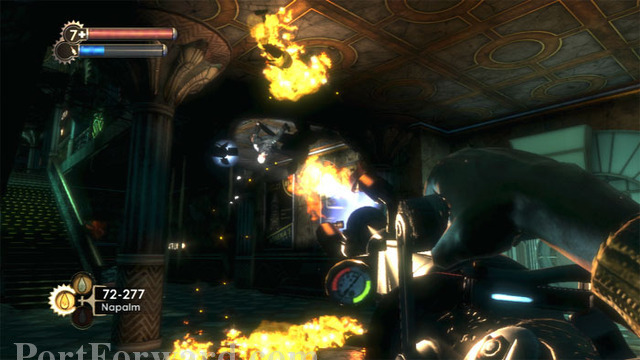
Napalm is my preference. Both the Circus of Values and the Ammo Bandito in this room sell Napalm if you need more. Keep an eye on the ceiling for the half-dozen or so Spider Splicers that attack.
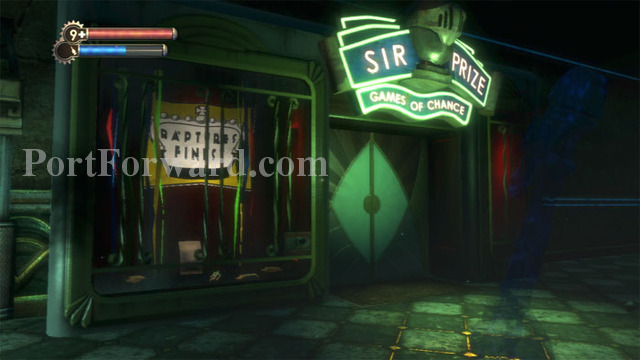
Silas Cobb is upstairs in Rapture Records, and Hector Rodriguez comes out of hiding once you visit Eve's Garden, but both of these guys are runners. You'll have an easier time chasing them if you've already visited and pacified the rest of Poseidon Plaza. Let's start with Sir Price, where you'll find Steel Bolts and snacks in the display window. Electric Gel is in a hole in the wall to the left.
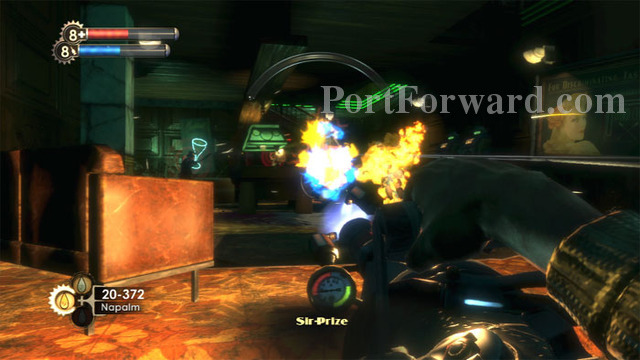
Pretty much blanket everything with Napalm once the door opens. Sir Prize is a busy place.
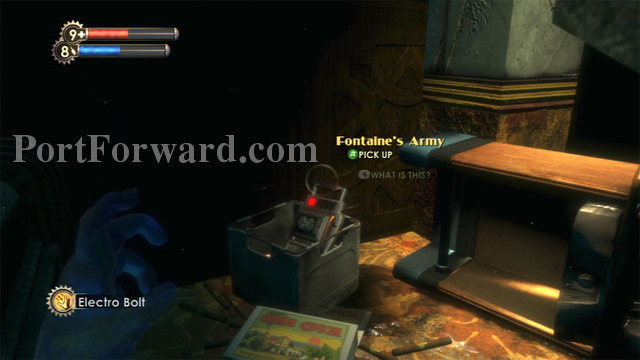
A First Aid Kit is on the pool table, a safe is behind the bar, and McDonagh's audio diary Fontaine's Army is found here in the far-right corner. Film is also in the container.
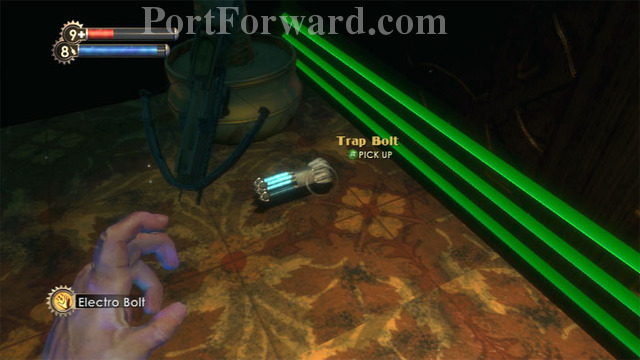
This Crossbow and Trap Bolts are found atop the stairs.
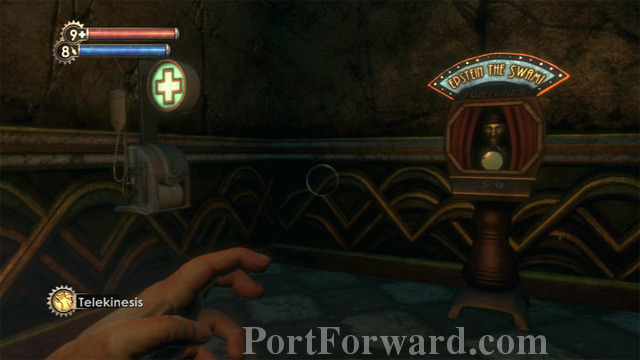
Clear the room of Trap Bolts, gamble if you need the cash, then exit to the second floor hallway and hack this Health Station.

At the opposite end of the hall is Pharaoh's Fortune Casino. Lots of cash is in the display window.
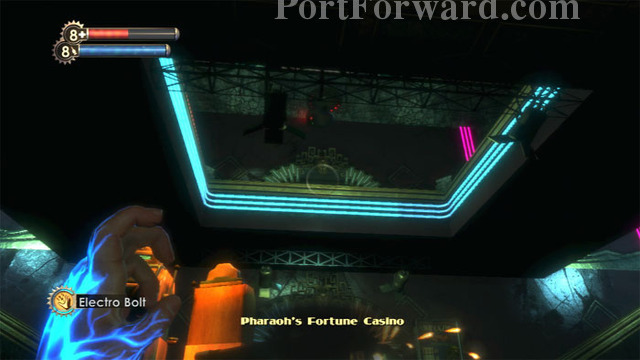
Inside are several Splicers, and be sure to hack this security camera on the second floor ceiling.
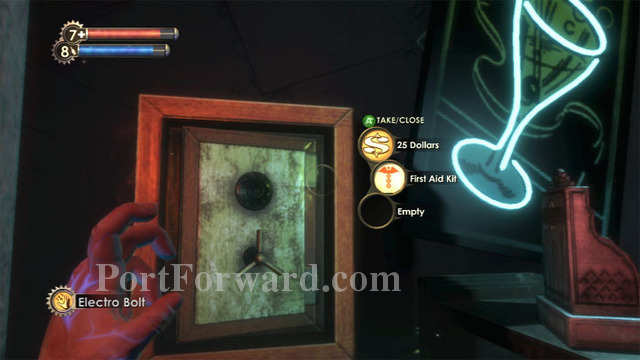
Find this safe downstairs by the cocktail sign.

Sullivan's Bump Culpepper? audio diary is on the pool table upstairs next to a First Aid Kit. An EVE Hypo and Armor-Piercing Pistol Rounds are on the couch ahead/left. A Gene-Bank is also found up here.

Head back to the hallway and go downstairs to find Sinclair Spirits at the end of the corridor. Before entering, though, descend these stairs seen on the right.
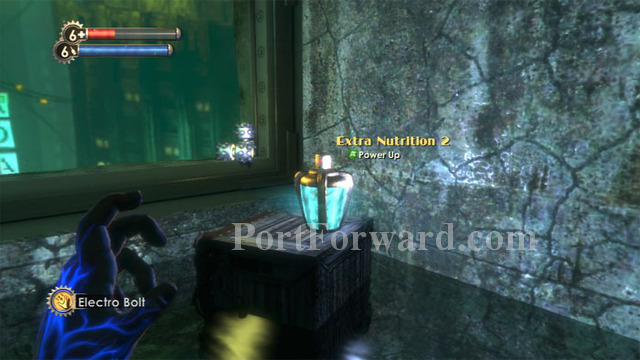
Find an Extra Nutrition 2 Physical Tonic in the far corner. I already have Extra Nutrition 3, so this isn't much of a get. Defeat several reanimated statues before exiting.
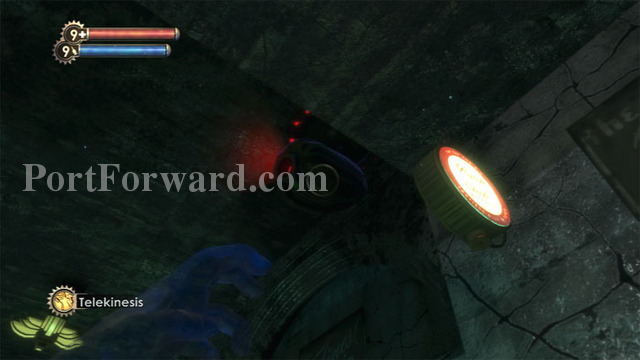
Return upstairs and find an EVE Hypo in Sinclair Spirits' display window before entering. Pass by some strange statues then hack this security camera on the ceiling to the right.
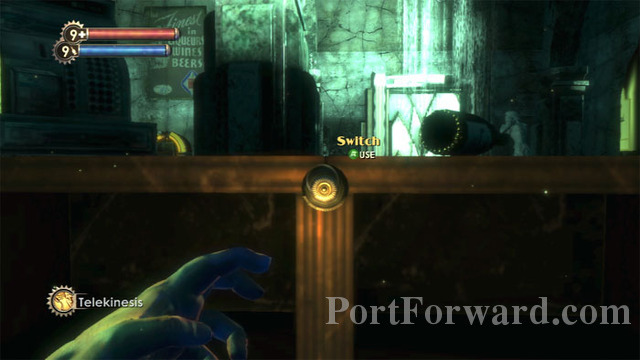
Behind the counter is this switch -- press it to open the door ahead/right. Search a storage crate to the right of the door before heading through.
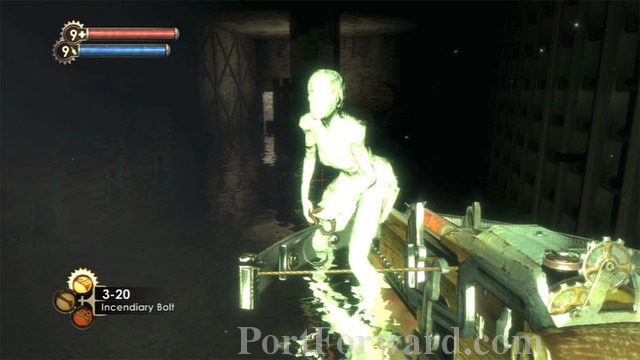
Descend the stairs and find this safe, plus a bonus Power to the People Station!
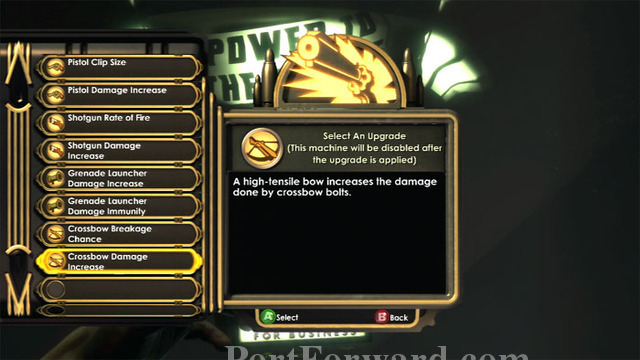
My choice here is Crossbow Damage Increase.
Turn around and use your newly-improved weapon to take out this reanimated statue.
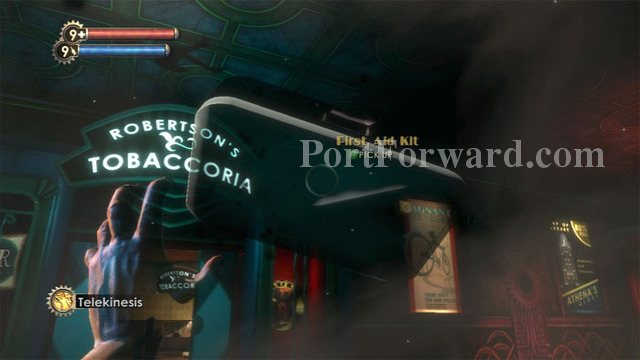
Farther down the hall is Robertson's Tobaccoria. Use Telekinesis to grab this First Aid Kit before entering.
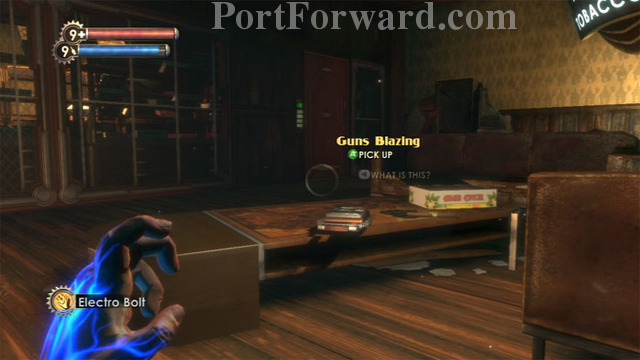
McDonagh's Guns Blazing audio diary is found here. An EVE Hypo is behind the counter on the right. Use the code 7774 on the door ahead. Inside you'll find a security camera, Electric Buck and cash.
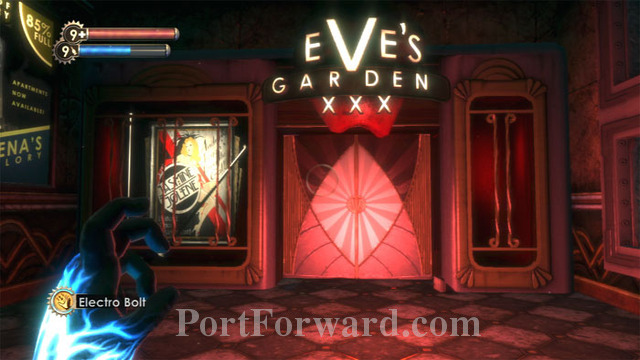
Now it's time to head into EVE's Garden XXX. A First Aid Kit is to the right of the door.
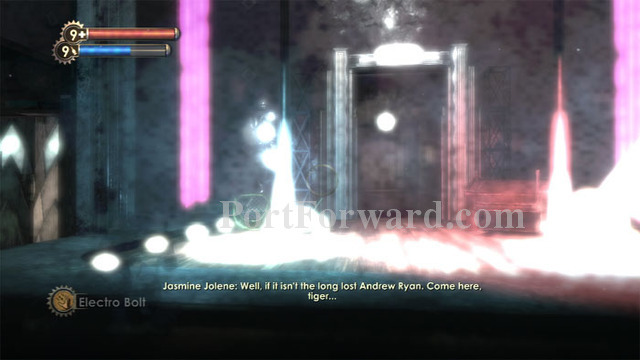
Enjoy a pole dance from Jasmine Jolene's apparition. Before following her through the stage door ahead, search the room for buckshot and booze. A Health Station is atop the stairs on the left, and money is on the stage ahead.
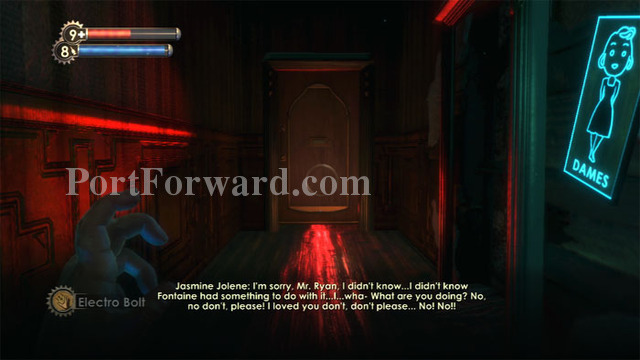
The drama remains behind closed doors at Eve's Garden.
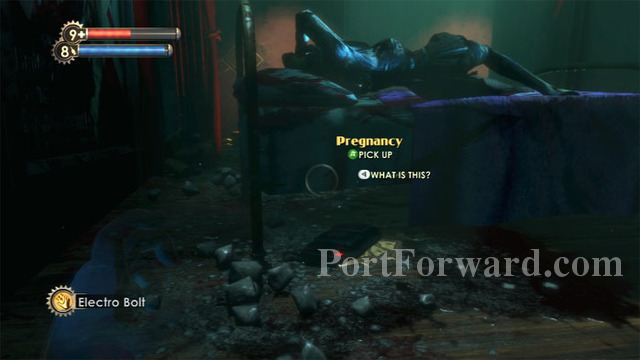
Once the door opens, find Jasmine Jolene's Pregnancy audio diary under the bed. Fine Gin is on the body, and a safe is in the corner.
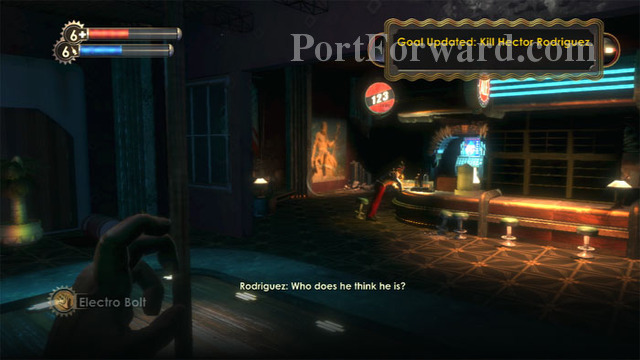
When you emerge, find Hector Rodriguez at the bar, where's he leaves behind his It's All Grift audio diary. This is a good time to save your game.

Rodriguez runs ahead of you and sometimes you'll lose sight of him. You'll at least have more confidence knowing you can go back to a saved game if you can't find him.
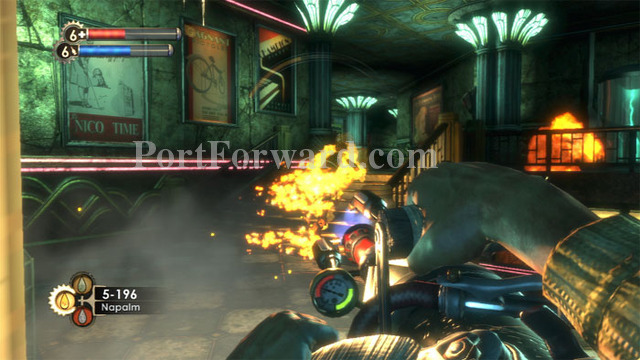
Keep after him with the Chemical Thrower's Napalm ammunition and you won't have much trouble drawing his health down.
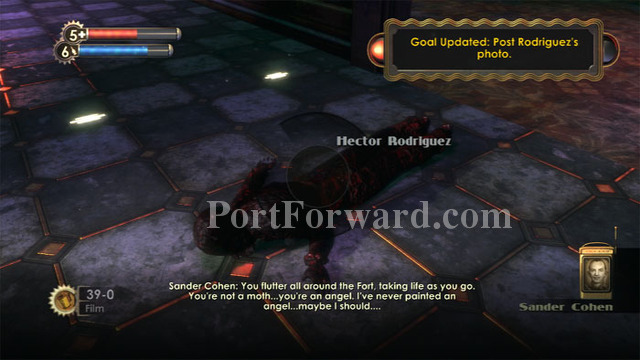
Once he falls, photograph the corpse for Cohen.
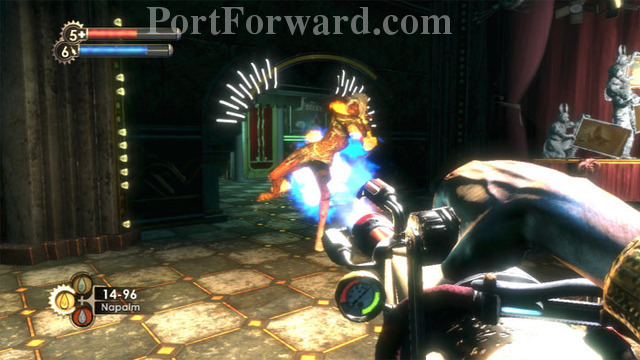
Ready your preferred weapon of mass destruction before placing Rodriguez on the quadtych. Cohen is about to have a tantrum and he'll be sending several waves of Splicers at you.
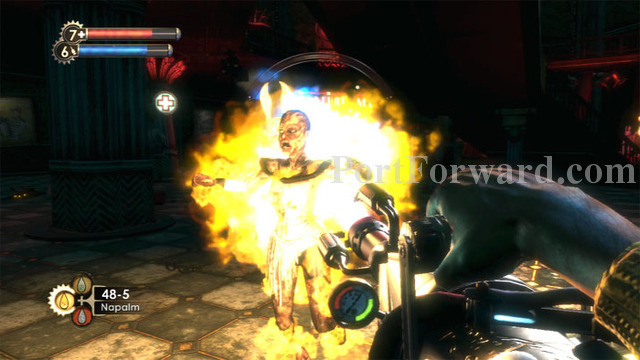
The lights dim, Tchaikovsky plays, the atrium is my canvas and flaming napalm is my paint!
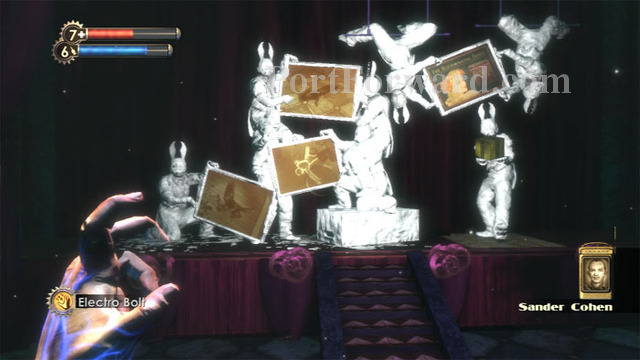
Once Cohen's Splicers are defeated, he apologizes and gives you a gift of more supplies.
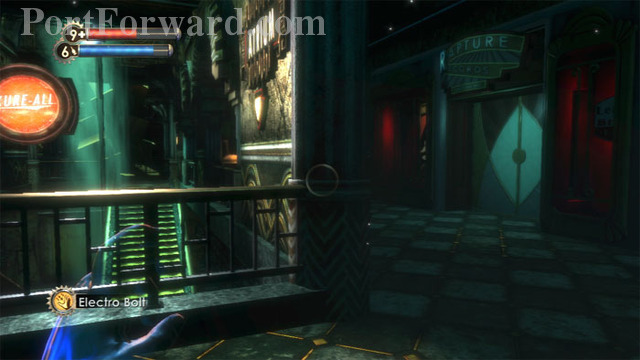
Now it's time to find Silas Cobb inside Rapture Records, upstairs in Poseidon Plaza.
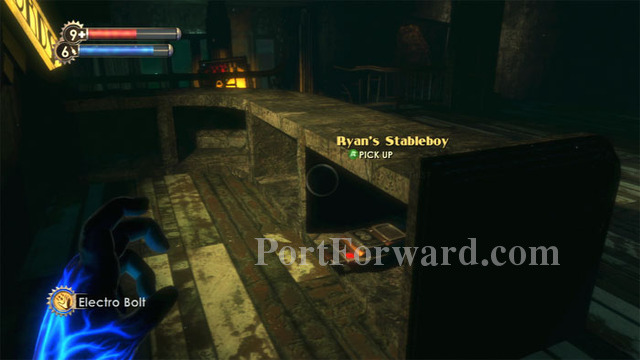
Anna Culpepper's audio diary Ryan's Stableboy is here on the left. Drop over the ledge to the floor below.
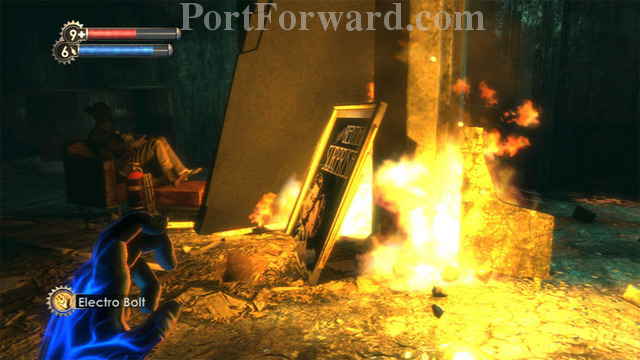
Approach the body to trigger the ticking, then step back to avoid becoming injured when the bomb finally explodes. Continue through the vent in the right corner after looting the bomb for any remaining Napalm.
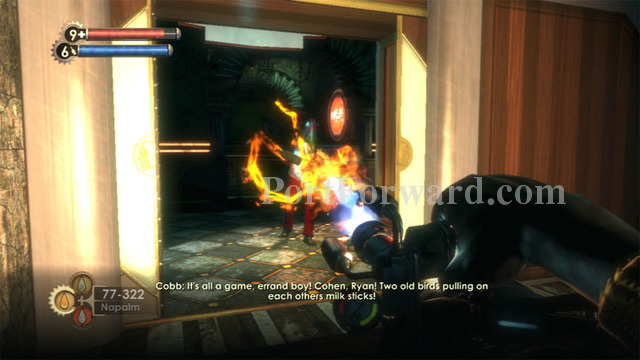
Find a First Aid Kit before exiting the vent on the upper level, then begin the chase. Cobb is the easiest of the lot in my opinion. He has little health and as a Nitro Splicer is quite vulnerable to flame. Again, Napalm is my choice as he runs.
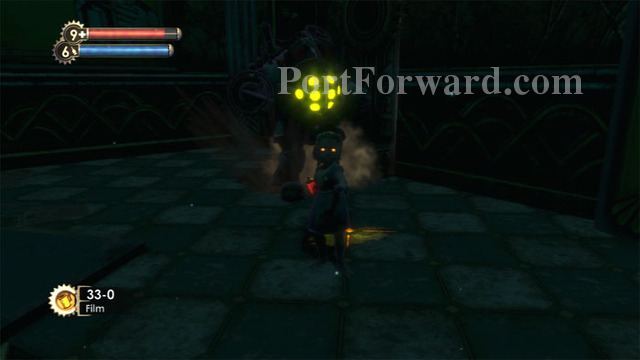
After photographing the body, Little Sister number three appeared. Headshots from the Crossbow's Steel-Tip Bolts brought down this Bouncer fairly quickly. I'm banking the ADAM for now.
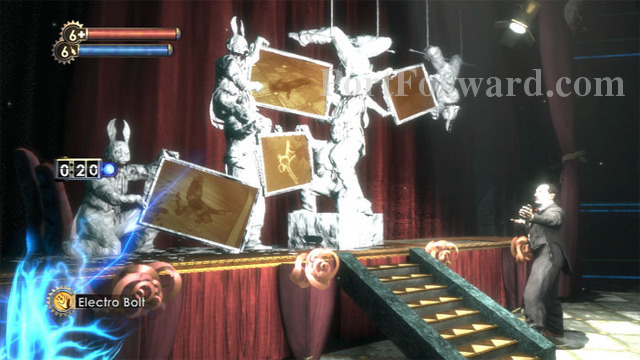
Post Cobb's photo to the quadtych and be treated to Cohen's eccentric ecstasy.
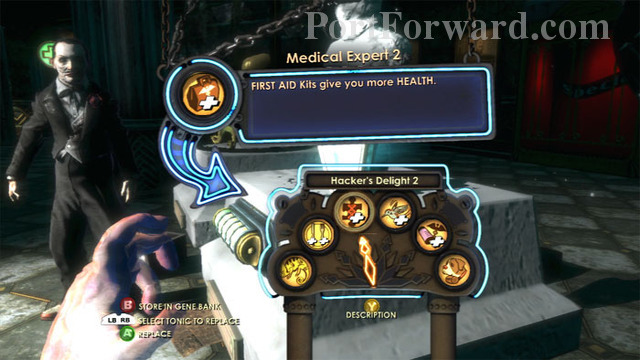
Cohen rewards you with the Medical Expert 2 Physical Tonic.
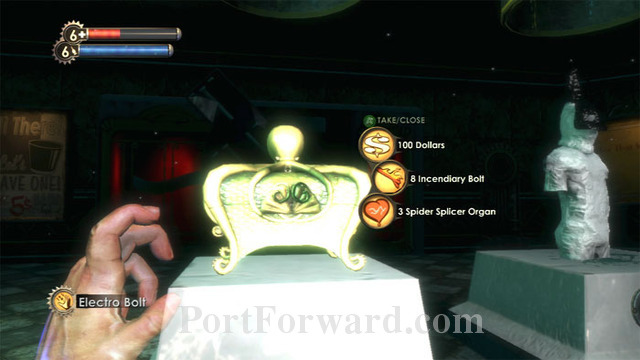
If you like, you can hunt him down now (Antipersonnel Auto Rounds work well) to get his Muse Key, allowing you to recover the loot seen here, but you'll miss out on Cohen's appearance later in Olympus Heights that allows you to explore an additional area and earn an additional achievement.
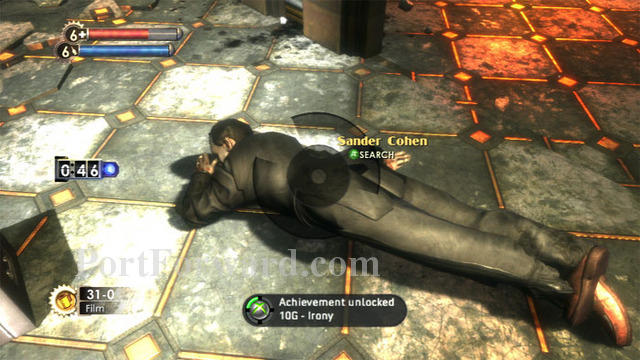
On the other hand, if you do choose to kill Cohen, be sure to photograph his body to earn the aptly-named Irony Achievement.
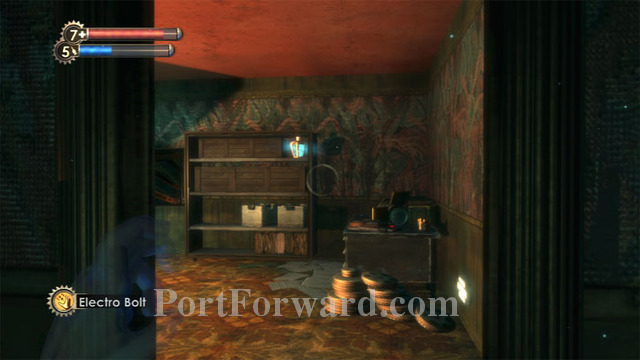
Before exiting to the Hephaestus Bathysphere station, return to the now-unlocked projection room and find Sander Cohen's Requiem for Andrew Ryan audio diary, as well as the Electric Flesh Combat Tonic. Film, an EVE Hypo and Moonbeam Absinthe are some of the additional items found here.
BioShock Walkthrough Hephaestus
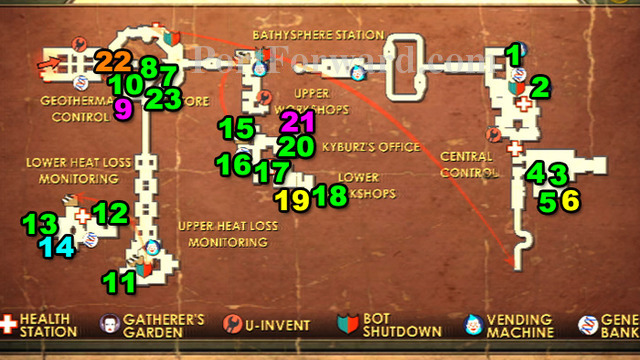
Here's a map of the level.
Map - Hephaestus
1. Ryan Takes F Futuristics - Audio Diary
2. Scoping The Gate - Audio Diary
3. Going To Heat Loss - Audio Diary
4. Stopping Ryan - Audio Diary
5. A Man Or A Parasite - Audio Diary
6. Frozen Field 2 - Combat Tonic
7. Fontaine's Legacy - Audio Diary
8. Running Short On R-34s - Audio Diary
9. Power To The People - Weapon Upgrade
10. Assassin - Audio Diary
11. Kyburz Door Code - Audio Diary
12. Genetics Arms Race - Audio Diary
13. Getting A Break - Audio Diary
14. Security Evasion 2 - Physical Tonic
15. Market Maintenance Code - Audio Diary
16. Device Almost Finished - Audio Diary
17. The Dream - Audio Diary
18. Assembling The Bomb - Audio Diary
19. Damage Research - Combat Tonic
20. A Great Chain Moves Slowly - Audio Diary
21. Power To The People - Weapon Upgrade
22. Shorten Alarms 2 - Engineering Tonic
23. Impossible Anywhere Else - Audio Diary

Atlas and Ryan both chime in. Hack the Circus of Values then continue through a Securis door to this underwater tunnel.
Find a corpse with a Shotgun on the left path. The path on the right has a Trash Can. Both paths converge where these Splicers can be heard. Enrage! provides entertaining protection.

Through another pair of doors is this corpse next to a Napalm-carrying Chemical Thrower. A Leadhead Splicer attacks from the right stairs.
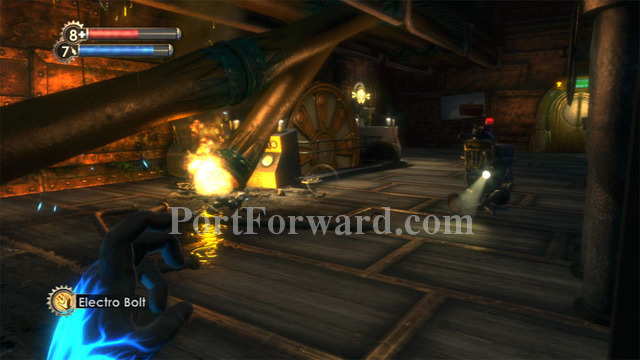
Ascend the stairs and defeat/hack this turret.
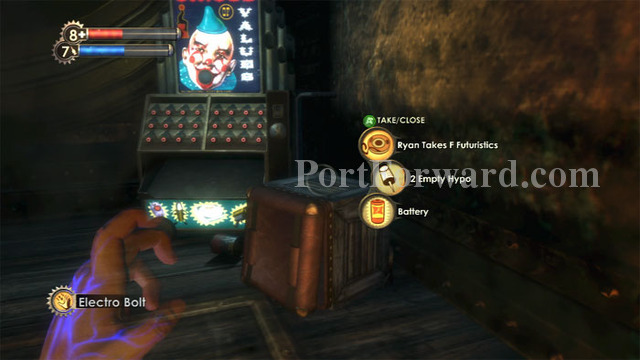
Cash and a Frag Grenade are by this Circus of Values. Search the crate for McDonagh's Ryan Takes F Futuristics audio diary.
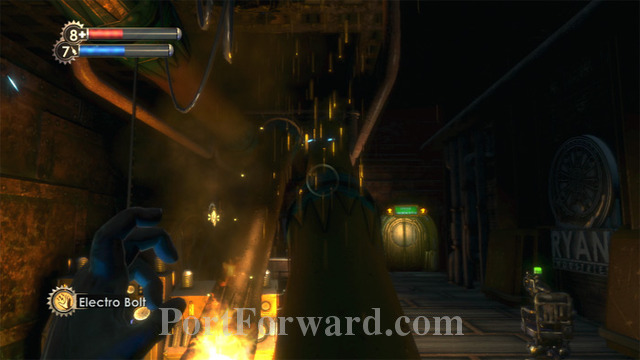
Before exiting through the door on the right, climb this pipe to loot a corpse.

Go through the door and keep left to find Kyburz's Scoping The Gate audio diary between the Circus of Values and the Vita-Chamber.
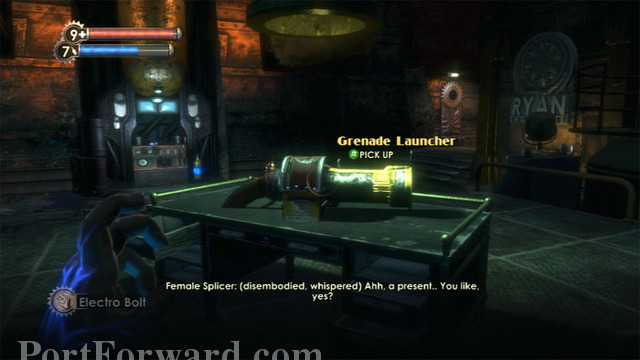
A strange voice is heard when approaching this Grenade Launcher. An EVE Hypo and something called Ionic Gel are seen ahead.
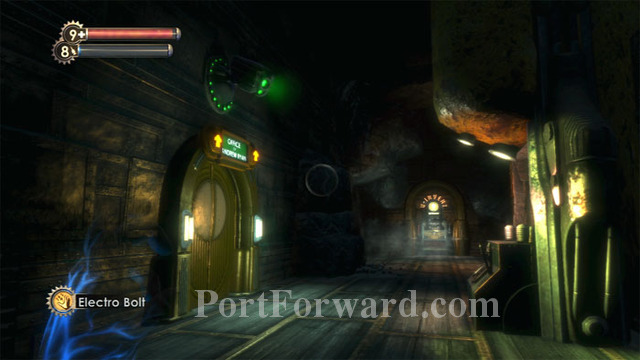
Hack the security camera above this door and find cash to the left of the U-Invent machine on the right before exiting. A Health Station is to the right as you pass through the door.
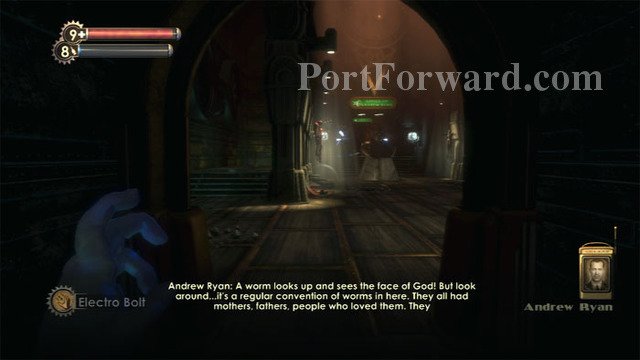
Through another pair of doors, find what appears to be Ryan's trophy room -- of his enemies. Seems everyone in Rapture is either predator or prey.
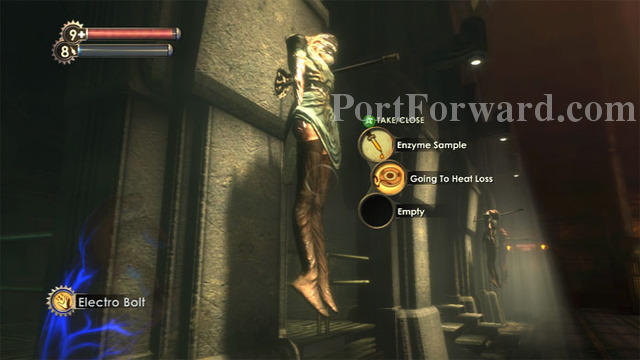
Search the bodies for supplies. Anya Andersdotter's audio diary Going To Heat Loss is found on this corpse. Listen and receive a new goal: search Heat Loss Monitoring.
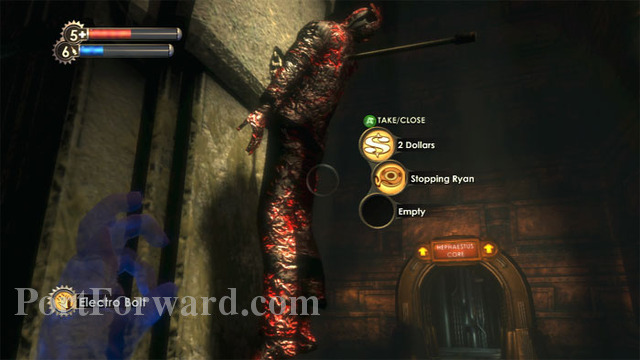
Splicers blast their way through the Hephaestus Core door. Hit them with Enrage! and find McDonagh's Stopping Ryan audio diary on this corpse.
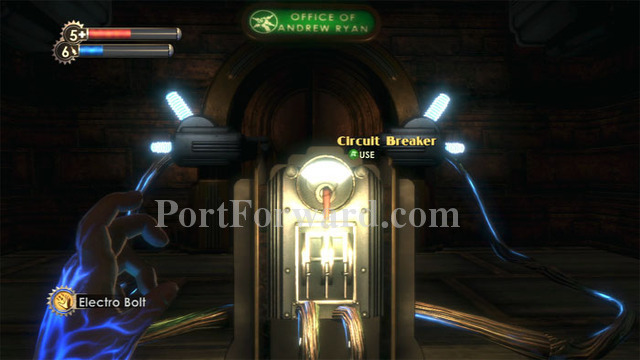
This Circuit Breaker is of no use. Ryan's office is locked and you can't open it until you cut the power at the core.
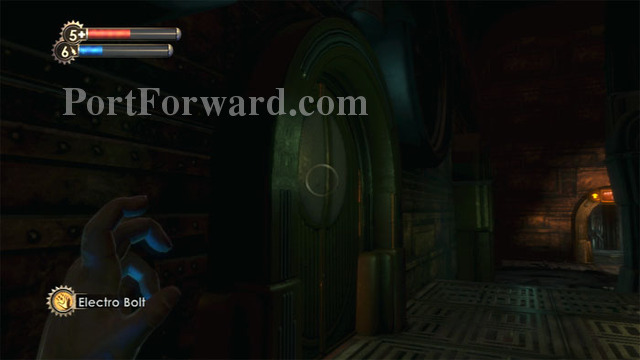
Before rushing through the Hephaestus Core door ahead/right, pass through this door on the left.
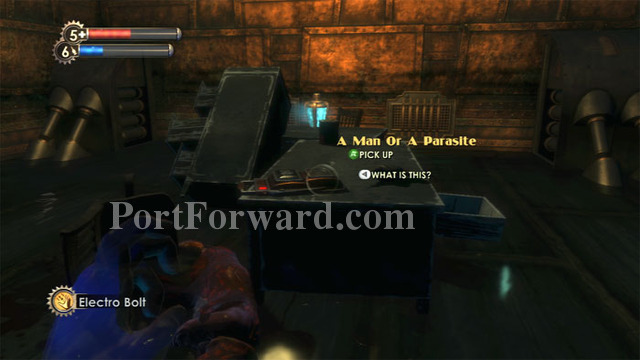
Ryan's audio diary A Man Or A Parasite is on the desk, and a safe is under the desk. A Frozen Field 2 Combat Tonic is ahead. A corpse can be searched in the back of the room.
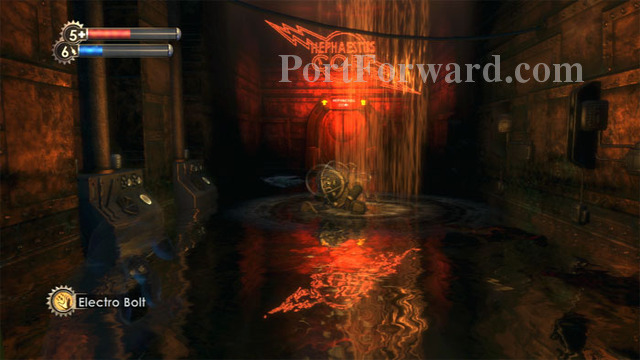
Now can pass through the Hephaestus Core door. Electricity is a good choice against the Splicers in this water-filled room. Search the Big Daddy for supplies then continue through the door ahead.
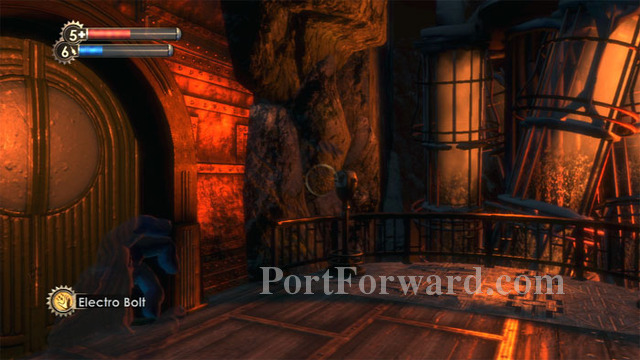
Follow the underwater tunnel to his opening. Unfortunately, the observation scopes are non-functional. Continue through the door on the left, where you'll find a Health Station.

The level's first Little Sister was waiting on the other side. I continued my Bouncer research to earn a 50% bonus to wrench damage. I also completed my Little Sister research and earned my final boost to maximum Health and EVE.
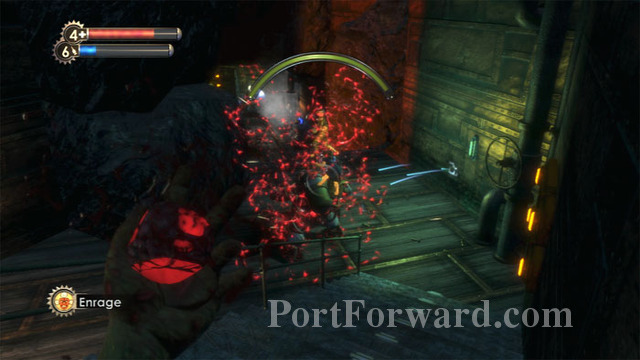
Enrage! or use Hypnotize Big Daddy to have the Bouncer clear the immediate area of Splicers.
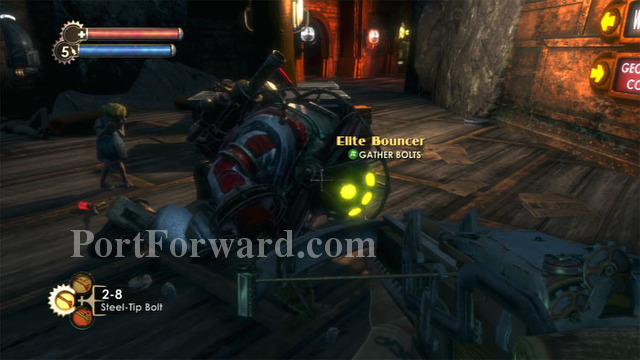
Turn your Crossbow on him (or better yet the Chemical Thrower if you have enough Electric Gel). I harvested the Little Sister to bring my ADAM total to 340. Search the area to find Napalm and Liquid Nitrogen. Notice more of that strange Ionic Gel.
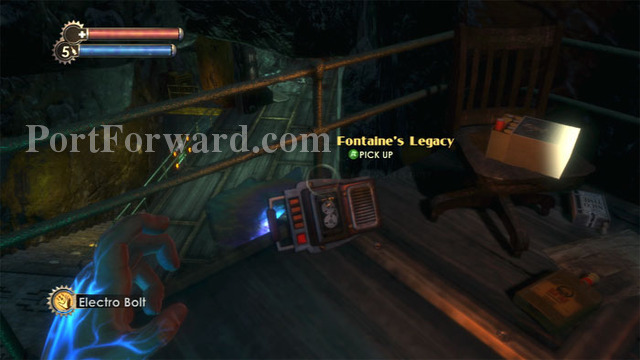
Don't miss McDonagh's audio diary Fontaine's Legacy near the Vita Chamber on the upper level.
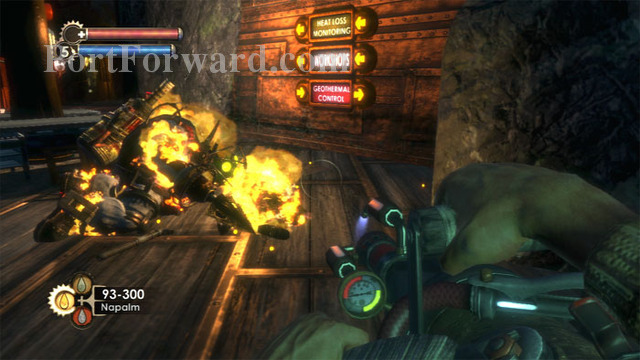
Follow the signs to Heat Loss Monitoring, clearing a path as you go.

Hack this security camera directly across from the workshops entrance. Pablo Navarro's Running Short On R-34s audio diary is on the left. A First Aid Kit is on the desk and a Gene-Bank is behind you and to the left.

Before descending these stairs, find a Crossbow by a corpse ahead/right, then hack the safe to the left. Buckshot and a Proximity Mine are also available.
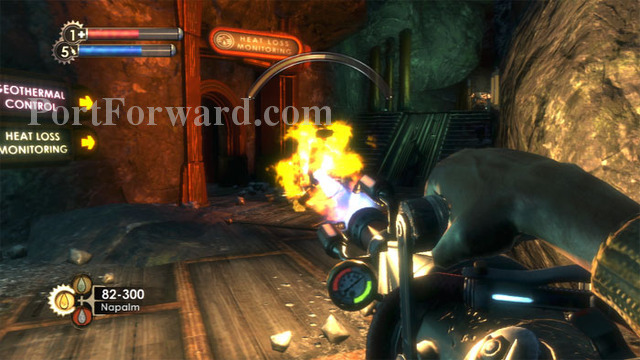
Search a crate at the bottom of the stairs and find the Heat Loss Monitoring entrance here. Don't go in yet.

DO NOT use this Circus of Values directly across from Heat Loss Monitoring -- all it dispenses are live bombs. Search the corpse on the right next to an Automatic Hack Tool.
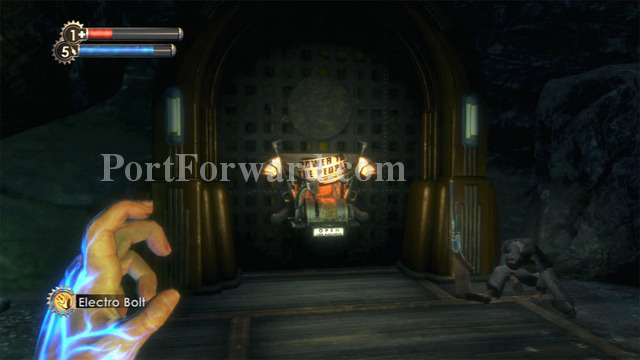
Ascend the ramp to the right of Heat Loss Monitoring and find this Power To The People Station on the left. A Shotgun and a corpse are to the right.

I chose Crossbow Breakage Chance. This makes it more likely that my bolts will be recoverable.

Directly across from the weapon upgrade station is this Gatherer's Garden, next to Anya Andersdotter's Assassin audio diary. A corpse is behind the Gatherer's Garden.
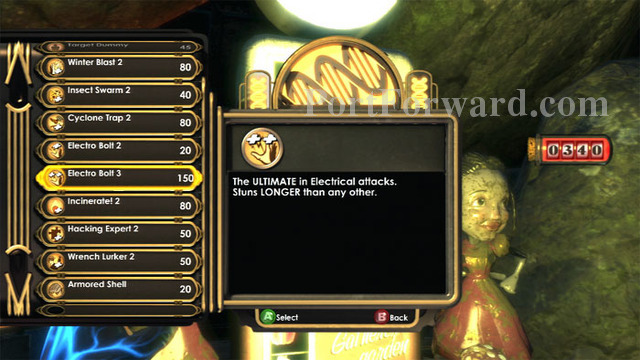
I upgrade to Electro Bolt 3 and purchase a Combat Tonic Slot for Electric Flesh.

Now it's time to enter Heat Loss Monitoring.
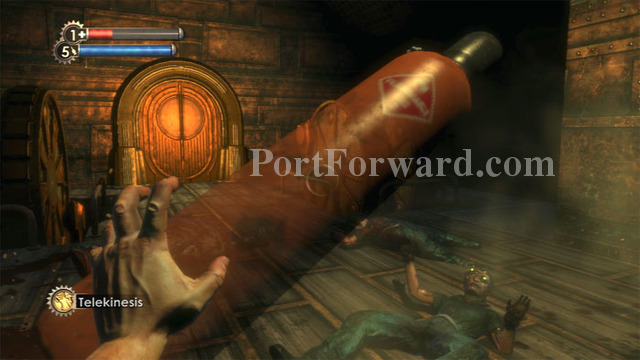
The lights cut out twice in this next room. Very creepy. Grab an explosive canister with Telekinesis to throw at these Splicers playing dead. Toss it their way when they spring to life. The Machine Gun's Antipersonnel Auto Rounds finish them off nicely.

Immediately after, the level's second of three Little Sisters showed up. The Crossbow does a fine job, although you'll need some fancy footwork to avoid the Bouncer's bull charge.
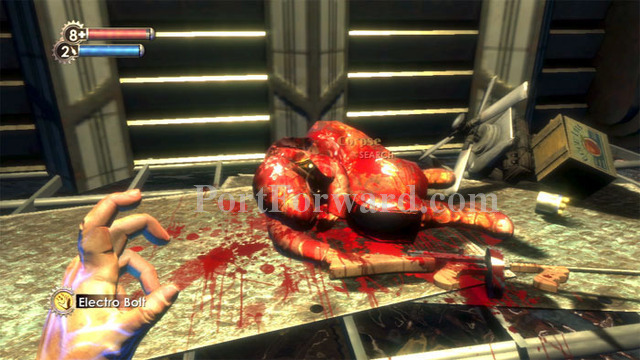
I bank the ADAM for the moment.
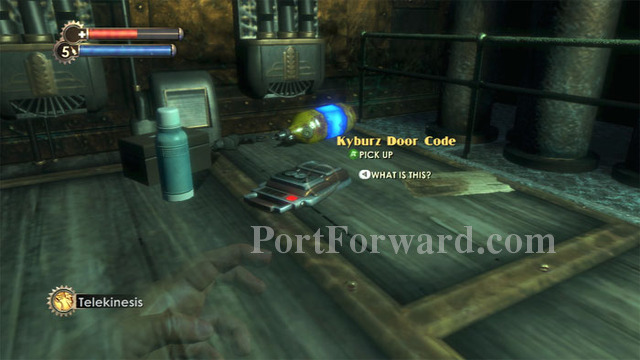
Keep right after passing through the door to find a searchable Pneumo tube, then spot Pablo Navarro's Kyburz Door Code audio diary. This is the first of several clues that Kyburz's office door code is Australia Day.
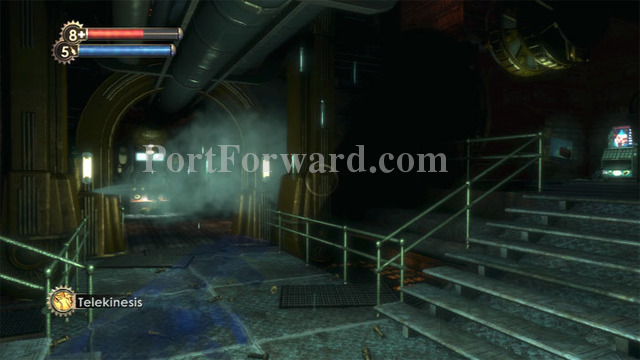
Find a fully-functional Circus of Values on the right, then ready a weapon before advancing down the misty corridor ahead.
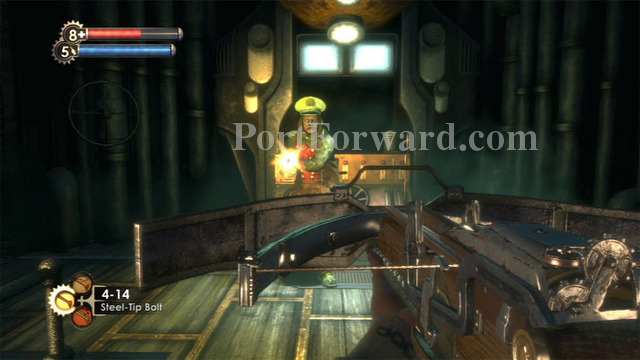
This Leadhead Splicer was playing dead. Let him play no more.
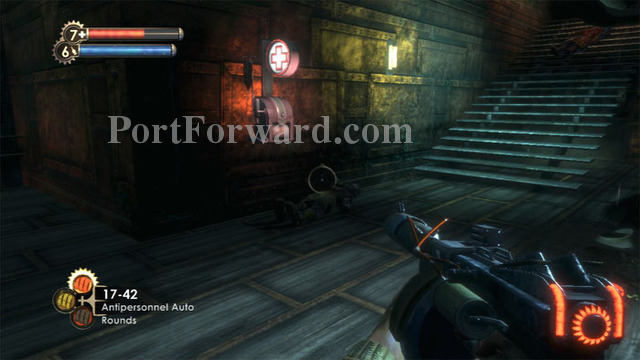
Descend these stairs and hack this Health Station. A pair of Splicers are down here and they're likely to look for healing before you're done with them. Search the area for crates and corpses.
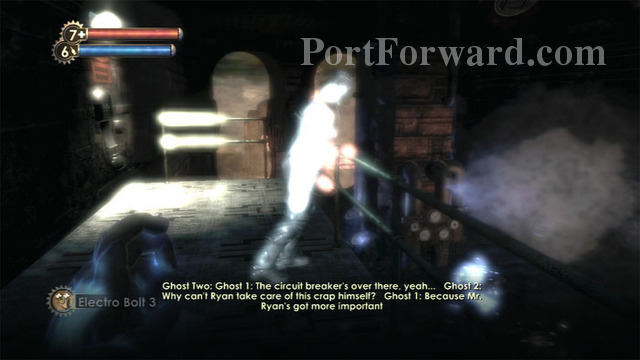
Approach the electrified water to trigger a ghostly reenactment. Learn that the circuit breaker ahead/left controls the electricity in the water.
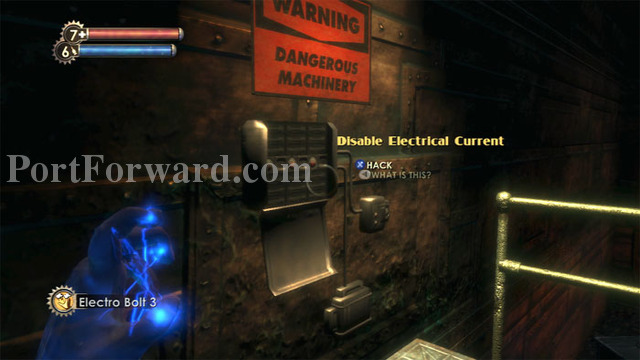
Hack the circuit breaker to make the water safe. Josh sends in this alternative: "You can use telekineses to launch a dead body into the nearby fan with the electric wires coming out. This will fry the circuit, allowing you to walk in the water without having to hack the circuit breaker."
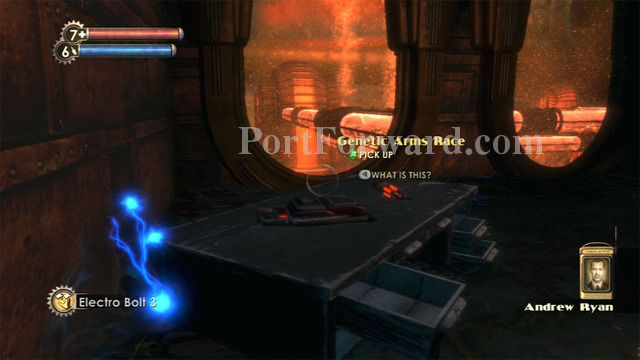
Descend the stairs to the flooded office and find McDonagh's Genetic Arms Race audio diary next to some Incendiary Bolts.
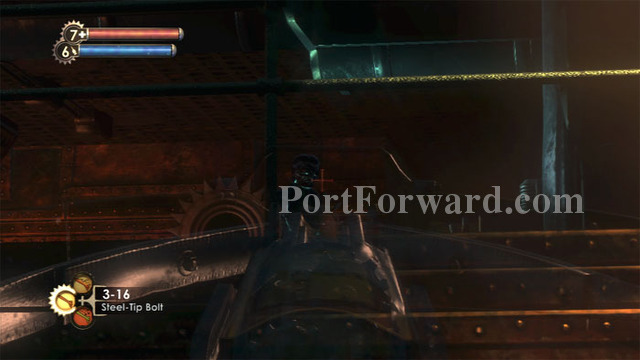
Splicers spawn. Natural Camouflage and your Crossbow make for easy sniping. Search a Storage Crate and corpse before leaving the flooded office.
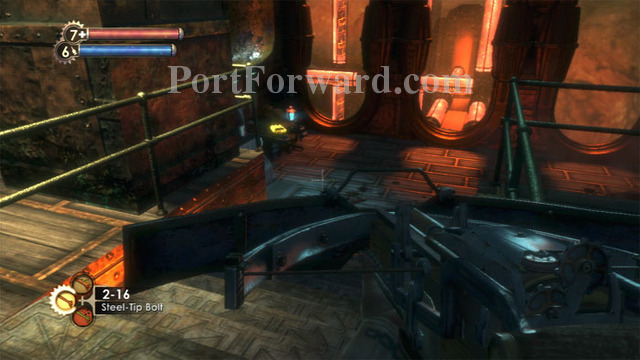
Descend the stairs to another office on the opposite side of the room.
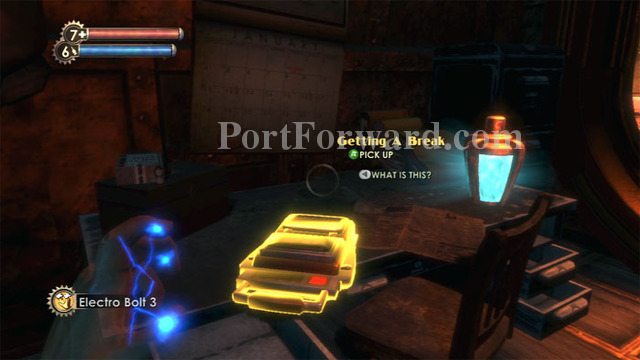
Grab Pablo Navarro's Getting A Break audio diary to update your goals. A Security Evasion 2 Physical Tonic is also on the desk, and the calendar has the Australia Day circled, January 26.

Search the file cabinets and crates, then find a Frag Grenade, Storage Crate and corpse. Enjoy the view from the windows before leaving. It's time to head to Kyburz's Workshops.
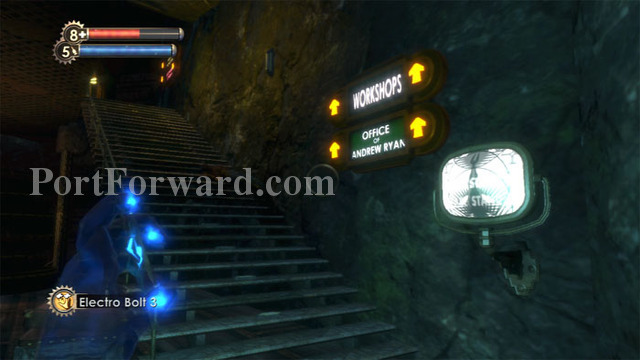
Backtrack then follow the Workshops signs.
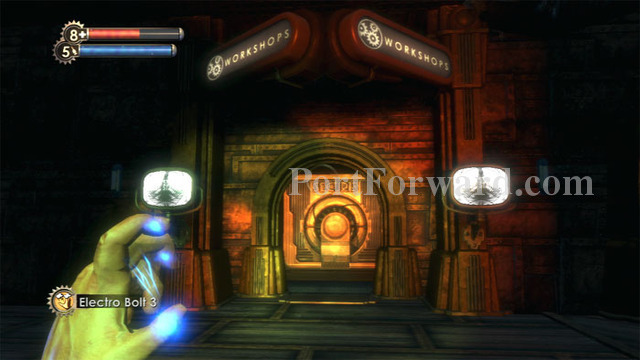
Here is the Workshops entrance.

Continue through a short tunnel then battle this Spider Splicer. A Circus of Values and Ammo Bandito machine are in here. Lockers to the left of the Ammo Bandito contain cash, and more cash is on the desk ahead.
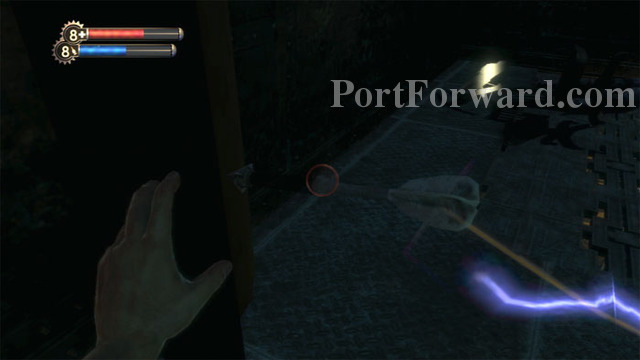
To the left, a Crossbow and a corpse are behind a Trap Bolt.
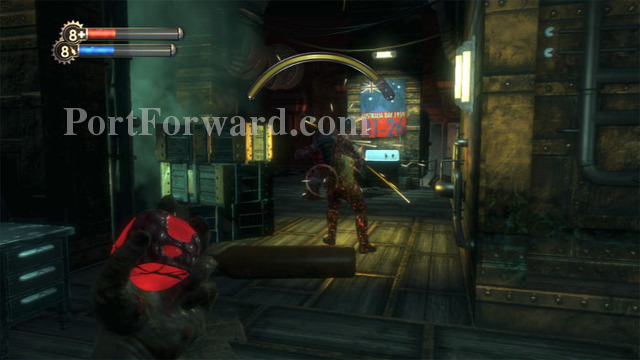
Beware a turret to the right. An Enraged! Splicer and Big Daddy take care of the turret and each other. The poster reveals Australia Day to be 01/26. A U-Invent is on the left; a Machine Gun and a First Aid Kit are on the right.
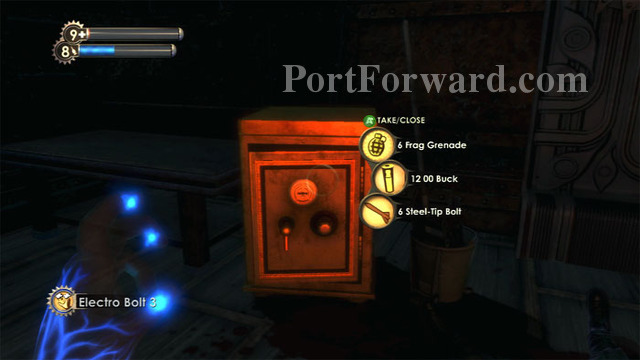
Find cash, snacks and a corpse in the back of the room, plus this safe in the far left corner.
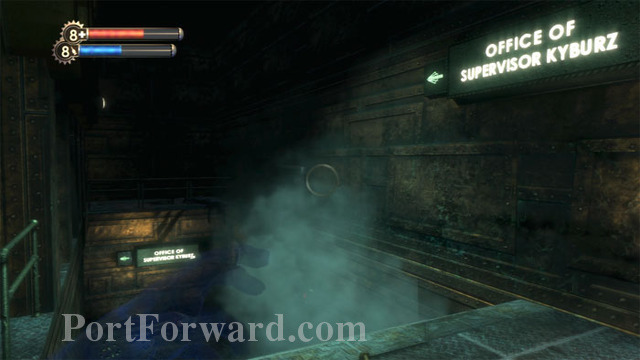
Descend these stairs.
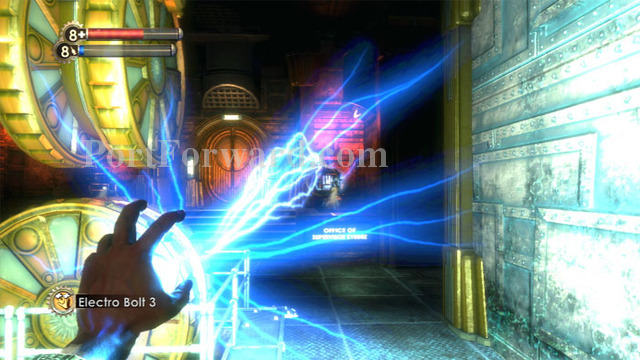
The door to Kyburz's office is to the left, flanked by a pair of machine gun turrets. You'll do well to hack them both.
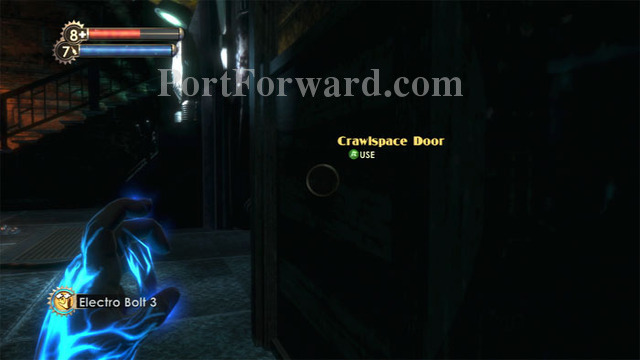
Don't head into Kyburz's office just yet. Instead, use this crawlspace to access the area beneath the stairs.
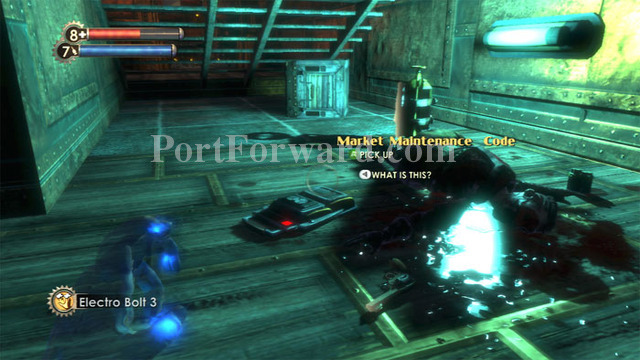
Pablo Navarro's Market Maintenance Code audio diary reveals the code 0512 for the Pump Room in Farmer's Market. Electric Gel, a Pistol, Armor-Piercing Pistol Rounds and two Storage Crates are found as well.
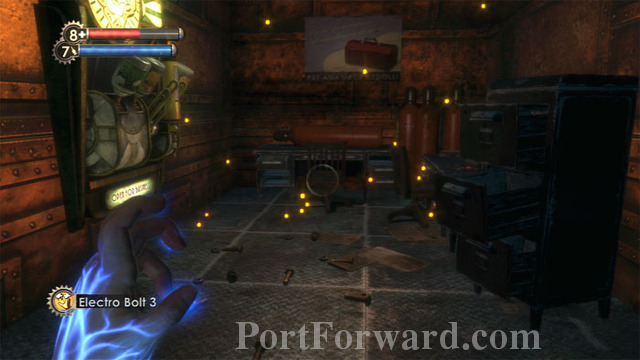
Directly across from the stairs is this room. Kyburz's Device Almost Finished audio diary is on the right alongside a First Aid Kit. A Gene-Bank is on the left.
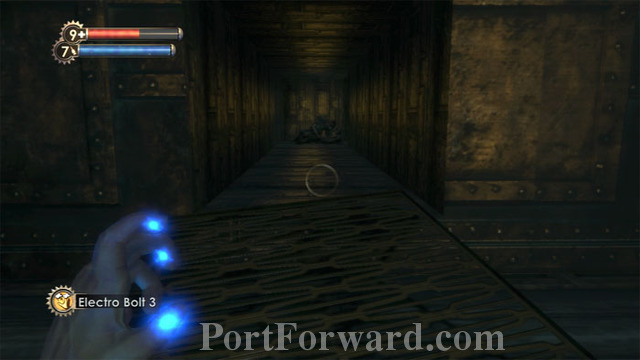
Keep right and find this vent with a searchable corpse. Another corpse is in a small flooded area to the left.
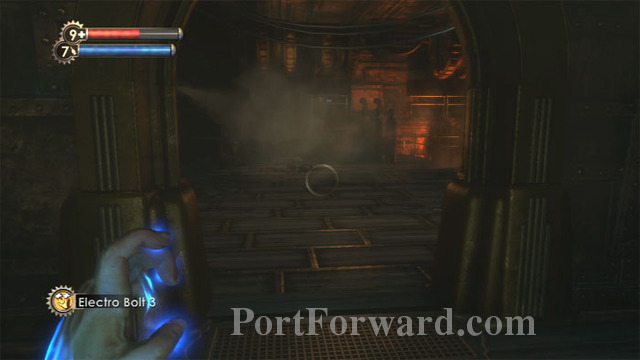
Head through this archway directly across from the vent.
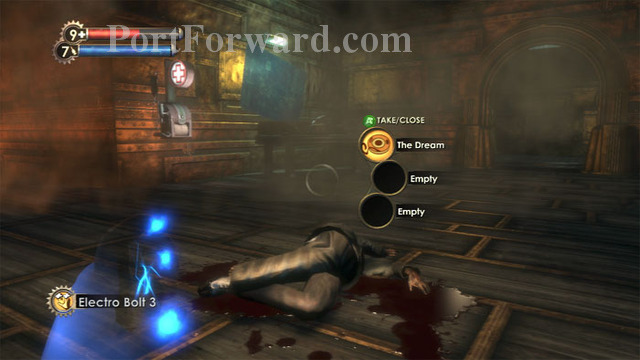
Find Kyburz's audio diary The Dream on this corpse. A Napalm-holding Chemical Thrower and Health Station are seen on the left.
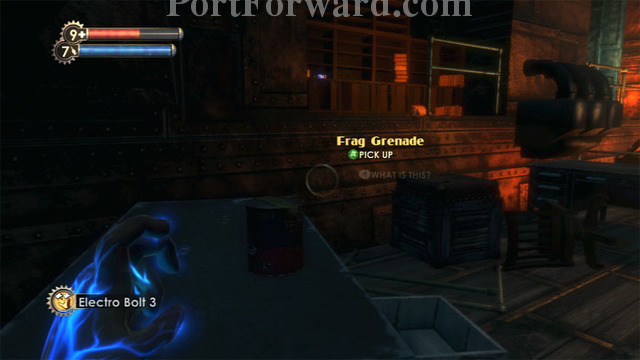
To the left is this desk. Find the Frag Grenade and storage crate, then hop up (or climb the short stairs on the right) to find an EVE Hypo and pistol rounds. A Big Daddy corpse is found near the short stairs.
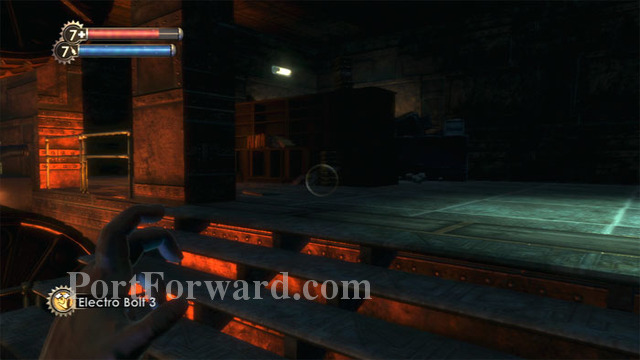
I found this area confusing and you'll need to find your way back here later. Here's a shot of the same area from the short steps on the right.
Look behind the shelves to find this crawlspace.
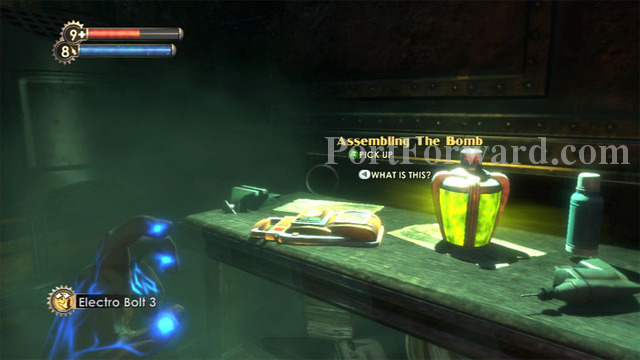
Enter to find this all-important room. Kyburz's Assembling The Bomb audio diary is next to a Damage Research Combat Tonic. Two First Aid Kits are under the desk.
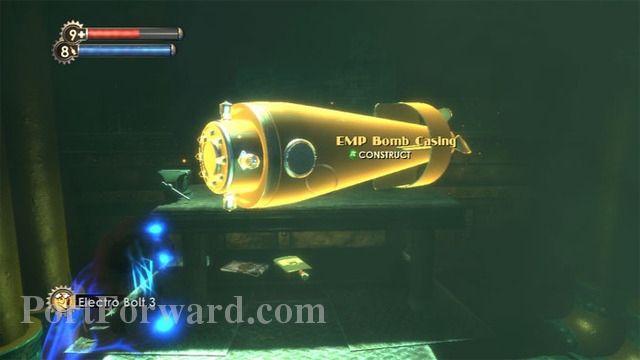
On the opposite side of the room is the EMP Bomb Casing. This is where you'll assemble the bomb once you have all the necessary components.

Here is your new multi-part goal. You'll need two Ionic Gel (those blue things you've seen lately) as well as one Nitroglycerin Charge and four R-34 Wire Clusters (whatever they are). Find cash under the table.
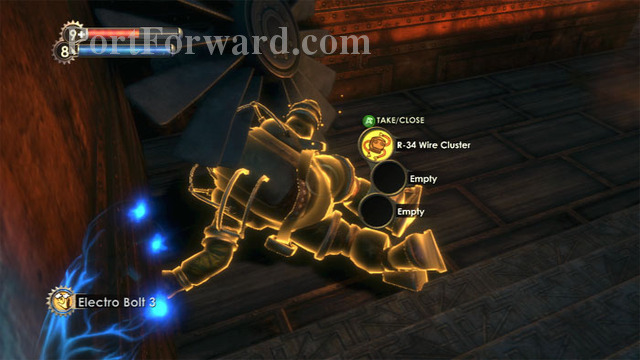
Backtrack a bit and note that the Big Daddy Corpse by the short stairs is glowing. Search his body to find your first R-34 Wire Cluster. So that's what they are! Three more to go.
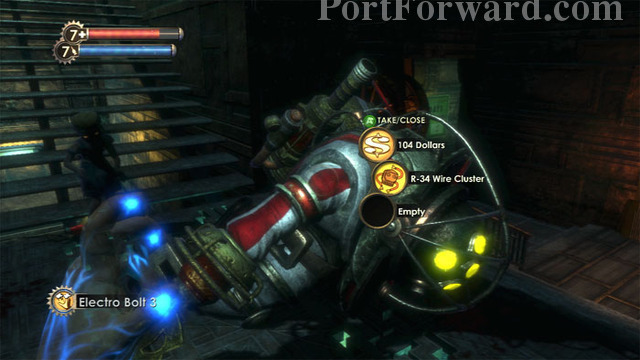
You'll now find R-34 Wire Clusters on all the Big Daddy corpses you come across in Hephaestus. Here I find one after defeating this Elite Bouncer, escorting the third of the level's three Little Sisters. Harvesting her brings my ADAM count to 430.
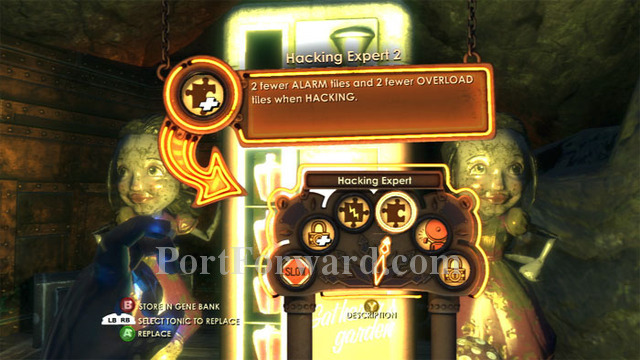
Hacking has been getting increasingly difficult so I decide to backtrack to the Gatherer's Garden and spend some ADAM. I buy an Engineering Slot then upgrade to Hacking Expert 2. I also purchase Health and EVE Upgrades, leaving me with 140 ADAM.
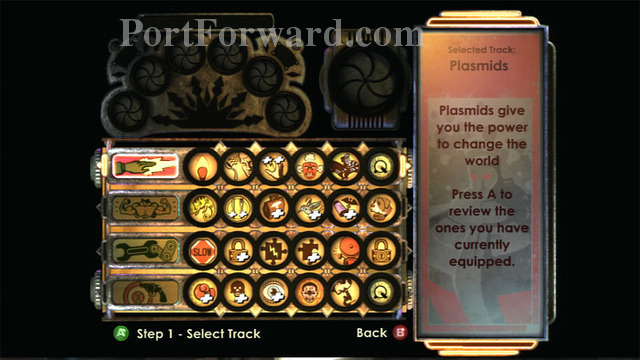
Here is my current configuration.
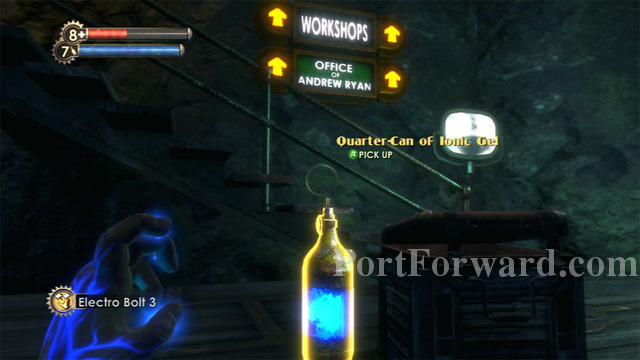
I spied this Quarter-Can of Ionic Gel on my back to the Workshops.
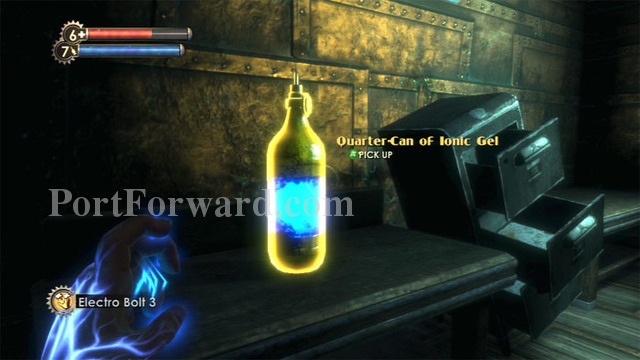
A second Quarter-Can can be found across from the previously-seen safe.
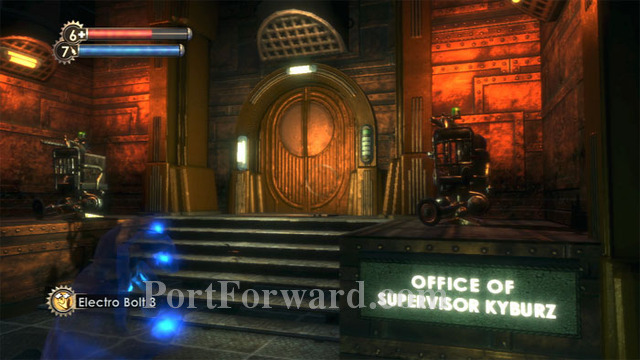
Time to enter Kyburz's office. Access is granted by entering the date for Australia Day, 0126.
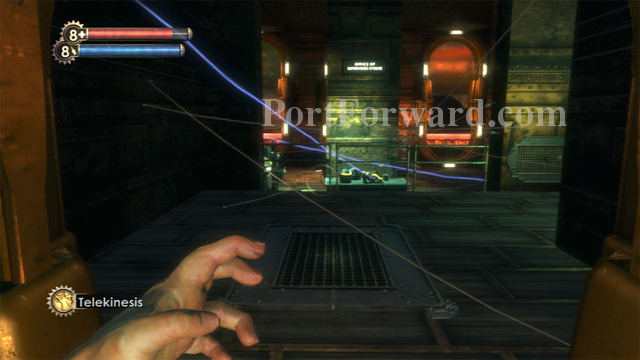
Telekinesis clears the room of traps, but is time consuming -- very annoying.
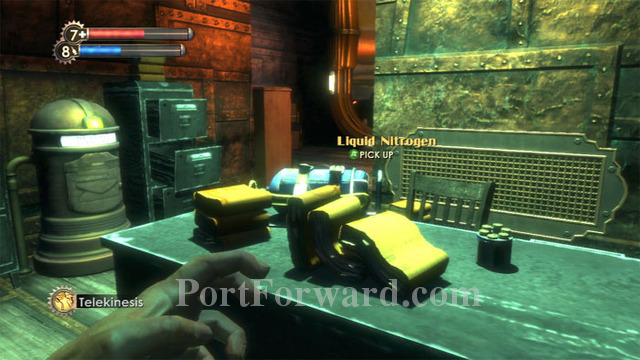
Liquid Nitrogen and Pistol Rounds are on the desk. The Pneumo on the left has more supplies.
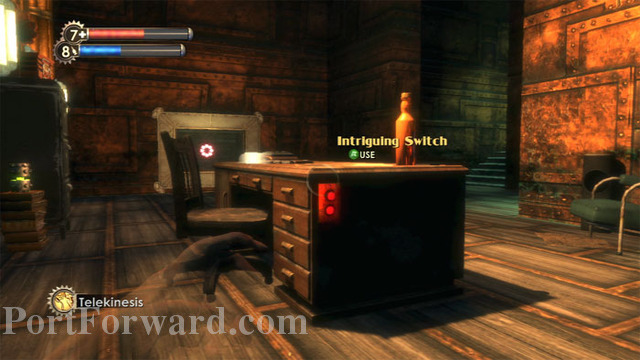
Andrew Ryan's A Great Chain Moves Slowly audio diary is on this desk. Be ready to destroy/hack a machine gun turret by the door before pressing this Intriguing Switch.
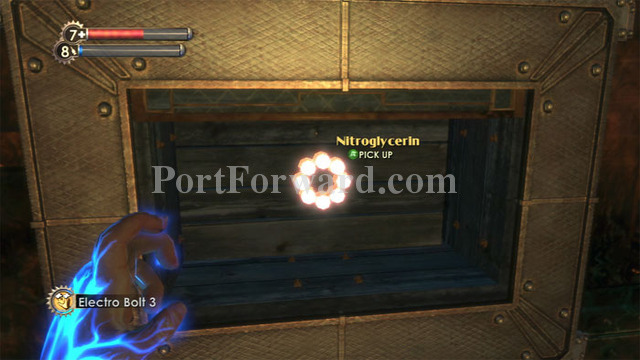
The switch also unlocks the glass blocking the Nitroglycerin you need for the EMP bomb.
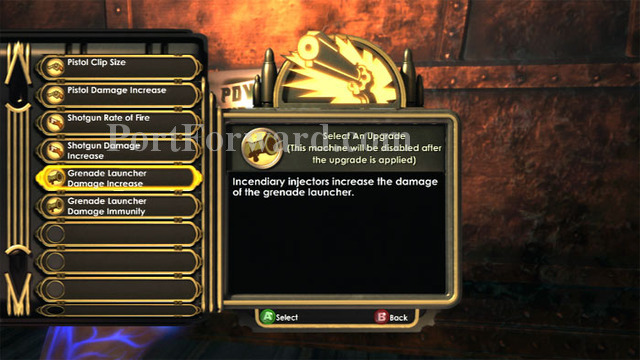
Directly across the room is this Power To The People Station. I choose Grenade Launcher Damage Increase as my next upgrade. A File Cabinet and Proximity Mines are to the right.
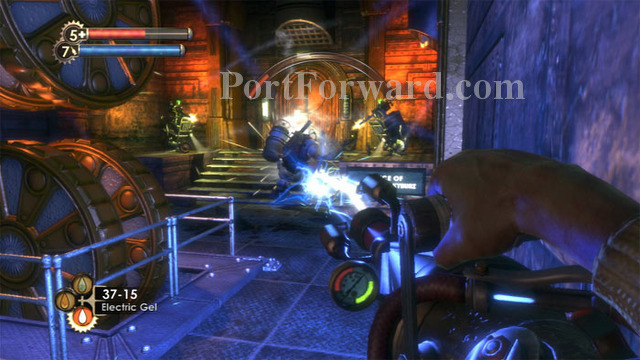
You now need to go Big Daddy hunting to acquire the remaining two R-34 Wire Clusters. Lure one of them back to the turrets flanking Kyburz's office entrance. Freeze him in place with Electric Gel while the turrets speed his demise.
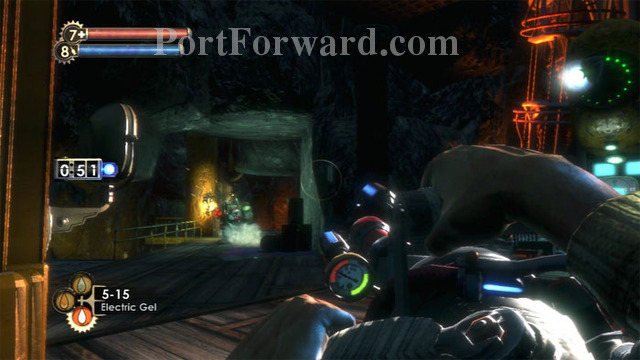
I lured a second Big Daddy to this hacked Security Camera in front of the Workshops entrance. Security Bots, Electric Gel and Frag Grenades secured the final R-34 Wire Cluster.
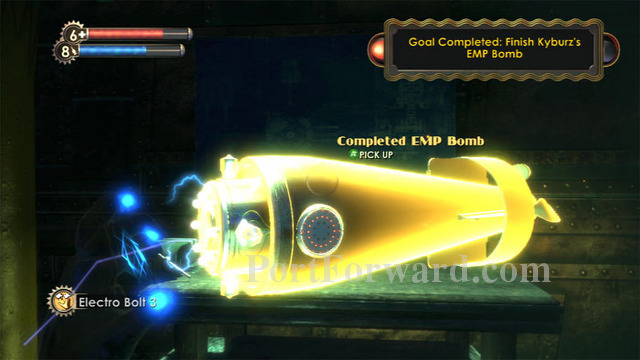
Return to the bomb casing, place the components inside then pick up the bomb to complete the goal. Time to head to Geothermal Control.
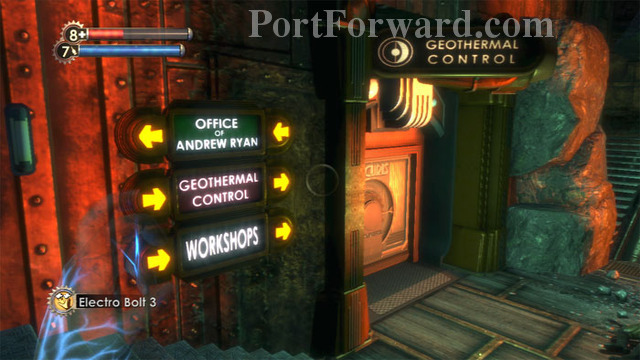
Follow the signs to find the Geothermal Control entrance here.
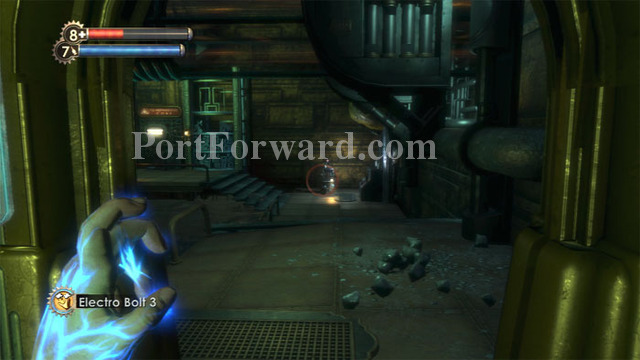
A Gene-Bank and storage crate are on the left. A U-Invent is on the right, and a Frag Grenade is in-between. Two doors each lead to this room, flanked by machine gun turrets. Be sure to hack, not destroy, these turrets. Liquid Nitrogen is near the turret on the left.
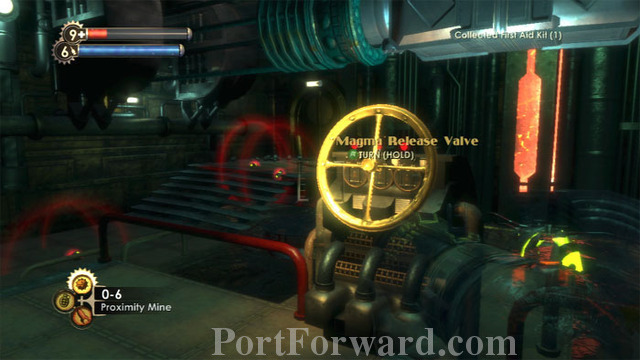
Toss a number of Proximity Mines to set up a barrier between the doors and this position. You'll need to hold off a wave of Splicers while turning this wheel. Proximity Mines and a First Aid Kit are behind you.
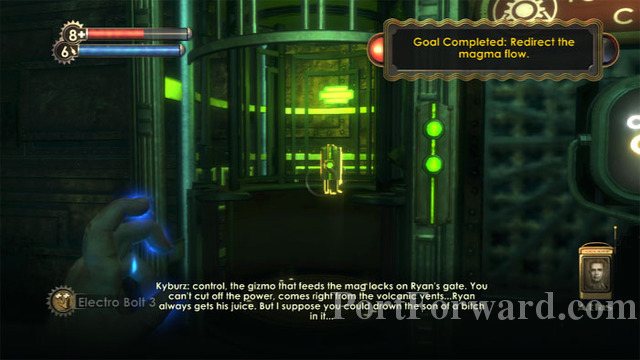
Keep holding the valve until the magma flows and Kyburz's audio diary The Dream plays. Your hacked turrets and Proximity Mines should hold off the Splicers.
This lift is now accessible; ride it down.
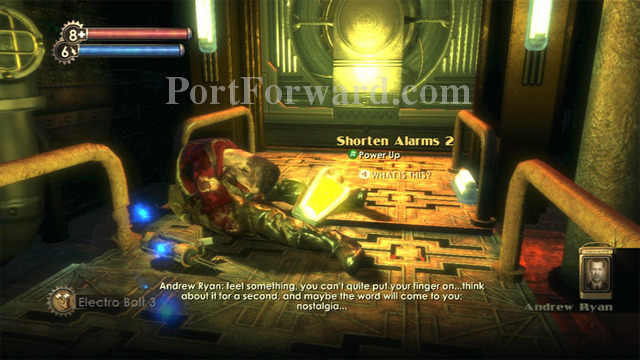
Follow the corridor to find this Shorten Alarms 2 Engineering Tonic, a corpse and an Automatic Hack Tool. Continue through the door ahead.
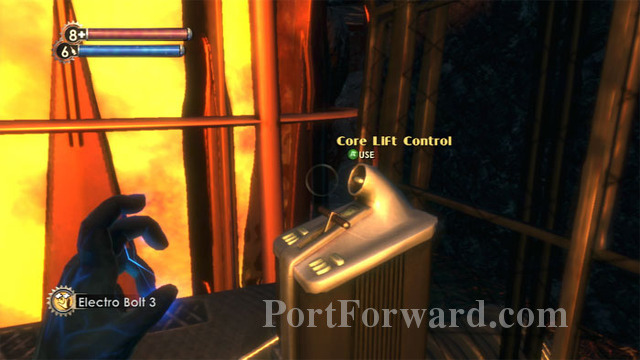
Use this Core Lift Control and ride it on up.

Place the bomb on the core to complete the goal.

Fight your way past this now-open gate and Ryan's security bots. Here I'm using the Machine Gun's Armor-Piercing Auto Rounds.
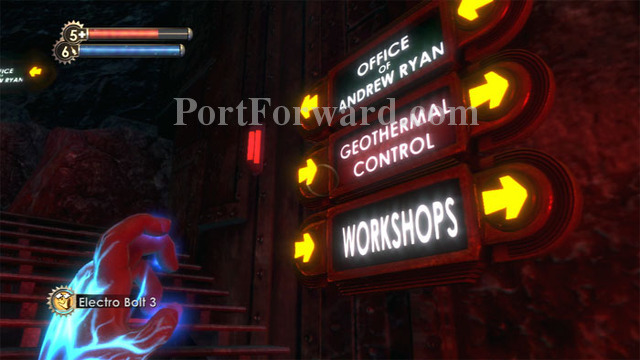
Follow this sign to Ryan's office, but we're not going all the way back there just yet.
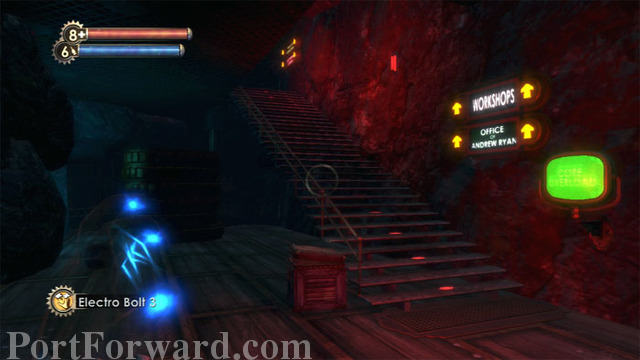
When you get to this next sign, don't follow it up the stairs. Instead, find another set of stairs leading down behind the stacked wheels ahead.
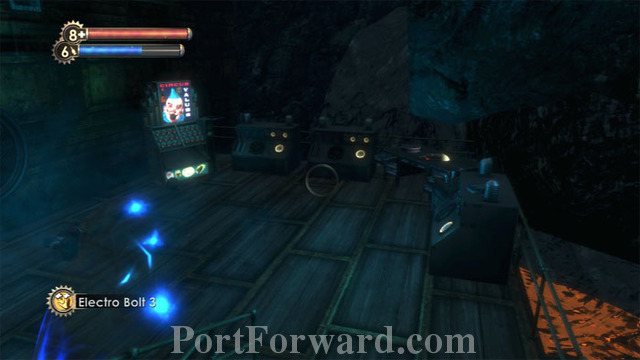
Andrew Ryan's Impossible Anywhere Else audio diary is on the desk to the right next to Antipersonnel Auto Rounds. Electric Gel and a corpse are around the left corner. Fill up at the Circus of Values then resume following the signs to Ryan's office.
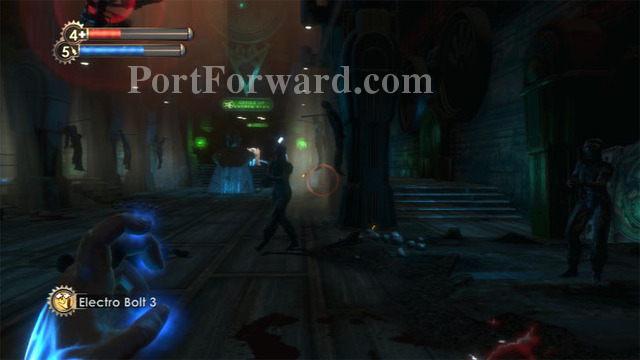
Leadheads and security bots greet you upon your return. Don't forget to photograph the security bots if you haven't completed researching them yet.
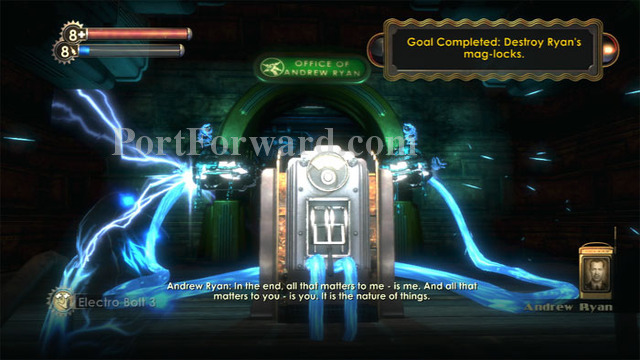
Use the circuit breaker to complete the goal and unlock the door. You won't be able to save for a while, so you might want to save before you pass through the bulkhead to load the next level: Rapture Central Control.
BioShock Walkthrough Rapture Control Center
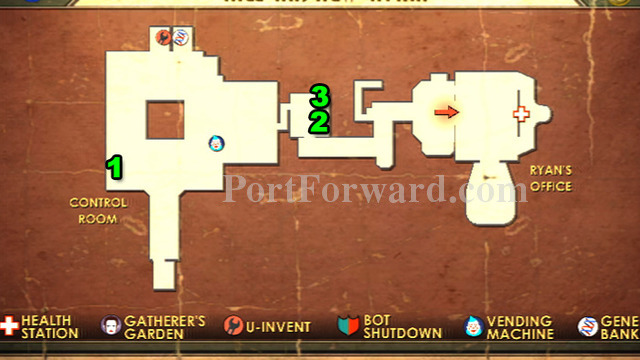
Here's a map of the level.
Map - Rapture Central Control
1. The Vita Chamber - Audio Diary
2. Baby Status - Audio Diary
3. Mind Control Test - Audio Diary
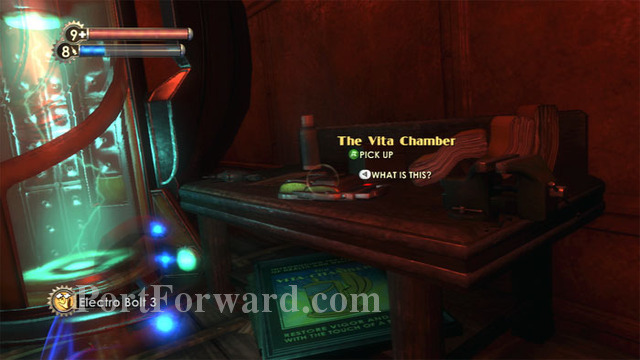
To the left is SuChong's The Vita Chamber audio diary. A Lockbox and Coffee are here as well.
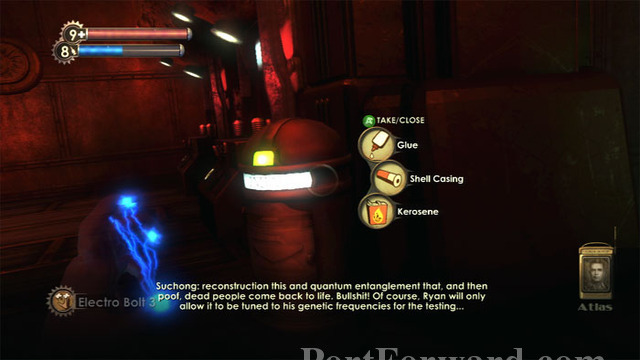
The room is rocking back-and-forth. Find supplies from this Pneumo on the right.
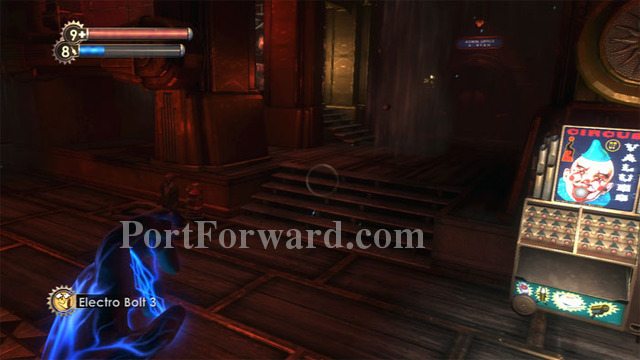
To the right is a Circus of Values, Napalm and a corpse. The door to Ryan's office ahead is jammed.
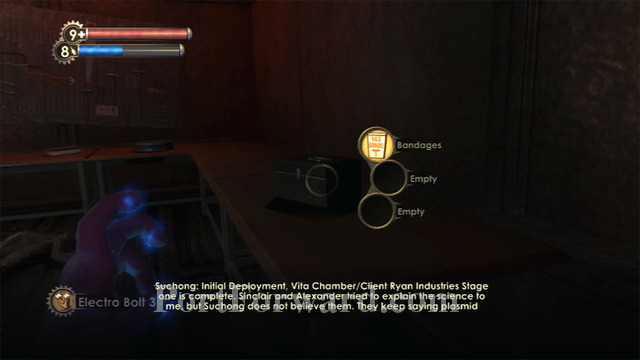
Farther left is this table with a Lockbox, Antipersonnel Auto Rounds, and a First Aid Kit. A corpse and a storage crate are on the floor.
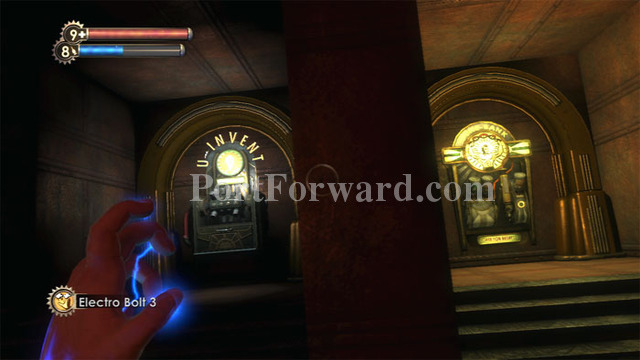
Access to a U-Invent and a Gene-Bank is also here.

Climb the left stairs all the way up to find this vent. Crawl through.

Emerge from the vent then drop into this pivotal room. SuChong's Baby Status audio diary is on the counter ahead. His Mind Control Test audio diary is to the left. An EVE Hypo is farthest left, and a Frag Grenade is on the floor. Behind you is another Frag Grenade, a First Aid Kit, Pistol Rounds and Armor-Piercing Pistol Rounds.

Proceed through this door.
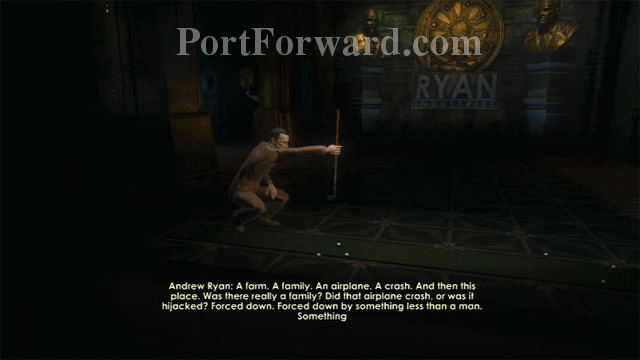
Follow the hallway to this window, where you can see Ryan casually practicing his putting game. He has a lot of explaining to do.
His explanations seem to fit. You are the creation of Frank Fontaine.
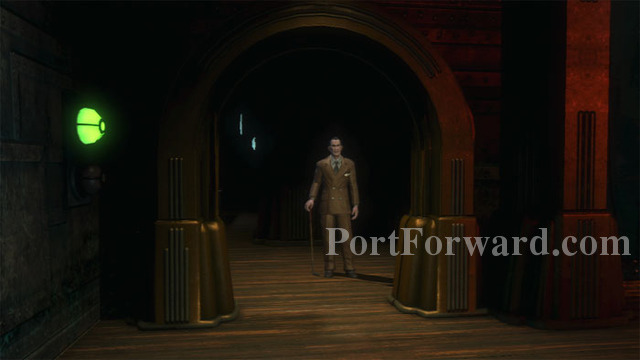
Ryan opens the door to his assassin. It all seems too easy. Approach Ryan to trigger the cutscene.
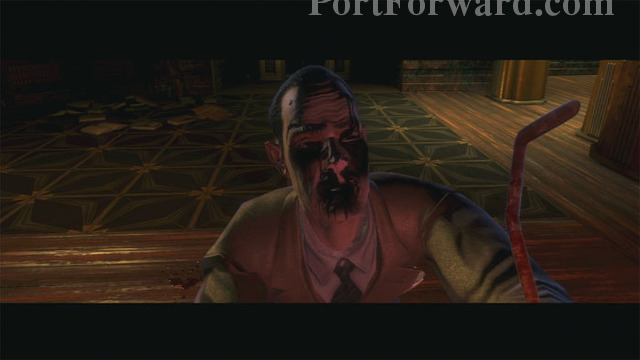
Much speculation surrounds the seeming illogic of Ryan's capitulation, much of it focusing on the previously-seen Vita-Chamber.

You automatically retrieve Ryan's Genetic Key. Enter his office and find cash in his desk. Place the Genetic Key in the slot seen ahead - the Self Destruct Override.
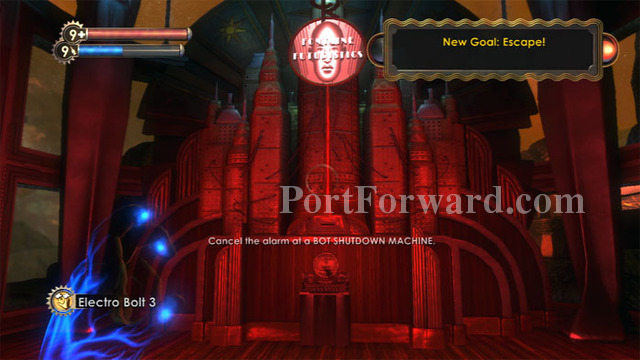
Wait for the machine to do its thing, and for Fontaine to tell his tale.
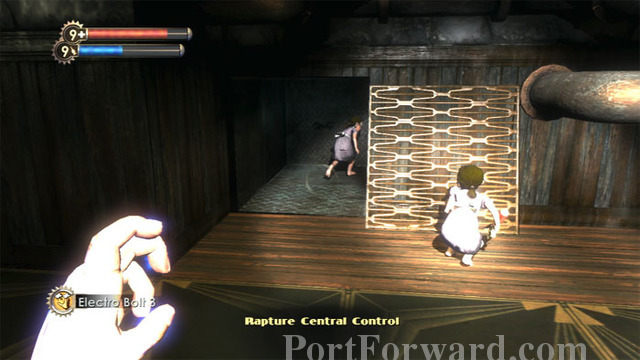
Little Sisters come to your salvation. Whether you've been rescuing or harvesting them, the result is the same. Follow the Little Sisters to the safety of Olympus Heights.
BioShock Walkthrough Olympus Heights
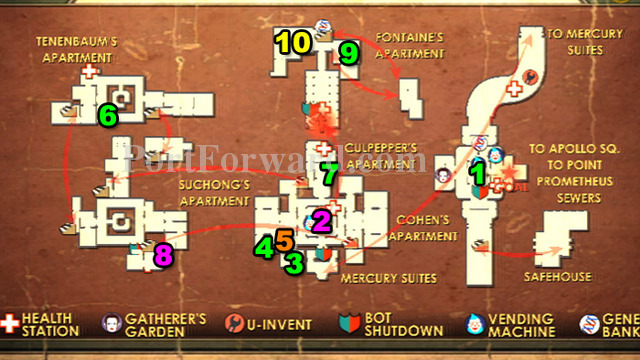
Here's a map of the level.
Map - Olympus Heights
1. Mozart Of Genetics - Audio Diary
2. Power To The People - Weapon Upgrade
3. Fontaine's Human Jukebox - Audio Diary
4. Mind Control Antidote - Audio Diary
5. Clever Inventor - Engineering Tonic
6. Fontaine's Breakup - Audio Diary
7. Artist Woman - Audio Diary
8. Power To The People - Weapon Upgrade
9. Sad Saps - Audio Diary
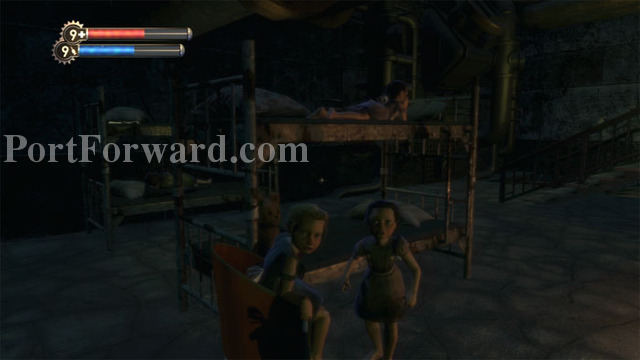
Turn around to find a First Aid Kit. Search the room for a Supply Crate and an EVE Hypo. Cash can be seen under the pillow on the left. Follow one of the Little Sisters up the stairs on the right.
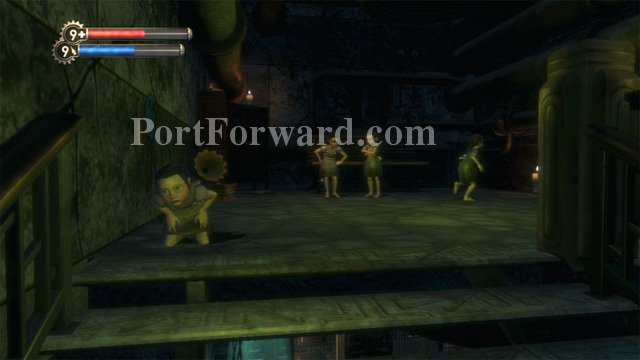
When you reach the top, find a Lockbox in the far-right corner.

This Trunk is also searchable, but turned up empty for me. Continue through the secret door ahead once the Little Sister opens it for you.
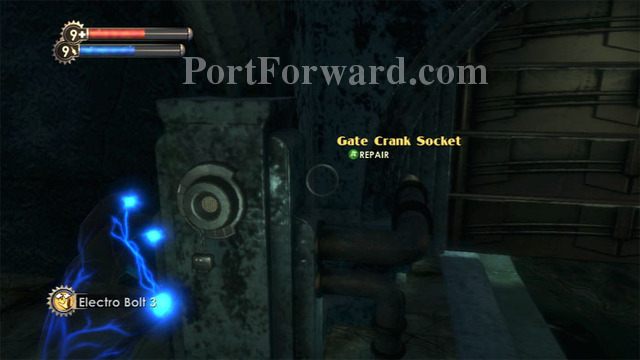
Ascend the stairs and find a Storage Crate and this Gate Crank Socket, missing a component.
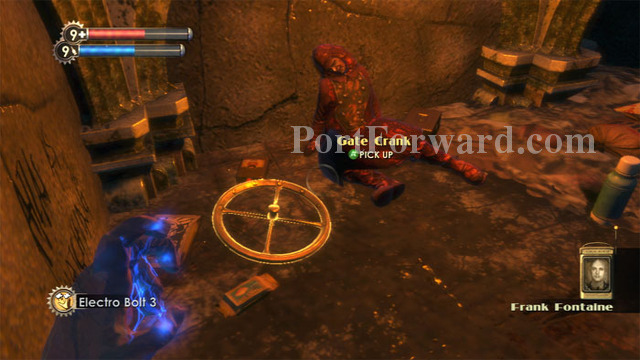
Find what you need in this corner - the Gate Crank. Coffee and snacks are also here, plus another Supply Crate. Fontaine uses his mind-control powers to weaken your health.
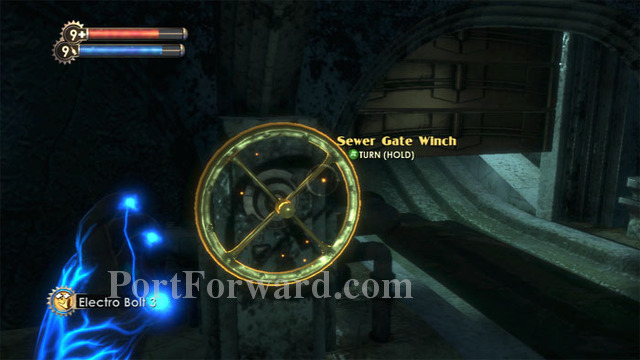
Place the Gate Crank on the socket and turn it to open the gate.
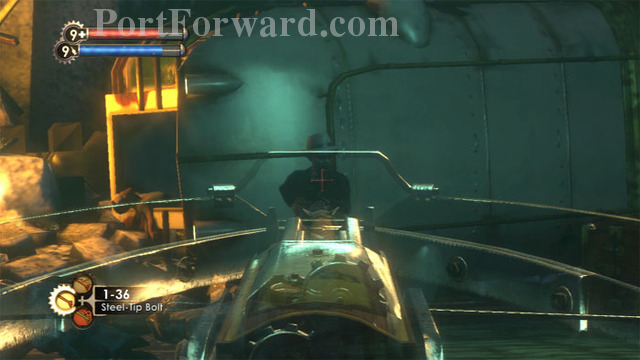
Ascend the ramp and snipe a pair of Splicers. A corpse and a safe are in the overturned trolley, and steamer trunks are to the right.
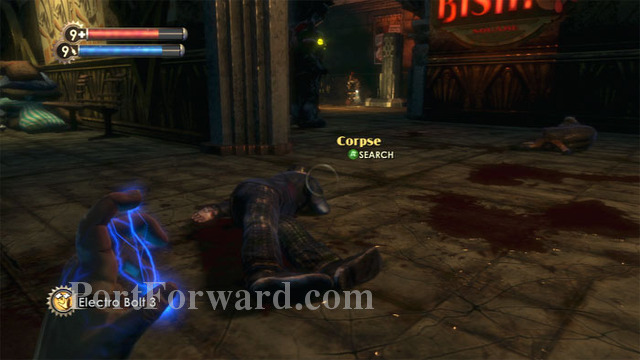
A pair of corpses and a machine gun turret are behind this wall. The Rosie seen ahead demolished the turret after being struck by a stray shot.
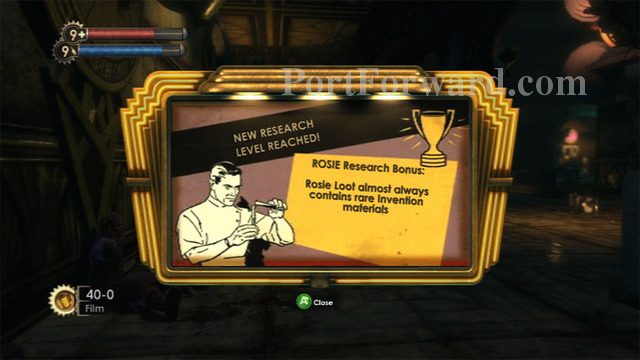
Continued Rosie research produces improved loot.
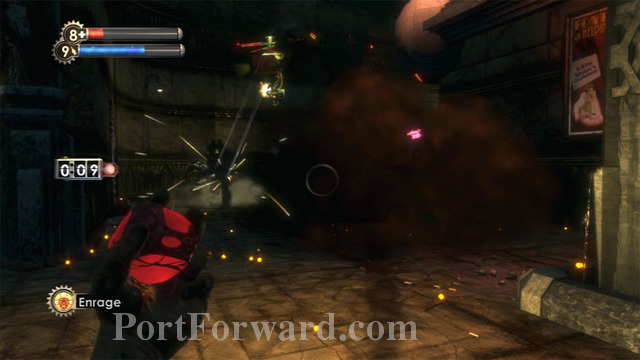
Beware a security camera on the right, across from a Health Station. I accidentally tripped the alarm but with Security Bullseye was able to direct the bots' attention to the Rosie. Using Enrage! on the area's Splicers added more damage.
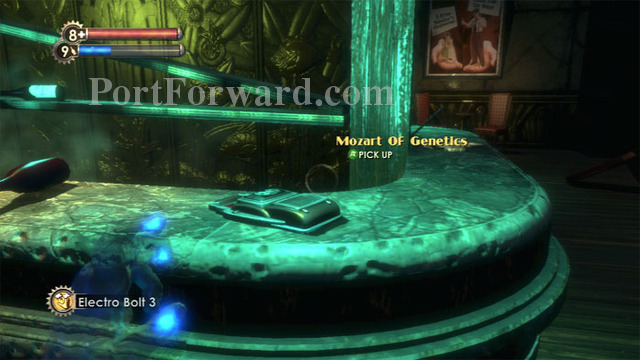
Find SuChong's Mozart Of Genetics audio diary on this bar, along with cash and plenty of hooch to satisfy my Booze Hound. An Ammo Bandito and Circus of Values are also in this area, known as Central Square Bistro.
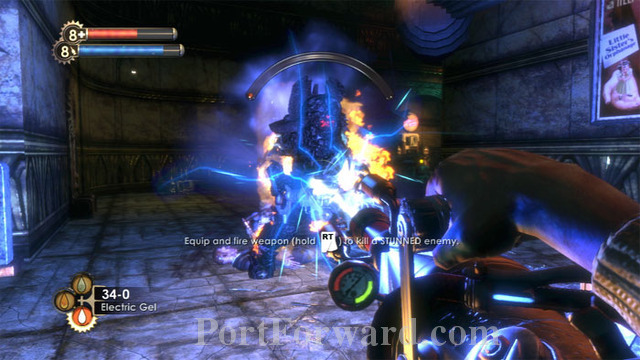
A little Electric Gel and this Elite Rosie is riveted. Note the Gatherer's Garden far/right.
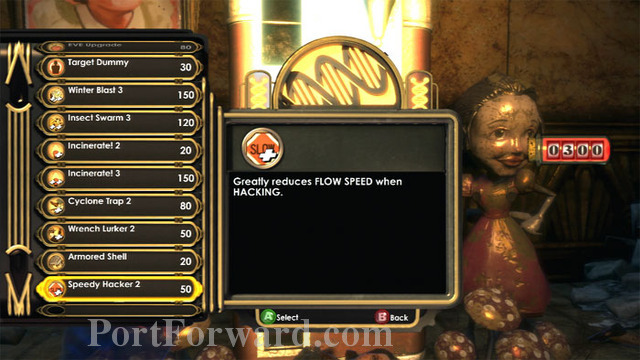
I purchase the newly-available Speedy Hacker 2 Engineering Tonic, along with Health and EVE Upgrades. This makes hacking much easier.
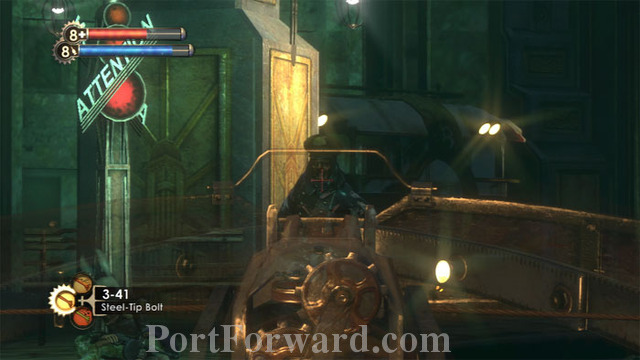
Continue advancing down the street toward Mercury Suites. The long avenue is perfect for Crossbow sniping. Switch to the Machine Gun with Antipersonnel Auto Rounds if things go bad.
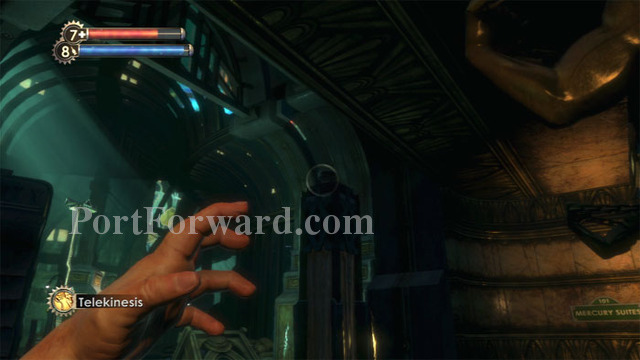
The trolleys almost always have loot inside, and Machine Gun Rounds can be found atop this pedestal.

Several Splicers guard the entrance to Mercury Suites. Lure them out rather than rush in -- there's a security camera just inside and to the left that you don't want to trigger.
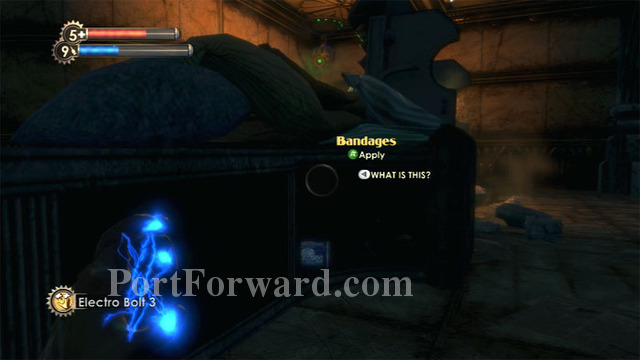
Once inside, hack the camera and find a corpse and Bandages behind this counter.
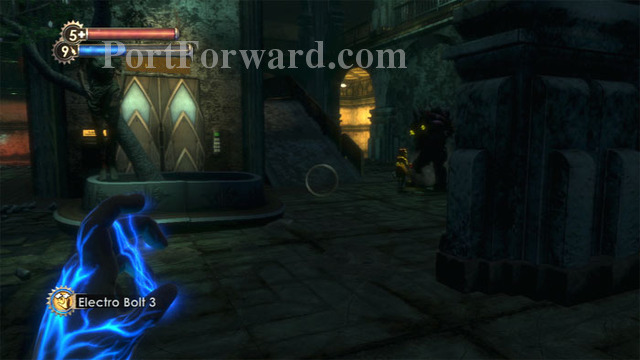
You'll emerge in this open area with an elevator that you can't use - yet.
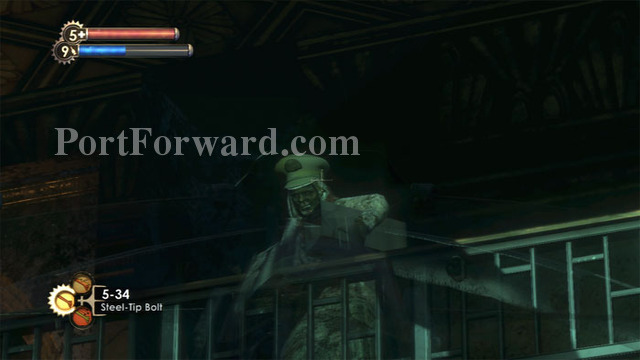
You'll need to secure this central stairway area first. Again, the Crossbow is my alpha-strike choice. Sniping is a natural tactic against the Splicers on the overhangs.
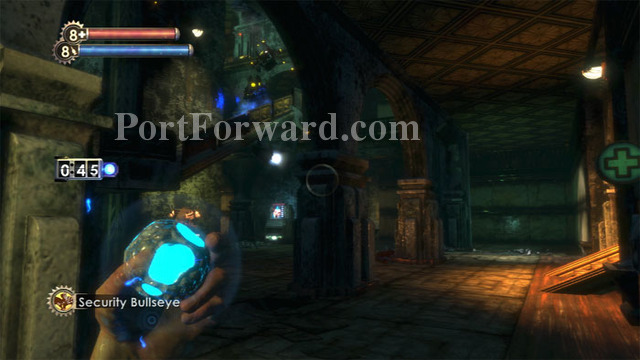
A security camera is seen just under the stairs, making Security Bullseye a viable option. Note the Health Station on the right, and a Power To The People Station is just visible to the left.
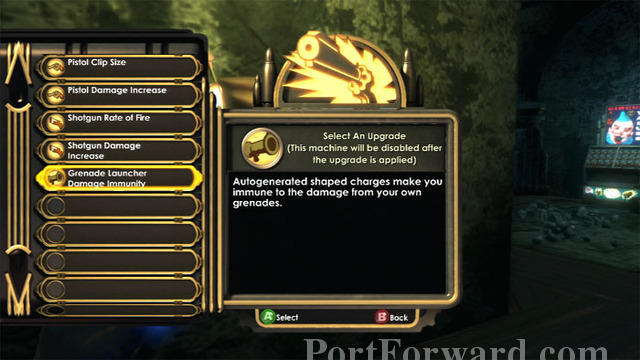
I choose Grenade Launcher Damage Immunity. Note the Circus of Values on the right.
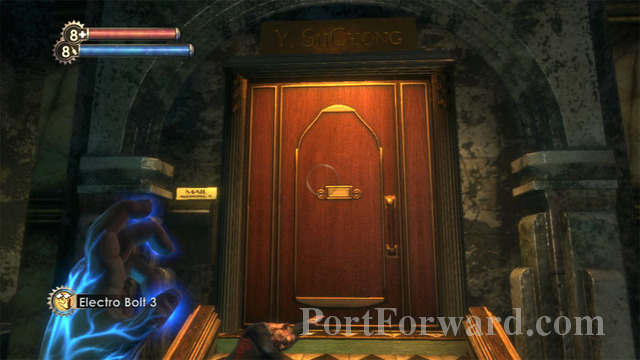
Your first stop is SuChong's apartment, found behind the Circus of Values.
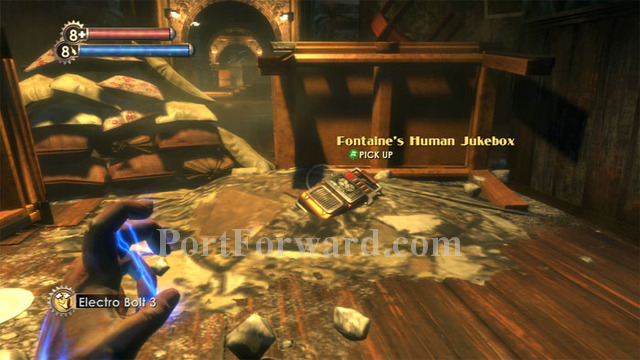
A Thuggish Splicer is in the kitchen to the right, and a Leadhead is in this room on the left, along with SuChong's audio diary Fontaine's Human Jukebox.
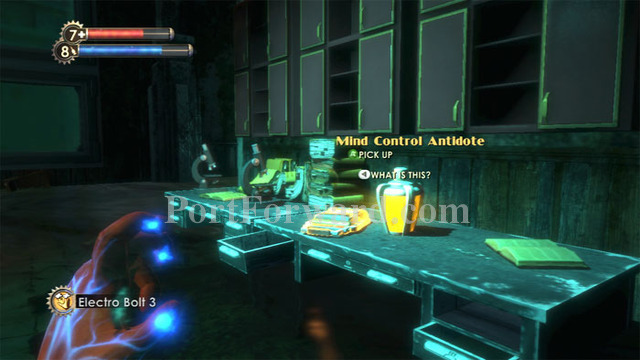
The central area of the apartment is flooded. Here in the library you'll find SuChong's Mind Control Antidote audio diary and the Clever Inventor Engineering Tonic. Don't miss the storage crates to the left, or the steamer trunk in the far corner.
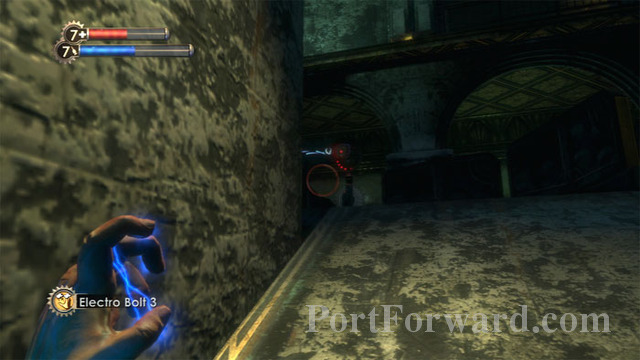
Return to the central hallway and ascend the ramp all the way up. Be careful of this security camera at the top.
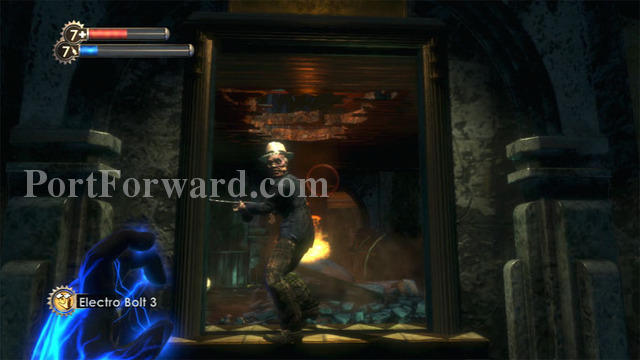
You want to get to Tenenbaum's apartment, but the barricade seen on the right is blocking that route. You'll have to follow the hallway around.
On the way there you'll pass this apartment, which is completely optional. Two Leadheads, a Thuggish and Nitro Splicer protect very few supplies.
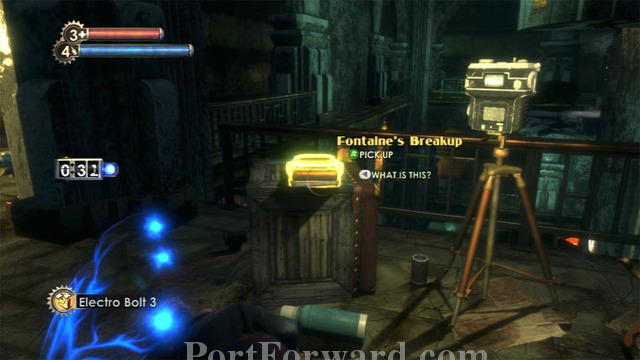
Around the next bend is Paparazzi's crucial audio diary, Fontaine's Breakup, which reveals the elevator code, 5744. Plenty of film is also here, and a U-Invent is behind you.
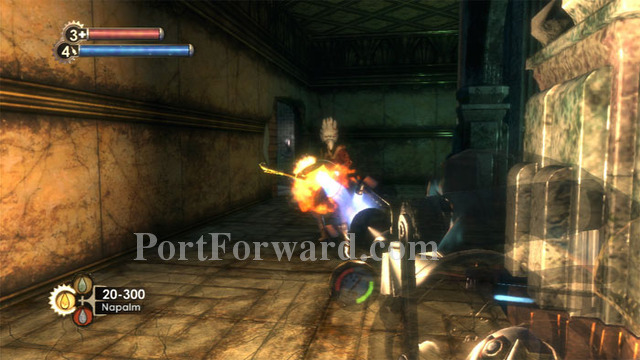
Defeat this Thuggish Splicer then enter Tenenbaum's apartment through the demolished bathroom wall ahead/left. A Health Station is just visible ahead, and a First Aid Kit and EVE Hypo are in a trapped area by the bathtub.

Bandages, a corpse, and this Thuggish Splicer are in the next room.
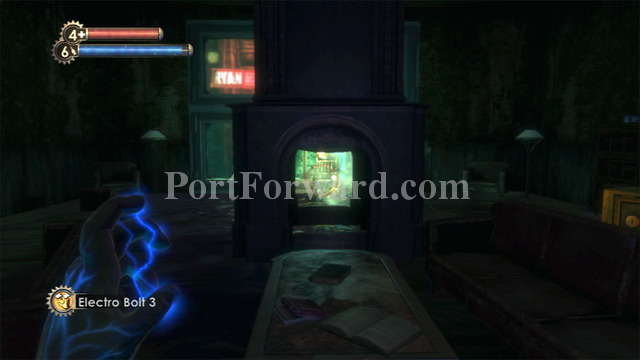
Find the apartment ransacked by Fontaine's men. An EVE Hypo, a Proximity Mine and cash are in this room. Tenenbaum alerts you that Lot 192 is likely in Fontaine's penthouse.
Descend the nearby stairs and defeat this turret. A safe can be seen to the right.
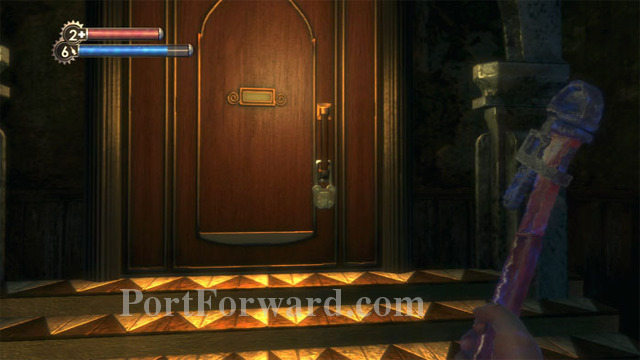
Smash the lock on this door and defeat the Leadhead Splicer on the other side. Find yourself back in the central hallway, but now you're on the second floor.
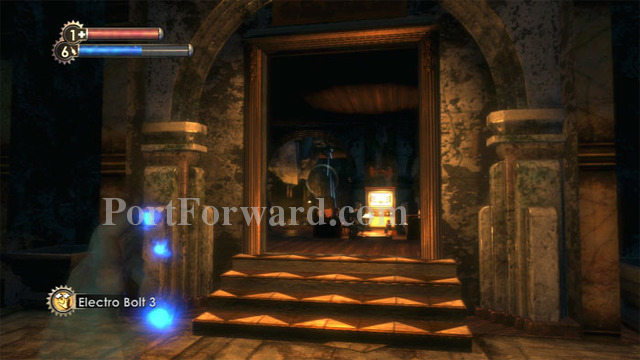
Also on this floor is another abandoned apartment, the scene of a family suicide. An EVE Hypo is to the left, a Thuggish Splicer guards a safe, and snacks can be found on the daughters' bodies. Napalm is in the kitchen, and the bathroom holds a First Aid Kit, an EVE Hypo and Film.

You'll soon lose control of your Plasmids, so if you haven't already dealt with the level's two Little Sisters you might want to take care of them now. Harvesting Little Sister #2 brings me to 250 ADAM.
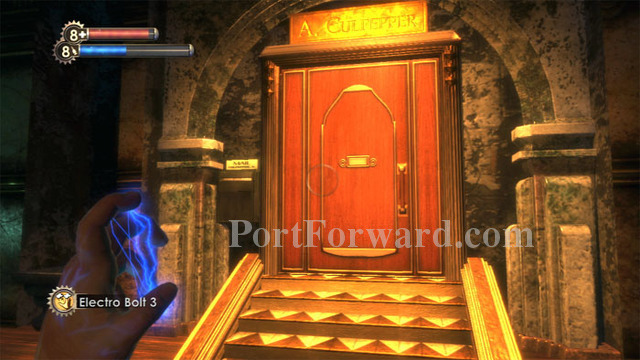
I also choose to tackle a pair of optional apartments before heading to Fontaine's apartment. I find the lack of Plasmid control to be very annoying and try to minimize the time spent Plasmid-handicapped. If Fontaine's mind control has your health critically low, you might want to go straight to his apartment. Otherwise, let's visit Anna Culpepper's place on the first floor.

Hack a security camera and snipe this Nitro Splicer on the stairwell. A Thuggish Splicer is in the kitchen protecting Liquid Nitrogen, a Health Station, Coffee, cash and whiskey.
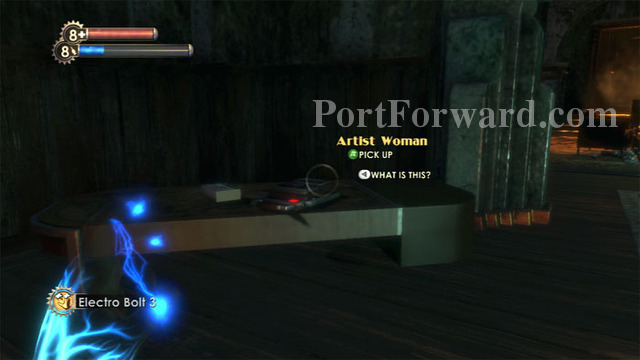
Sullivan's creepy audio diary Artist Woman is found here. Spot the entrance door on the right for reference.
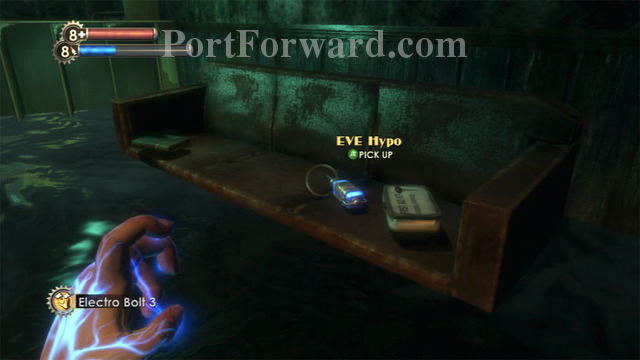
Brandy, cash, a Steamer Trunk, plus this EVE Hypo and First Aid Kit are found upstairs. A Thuggish Splicer is in the nearby bathroom.
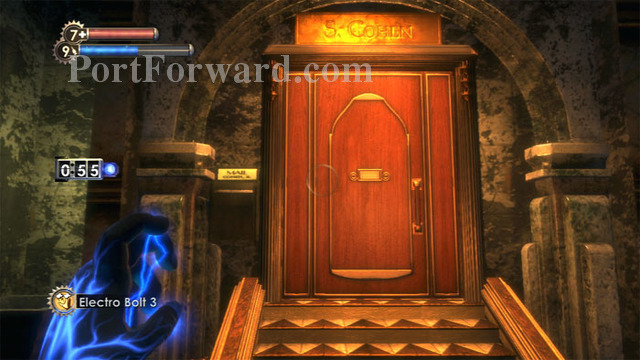
Your other optional apartment is Sander Cohen's place, found on the eastern side of the first floor.
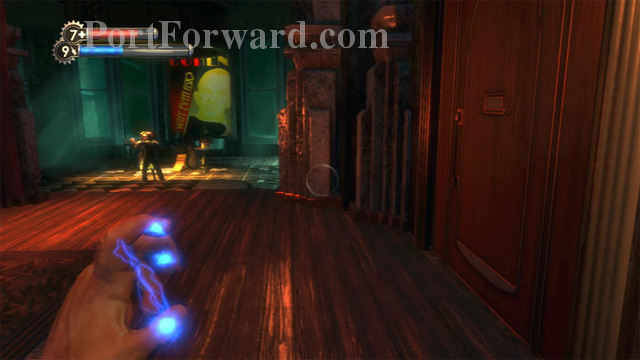
A Thuggish Splicer, Liquid Nitrogen and Napalm are on the left. Snacks are in the kitchen to the right. This door seen on the right is locked, and will remain so if you killed Cohen previously. A storage crate is in the room to the left of the dancing couple. Booze, a Steamer Trunk and a desk are in the room to their right.
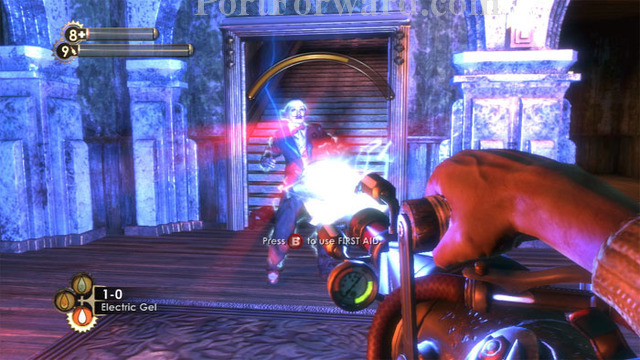
Disturb the couple by playing the piano or toppling their victrola and they'll attack you, followed by Cohen through the previously-locked door.
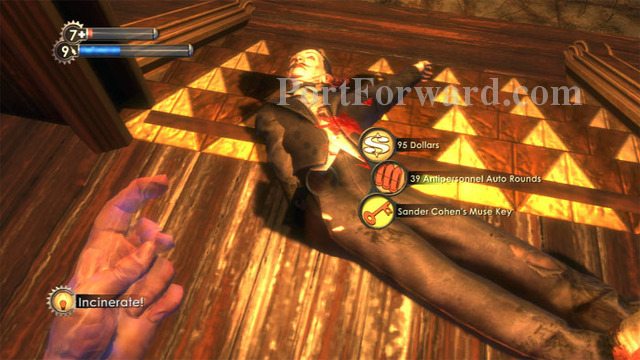
Take the Muse Key from his corpse to return to Fort Frolic later and obtain decent loot. Be sure to take his photo for the Irony Achievement.
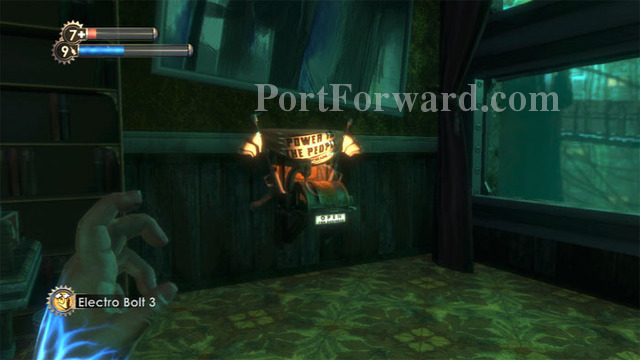
Head through the now-unlocked door and ascend the stairs to earn the "Found Cohen's Room" Achievement. Upgrade your weapon at this bonus Power To The People station -- I chose Shotgun Rate of Fire. Loot the room for supplies, including plenty of Moonbeam Absinthe.
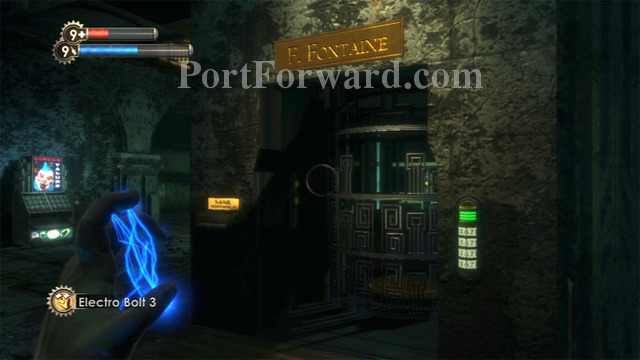
Return to the central hallway and enter code 5744 to access Fontaine's private lift.
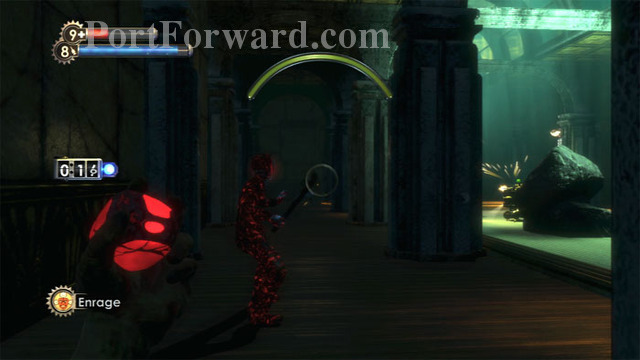
This is a tough room but Enrage! and a bit of hacking will see you through. A machine gun turret and a security camera make for better friends than foes. Fortunately, a Health Station and a Vita-Chamber are also here.
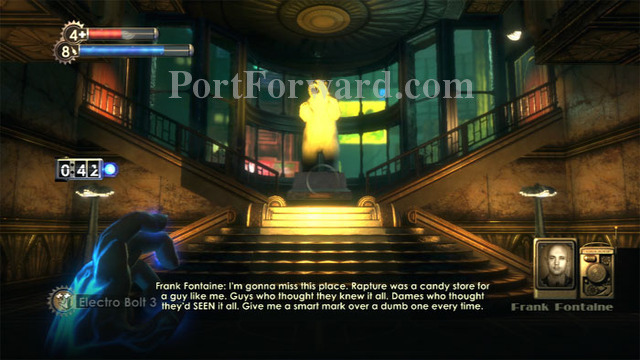
Head through the door beneath the security camera and enter Fontaine's foyer. Before ascending the stairs, enter the room on the right.
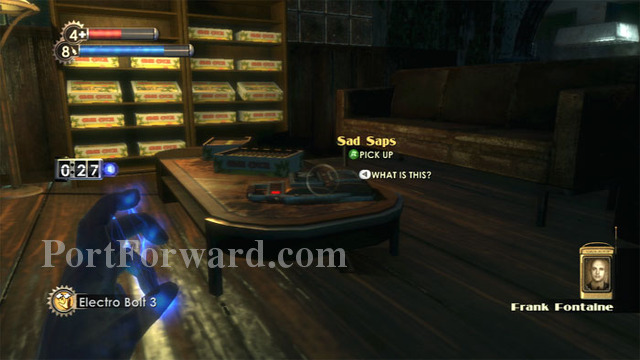
Find Fontaine's Sad Saps audio diary here. Bandages and snacks are in the nearby kitchen.
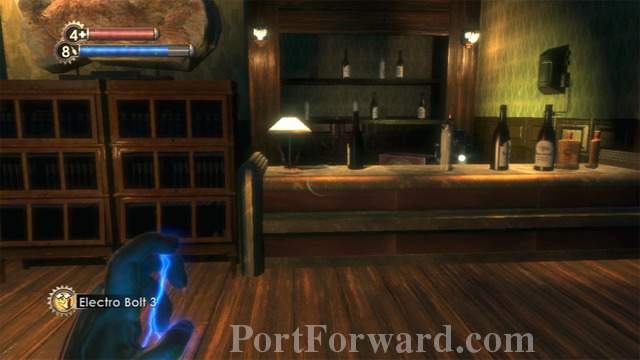
Ascend the stairs and keep right to defeat a turret and find enough alcohol to keep your Booze Hound happy for quite a while. A safe can also be found here.
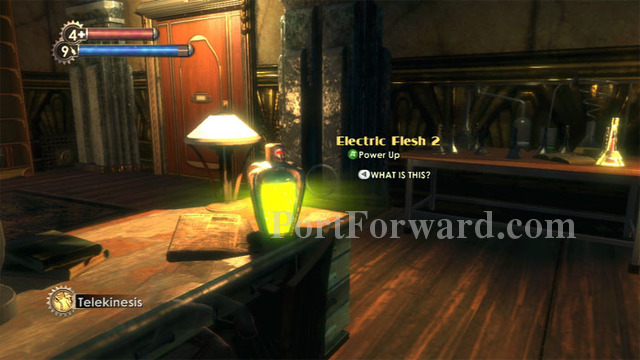
The rooms to the left of the stairs are where the real action is. Remove the bolt traps to access this Electric Flesh 2 Combat Tonic. Grab the Lot 192 seen on the right to update your goals. A Napalm-carrying Chemical Thrower is farther right.
You've now got your health restored to its previous maximum, but you no longer have control over your Plasmids.
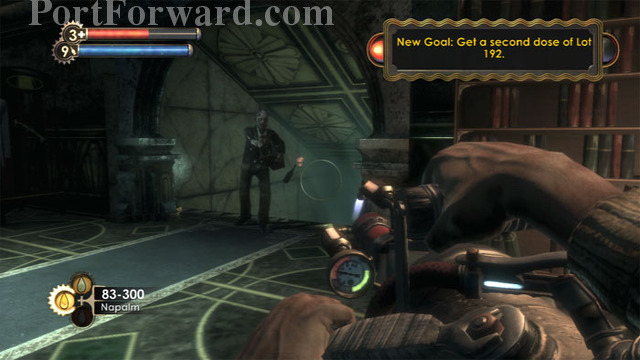
Arm your favorite weapon and keep it loaded. The place is now crawling with Splicers and you need to backtrack all the way to the beginning of the level.
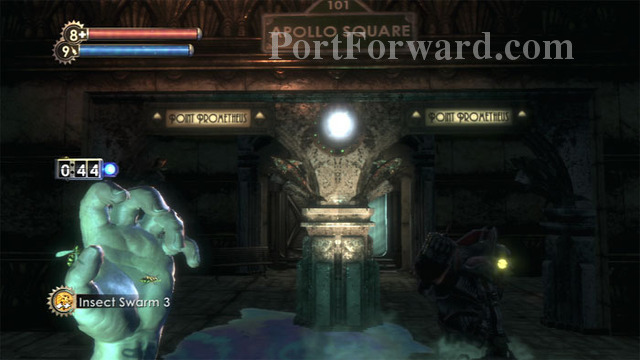
Follow the signs to Point Prometheus and use the bulkhead to enter Apollo Square. Note the randomly-equipped Insect Swarm 3 active Plasmid. This is the only time you'll see it equipped in this walkthrough -- the hand animation gives me the willies.
BioShock Walkthrough Apollo Square
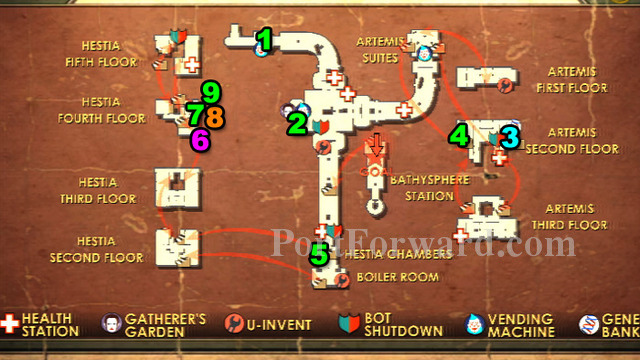
Here's a map of the level.
Map - Apollo Square
1. What's Happening Here? - Audio Diary
2. Atlas Lives - Audio Diary
3. Medical Expert 3 - Physical Tonic
4. Protection Bond - Audio Diary
5. Meeting Atlas - Audio Diary
6. Power To The People - Weapon Upgrade
7. The Longest Con - Audio Diary
8. Focused Hacker 2 - Engineering Tonic
9. Today's Raid - Audio Diary
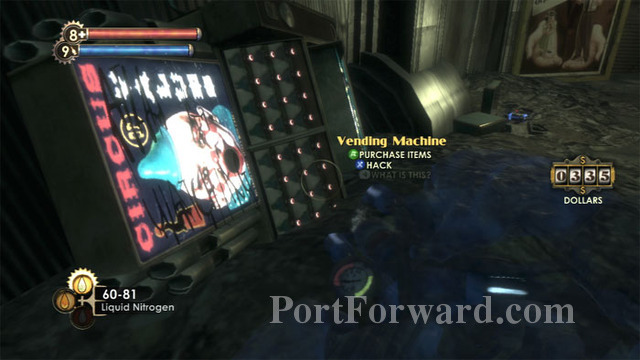
A toppled (but functioning) Circus of Values is on the left. Just to the right is an EVE Hypo and Diane McClintock's What's Happening Here? audio diary.
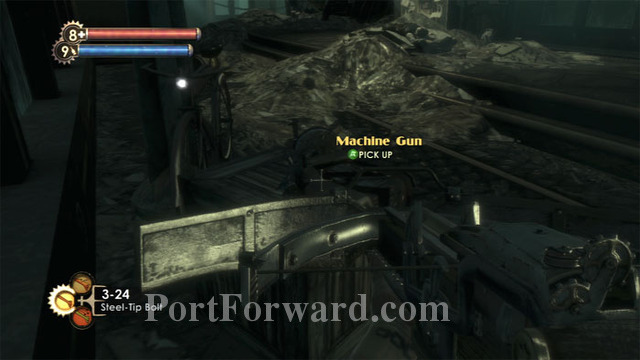
Once on the street find a Machine Gun on this crate.
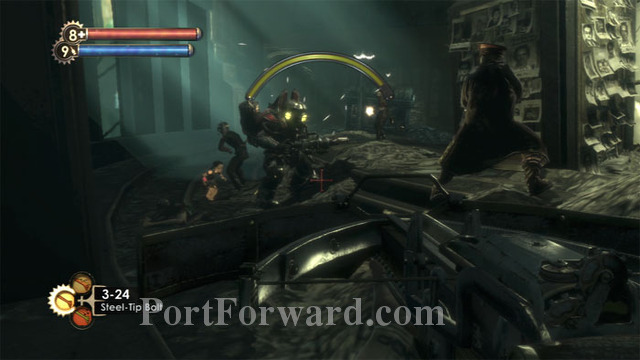
Hang back while this Elite Rosie is ambushed by Splicers. With a Vita-Chamber nearby, this is a good time to finish off the Rosie and harvest/rescue the first of the level's two Little Sisters.
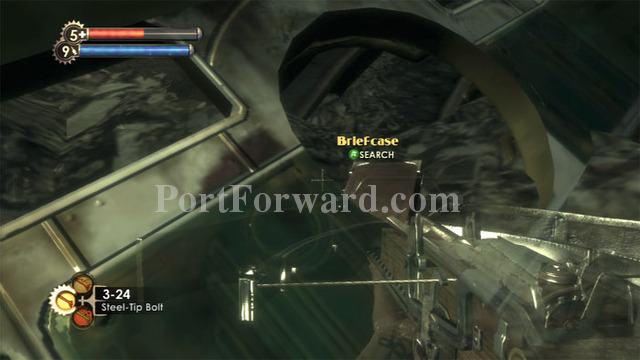
Enter the streetcar ahead to search a corpse and this Briefcase.
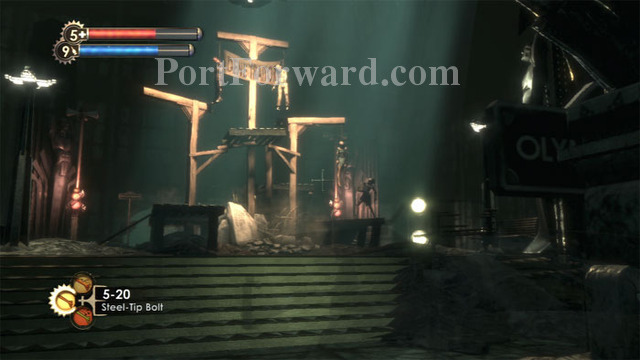
Farther up the street are these hanged gene traitors. Yikes. Snipe the living with your Crossbow.
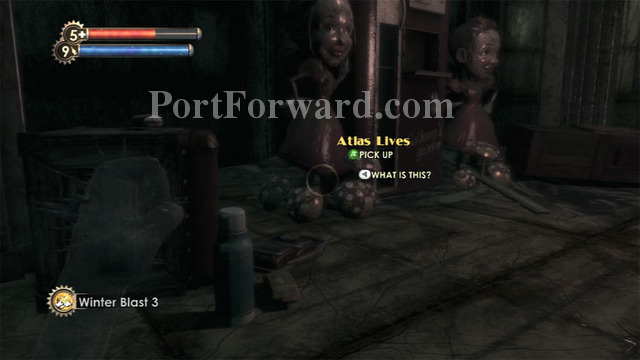
To the right is this Gatherer's Garden, which you won't be able to use until you are cured by a second dose of Lot 192. Diane McClintock's Atlas Lives audio diary is here, as well as coffee, snacks, a First Aid Kit, a storage crate, Machine Gun Rounds, a U-Invent and an Ammo Bandito.
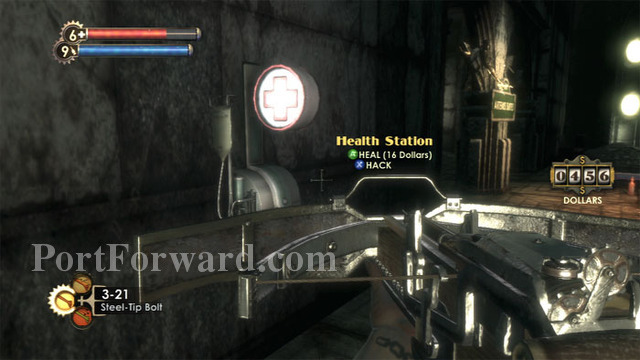
Find this Health Station on the east side of the square and follow the street to Artemis Suites.
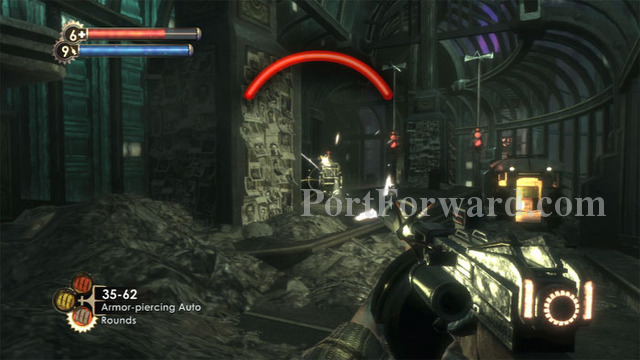
You'll meet resistance from a Leadhead Splicer, this machine gun turret, and a security camera left of the trolley (holding a storage crate and Machine Gun Rounds).
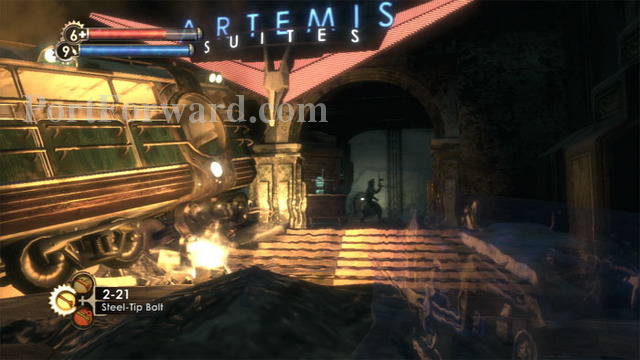
Here's the Artemis Suites entrance. Note the Leadhead on patrol.
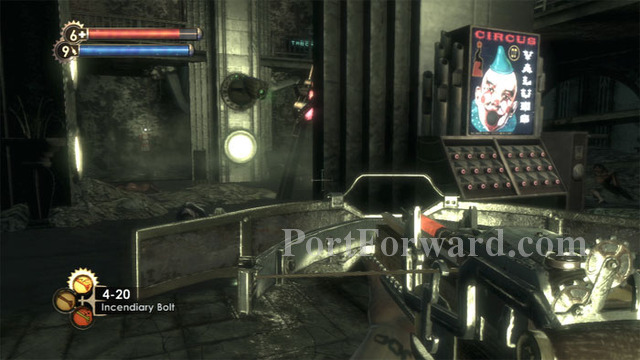
Hack the security camera seen ahead for assistance in taking down a pair of Splicers in the main hallway. Note the Circus of Values on the right. Film and a corpse are directly ahead.
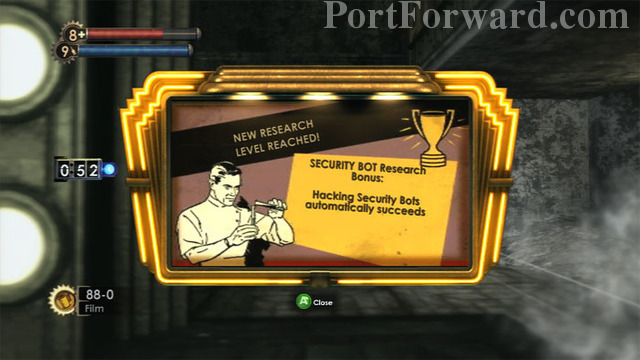
Photographing the Bots produces a new research bonus -- I can now automatically hack Security Bots.
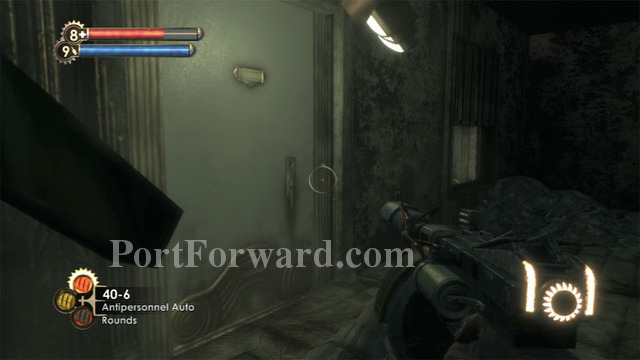
A Leadhead Splicer and machine gun turret in this optional first-floor apartment guard a U-Invent, a Machine Gun, several corpses and Steamer Trunks, an EVE Hypo, a Refrigerator with snacks, Napalm, and a Gift.
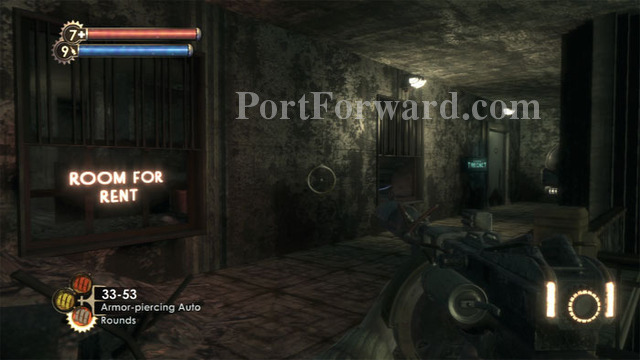
Ascend the stairs to the second floor then spy a security camera through the window on the left before entering SuChong's free clinic through the door on the right.
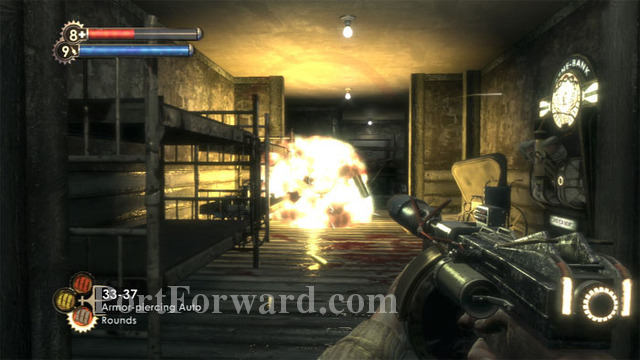
Hack or destroy the security camera and this machine gun turret. Note the Gene-Bank on the right -- you won't be able to reconfigure your Plasmids, but your Tonics are available if you feel like a re-spec.
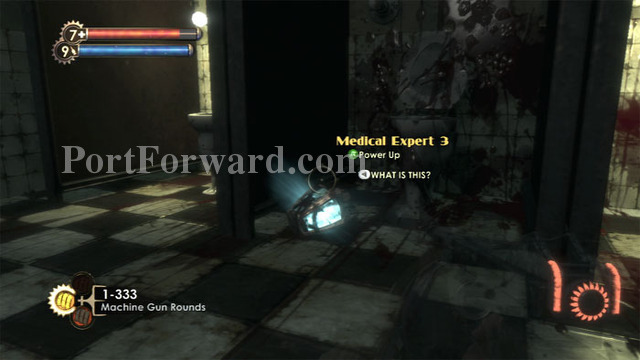
To the right is this kitchen/bathroom area where a possum-playing Leadhead guards Bandages, booze, a Refrigerator, and this Medical Expert 3 Physical Tonic.
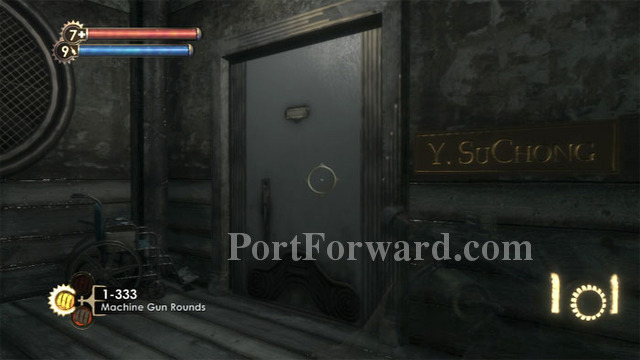
Left of the entrance is this hallway leading to Dr. SuChong's office.
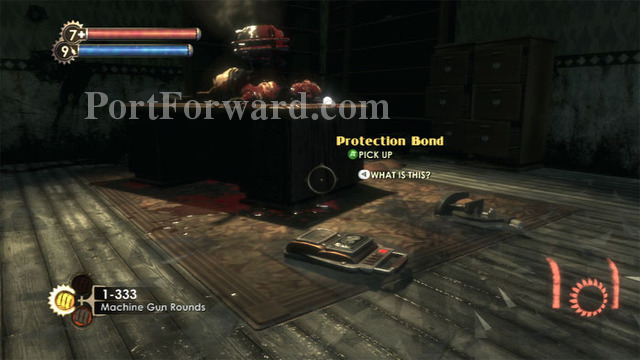
SuChong's audio diaries are the funniest in my opinion, and this one, Protection Bond, is the best of the lot.
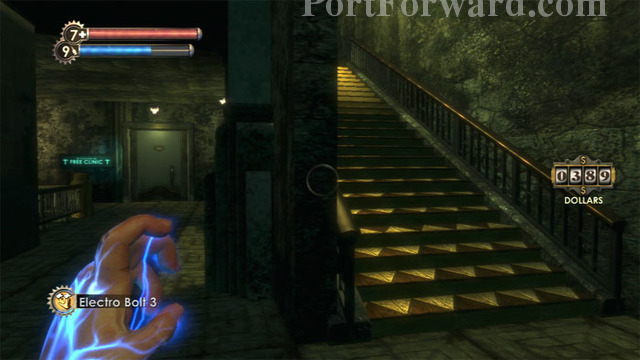
Find your second dose of Lot 192 on this counter at the back of the room. Your Plasmids are once again under your control!
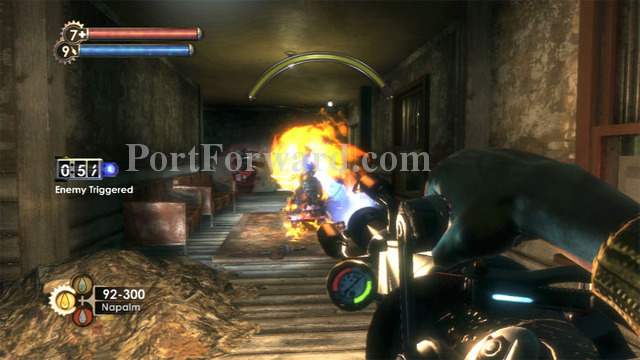
Defeat a wave of Splicers as you backtrack. You receive a new goal: go to Point Prometheus.
First, I'm going to take a couple optional diversions. Ascend these stairs after healing at the Health Station behind me in this shot.
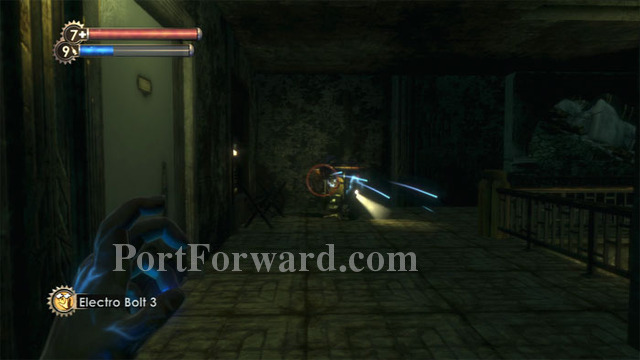
Defeat this turret then enter the room on the left.
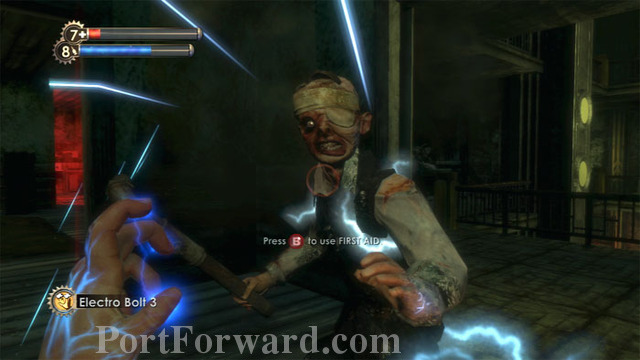
This Thuggish Splicer and his three companions guard plenty of supplies including lots of Film, a First Aid Kit, Napalm, a Health Station and a Safe.
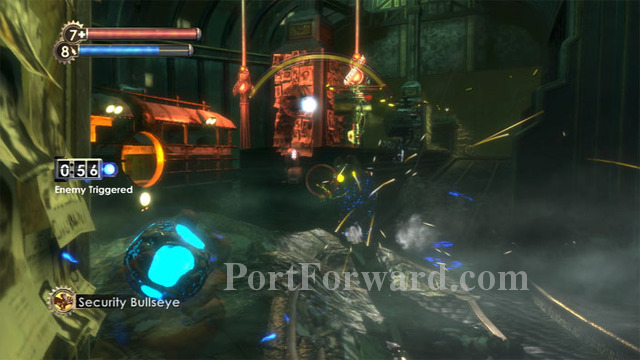
Return downstairs and backtrack up the street. Security Bullseye on the level's second-and-final Rosie brings my ADAM to 570 without firing a shot.
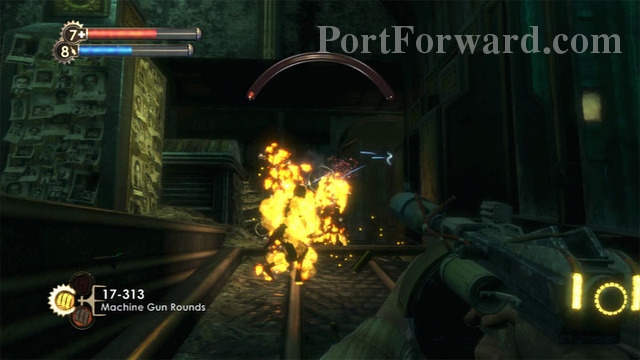
A large group of Splicers defend the square. Bring your favorite weapon of mass destruction.
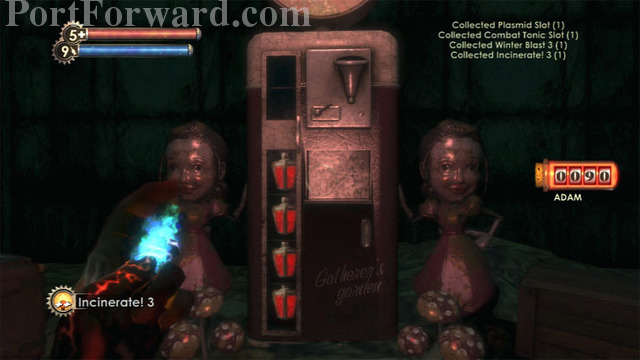
At the Gatherer's Garden I purchase Plasmid and Combat Tonic Slots, Winter Blast 3 and Incinerate! 3.
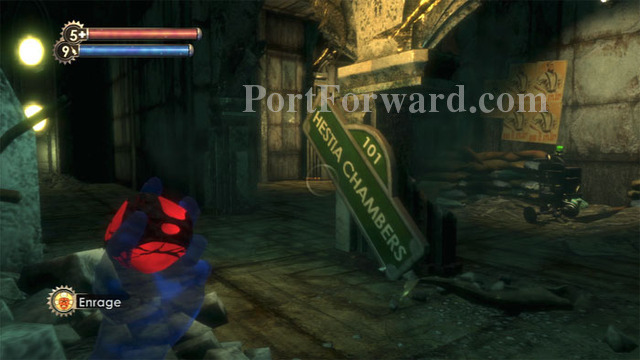
Follow the road south to Hestia Chambers.
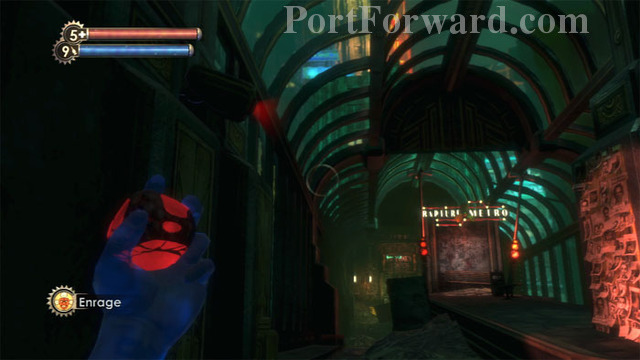
Hack this security camera on the left. Search the trash can on the platform ahead.
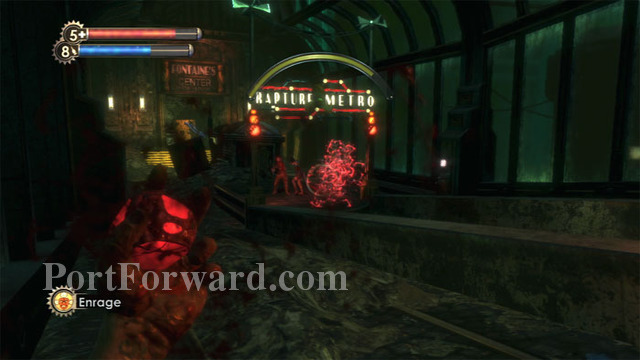
Hang back and let Enrage! plus your Crossbow clear the area. There's a lot that you'll trigger if you rush in and it can become too much to handle. Rapture Metro is where we're ultimately headed, but there's another optional stop at the end of the road.
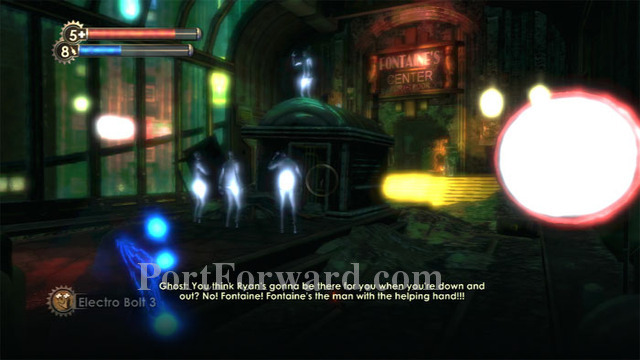
Hack this Health Station on the right and watch the ghostly reenactment. Ready your Electro Bolt before entering Fontaine's Center for the Poor.
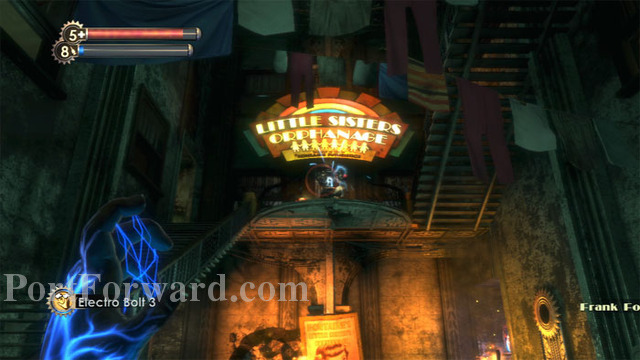
Zap the rocket turret on the balcony then rush up the stairs and hack it. Quickly return downstairs to avoid splash damage as the turret decimates the Splicers on the stairs.
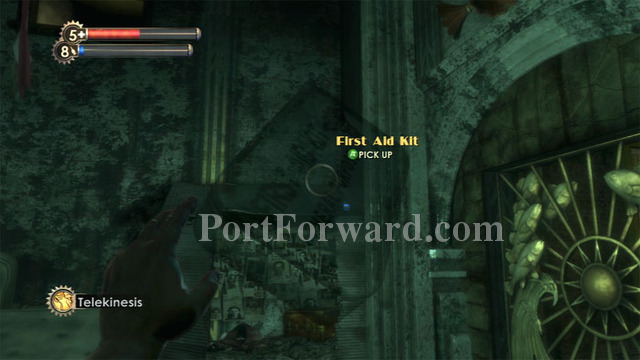
A First Aid Kit and EVE Hypo are atop the shack on the right. Approach the Steamer Trunk.
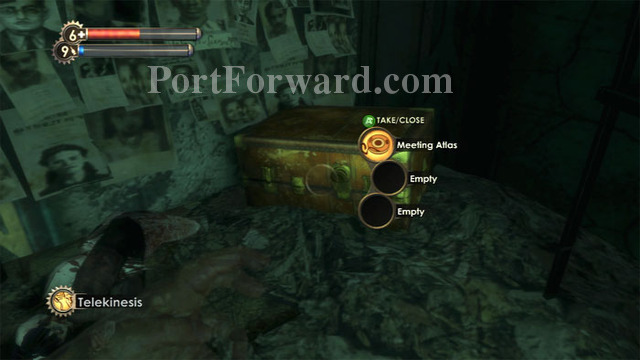
Find Diane McClintock's Meeting Atlas audio diary inside. Find a Circus of Values and a U-Invent at the back of the room before ascending the stairs.
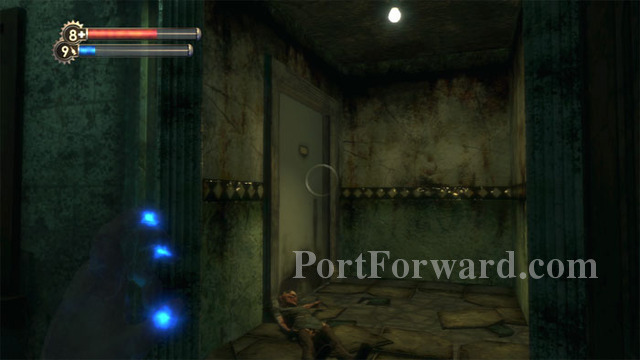
Enter through either door on the landing at the next floor.
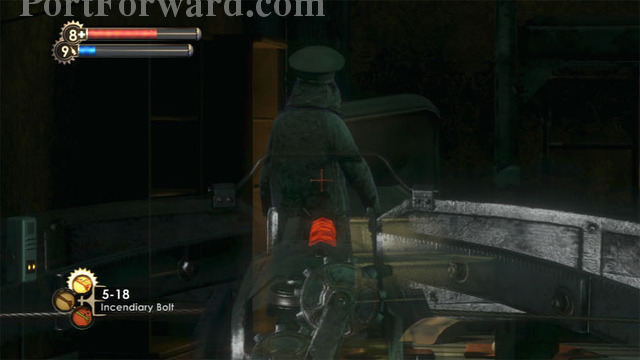
Take out this Thuggish Splicer then search the room for a Gift, snacks, Steamer Trunks and corpses. Bandages can be found atop the Refrigerator, and buckshot is on the kitchen counter.
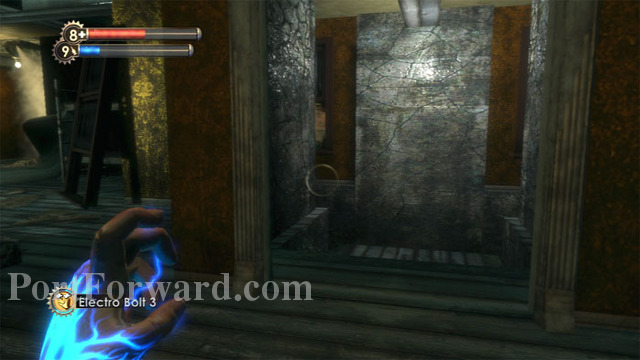
Descend these stairs to the boiler room to defeat another Thuggish Splicer guarding corpses, whiskey, a Pistol and a U-Invent machine.
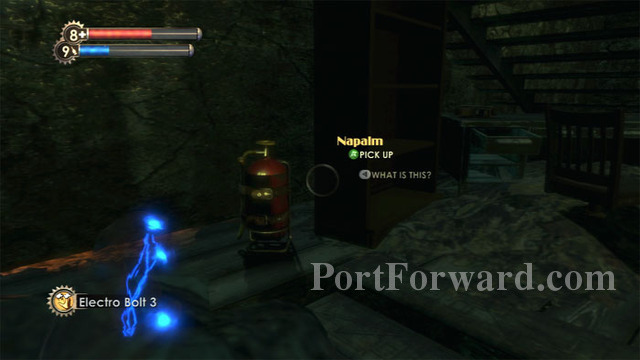
Napalm and an Automatic Hack Tool are under the stairs.
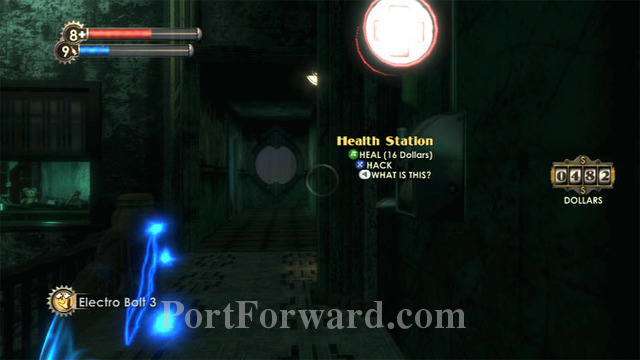
Return to the main stairway and head up to the third floor. Hack this Health Station then enter the door ahead/left.
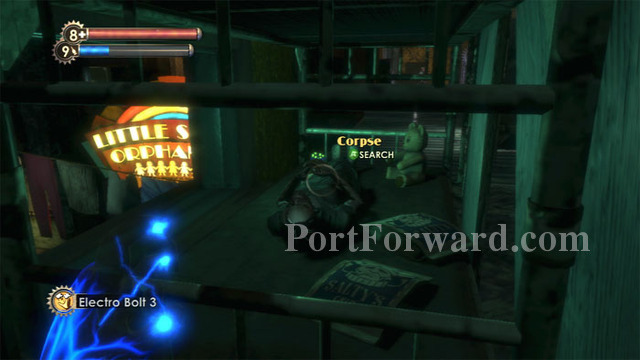
Find this corpse behind the boarded-up bed alongside Potato Chips and Pistol Rounds. A Nitro Splicer guards a Gift, a Steamer Trunk, and another corpse.
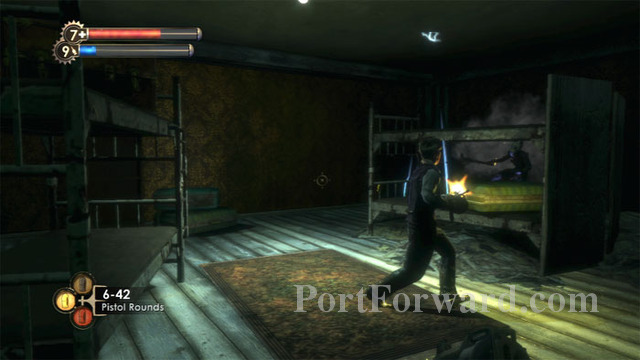
Find more corpses in the bathroom then Enrage! these possum-playing Splicers on the other side of the apartment.
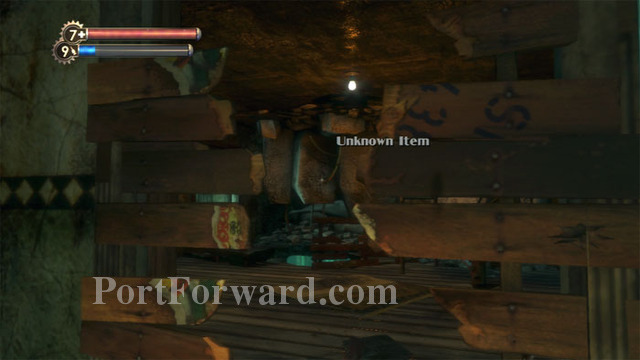
The fourth-floor doors are both locked shut, so follow the stairs all the way up to the fifth floor. Smash the boards blocking this door then find a Napalm-carrying Chemical Thrower before dropping through the hole in the floor seen ahead. Defeat a Thuggish Splicer guarding supplies before exiting through the window and returning upstairs to the fifth floor.
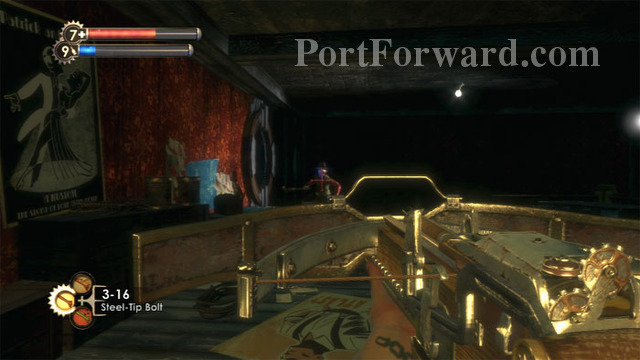
Keep right to find this unlocked room. Two Splicers and a security camera are in here so be careful.
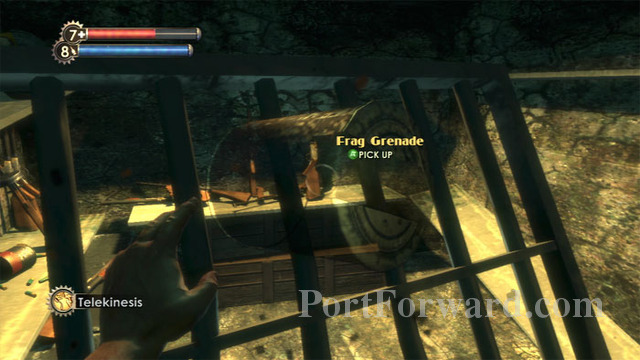
Telekinesis allows you to grab the weapons from this gated armory. A Health Station is behind you.
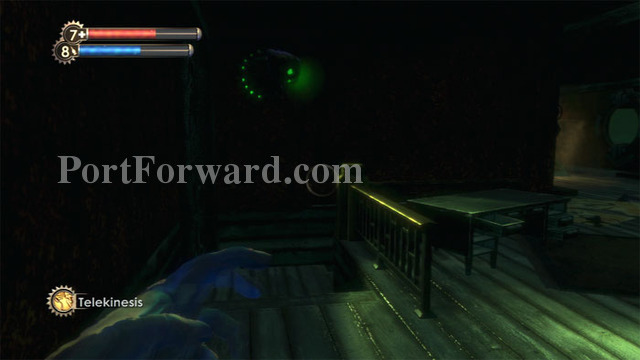
Descend these stairs.
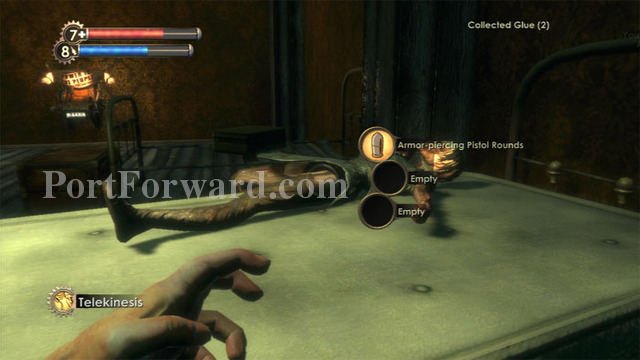
You're now behind the other locked fourth-floor door. Three Steamer Trunks, this corpse, and a Power to the People station are on the right. I chose Shotgun Damage Increase.
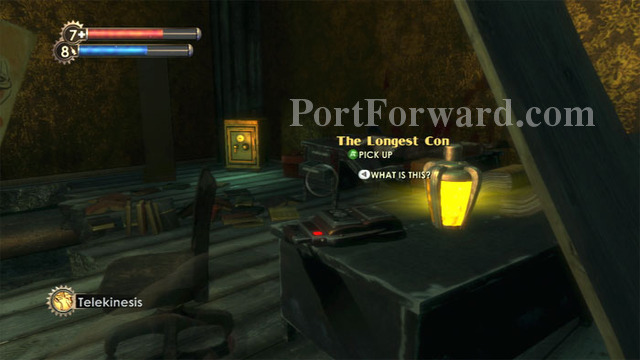
Frank Fontaine's audio diary The Longest Con is found on this desk, next to a Focused Hacker 2 Engineering Tonic. Note the safe in the corner.
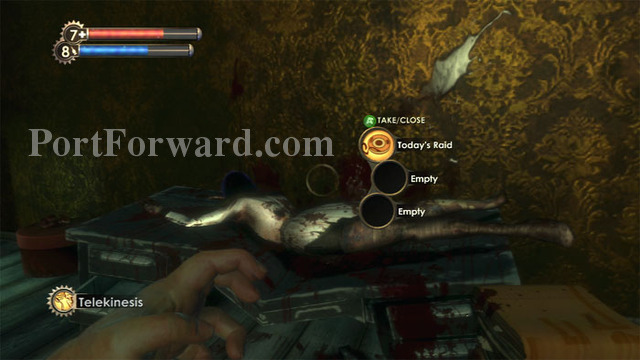
Right of the safe is Diane McClintock's body, from which you can retrieve her audio diary Today's Raid.
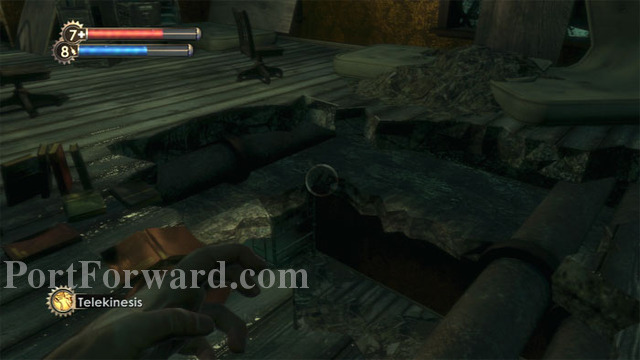
Exit through this hole in the floor.
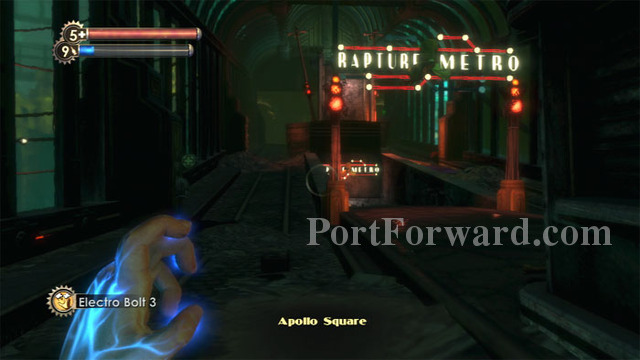
Backtrack to the street and enter the Rapture Metro.
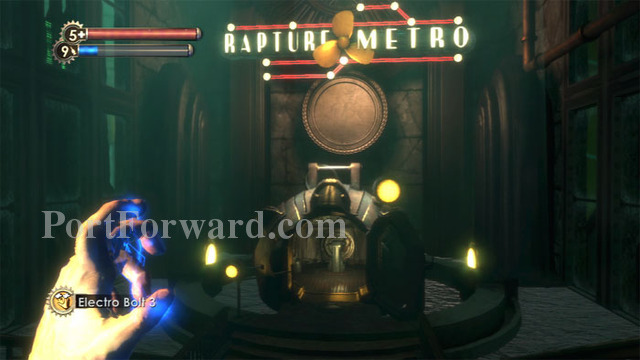
Ride the lift down, defeat a pair of Splicers, then step inside the Bathysphere. If you haven't yet looted Sander Cohen's Muse Box, this would be a good time to return to Fort Frolic before traveling on to Point Prometheus.
BioShock Walkthrough Point Prometheus
Here's a map of the level.
Map - Point Prometheus
1. Power To The People - Weapon Upgrade
2. Safecracker 2 - Engineering Tonic
3. Why Just Girls? - Audio Diary
4. Changing Employers - Audio Diary
5. Alarm Expert 2 - Engineering Tonic
6. Extra Munitions - Audio Diary
7. Power To The People - Weapon Upgrade
8. Marketing Gold - Audio Diary
9. Cheap Son Of A Bitch - Audio Diary
10. Hacker's Delight 3 - Physical Tonic
11. Missing Boots - Audio Diary
12. Protector Smell - Audio Diary
13. Mistakes - Audio Diary
14. Protecting Little Ones - Audio Diary
15. Damage Research 2 - Combat Tonic
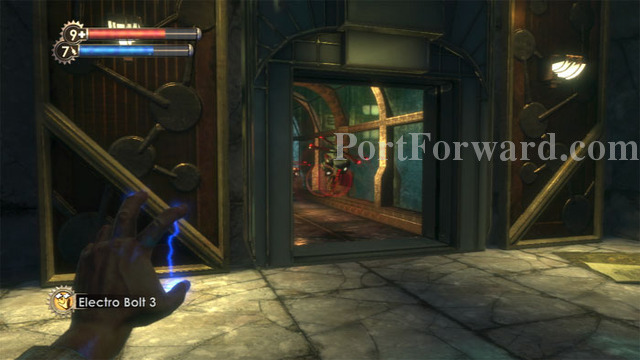
Ready your Electro Bolt as you race down this tunnel. Fontaine is about to send a pair of Security Bots after you, and with some quick hacking you can turn them into escorts.
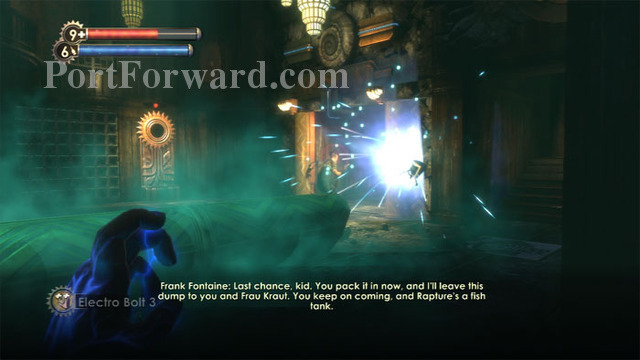
Find a Gene-Bank at the other end of the tunnel, then watch Fontaine escape through this door. Only a Little Sister can open it again.
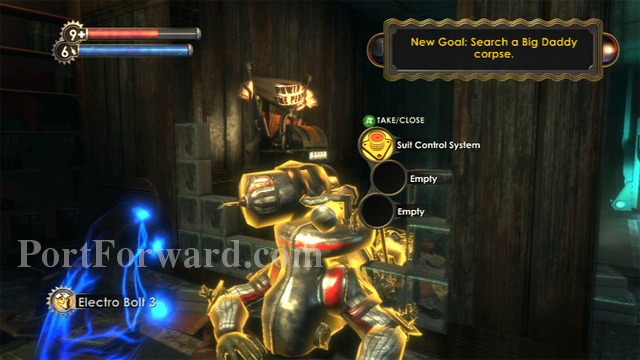
Tenenbaum surmises that a Little Sister will open the door for you if you are suited-up like a Big Daddy. The first step toward becoming one is to find the Suit Control System on this nearby Big Daddy corpse. Note the Power to the People station ahead.
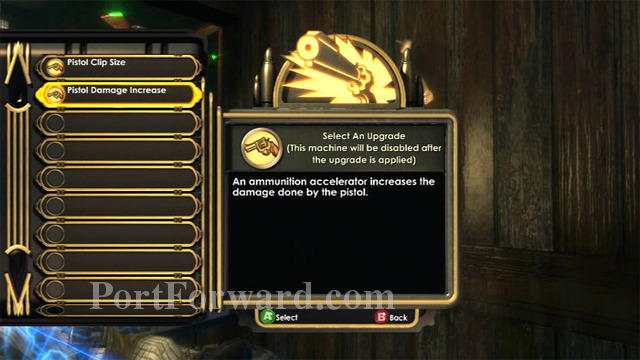
Choices are becoming rather limited; I choose Pistol Damage Increase. Find a First Aid Kit to the right.

You now have a new multi-part goal: sound like, look like and smell like a Big Daddy. There's more than one route you can take, but my preference is to start with the smell challenge. Start through these doors to the Little Wonders Educational Facility.
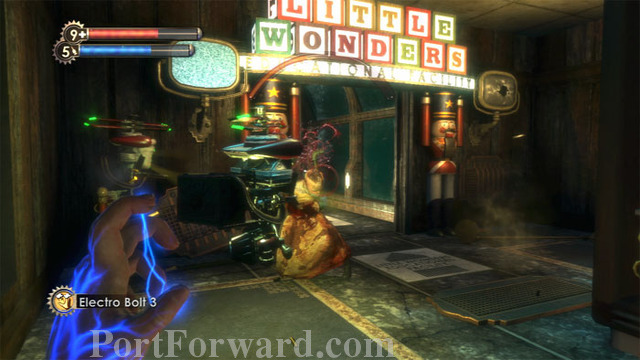
A Leadhead Splicer greets you on the other side of the door, and this Thuggish Splicer is playing dead near this tunnel entrance. A Bot-escorted Houdini Splicer patrols the overhang.
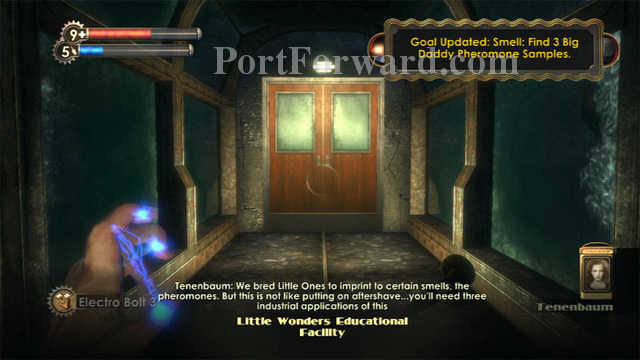
Once you're inside the tunnel, Tenenbaum informs you that you'll need to find 3 Big Daddy Pheromone Samples.
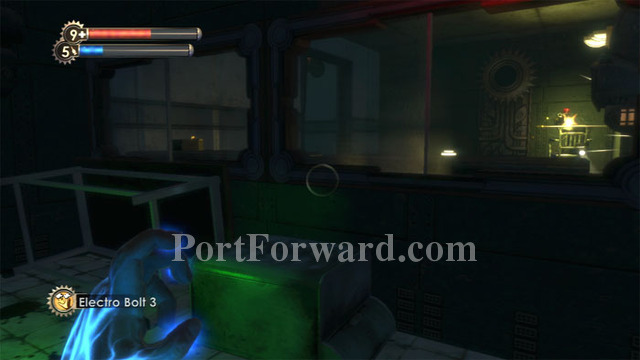
This next room is tough. You need to jump onto the overturned cabinet on the right, then hop onto the overturned desk on the left, then crouch through the window, all while being shot at by a pair of machine gun turrets. Try to hack them if you like, but it's much easier to lob a few grenades inside and destroy the turrets outright.
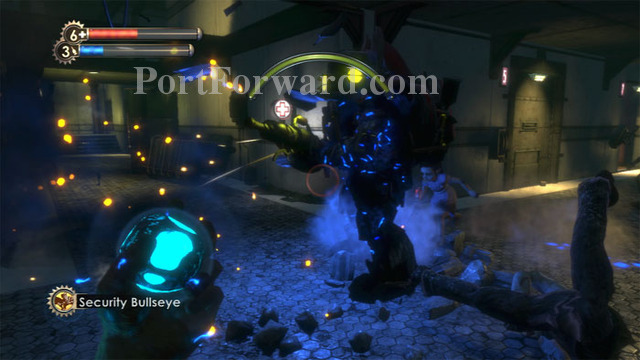
Through the next door I encountered the first of the level's three Little Sisters. Security Bullseye directed Fontaine's hacked bots to the Big Daddy. I finished him off with Electric Gel and brought my ADAM total to 250.
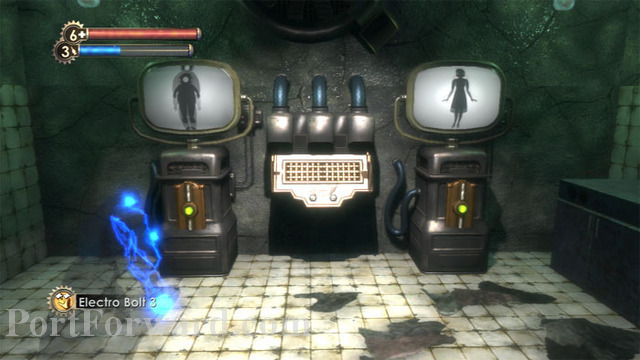
Search the room on the right and find these Skinner Boxes. The button under the Big Daddy image produces Potato Chips. The button under the human image reduces your health.

Use the Door Control on room 5 across the hall. Defeat a Houdini Splicer (Incinerate! 3 works well) then find two EVE Hypos and the first of three Big Daddy Pheromone Samples. Room 7's door is blocked.
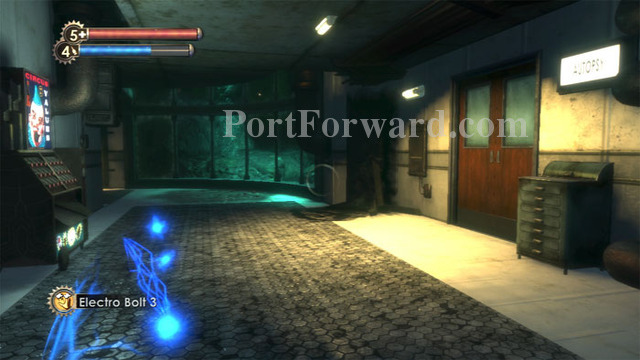
Fill up at the Circus of Values and ready your Electro Bolt before entering Autopsy on the right -- a security camera is directly across from the door. Find a First Aid Kit on a sink in the right corner.
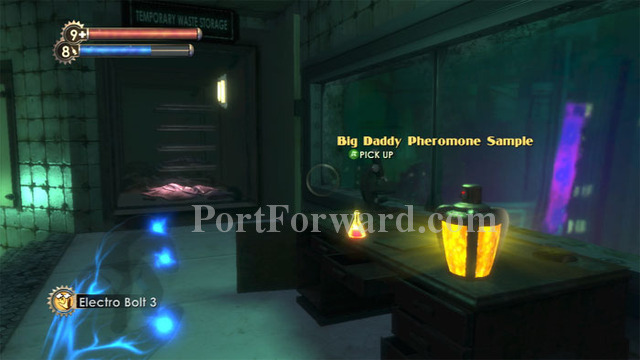
Big Daddy Pheromone Sample number two is in the back of the room next to a Safecracker 2 Engineering Tonic. Witness an apparition in Temporary Waste Storage on the left. Search the cabinets for supplies.
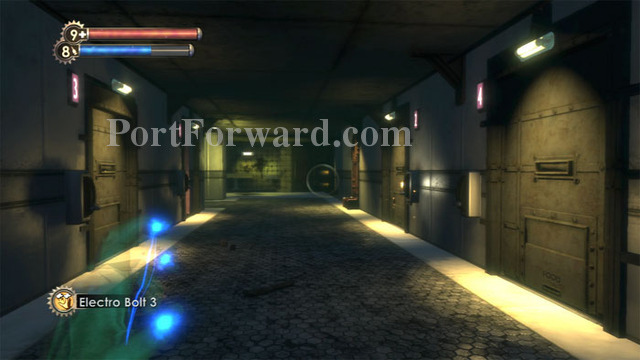
Follow the hallway around the bend to this corridor. Room 4 has nothing for you, room 3 has a corpse, room 2's door is blocked, and room 1 has an EVE Hypo. Ascend the stairwell at the end of the hall.
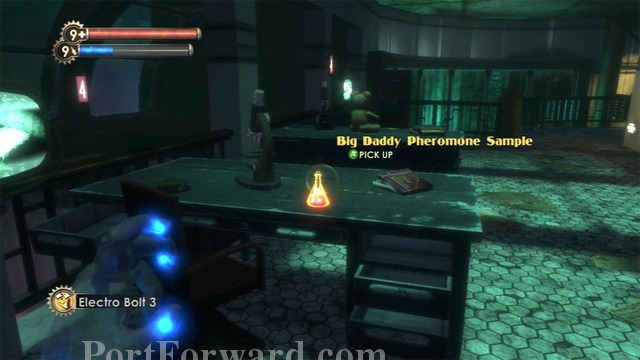
Keep left and find your third Big Daddy Pheromone Sample on this desk to complete the sub-goal of smelling like a Big Daddy. Tenenbaum's Why Just Girls? audio diary is on the desk ahead.
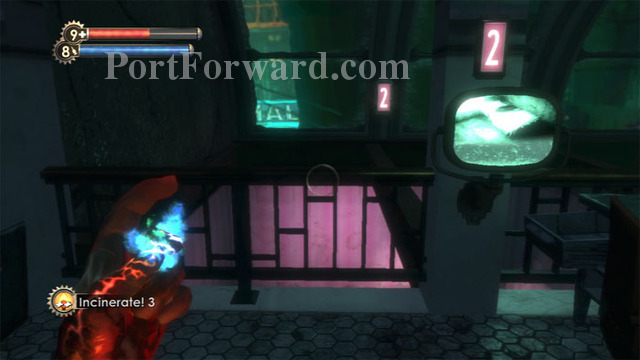
Rooms 2 and 7, blocked from below, can be access by jumping over the railings. Room 2 holds a First Aid Kit, and room 7 holds an extra Pheromone Sample and a bag of chips.
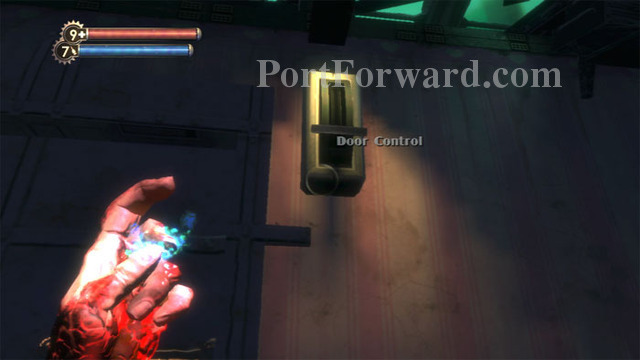
Exit both rooms by using these high-up Door Control panels.
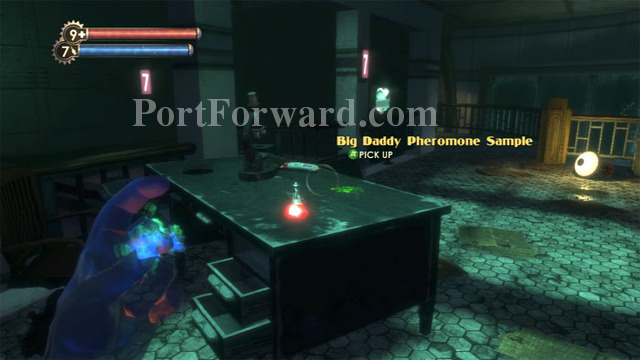
Yet another Pheromone Sample is found on this desk between rooms 5 and 7. A Pep Bar is also on this desk.
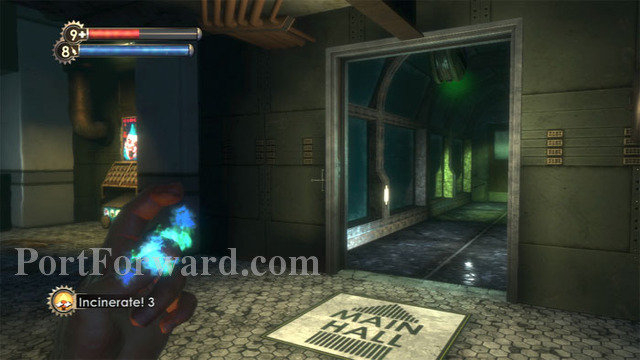
Fill up at the Circus of Values seen on the left before returning to the Main Hall through this door. Note the hacked security camera above the door.
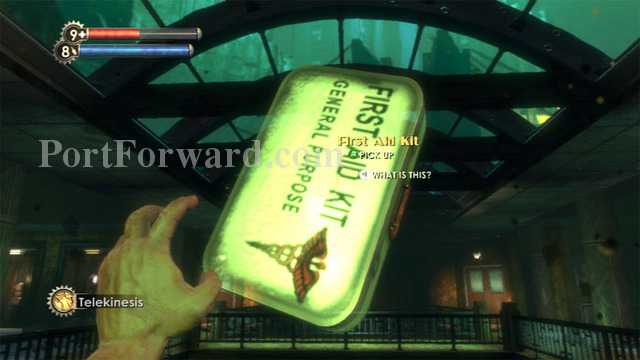
Find this First Aid Kit on the beam ahead then keep right.
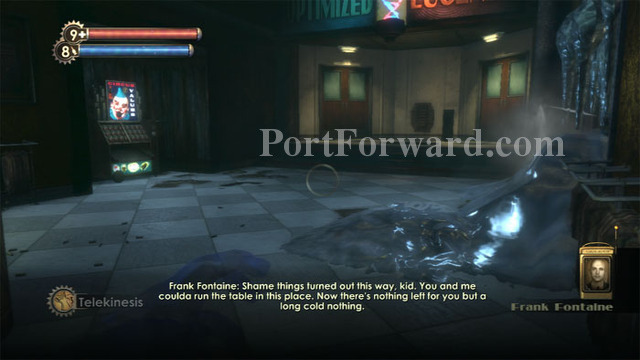
Listen to Fontaine then melt the ice blocking the door on the right.
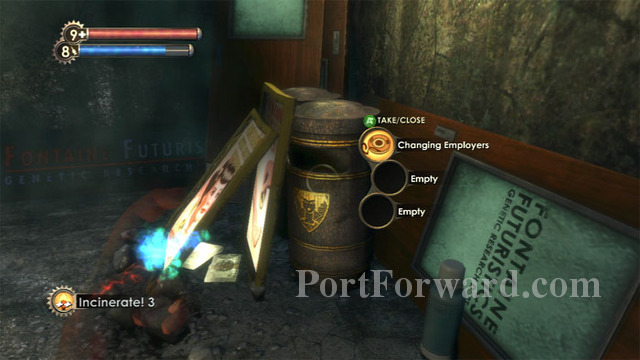
Find SuChong's Changing Employers audio diary in this Trash Can. Coffee and cash are also here.
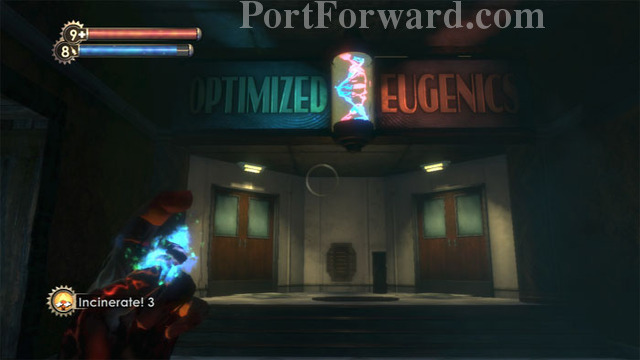
Time to sound like a Big Daddy. Enter Optimized Eugenics through the door on the right. Be ready to destroy/hack a security camera once the decontamination process is complete.
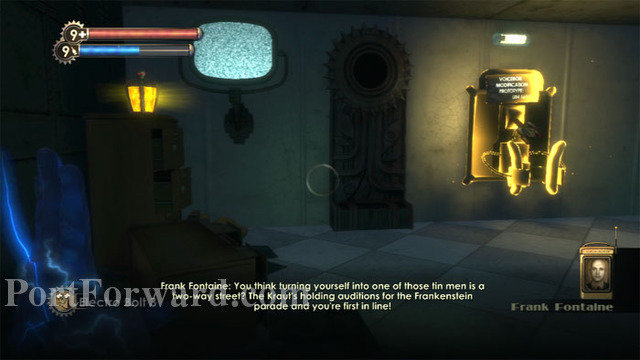
Keep right to find a corpse then find the Voicebox Modification Prototype here in the Live Subject Control Room. An Alarm Expert 2 Engineering Tonic is on the left. Film, Coffee, searchable desks and a U-Invent are in the room to the right.
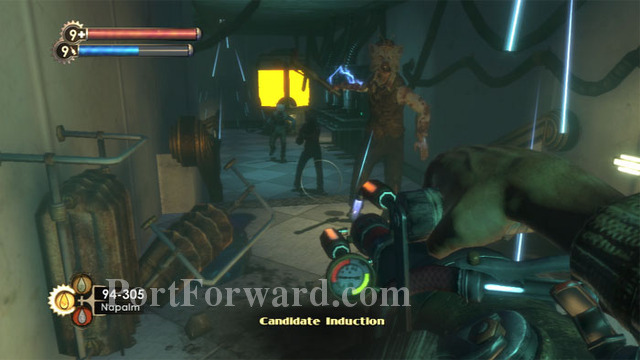
Backtrack the way you came, ready to deal with this trio of possum-playing Splicers. Napalm is my weapon of choice.
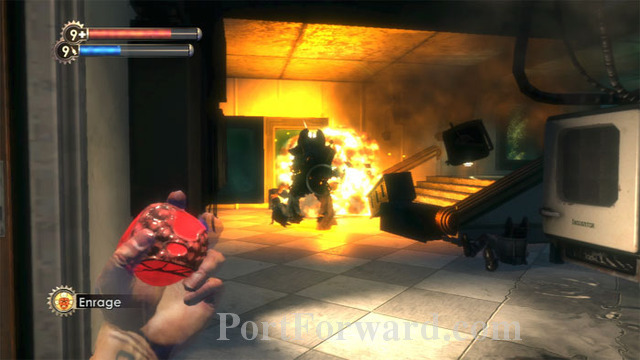
Keep right to enter Plasmid Prototyping, where I was able to convince this Big Daddy to take out a turret and a Splicer. Electric Gel allowed me to harvest the level's second of three Little Sisters, bringing my ADAM total to 410.
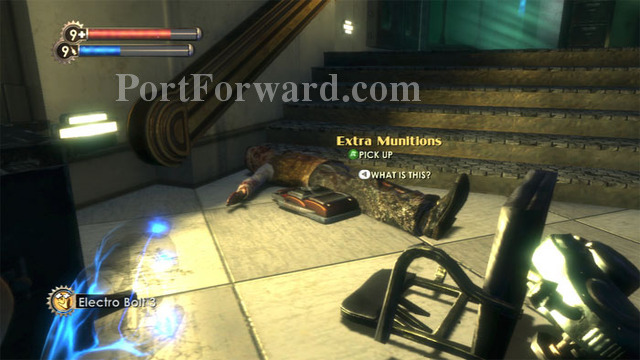
SuChong's Extra Munitions audio diary is here on the floor, and gives the code to the munitions room near the Protector Labs, 1921.
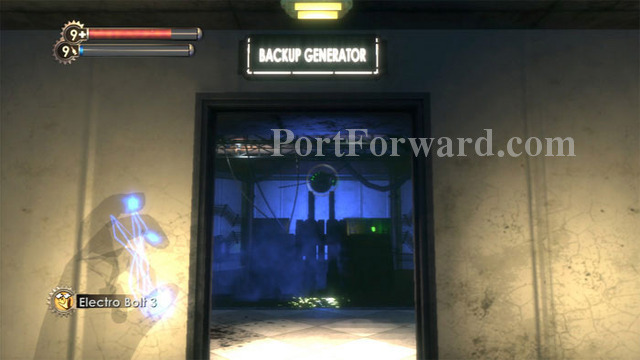
Be ready to shock/hack/destroy a security camera before entering the Backup Generator room across the hall. Find Napalm to the right.
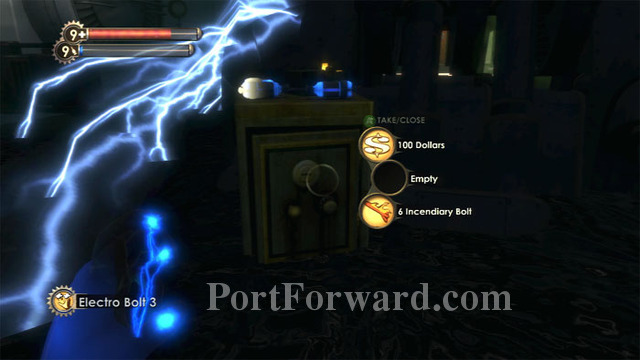
If you have Electric Flesh 2 equipped, as I do, you'll take no damage from the electrified water and can hack this safe immediately.
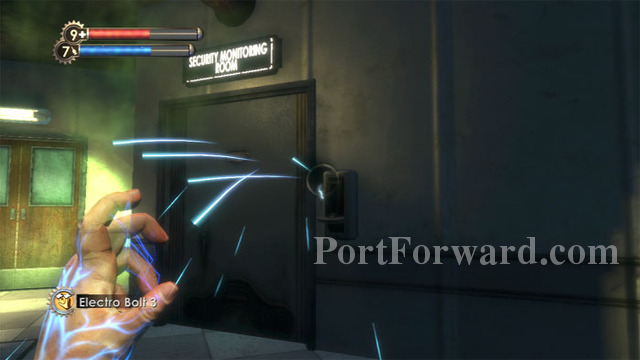
Otherwise, you'll need to zap the control panel granting access to the Security Monitoring room.
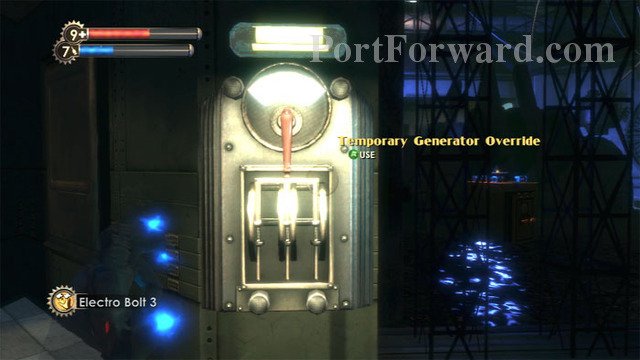
Then, use the Temporary Generator Override to (temporarily) shut off the power. You can now hack the safe before the power comes back on.
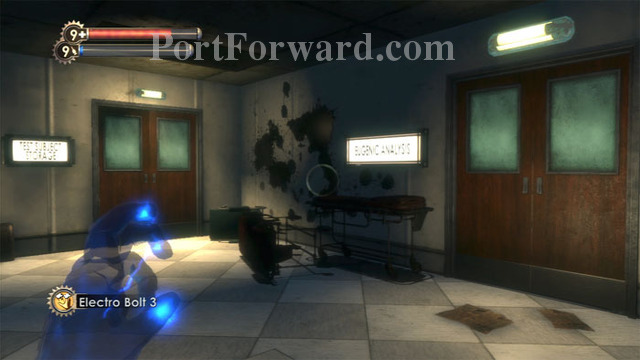
Next up is Eugenics Analysis. A pair of rocket turrets are to your left and Steel-Tip Bolts are on the floor as you enter.
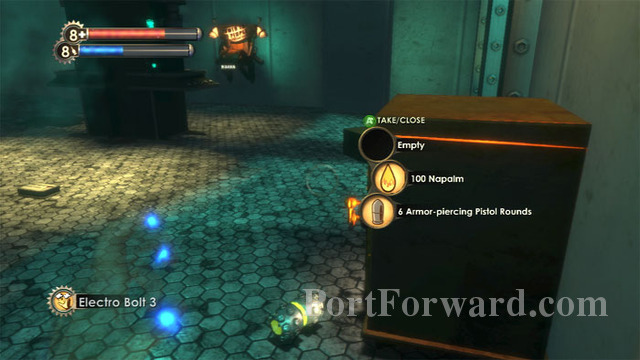
Find this safe, a Proximity Mine and a First Aid Kit. Spot the Power to the People station ahead.
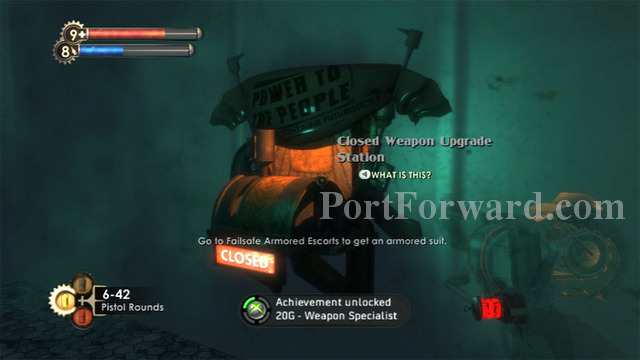
If you've been following the walkthrough, you should only have one upgrade option left (for me it was Pistol Clip Size). Congratulations on earning the Weapon Specialist Achievement!
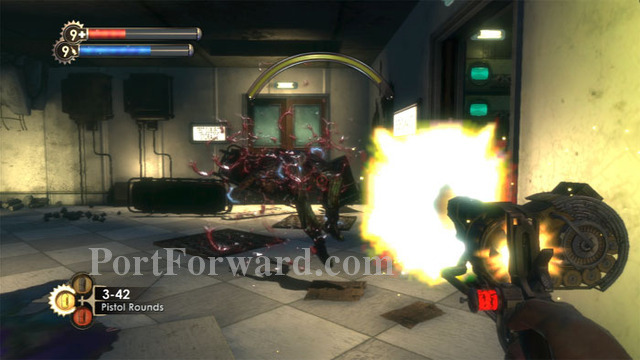
I try my newly-tricked-out Pistol on this Splicer blocking the entrance to Test Subject Storage.
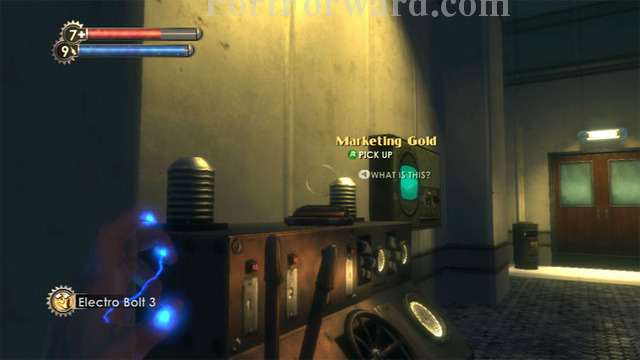
Andrew Ryan's Marketing Gold audio diary is on this machine. EVE Hypos, Incendiary Bolts and Pistol Rounds can be found on the floor, and Frag Grenades are on a machine near the other door.

Exit Test Subject Storage, hack the security camera seen above, then return to the Main Hall.
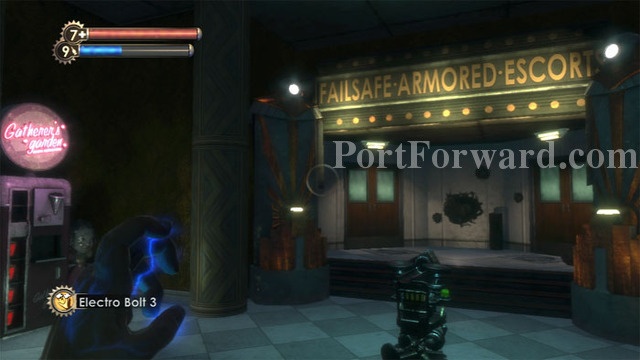
Across the hall is Failsafe Armored Escorts. Before entering through the door on the right, hack this turret. Use the Gatherer's Garden if you like -- I purchased Health and EVE Upgrades plus Human Inferno 2. Ideally, you want to leave this level with 160 ADAM, exactly.
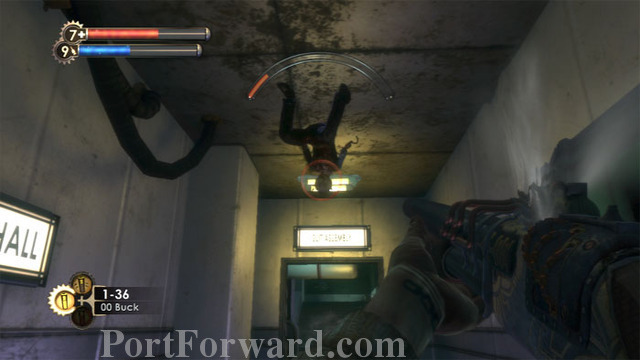
Find a number of Security Bots to loot and hack in the Security Monitoring Room. Defeat this Spider Splicer before entering Suit Assembly, straight ahead.
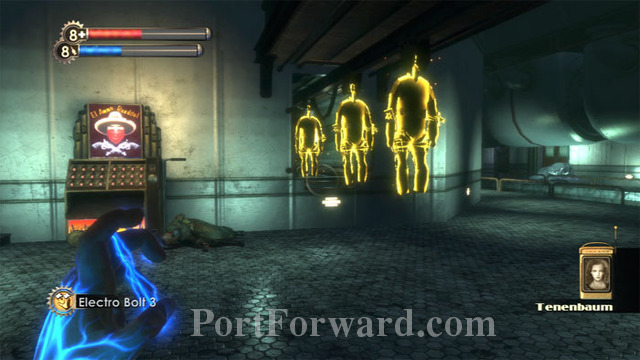
Keep left to pass through a pair of Securis doors guarded by two Splicers and a turret to find the Big Daddy bodysuits. Enjoy a 25% resistance to all damage while wearing the bodysuit.
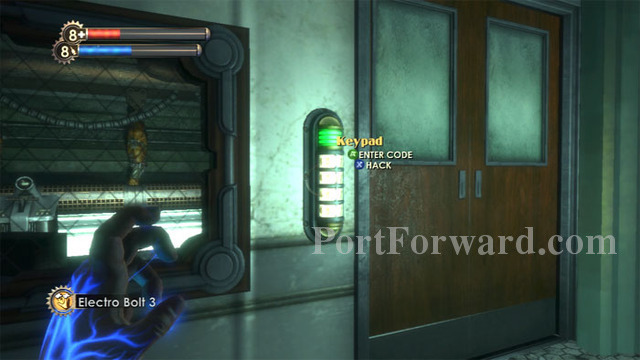
Follow the floor right to this door. The code 1921 gets you in. EVE Hypos, Proximity Mines, Armor-Piercing Pistol Rounds, Antipersonnel Auto Rounds, Incendiary Bolts, Electric Buck, Steel-Tip Bolts, Liquid Nitrogen and a Grenade Launcher are your reward.
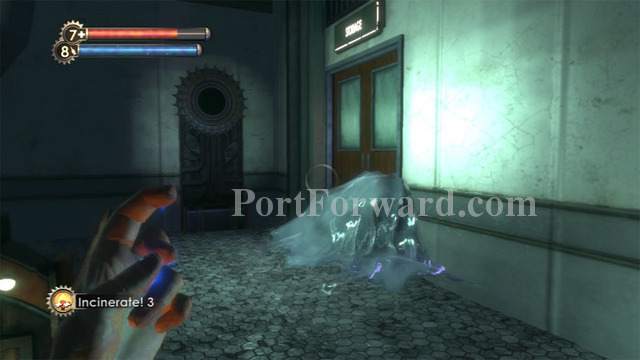
Backtrack to the Securis doors to find the room's twin, blocked by ice. Melt the ice to enter.
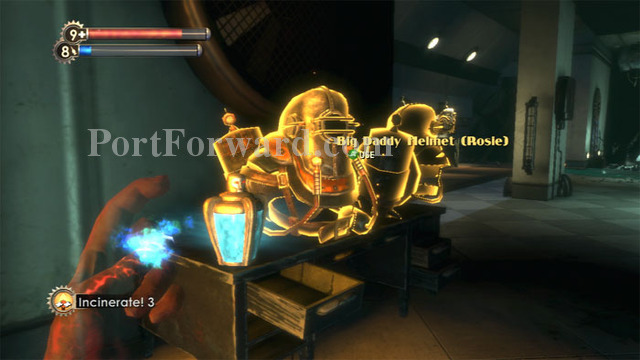
Alternately, both of these rooms can be accessed through crawlspaces where bodysuits are hung, seen to the left in this shot. SuChong's Cheap Son Of A Bitch audio diary, a First Aid Kit and a Circus of Values are in here.
Inside Candidate Induction is the Big Daddy Helmet and a Hacker's Delight 3 Physical Tonic. Brace for an ambush before picking up the helmet. Napalm is found nearby.
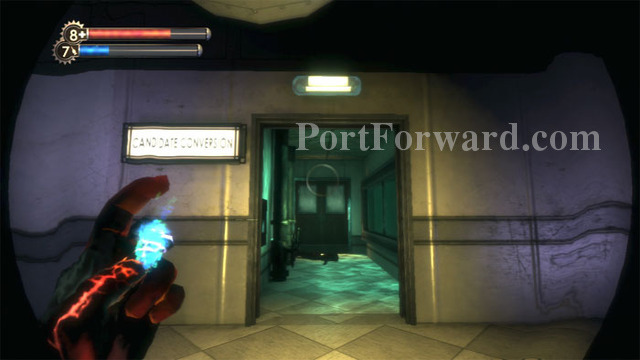
Lastly, head into Candidate Conversion. Beware a pair of turrets just inside the door.
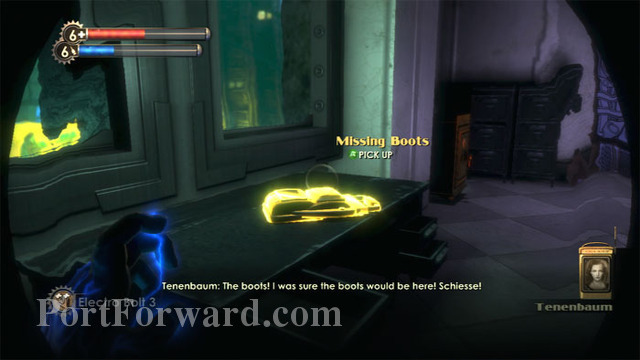
The boots aren't here. Instead, find SuChong's Missing Boots audio diary. Note the Safe to the right. A U-Invent, corpse, Crossbow and Steel-Tip Bolts are to the left.
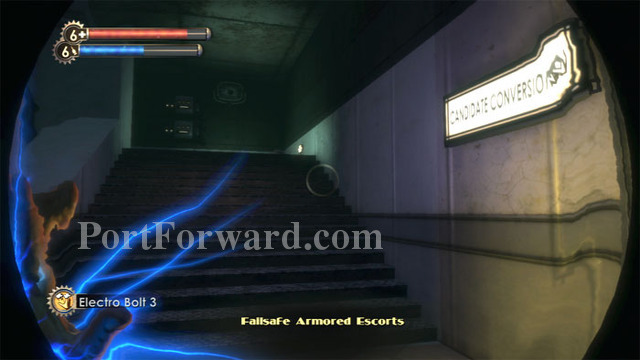
Before rushing off to find the boots, ascend these stairs to grab the final three audio diaries of the game.
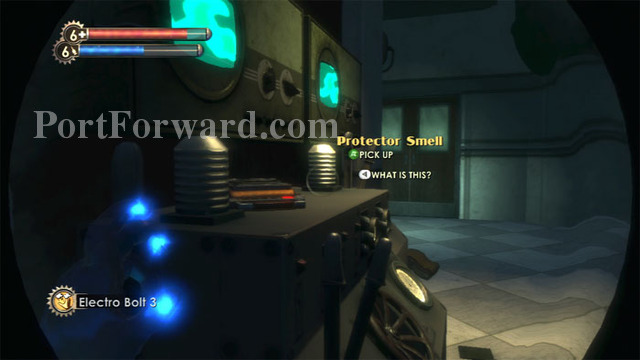
SuChong's Protector Smell audio diary is on this machine.
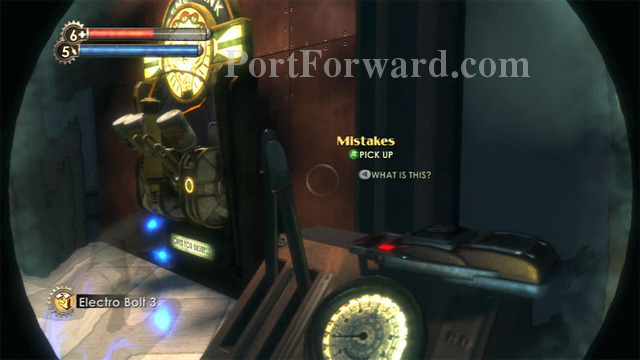
Andrew Ryan's Mistakes audio diary is next to the Gene-Bank. Find cash on the floor.
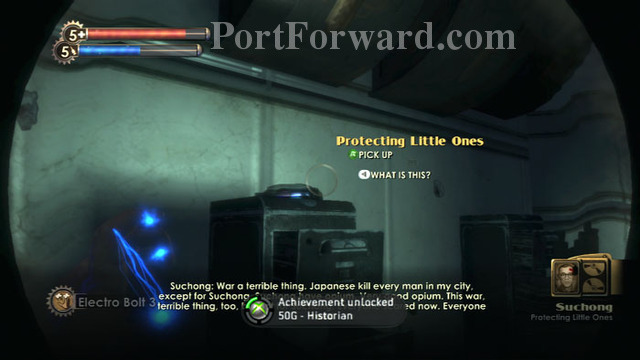
SuChong's Protecting Little Ones audio diary is on this file cabinet. If you've been following the walkthrough from the beginning, you should now have collected all of BioShock's audio diaries. Congratulations on earning the Historian Achievement!
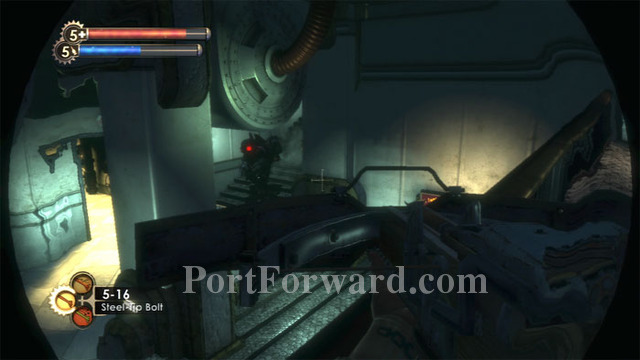
The balcony is a good place to snipe the Big Daddy protecting the level's final Little Sister. Harvesting her brings my ADAM to 360.
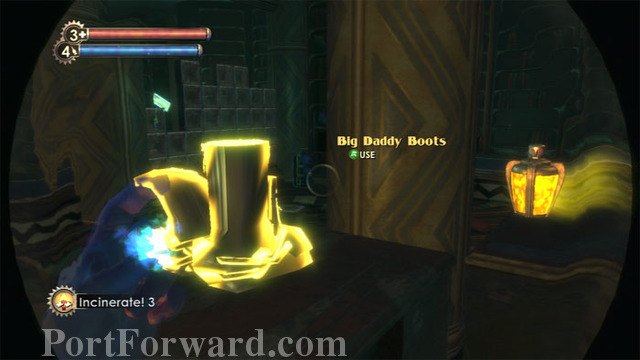
Exit to the Main Hall, turn left, then follow the signs to the Mendel Library. Beware a security camera and rocket turret to the right.
A solitary Houdini Splicer guards the Big Daddy Boots and Damage Research 2 Combat Tonic. Incendiary Bolts, Liquid Nitrogen and Pistol Rounds are available.
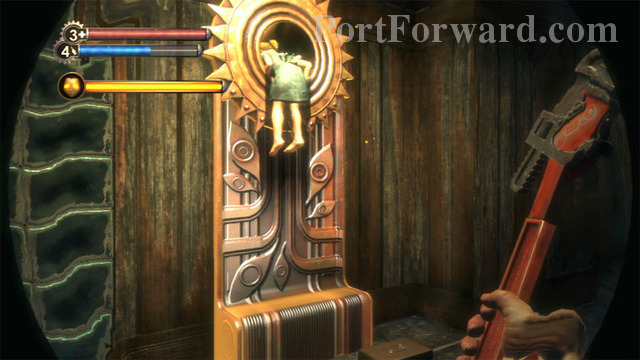
Exit the library and descend the stairs to the left. Tap your wrench against this Hidey Hole to summon a Little Sister. Follow her to the nearby Bulkhead to Proving Grounds.
BioShock Walkthrough Proving Grounds
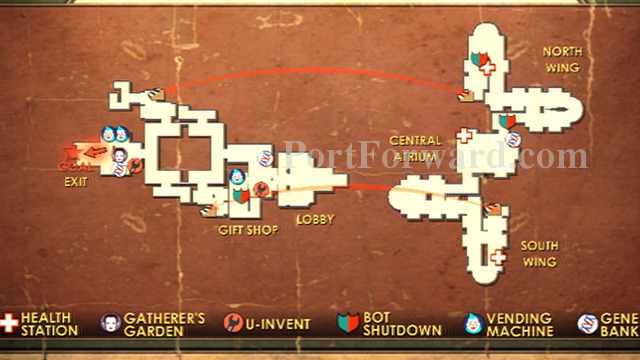
Here's a map of the level.
Map - Proving Grounds
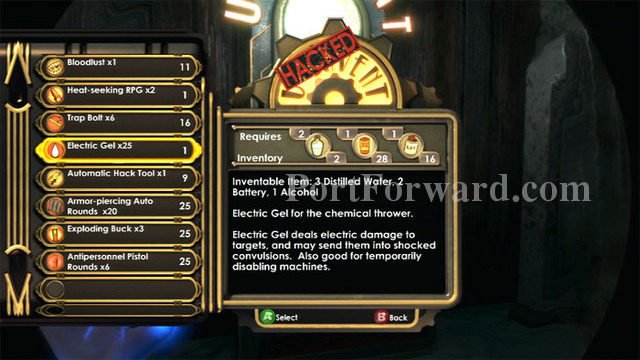
The Little Sister nags you to keep up, but don't listen. Instead, search the area for supplies; she'll wait. I especially recommend inventing some Electric Gel and Trap Bolts. Don't miss the First Aid Kit by the nearby Vita-Chamber.
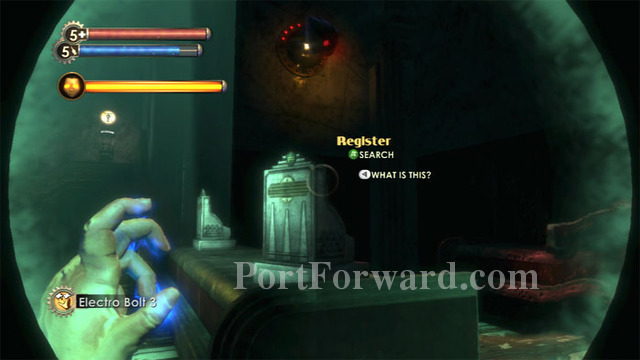
Descend the stairs on the left to this bar area. Your Big Daddy suit fools the security camera into ignoring you. Upcoming turrets will be similarity tricked. The Little Sister, however, will trigger turrets into firing on her, so definitely hack those. Pep Bars and a Circus of Values are also found here.
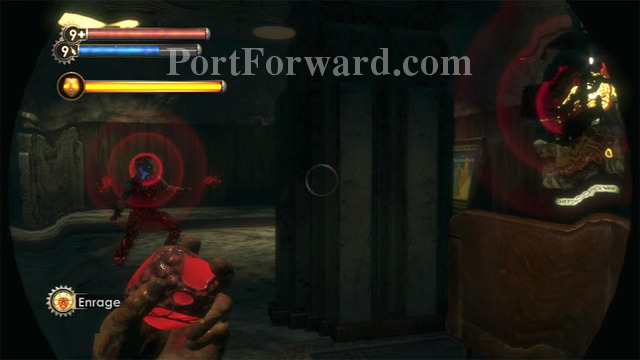
This Thuggish Splicer patrols the museum lobby. Enrage! causes his security bot to attack him.
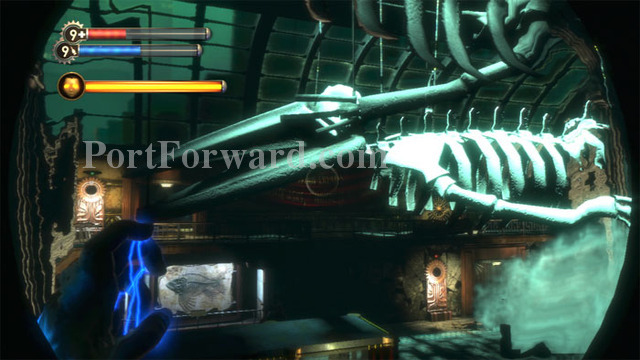
Follow the Little Sister into the Central Atrium and witness this giant skeleton collapse onto the floor.
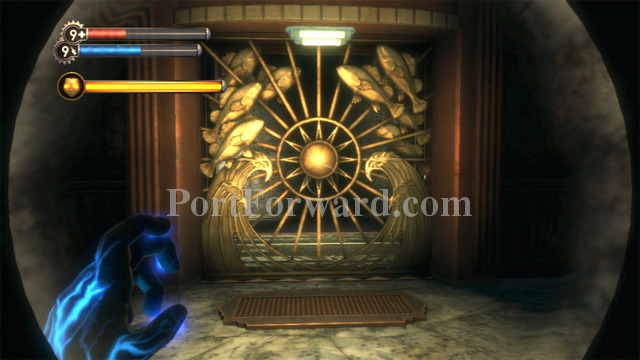
Turn around and find this unlocked gate. A Leadhead Splicer patrols the dead-end corridor. Find supplies including a Proximity Mine, a First Aid Kit and an EVE Hypo.
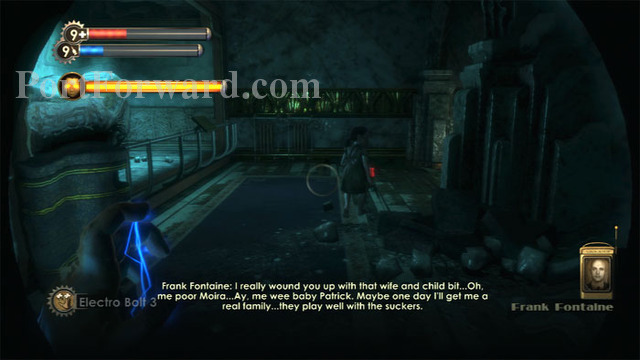
Now it's time to follow the Little Sister in earnest and begin the escort mission.
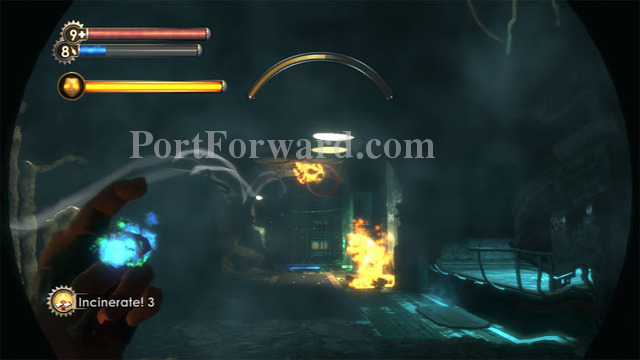
Rush past her at the first bend and take out a pair of Splicers waiting in ambush. Incinerate! works well.
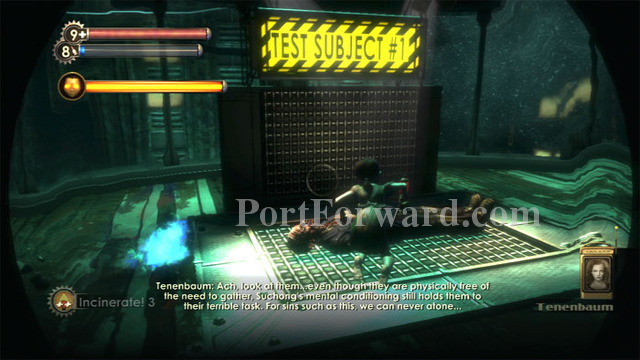
The Little Sister will soon stop to gather ADAM from the first of three test subjects. You'll need to protect her from several Splicer waves while she gathers.

Quickly hack the Health Station on the right and set Trap Bolts along the corridor. The Little Sisters are immune to your weapons but they will trigger your Trap Bolts so place them carefully. Incinerate! the Splicers at range. An oil slick can also be ignited to set up an additional barrier.
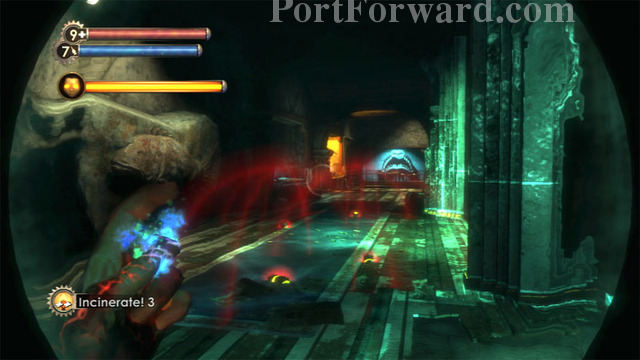
The Splicer attack is quite random and sometimes is confined to a single corridor. Prox Mines buy some insurance in this parallel corridor in case the Splicers attempt to flank your defenses.
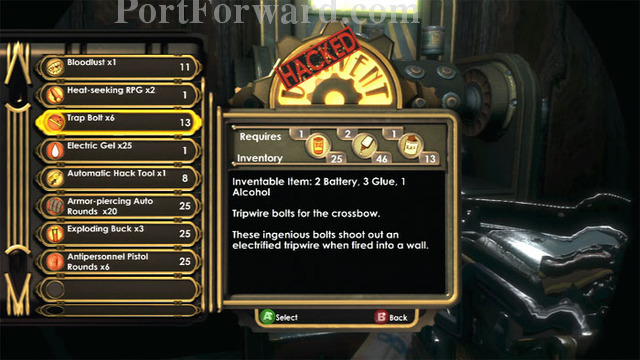
Once the Little Sister is finished gathering, don't resume following her. Instead, loot the corpses and backtrack to the U-Invent and Circus of Values machines to stock up on supplies, including Trap Bolts. Again, the Little Sister will wait for you.
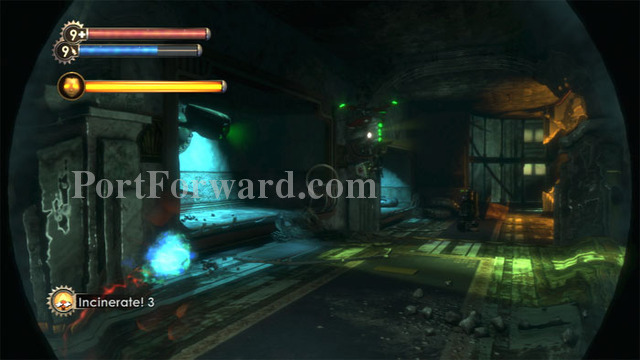
Once stocked, take point and hack this security camera, security bot, and flamethrower turret. They won't bother you in your Big Daddy Suit, so there's no need to zap them first. Once hacked, however, they will attack any Splicers that approach.

You now need to protect the Little Sister while she gathers from Test Subject #2. Set Trap Bolts along the corridor.
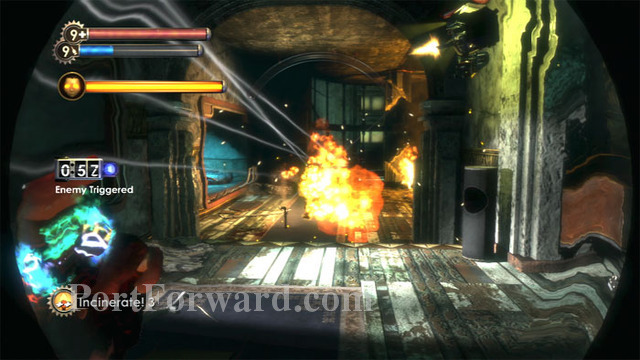
The fur sure flies in this fight. Your security bots and hacked flamethrower turret make for a rude greeting when the Splicers arrive.

Take up a defensive posture by placing your Big Daddy self between the Splicers and the Little Sister. There is no Achievement for keeping the Little Sister alive, but effectively defending her certainly feels rewarding. Keep an eye on her gold health bar and respond immediately if you see it decline.
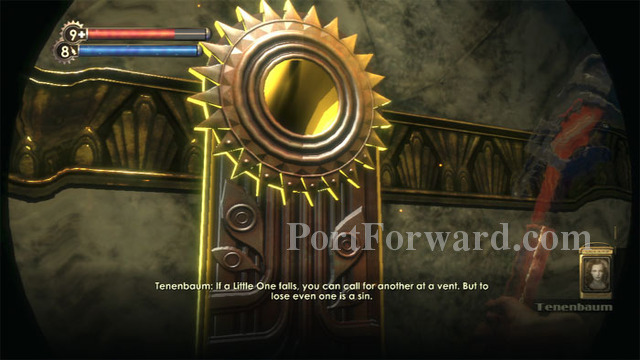
If you do lose a Little Sister, backtrack to a glowing Hidey Hole and summon another.
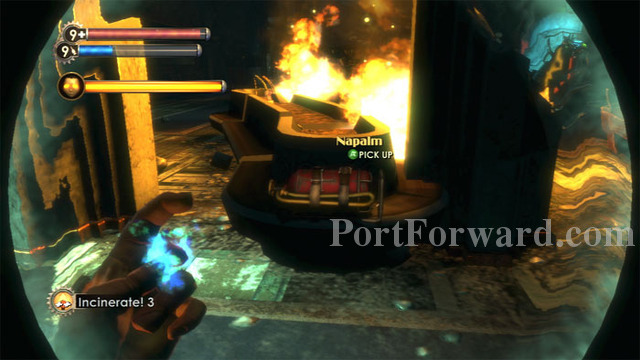
Once Test Subject #2 is dry, find Napalm here by the window and loot the corpses.
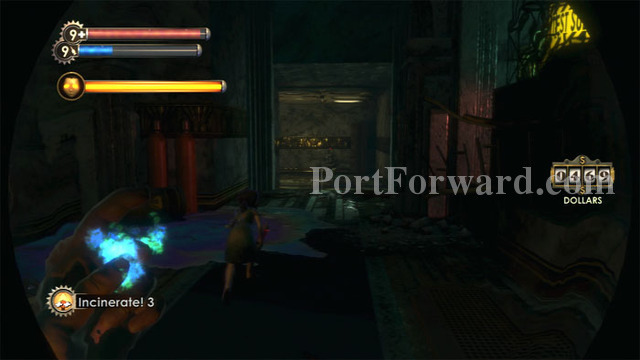
This time you'll want to keep pace with the Little Sister so you can hack the turret at the end of this corridor before she gets near it. The turret will attack her if you fail to hack it in time. Once hacked, find a First Aid Kit to the right then backtrack and purchase/invent while the Little Sister waits.

Once you're ready, the Little Sister opens up another door for you and a bit of foreshadowing takes place as you witness an unhappy Bouncer atop a balcony.
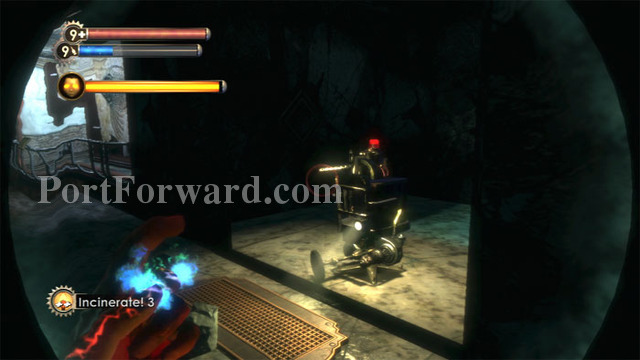
Immediately head right and hack this turret. Around the next bend is a Gene-Bank and another turret you should hack, followed by a Storage Crate and a Health Station.
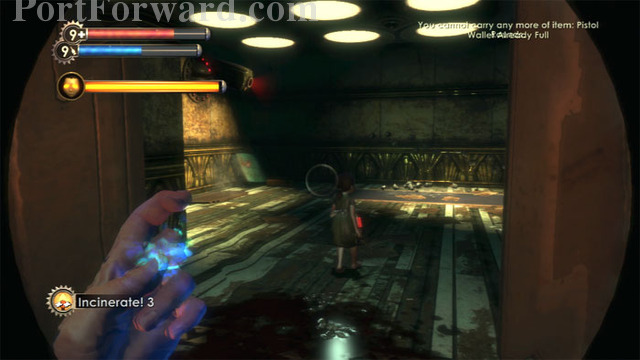
Hack the security camera on the left after the Little Sister opens another door for you.
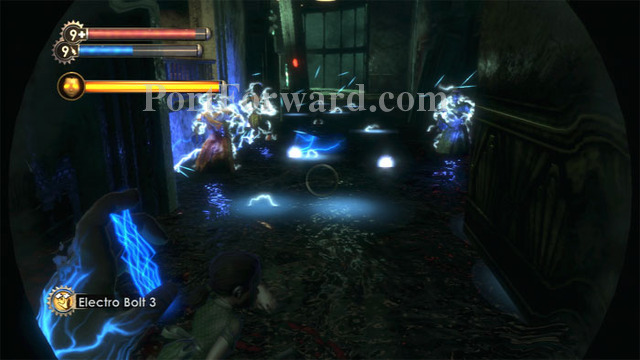
Ready your Electro Bolt and fry these three Splicers hiding in the water.
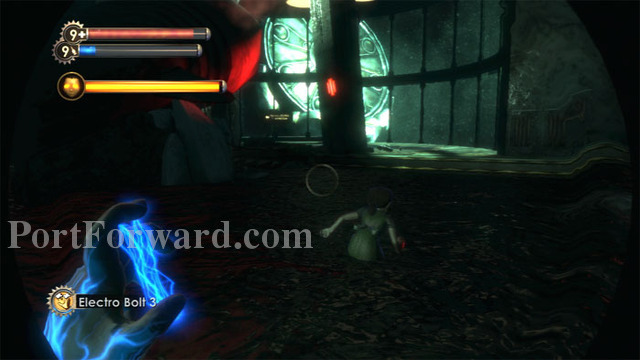
Do your best to keep pace with the Little Sister. The water slows down your Big Daddy Suit and there is danger ahead.

A pair of Splicers await in ambush. Enrage! is a good option here, but so is Electro Bolt to hack the security bot escort.

Directly across from Test Subject #3 is a turret, security camera and Health Station. Hack them all immediately.

There's no time for trap bolts. Place yourself squarely in front of the Little Sister as she gathers and prepare to stand your ground.
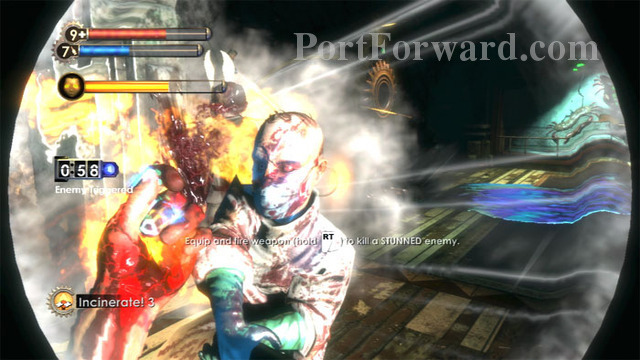
This fight is up close and personal. Fire is a good choice because there are oil slicks on each flank.
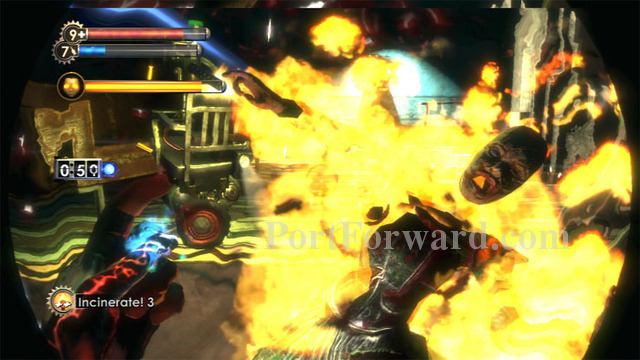
If the Little Sister seems to be harvesting for a very long time, and you hear a distant Splicer, hunt it down. The fight seems to end only when all the Splicers have been defeated. Loot what you like then ready your Electric Gel.
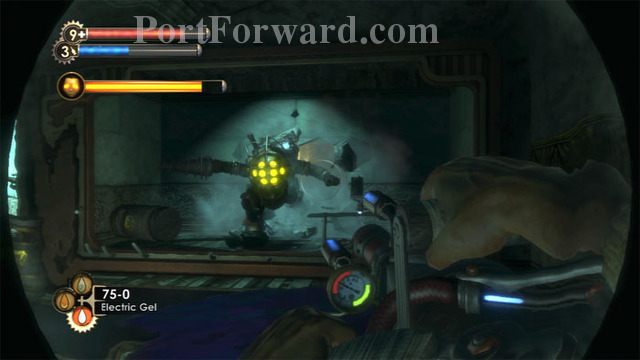
Hey, Kool-Aid! The Bouncer you saw previously is back and means to do you harm. A Chemical Thrower with a full pack of Electric Gel makes for an easy fight. (Although saving your Electric Gel will make the final boss battle much easier.) Search his hiding place for Machine Gun Rounds, Proximity Mines, a Grenade Launcher and EVE Hypos.
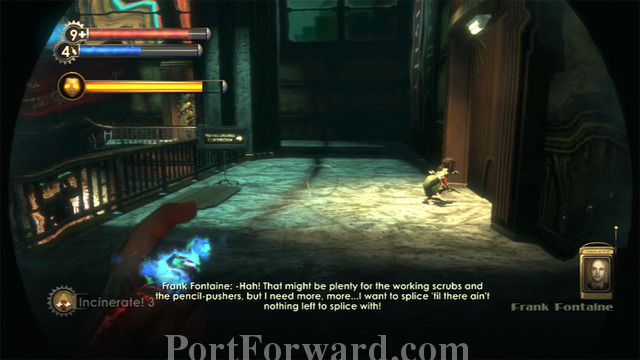
Before following the Little Sister through the door on the right, take a brief diversion through the door ahead/left to hack a safe.
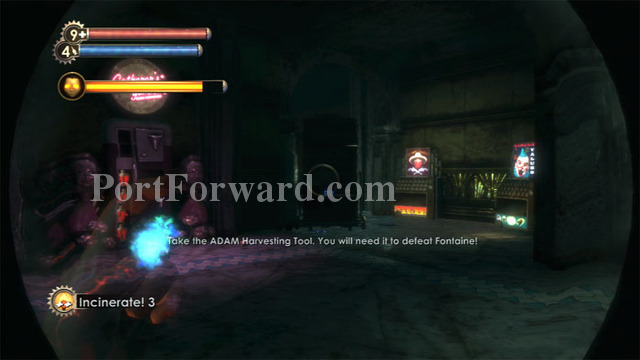
She'll lead you to this room o' plenty. Take everything you can get your hands on -- you won't be coming back and the final boss battle is coming up next. Spend 160 ADAM at the Gatherer's Garden for the only available items, Health and EVE Upgrades.

There's also a Gene-Bank here. You'll still have another opportunity to reconfigure your Plasmids and Tonics in the next level. Here's my final configuration.
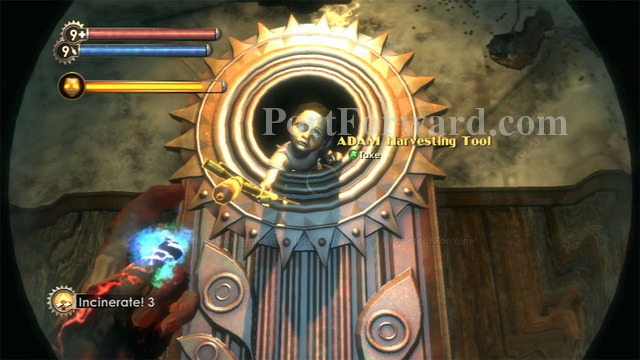
When you are ready to go, take the ADAM Harvesting Tool from the Little Sister and ride the elevator up to Fontaine.
BioShock Walkthrough Fontaine: The Final Boss
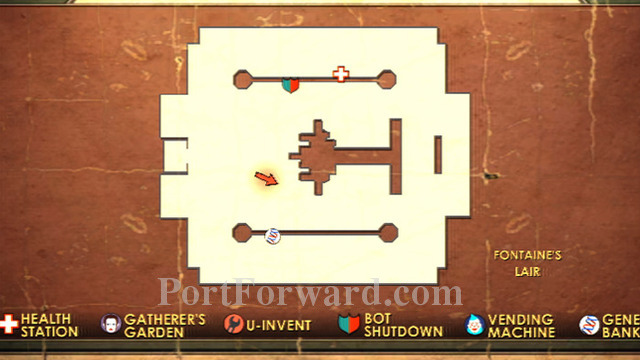
Here's a map of the level.
Map - Fontaine
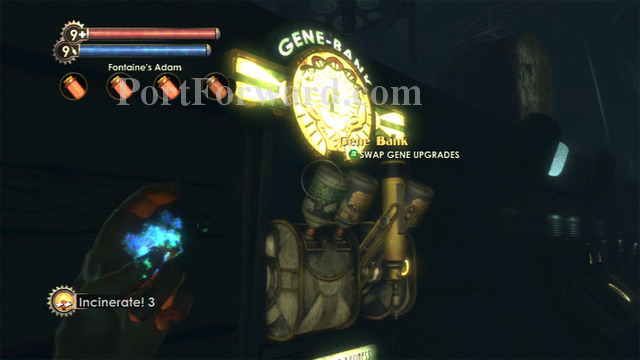
Despite the seeming urgency of the situation, don't be tricked into acting immediately. The fight doesn't begin until you put the ADAM Harvesting Tool in Fontaine. Take this time to explore the area, and find this Gene-Bank. You'll be able to re-spec your Tonics and Plasmids as you wish.
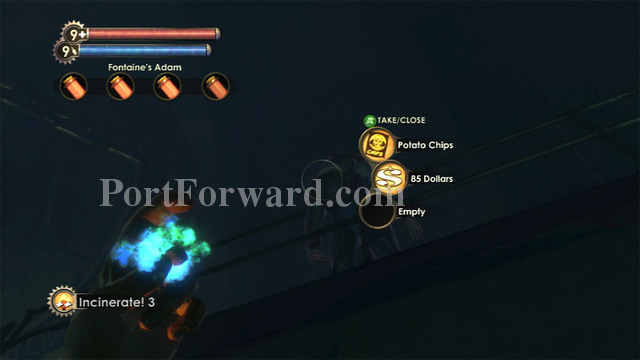
Find this corpse at the back of the room.
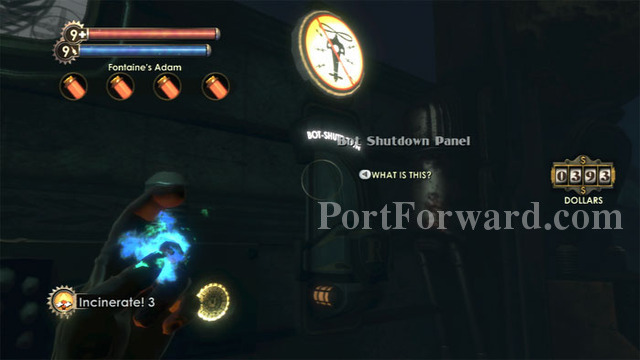
Note the location of this Bot Shutdown Panel, left of Fontaine. You'll be wanting to use it later.
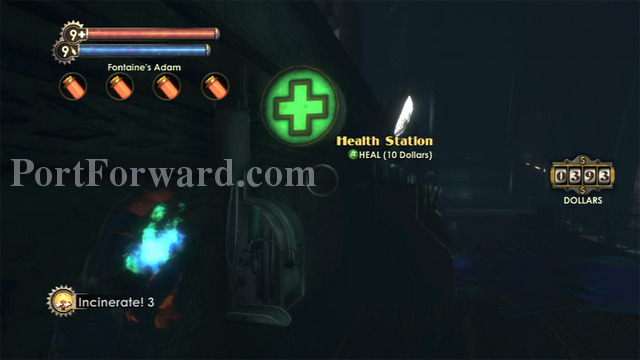
This Health Station is at the far left corner of the room. Hack it now.
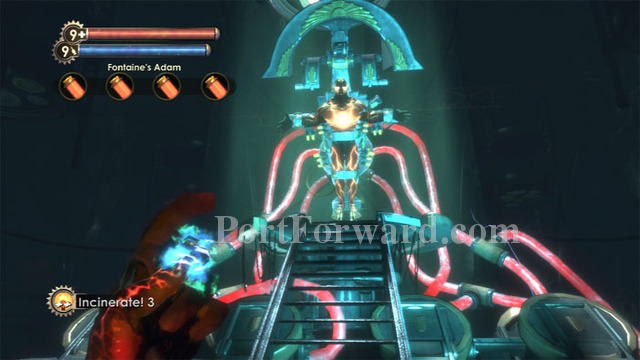
Note the four ADAM containers under your Health and EVE bars. You will need to drain all four to defeat Fontaine.

When you are ready to begin the fight, stick Fontaine with the ADAM Harvesting Tool to drain his first ADAM container.
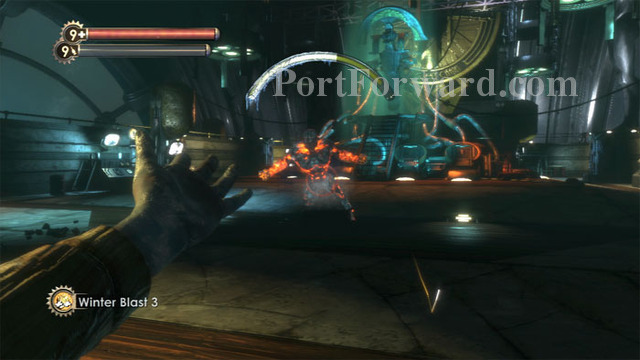
Fontaine is obviously displeased. He frees himself and attacks in the first of three forms, this one Fire. One tactic that I found useful at this early stage is to freeze Fontaine with Winter Blast, then use Telekinesis to throw explosive barrels and canisters at him.

By far the easiest way to defeat Fontaine is to use Electric Gel. Here I am in a previous run. You can defeat Fontaine using nothing but Electric Gel if you have a full load.
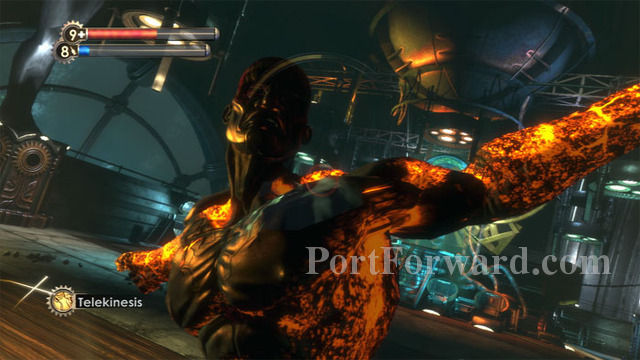
Whatever you do, don't let him get this close. His Bouncer-like melee attacks are disorienting, making it difficult to retaliate or even get away.
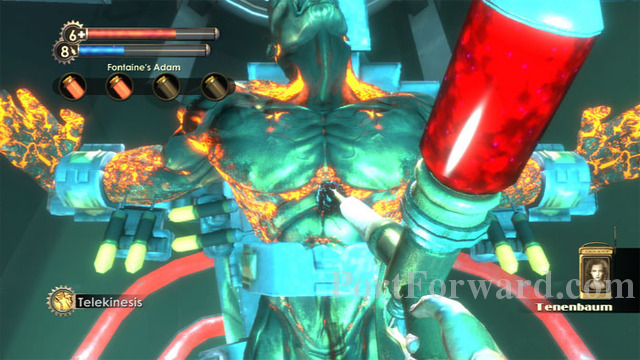
When his health bar is depleted, Fontaine will return to his ADAM station. He is vulnerable during this limited period of time. Hit him again with the ADAM Harvesting Tool to drain his second ADAM container.
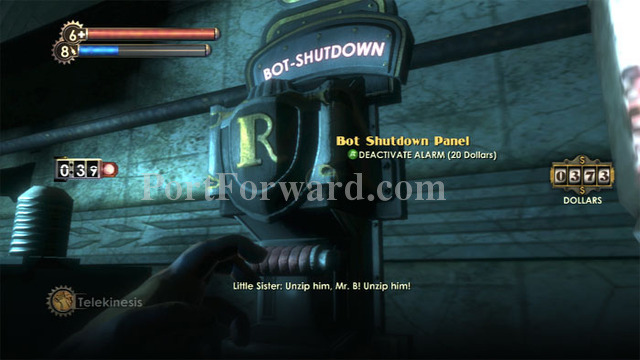
Immediately head left to the Bot-Shutdown Panel and stop the alarm. Hack any bots you can find.
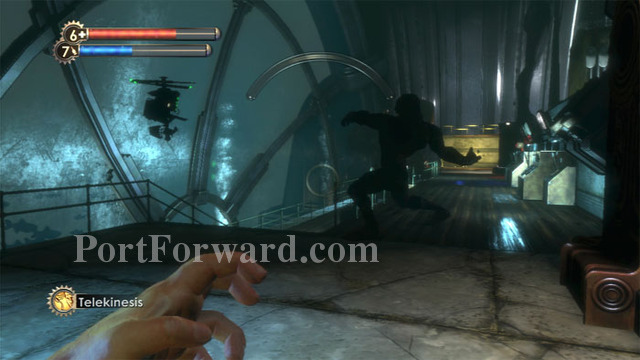
The bots are surprisingly effective against Fontaine, now in Ice form. Winter Blast will not work against him in this form, but Telekinesis-thrown explosives still inflict significant damage.
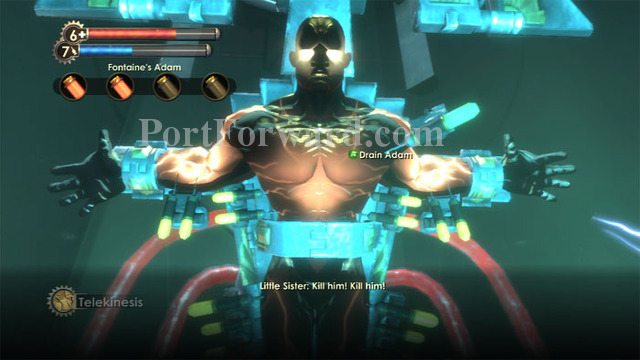
His health depleted a second time, hit Fontaine with the ADAM Harvesting Tool once more. You can't save your game and there are no Vita-Chambers here, so stay sharp!
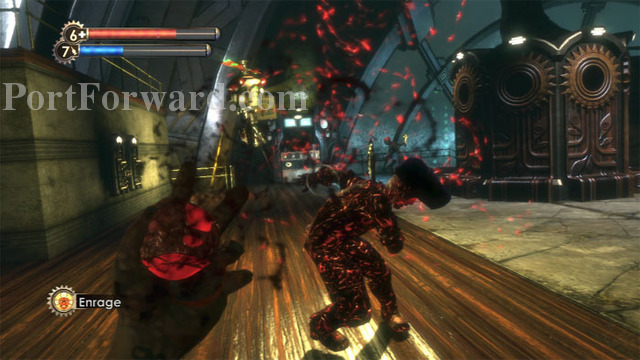
Fontaine, now in Electric form, summons an army of Splicers. Enrage! turns them into your allies, keeping Fontaine distracted.
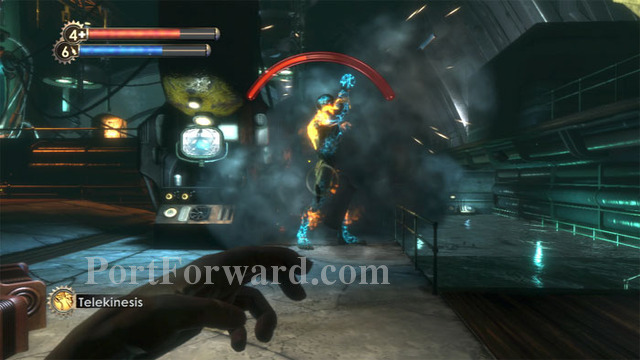
Just don't expect them to inflict as much damage as the hacked Security Bots. I still prefer to toss explosive canisters and barrels with Telekinesis, though the Grenade Launcher is also a fine choice.
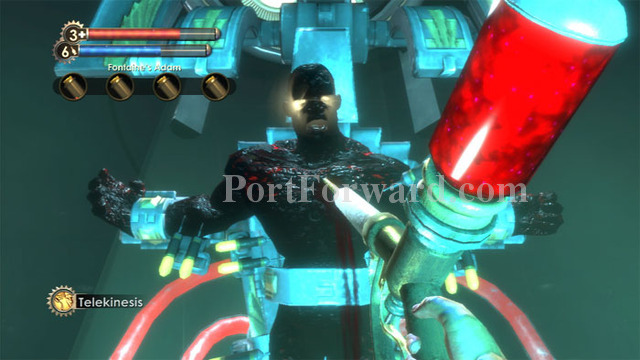
Fontaine's health depleted once more, hit him with the ADAM Harvesting Tool for the last time.

The Little Sisters pile on in the subsequent cutscene. Ouch.

One of three possible endings plays. This is my favorite, shown if you have rescued all of the Little Sisters.

Harvest any of the Little Sisters and witness this brutal ending where the world is beset upon by you and your Splicer army. For me, this ending holds the greatest appeal for a sequel. If you harvested all of the Little Sisters you'll see the same ending, but Tenenbaum's narration will be exceptionally damning. And that's it. You have beaten BioShock! I hope you enjoyed the game and I hope this walkthrough helped you! Game on!
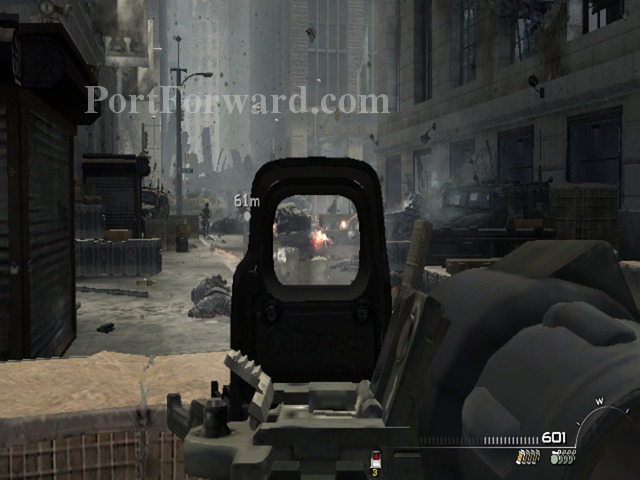


 Battlefield 3 Walkthrough Full Campaign
 Borderlands 2 DLC: Sir Hammerlocks Big Game Hunt Walkthrough Sir Hammerlocks Big Game Hunt
 Bioshock Infinite: Burial at Sea - Episode Two Walkthrough La Poche Du Temps Cafe
 Braid Walkthrough Introduction