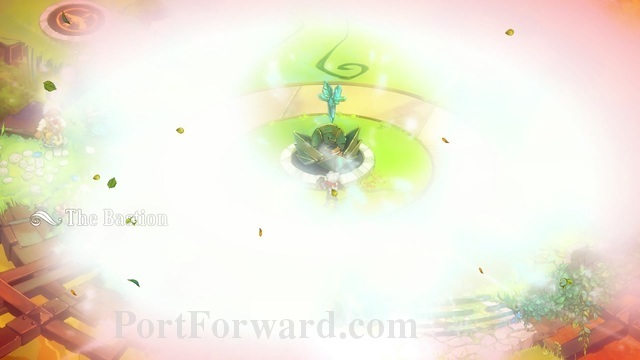
Bastion Walkthrough The Beggining
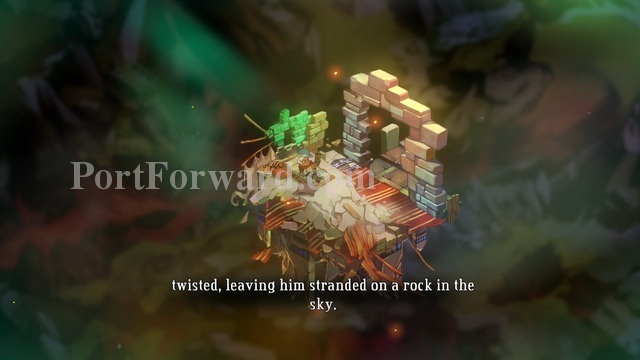
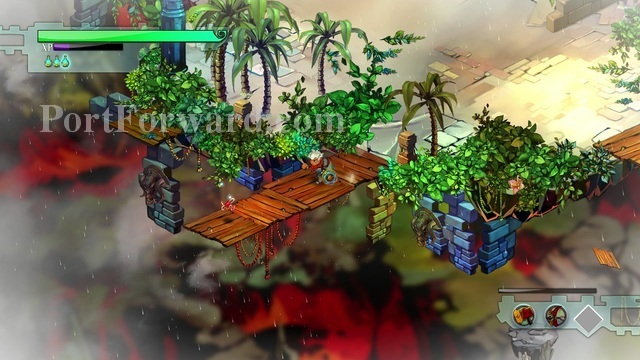
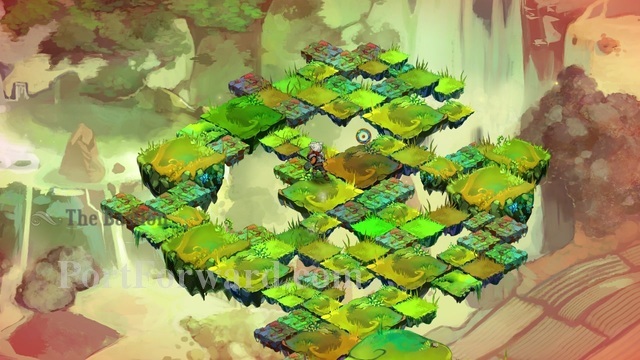
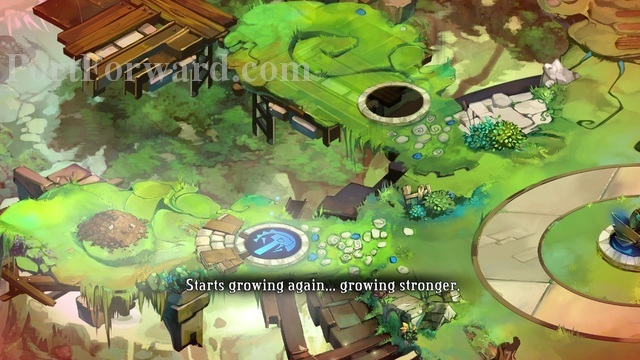
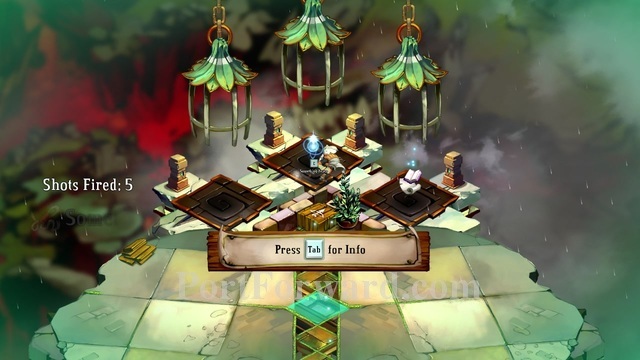
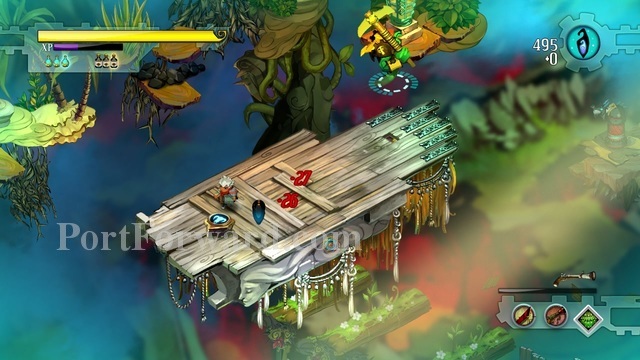
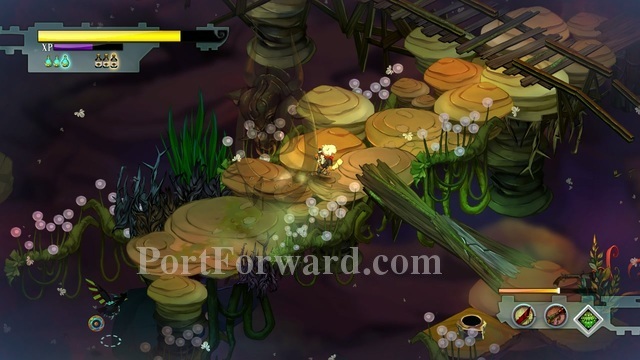
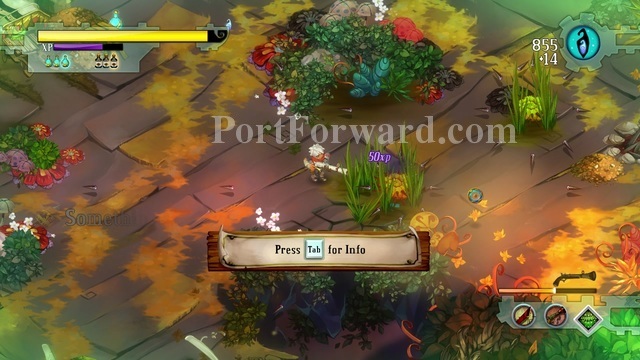
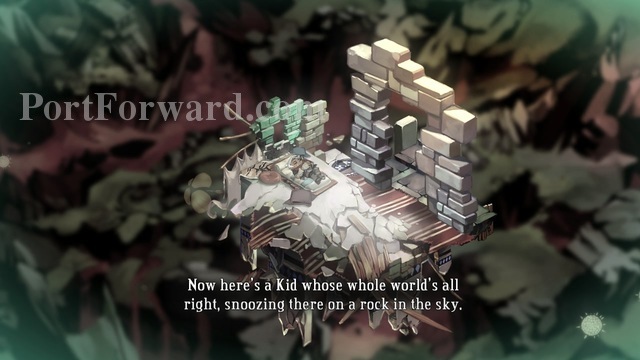
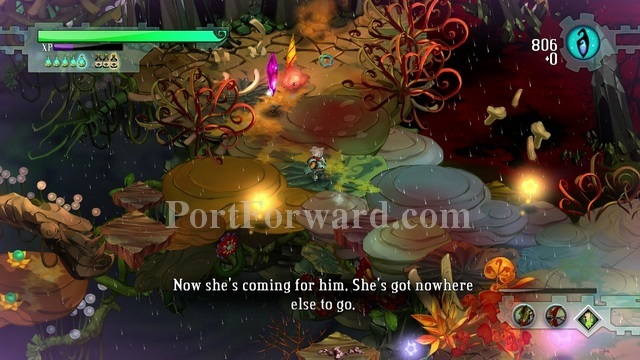
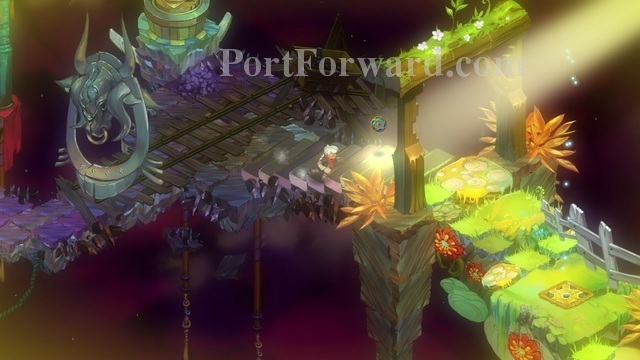
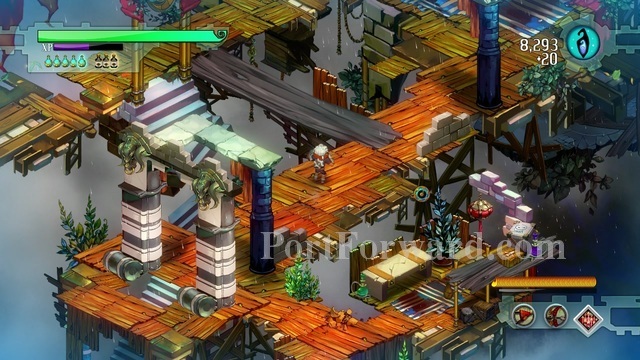
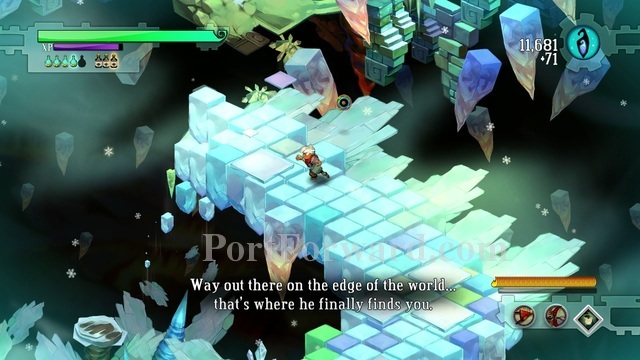
You start sleeping, on a rock in the sky, to stand up, press 'W'

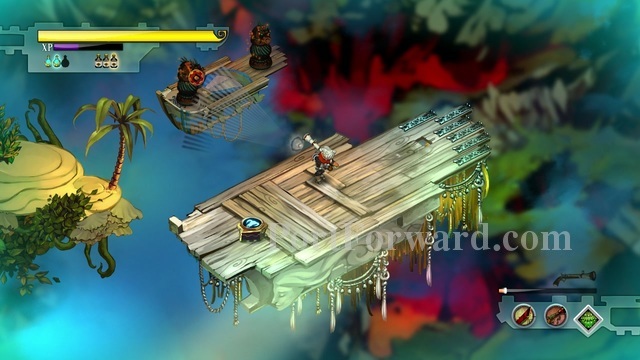
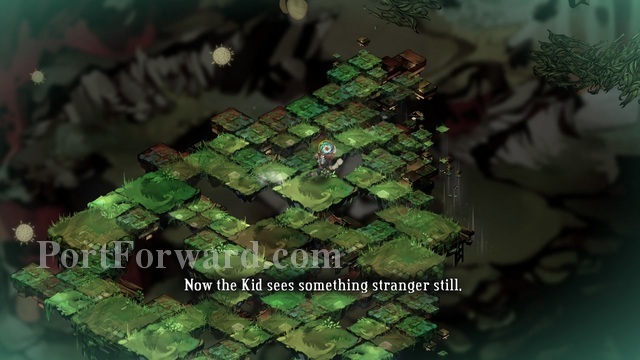
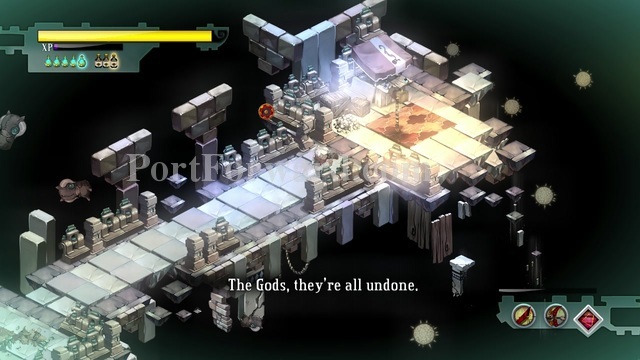
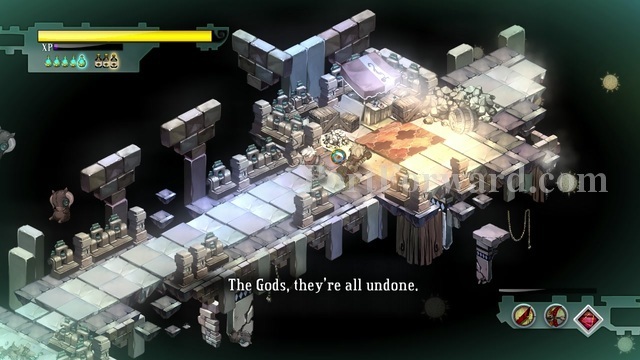
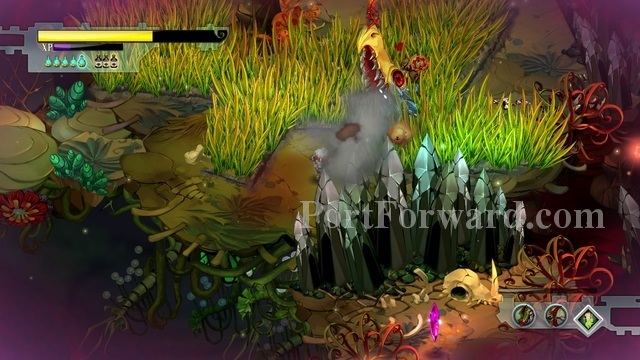
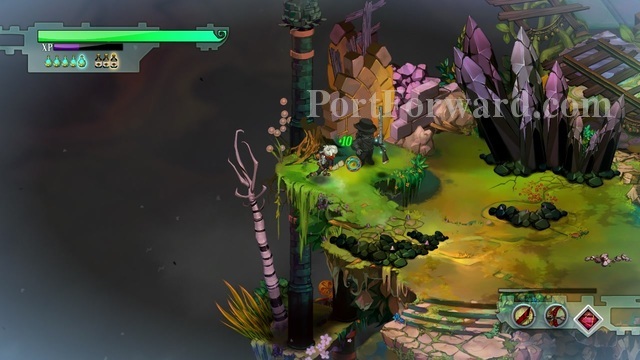
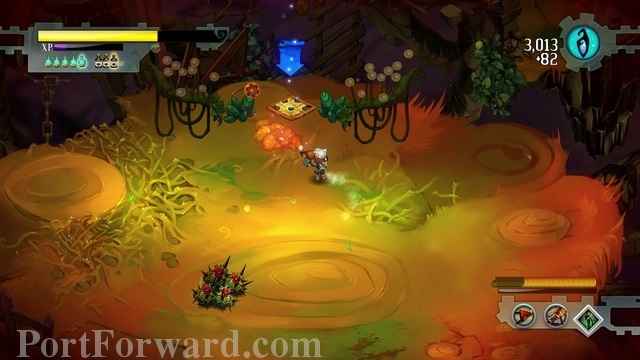
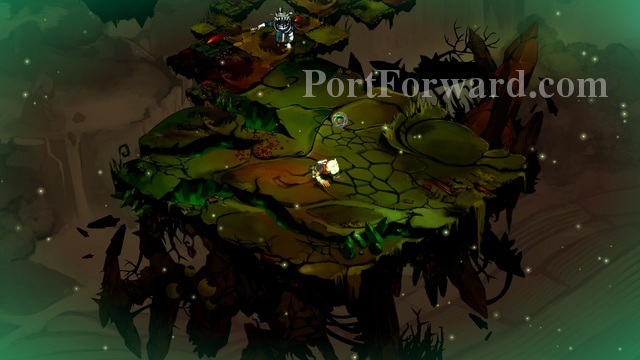
While walking, the world forms around you, so while playing the game, remember to explore the game world, because even if it seems that there is nothing over there, it could form itself just by walking nearby.
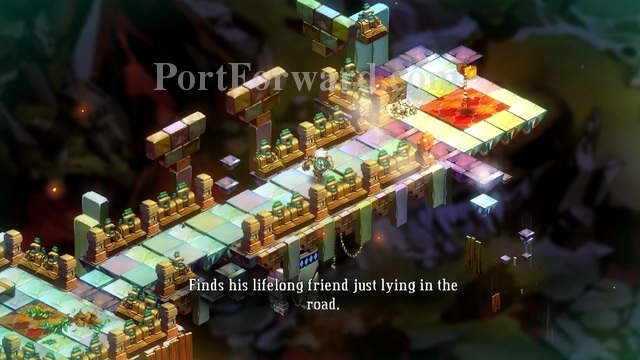
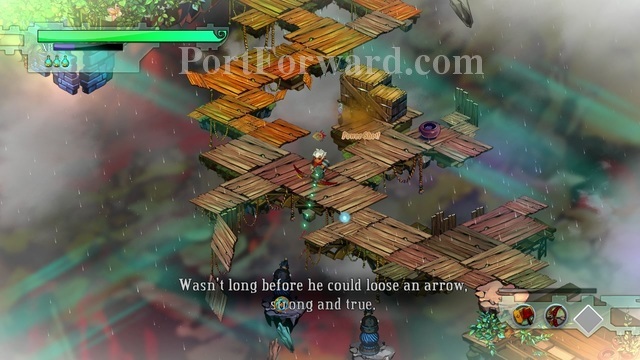
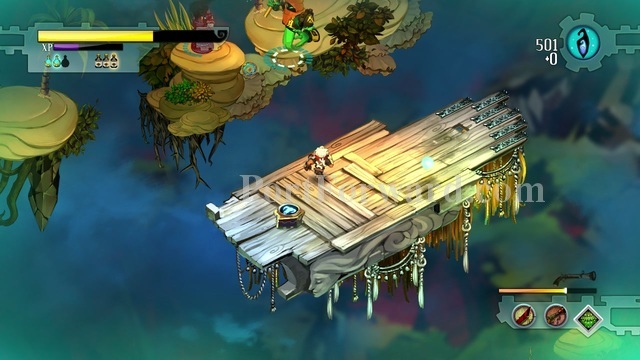
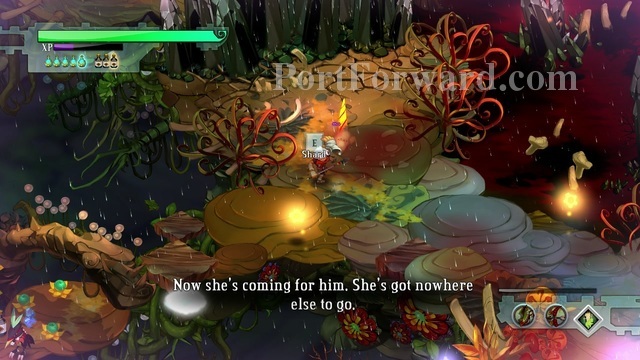
Going forward, you find your hammer. This is the first melee weapon you get.
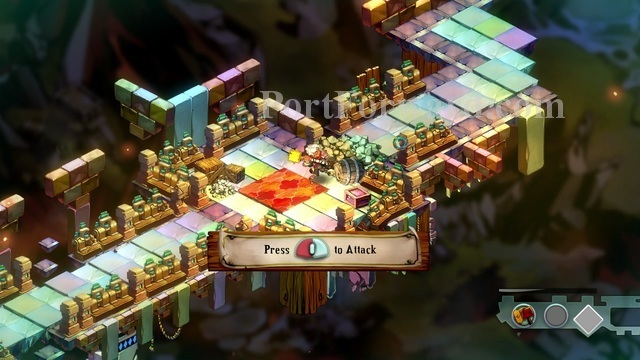
You attack with the left mouse button.
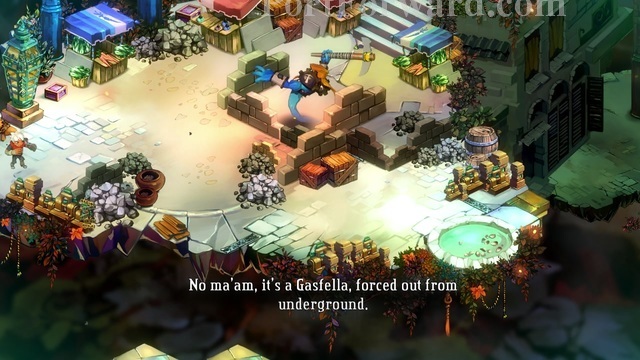
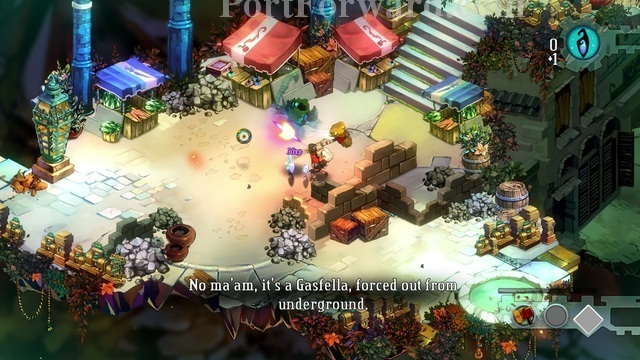
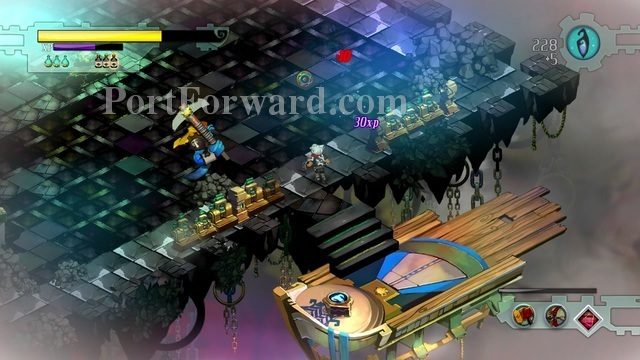
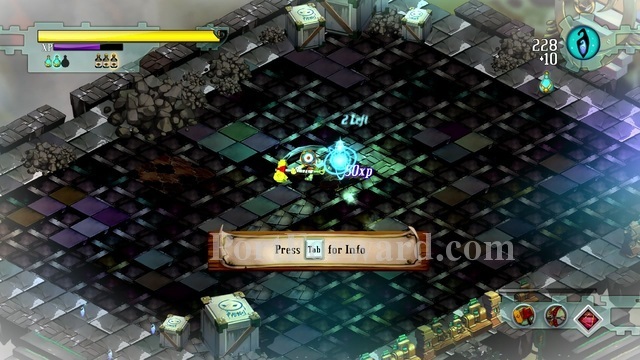
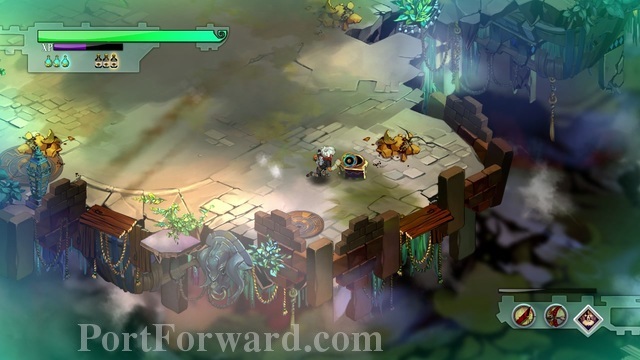
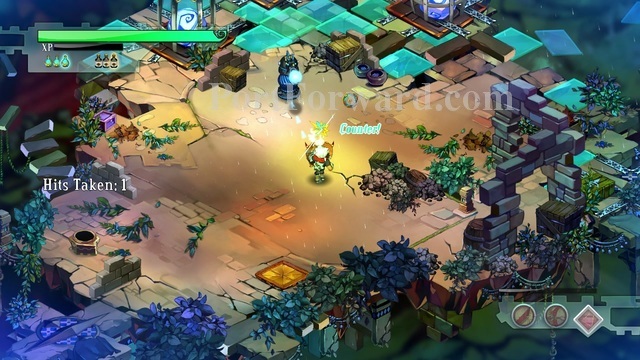
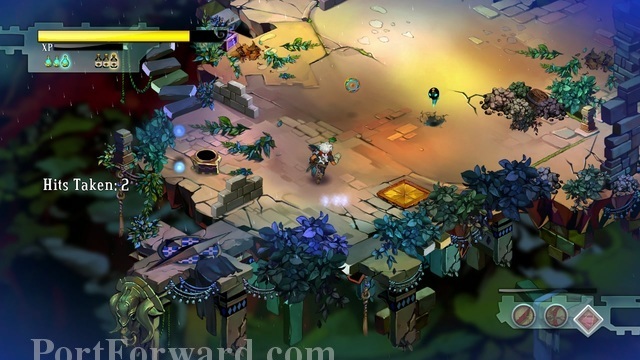
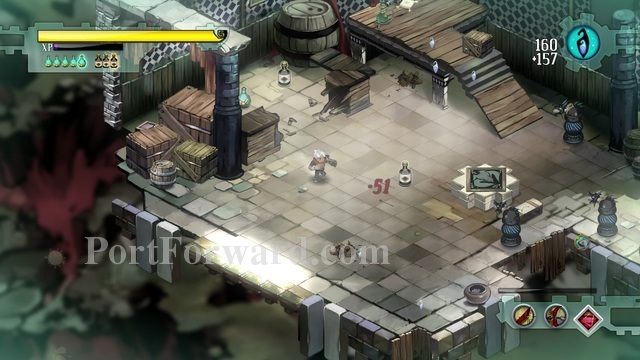
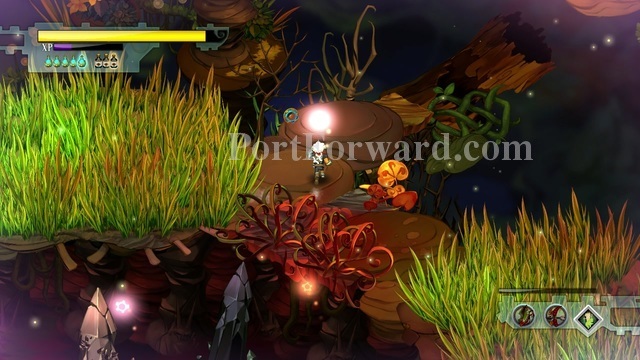
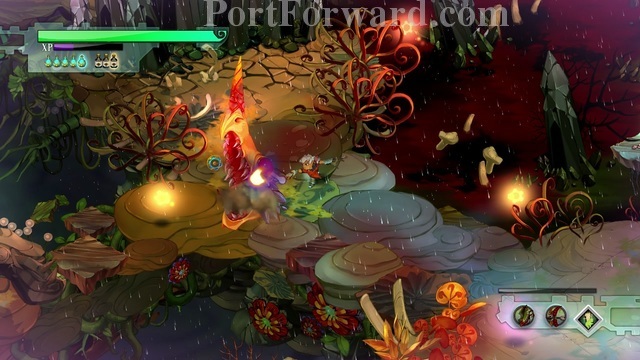
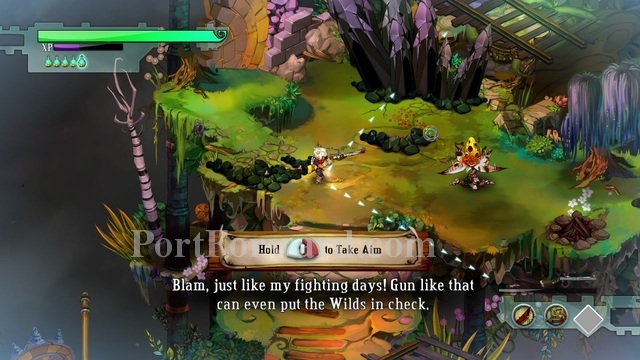
Going forward, you will meet your first enemy: "Gasfella"
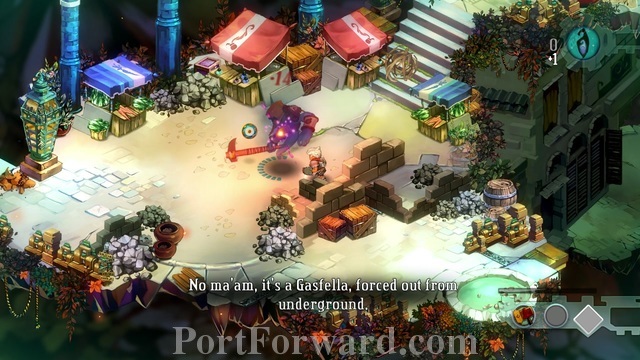
The circle around the enemy displays his current health.
You can dodge by pressing the space button. TIP: Dodging is actually faster than walking.
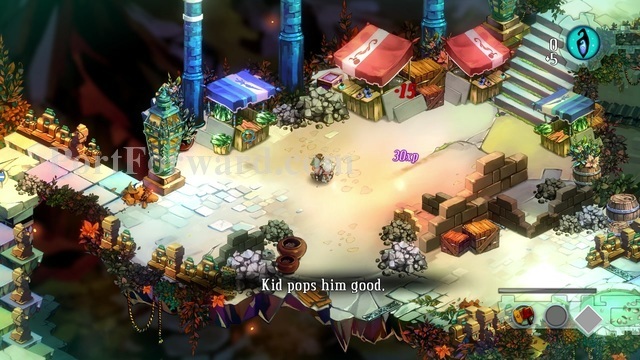
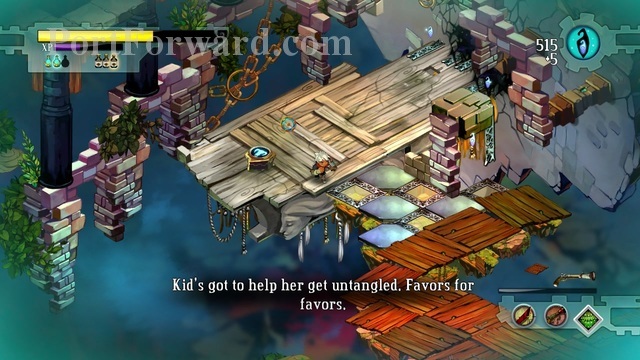
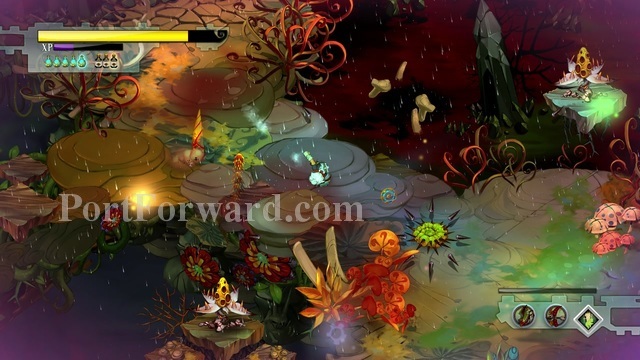
After defeating him, it will show you your health and experience bar on the top. You gain experience everytime you kill something, or gather a potion from the ground.
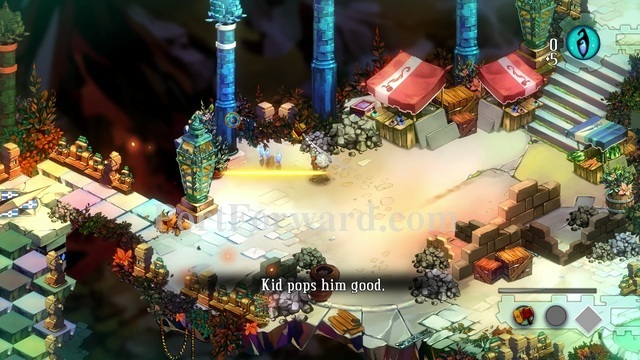
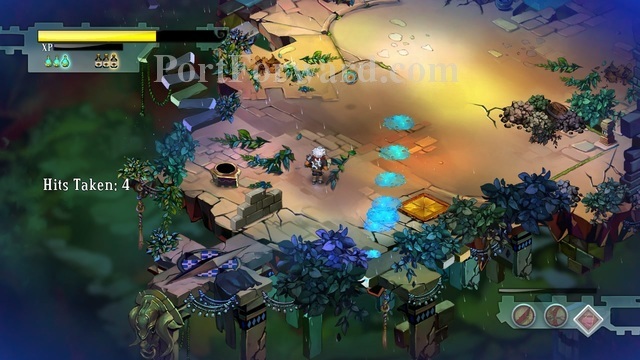
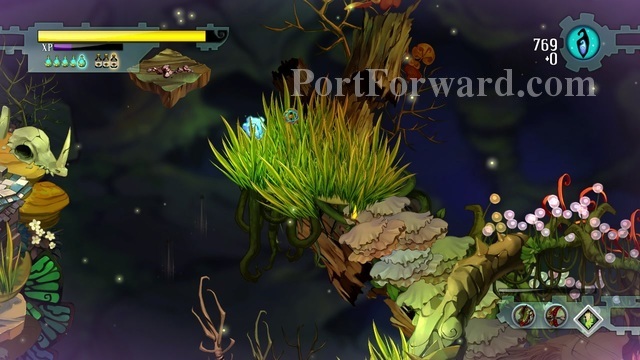
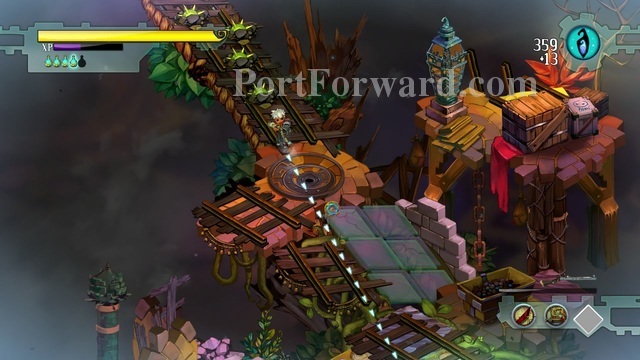
Destroying random objects might give you 'Fragments'. The number on the top left that says '0' is the ammount of fragments you currently have, and the number '+6' shows how much fragments you just got.
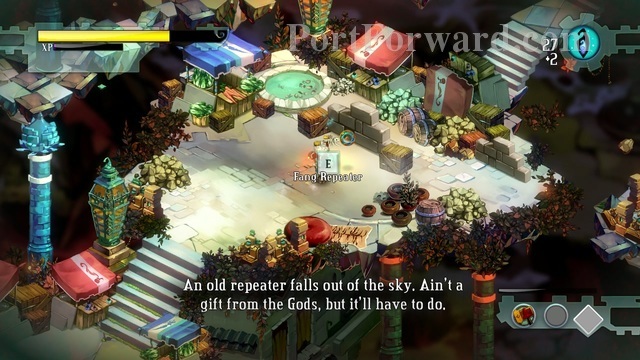
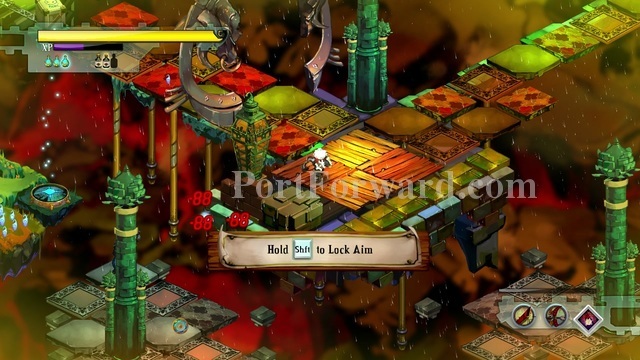
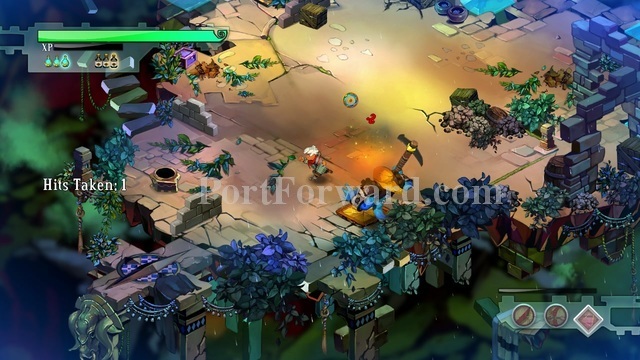
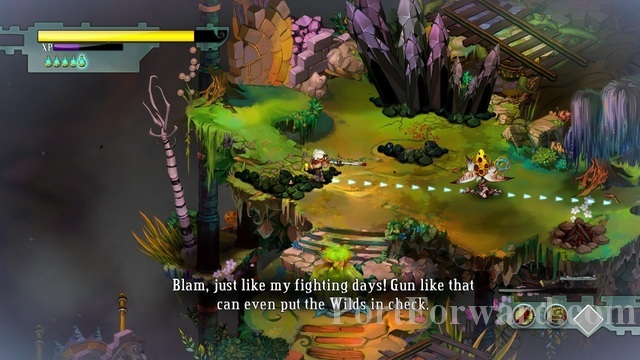
After moving ahead a bit, you will notice your first ranged weapon. You fire by right clicking. Also, if you press shift while there are targets around, you will lock onto them and automatically shoot at them with the Fang Repeater.
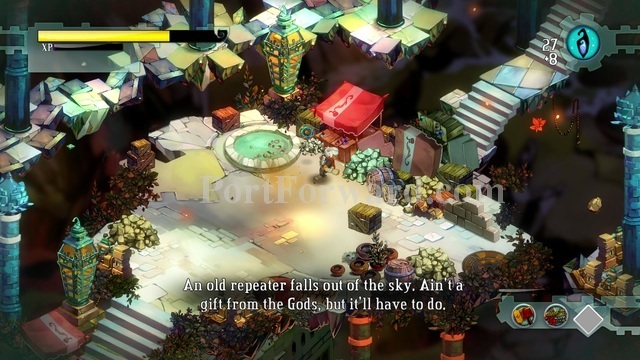
You can see your current weapons on the bottom right.
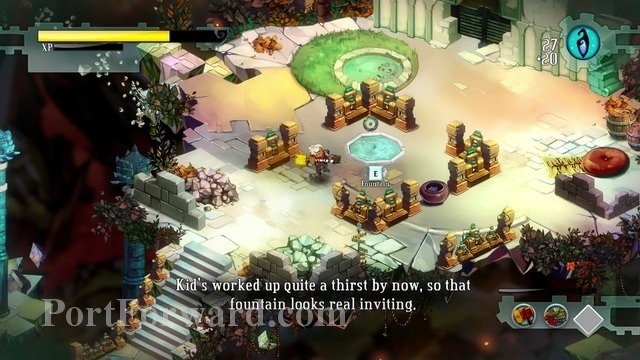
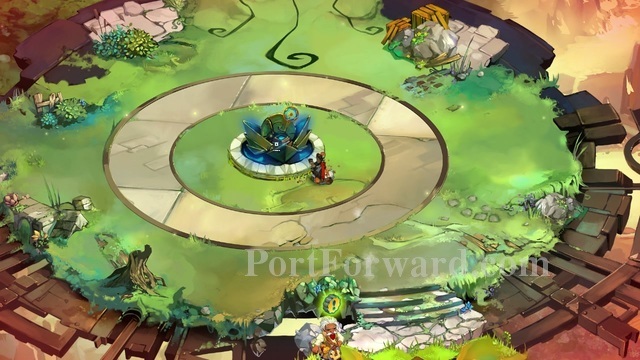
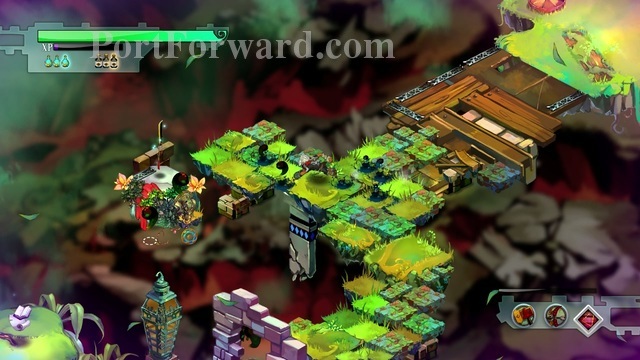
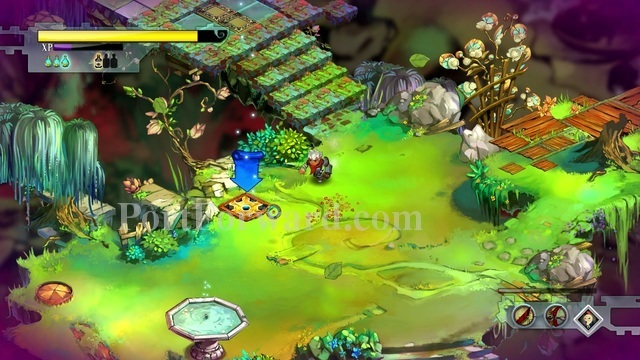
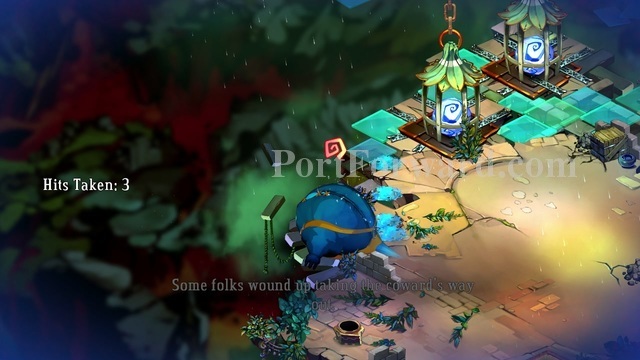
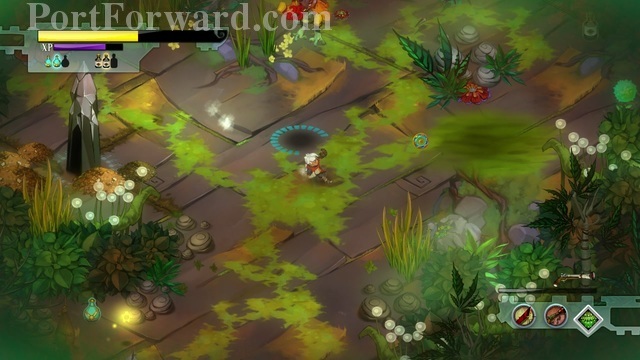
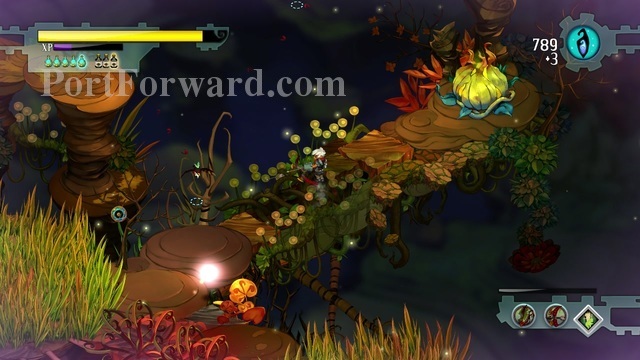
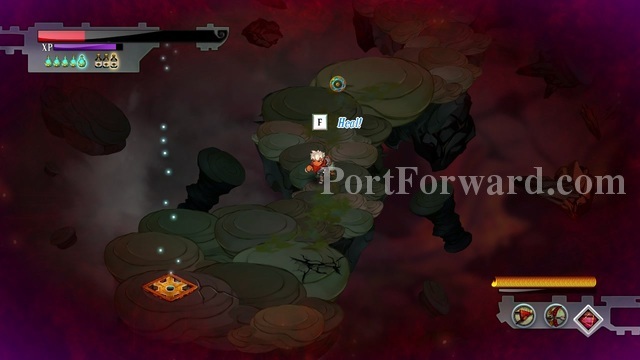
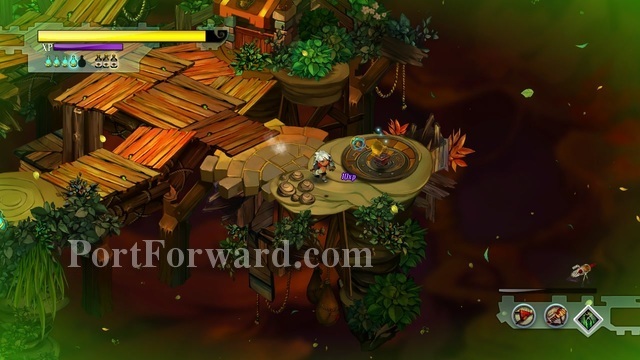
Going forward, you will notice a well. If you stand still and press "E", you will gain potions.
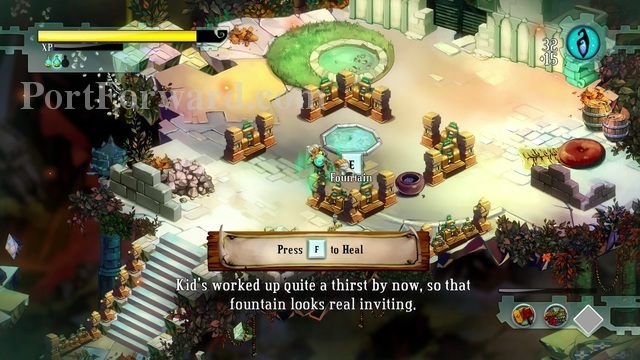
Potions are shown on the top left of your screen. You can press "F" to heal, but that will use up a potion.
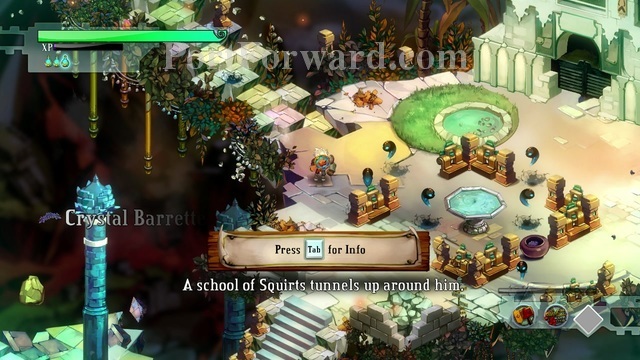
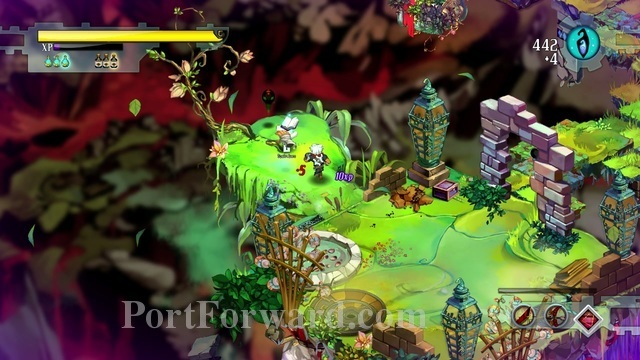
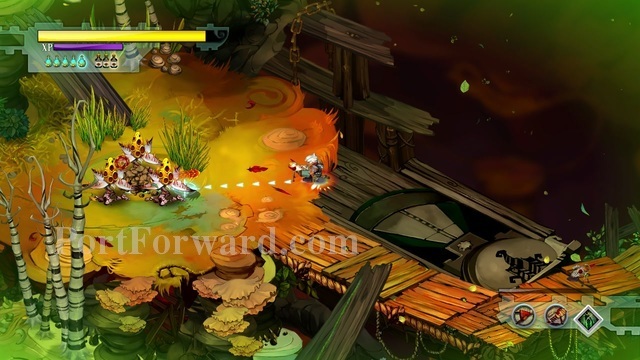
The next enemy you meet is called a "Squirt". They are really fragile creatures, and usually come in groups. They attack by coming close to you, then thrusting their bodies into yours.
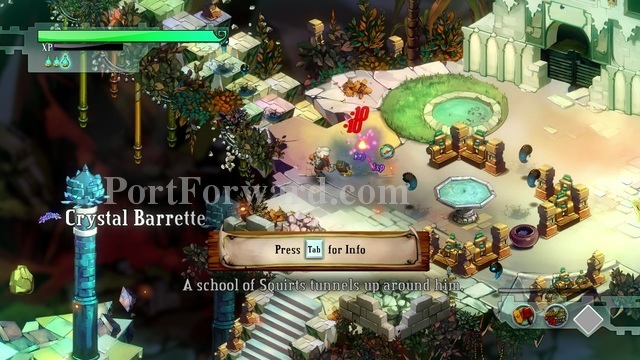
Killing them with the Cael Hammer is extremely easy.
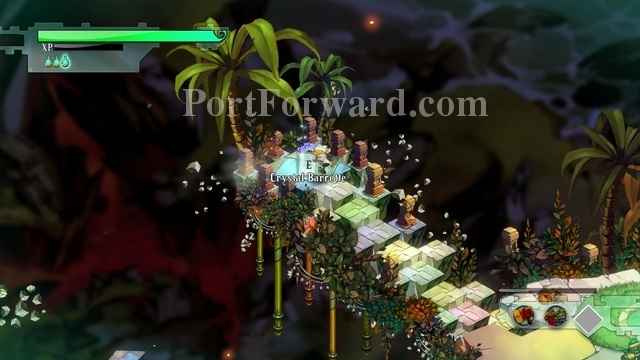
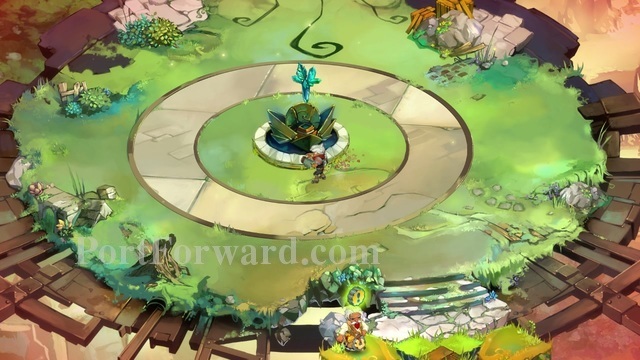
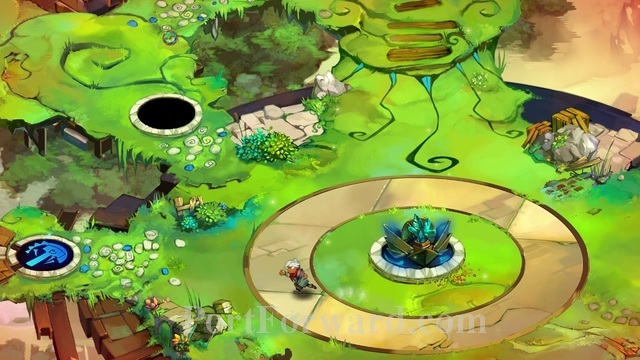
Before you go to the next area, go to the left of the fountain. The item "Crystal Barrete" is over there. It's is a lore item, it has no uses but to give you more information about the game lore.
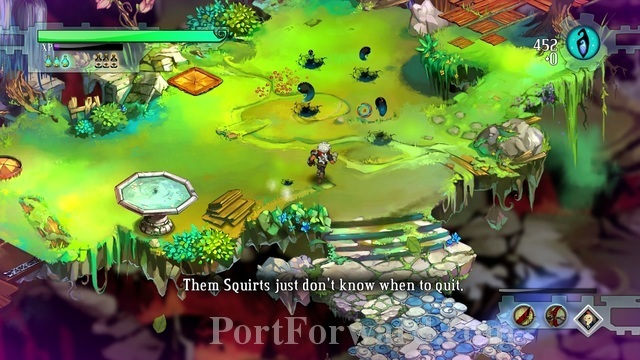
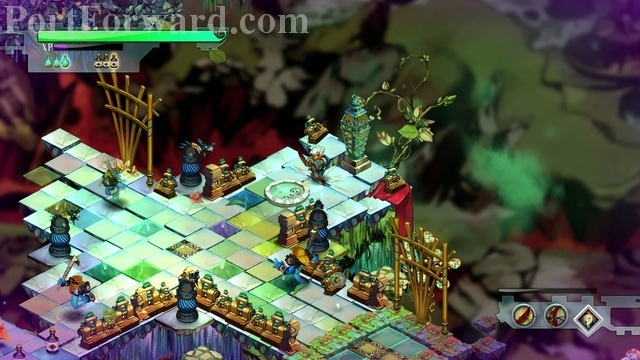
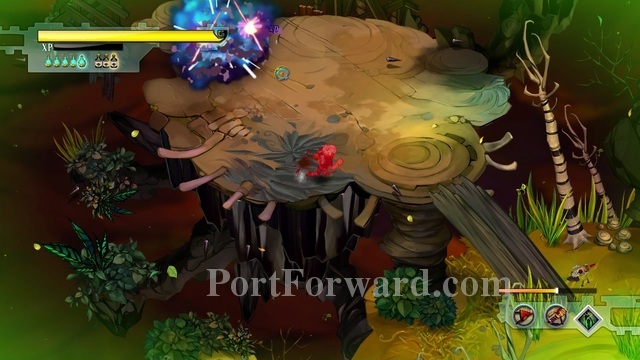
The next area you go to is a small arena-type level.
You must destroy the stone statue on the top to continue.

After you destroy the statue, the Bullhead shield will appear.
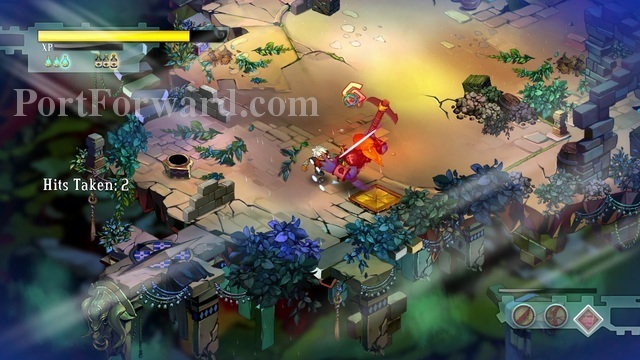
A turret will appear. You can block it's projectile attacks with the shield, by pressing "Shift", or you can simply smash it to pieces with the Cael hammer.
After destroying the turret, a few boxes will fall from the roof. Destroy the boxes, because if you do not, Gasfellas will pop out of them.
More and more boxes will appear. If too many spawn, i would recommend dodging their attacks by rolling and shooting with the Fang Repeater.
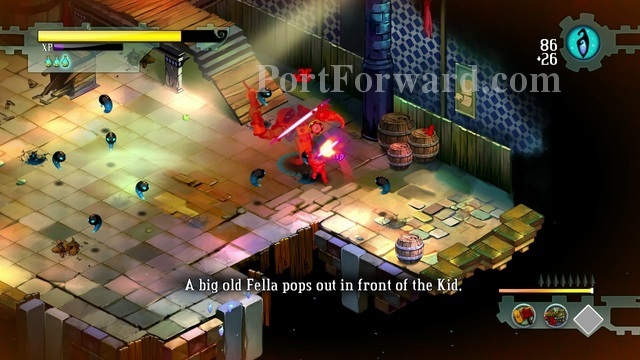
After a bit, squirts and a different version of the Gasfella will appear. This one has fast charge attacks, if you cannot dodge by rolling, i recommend blocking with the shield, which stuns them.
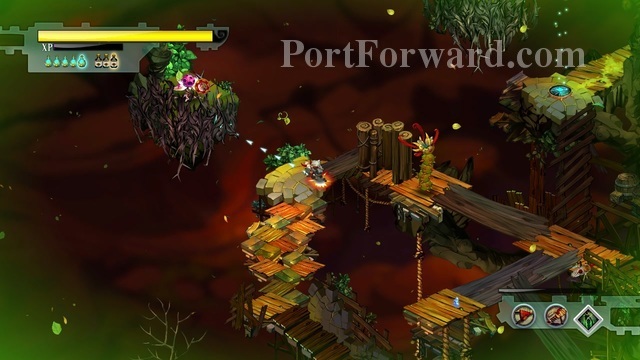
To get to the next area, you have to go next to the wall in the eastern side of the building.
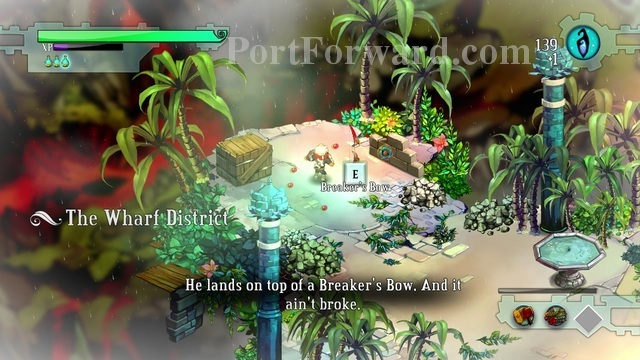
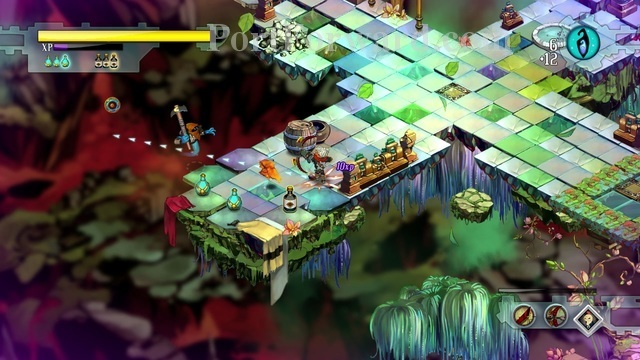
After falling down, you will find the Breaker's Bow, my favorite weapon.
To use the bow, you hold down the right mouse button and release after a certain ammount of time. The longer you hold, the more damage you will do, but there is a maximum ammount of damage you can do.
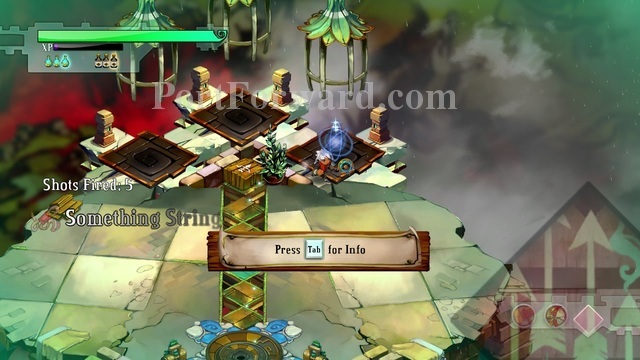
Before going to the next area, go south and you will find 'Something Stringy'. This is a crafting component, that i will explain later.
TIP: If you hold down the mouse button while firing with the Breaker's Bow, and you release the button right when your character flashes, you will deal the maximum ammount of damage you can, and your arrow will become shiny.
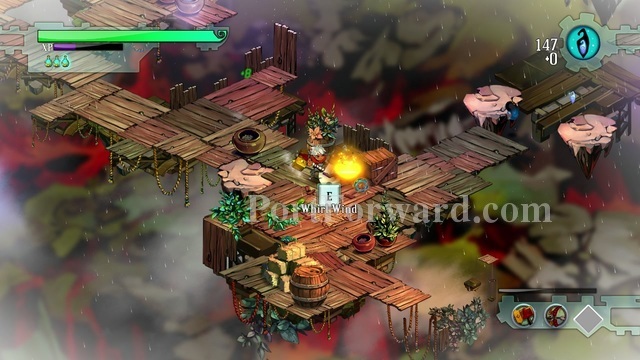
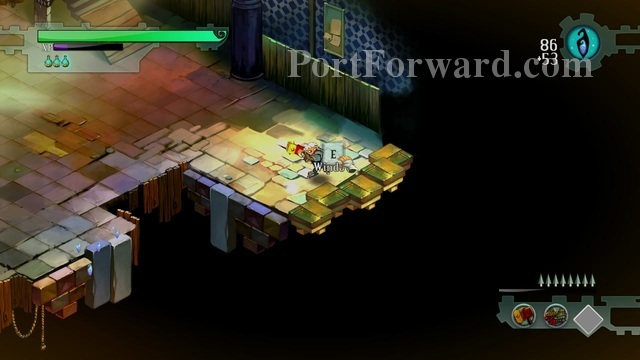
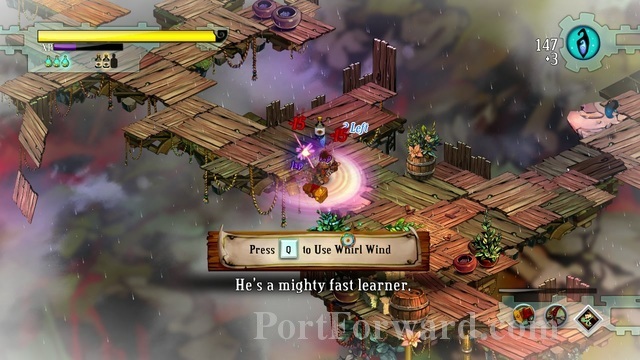
Soon you will find your first scroll, called "Whirl Wind".
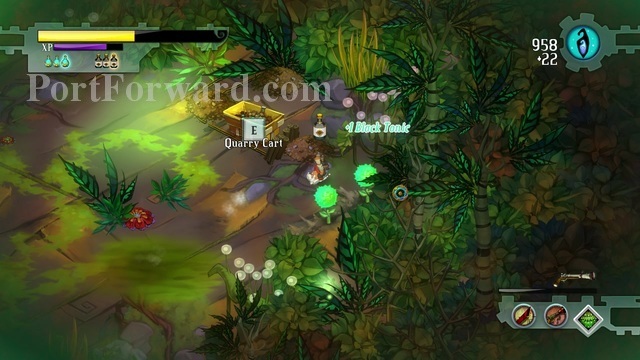
If you get a Black Tonic or a Potion while you already have the maximum ammount available, you will get experience instead.
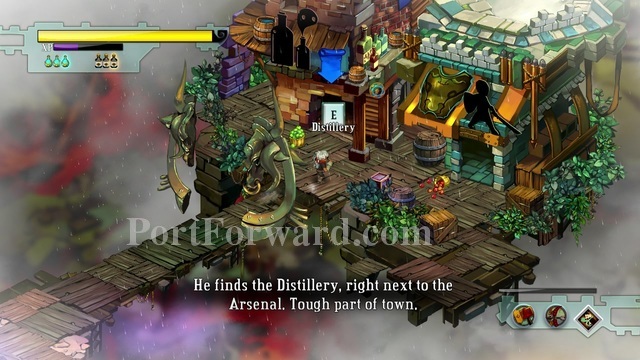
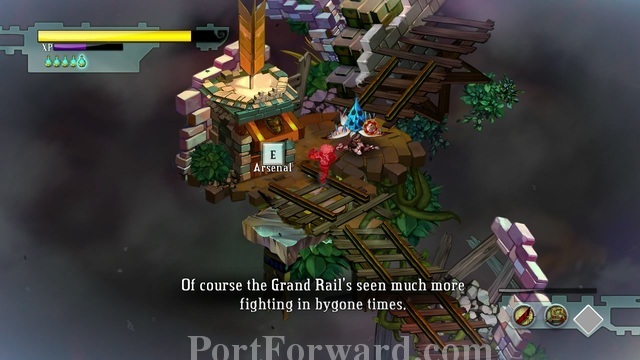
Moving forward, you find the Distillery and armory.
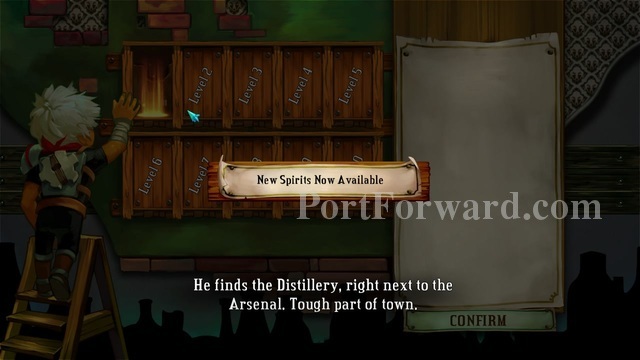
Every time you level up, you get a "Spirits Slot".
A "Spirit Tonic" is a passive effect that lasts while you have the "Spirit" equipped. You can always change the Spirits you have equiped at a distillery.
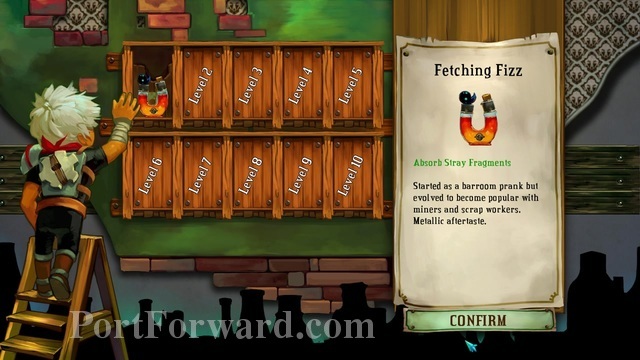
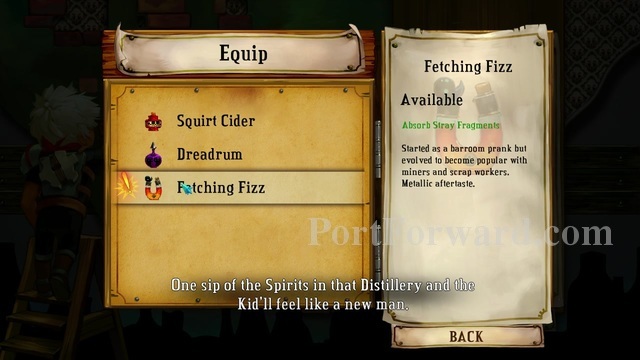
I will use the Fetching Fizz. It increases the radius you can pick up fragments from.
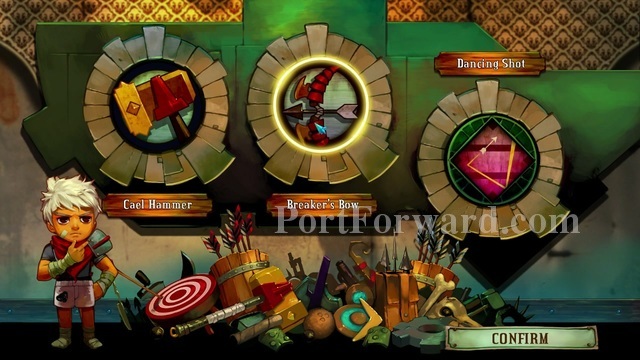
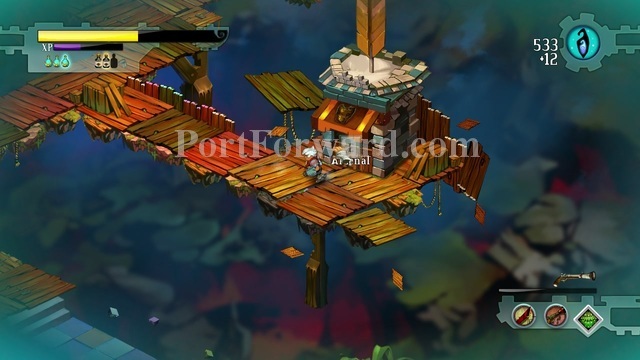
The arsenal is the weapons and scroll you currently have equiped.
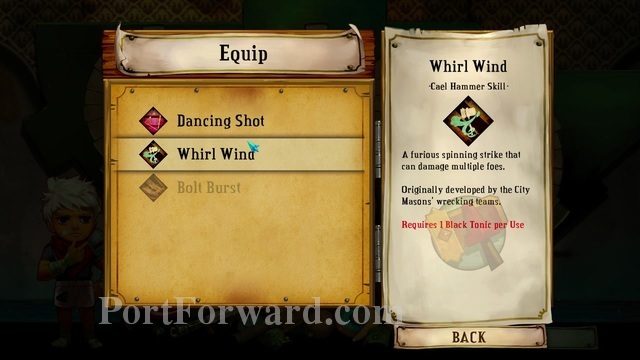
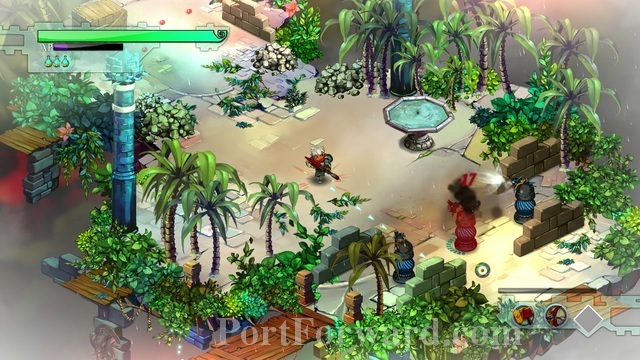
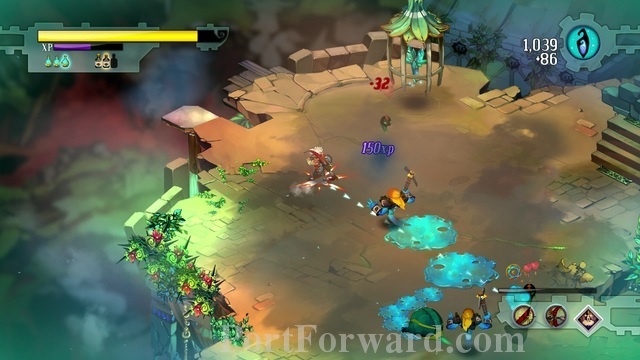
You start with three scrolls. Dancing shot is a Breaker's Bow spell, which shoots out an arrow that goes from target to target. Bolt Burst is a bit like Whirl Wind, but works with the Fang Repeater. It sends out bolts in all directions.
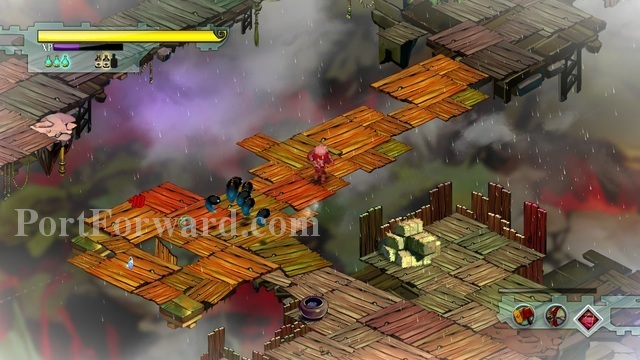
By using Dancing Shot...
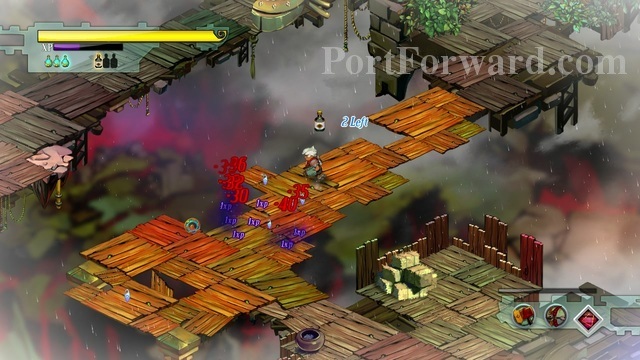
... I managed to kill about 7 squirts in one hit.
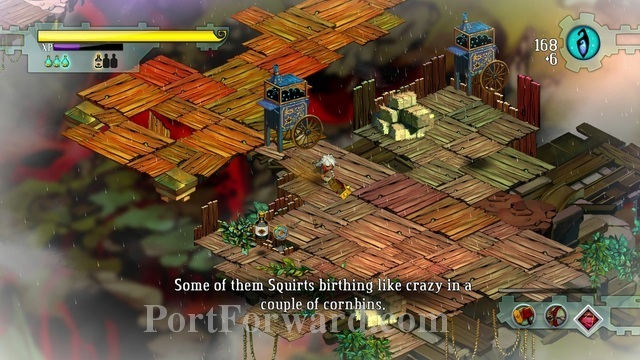
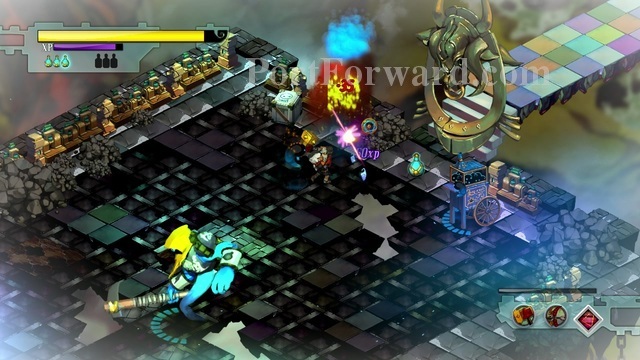
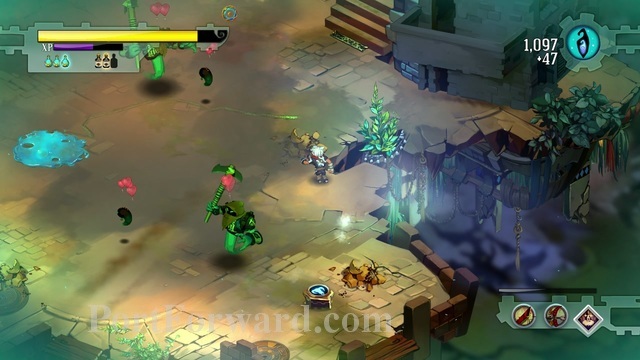
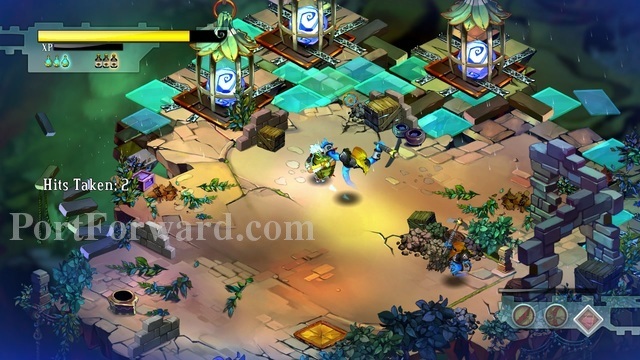
The blue arcade-like machines spawn squirts.
Better kill them before the squirts themselves.
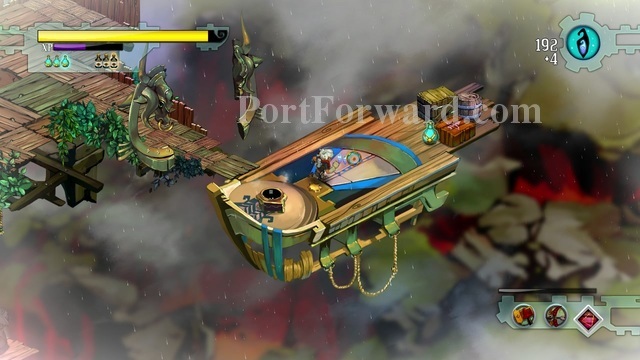
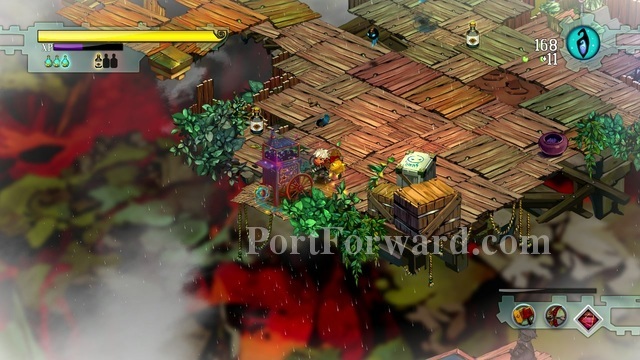
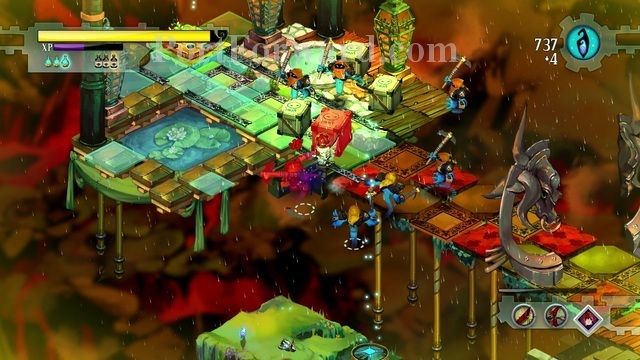
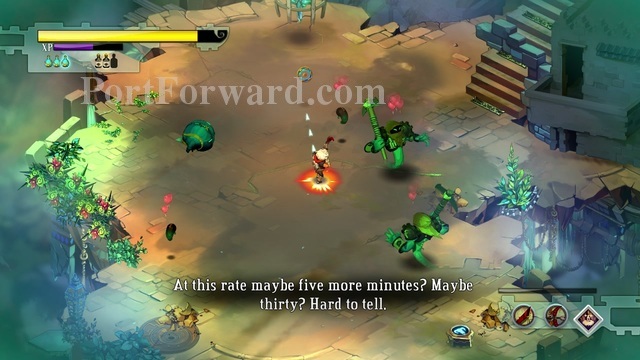
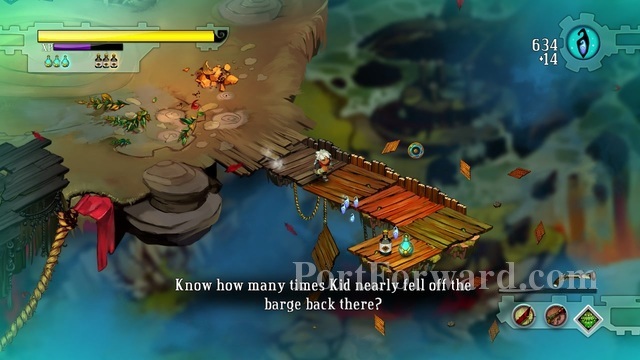
In this section, you are going to try to protect the vehicle-like contraption you are standing on, while it is transporting you.
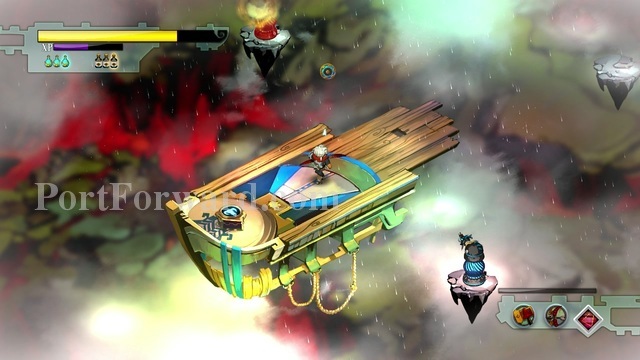
On the way, turrets and gasfellas will attack you.
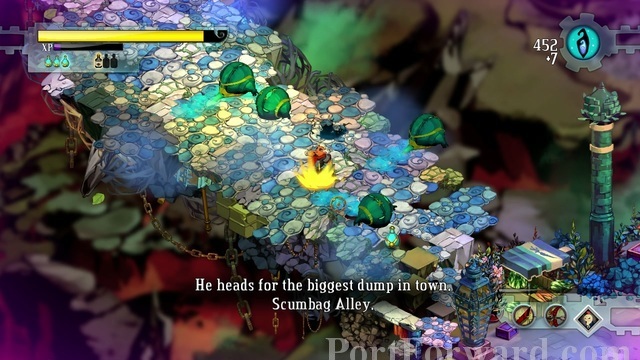
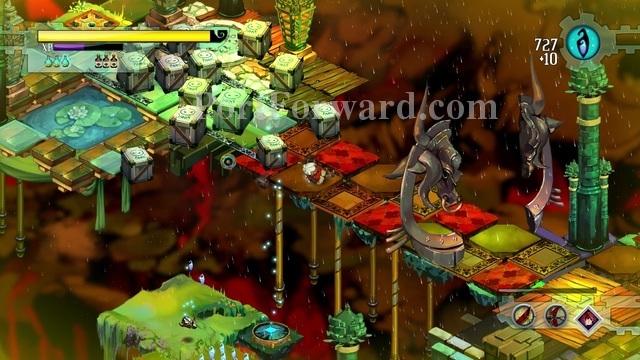
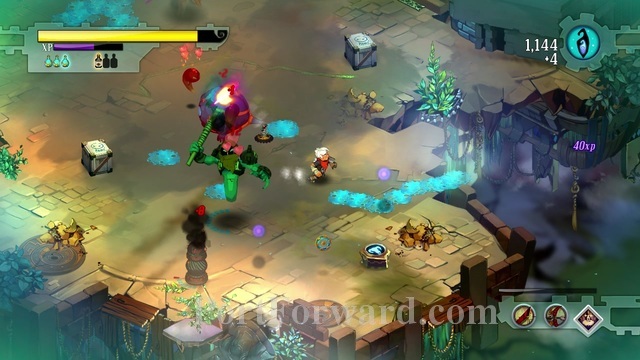
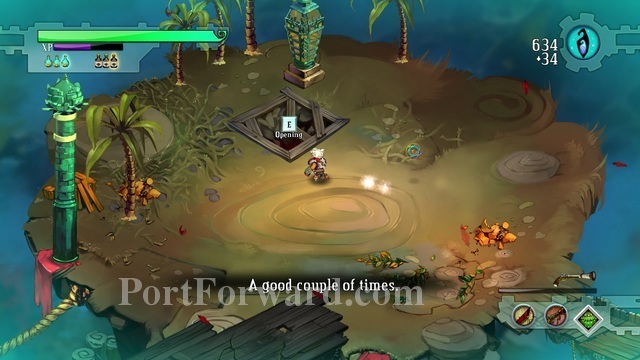
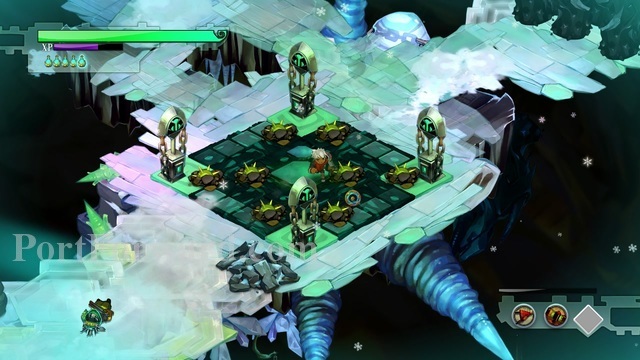
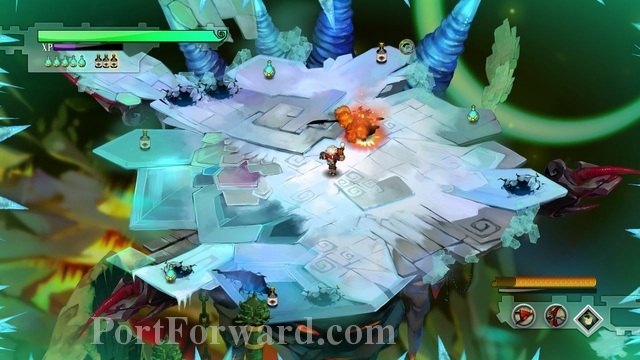
When you reach your destination, you will find yourself in an arena-like area again.
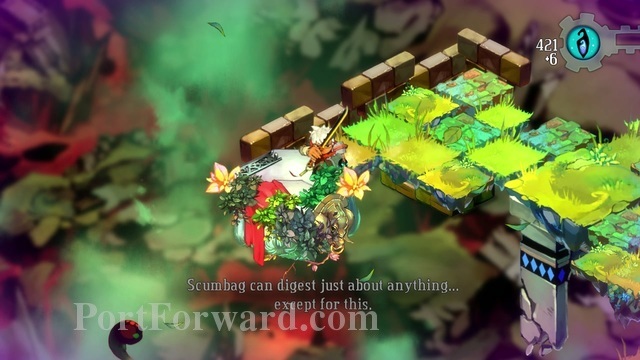
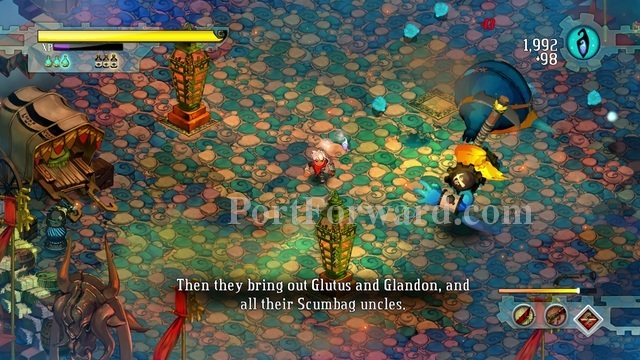
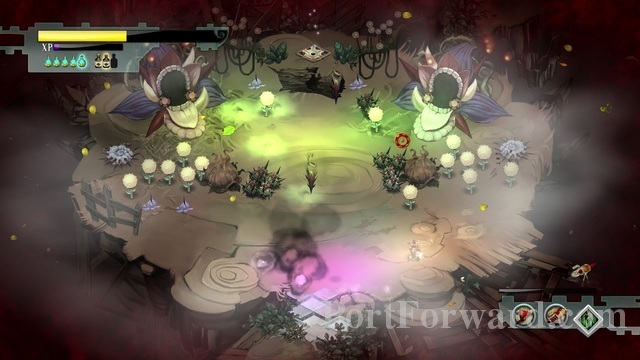
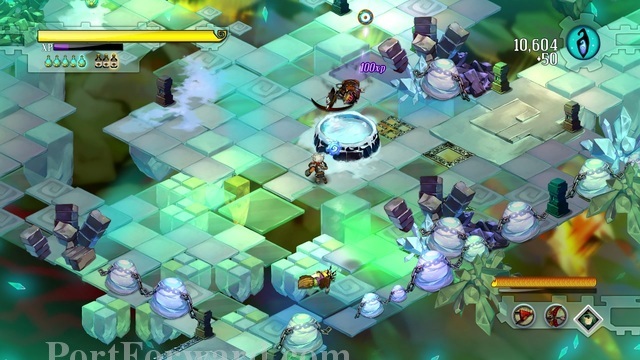
To start the arena, pick the crafting component "Something Heavy" from the middle.
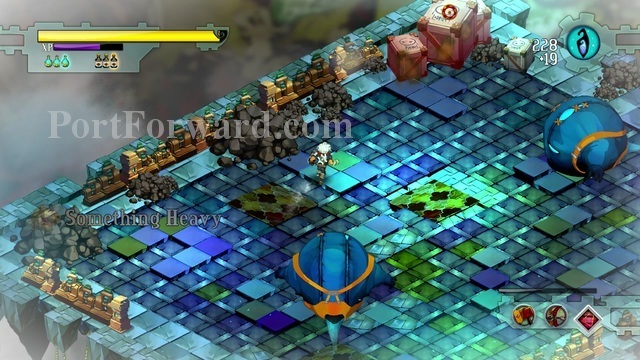
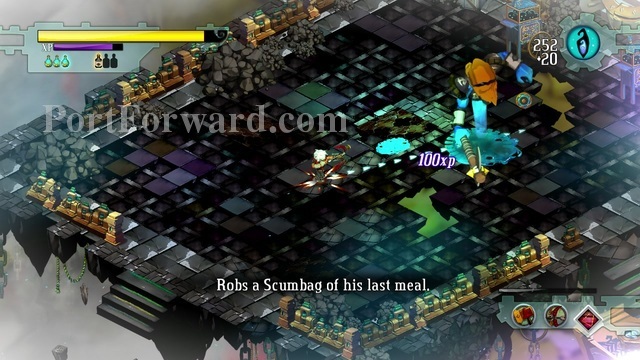
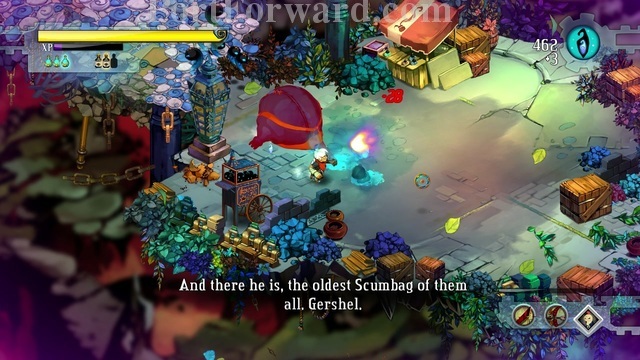
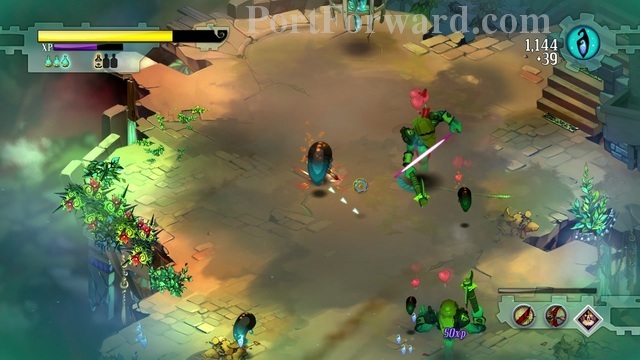
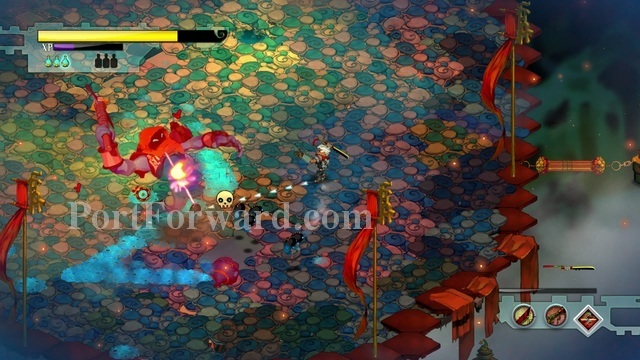
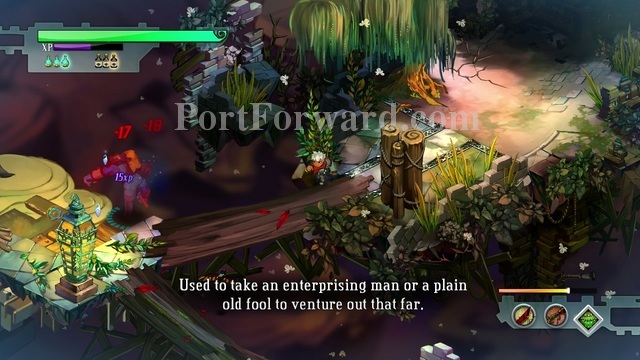
Two huge creatures, called Scumbags, will come.
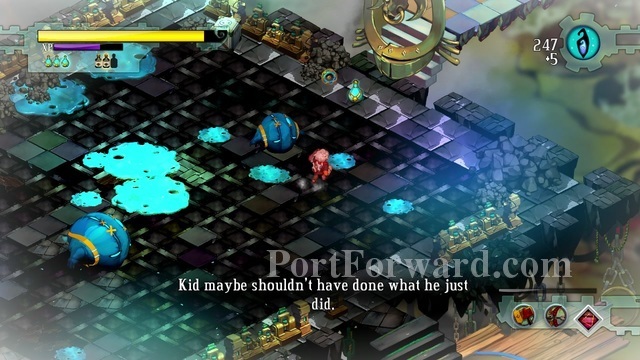
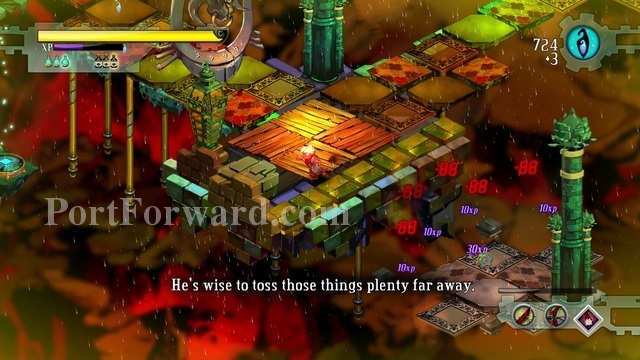
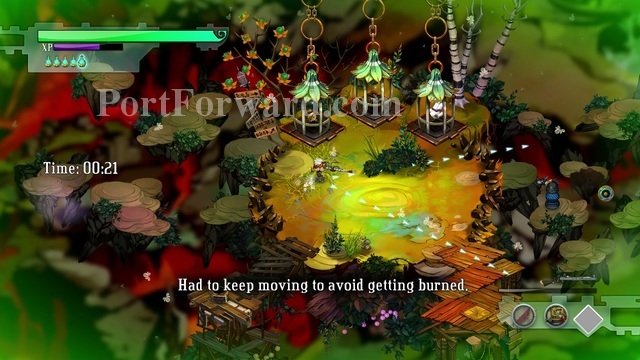
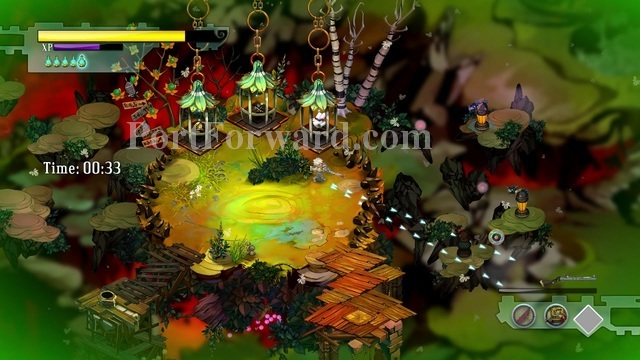
They throw goo at you, that slows you down and deals damage over time.

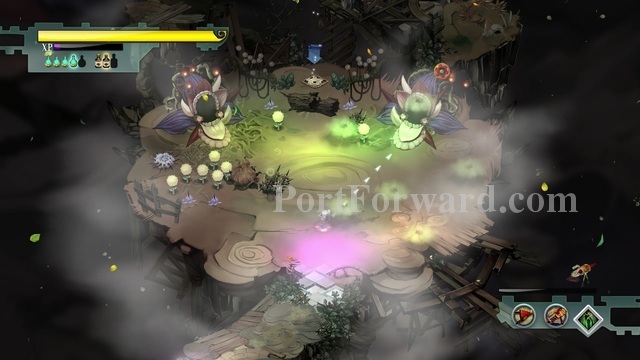
After a bit, a huge Gasfella will arive. He is really easy to dodge,
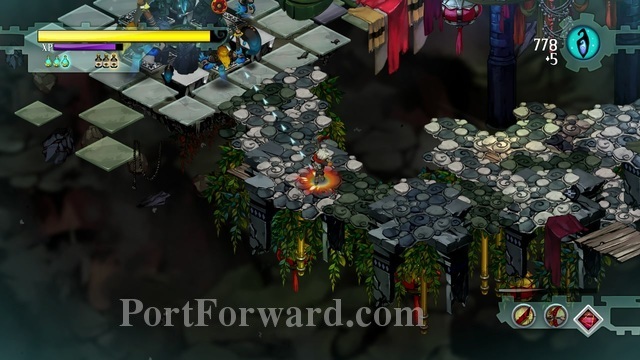
When he hits the ground he destroys the surface. You might fall down if you're not careful.
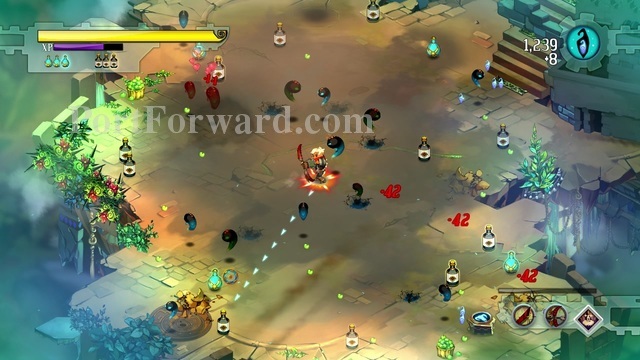
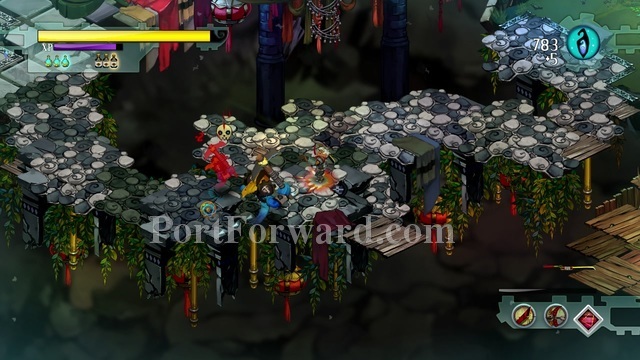
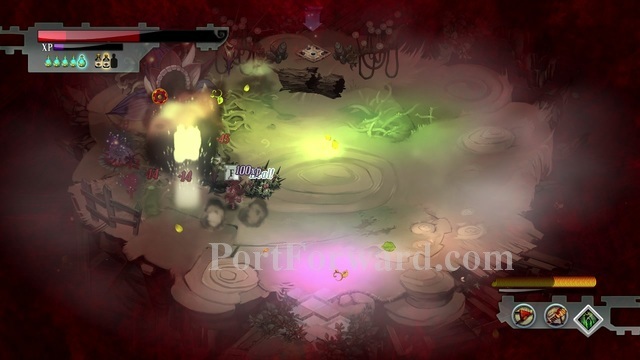
After a bit, 2 "Squirt-O-Matics" will appear. I recommend destroying them quickly.
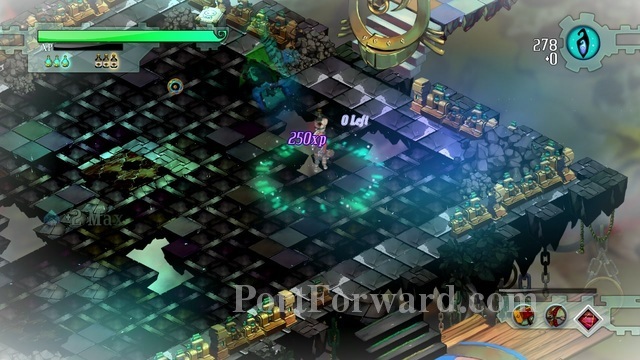
After you defeat all your oponents, you will gain a level. Gaining levels gives you Spirit slots and 2 maximum health points.
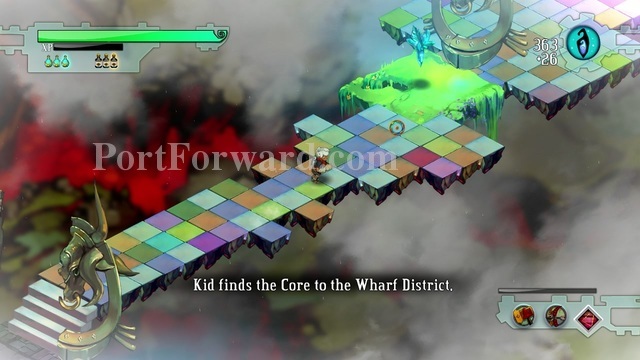
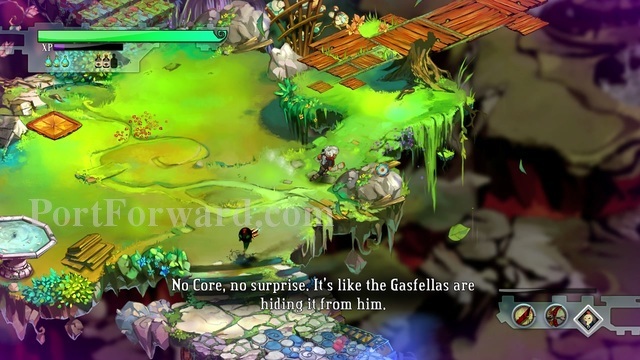
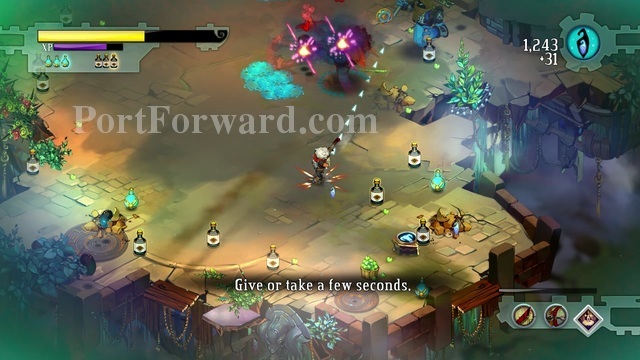
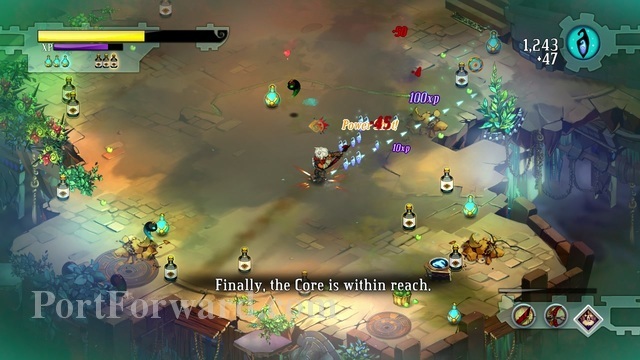
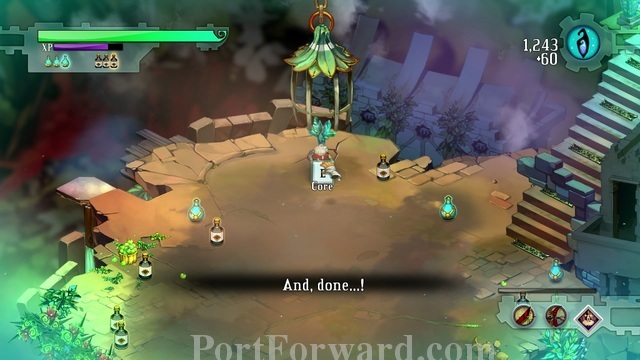
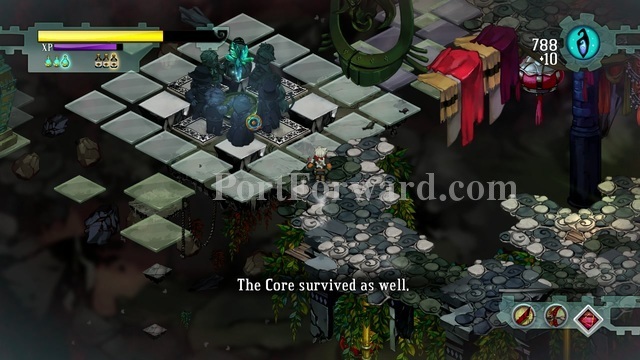
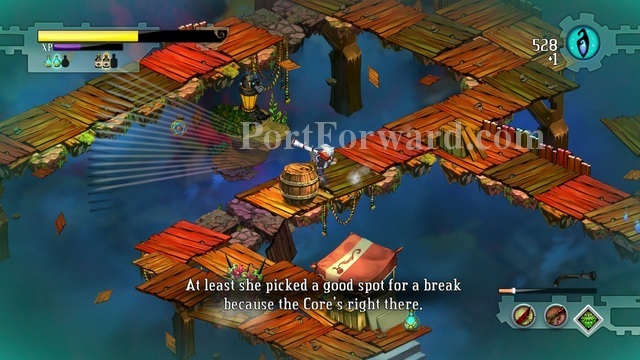
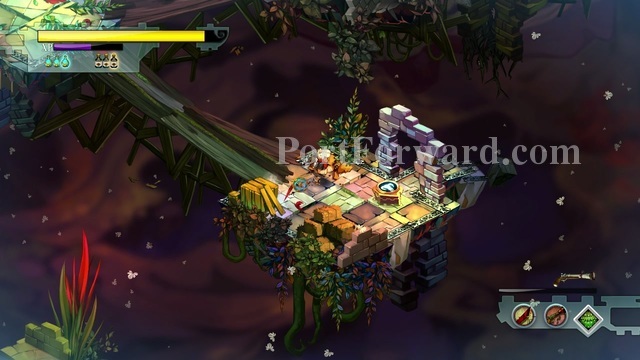
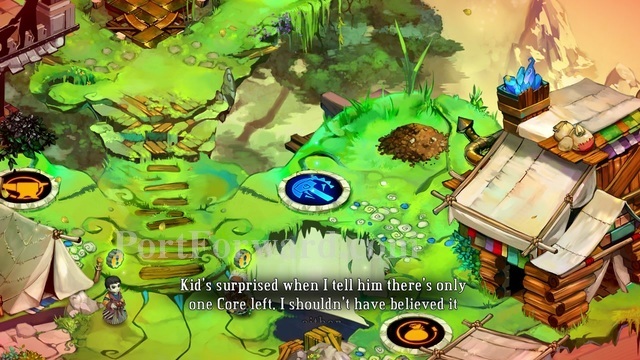
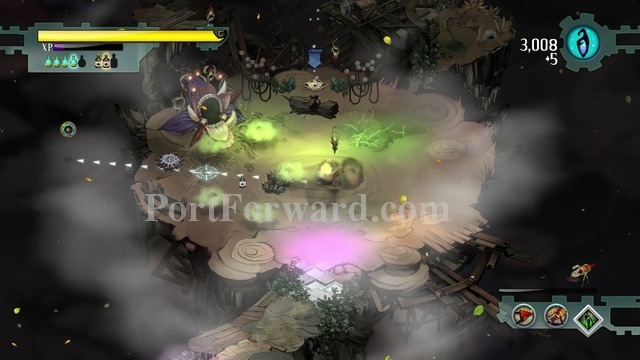
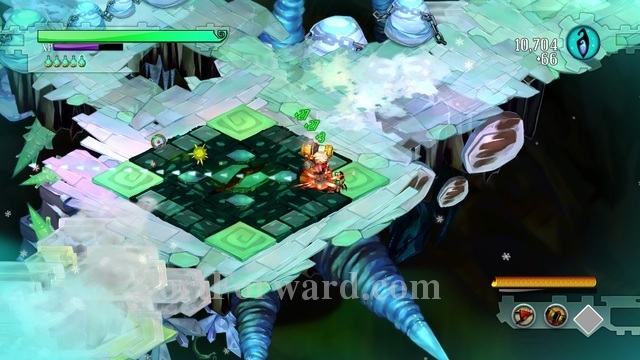
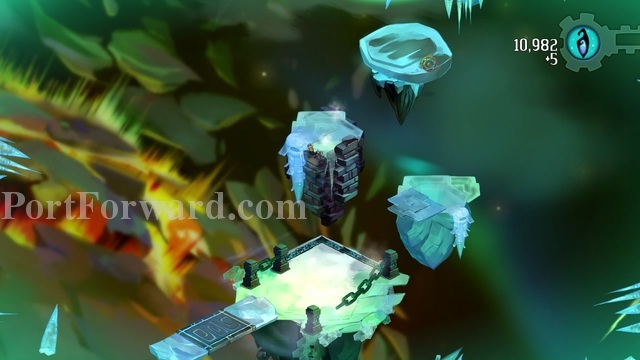
After the gauntlet, you will find a Core. Cores are the objects keeping the cities and areas in the sky.
After you get the core, the place will start falling apart.
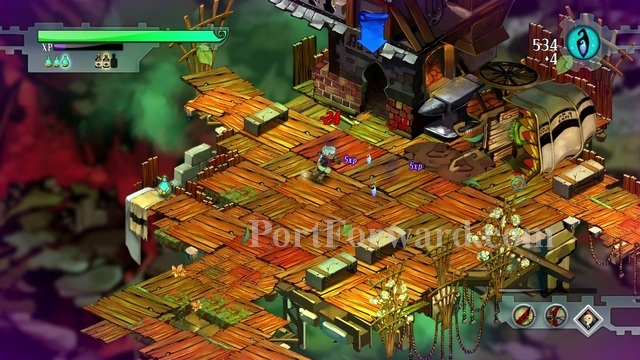
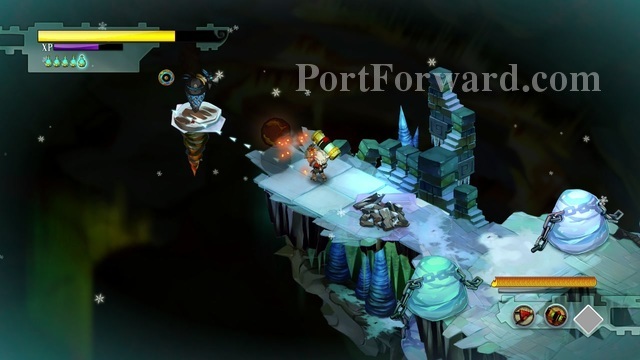
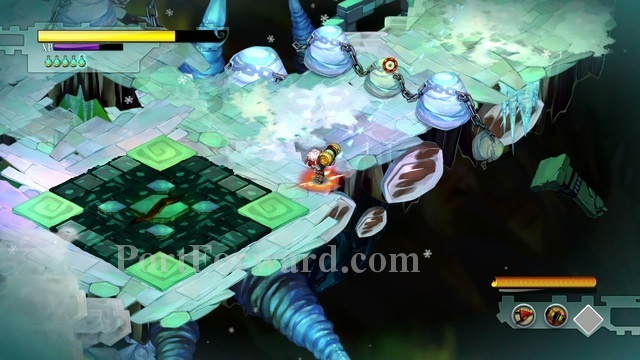
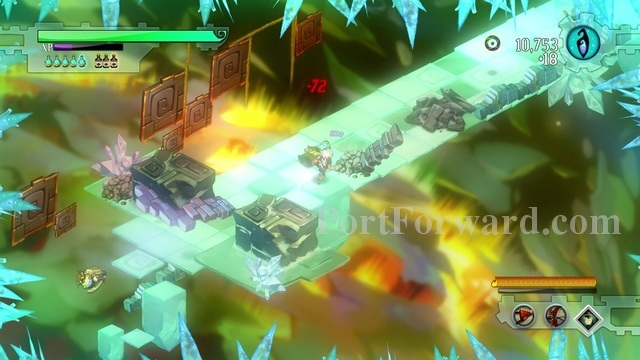
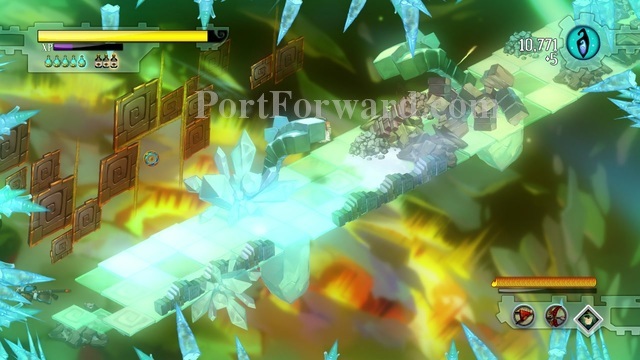
Turrets and baricades will block your way to the end of the level.
Better hurry up.
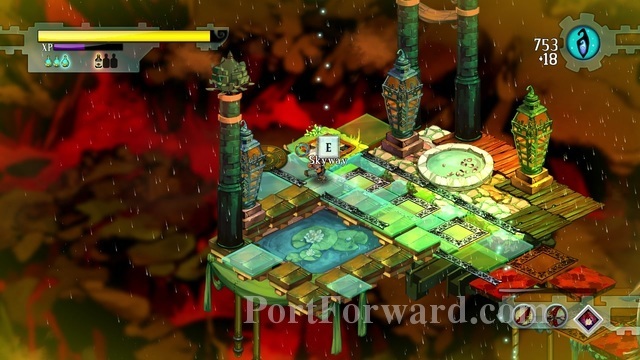
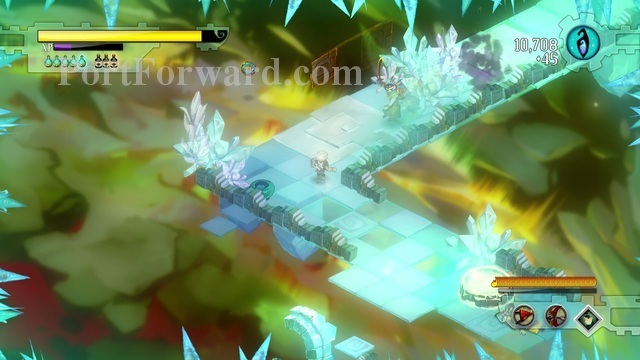
In the end, you will find a skyway. Usually, it means the end of the level.
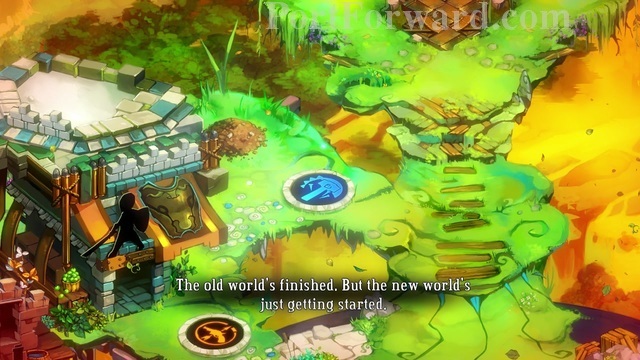
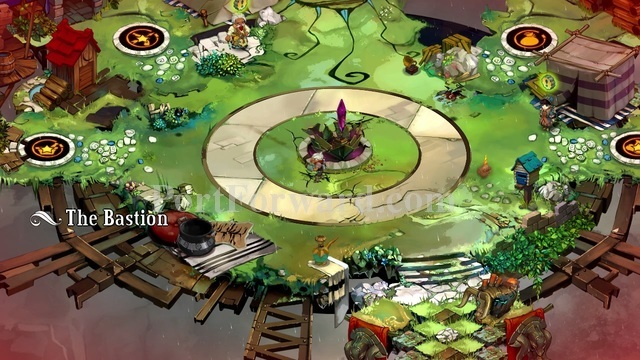
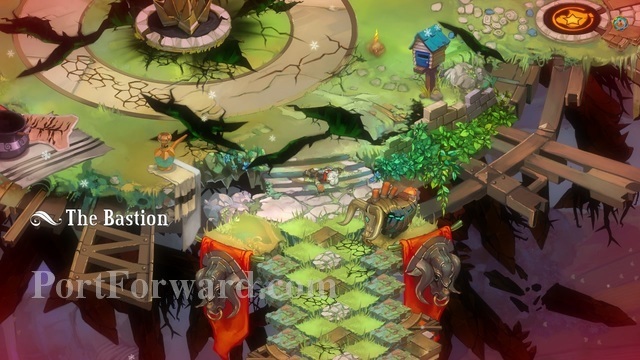
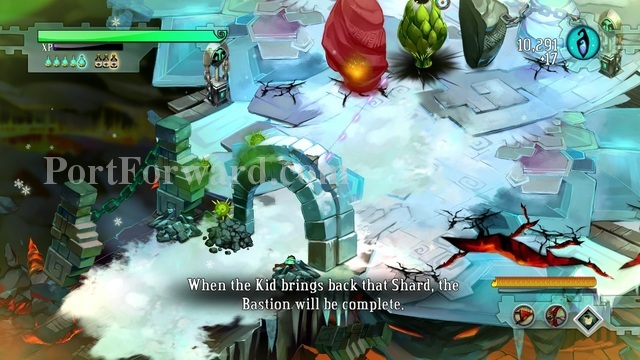
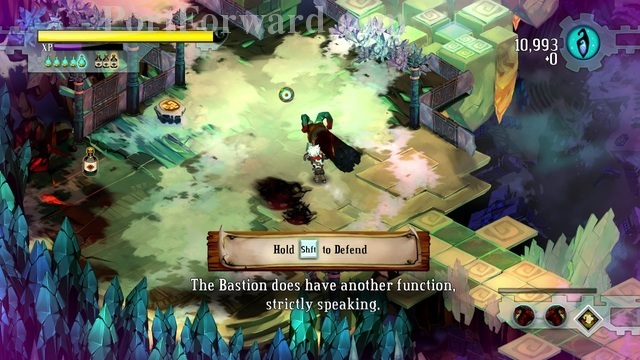
Bastion Walkthrough The Bastion
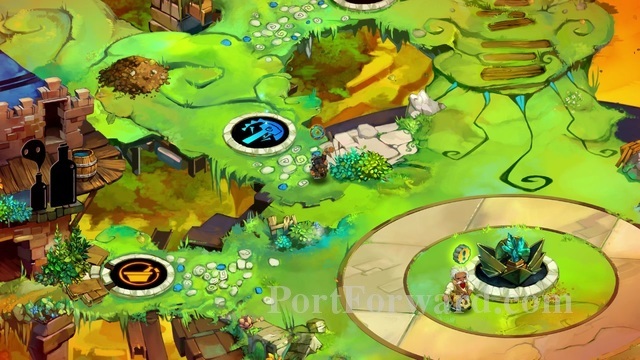
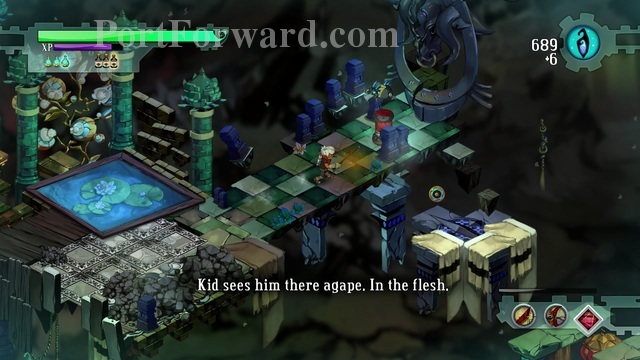
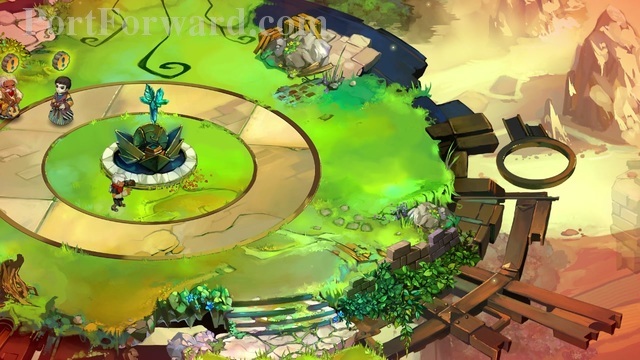
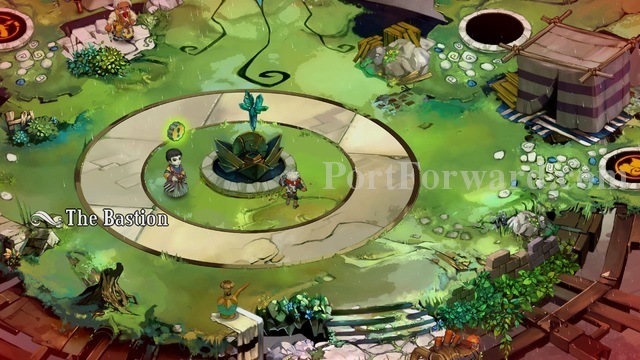
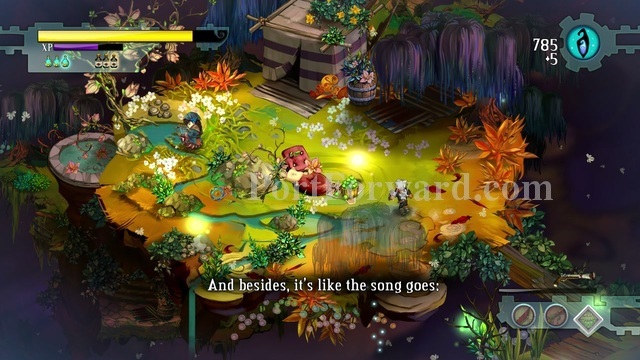
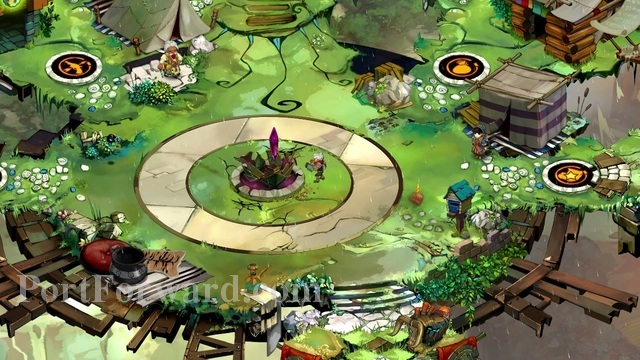
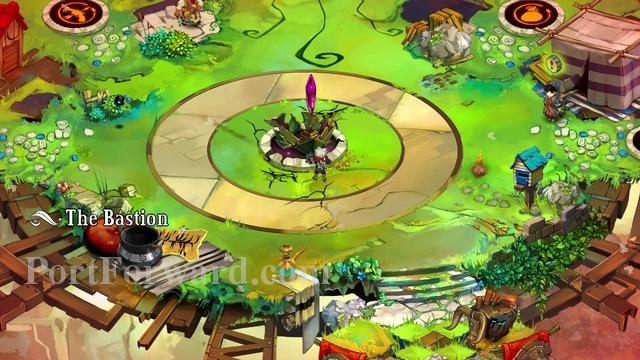
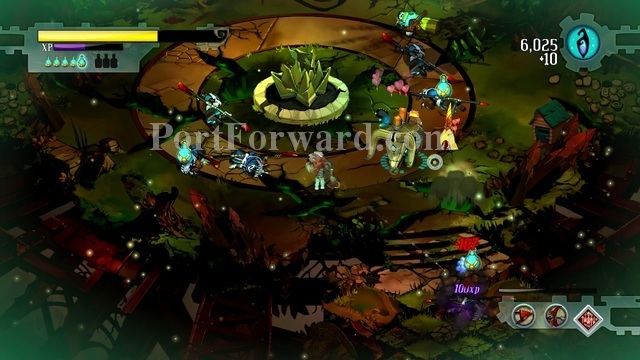
The next area you go into will be the place you will visit the whole game, it is the main area, called "The Bastion".

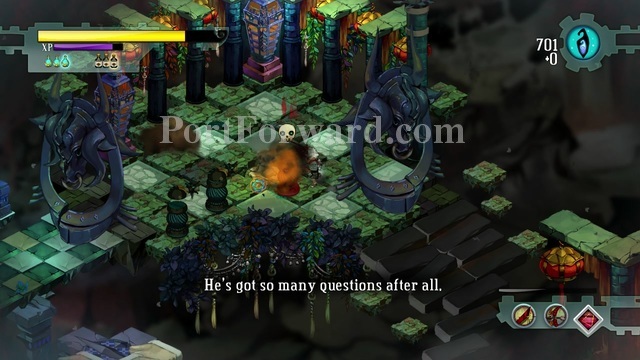
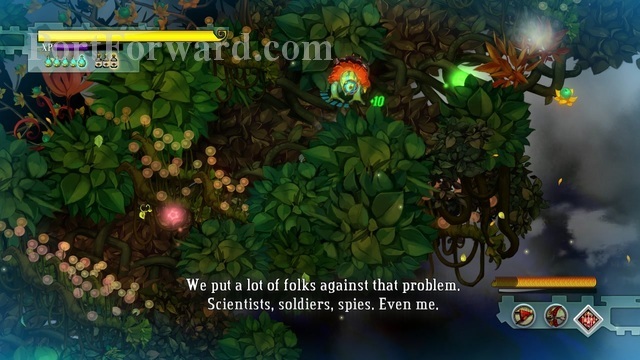
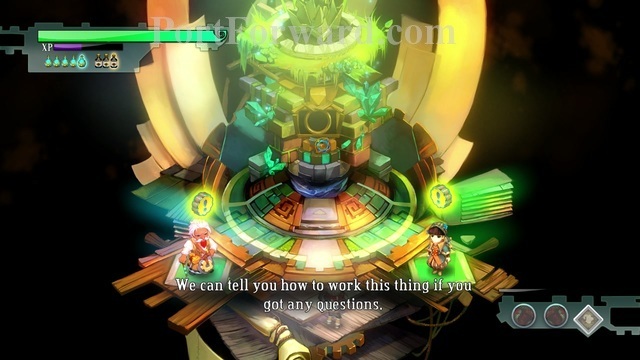
Here you will find an NPC.
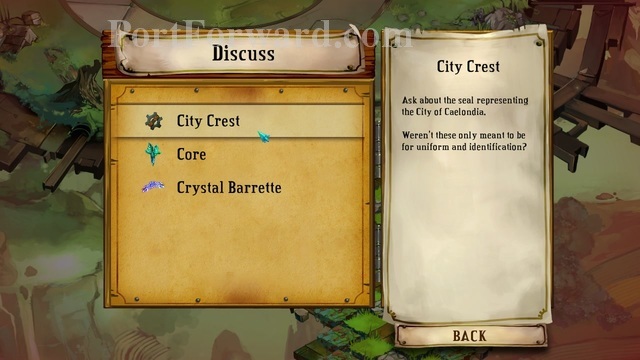
He will give you lore information about the items you have found.
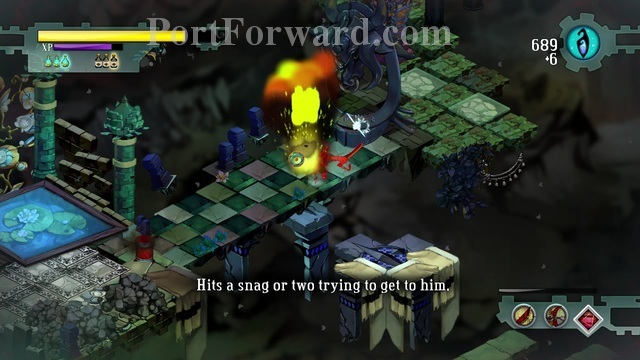
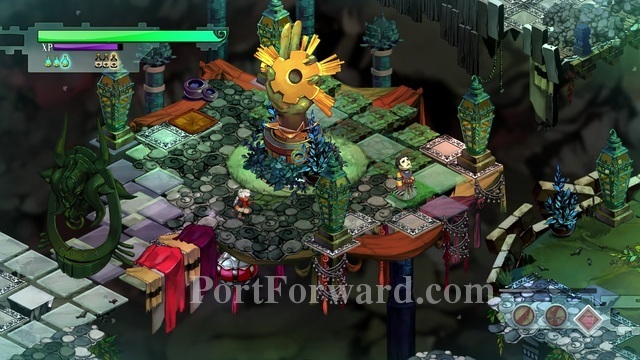
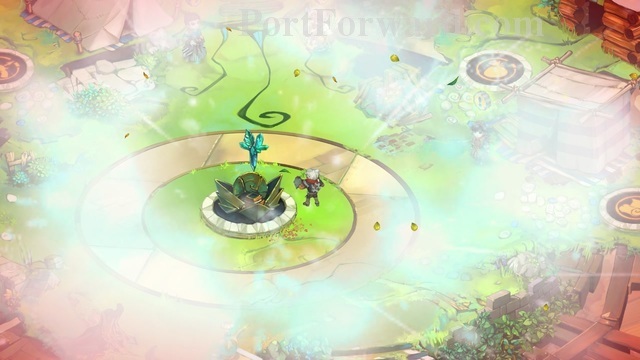
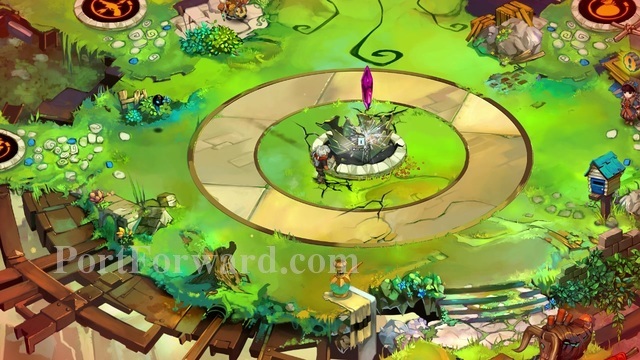
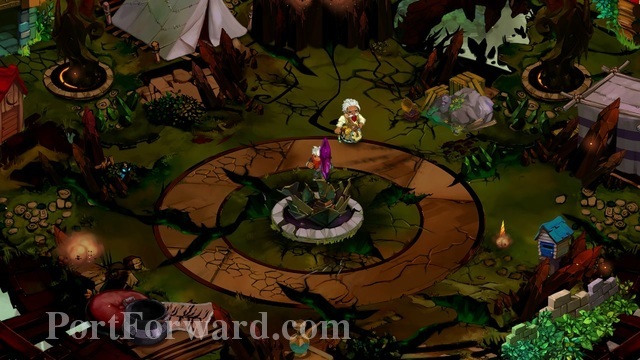
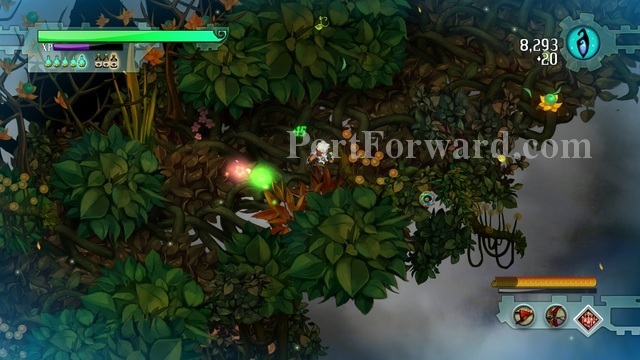
Remember the Core we took?
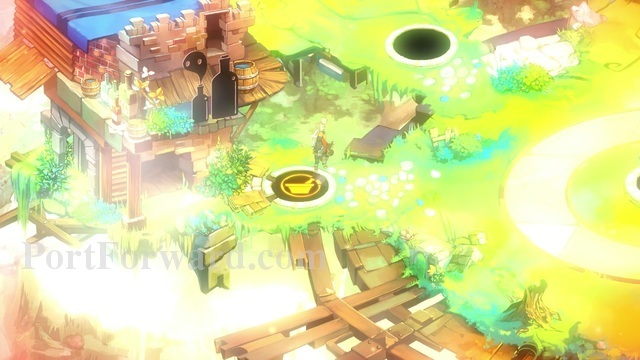
This is where we use it.
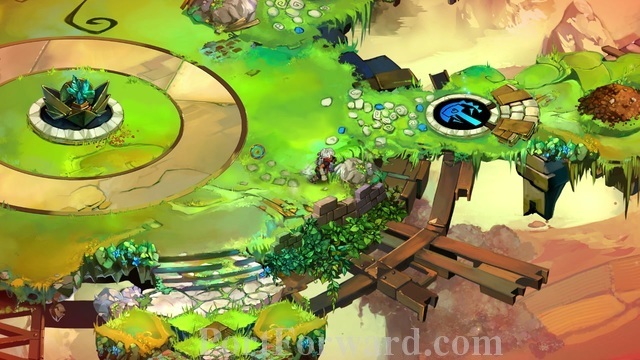
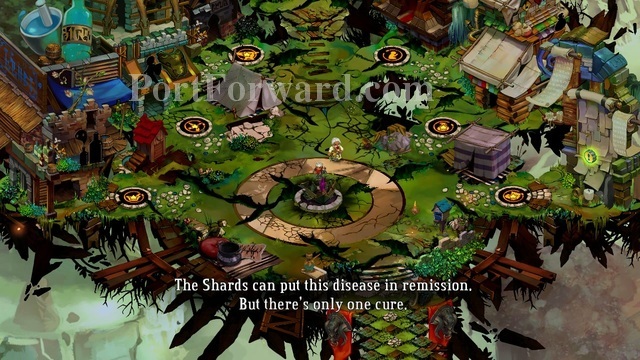
The blue circle represents that you are able to create a building there.
You can usually create building you have previously used.
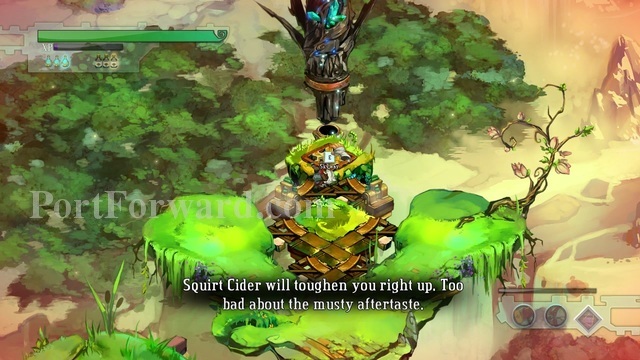
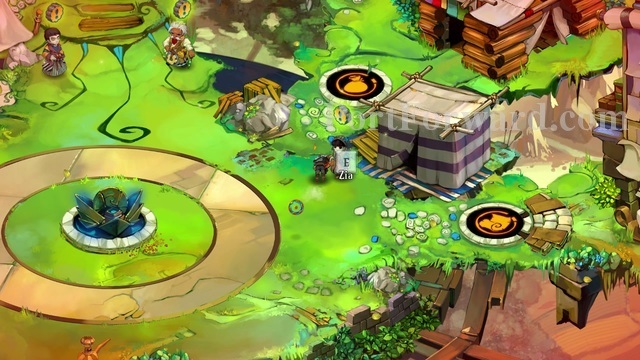
I recommend creating the Distillery, because earlier we gained a level and a spirit slot, which means we can put another passive effect to aid us in the future.
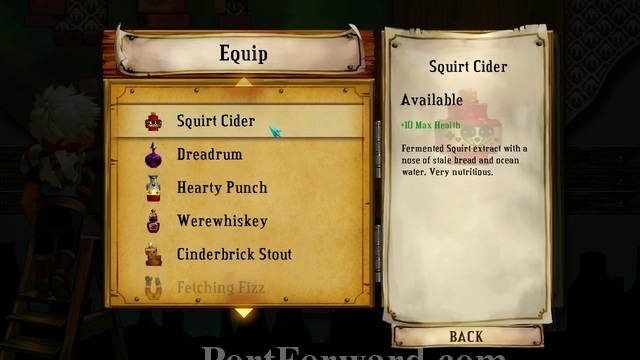
I chose the Squirt Cider because of the nice chunk of maximum health it gives us.
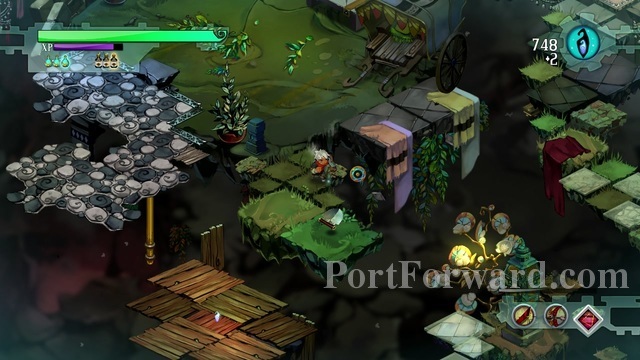
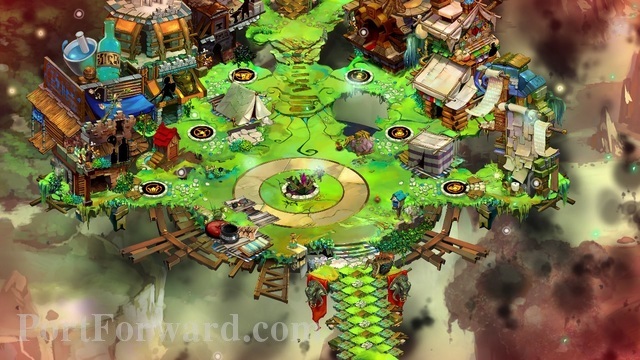
The next thing to do is go north to the Skyway.

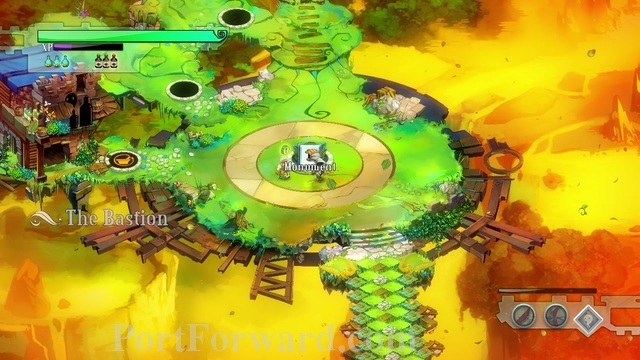
Here's the world map, all the missions are located here. Those represented with an icon of a weapon are usually challenges missions, and the others are mainly to get cores.
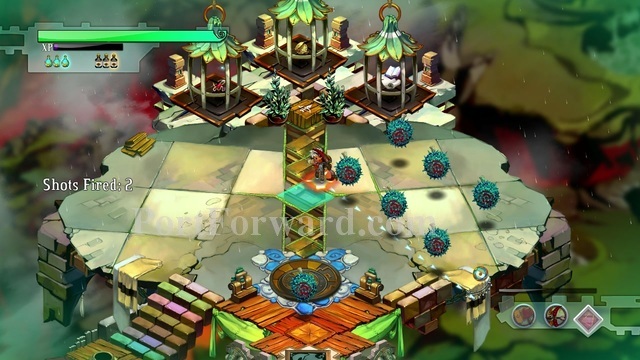
Bastion Walkthrough Breaker Barracks
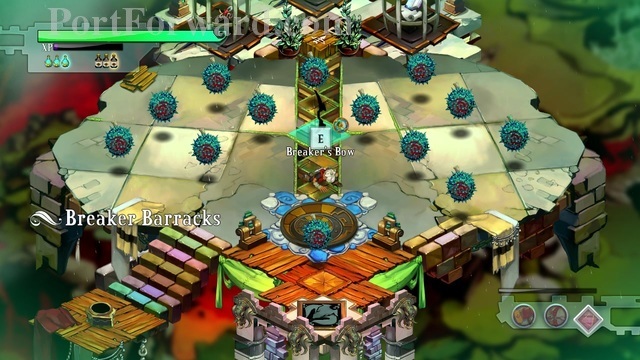
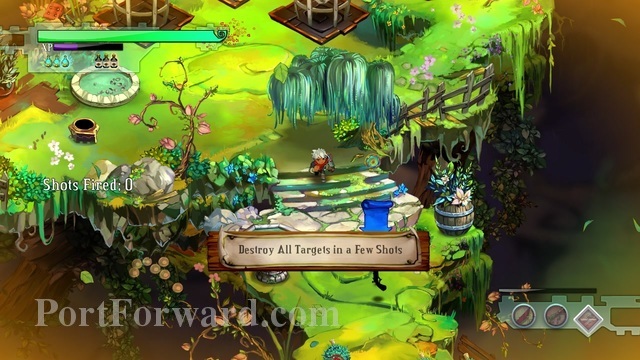
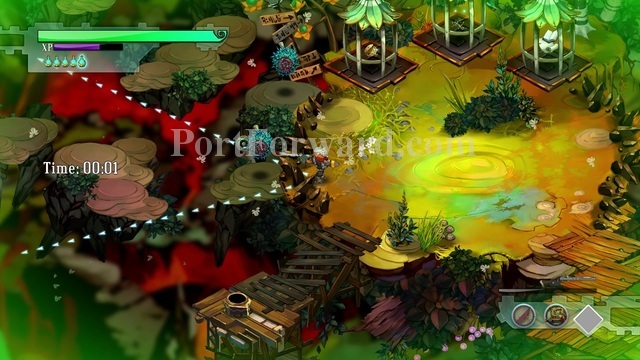
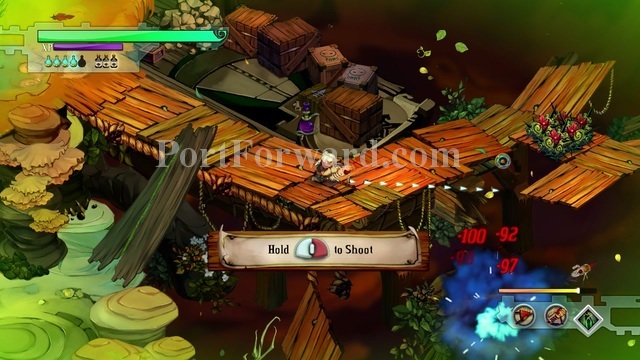
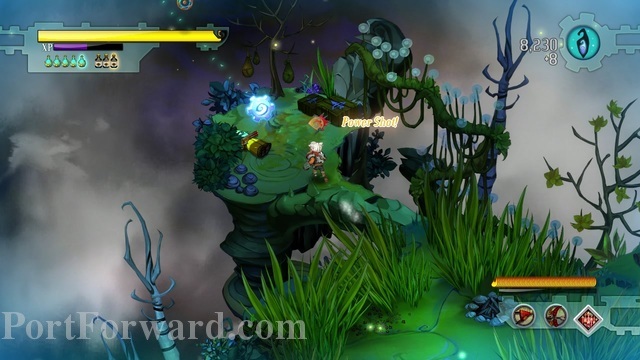
To start the challenge, you have to pick up the weapon it is for.
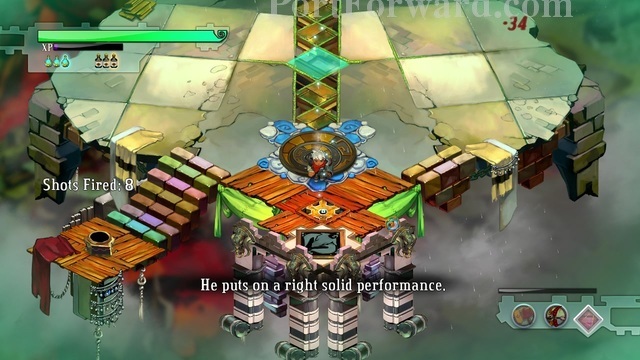
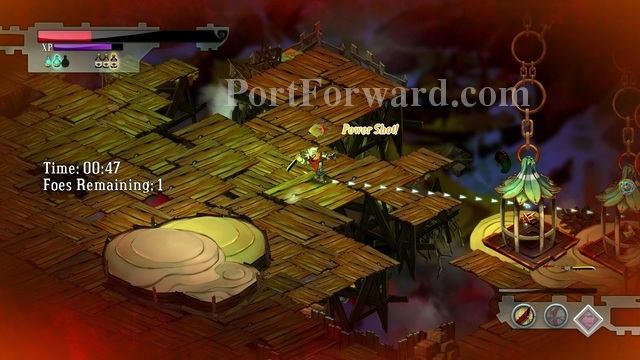
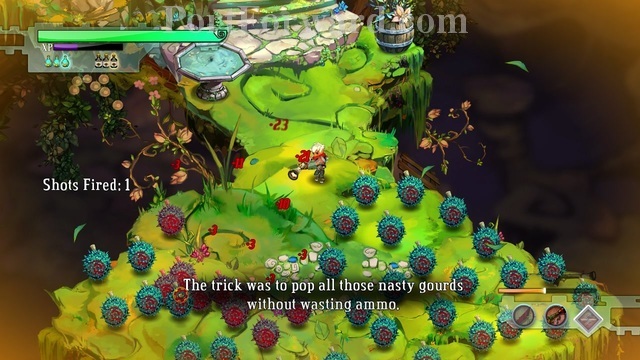
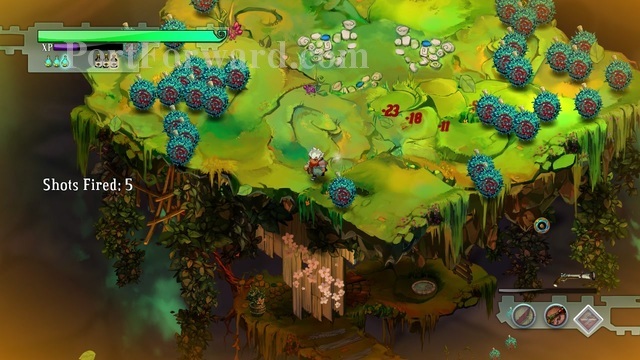
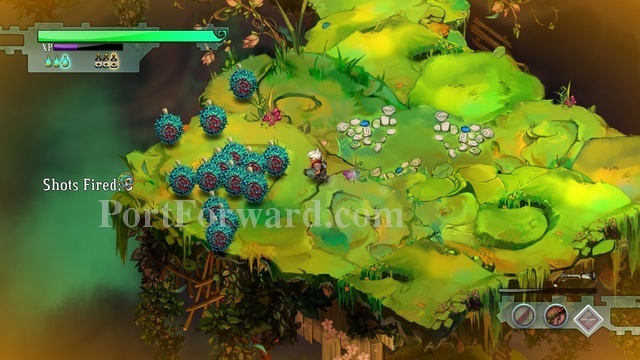
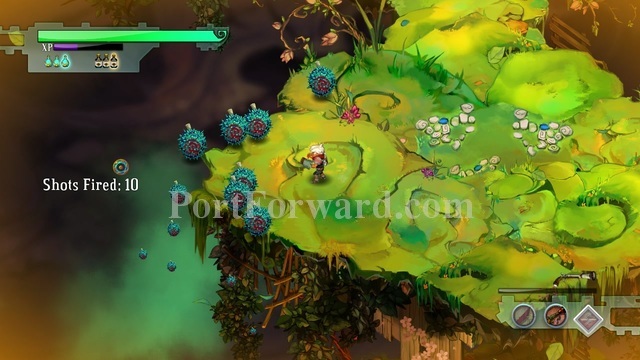
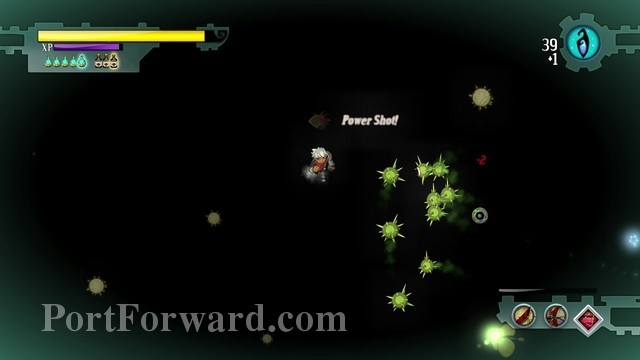
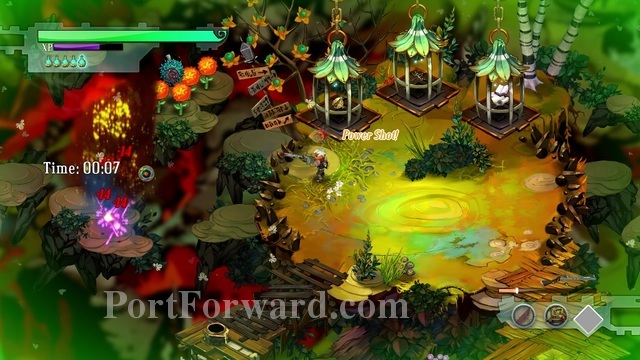
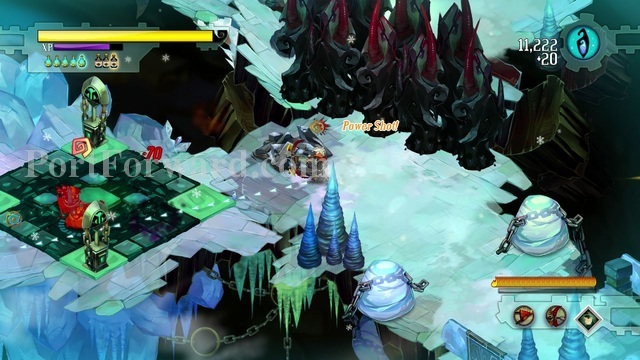
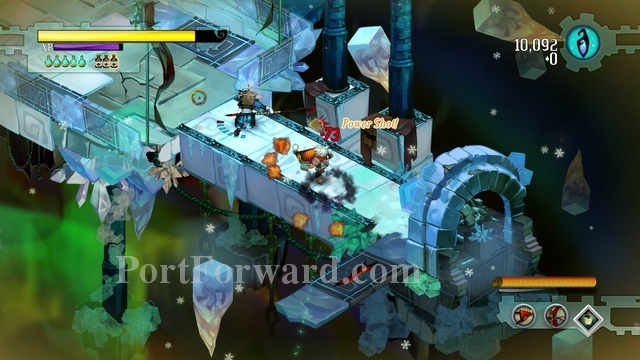
To win the Breaker Challenge, you must destroy all the targets with as few shots as possible.

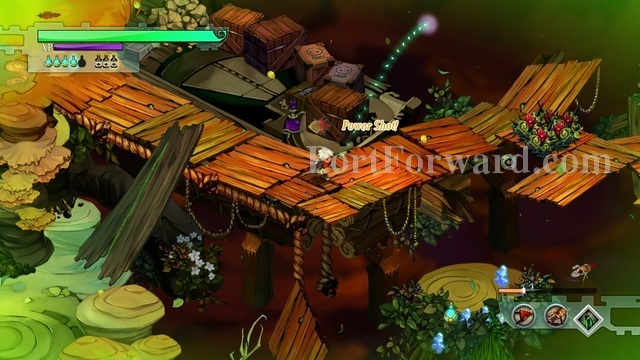
To do this, you must hold the right mouse button until you flash, executing a power shot and destroying the targets in only one shot.
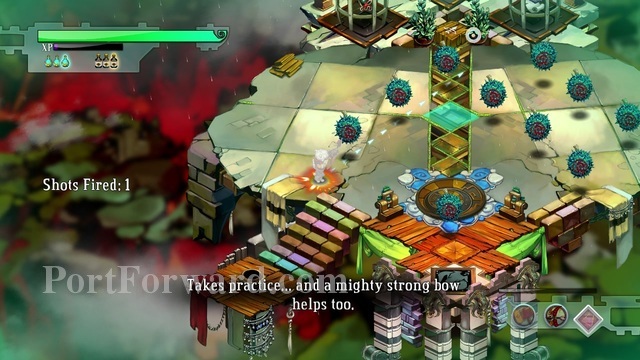
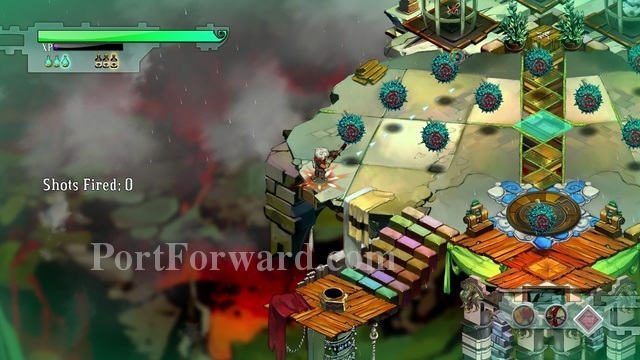
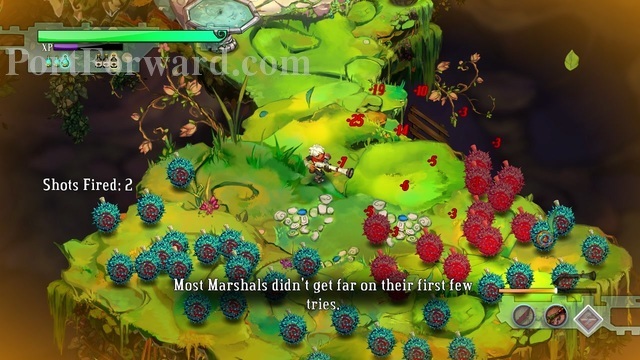
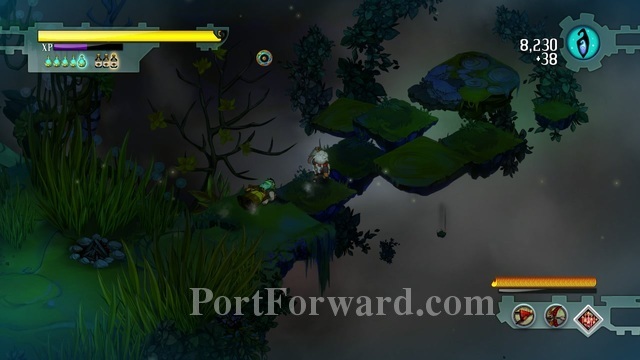
I will show how to destroy all targets in 5 shots overall.
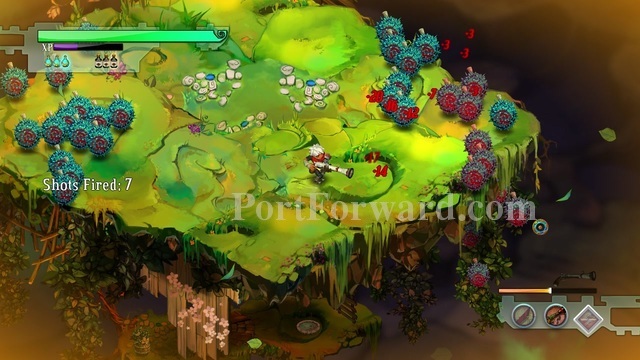
Here.
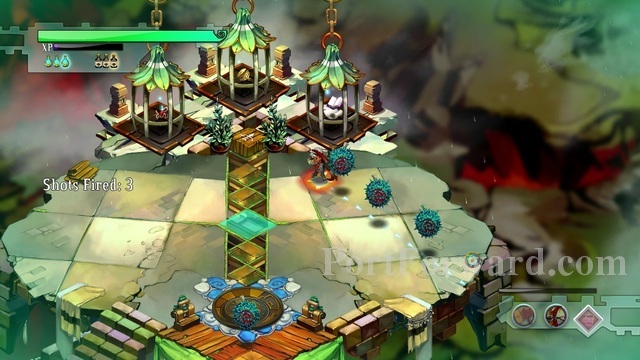
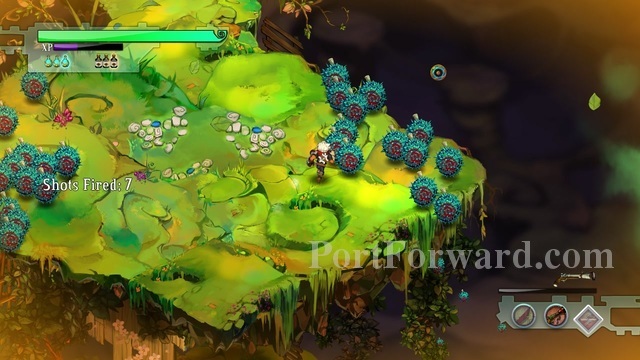
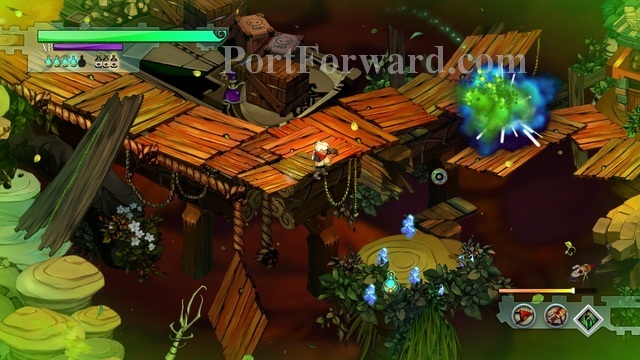
Here.
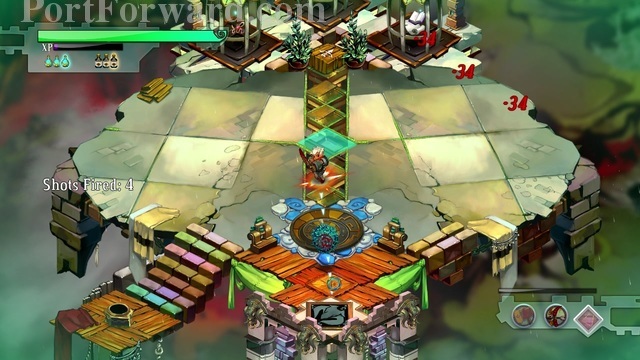
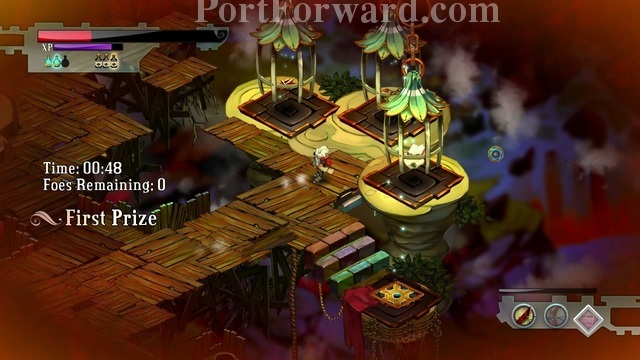
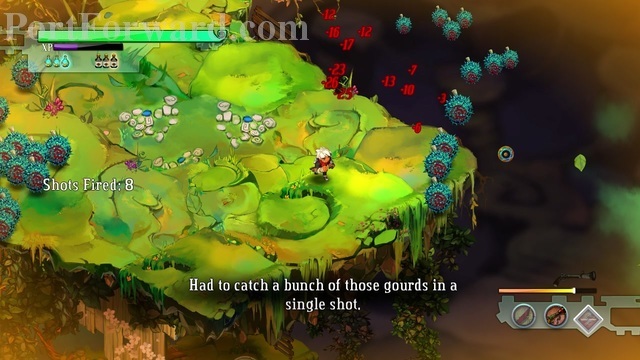
And the last one.
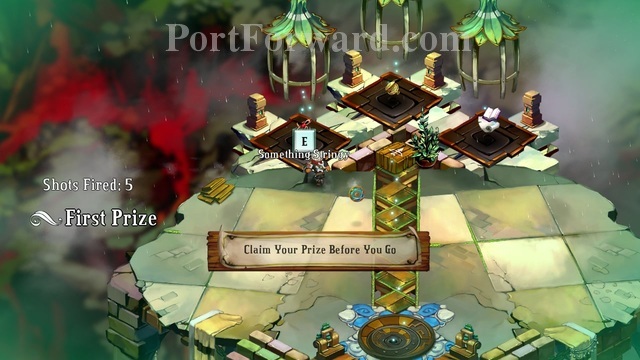
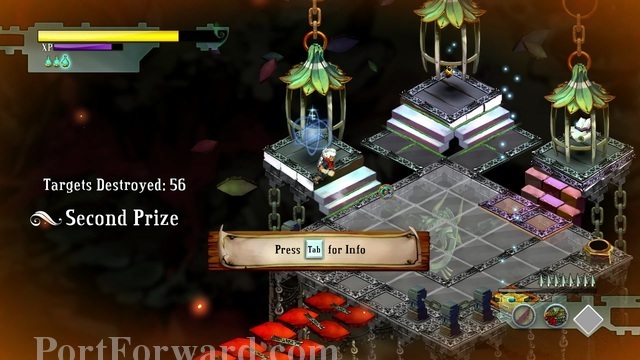
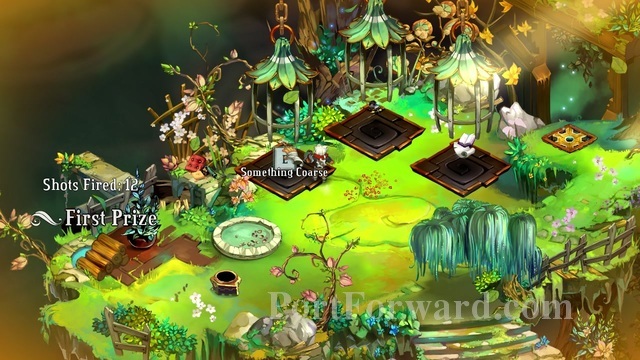
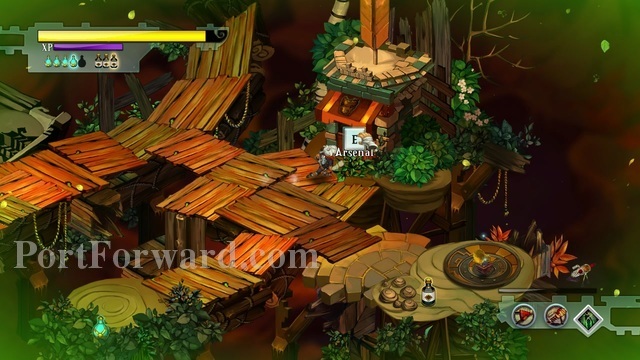
Usually, after defeating a challenge, the first reward is a crafting component for the weapon the challenge it is for.
The second reward is a crafting component for a random weapon.
And the final reward is a scroll for the weapon the challenge it is for.
To return to the bastion, go south to the Skyway.
Bastion Walkthrough The Workmen Ward
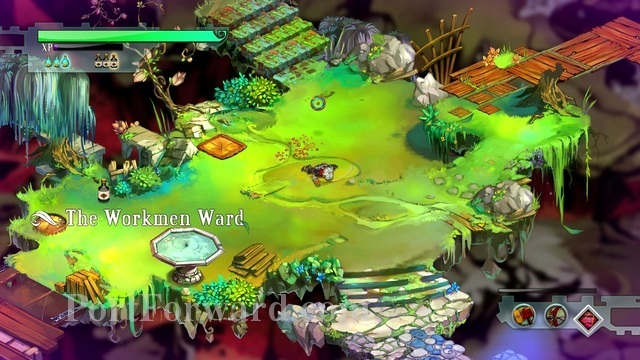
The Workmen Ward is split in 4 parts. We will explore them counter clockwise, starting from west.
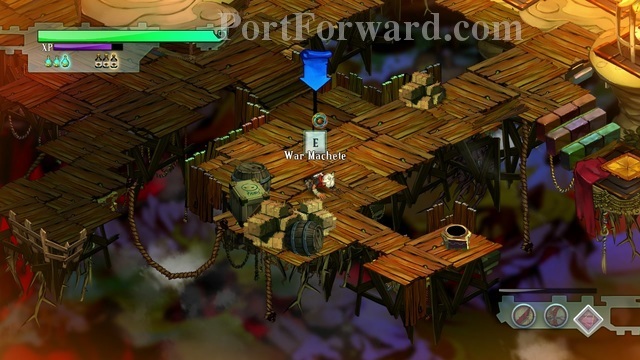
In here, you will find some squirts, but more importantly, notice the sword on the left.
This is the War Machete. It is an incredibelly fast melee weapon, which you can also throw. It's like the Fang Repeater and Breaker Bow combined into a melee version. To throw it, press and hold the left mouse button and release when the Flash occurs, like the breaker bow.
Continuing west, you will find the scroll called "Squirt Lure" It gives you a little cute but pretty durable, you can use it to draw enemies away from you.
We return to the start, where a few squirts will meet us. Next we go south.
On the way, you will get surrounded by a few Scumbags. But don't worry, because they are silly enough to jump off the surface and suicide.
Next, you meet a really big Scumbag. He isn't too different from the ones you met before, just bigger and a bit harder to kill.
We go back to the starting area and then we go east.
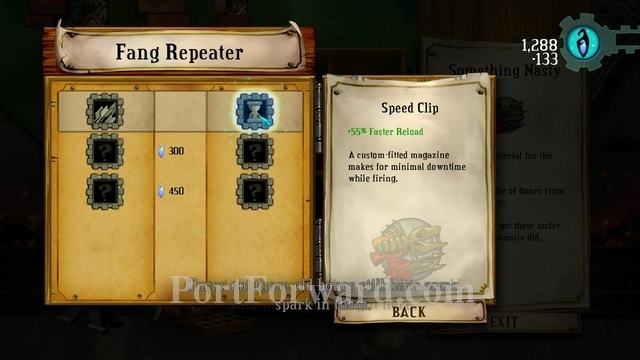
Here you will find your first forge.

The forge is really easy to use. Just press on one of the materials you have found and you can press on an upgrade you want.

For instance, the first 2 Breaker Bow upgrades are Target Penetration, which means that after you shoot, you will hit more targets after the first one. And the second one, is charge speed, which means that the "Flash" will appear faster when you're holding the right mouse buttons. Upgrades which appear in a row are mutually exclusive, but you can always change your upgrade for free if you spent your money once.
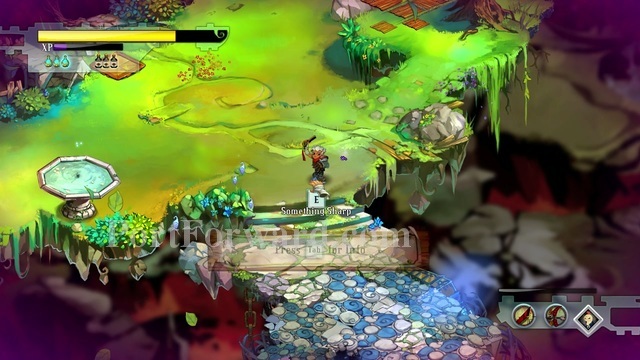
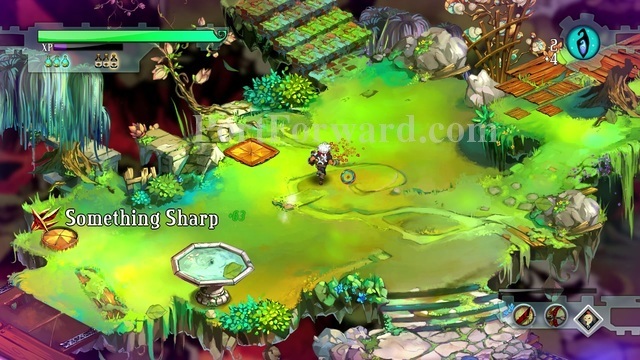
In the middle of the map, "Something Sharp" should have appeared, which is a crafting component for the War Machette.
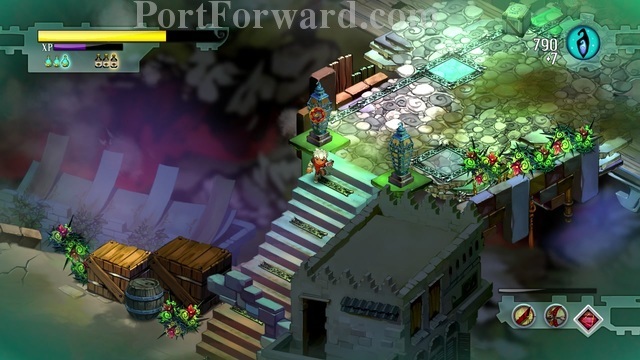
Finally, we will go north.
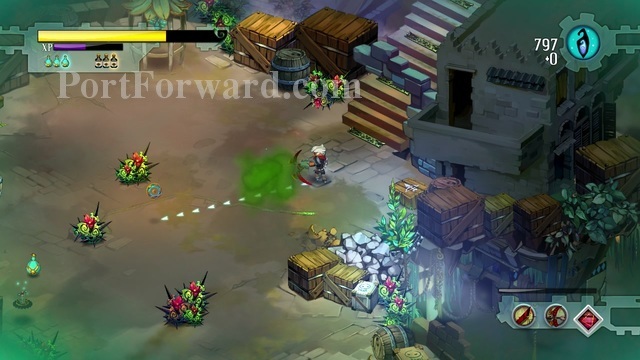
Turrets and Gasfellas will greet you, shouldn't be hard taking care of them.
Over here, between a bunch of potions, you will find a Ragged Hood, which is a lore item.
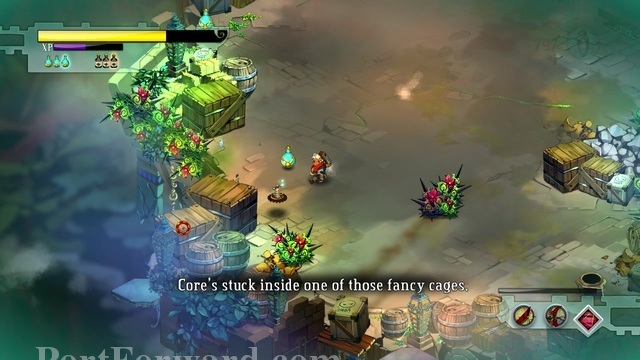
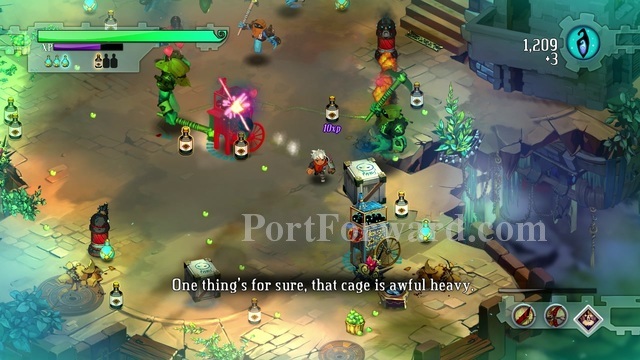
Continuing north, we will find the core, but be careful, because when you go next to the cage, a boos will appear.
I recommend using squirt lure 3 times around the cage first.
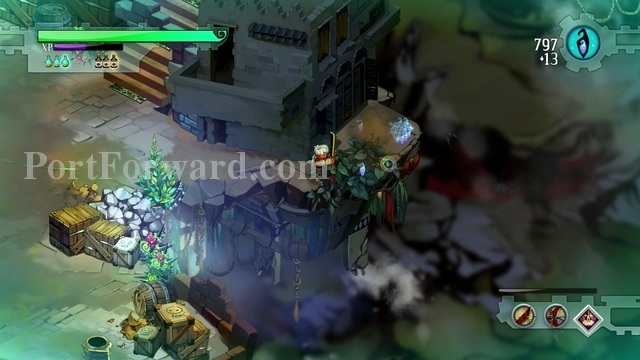
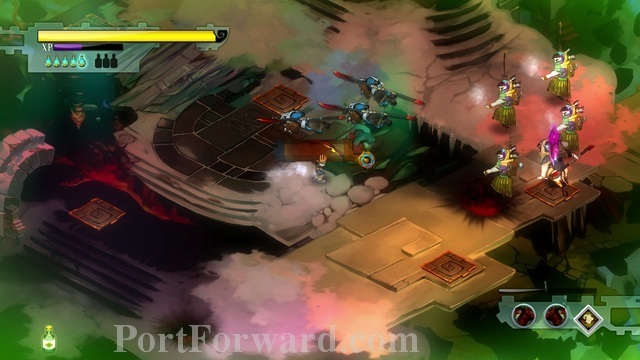
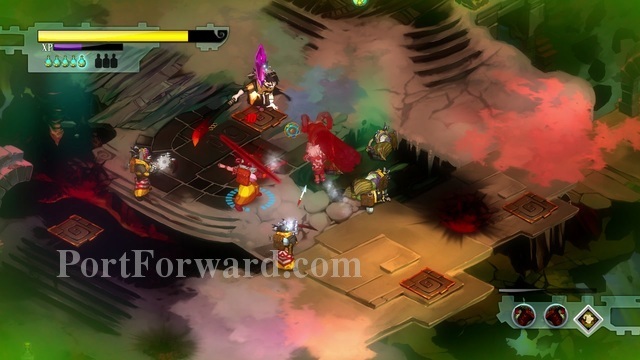
7 gasfellas will surround you, while a really big one will start attacking you. Do not try to escape, or all of them will attack you. Try to kill the one in the middle, which should be really easy with the squirts assisting you.
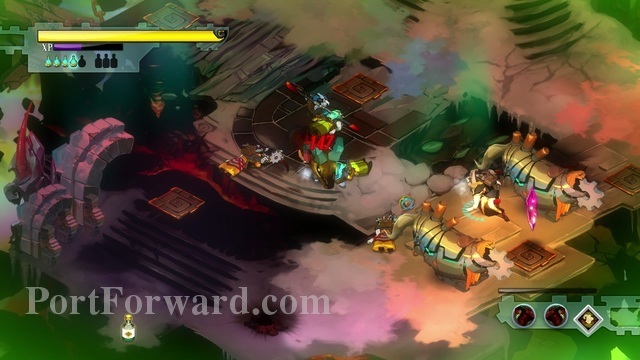
After defeating the big one, the rest will become friendly and leave you alone.
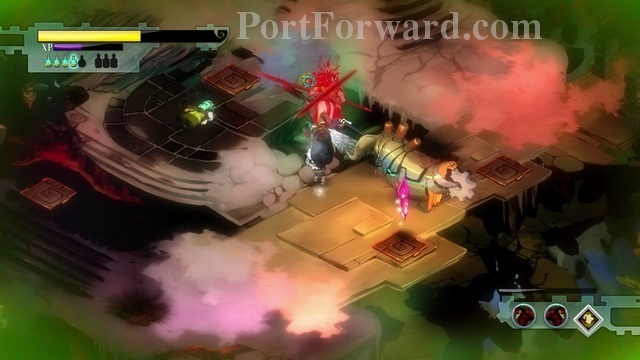
The cage will go up, allowing you to pick up the core.
This time though, the place will not fall apart like the last mission.
Go back to the start and use the skyway to go back to the bastion.
You can use the core you just got on the momument...
...allowing you to create another building.
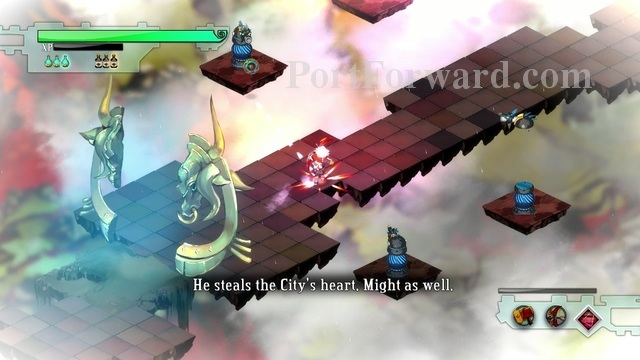
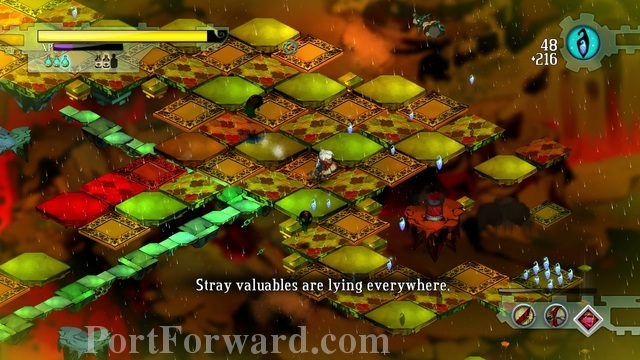
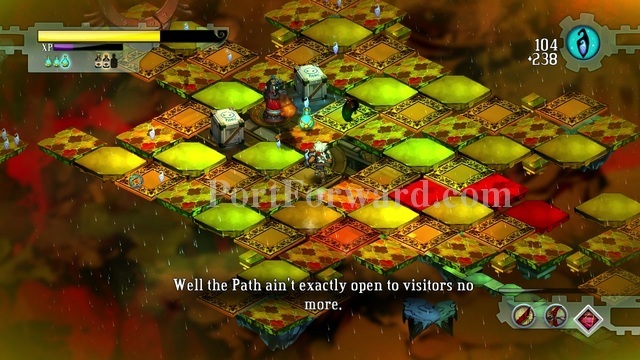
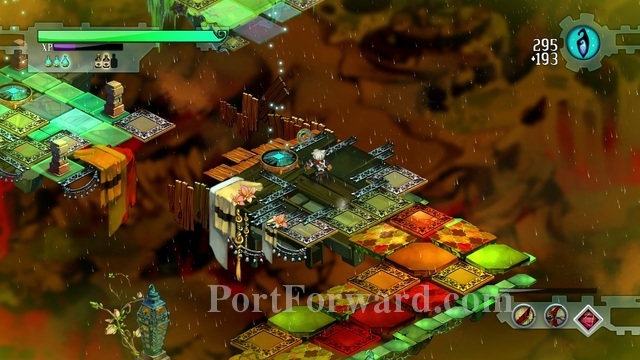
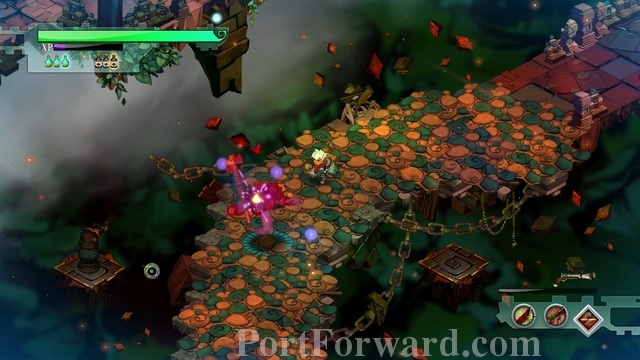
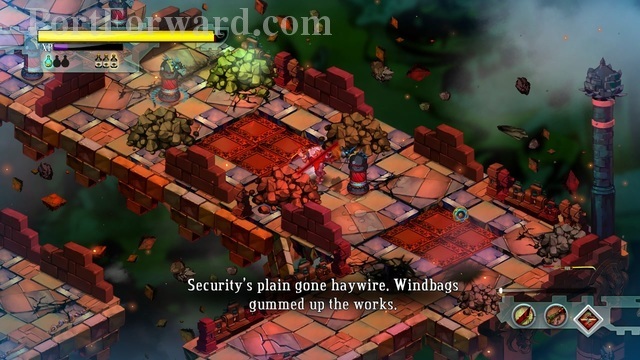
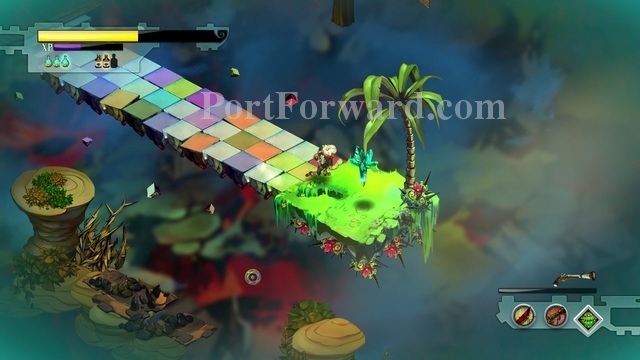
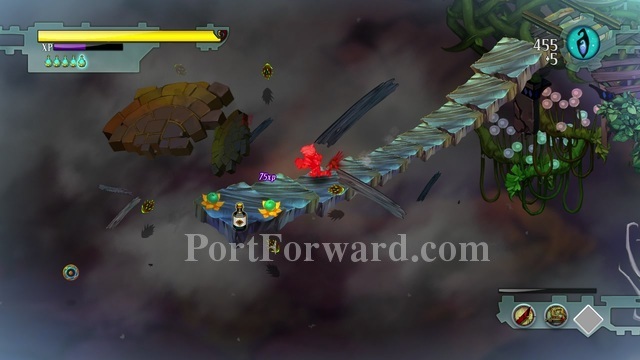
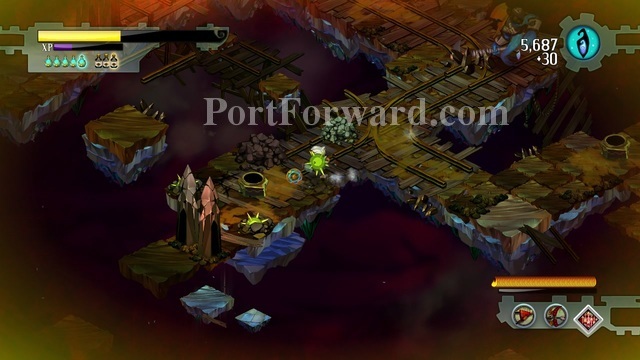
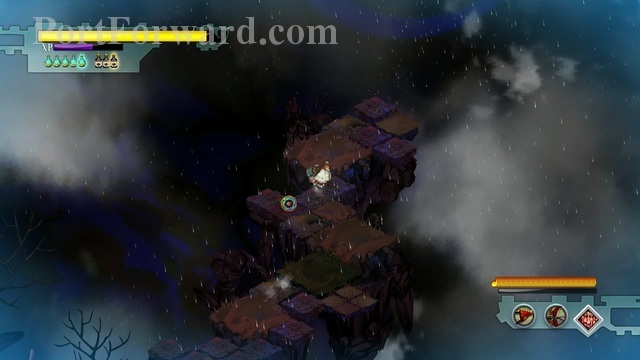
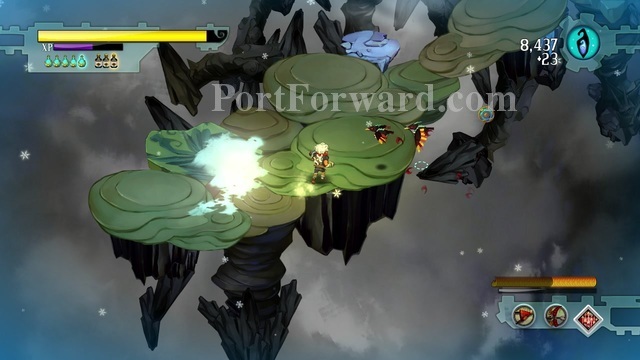
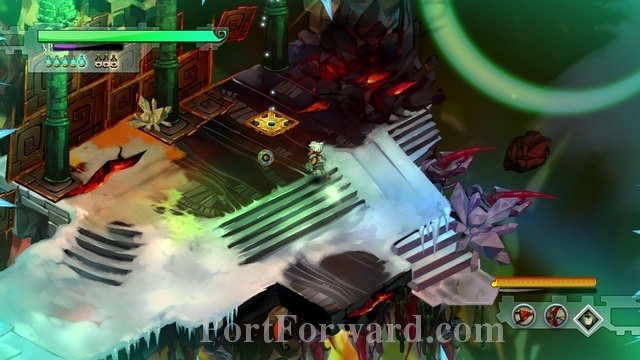
Bastion Walkthrough The Sundown Path
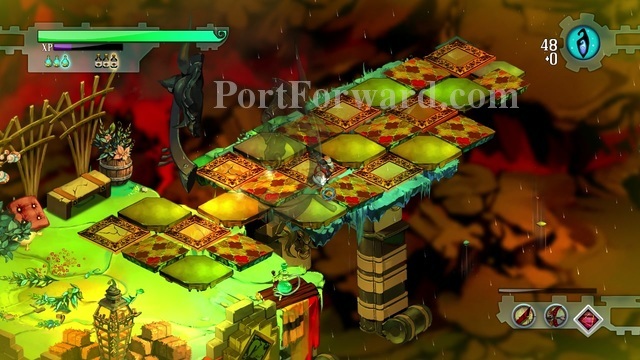
The sundown path is a rather interesting mission.
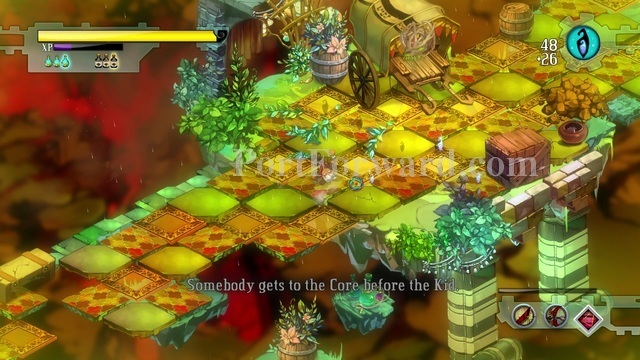
Apparently someone took the core first, and the whole place started falling apart.

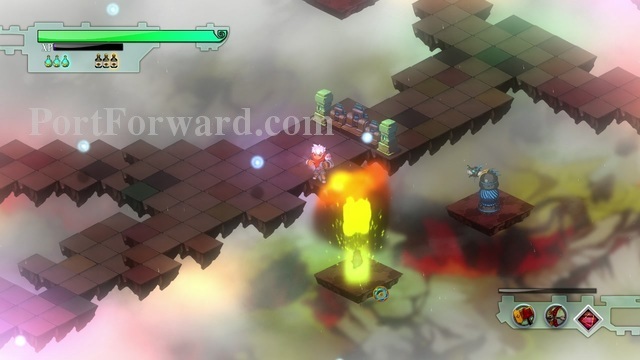
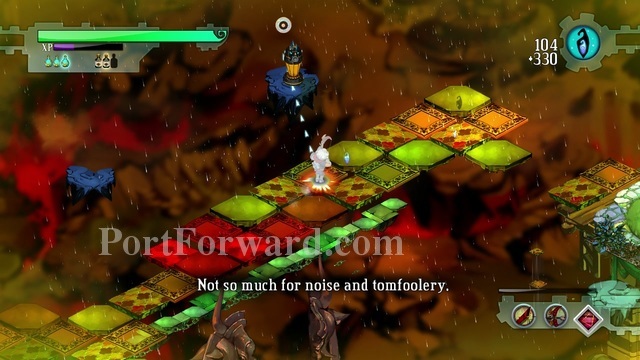
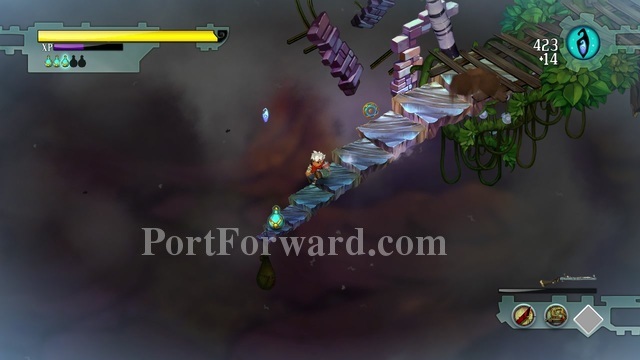
On your way to escape, turrets will be one of the more annoying things, but they are pretty easy to dispatch if you have the Breaker Bow.
Remember, you do not need to kill the green squirts, they are neutral and would be a waste of time to chase.
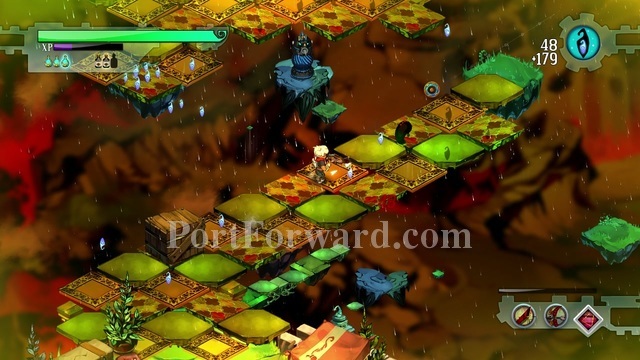
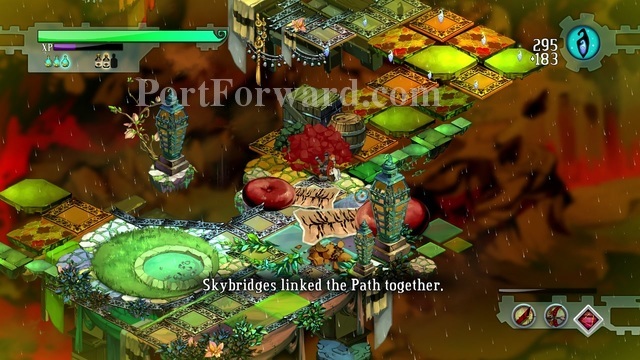
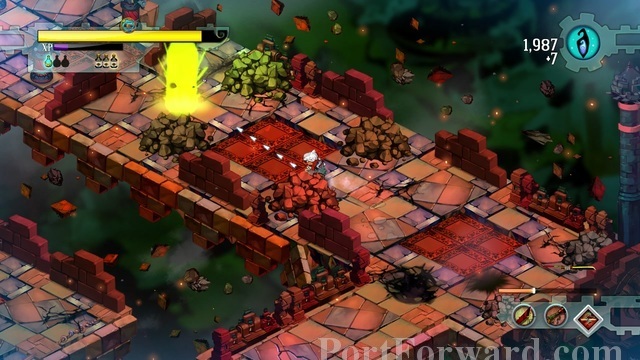
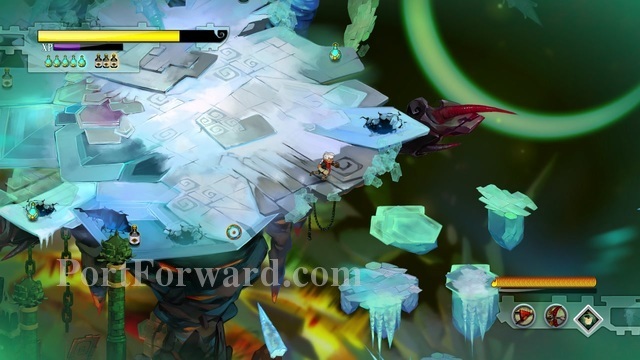
Even though it's a timed mission, it is still not a bad idea to try to explore.
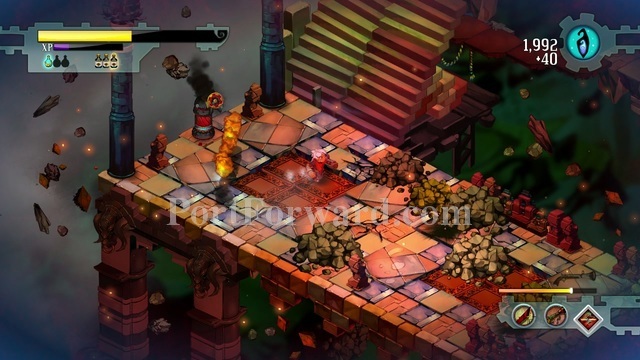
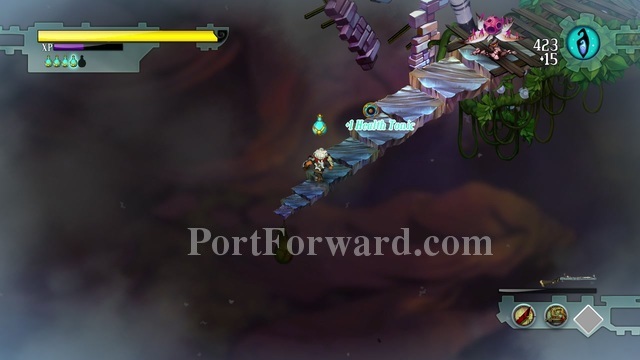
After a bit, there is a gate and a fire breathing turret, you have to destroy the turret to open the gate.
It is not a bad idea to try to kill most things though, since it does give you experience.
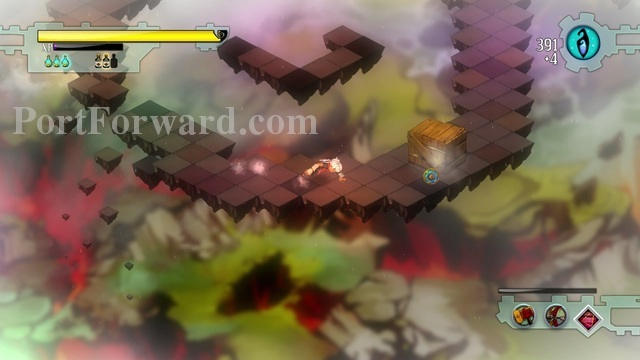
Quick tip: When you roll you do damage.
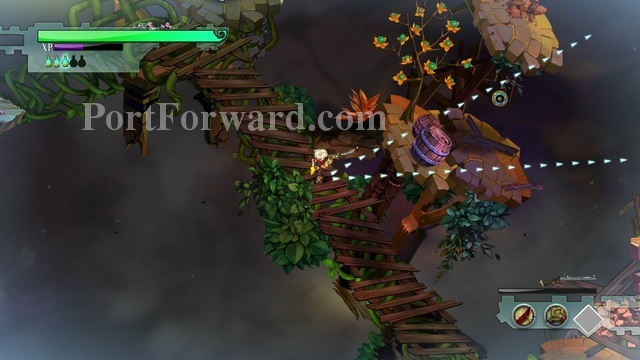
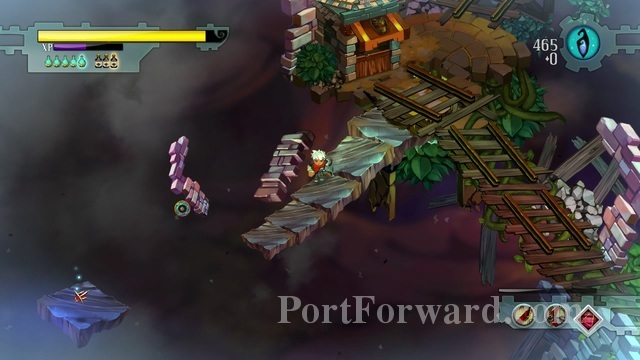
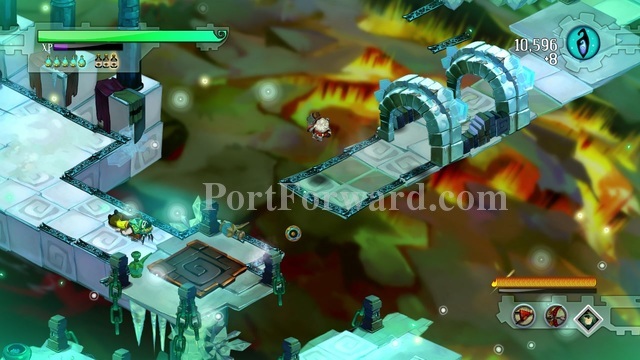
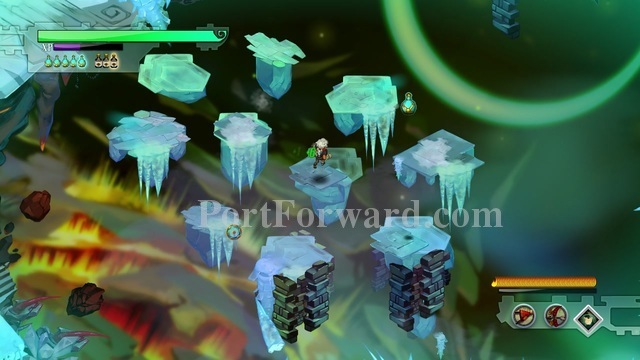
This is a skyway that does not return you to the bastion, you will find quite a few of those.
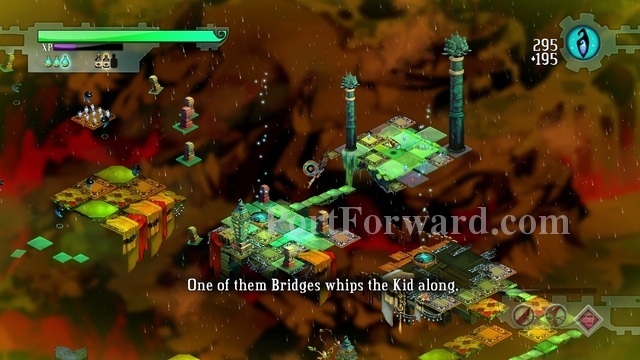
It thursts you into the air. Quick tip: If you press space in the air at the right time, you will roll in the air and land on your feet properly.
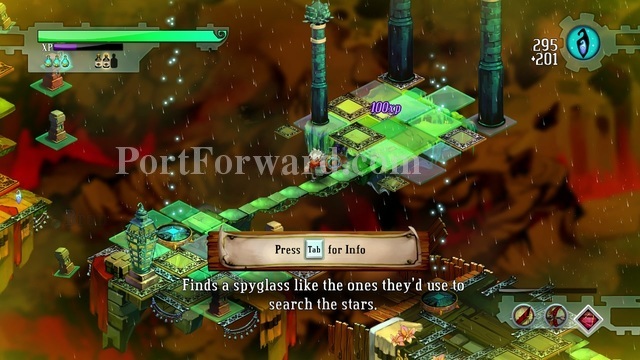
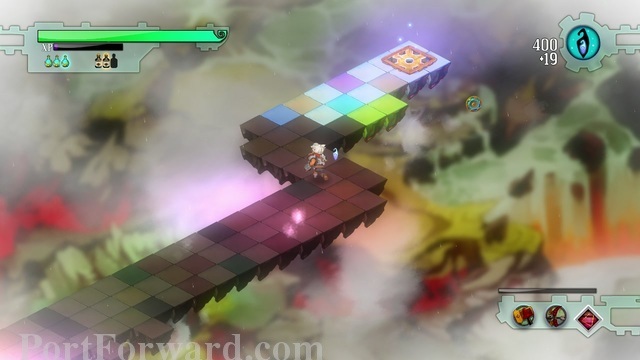
There is a little secret over here, try walking on the planks.
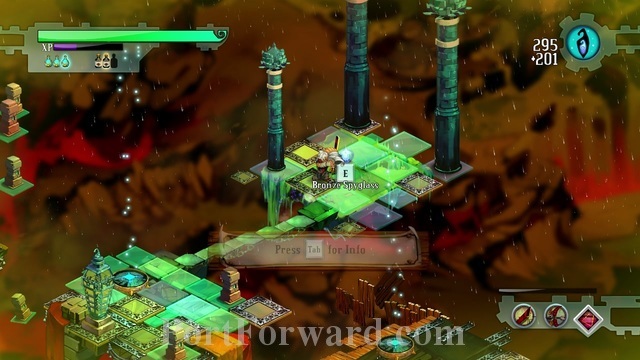
You will find the lore item called "Bronze Spyglass"
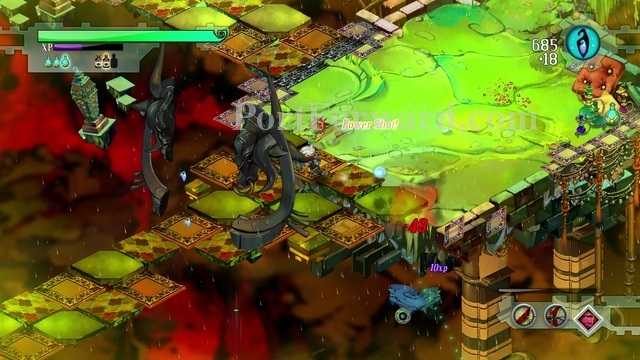
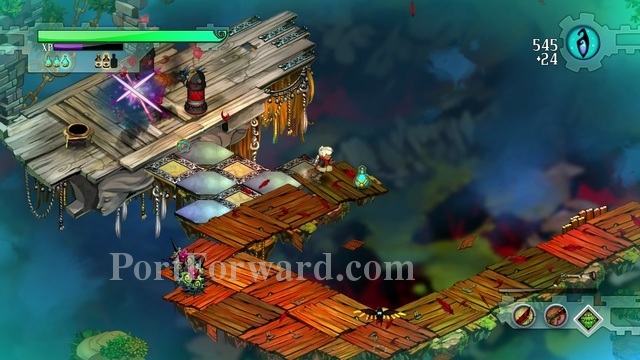
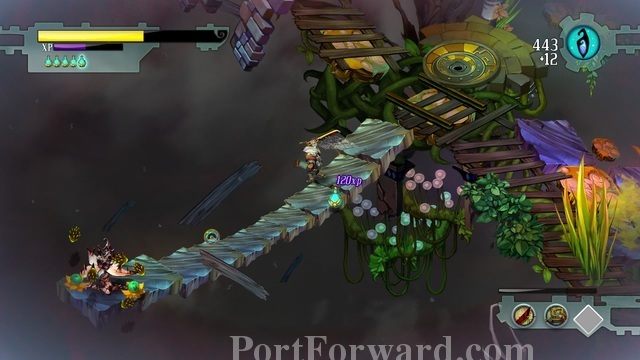
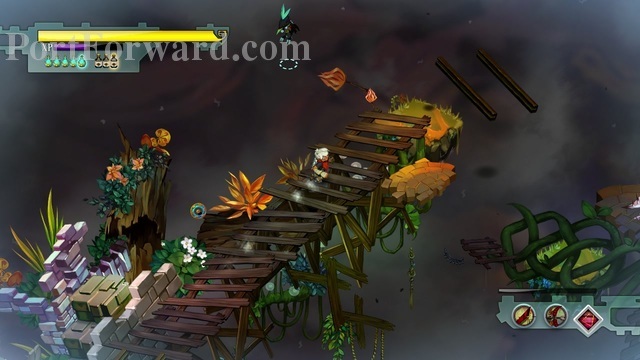
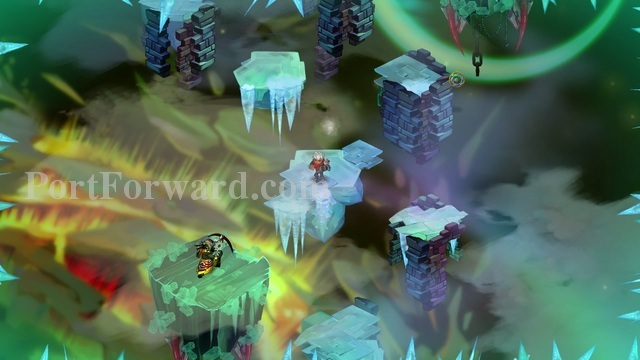
From here you will start getting shot at with goo. Try to dodge it if you can.
You have almost reached boss of the level.
That's right, a scumbag, a really big one at that. Both Melee and ranged weapons work well against this one, just try to not stay in one possition.
Because otherwise the goo will do damage to you.
After you defeat the scumbag, the gate will open.
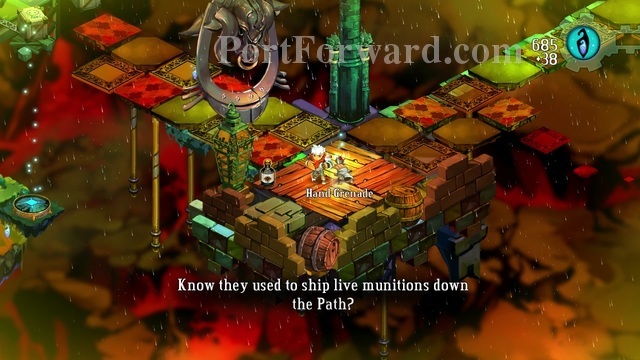
You will find the Hand Grenade.
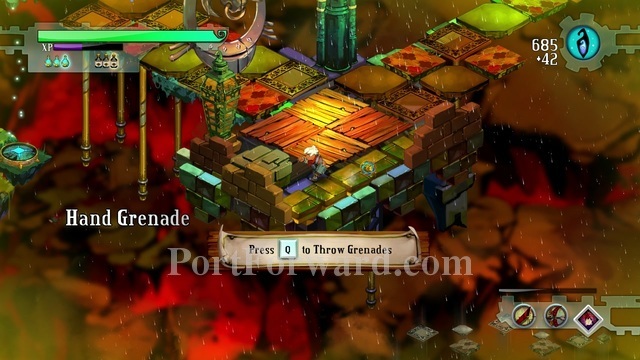
The bricks to the left of the character in this picture have a skyway under them, which will fly you to a crafting material. In this run, i forgot to do this bit.
When thrown, the hand grenade takes about a second to reach the ground...
...but deals a nice ammount of damage.
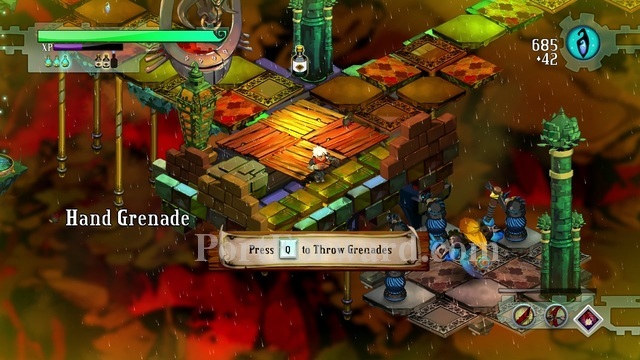
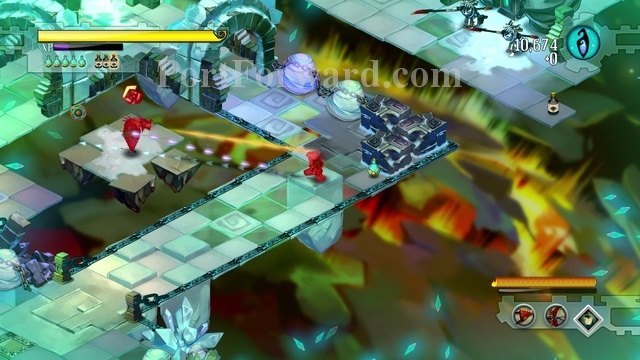
You would use the hand grenade in a simmilar fashion here...
...boom.
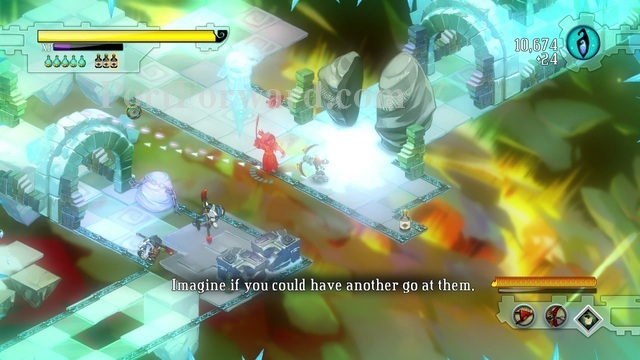
Here you will find a lot of boxes, if you get close enough to them, gasfellas will emerge from them all.
I suggest you use the hand grenade while they are still in the boxes, but if you're overconfident you can try to take them on.
After that, you will find the skyway that takes you to the Bastion.
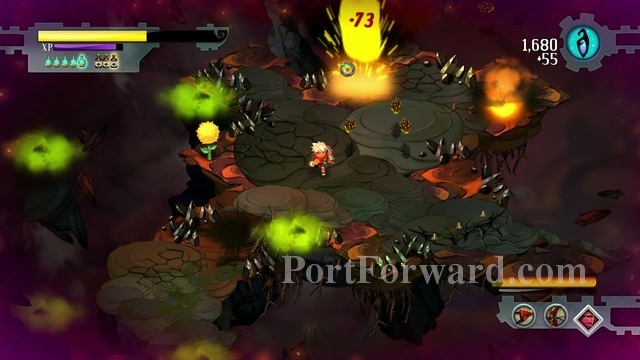
Bastion Walkthrough The Melting Pot
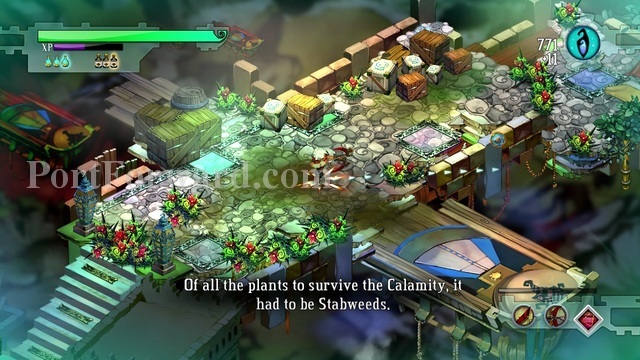
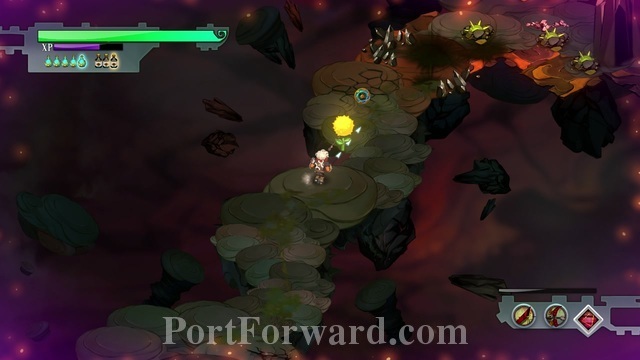
This mission introduces you to damage dealing objects, in this case called the Stabweeds.
I recommend, destroy them all.
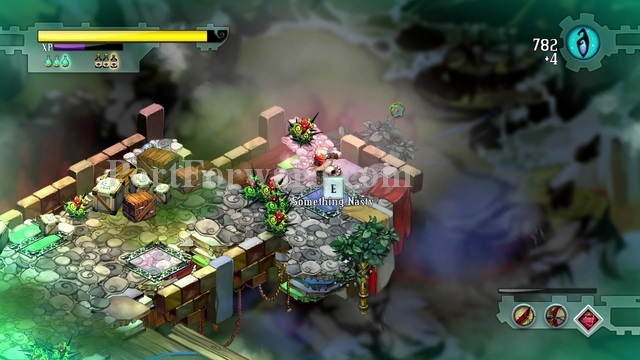
Also, to the right you will find Something Nasty, another crafting component.
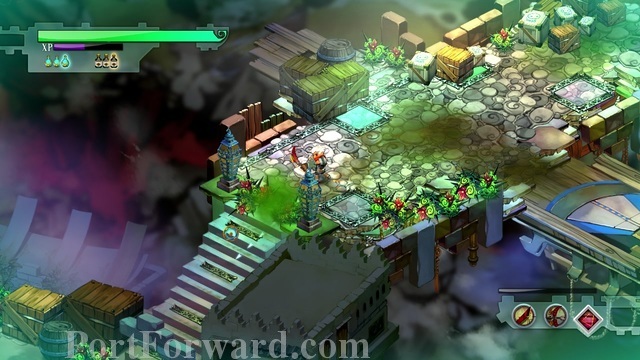
The area to the south is one of the longest gauntlets you will do.
I recommend destroying all the stabweeds and boxes before pressing the button to the south.
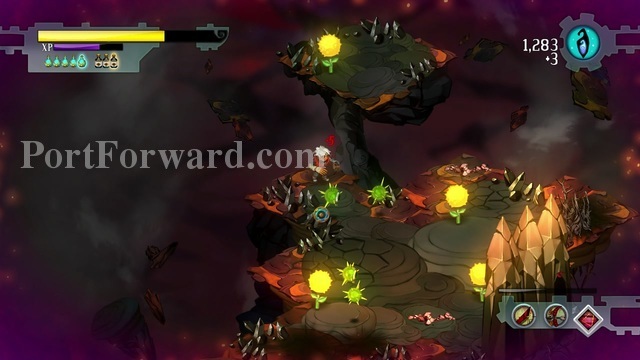
The trip mine is to the south-west. Trip mine is a mine you put on the ground, exploding a bit after an enemy walks over it. Deals about as much damage as the Hand Grenade.
Also, over to the east you will find a bunch of fragments stacked up.
When you're done with everything, press the switch to the south.
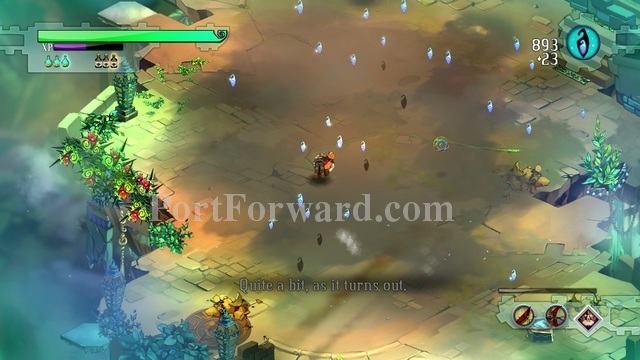
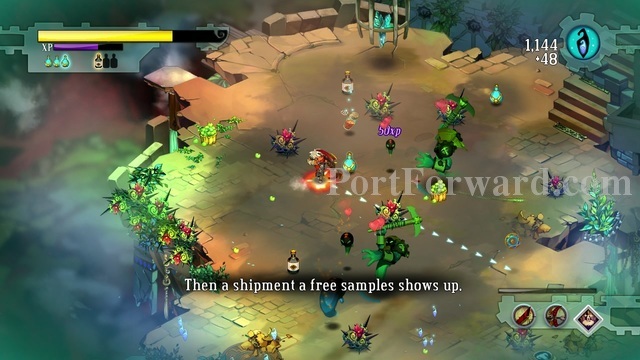
Bit after you press it, the first phase will start. During this phase, fragments fall from the sky.
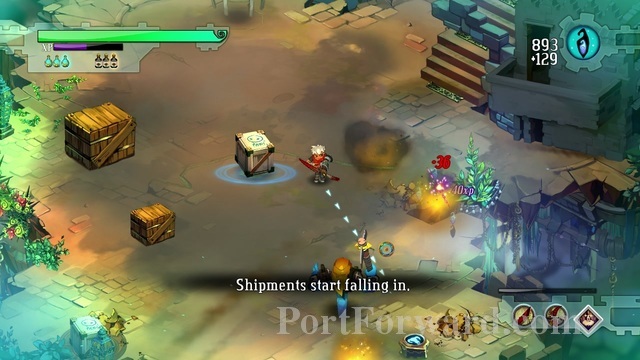
Phase two: a bunch of boxes start falling, some of them with enemies inside.
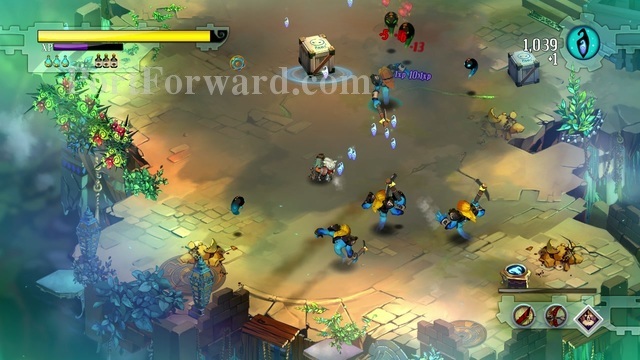
Phase three: a squirts and boxes spawn. The green squirts are your allies.
Phase four: Scumbags and more boxes with gasfellas.
Some green gasfellas, allies should arrive as well.
After a bit of waiting, more scumbags should start falling from the sky...
...with gasfellas to back them up.
Bigger squirts start appearing as well.
Suddenly a bunch of squirts, weeds, potions and fragments fall from the sky.
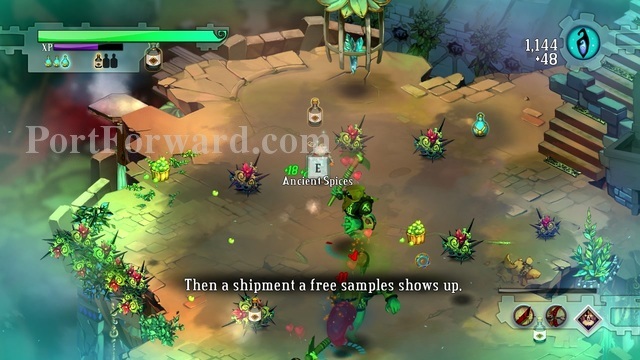
And a lore item to top it off, don't forget to pick it up.
A bunch of squirt-o-matics and turrets will fall from the sky. I recommend using the trip mines on the squirt producing annoyances.
Squirts will start coming out of the ground again after you're done with the previous enemies.
Just to take care of the rest of the enemies and...
...you're done.
Grab the core and it's time to get out of here.

You do that with the vehicle like contranption to the south, right next to the switch.
Use the core at the bastion...
And you will be able to build yourself another structure.
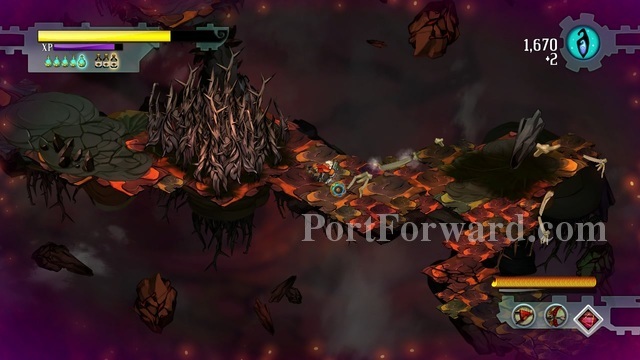
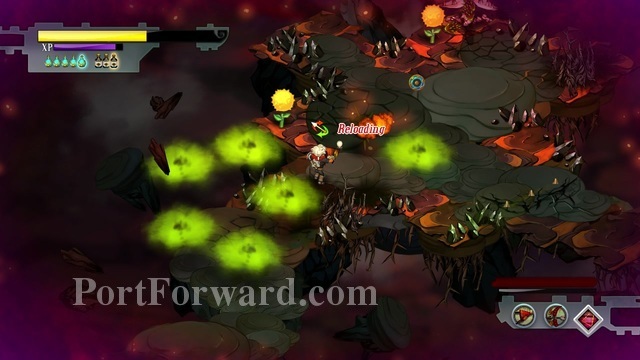
Bastion Walkthrough Trapper Shingle
I recommend upgrading your fang repeater at least once before trying this challenge.
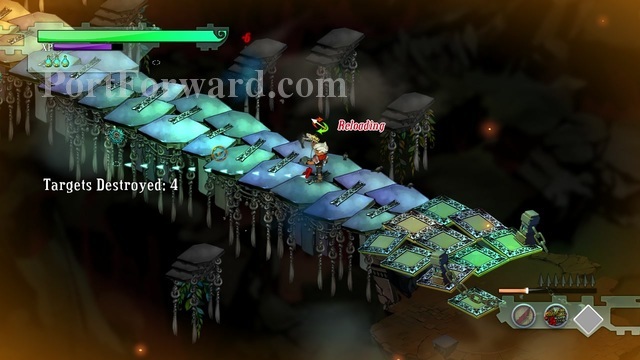
In the Trapper Shingle, you are supposed to kill all the targets before your way falls.
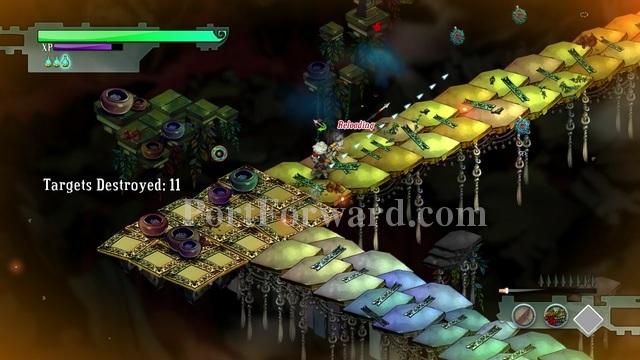
Strategy is to reload while going forward, and shooting right after you have reloaded.
If you fall down by mistake..
...it will respawn you on one of the checkpoints.
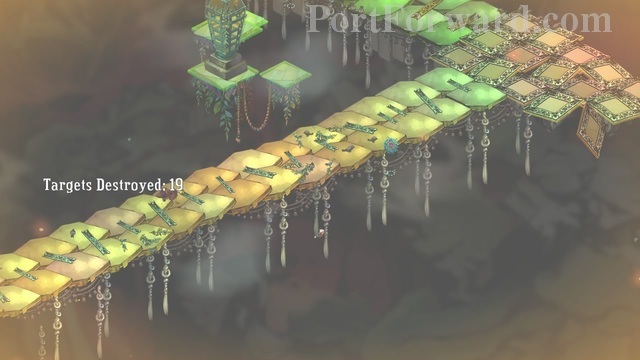
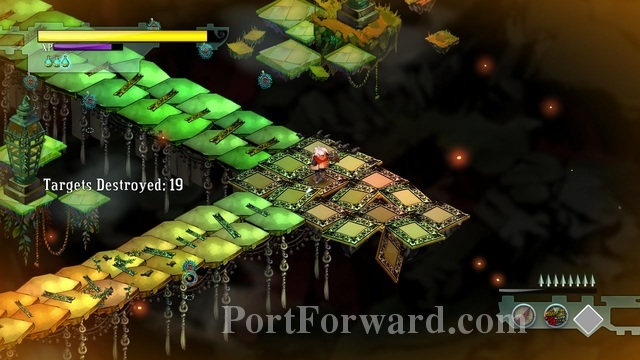
The platforms get harder as you go.
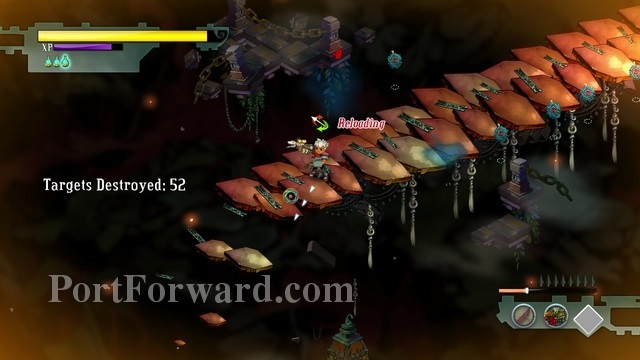
The red platform is the hardest. If you fall down from this one, you finish the challenge and have to restart from the beggining.
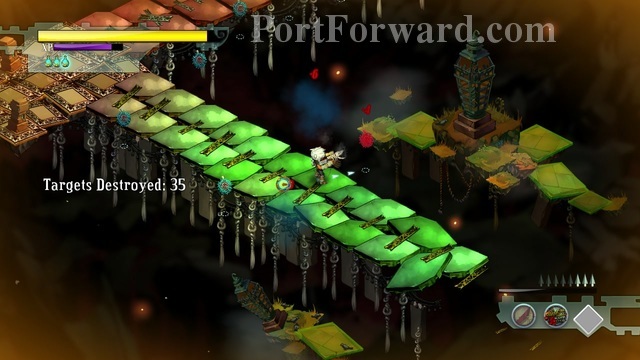
It is a pretty hard challenge, i recommend getting at least the first 2 upgrades, otherwise you will use up a lot of time on it.
Bastion Walkthrough Windbag Ranch
This level, you have to kill everything as fast as you can.
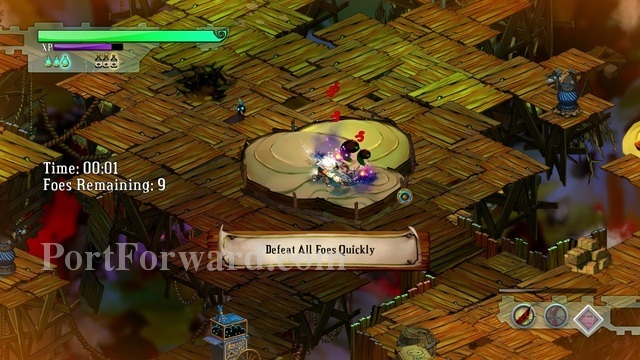
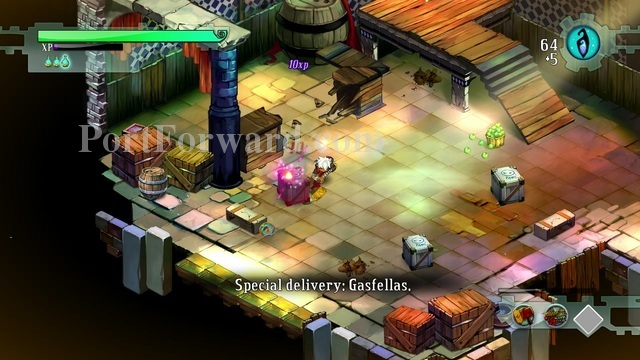
After you pick up the War Machete, go to the middle of the level and kill as many green squirts as you can while they are popping out of the ground.
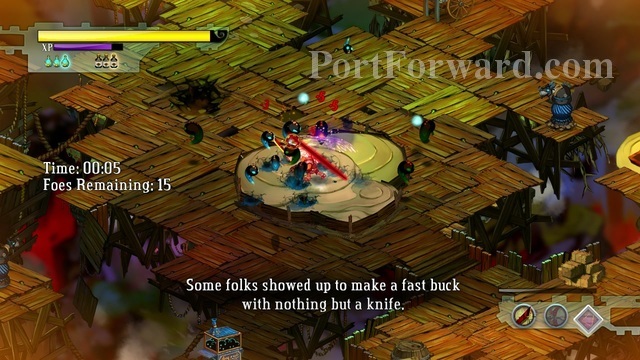
You can ignore the blue ones, since they are easy to kill later on, just aim for the green ones.
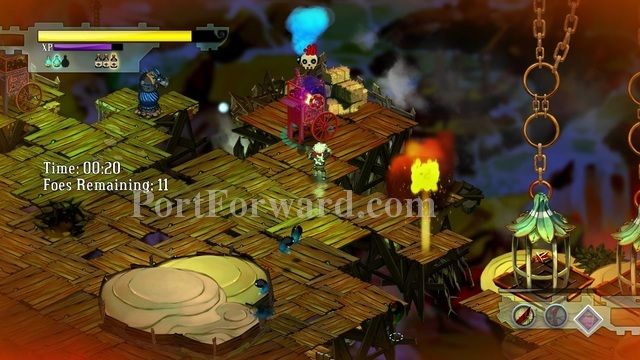
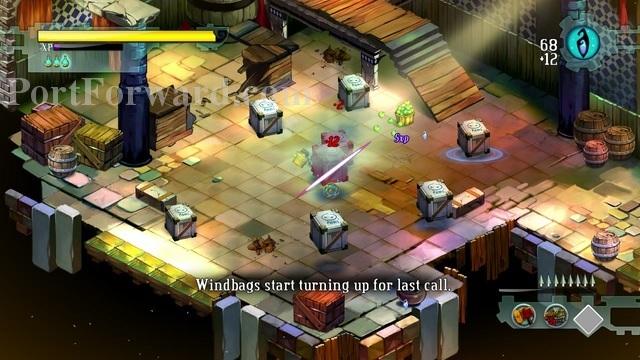
After the green squirts stop popping out of the ground, go for the squirt-o-matics.
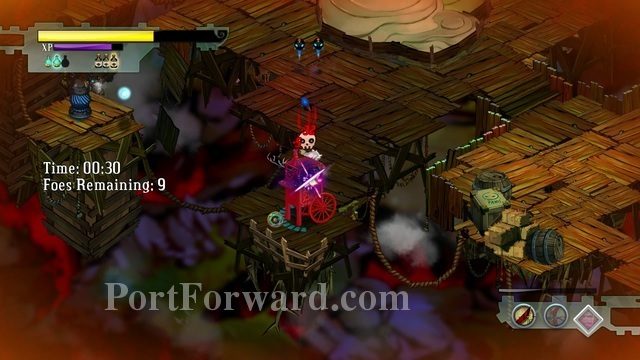
There are 3 in total.
After you are finished with them, finish off all the turrets and blue squirts.
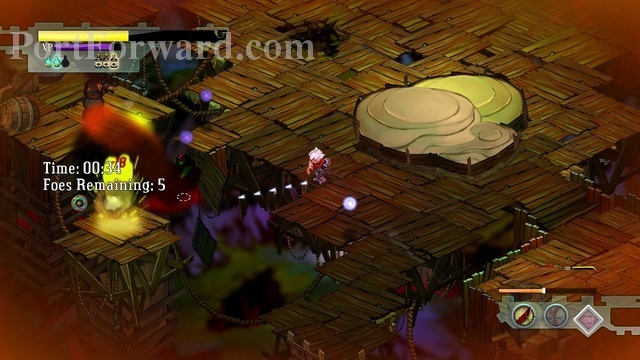
Now kill all of the remaining green squirts, hopefully not many.
And you're done. The scroll you get from this level is a powerful ranged attack for the war machete, really useful.
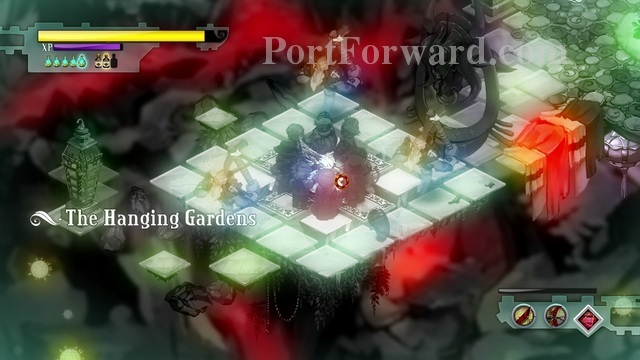
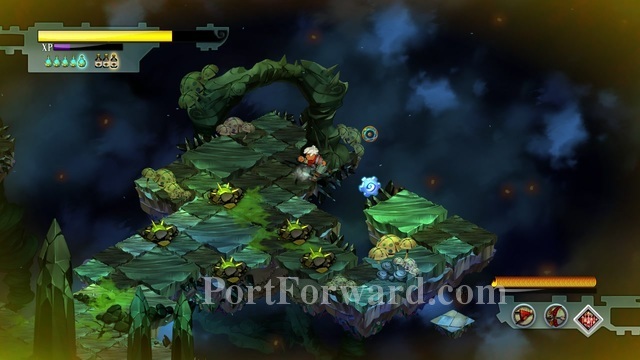
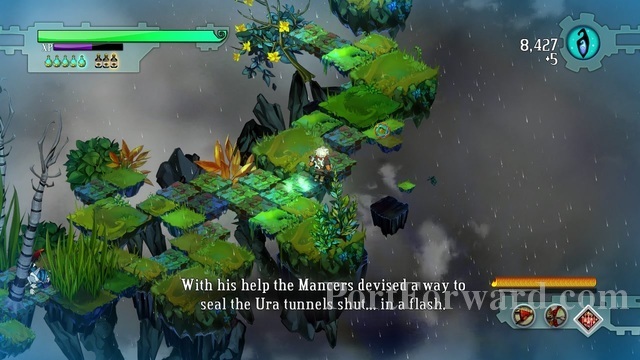
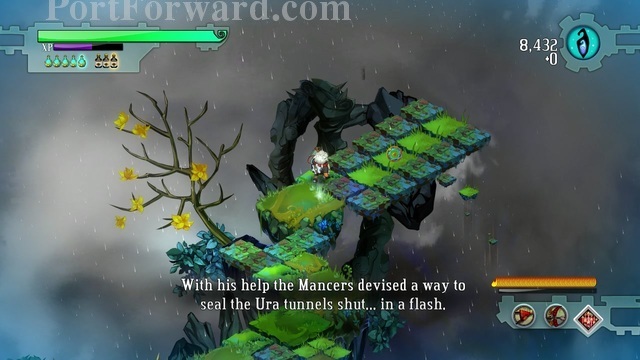
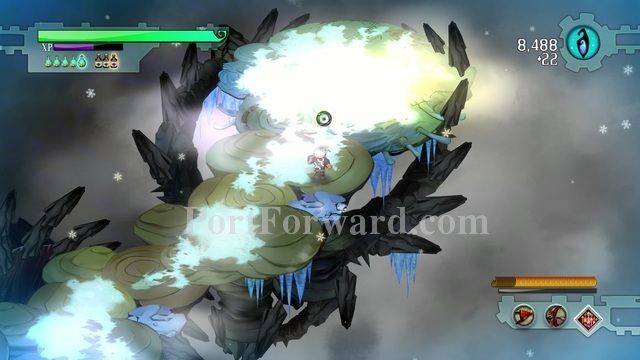
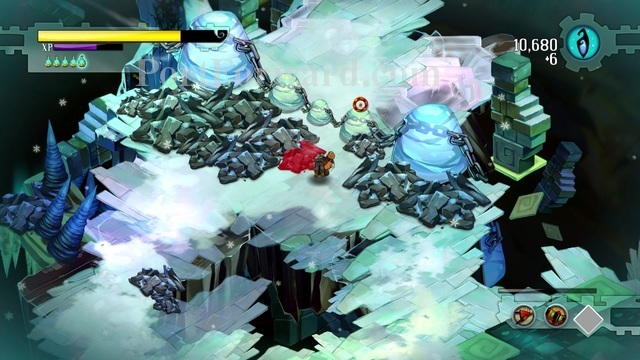
Bastion Walkthrough The Hanging Gardens
This level has little enemies and only a few secrets.
Going forward, you will see statues. There is no point in destroying them, since they do not drop anything.
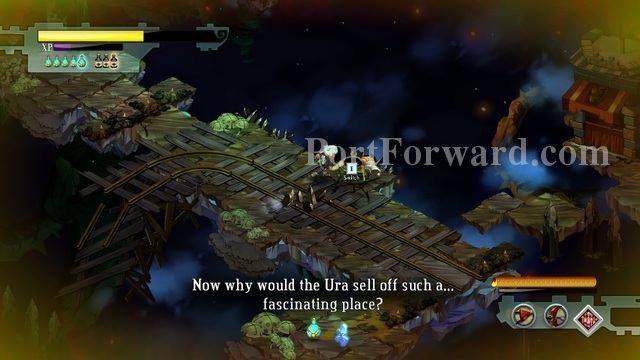
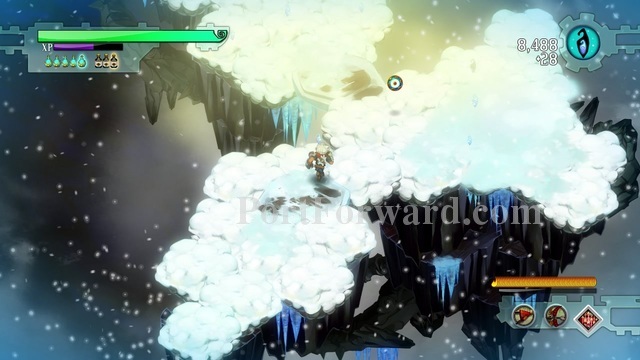
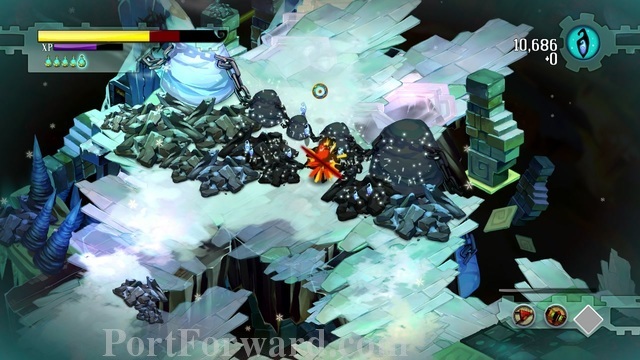
After a lot of walking, you will notice a gate.
2 turrets will appear, you have to destroy them to open the gate.
This time, you have to kill 7 turrets, it's extremely easy if you have the Breaker Bow, since it can hit 3 targets in line, unupgraded.

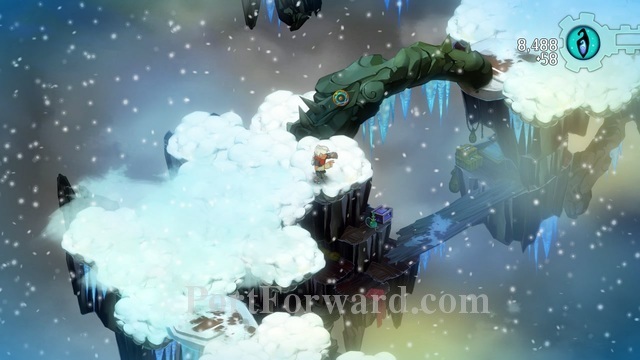
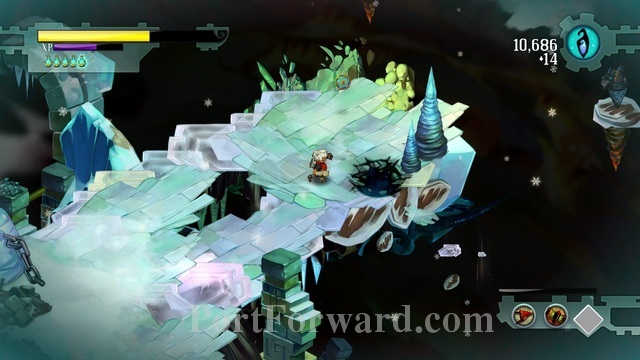
After some walking, you will reach this area.
Make sure you go south and pick up the lore item Ura Sigil.
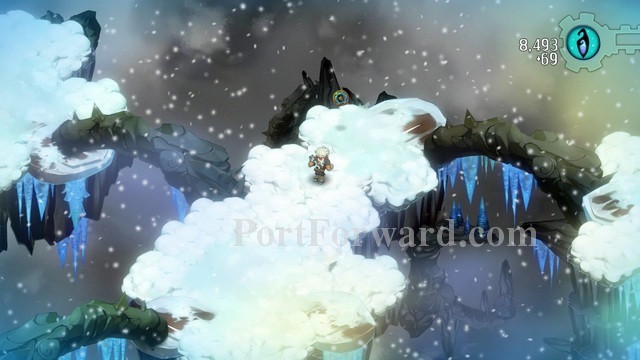
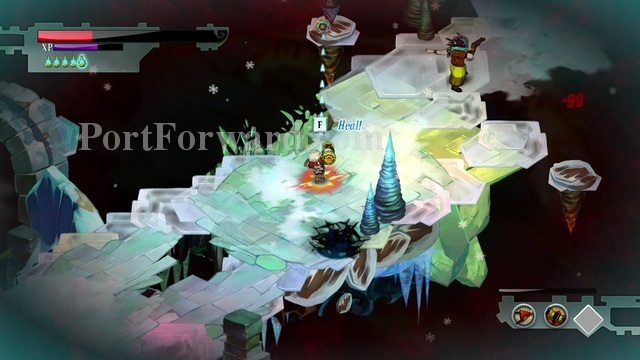
A bit after that, you will notice a bunch of gasfellas and squirts surrounding the core. Take care of them.
Nothing special about them.
You will find the core, surrounded by statues. You have to destroy some of them to take it.
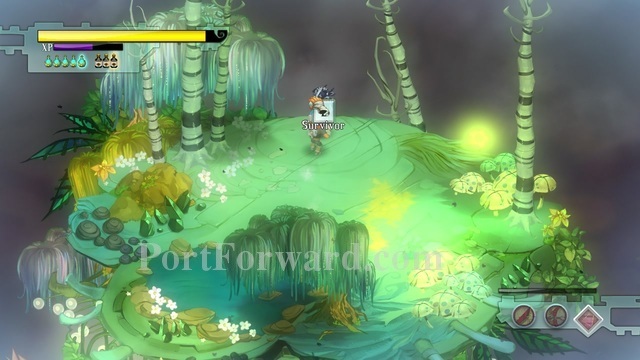
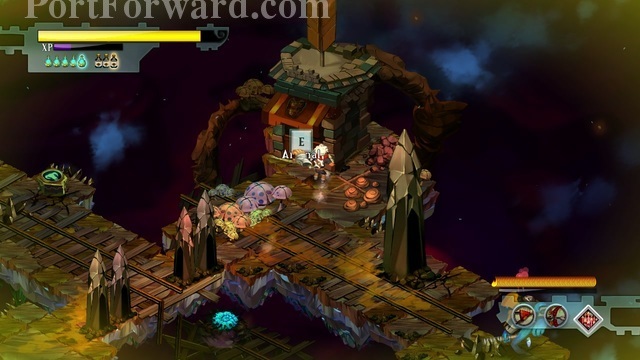
After you get the core, go to the right and talk with the survivor.
After youre back home, you will have another NPC to talk with, giving you lore about the game, and you can put the core.
The core will allow you to build a new building.
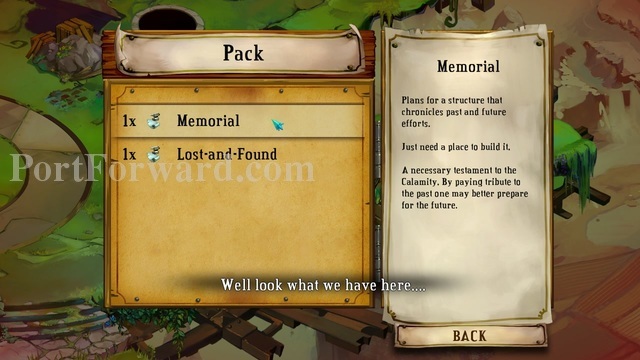
The memroial is more challenges, but with fragments as rewards. The Lost-and-Found is a shop. I reccomend building the Memorial.
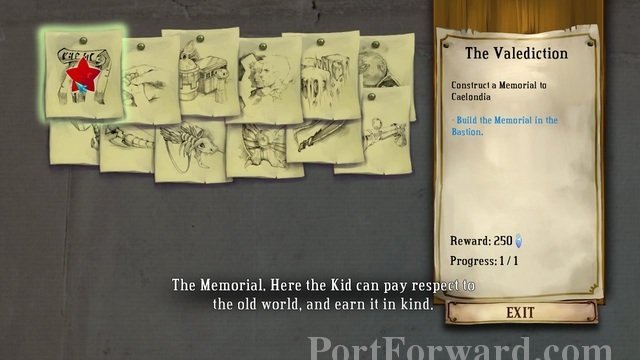
For every challenge you have to do a different thing. After you're done with it, a red start should appear in front of it. Click it to gain your reward.
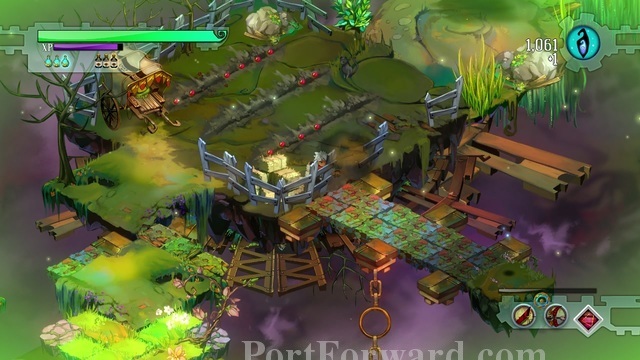
Bastion Walkthrough Pyth Orchard
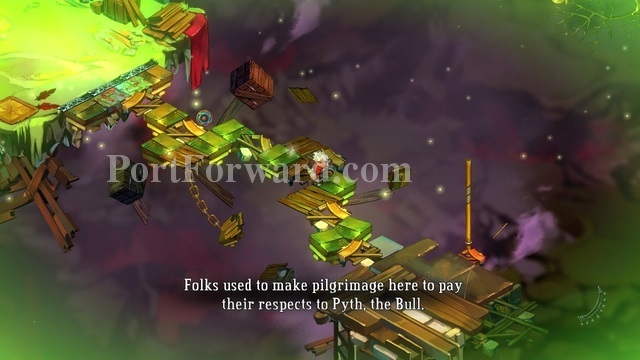
Pyth Ochard is divided into two phases, the whole level.
First one has only one enemy, second phase is full of them.
Level doesn't have many secrets.
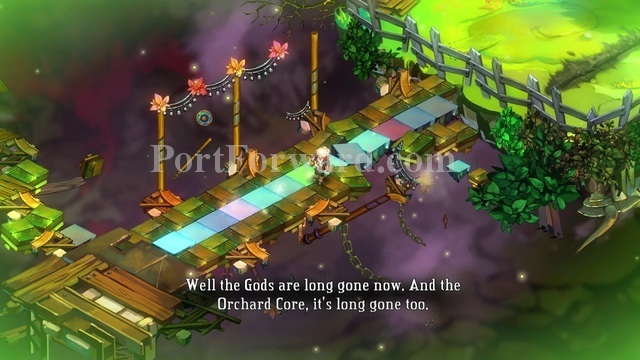
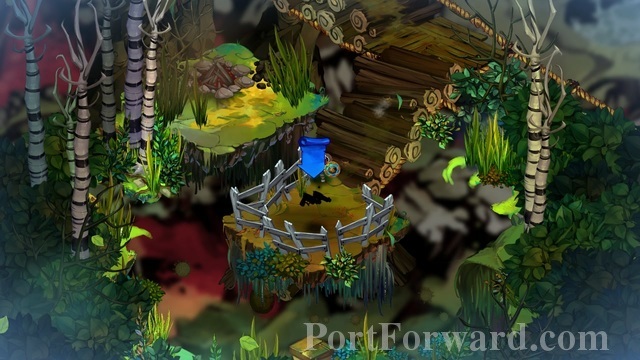
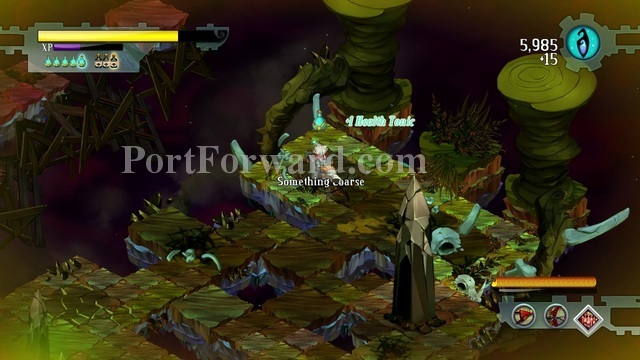
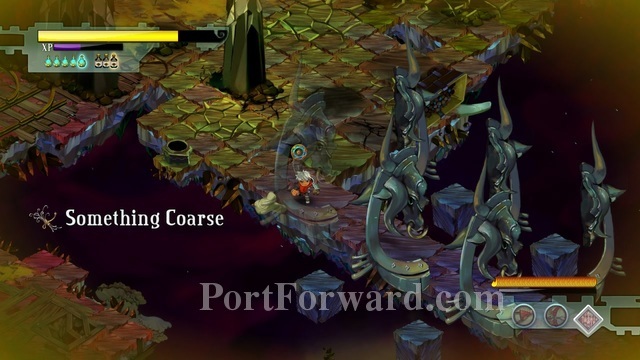
When you reach this area...
...destroy the fence here...
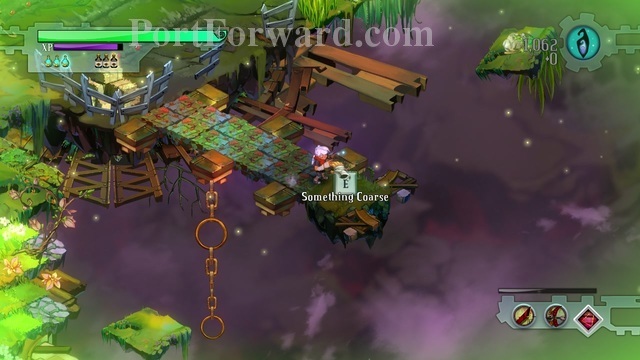
...and pick up the crafting material Something Coarse.
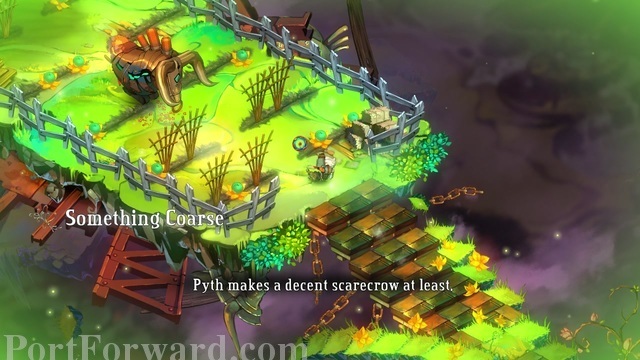
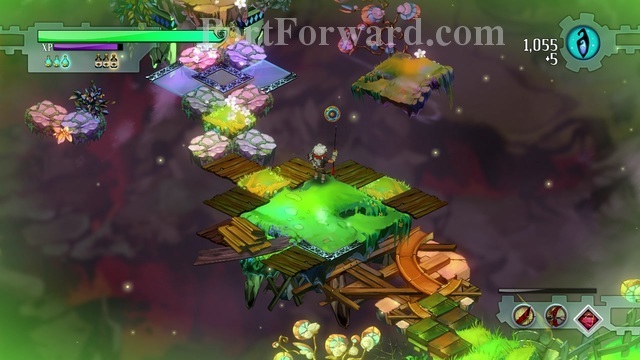
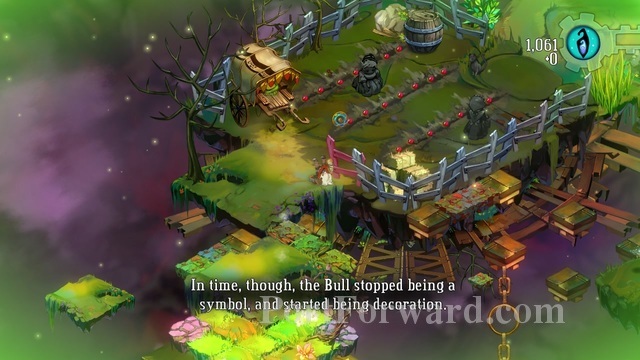
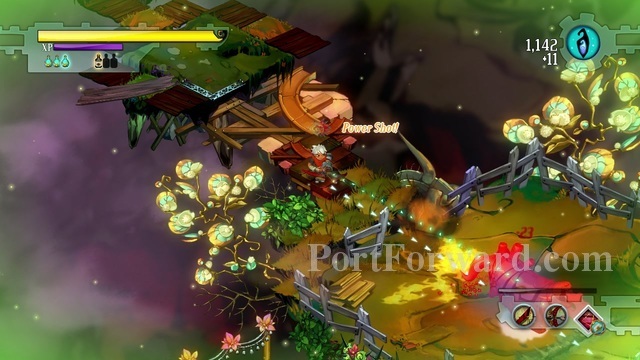
Moving forward, you will notice your first enemy.
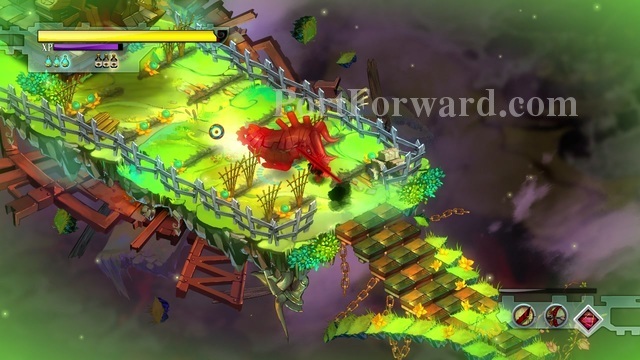
The bull is really annoying because it is constantly charging at you.
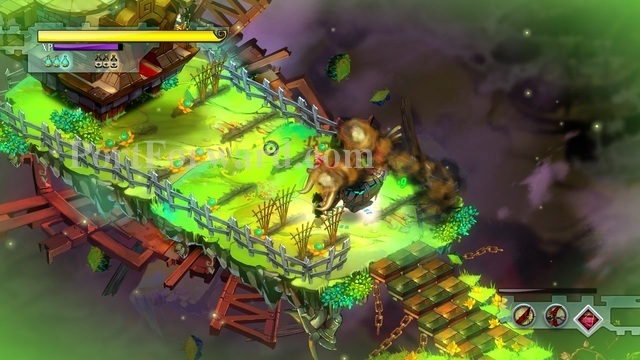
After a bit it should deactivate itself though, even if just for a moment.
Really hard to stay away from, i recommend killing it as quickly as you can, even if you have to use black tonics.
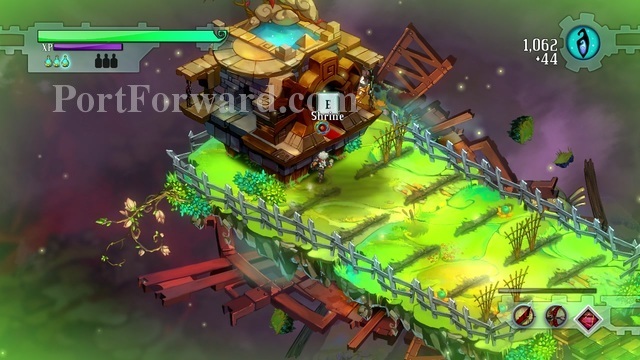
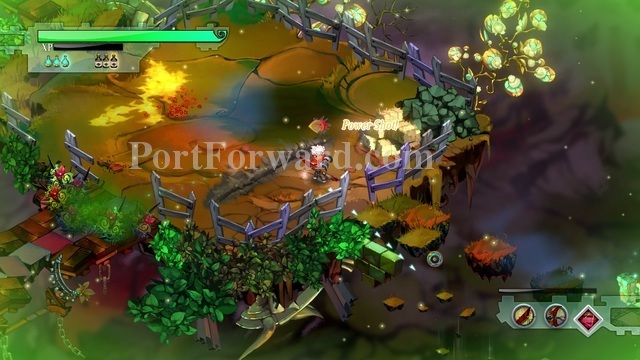
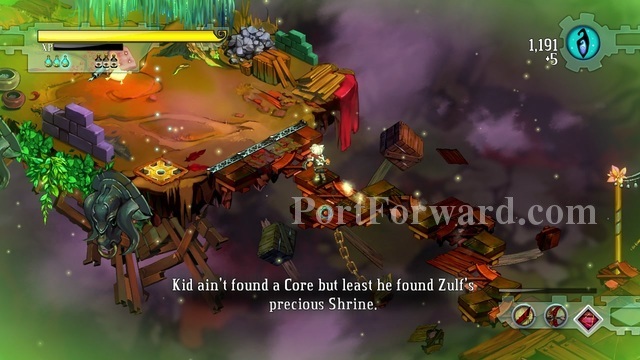
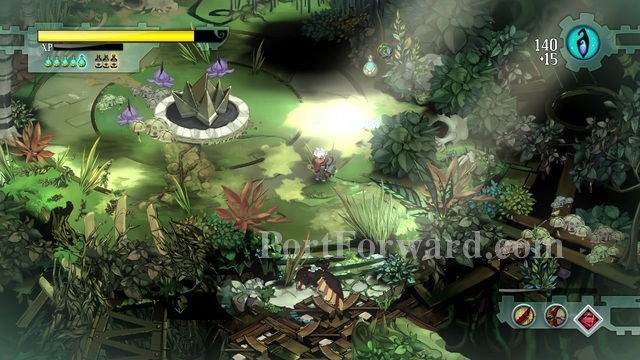
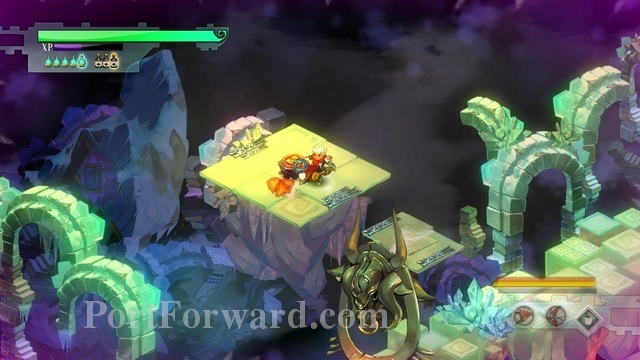
After you're done with the bull, you will find the shrine.
The shrine is a difficulty system.
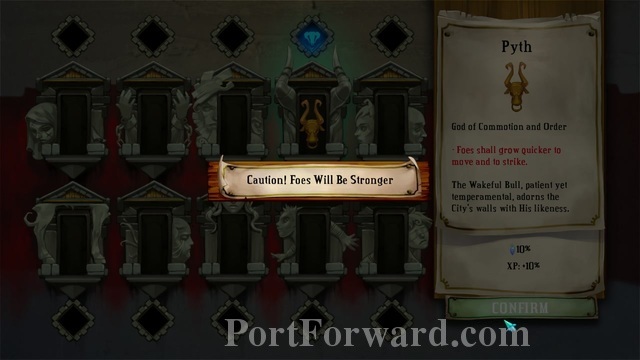
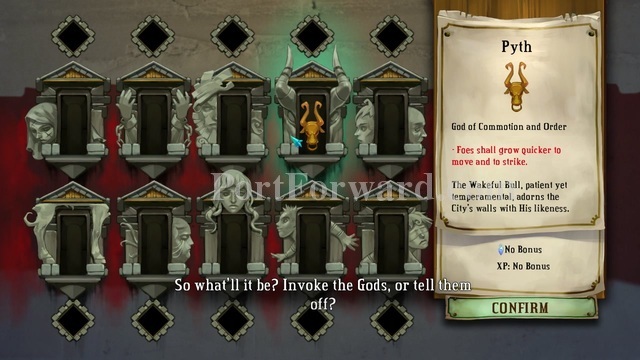
You click on one of the gods, and it will make the enemies stronger, but you will also be awarded with more experience and fragments.
Pyth increases the attack and movement speed of enemies.
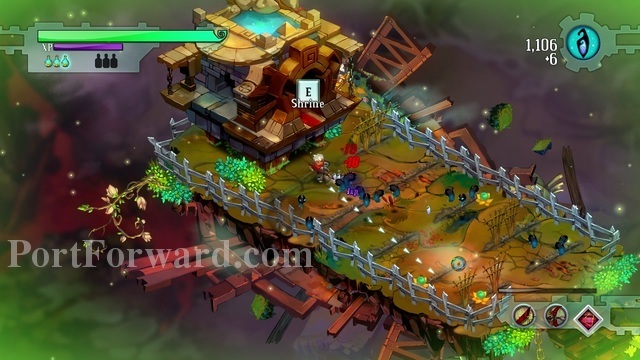
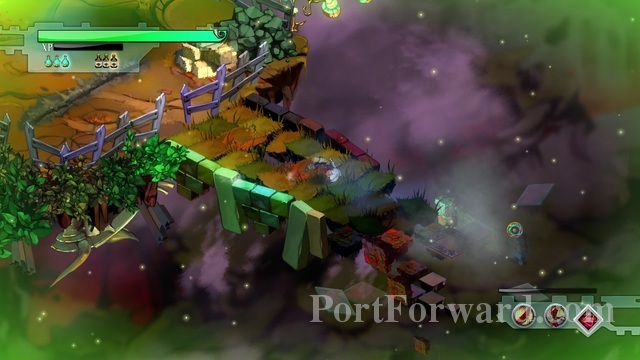
All you have to do now is go back to where you started.
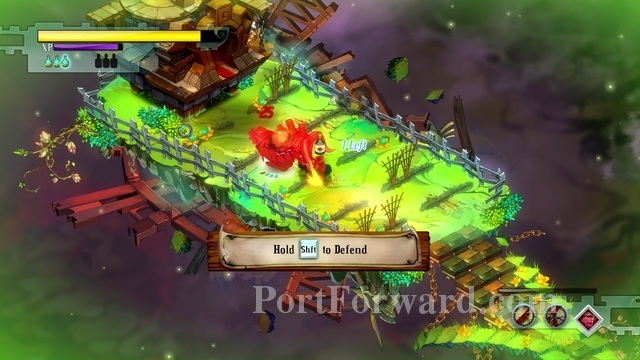
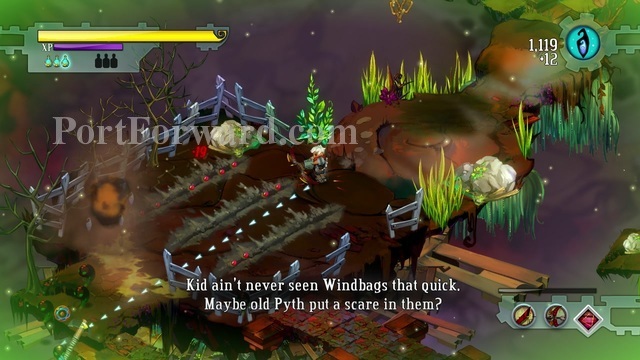
You will meet plenty of enemies on the way this time, though.
And again, you will see a bull, but a faster one this time.
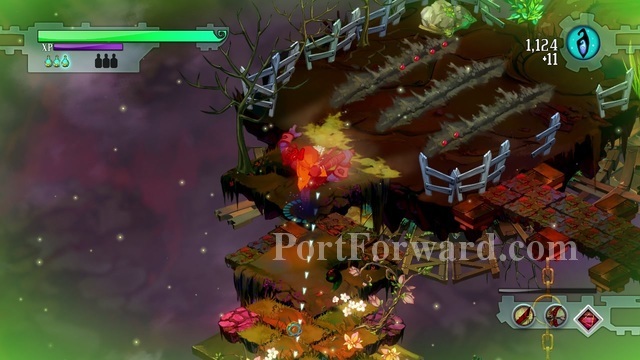
After the bull, go a bit to the east.
Destroy the fence and you will find...
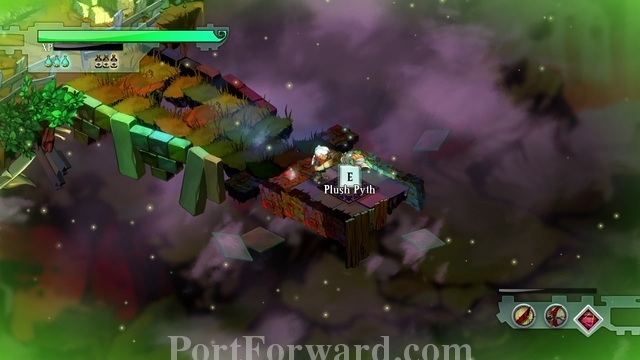
...plush pyth. It is a lore item.
After plush pyth, go to where you started the level and you will find the skyway, which will take you to the Bastion.
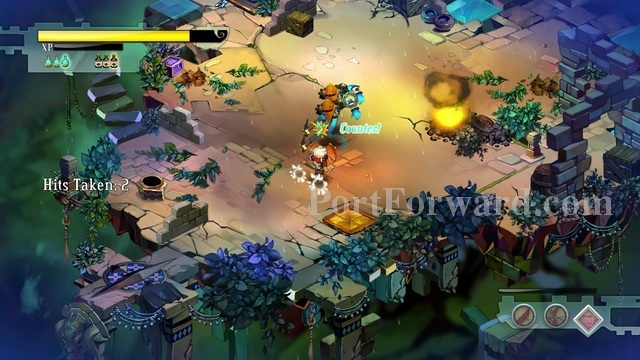
Bastion Walkthrough Bullhead Court
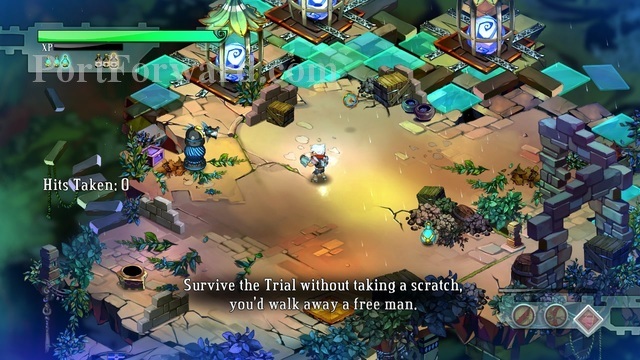
In this challenge, you have to deflect all of the attacks enemies throw at you.
To do that, just press shift right before an attack comes...
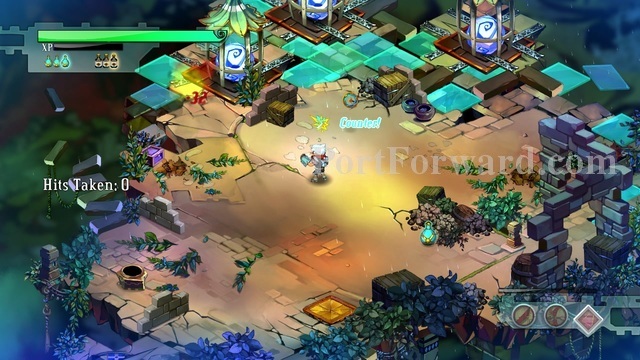
...and you will most probably destroy your target.
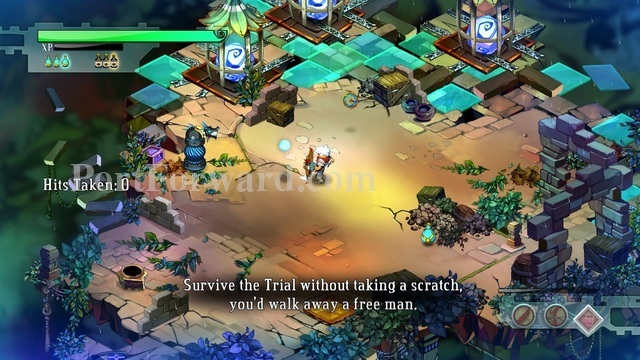
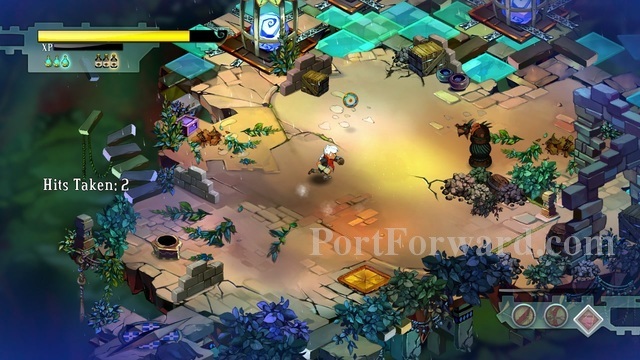
At first only turrets spawn.
After some time, you will get a gasfella.
This one is a bit harder to counter, but you will manage to with practice.
When the smaller gasfellas arive, your best chance is to wait for them to start lifting their weapon up, and then listen to the sound they make. You press shift right after it ends.
Takes some practice, but you should manage in time.
After them, another turret will appear, this one shoots bursts of projectiles though.
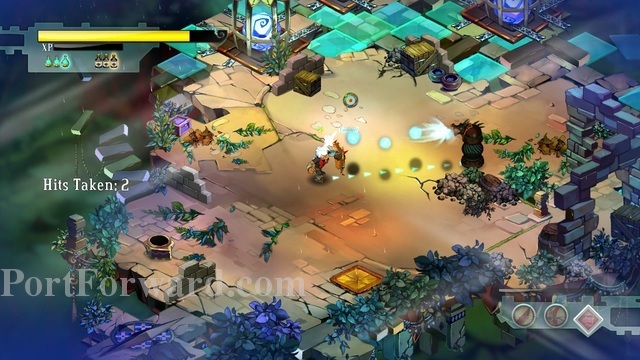
Same strategy as last one, but after the first counter, just hold your shield up for longer to deflect the other projectiles.
Next gasfella is a charger. Everytime he starts lifting his weapon, press shift, he attacks really fast.
Squirts are a bit like the gasfella chargers, just harder to anticipate when they will start attacking.

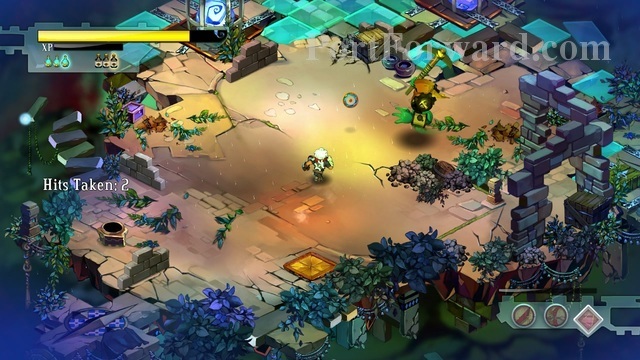
The last enemy is the scumbag.
You can try to counter it or..
...you can make it charge itself off of the...
...platform.
That's all. Reward is a lot of fragments.
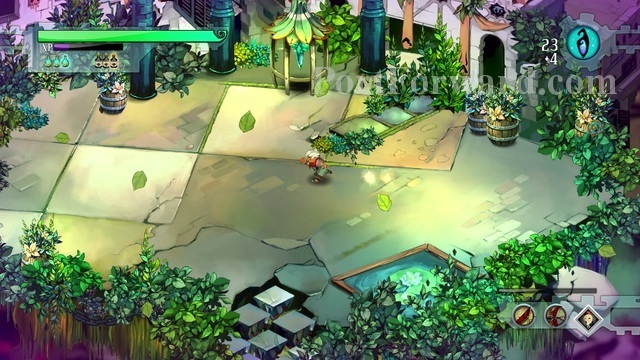
Bastion Walkthrough Cinderbrick Fort
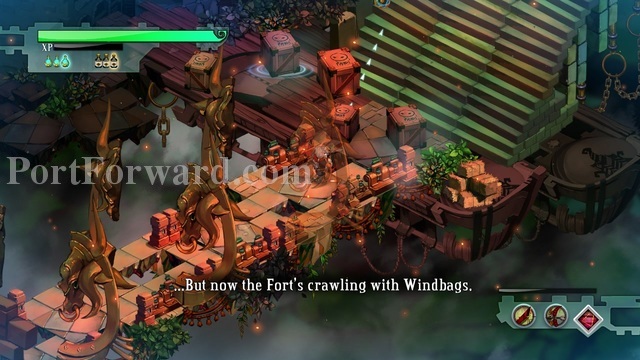
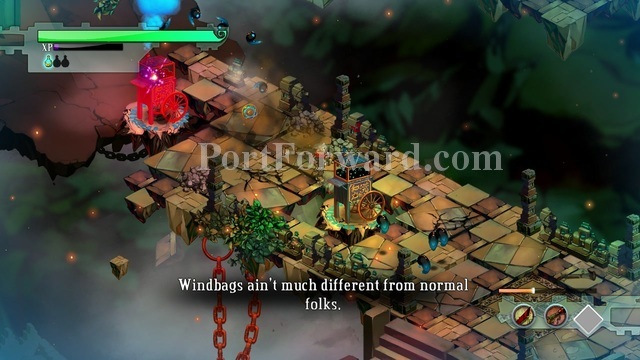
Cinderbrick Fort is one of those levels with many enemies.

Mainly Gasfellas, turrets, and squirts though, but you will see a scumbag or two.
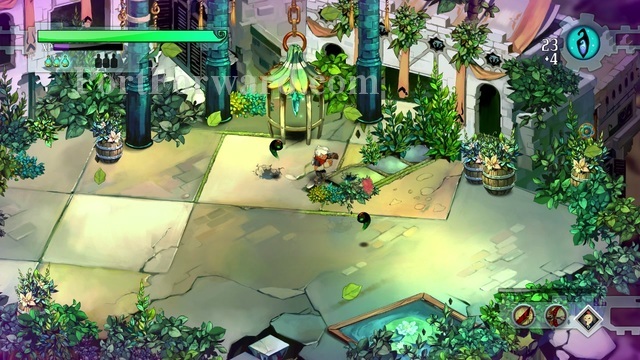
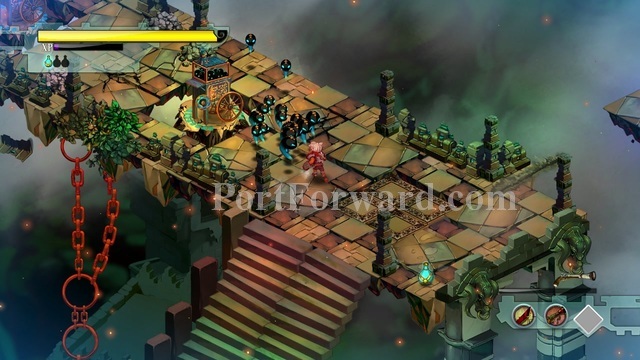
Go forward and you will find a switch.
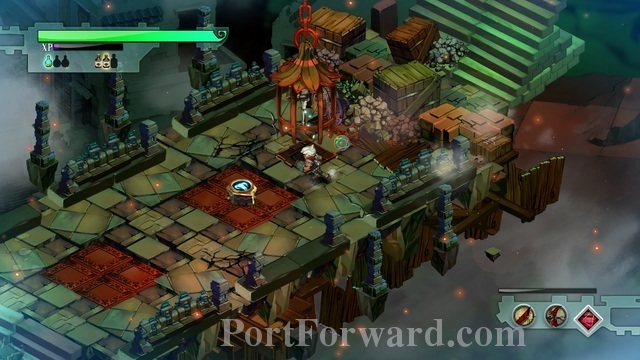
Activate it to open the cage.
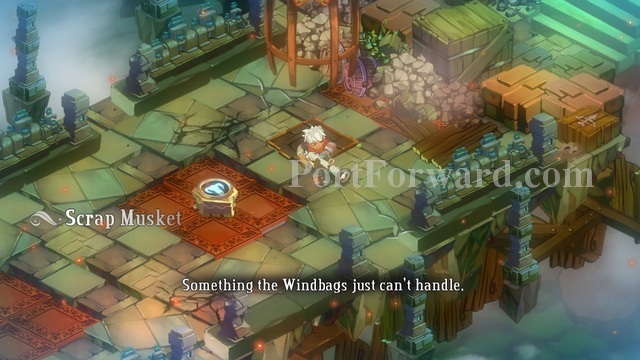
In the cage is the Scrap Mustet, the next ranged weapon in the game. It is a shotgun type of weapon with a really wide range.
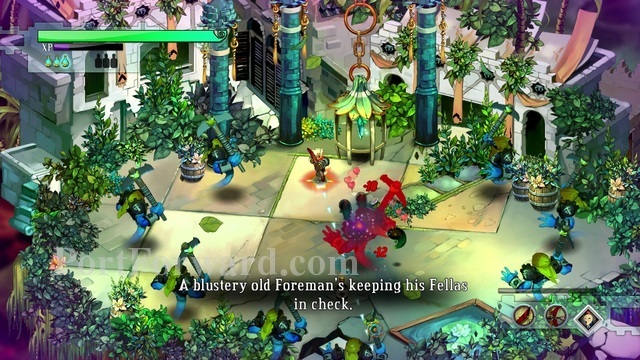
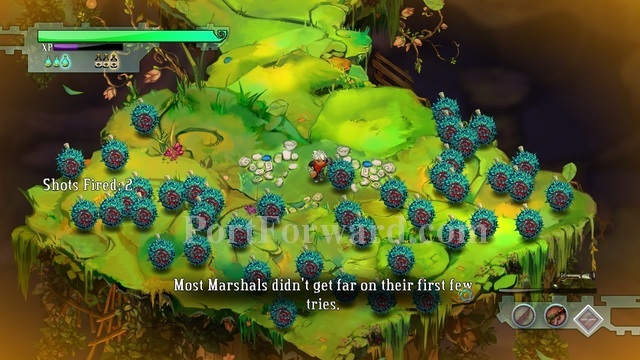
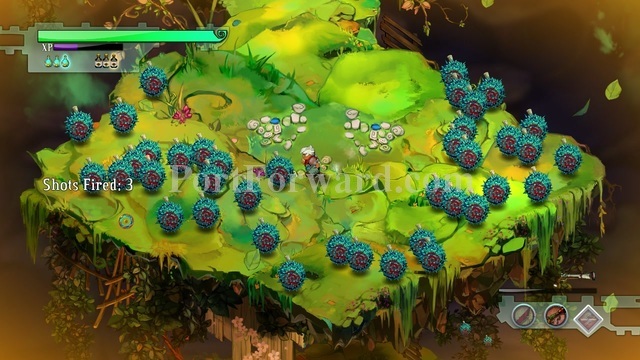
If you have the memorial, i suggest waiting for a lot of squirts to spawn, then killing them all with one hit from the musket. That way you will complete one of the challenges.
This many is good enough.
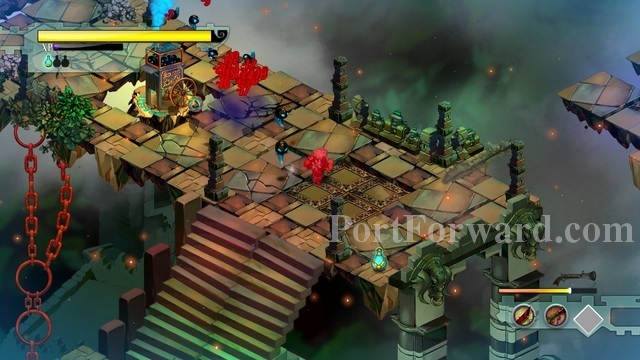
Boom.
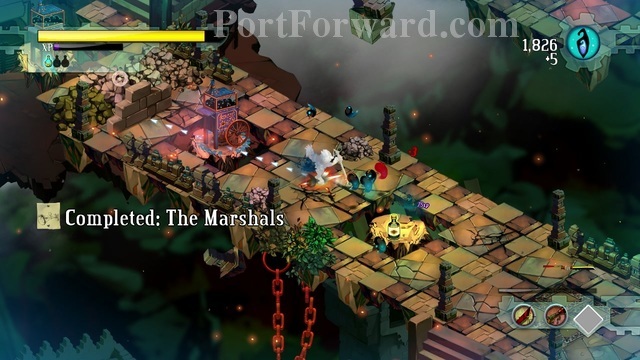
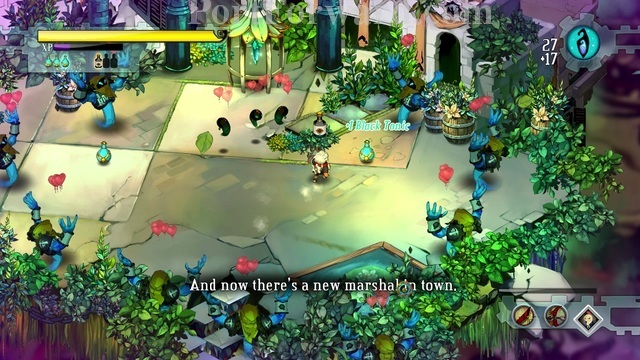
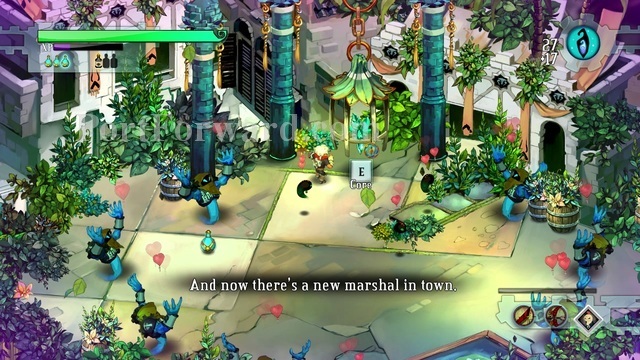
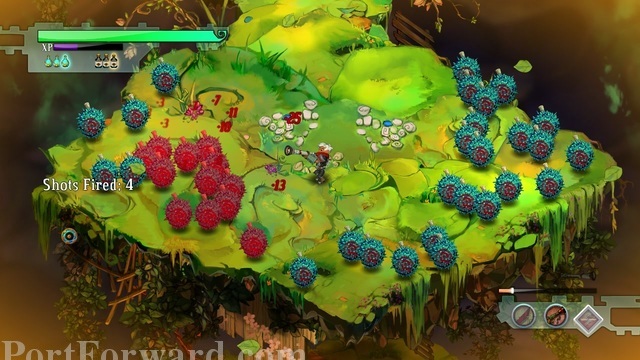
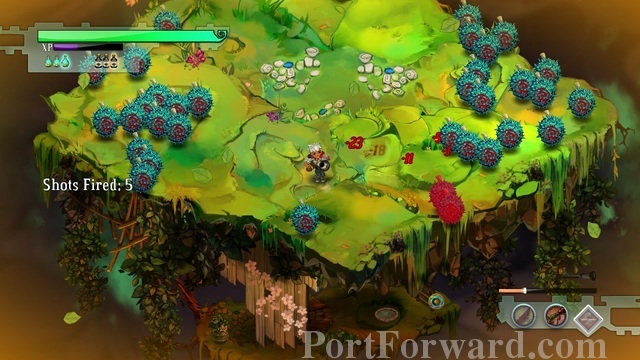
The challenge's name: The Marshals
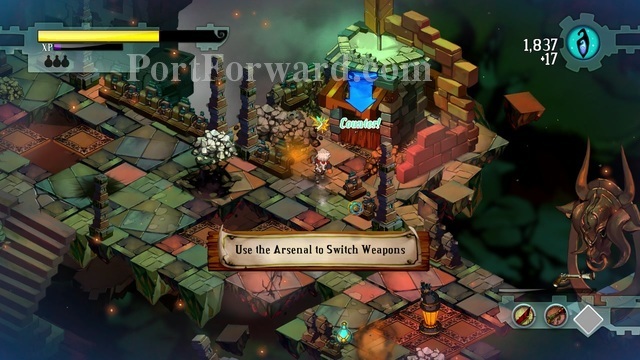
Going forward, you will find an Arsenal. You can use it to switch back to your old weapons, if you so desire.
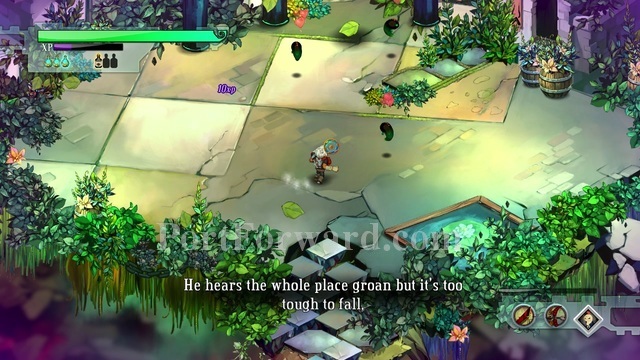
After a bit you will find the core.
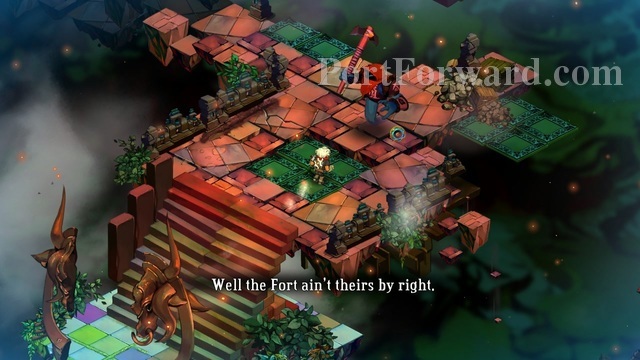
After you take it the place will start falling apart.
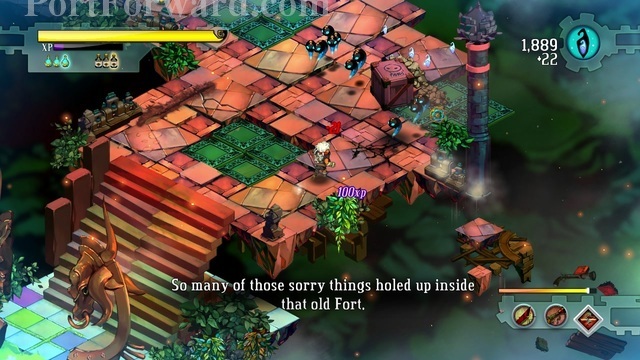
You have enough time to kill most stuff though, if you desire.
Lot's of turrets in the next section.
Next section: Short range fire turrets and rocks to block your path. Shouldn't be hard if you have a long ranged weapon.
Boom.
After this, you will reach an arena-type place again.
This one has 2 huge gasfellas and 2 huge scumbags.
Killing them could be a bit hard, i recommend running away from them and shooting when you're far enough.

After the arena the way to the skyway will be open. It will take you right to the Bastion.
You can use the power core on the monument now.
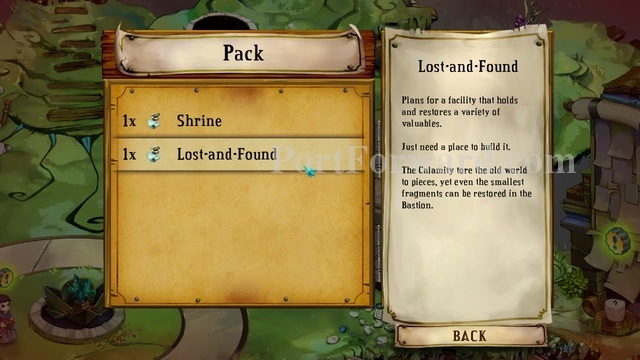
You can build the Shrine or the Lost-and-Found. If you want more difficult enemies and more rewards, get the shrine, otherwise get the Lost-and-Found.
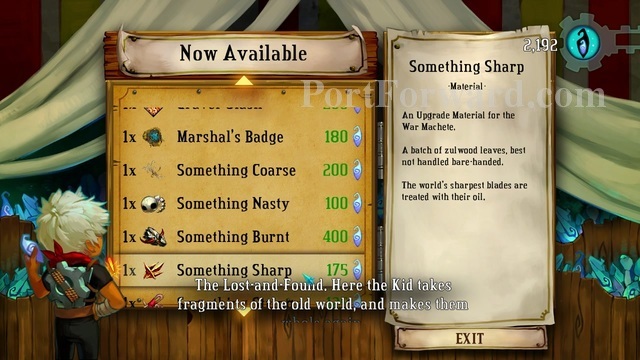
The Lost-and-Found is a shop. You can buy lore, crafting items, scrolls, spirits, etcetera. TIP: If you missed an item during a mission, you can buy it from here.
Bastion Walkthrough Zulwood Grove
Zulwood Grove is really easy if you get the first 2 upgrades to the right for the scrap musket.
You have to shoot all of the objects off the ground. First, shoot from this position.
This is the next one.
Third one.
Stand over here.
Fourth one.
Fifth.
Six.
Seven.
Eight.
Nine. Just shoot the rest of them from the right side.
Tenth.
Shoot these off.

And shoot the last one off the ground.
The final reward is a scroll that allows you to shoot with the musket as fast as the fang repeater.
Bastion Walkthrough The Scrap Yard
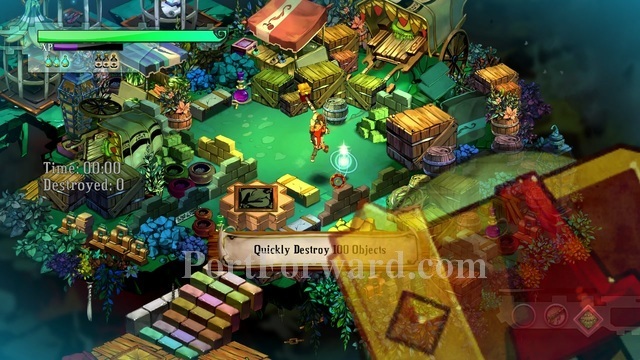
Scrap Yard is a hard one, and if you wish to get to first place, you have to use some time on it.
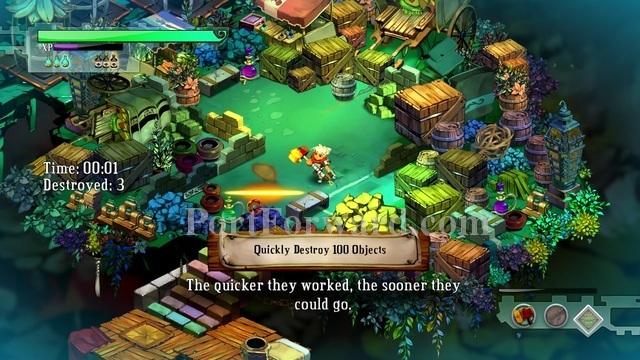
You have to destroy 100 things.
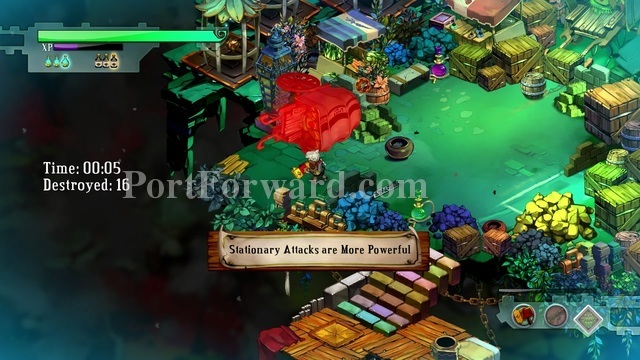
Strategy is, use the hammer to destroy the rocks, walls, lamps and caravans. The rest you can destroy by rolling into it.
Bastion Walkthrough Langston River
This one is pretty long.
Go forward until you find a button. Activate it to start the ride.
It will automatically destroy the stabweeds.
It is not too hard of a sequence, just make sure you have a ranged weapon to kill most things with.
It will be mainly gasfellas and turrets in your way.
Just kill everything on the way until you crash.
In this sequence all you have to do is move forward and kill things, quite self explanatory.
There is an arsenal nearby, if you wish to switch your weapons. I recommend getting an accurate ranged weapon for the rest of the mission.
Go south until you find the core. Take it and go back to the vehicle.
This time it will be waiting with turrets of its own.
It's the same ride as the first time. Kill stuff while on the move and crash in the end.
After a bit you will speed up and your cannons will...
...blow up.

You will crash and fly off.
Before going to the next part, make sure you go south.
There are potions there.
To continue, go to the opening over here.
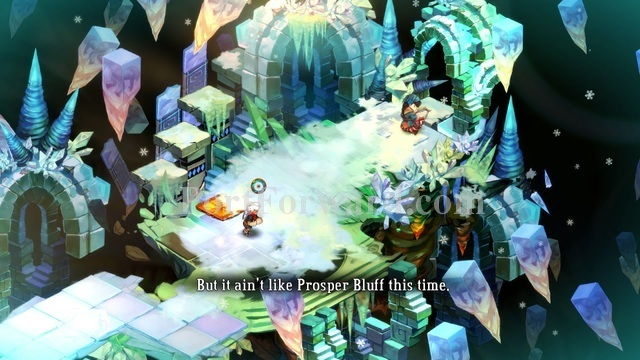
Bastion Walkthrough Prosper Bluff
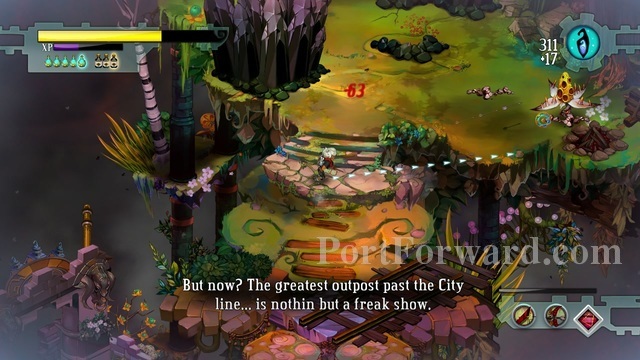
Prosper Bluff is the second part of the mission "Langston River"
This one is filled with switches, skyways and birds.
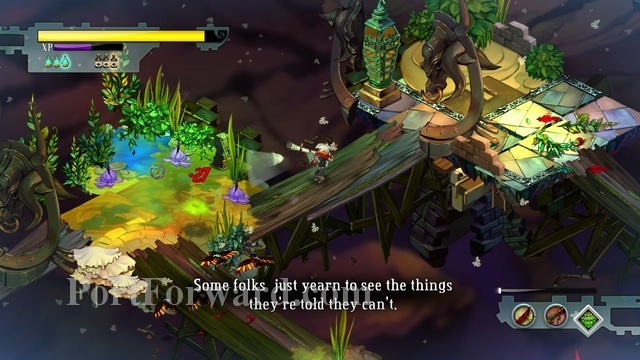
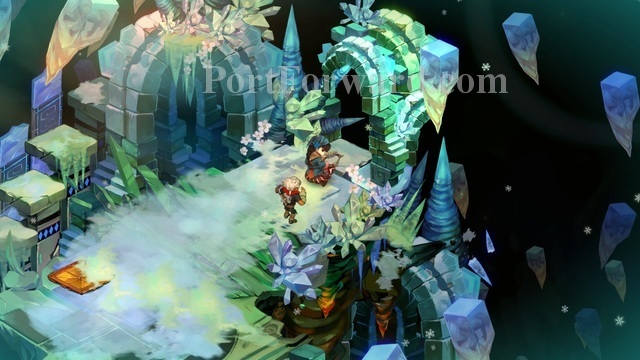
The purple plants on the ground are quite disorientating.
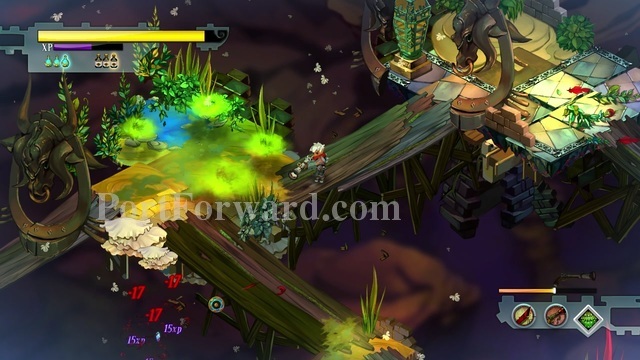
Shooting at them turns them into a cloud that blurs up your screen.
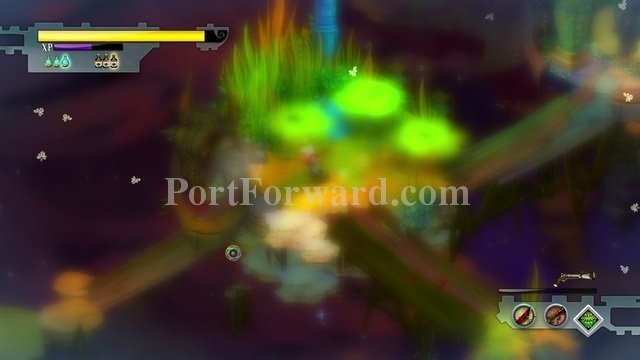
Stepping on them has the same effect. They also deal damage.
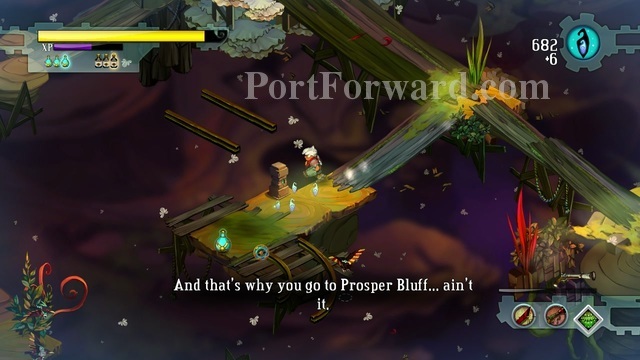
Remember to explore everything before you use a switch or a skyway, otherwise you might miss something.
Just continue going forward, nothing complicated in this area.
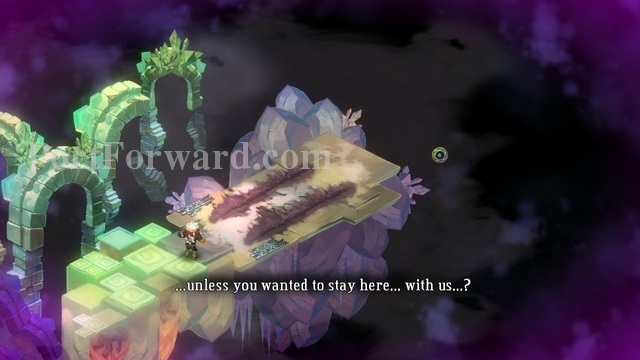
On your way, you should find a lore item. It is not hidden by any chance so it should be quite easy to see it.
In the end of the mission you will find a girl. Talk to her to finish the mission and return to the Bastion.
You gained another NPC.
And using the core will give you...
...another spot for a building.
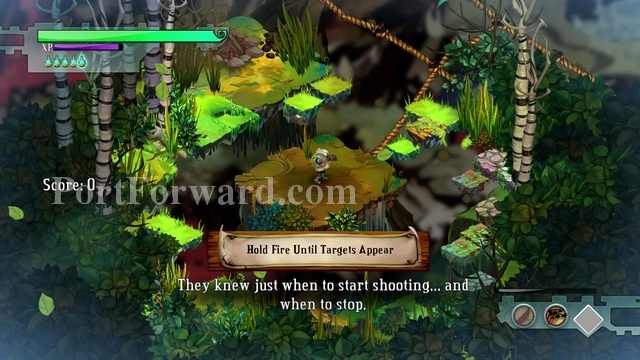
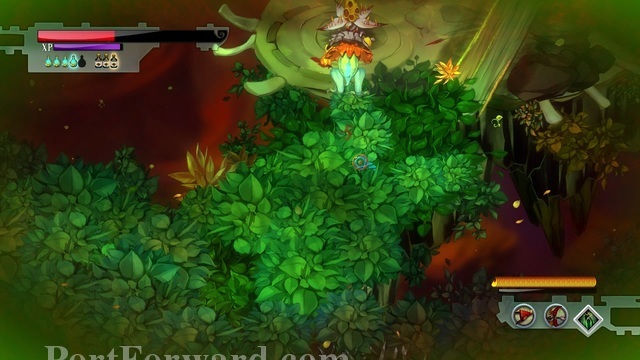
Bastion Walkthrough The Wild Outskirts
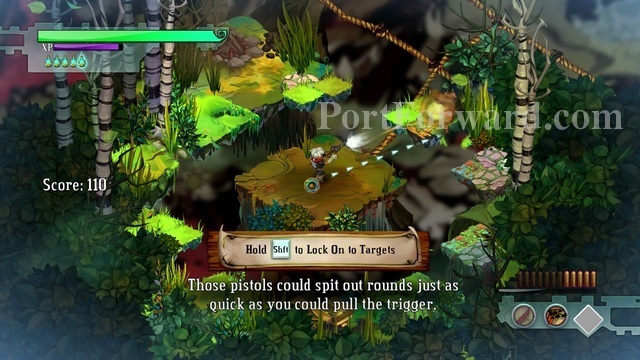
Right in the beggining you will find the dueling pistols.

The faster you press the right mouse button, the faster they will shoot.
It is a really useful weapon when fighting the birds, especially when you upgrade it.
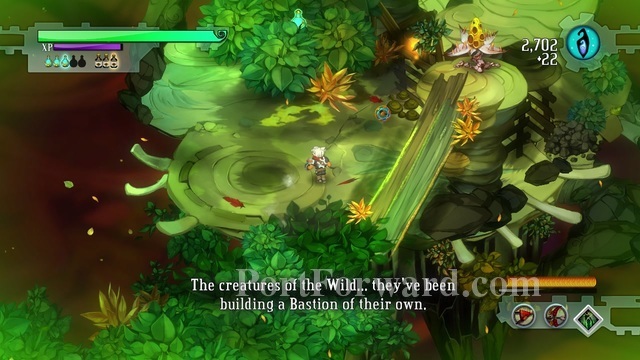
You will find the core right in the beggining. It's not one of the longest missions.
After you take the core, all of the spikes will disappear.
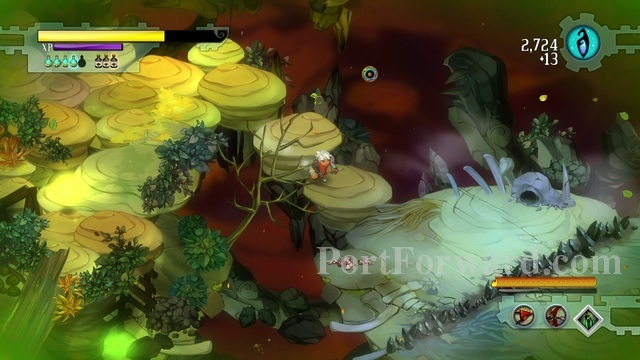
This is a week that is similar to a turtle.

Shoot it when it's open.
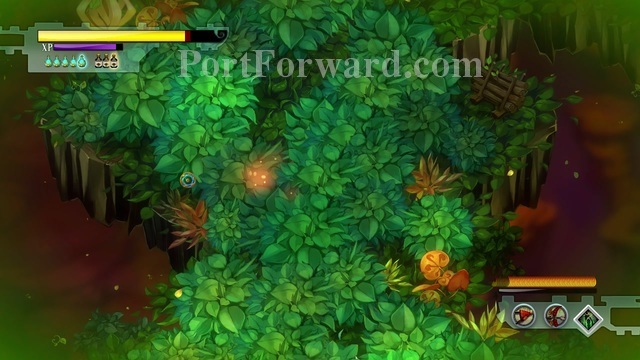
This place is an open area. I will show you the locations of the points of interest.
Arsenal over here, quite close.
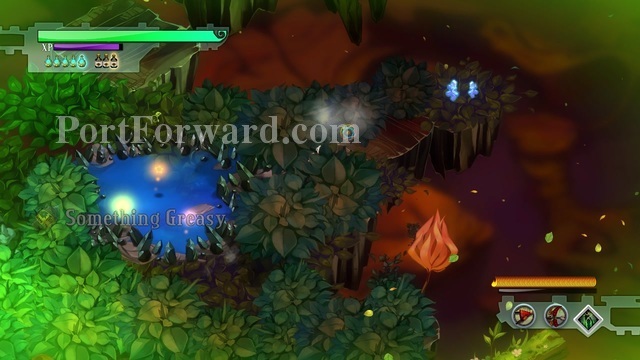
Something Greasy is to the east of the arsenal.

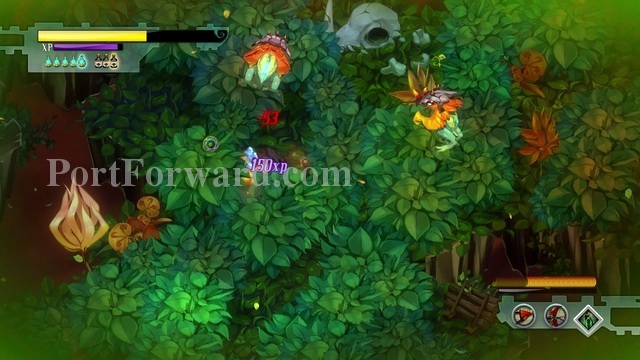
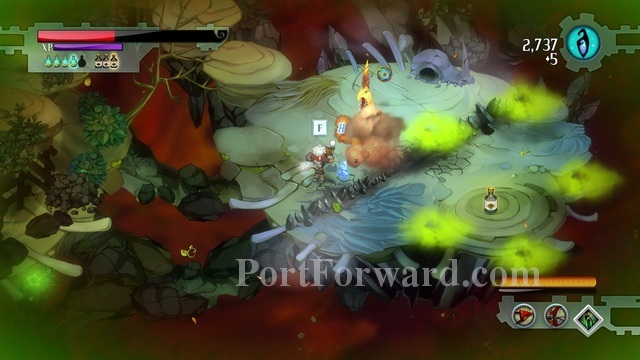
New enemy. This is a frog like creature. He is defended from the front, but he is weak from the behind.
Just wait for him to jump, and roll behind him.
Next point of interest here. A bit of lore, a black tonic, and 2 green flowers that heal you when you bumb into them.
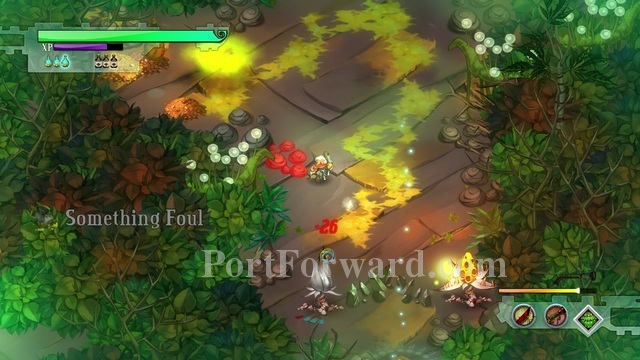
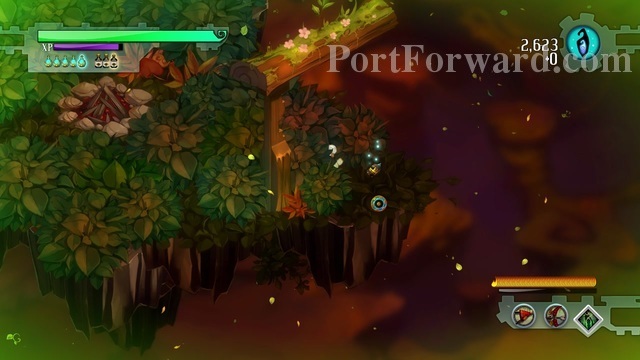
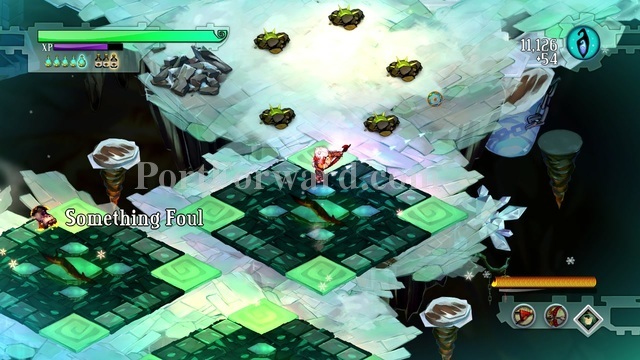
Next one is the sandbag, a bit to the south of the last point of interest.
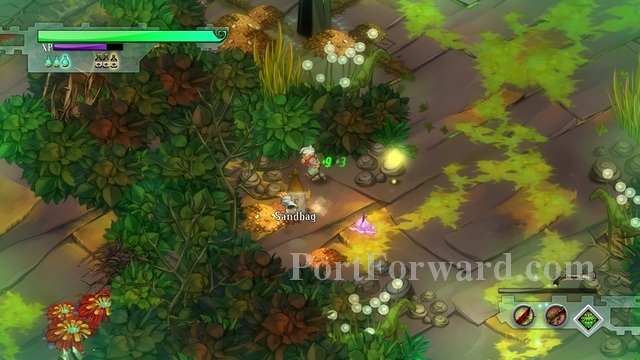
It drops Something Foul.
After you're done with that, you've reached the end of the level.
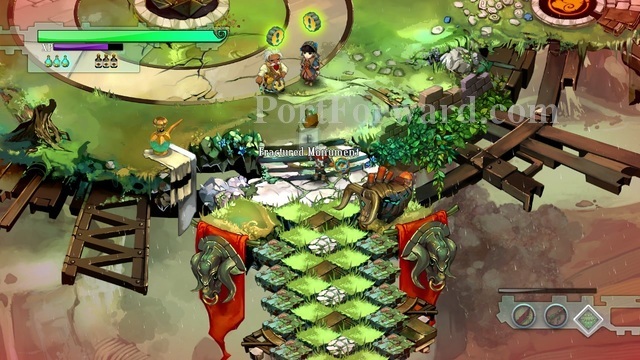
After you're back, you will find Fractured Monument, a lore item.

You will also lose one of your NPCs.
And using the core this time does not bring you any bonuses.
Bastion Walkthrough Slinger Range
This one is up to reactions. I really recommend upgrading the guns to remove scatter though, helps immensly if you want to get to first place.
Press shift and wait for a target to appear. After it does, start spamming the right mouse button.
Do not shoot at the air, or you will lose a lot of score. Higher score, better reward.
Bastion Walkthrough Jawson Bog
Jawson Bog is one of the more interesting missions.
Not many secrets here though.
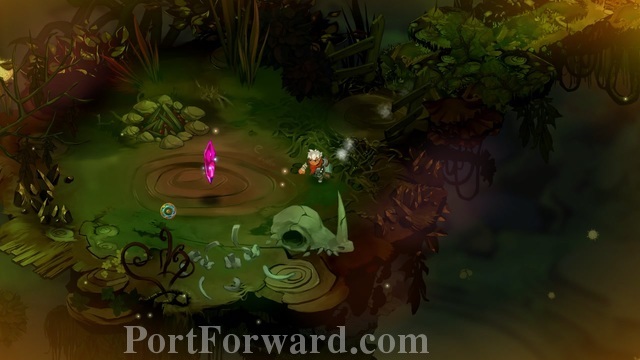
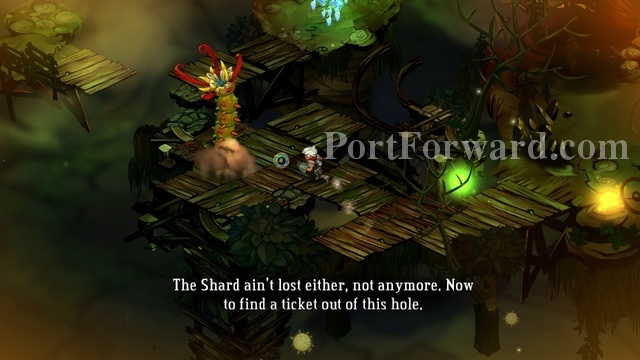
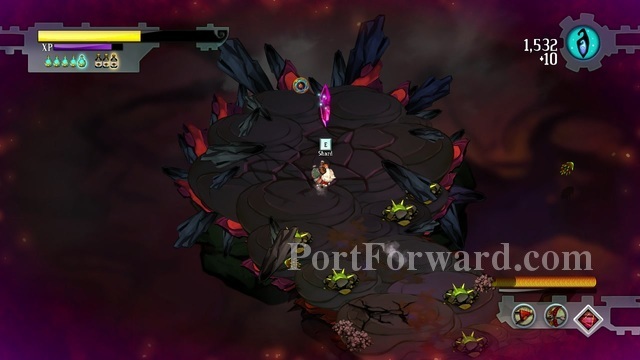
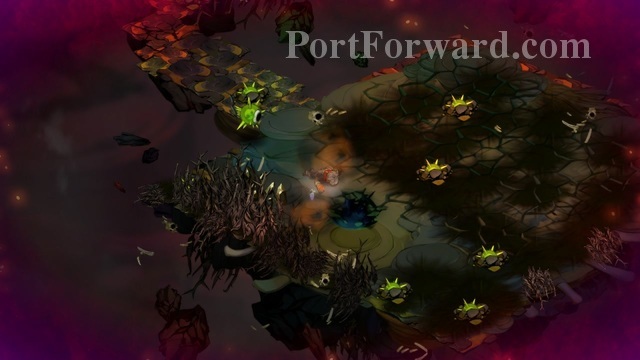
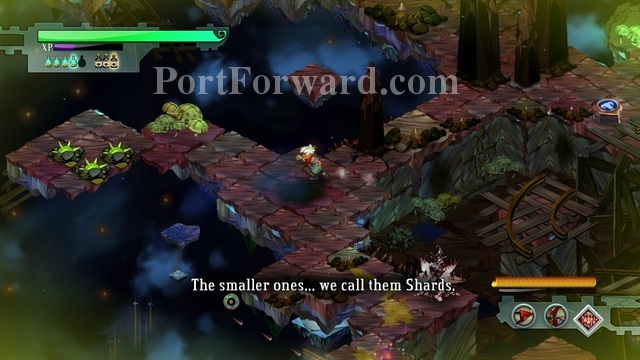
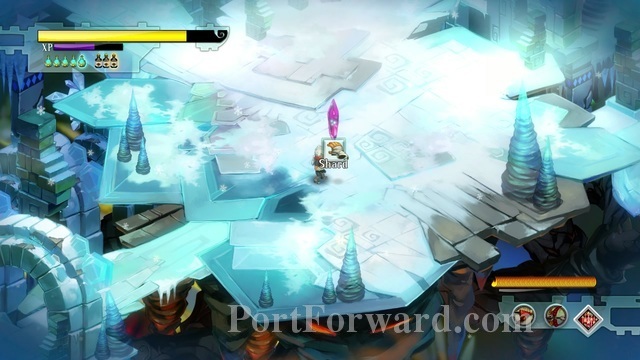
Without fighting a single enemy you will find the shard.
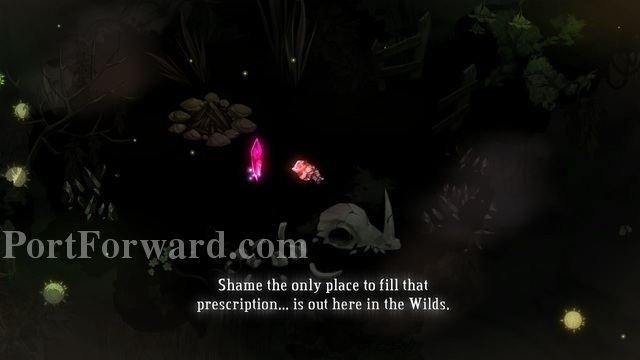
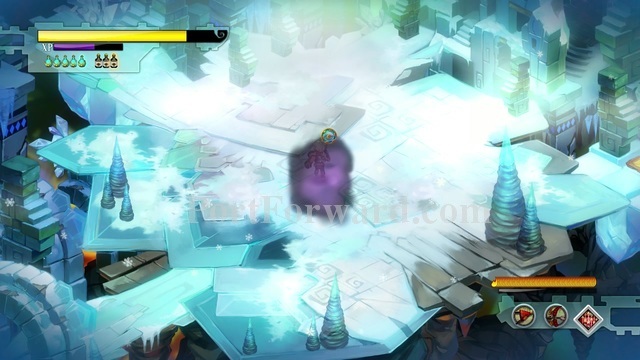
But right before you grab it, you will fall asleep.
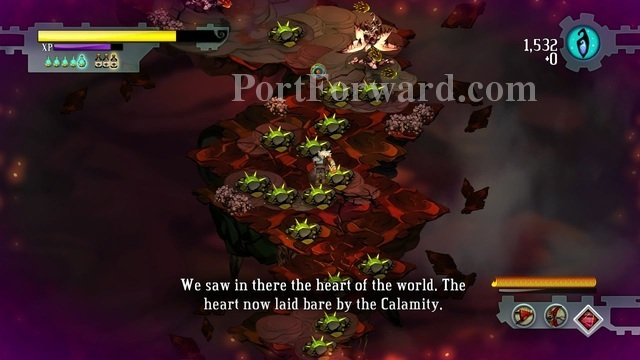
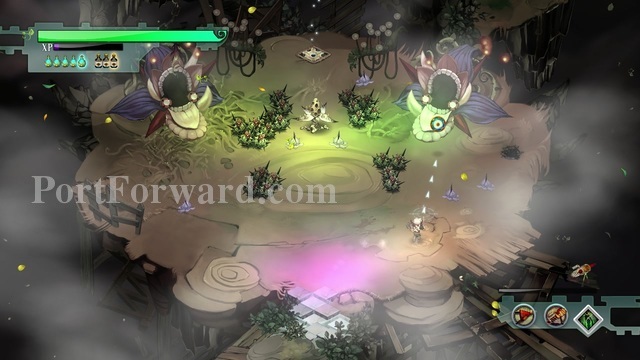
You are in something like a dreamworld. New enemies. First we have those weird eyes. When you look at them, they close and you do little damage to them. When you look away, they open and you are able to damage them properly.
They do not close instantly, so you have a bit of time to do a fair ammount of damage.
When they reach you, they explode.
It doesn't do that much damage, but it is still recommended to not let them blow up on you.
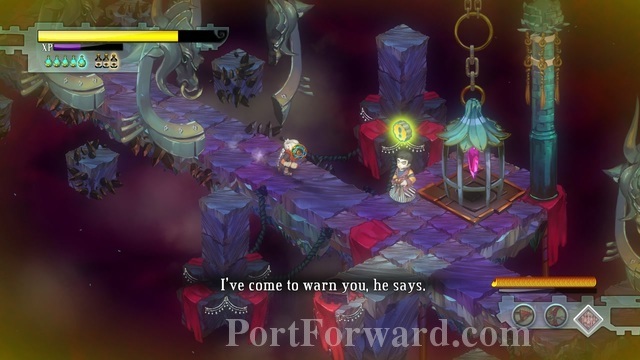
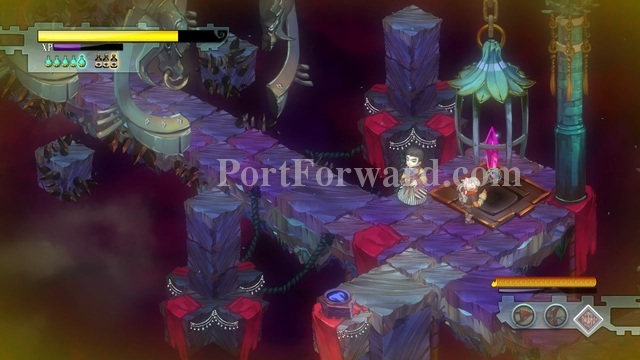
After you're done, the Siren will appear. Talk with her.
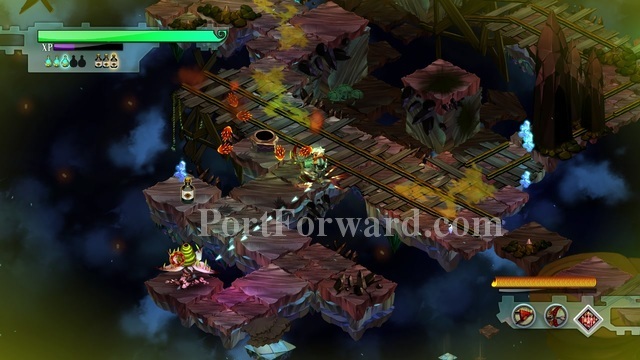
You will teleport to a new place, surrounded with statues, gasfellas and squirts. Taking care of them should not be too hard, just be careful not to fall of the edge.
After you're done, talk with the NPC.
You will be teleported to a new area again.
It can be a bit tough with all the creatures, but if you roll away before they attack you should be alright.
After you're done, go to the skyway.

You will be teleported yet again.
There's a huge squirt-o-matic.
After you destroy it, a bunch of turrets should appear.
After you're done with that room, you will be teleported for the last time.
Would you look at that, the Cael hammer again...
...only this time it is not happy to see you.
After defeating yourself, continue forward and you will be teleported for one last time.
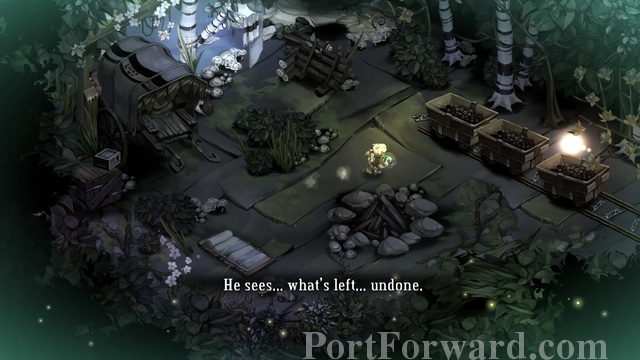
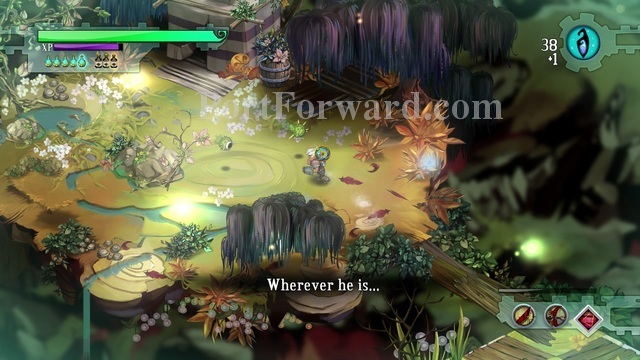
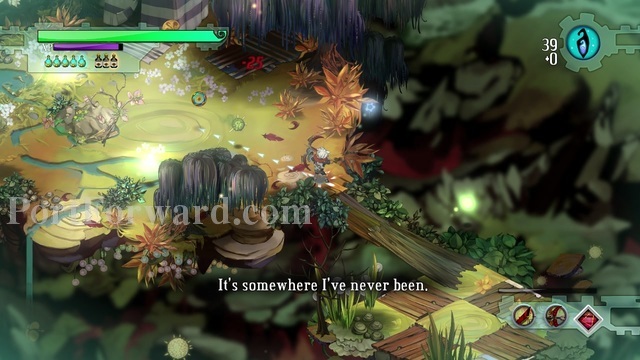
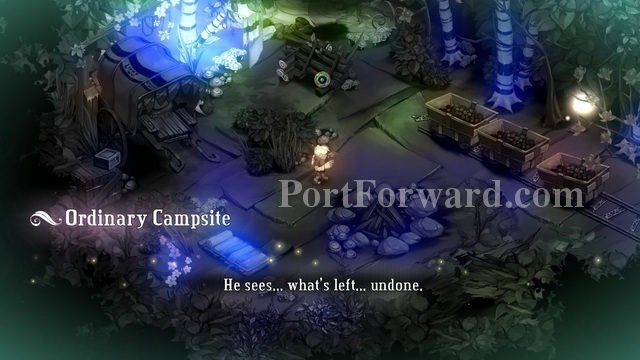
You have to follow the ball of light.
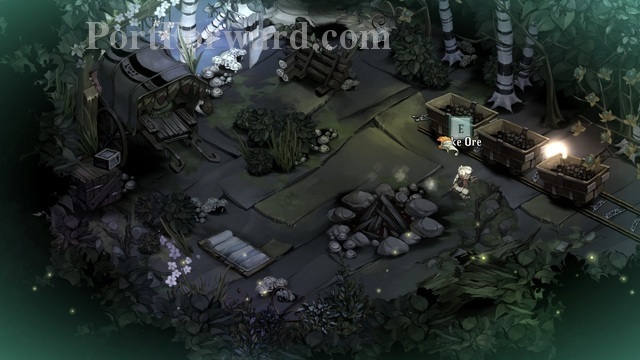
Take Ore.
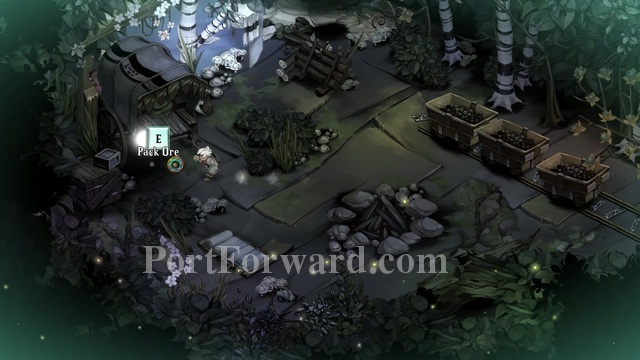
Pack Ore.
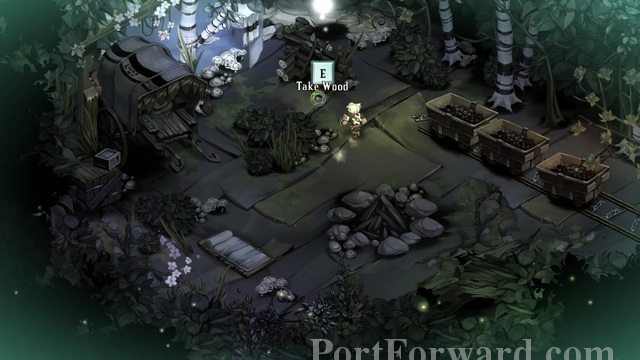
Take Wood.
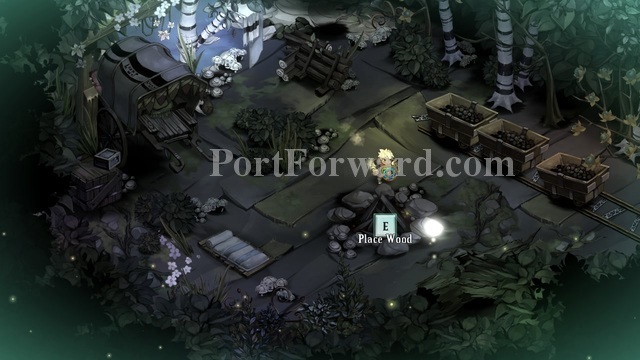
Place Wood.
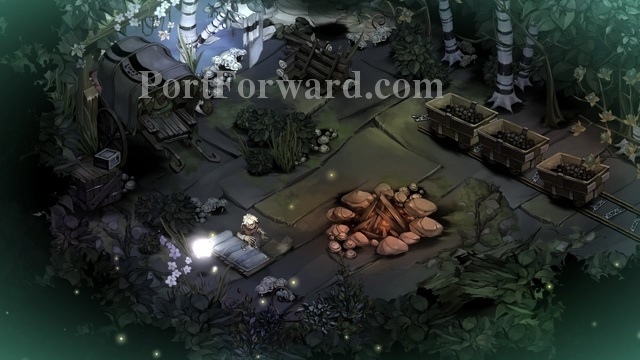
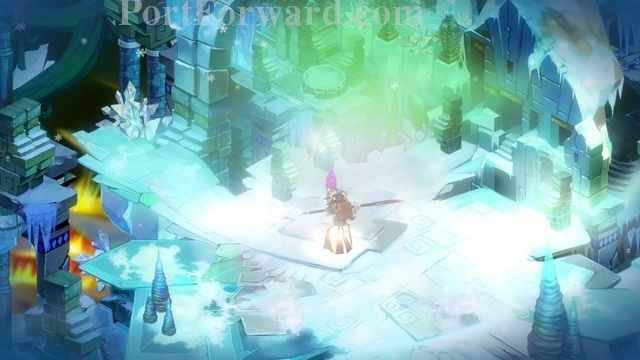
And finally fall asleep.
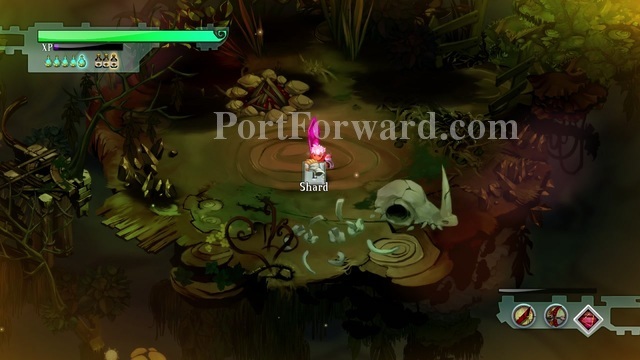
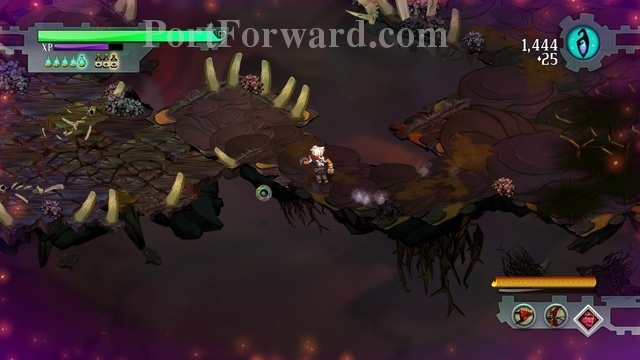
You are done with that and you are back to Jawson Bog. Take the shard and you're ready to leave.
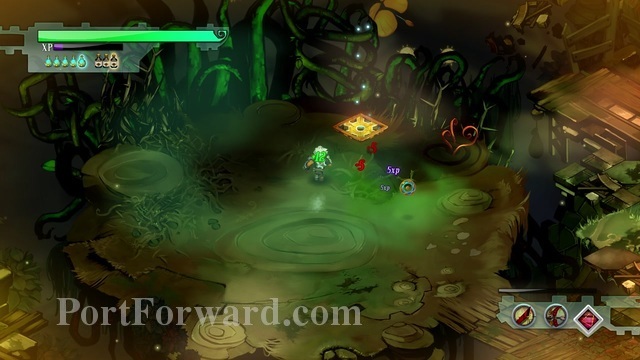
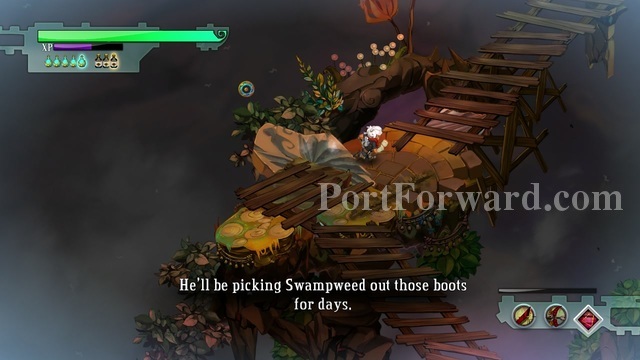
You will find a new enemy, worm like creature. He grabs you into a cake, which you can destroy with a melee weapon.

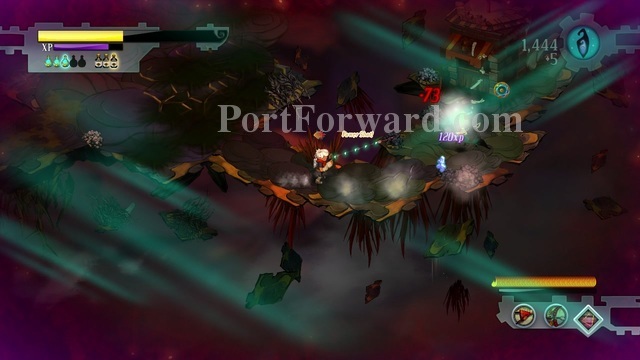
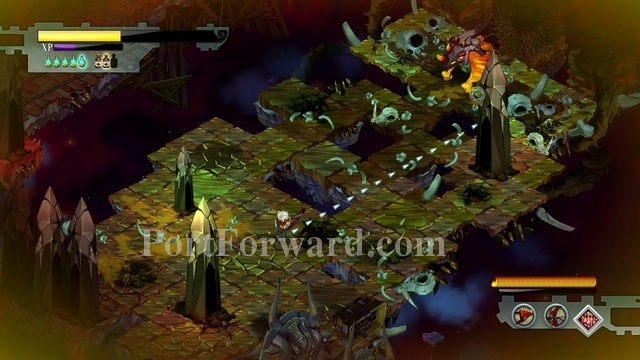
Going a bit forward, you will see a boss with the skyway next to it. I recommend shooting it with a ranged weapon while dodging most of the things it throws at you.
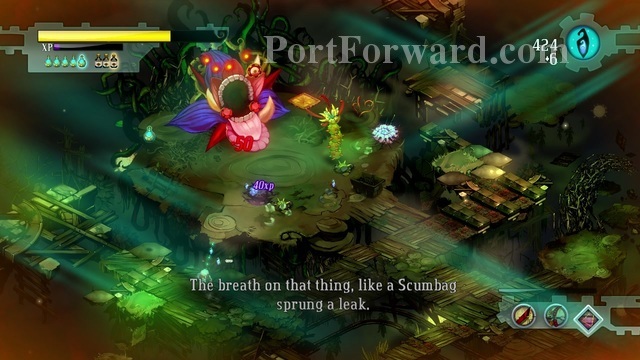
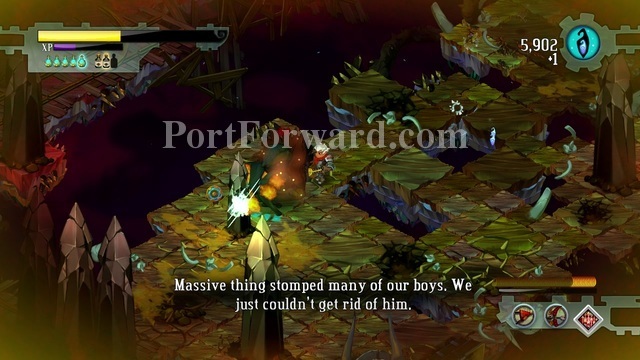
He will spawn enemies the more damage you do to him.

Try to get rid of the smaller creatures first.
After you defeat him, take the skyway and return to the Bastion.
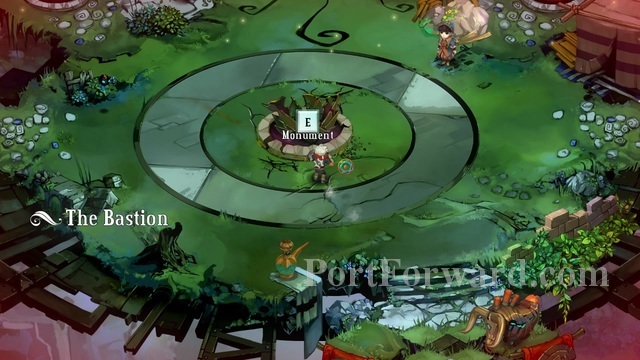
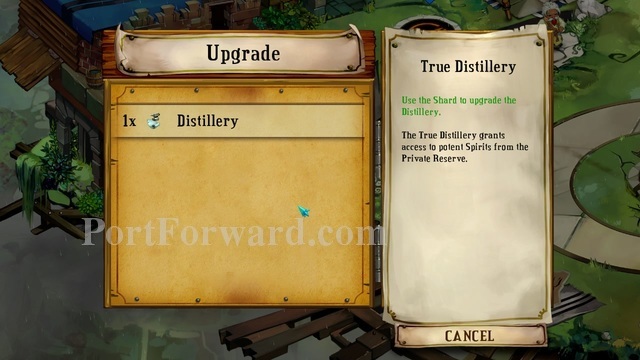
Using the shard on the monument will allow you to upgrade one of your buildings.
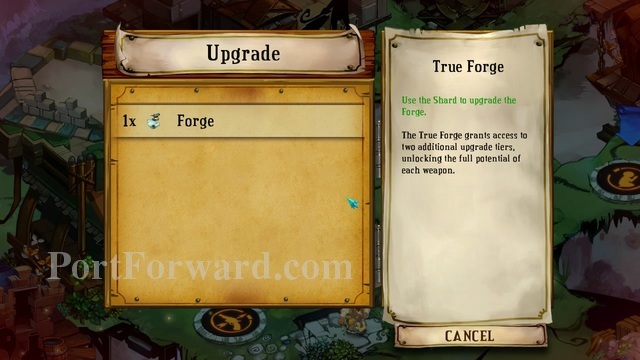
I chose to upgrade the forge since it allows you to upgrade your weapons more.
Bastion Walkthrough Roathus Lagoon
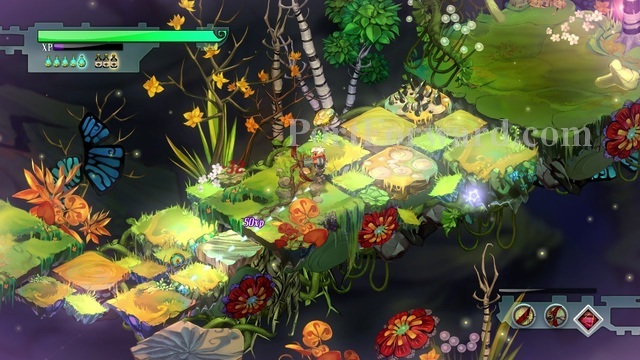
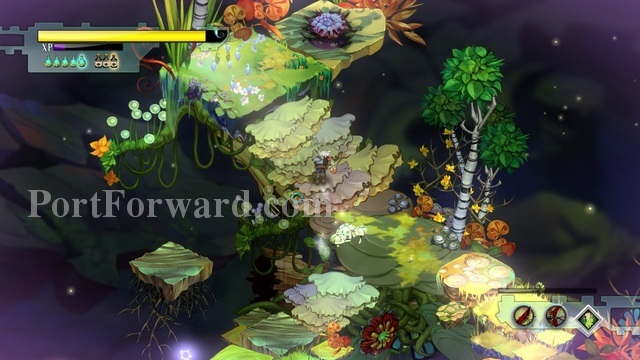
This is a really pretty place.
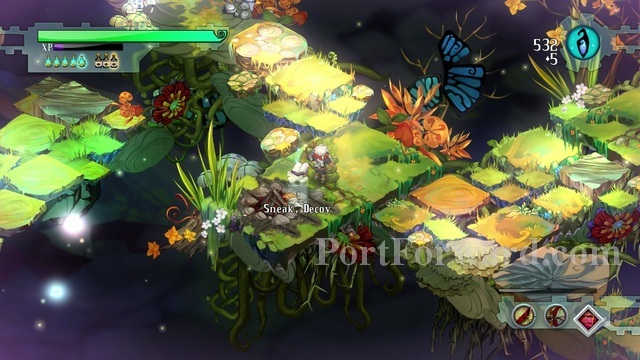
Right at the start, you will find the Sneak, Decoy skill. It turns you invisible and places a 'fake kid' right at your location.
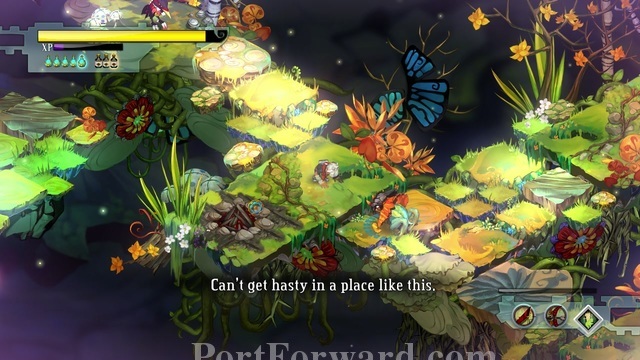
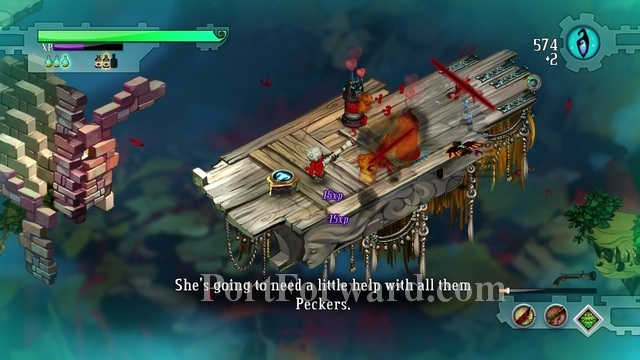
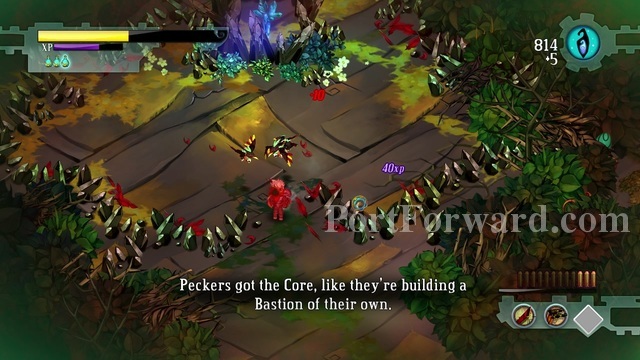
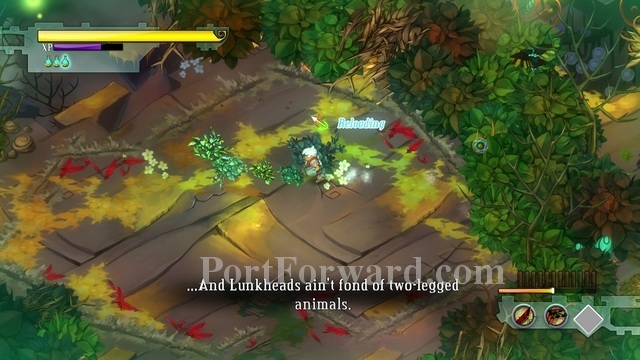
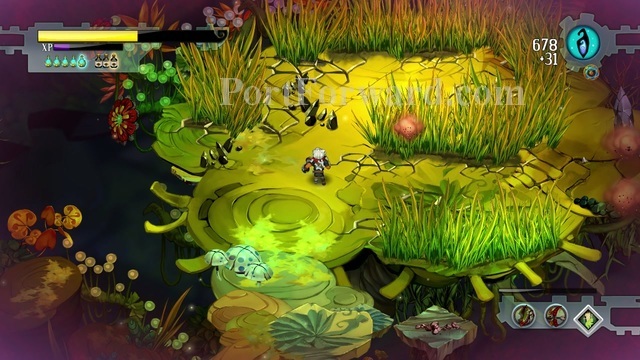
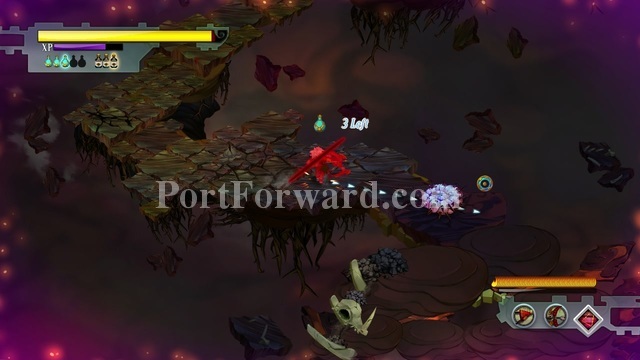
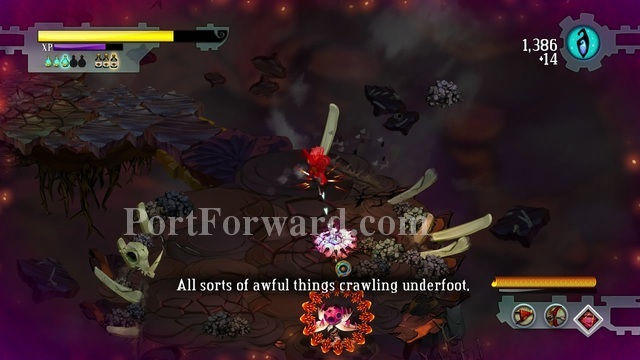
It's full of Lunkheads, Peckers and annoyances of the sorts.
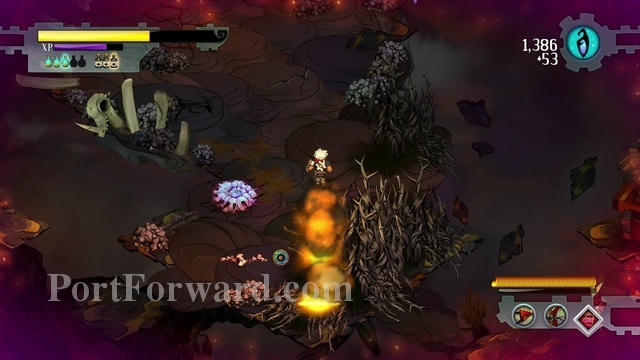
There is a cache of fragments to the north.
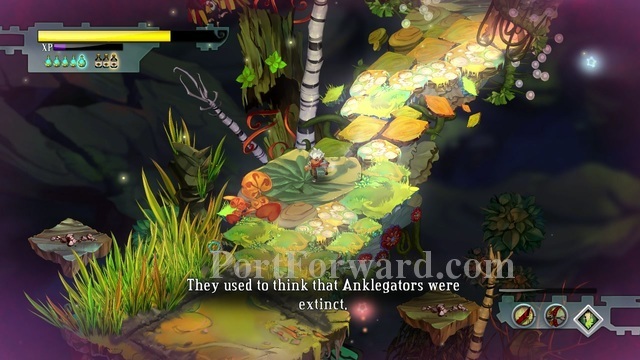
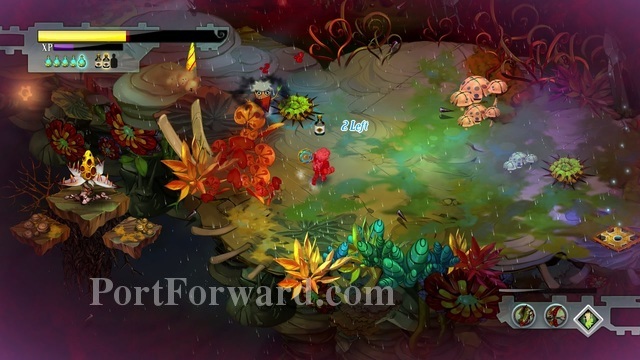
Continue your way south, until you see one of the most annoying enemies in the game:
Anklegater

Going south-east you will meet a new enemy: Stinkweed. It throws gas at you, that deals damage over time and blures your vision.
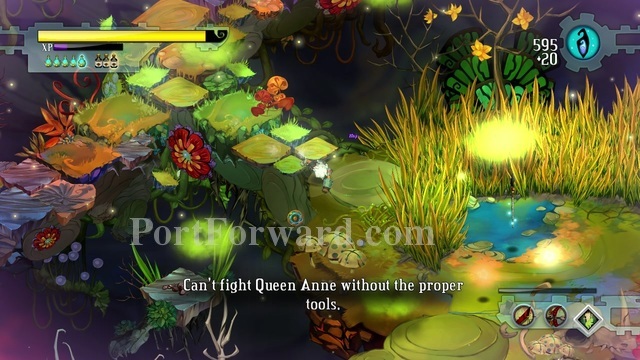
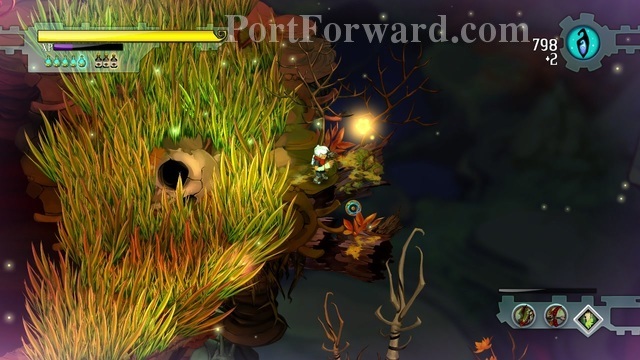
Careful in the high grass, queen Anne usually attacks you if you stand in it.
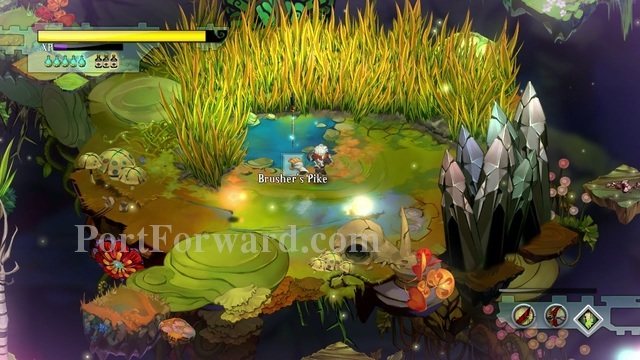
Right above the pond you will find the Brusher's Pike. It is a mix between the Cael Hammer and War Machete. You do long range, but slow attacks like the Cael Hammer, or you can throw it at enemies like the War Machete.
Continue your way through the jungle, but be careful with the high grass.
Right north of the high grass, you will find an arsenal and a fruit that restores a bit of health.
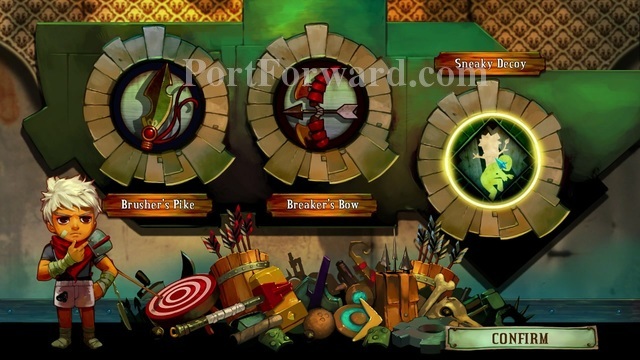
I really recommend keeping the Sneaky Decoy and the Brusher's Pike with you, it would be immensly useful soon.

This is what happens when you're not careful in the grass. Queen Anne attacks you and shoots you in the air.
Don't try to kill her though, she is invicible.
To the north, there is a hidden cache of fragments in the grass.
After going through the thick grass, go north-east.
Kill the stinkweed.
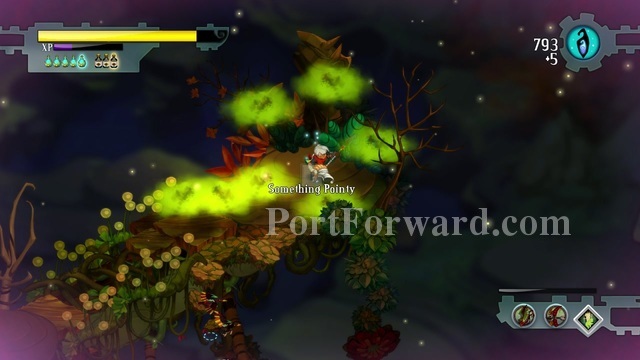
And grab Something Pointy.
After going through this piece of grass...
...go to the right and you will find...
...an anklegator egg. It's a lore and a pet item.
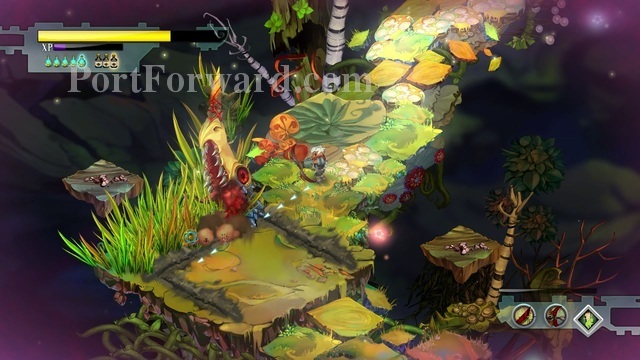
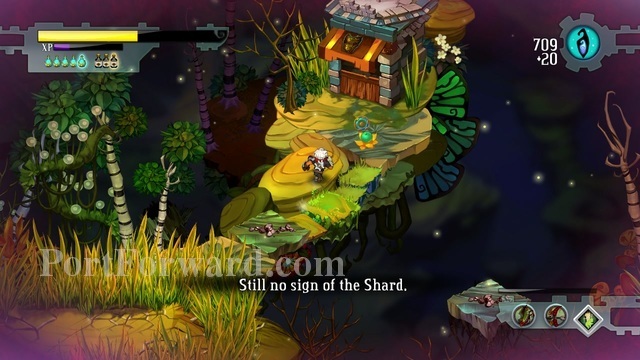
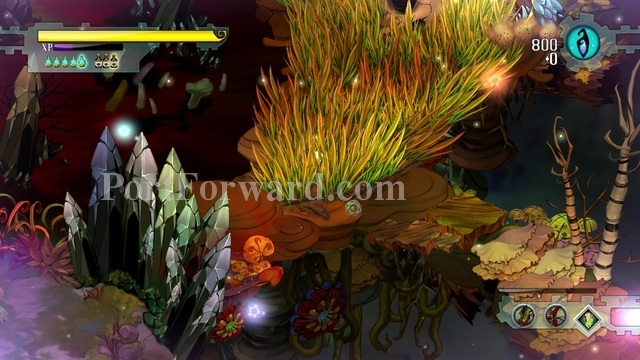
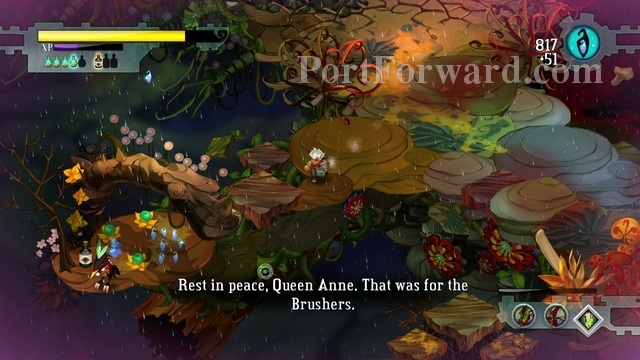
Go to the west of the egg and you should find Queen Anne and the Shard.
Get the shard and you will be able to kill Queen Anne.

Strategy is, walk above her and press the space bar.
After her head is above ground, attack her with your Brusher's Pike.
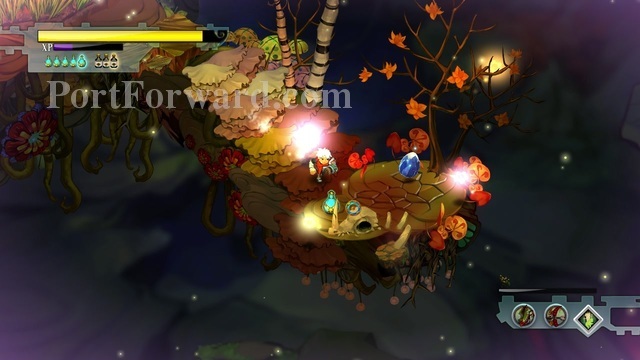
After a bit of time she will spawn enemies of stationary types. Also, the more damage you deal, the faster Queeny becomes.
After she becomes too fast for you to dodge her, start using Sneak, Decoy skill.
After you're done, there is a small stash of supplies to the west.
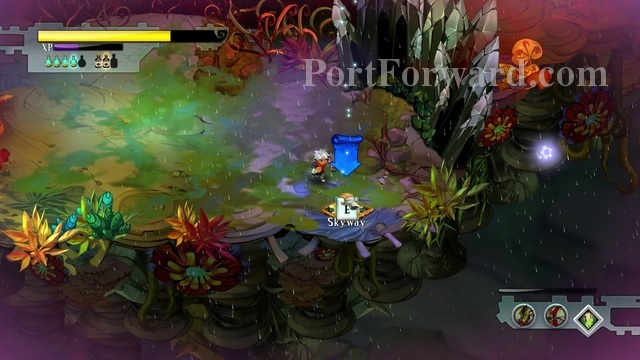
After you're done with everything, the skyway to the south will take you to the Bastion.
Use the shard and upgrade another structure.
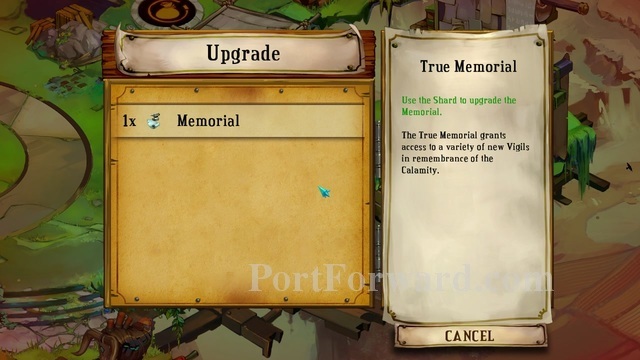
I chose the Memorial for more challenges and rewards.
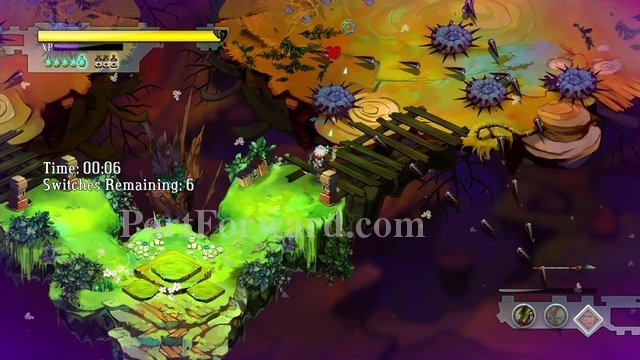
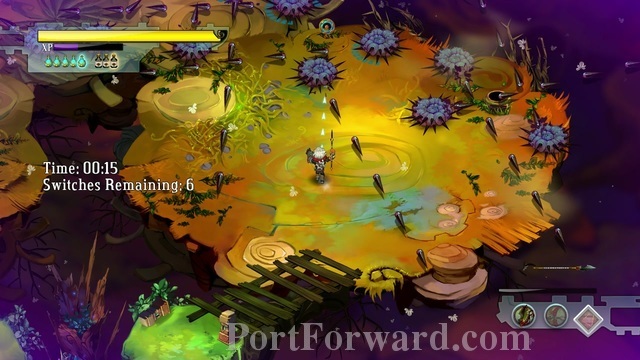
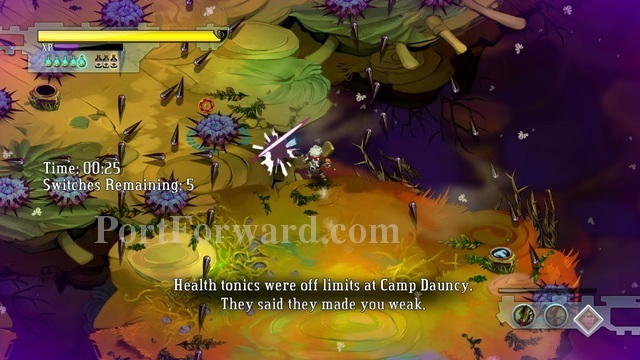
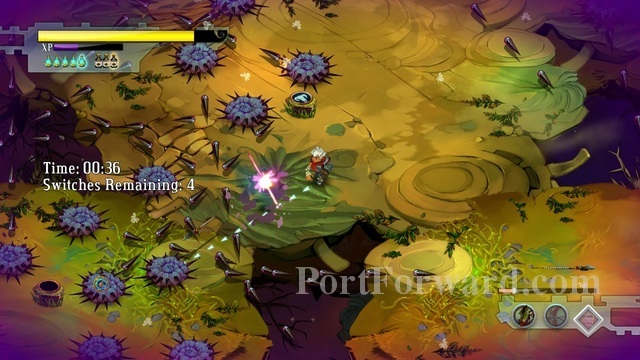
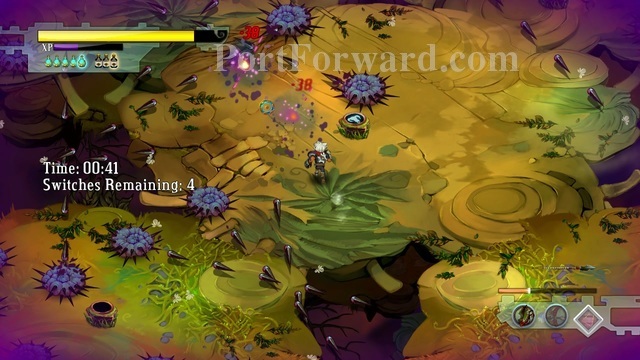
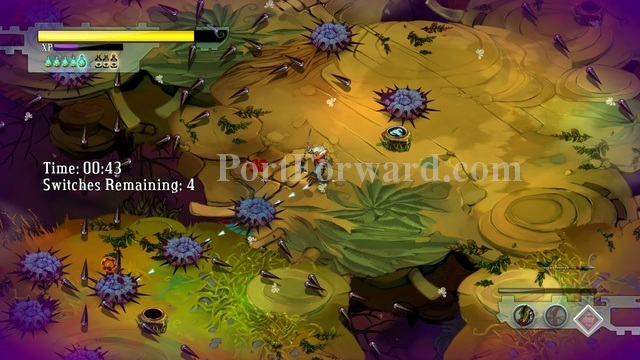
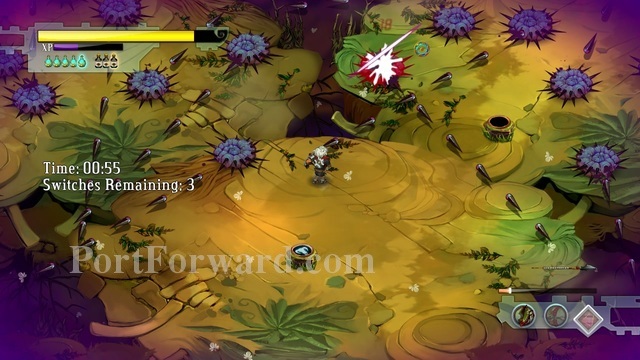
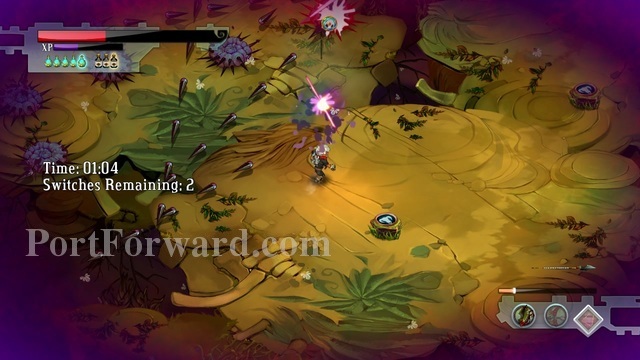
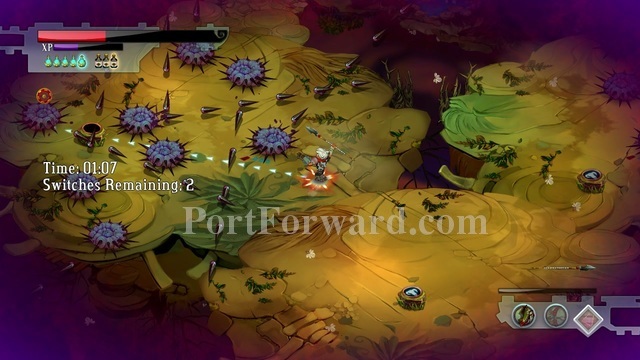
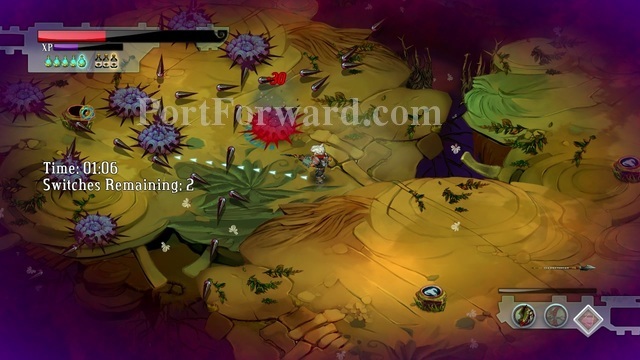
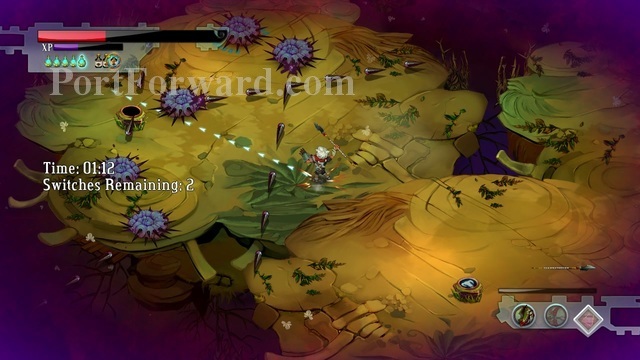
Bastion Walkthrough Camp Dauncy
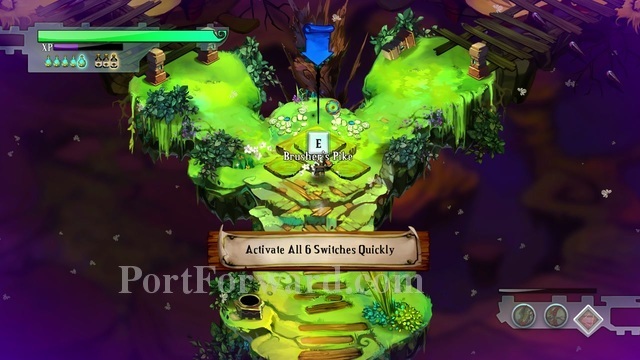
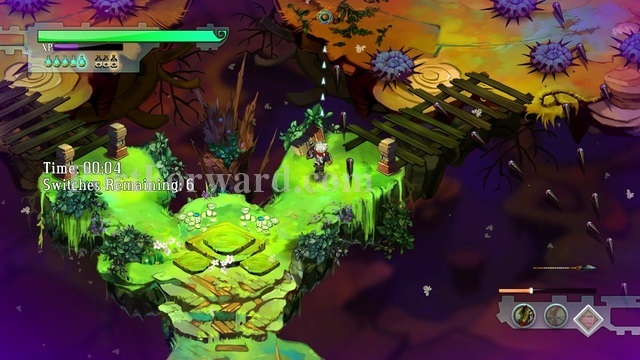
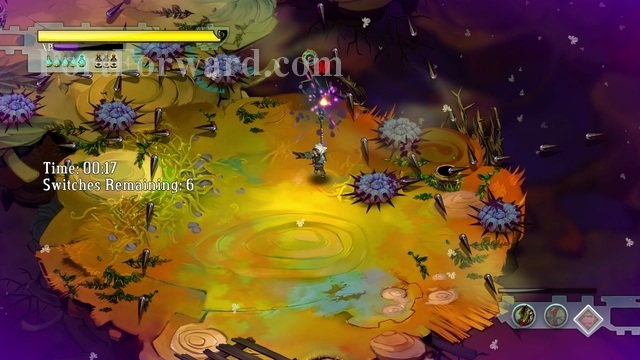
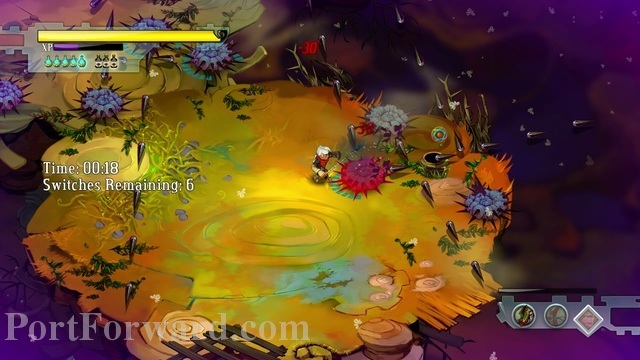
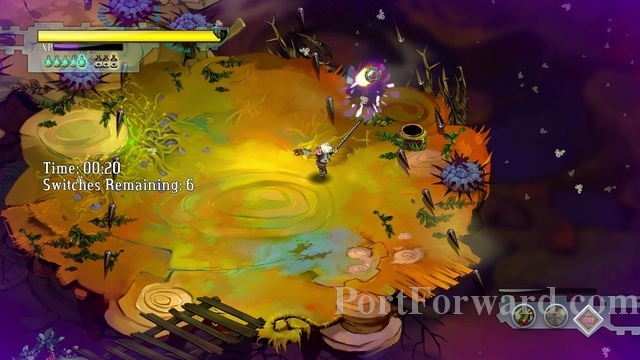
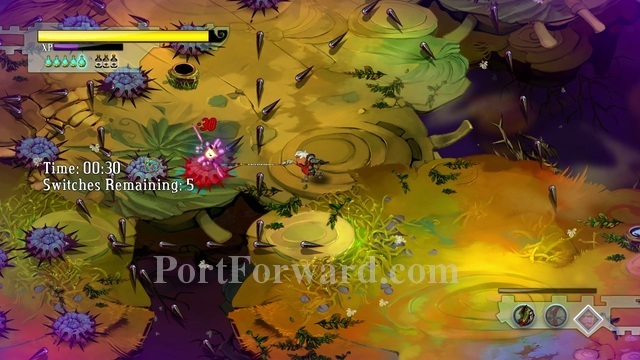
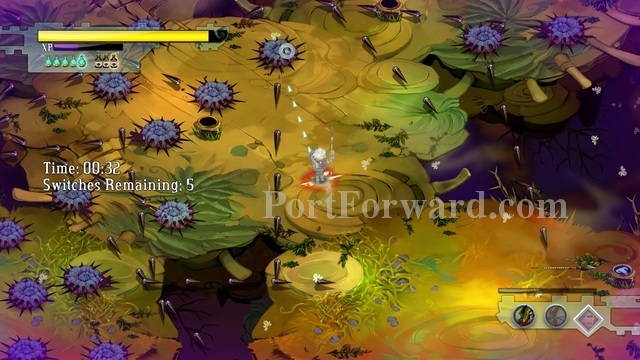
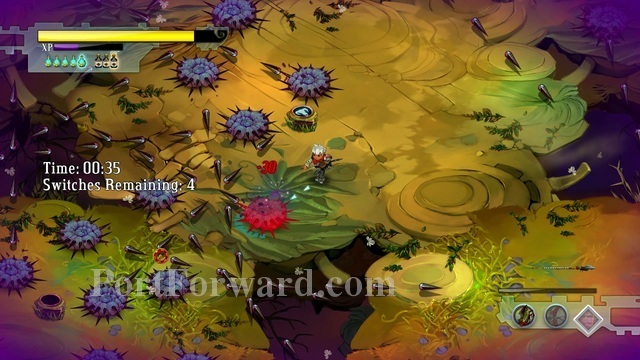
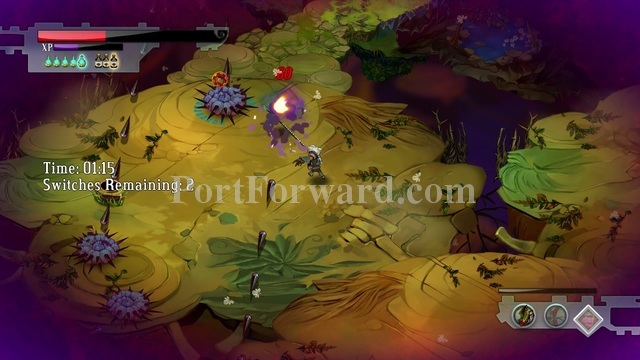
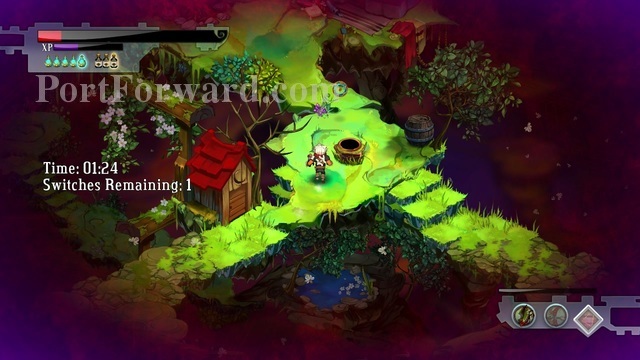
For this one, you have to press on 6 switches as fast as you can. There is a catch though.
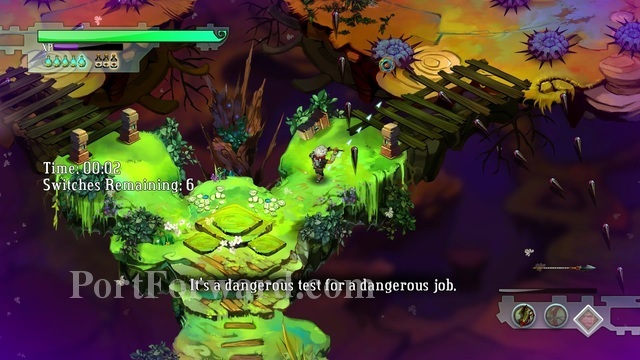
There are a bunch of weeds shooting at you, and you cannot use potions or roll. I will post how i did it for second place, but with the same way i've done it for first as well, i managed to slow down at some areas.
One.
Two.
Three.
Four.
Five.
Six.
Seven.
Eight.
Nine.
Ten.

Eleven.
Twelve.
Thirteen.
Fourteen.
Fifteen.
Sixteen.
Seventeen.

Eighteen.
Nineteen.
Twenty.
Tweny one.
Twenty three.
Twenty four.
Twenty five.
Twenty six.
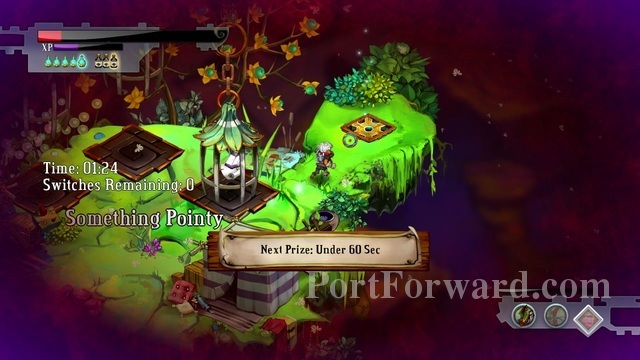
And done. The skyway for the Bastion is on the northest point.
Bastion Walkthrough Point Lemaign
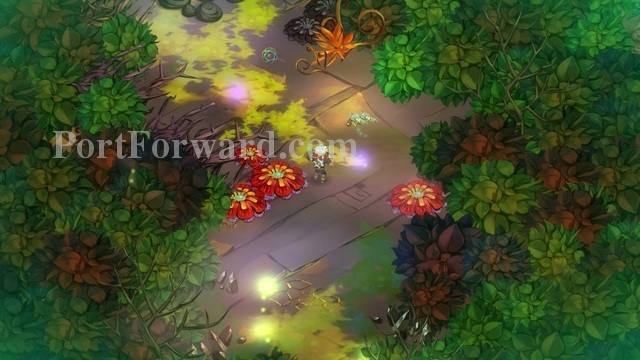
Right from the start there are those annoying flowers...
...but the game instantly makes up for it. You can find a new weapon right here.
It is a sniper rifle-like gun. You press and hold the right mouse trigger, increasing your accuracy with every second.
A weapon much like the breaker bow if you ask me.
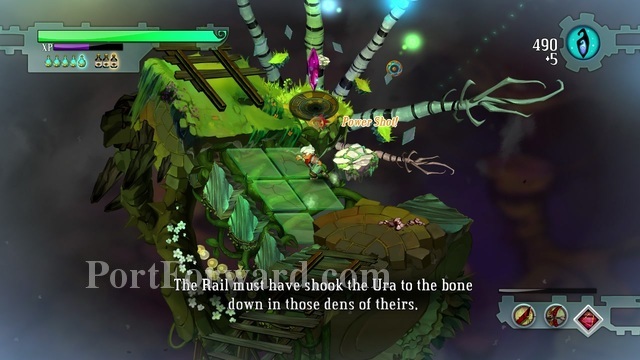
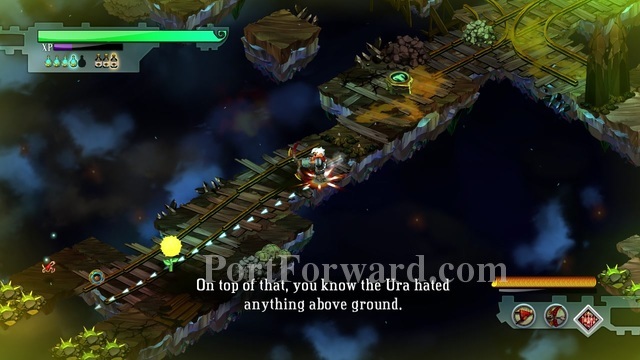
Go north until you find rail tracks.
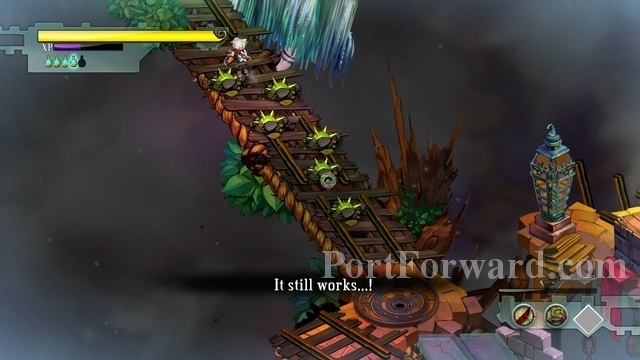
The camera will start moving by itself in this section. All you have to do is not fall behind or fall off the tracks.
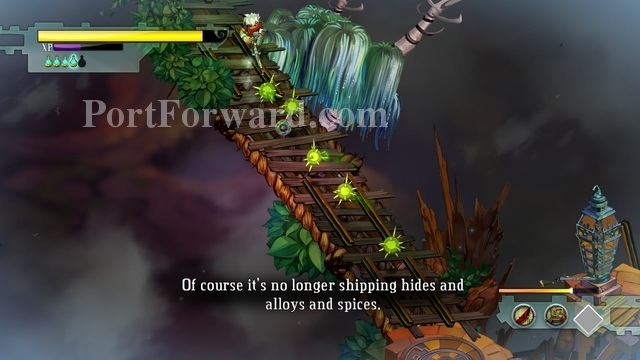
Would've been rather easy if not the floating green eyeballs.
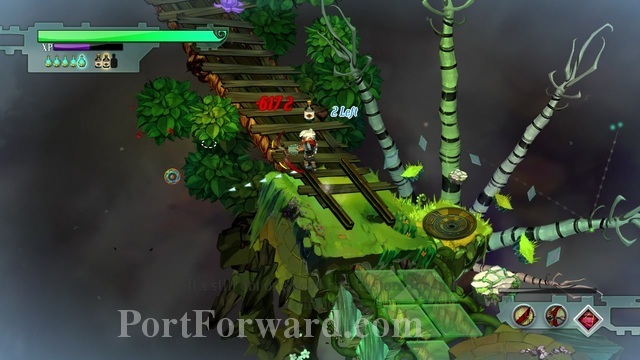
The way is full of weeds.
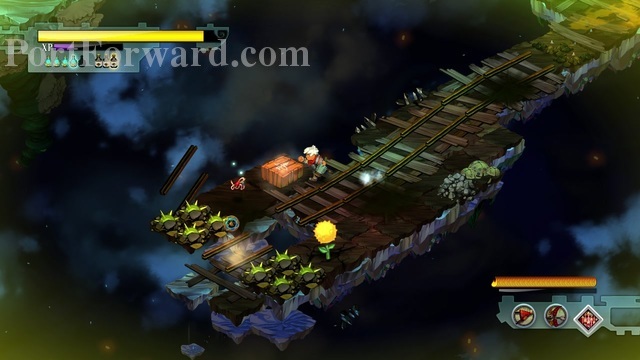
Some even on the tracks.

But if you're careful, it shouldn't be too hard.
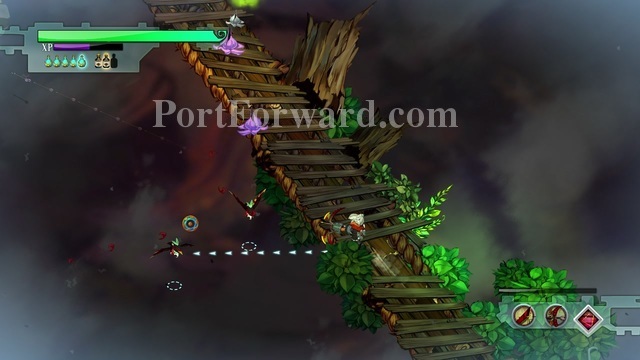
After the end of the tracks you will find a bridge with some barrels next to it. Don't try to destroy them, they are invunerable.
To the far west, you will find a potion. But it might not be worth picking up since...
...an enemy likes to spawn there after you pick it up.
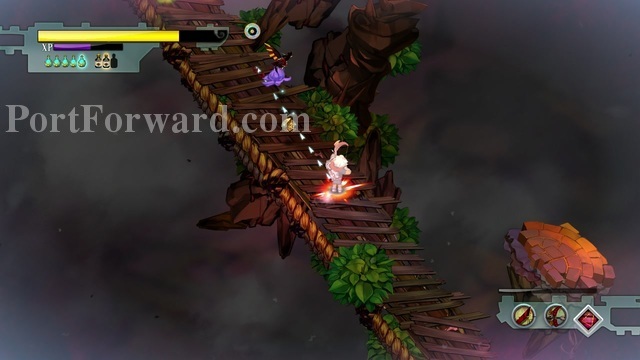
Go a bit to the north and there is a bridge much like the bridge from the last screenshot. There is weed there though.
He gives you a black tonic if you manage to kill him.
Further north, you will find an arsenal.
South of the Arsenal, there is Something Sharp.
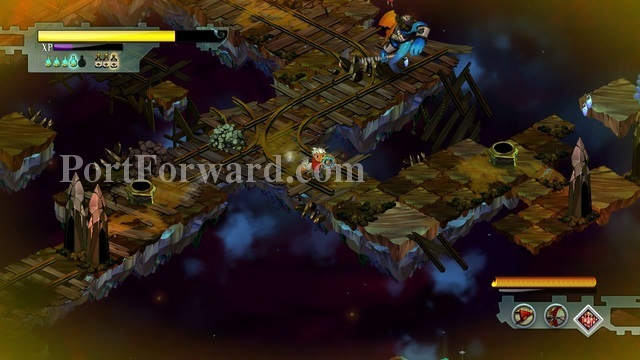
After gathering the crafting material, just continue going north-east.
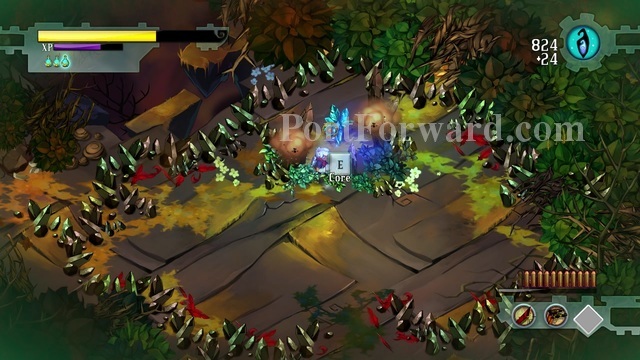
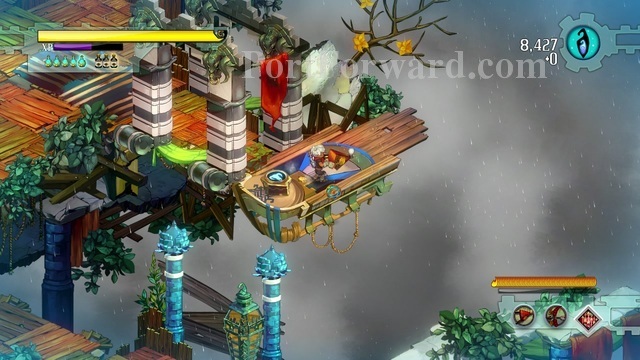
After a bit of walking, you will find the core. Pick it up.
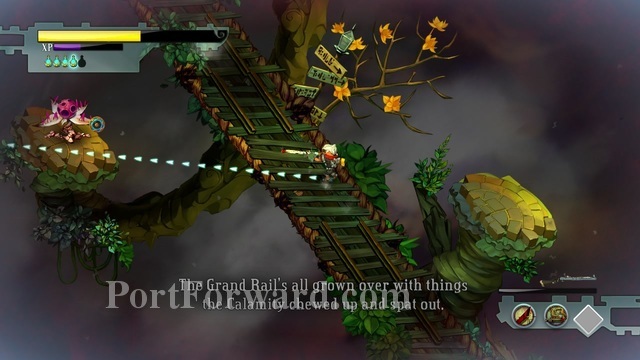
A rail will appear, one that is the same as before.
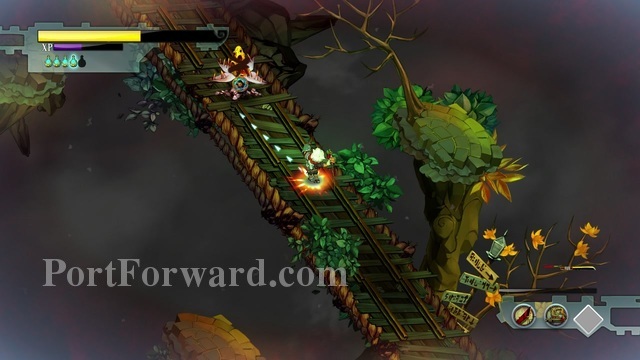
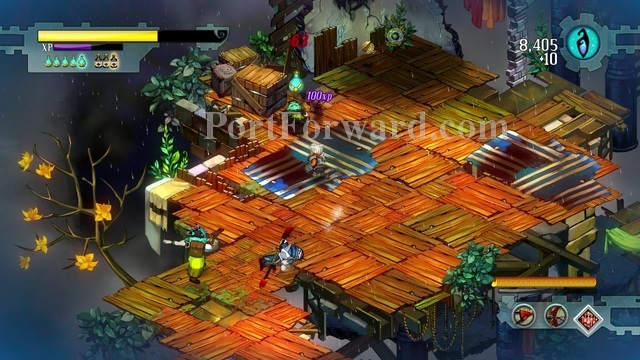
This one is full of weeds on the tracks and peckers.
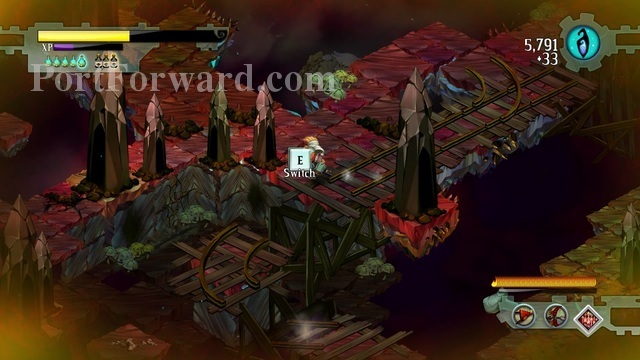
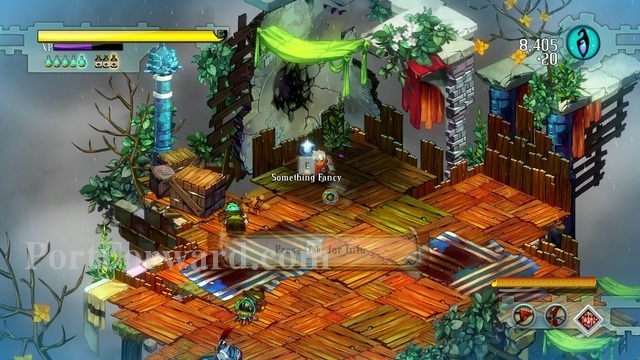
On the tracks you can find Something Fancy.
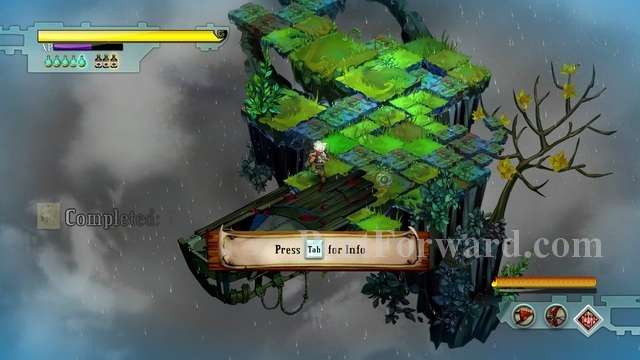
At the end of the tracks, just continue going north-east.
You will find an NPC.
After you talk to him...

...he will knock you out and put a note for you to read.
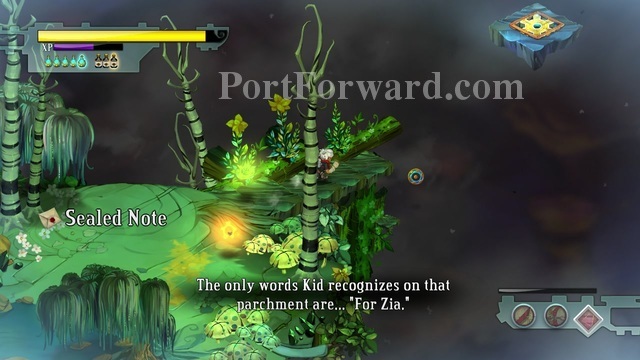
After you take the note, go north east. You will find the Skyway that will take you to the Bastion there.
Use the core and you will be able to upgrade a building yet again.
I upgraded the Distillery since it gives you useful Spirits.
Bastion Walkthrough Trigger Hill
This is a speed challenge. You have to destroy the targets as fast as possible.
They come to the left side first.
But after you destroy all of the tragets to the left, turrets start appearing to the right.
Destroy them as quickly as you can and you will claim your price.

Skyway is to the south, after you're done.
Bastion Walkthrough Colford Cauldron
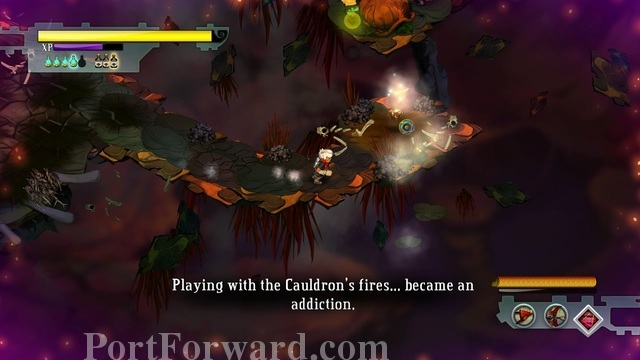
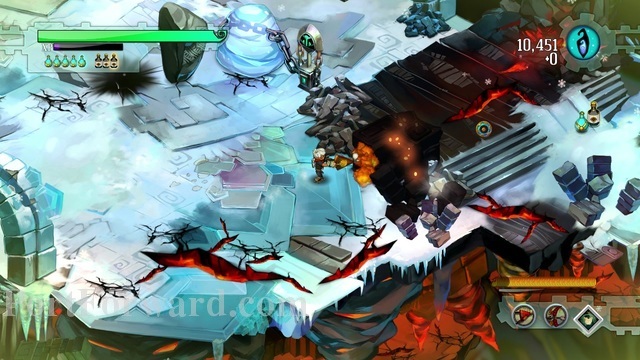
Ah, Colford Cauldron, one of my favorite missions.
No, it is not because of the annoying green eyes...
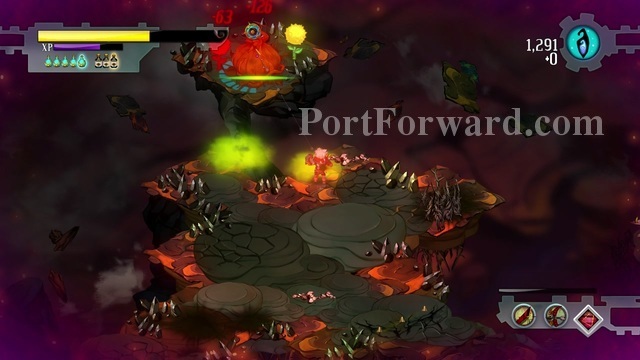
...nor the exploding sunflowers and stinkweeds.
Not because of the awesome scenery either.
It is because..
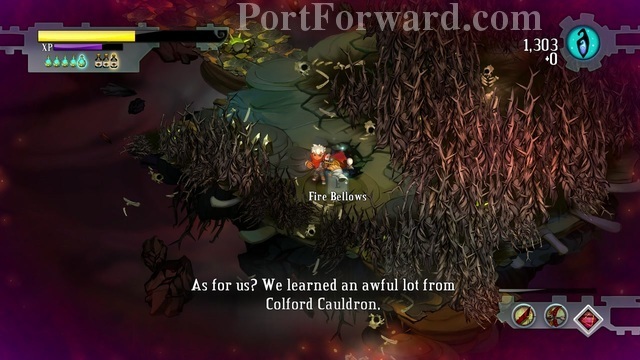
The second most awesome weapon is here. Fire Bellows.
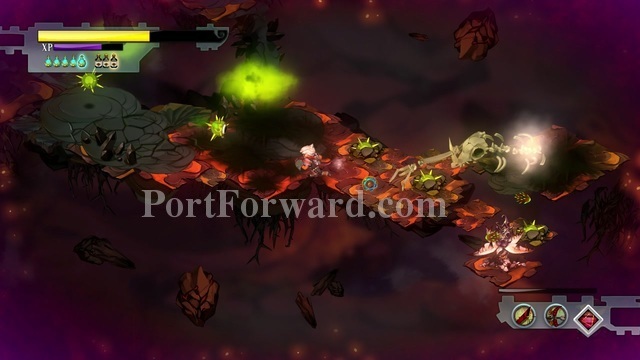
Ranked right after the Breaker Bow, this thing can burn everything.
There is Something Heavy to the east of the bushes.
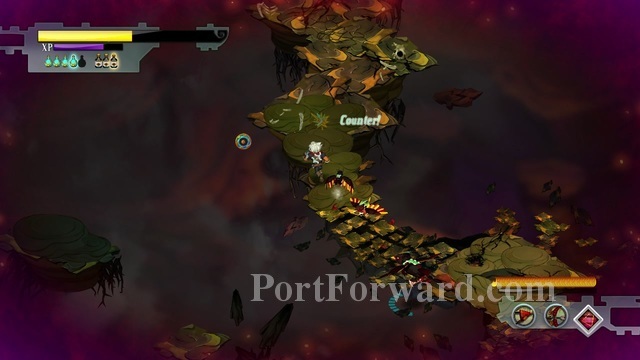
Continue going south. You will find some peckers, but it doesn't matter, you can burn them to death.
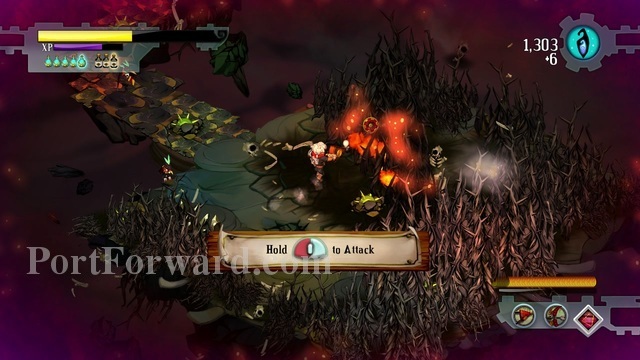
Wanna know the most awesome feature of the Fire Bellows? It goes through defence.
Now you can destroy those eyes...
...frogheads...
...plants or whatever without any sort of difficulty.
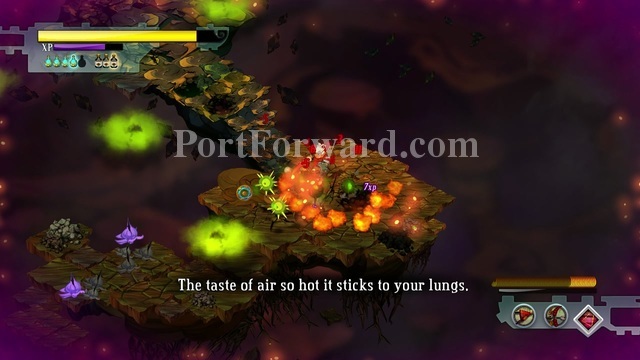
After you destroy your enemies and the bushes over here
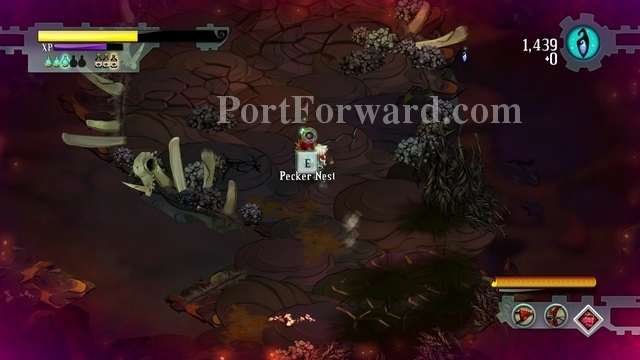
A pecker nest will appear.
...Something Pointy. I really don't recommend changing the Fire Bellows, at least not for this mission, because there are a lot of armored enemies.
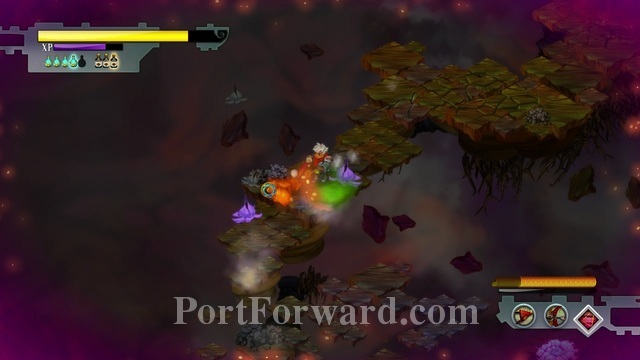
Continue going west.
It's full of those shielded weeds and floating eyes, but it should be pretty easy with the Bellows.
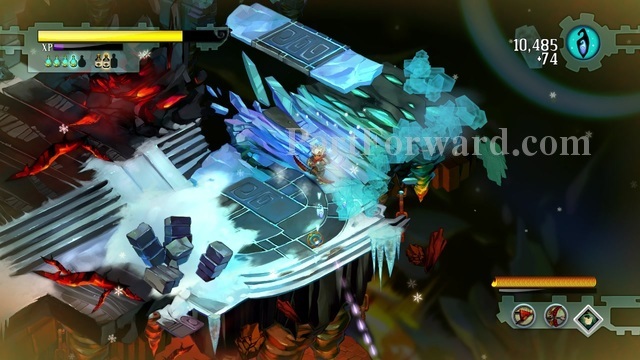
You should find the shard after a long walk through a minefield of eyes.
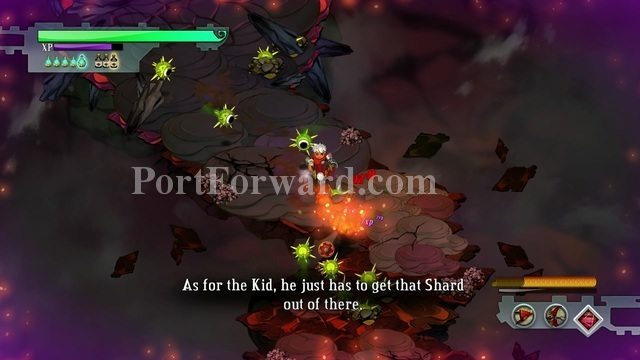
After you get it, they will become hostile and attack you.
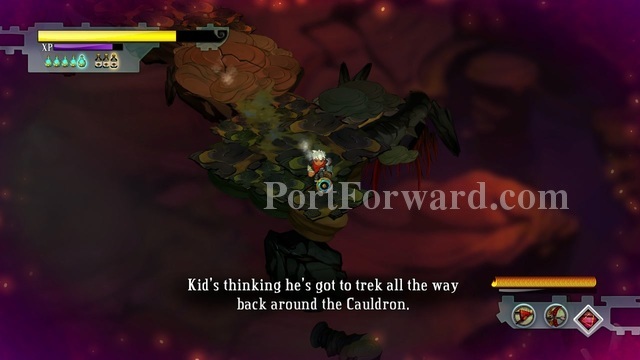
Now all you have to do is go back from the way you came from.
With a bit of changes.
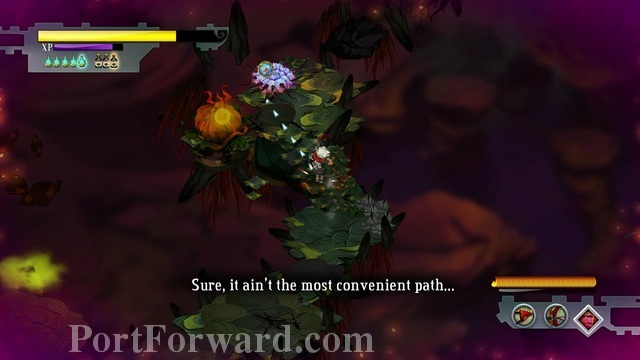
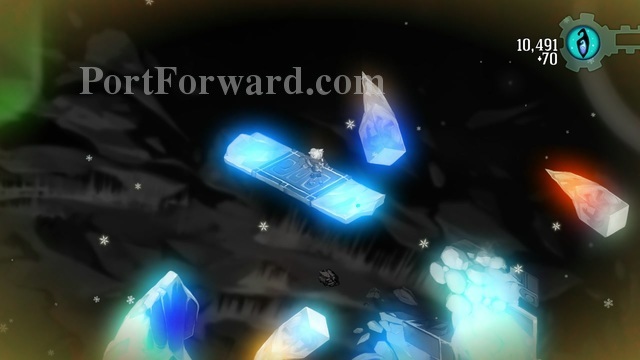
You will find a skyway, but it doen't return you to the Bastion.
It throws you off into more Stinkeyes.
Continue your way north-west through the bushes.
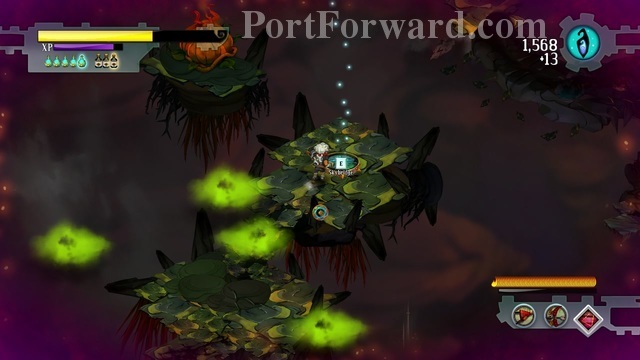
Becareful, since the sunflowers..
Explode.
Finally, you will find the skyway to the Bastion.
Use the shard, and you're ready to upgrade another building.
Bastion Walkthrough Grady Incinerator
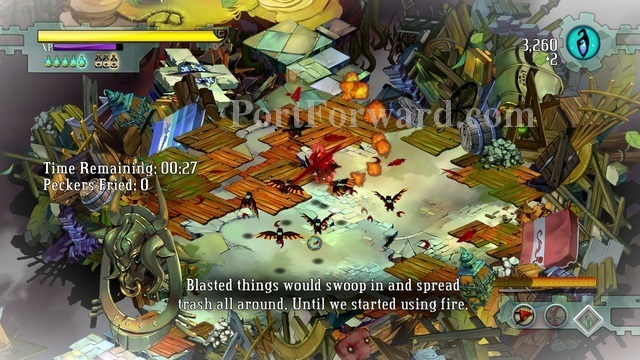
This challenge is a time attack. Quite hard if you don't have any of the upgrades for the Fire Bellows.
Strategy? Well, burn everything alive while it's still stacked up.
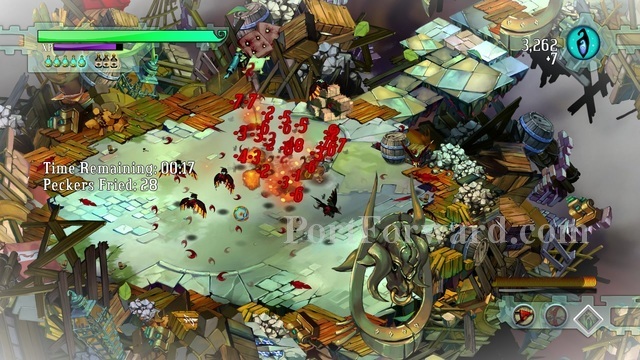
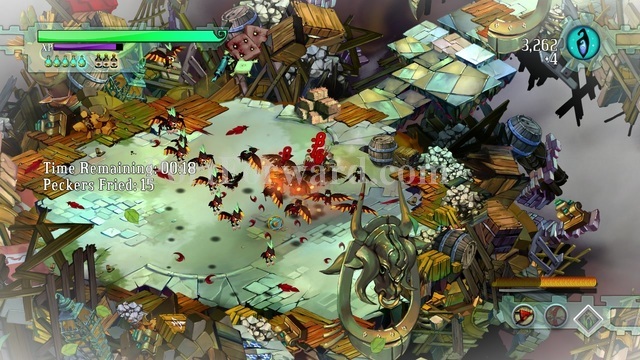
Try to not let it run off.
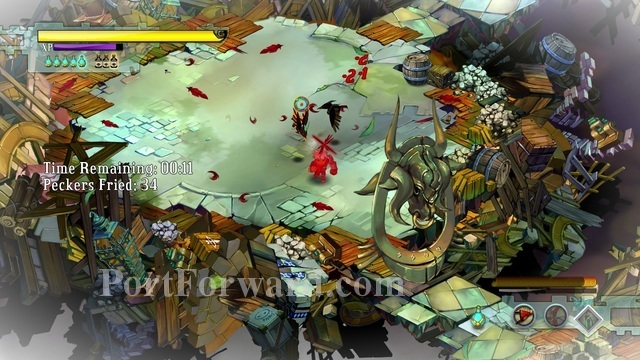
Like that.
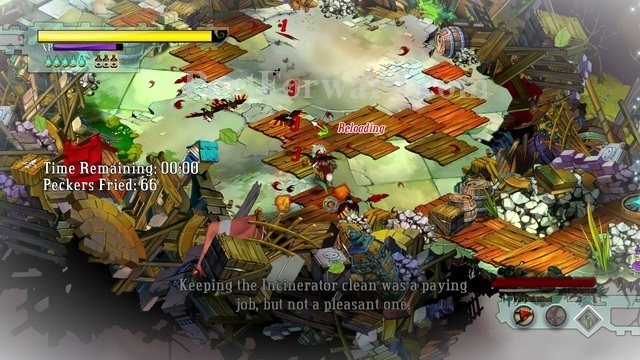
If the timer runs out while stuff are still alive, you won't get first place.

Go on the Skybridge over here to get to the rewards platform.

The last reward is a scroll, allowing you to create an expanding fire around you, much like the first scroll you get for the Fang Repeater.
Bastion Walkthrough Mount Zand
This level is full of indestructible bushes. You gotta be careful right from the beggining, with the leaping Lunkhead.
Fire Bellows are extremely useful in taking him down.
Not long after, even two attack you.
Go east when you can to find Something Greasy.
North of Something Greasy is a cache of fragments.
After you got those, you can just continue going north to get out of the bushes.
Seeing something for a change is nice.
After going out of the bushes, go to over here.
You will have to fight an Anklegator and a stinkweed.
In the end you get a black tonic and 50 fragments.
Continue going north.
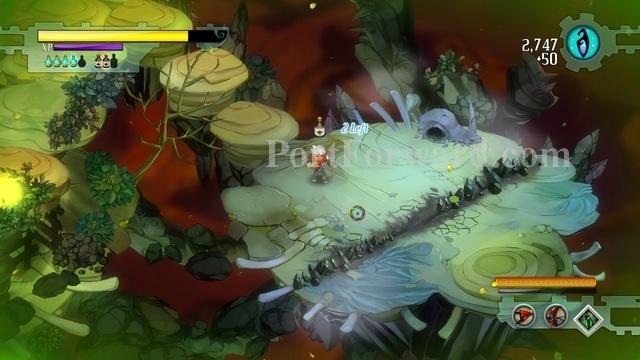
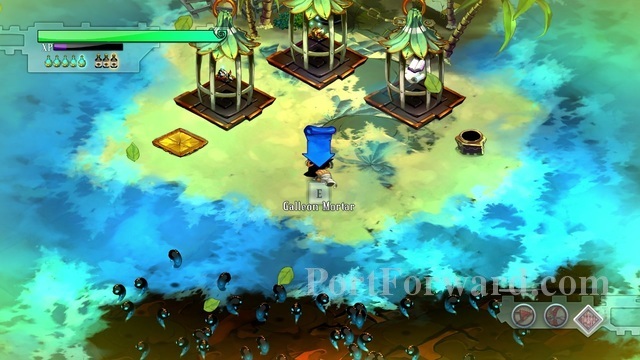
After a bit you will find the Galleon Mortar, which is quite the interesting weapon.
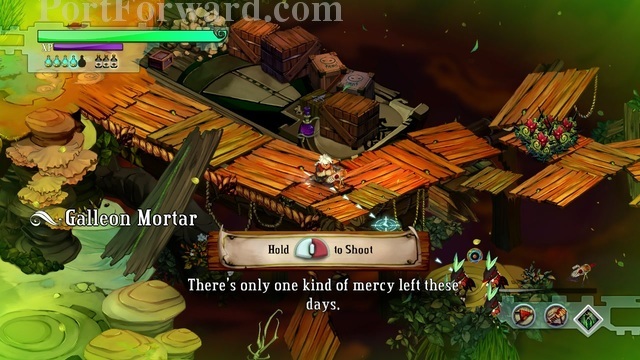
You right click and hold to set the range of the weapon.

Release at the right moment...
...and boom.
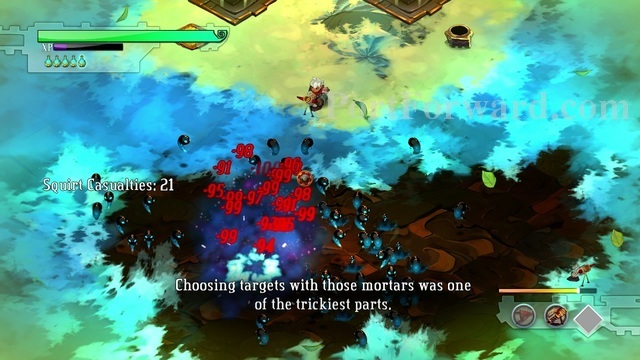
It deals damage over an area...
...so it's quite easy to destroy most stacked up things.
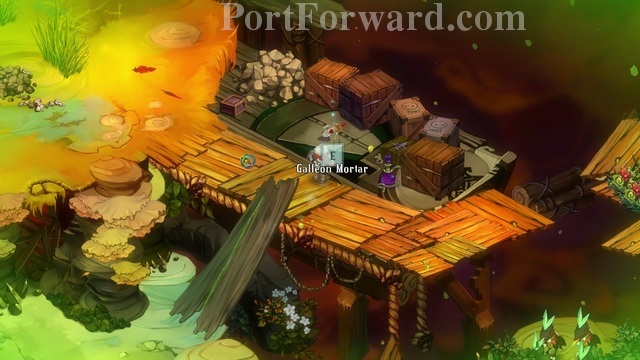
If you don't like it, you can change it at the arsenal east of where you found it.
Close to the arsenal you will find the Fine Gramophone, lore item.
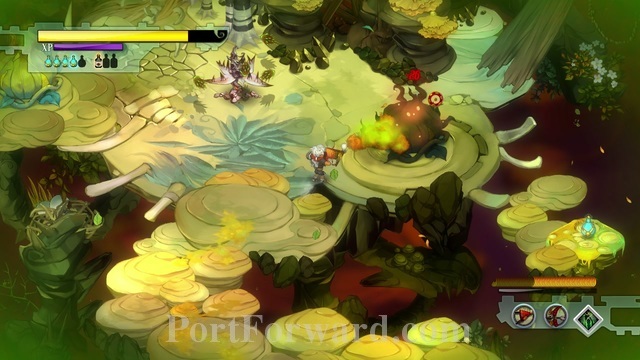
I pretty much reccomend havig either the Galleon Mortar or the Flame Bellows for this mission.

Since there are groups of enemies.
That are no match for the Mortar.
Also, many long range targets.
This area is like a maze, just a lot easier to find your way across.
You will find a Skybridge at the end of it.
It will take you right to the shard.
After you take the shard two Lungblossoms will appear though.
Taking care of them shouldn't be too hard, considering they are surrounded by explosives.
Target them one by one and you should be able to do it.
Just be careful around the sunflowers.
And always take care of the smaller creatures first.
After you're done, take the Skybridge. It will take you right to the Bastion.
Use the core and upgrade another building.
Bastion Walkthrough Boundless Bay
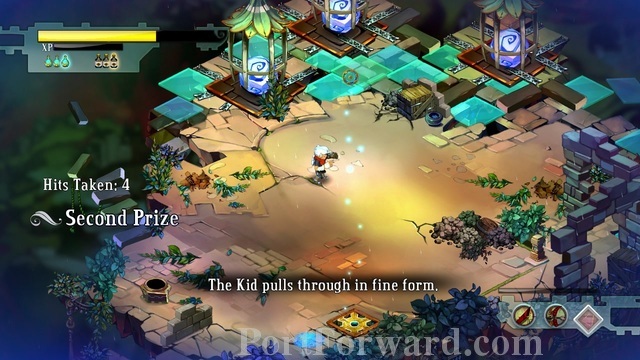
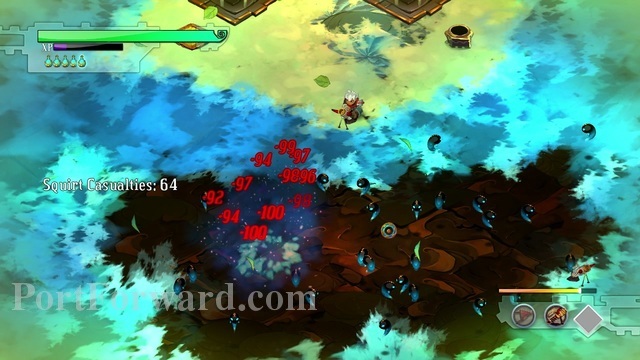
This is one of the easier challenges, you have to kill as many squirts as you can in five shots.
Just try to aim at where more of them are stacked up.
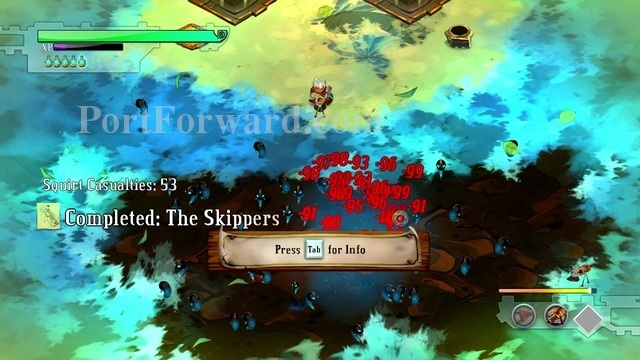
You will also complete one of the Memorial achievements by doing so.
Third shot.
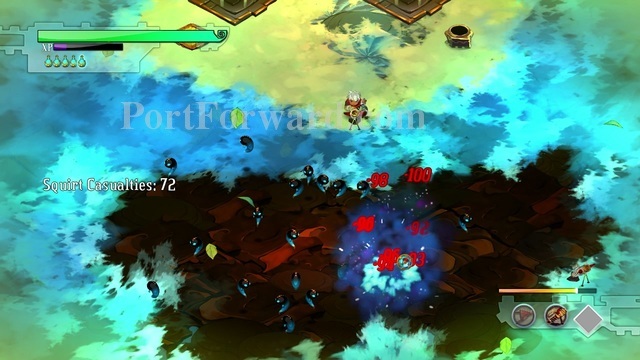
Fourth one ain't that good.
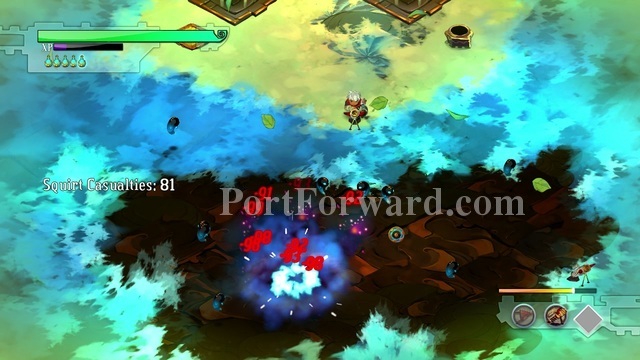
And fifth one.
First prize. The scroll you get allows you to shoot multiple bombs in the same time.
Bastion Walkthrough Burstone Quarry
This mission has a unique tileset.
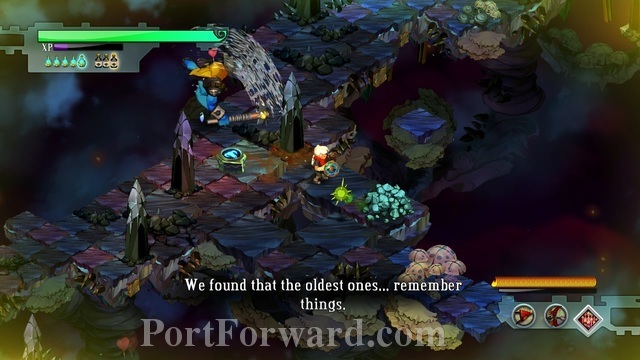
New enemies as well.
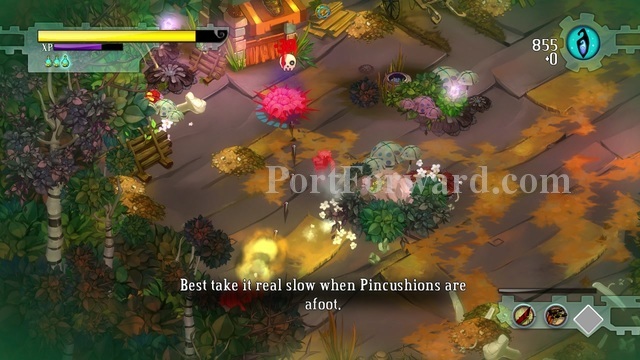
They like to hide under the ground and throw rocks at you.
But they are not too hard to take care of, as long as you take care of them one by one.
North East you will find a friendly Gasfella.
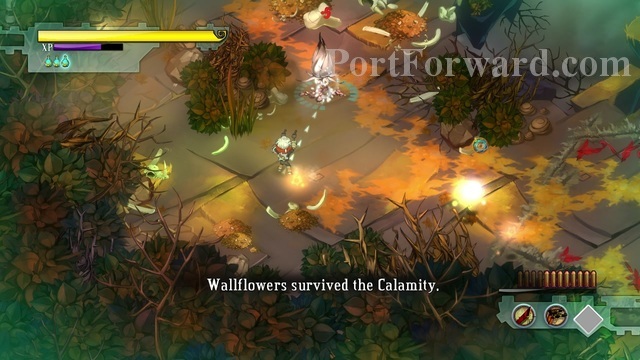
Also, a lot of annoying rocks, Stinkeyes, and Wallflowers.
If you have the Breaker Bow, it shouldn't be too hard taking care of them, since the bow can pierce through the rocks.

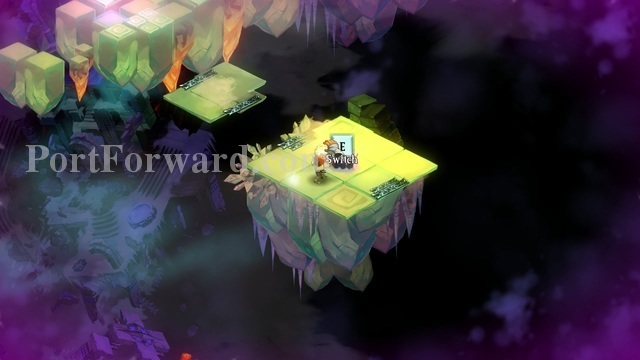
You can click on the switch to...
...change the possition of the rocks.
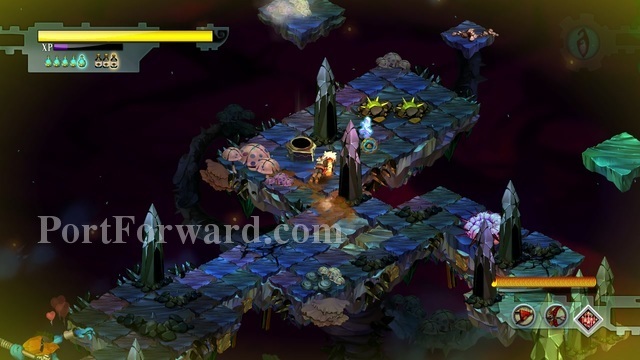
The way is pretty linear. If you can get across, just press on one of the switches.
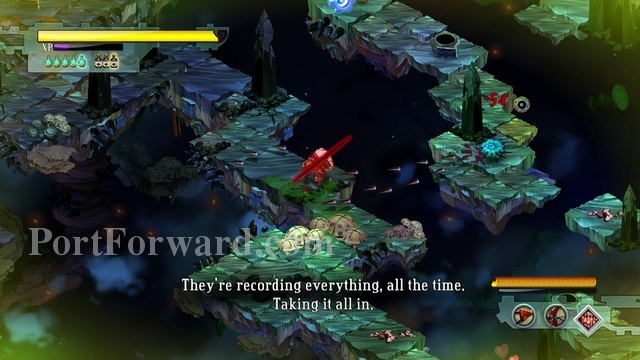
It's full of all sorts of ranged creatures though. Really recommended you bring a ranged weapon with you.

Funnily enough, most of the Gasfellas are on your side.
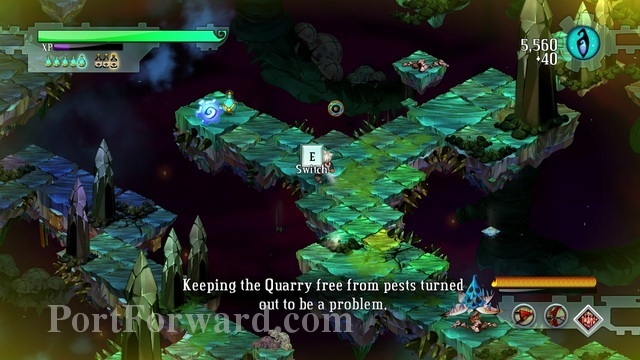
It shouldn't be too hard, considering you've been fighting these creatures for so long.
North, there is a cache of fragments.
Continue going south-east for now.
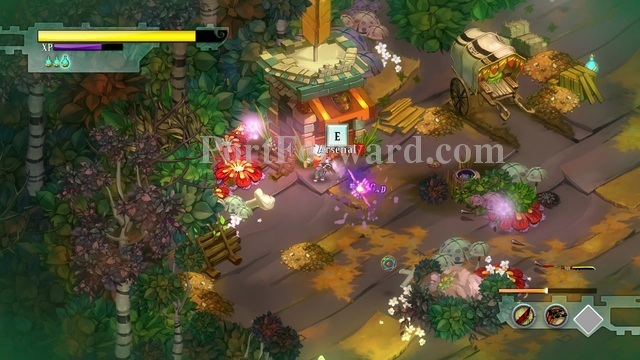
You will find an Arsenal right after the switch in the last screenshot.
Right after the Arsenal, you will find a switch.
Use it to open up the wall of rocks.
You will find Something Stringy.
Click on the switch again to open the other set of rocks and continue from there.
You will find another switch, that will open the way to the left.
Click on it and continue your way forward.
It is pretty much the same as before now. If you can't continue, click on the switch and you will be able to.
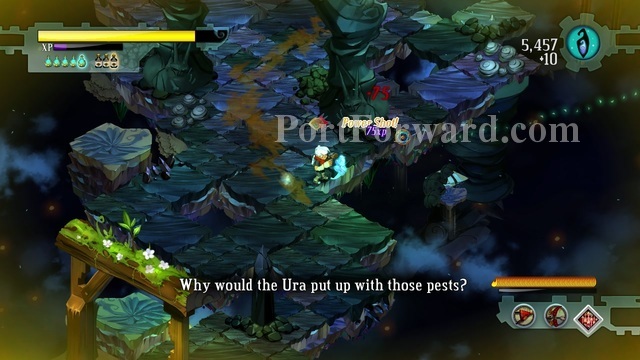
Going forward a bit, you will find a giant Lunkhead.
He is pretty much the same as the normal ones. He just has more damage and health.

After you deal with him, a Rattle-tail (aka a chicken) will appear. Shouldn't be too hard to dispose of.
You can find Something Coarse right where the giant Lunkhead was standing when you found him.
Continue your way south.
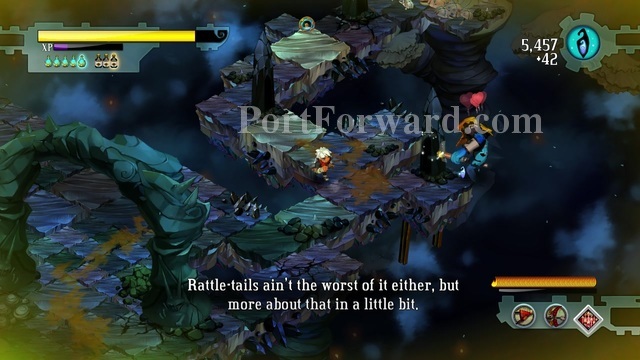
You will find an old friend here.
Talk to him, press the switch and you will gain access to the Shard.
Continue your way to the skyway and you will return to the Bastion.
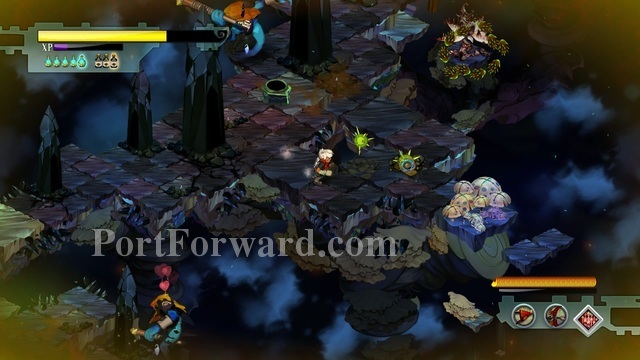
Returning to the Bastion this time won't be as easy though.
Zura warriors will be waiting for you at the entrance.
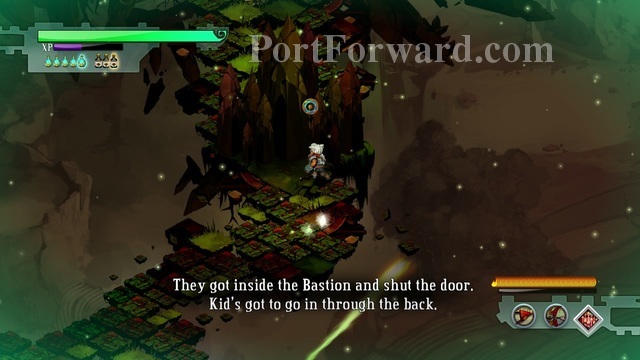
You won't be able to take the main entrance.
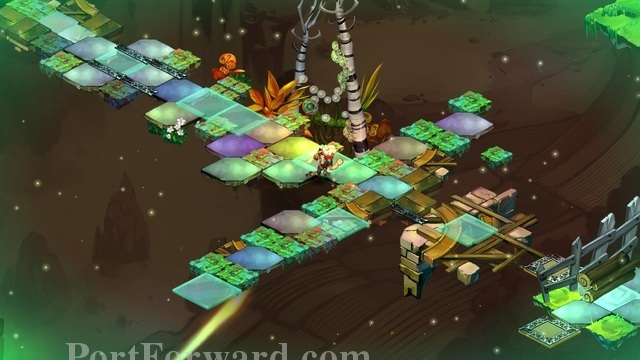
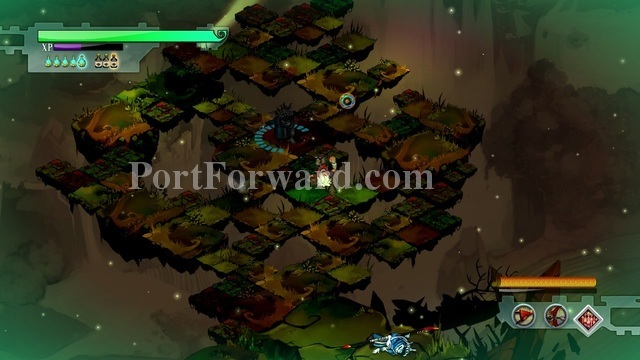
But you have the back one.
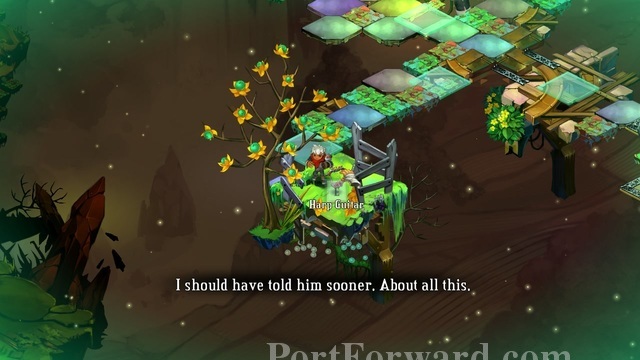
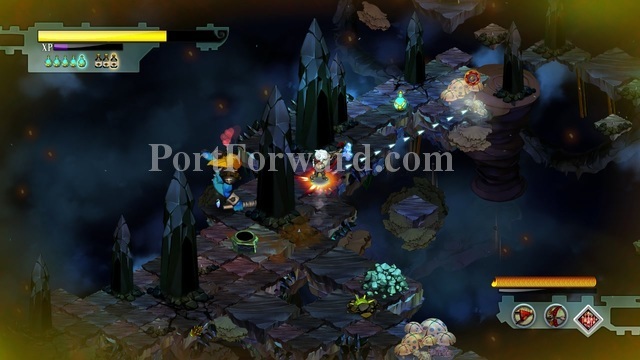
You can find a Harp Guitar over here.
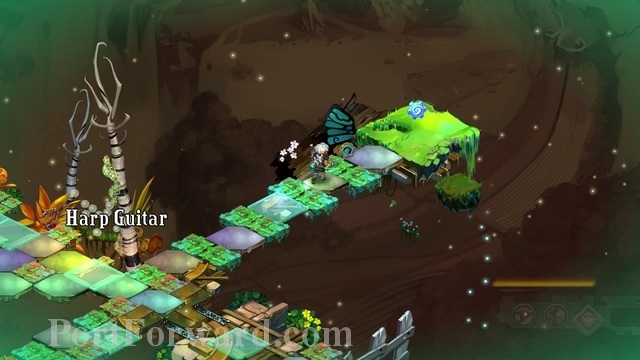
And a stash of fragments on the opposite side.

Continue your way and you will find a Skyway.
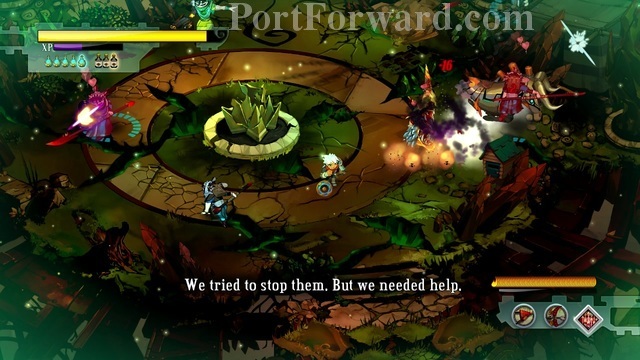
Get rid of the Ura warriors.
Your pets that you've gathered through the game: the Anklegator, Pecker, Squirt and Mechanical Pyth will be helping you.
After you're done, place the Shard.
Some parts of the Bastion will be fixed, and you will be able to upgrade one of the Buildings, as per usual.

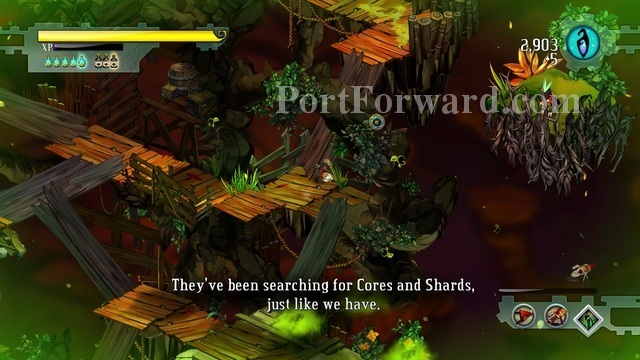
Urzendra Gate
This place is filled with Ura warriors, which can be pretty annoying.
Right in the beggining, go north to find a stash of fragments.
After you start going east, you will be teleported.
You will have to fight more creatures of the forest.
Going forward you will find Lunkheads that will want to ruin your day.
After defeating them and going forward...
You will be teleported yet again.
Stash of fragments south from where you entered the area .
I didn't do it in this playthrough, but explore to the east first and then to the west.
Going west, you will find more Ura warriors.
They should be pretty easy if you have a fast weapon, otherwise they might dodge most of your attacks.
At the northest point you will find Something Fancy.
Go to the right after you get the crafting material. Press the switch and...
You will be teleported yet again.
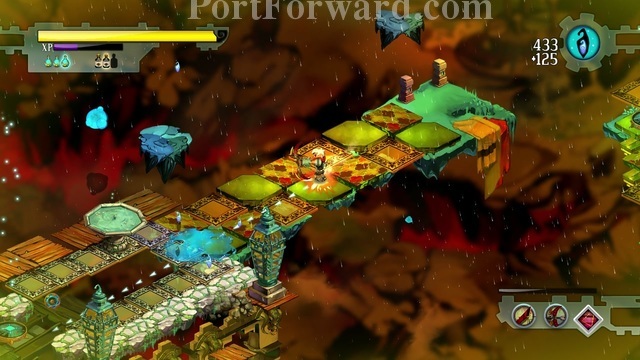
Way is pretty linear.
When you reach this point...

...you will be teleported yet again.
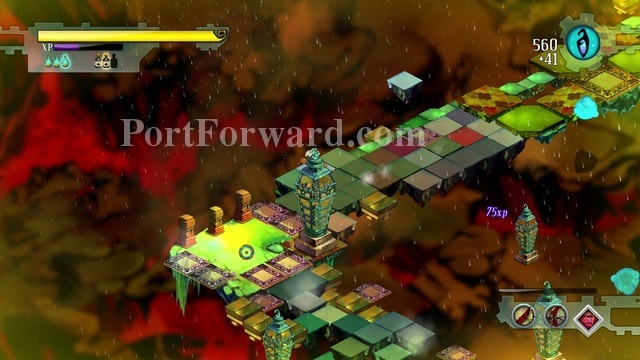
Continue your way north-east and you will be teleported yet again.

To over here.
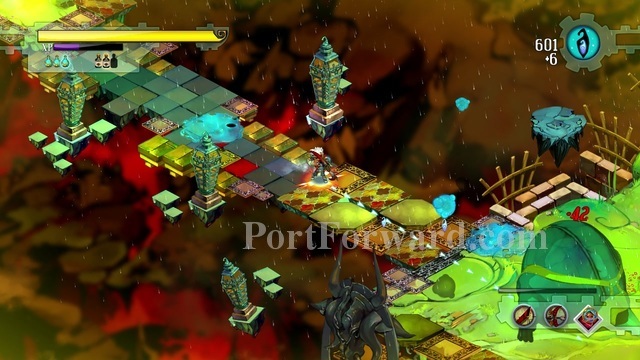
This time there are Peckers.
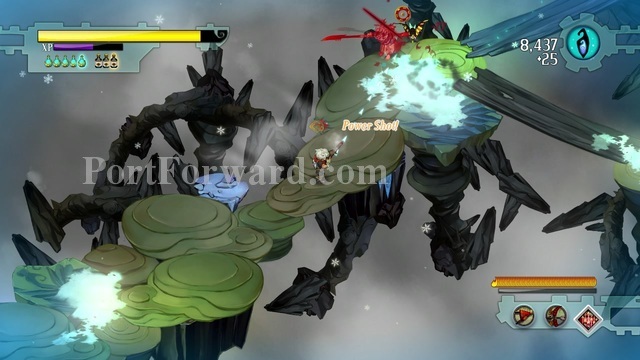
They will be fighting against the Ura as well.
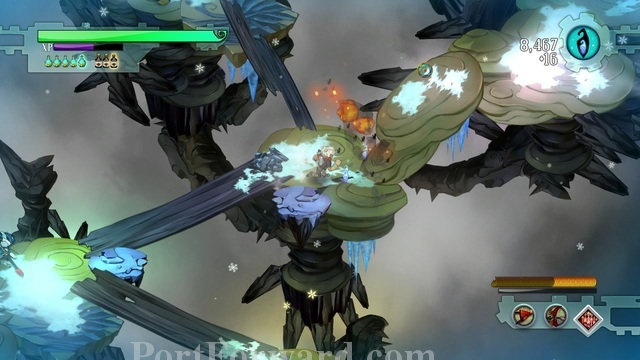
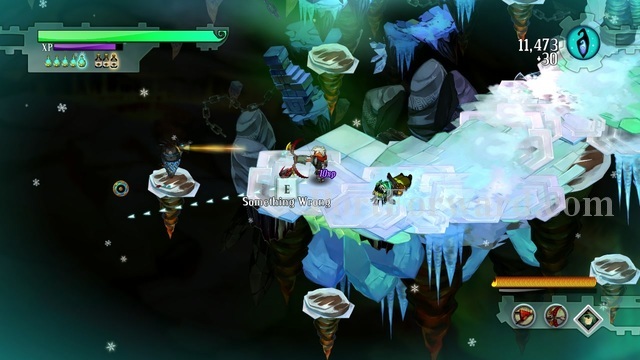
Continue your way north-east.
There is Something Wrong right above.
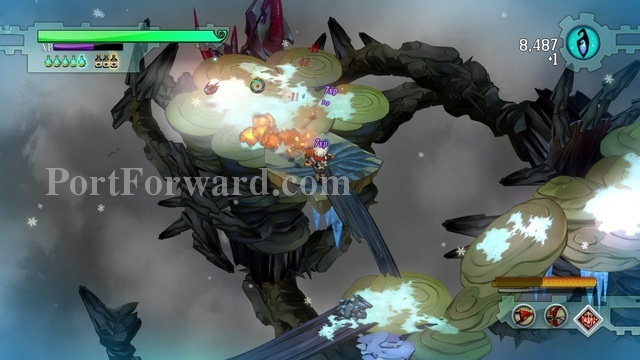
After you take it, continue North-east again.
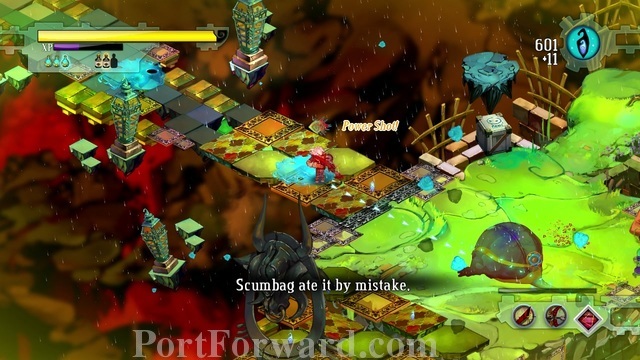
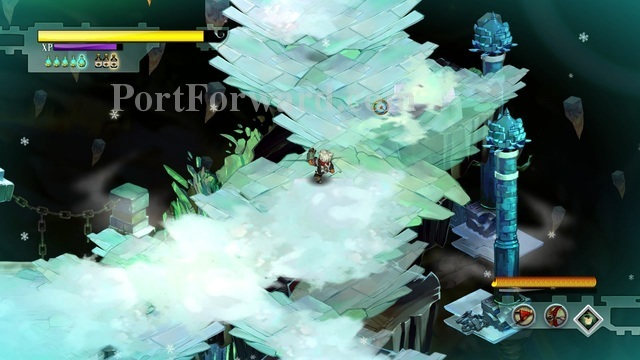
After you reach this point...
...you will be teleported. Didn't see that coming.
Way is really linear.
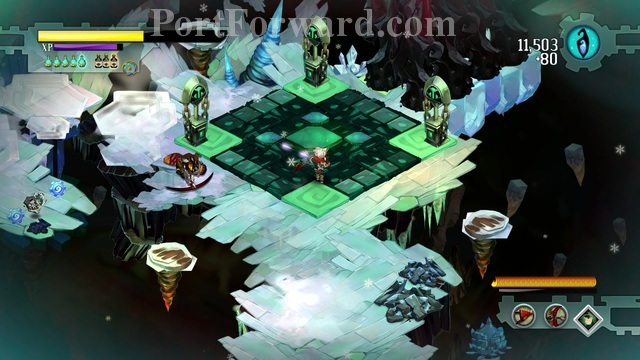
When you reach this point, i didn't do it yet again, but i recommend checking out west first.
After that continue your way north-east.
After you kill the Ura and continue...
...you will be teleported.
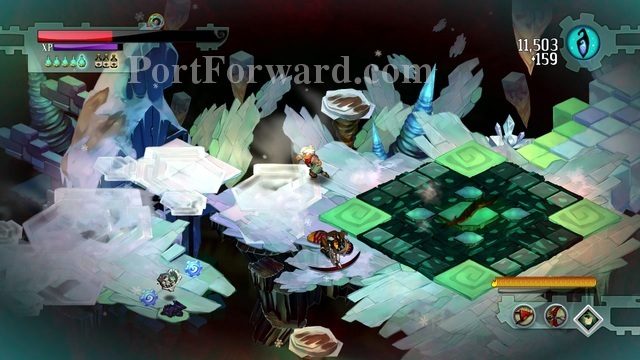
Way is pretty linear again. You will see an Ura with a snowboard-like vehicle bump into you.
Continue your way forward and you will find the Shard.
You won't be able to take it though.
An Ura got it, and he will teleport away with it.

Leaving you empty handed.
He will also spawn a few chickens for you to fight with.

After you're done with them, the skyway is to the east.
Use it and you will return to the Bastion.
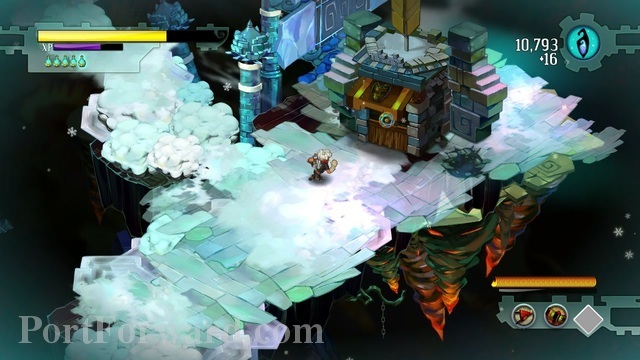
Bastion Walkthrough Zulten's Hollow
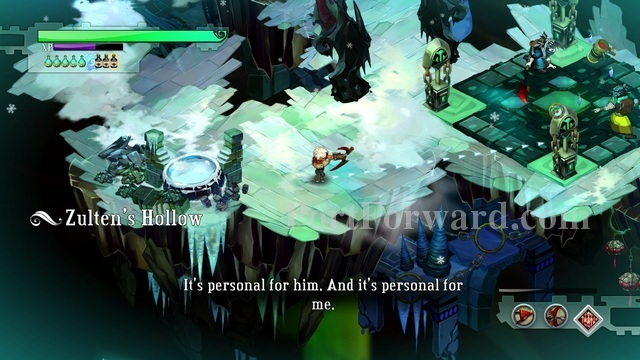
You start off fighting right in the beggining.
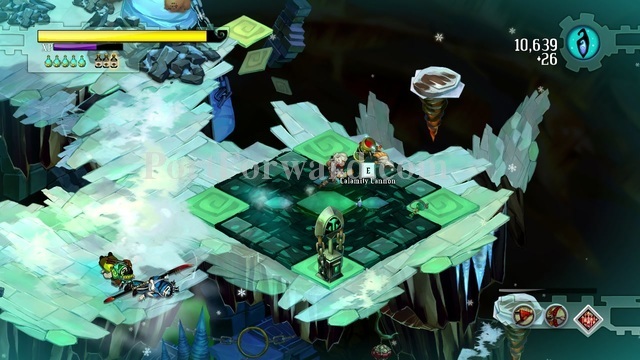
And you start off getting a new weapon right in the beggining as well.
And you start off meating a new type of turret as well, probably the worst kind.
Good news? The weapon you just picked up can kill almost everything in a single hit.
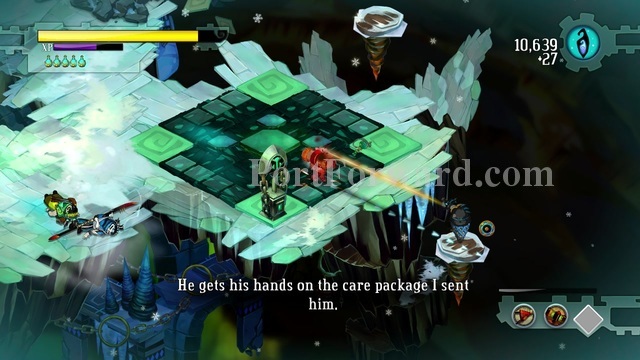
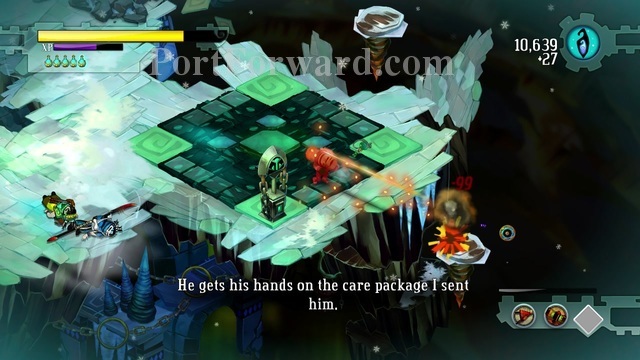
Careful with it though...
...since it also deals damage to you when you use it.
Continue forward.
And make sure to target those turrets first, they can be a real annoyance.
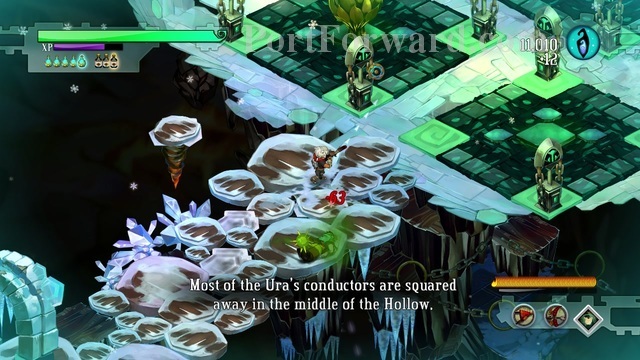
Quick tip: If you destroy those four obelisks that stand in a square, you will get some fragments.
Around 66 to be precise.
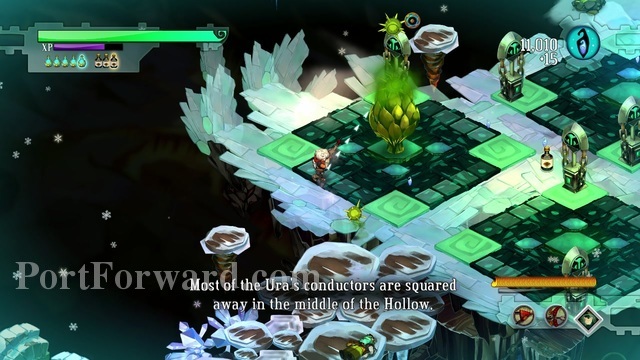
Going north-west doesn't give us anything.
So we will continue our path north-east.
You will find an arsenal quite close. You can keep the calamity cannon if you like it. I changed it for the Breaker Bow since it deals damage to me if i'm close to my target.
Have to go north-west next.
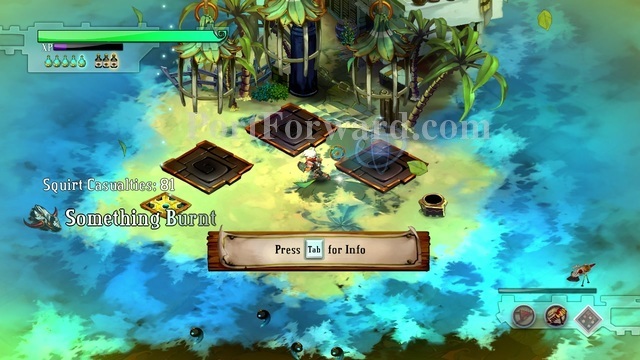
To get past this wall, i believe you have to destroy the two obelisks behind it.
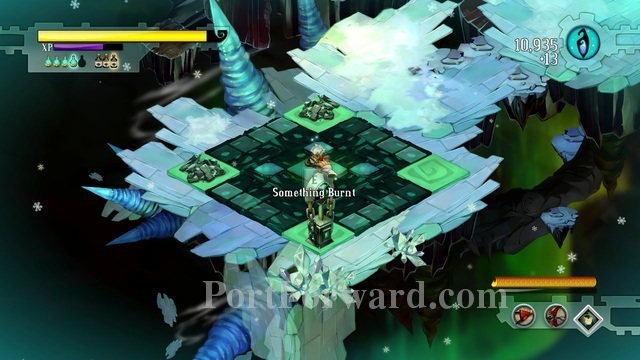
Doing so, you will find Something Burnt.

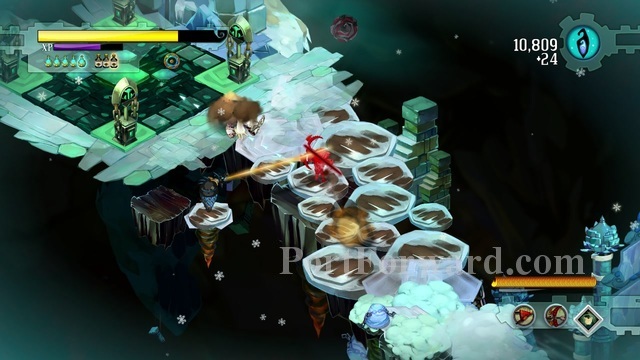
Continue your way north-east, where Ura are awaiting.
Dispatch of them, continue your way and you will find Stinkeyes.
Also a huge plant that pops out more Stinkeyes, my suggestion is to take care of it first while dodging the stinkeyes.
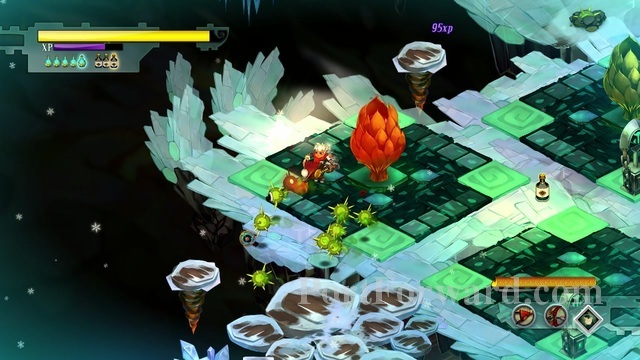
Could be a bit hectic, but you should be alright if you have the Fire Bellows.
Also, remember to destroy the obelisks.

Go south-east of where the obelisks were to find 2 caches of fragments and Something Foul.
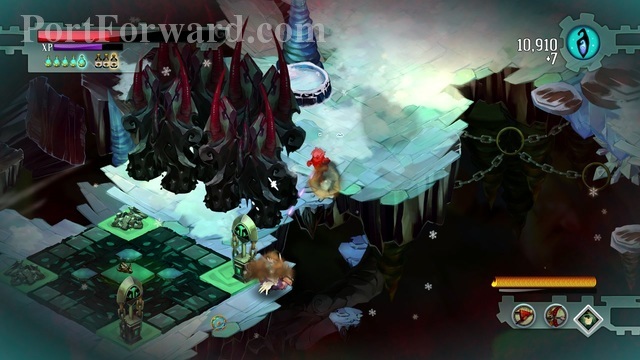
Continue your way north for now.
Going north-east gives us nothing in particular.
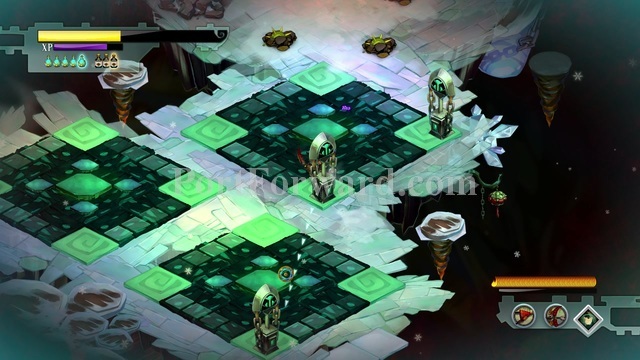
So you should go north-west.
Destroy the obelisks to remove the huge rocks in your way.
Another huge plant. Try to take care of it first.
Gotta destroy the obelisks again.
Go north...
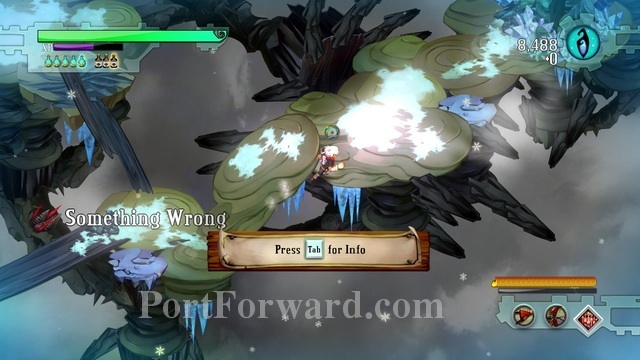
And then go west.
You will find Something wrong there.
After getting the material, continue going north.
Destroy the obelisks.
Then go east, to find a Child's Drawing. It's a lore item.
Then continue your way up.
You will find Zia again.
Talk to her again and you will return to the Bastion.
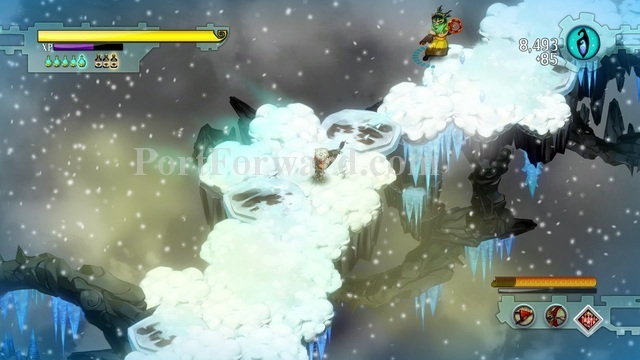
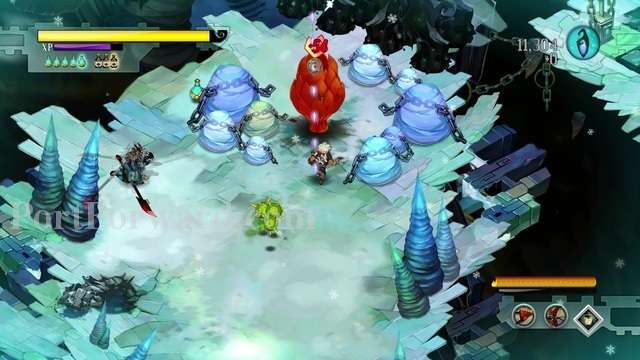
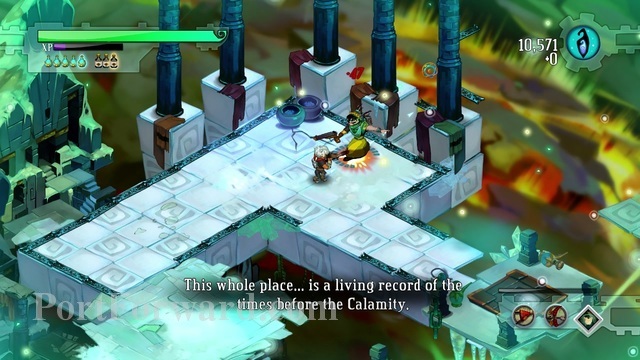
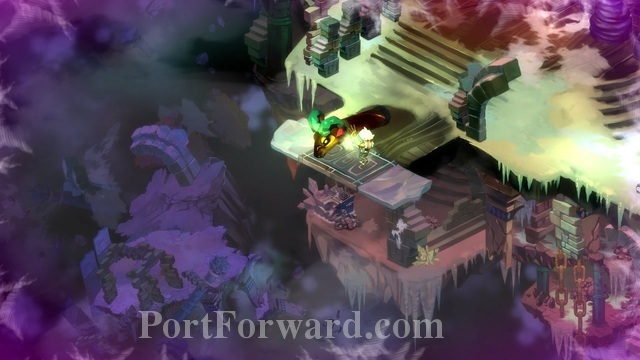
Bastion Walkthrough The Tazal Terminals
This is the last mission in the game.
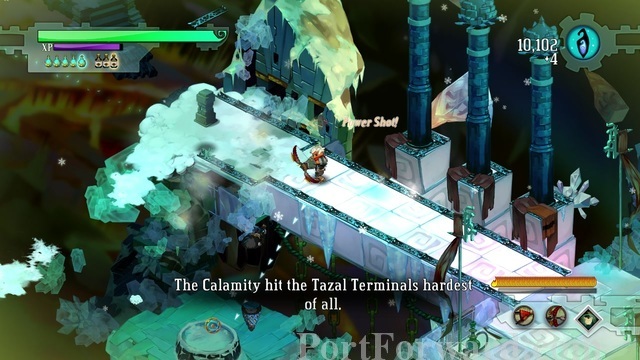
No secrets nor special items.
Just go forward and kill every Ura you see.
Shouldn't be too hard since this place is almost literally filled with them.
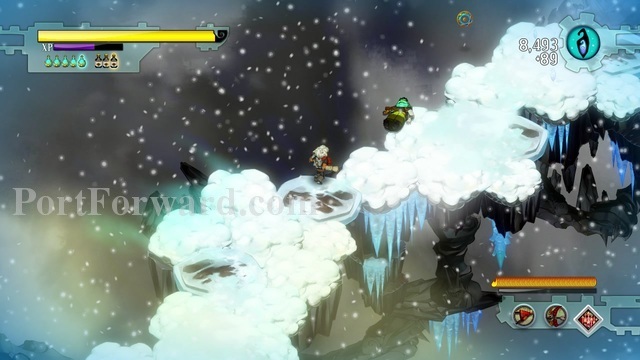
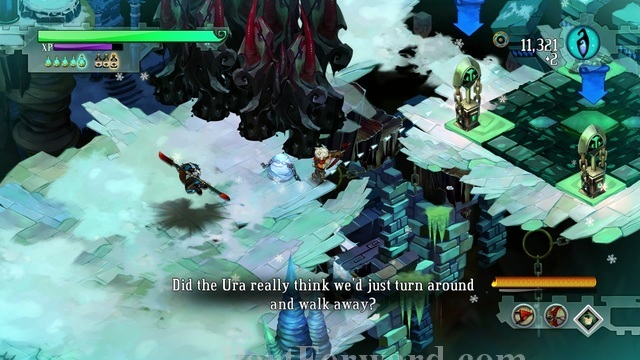
Best weapon for the job, in my opinion, is the Breaker Bow.
With the last upgrade.
Use the one that stuns.
That way they will not be able to dodge you attacks.

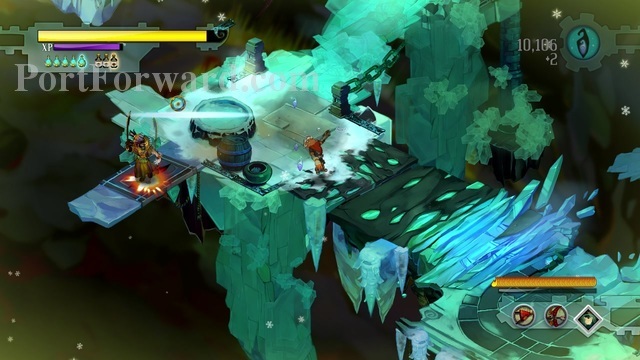
Get on the snowboard.
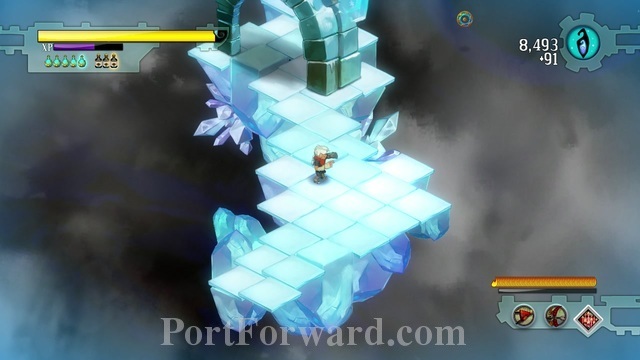
It will transport you to...

Here.
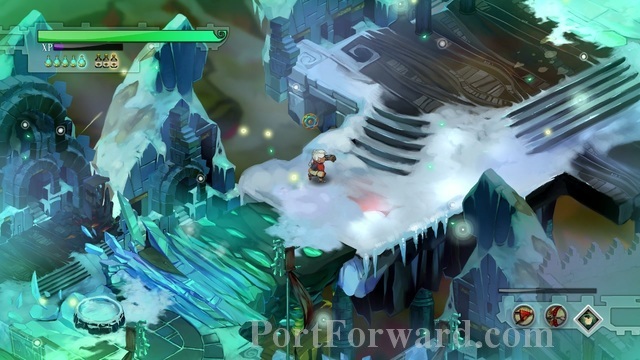
Go forward.
Here you will find...
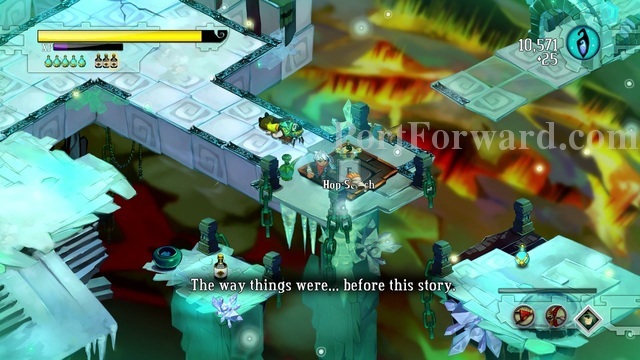
...Hop-Scotch.
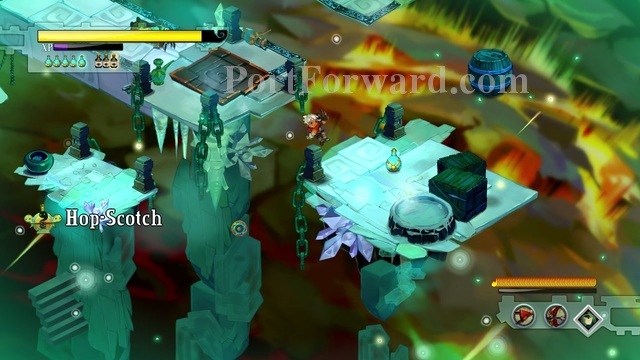
Now when you press space you can jump between places.
Not as fast as regular dodging, but it's still pretty good.
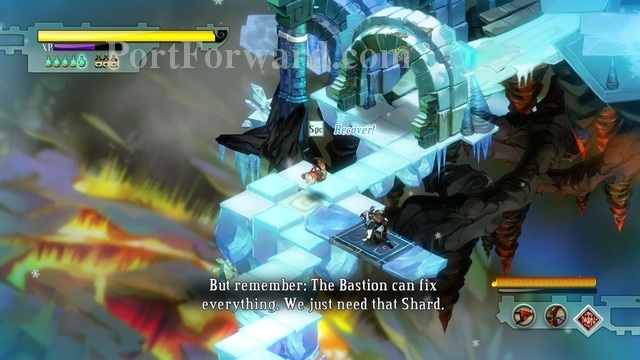
Music is really good in this mission.
But then again, it is quite good in the whole game.
Too bad i can't show it with screenshots.
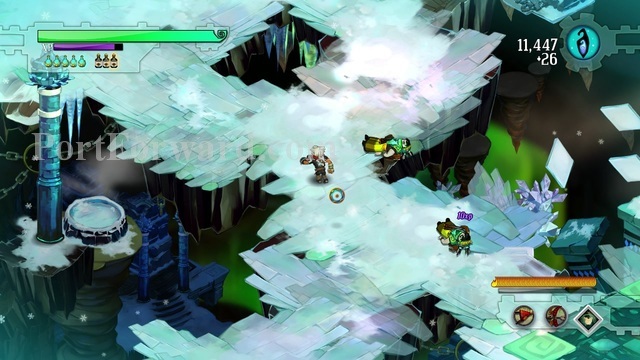
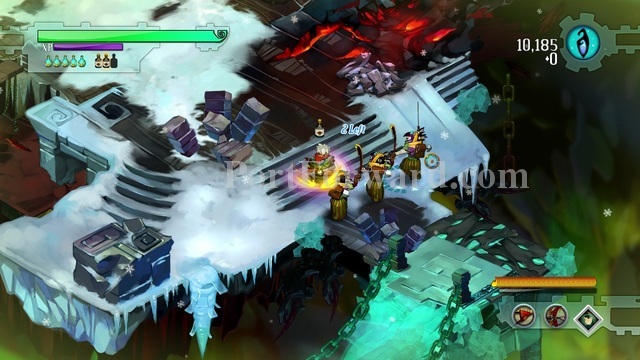
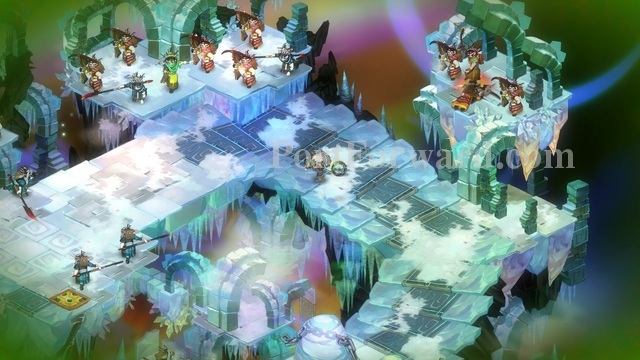
This level is filled with Ura.
You screen will start 'freezing'.
Reducing your field of view.
TIP: You can jump over most of the junk on the ground.
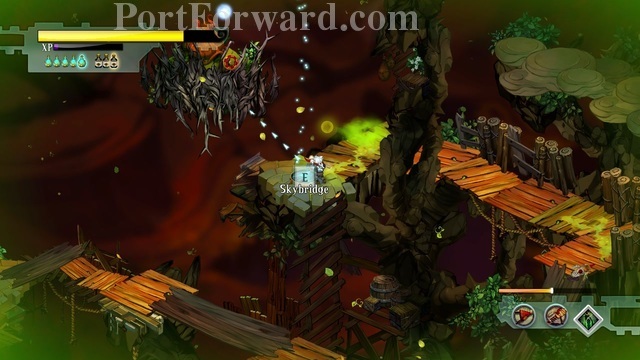
You will find a skyway.
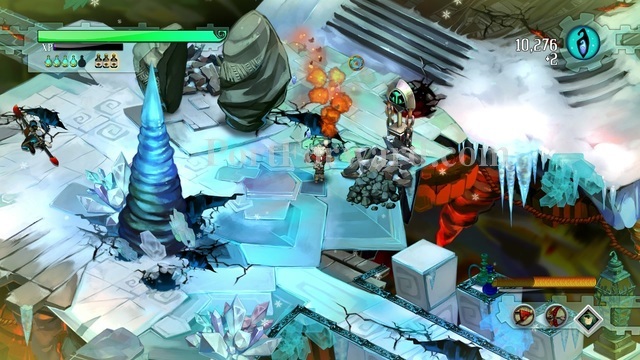
It will take you to an arena like place.
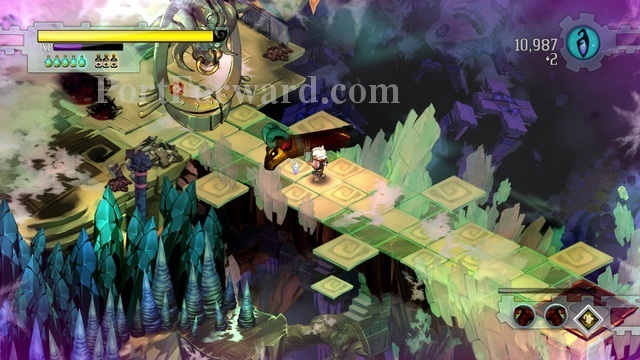
After you fight off the URA, you can only go this way.
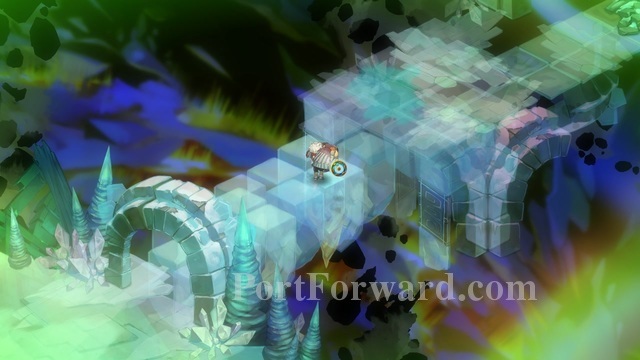
You have to hop from block to block.

You will even find Ura on your way.
Didn't see the Ura coming.
After a lot of jumping around, you will find another snowboard.
It will transport you to over here.
You have to press two switches to continue. This one.
And the other one.
Press another switch and the Pyth gate will open.
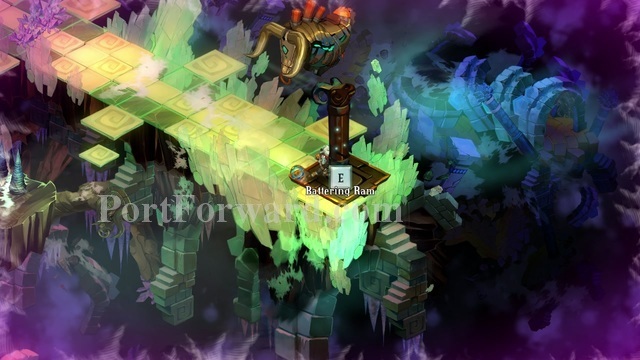
Here you will find your last weapon.
The battering ram.
It is a really powerful weapon that can destroy anything, even gates.
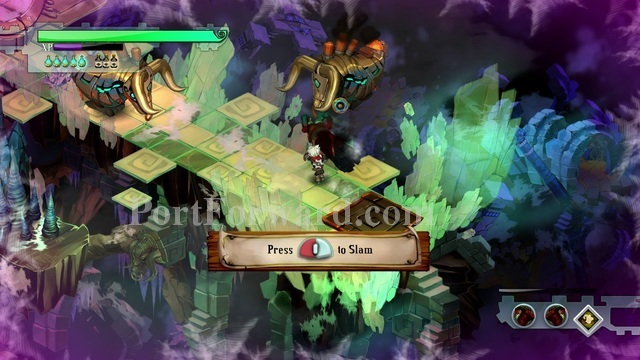
You cannot dodge or hop though.
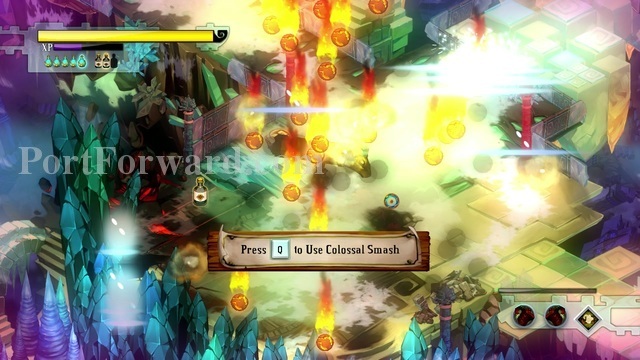
You can press Q to make fireballs rain from the sky.
You right click to attack a single target.
Or you left click to attack targets around you.
Get on the snowboard to transport you again.
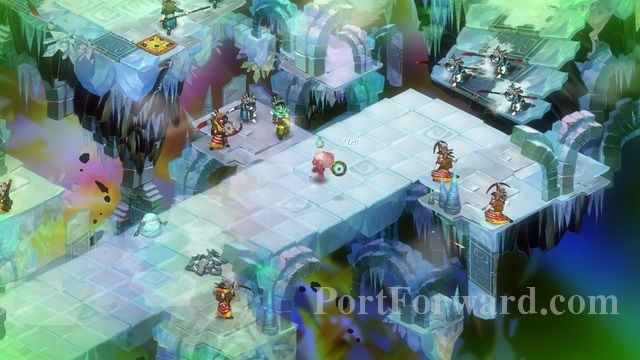
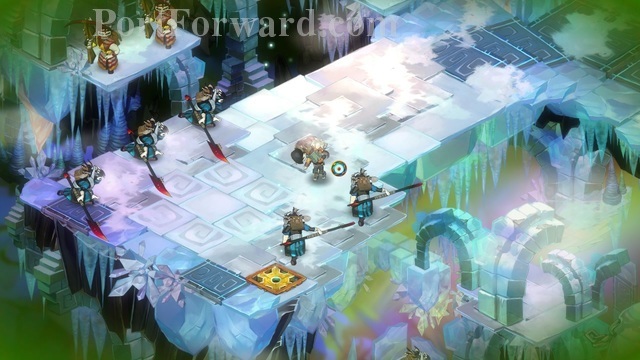
This time you will be surrounded by Ura.
But it doesn't matter, you can kill them all with one left click.
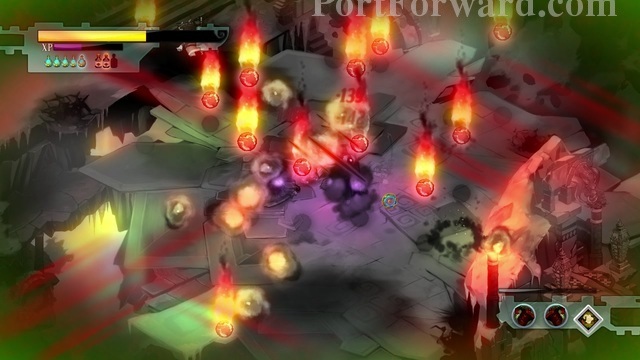
Or you can press Q to innitiate total annihilation.
Go forward, destroying everything in your way.
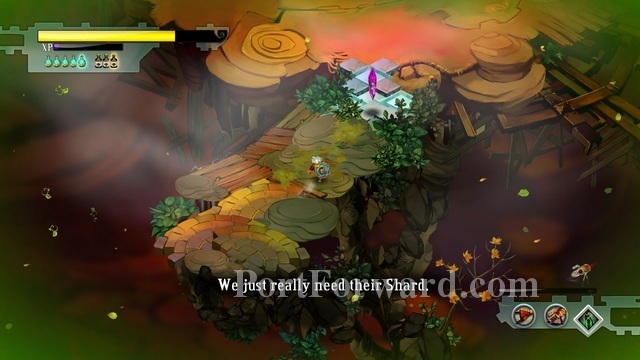
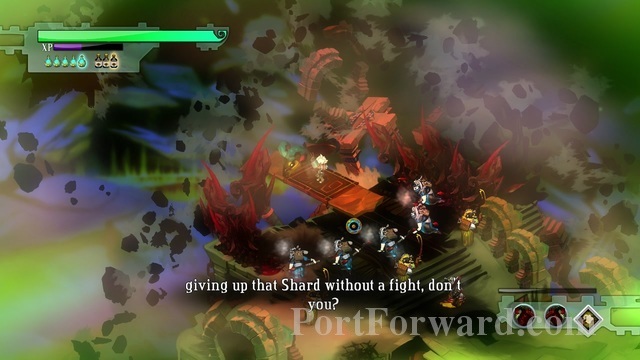
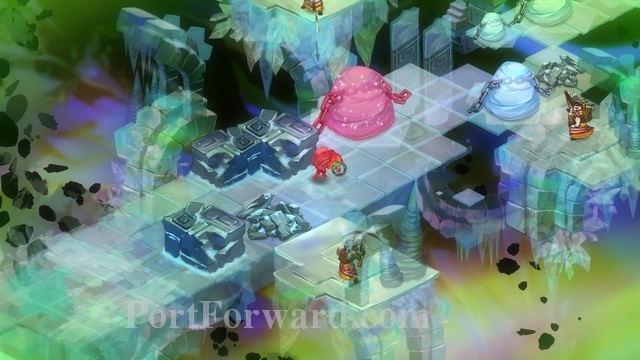
Until you find the Shard.
The guy with the shard will teleport around the place.
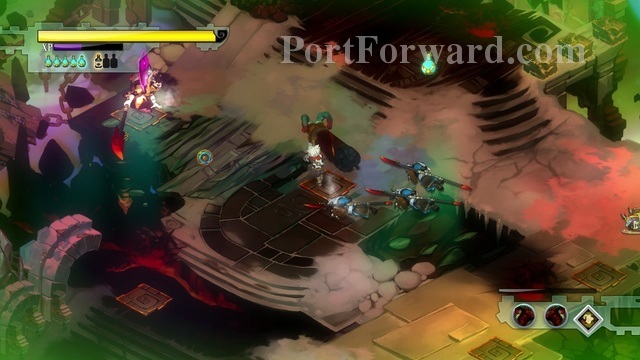
Kill everyone trying to protect him and chase him around.
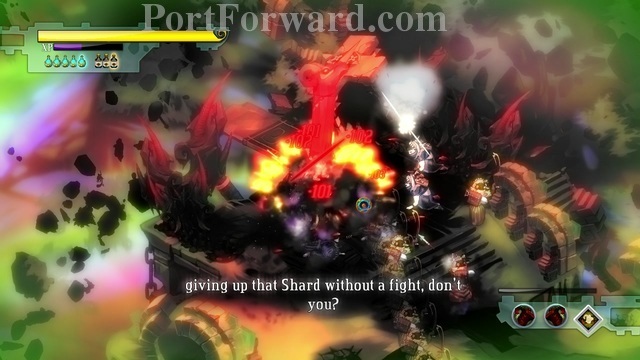
It shouldn't be too hard with the Battering Ram.
Althought he can be quite annoying.
When you start fighting him, he will have a lot of health.
It might take you a bit to take him down.
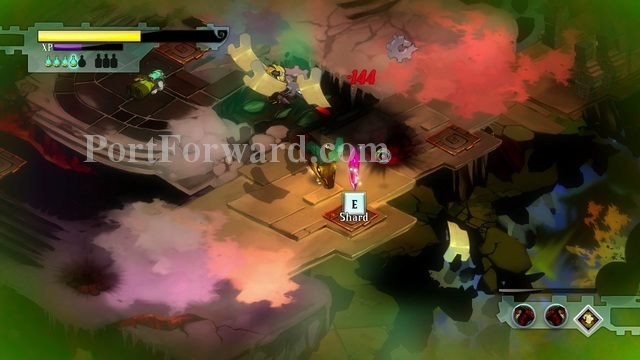
Take care of him, and then take the shard.
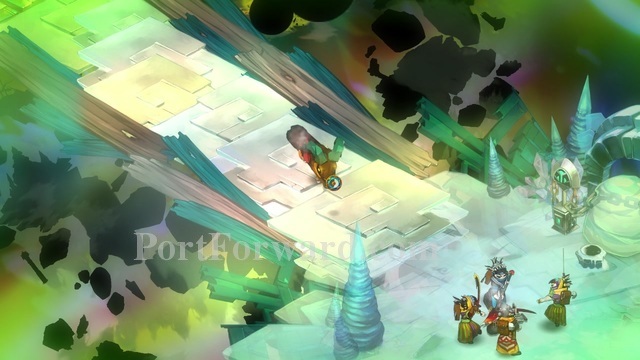
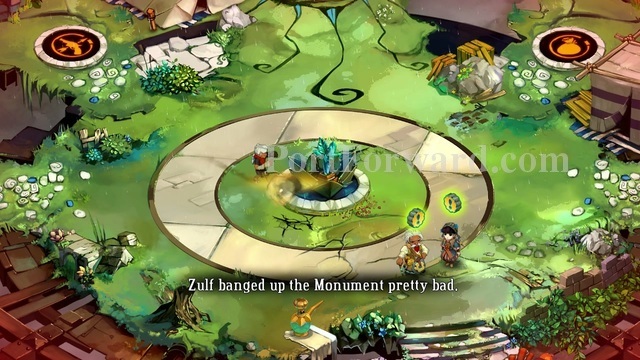
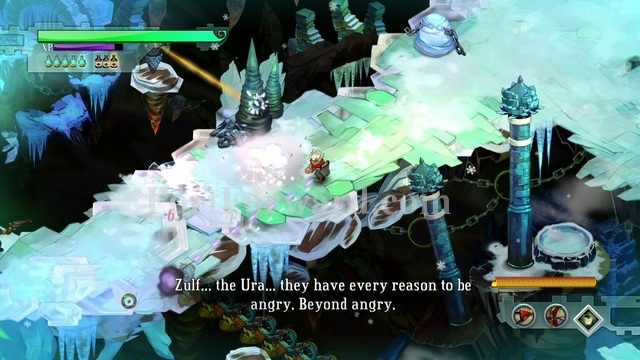
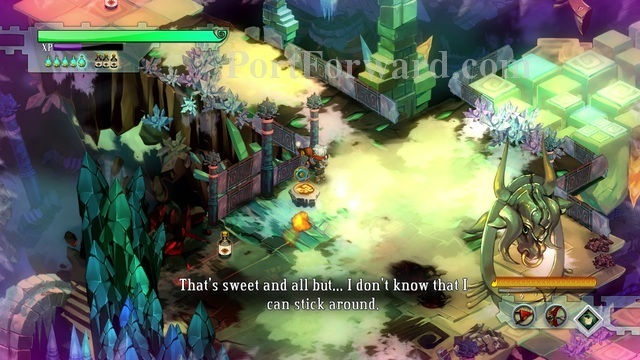
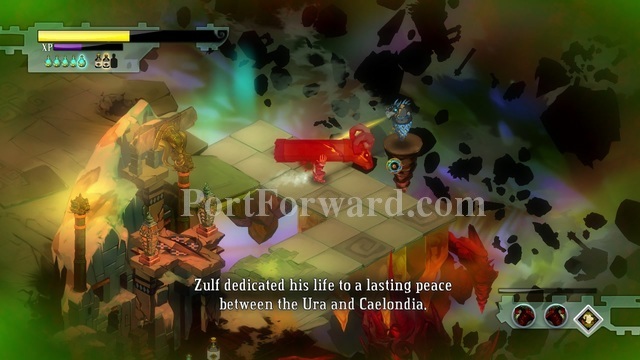
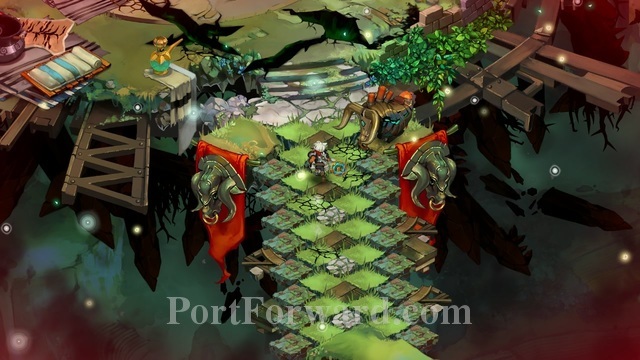
After that, go south-east, where you will find a lot of Ura beating down on Zulf.
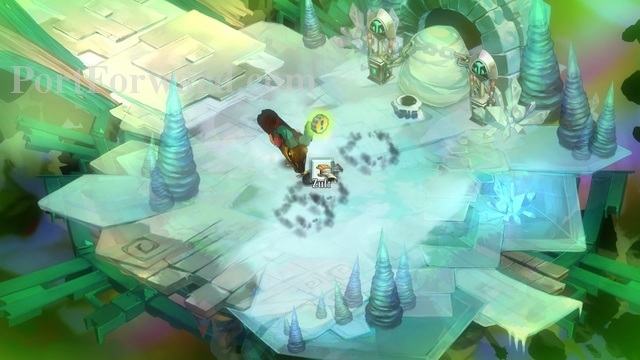
Scare them away and click on Zulf.
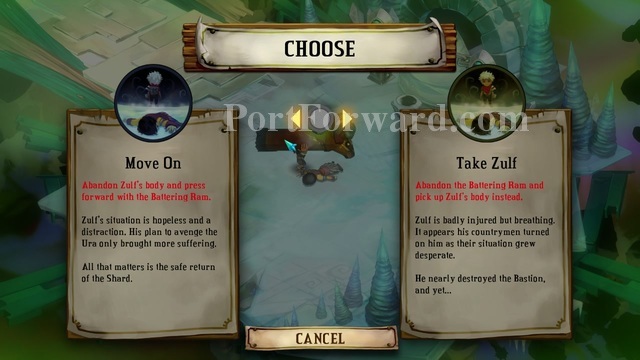
You can Move On without him or Take Zulf.
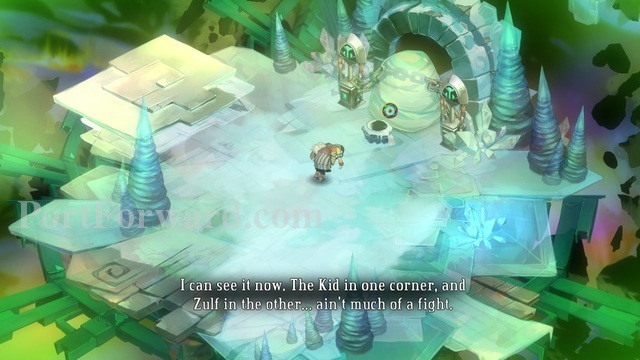
I chose to take Zulf.
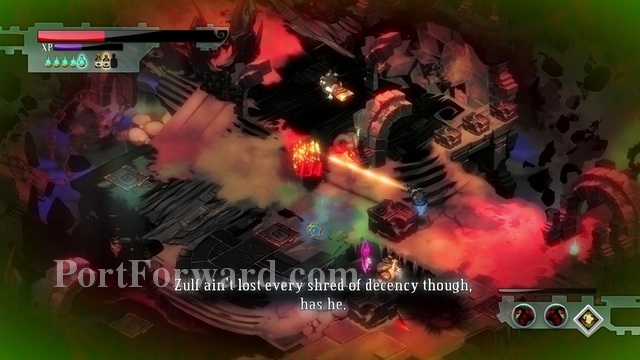
Press the switch and continue forward.
There will be a lot of Ura attacking you. If you moved on, you can kill them, but if you took Zulf, you will be defenseless, so move on.
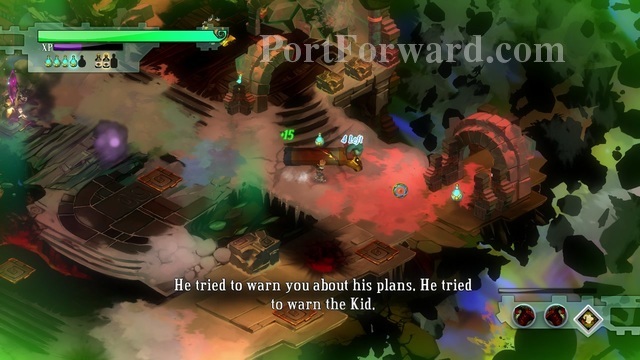
They will continue attacking you.
If you took Zulf, at this point, they will stop attacking you. But if you moved on, they will still continue to do so.
Go to the skyway.
You will return to the Bastion.
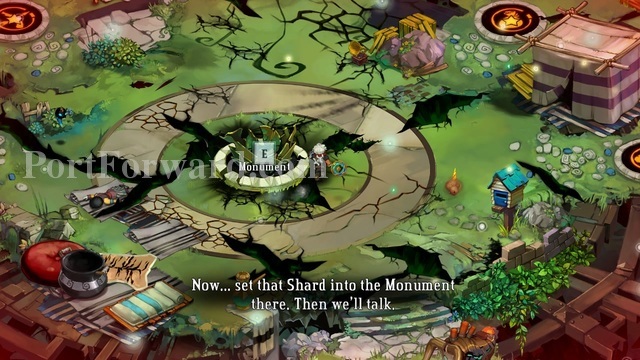
But the Shard in the Monument...
And the place will be back to normal.
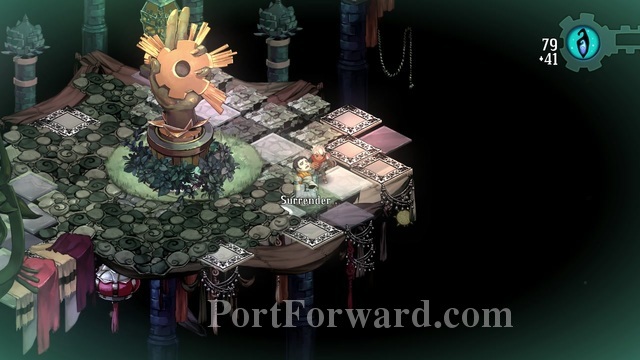
You will be teleported in this area. Talk to the NPCs. Choose an ending, and that will be it.
Congratulations on beating Bastion!
 Battlefield 4 Walkthrough Chapter 1: Baku
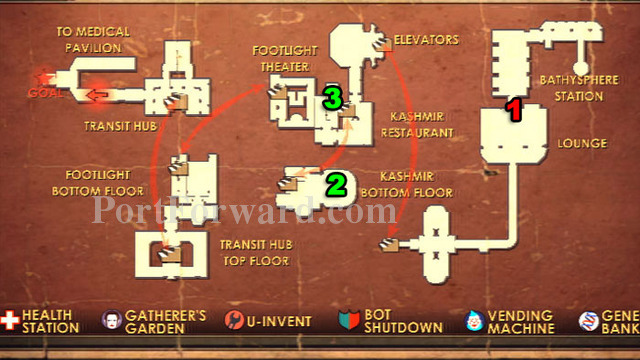 BioShock Walkthrough Welcome To Rapture
 Batman: Arkham City - Harley Quinns Revenge Walkthrough Shipyard - Robin
 Braid Walkthrough Introduction
 Borderlands 2 DLC: Tiny Tinas Assault on Dragon Keep Borderlands 2 Walkthrough Tiny Tinas Assault On Dragon Keep