

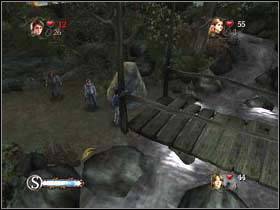
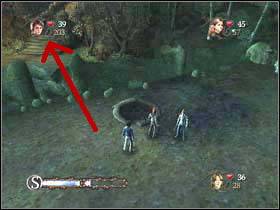
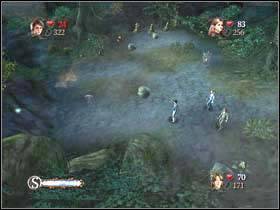
Harry, Hermione and Ron traveled by portkey to the Quidditch World Cup Final. Unfortunately a gang of Death Eaters disturbed the show. Arthur Wheasley send Harry and his friends back to the portkey.
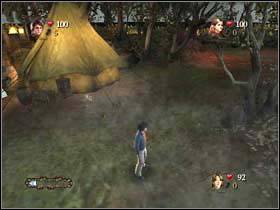
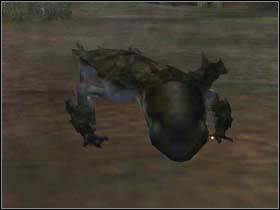
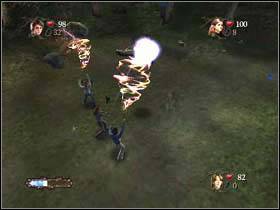
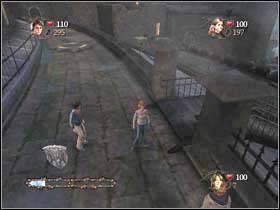
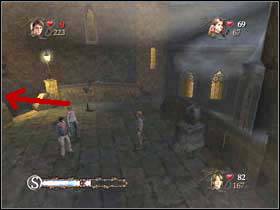
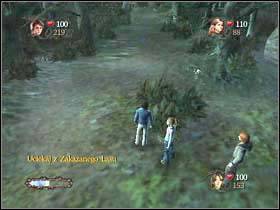
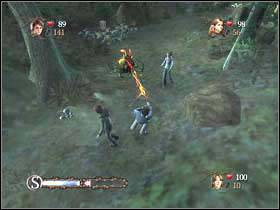
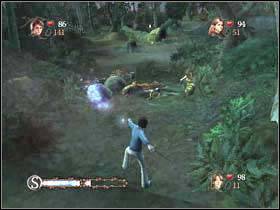
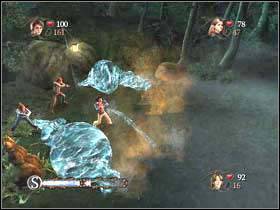
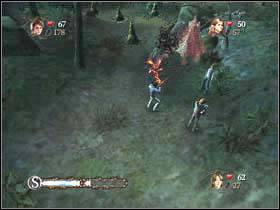
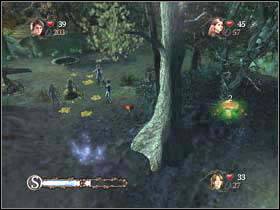
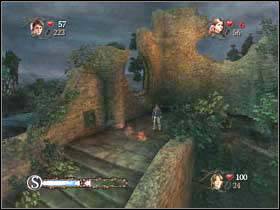
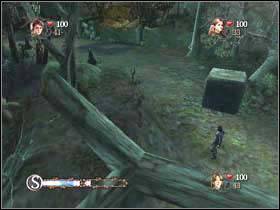
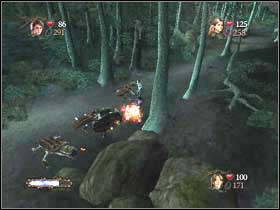
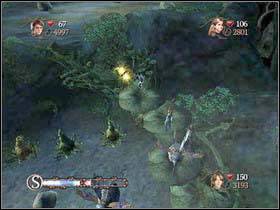
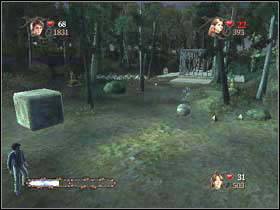
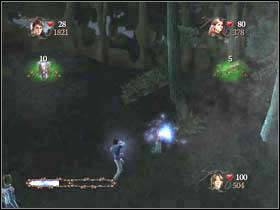
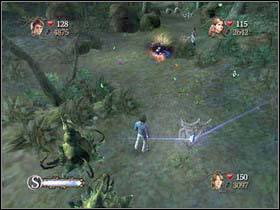
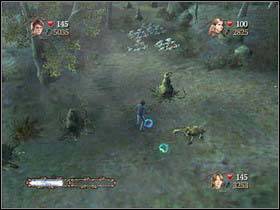
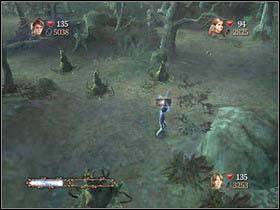
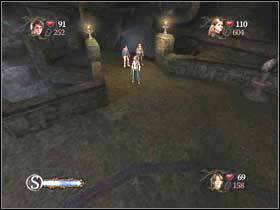
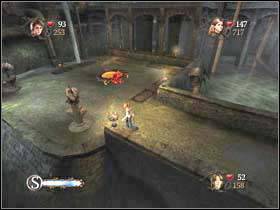
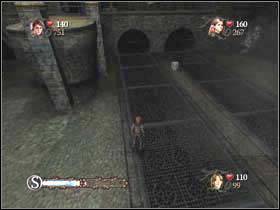
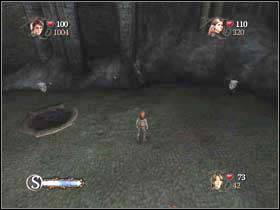
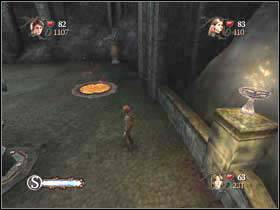
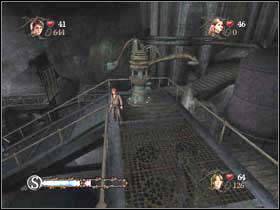
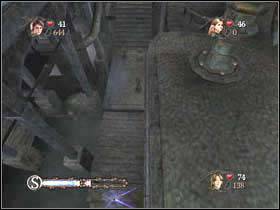
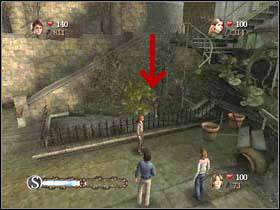
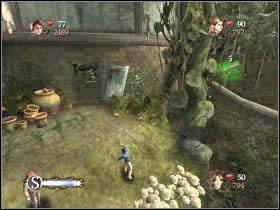
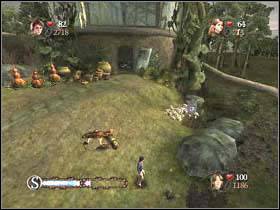
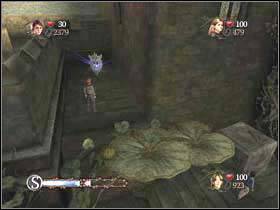
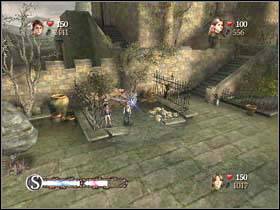
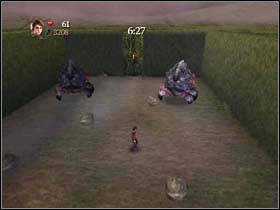
The game begins in this place. Go straight ahead and after a while you will be attacked by dugbogs. Jinx (X) them.
From this moment collect all beans. Summon them with Accio (Z). Blue beans will fill your Magic Meter and red beans will rise your stamina. When your Magic Meter is full, you can use Magicus Extremos mode (S).
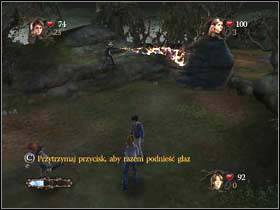
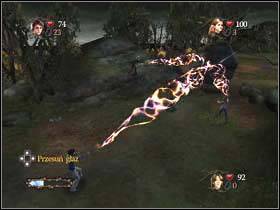
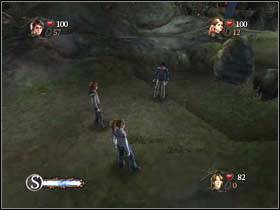
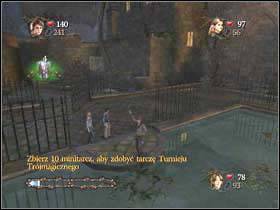
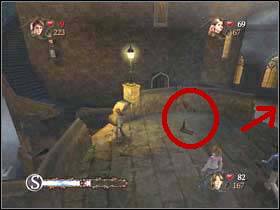
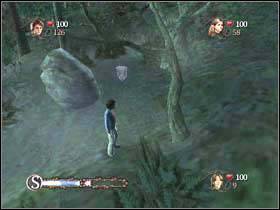
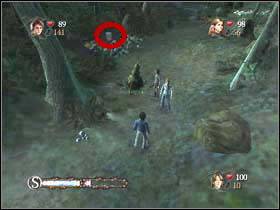
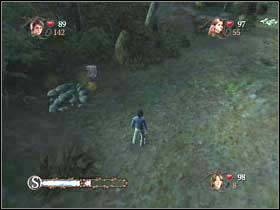
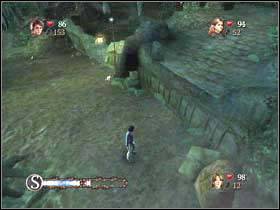
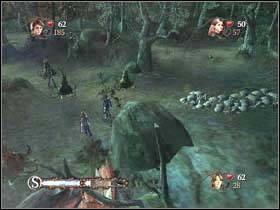
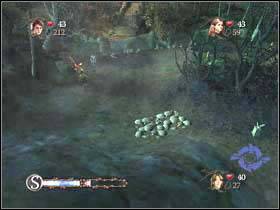
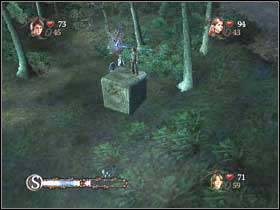
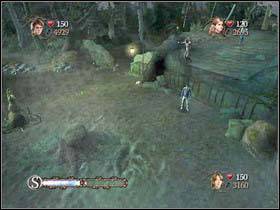
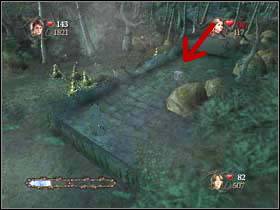
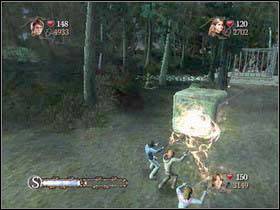
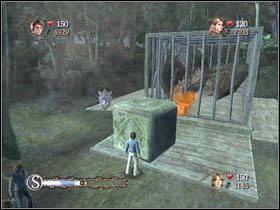
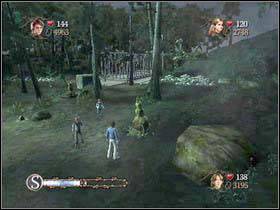
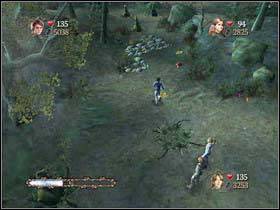
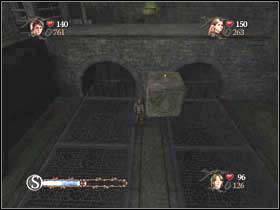
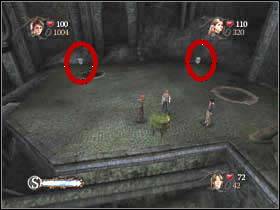
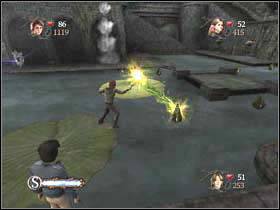
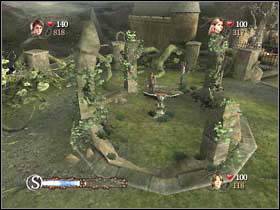
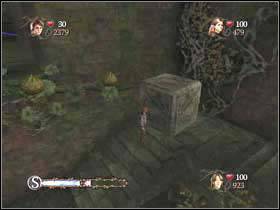
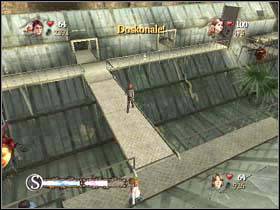
Continue your way. You will get to the place, where a rock blocks the way. Together with your friends, lift the rock with Wingardium Leviosa (C) and then move it to unblock the way.
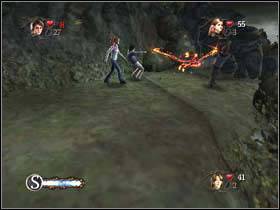
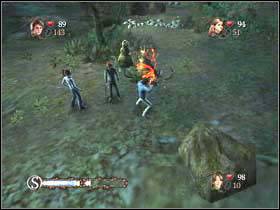
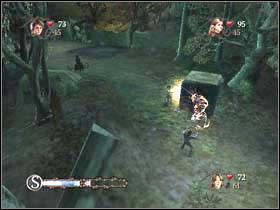
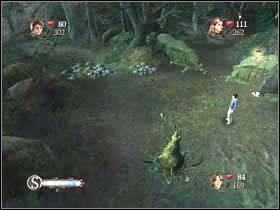
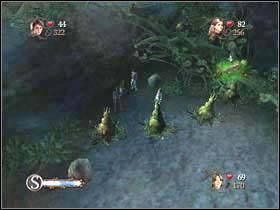
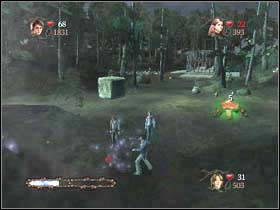
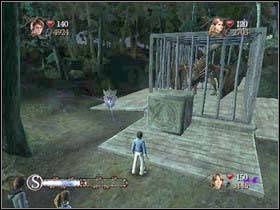
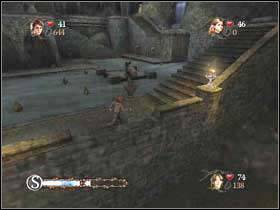
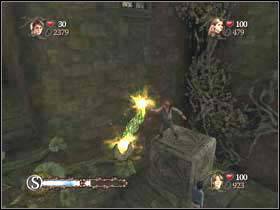
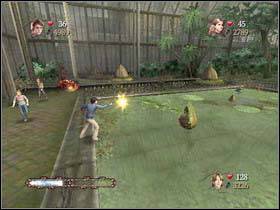
You will be attacked by dugbogs again. Jinx (X) them. You can also lift rocks with Wingardium leviosa (C) and drop them on dugbogs. You will get to the place, where you have to move another rock.
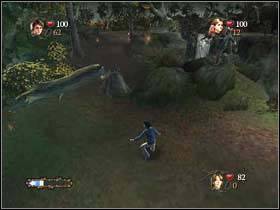
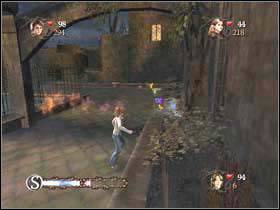
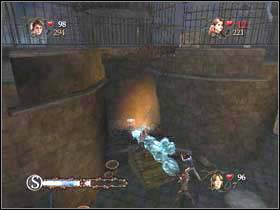
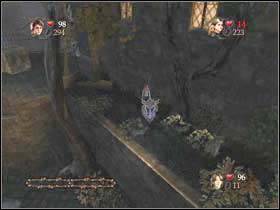
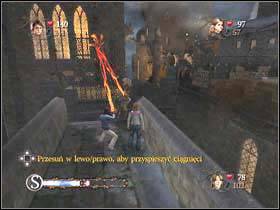
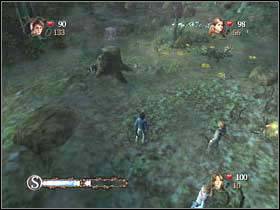
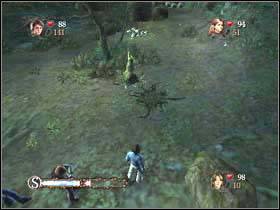
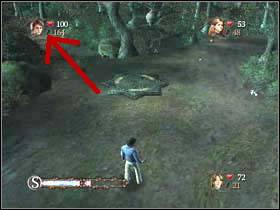
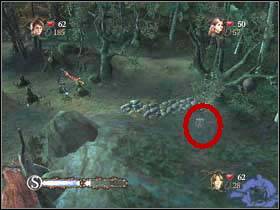
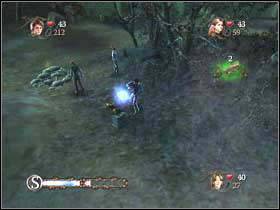
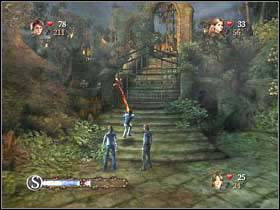
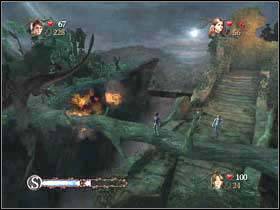
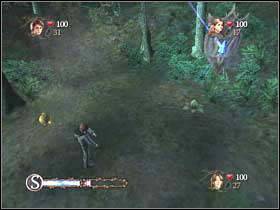
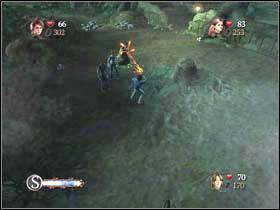
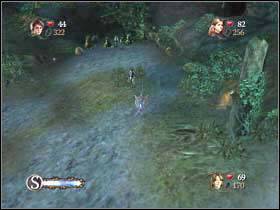
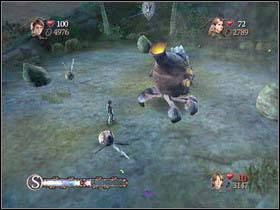
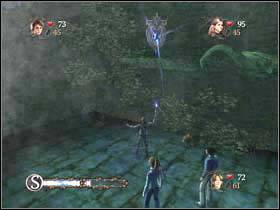
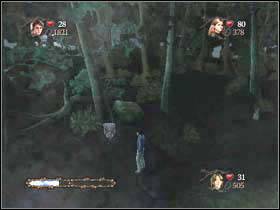
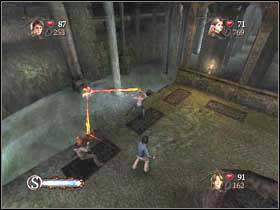
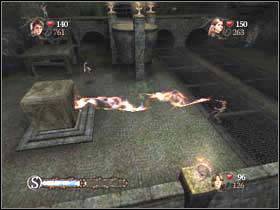
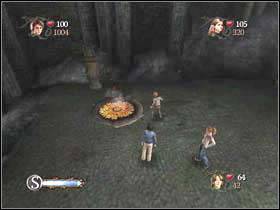
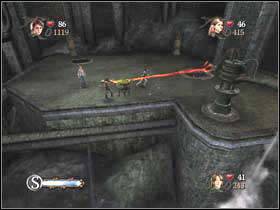
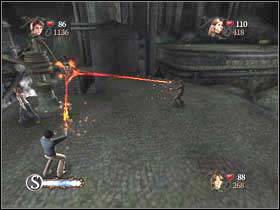
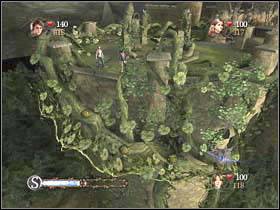
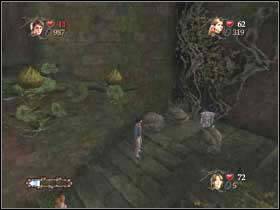
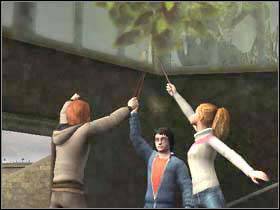
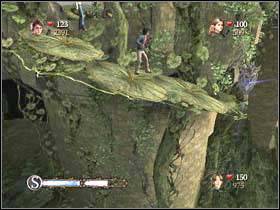
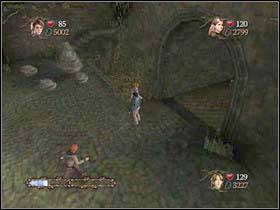
Suddenly in front of you a tree will fall. Now cast Carpe Retractum (C) on the log to unblock the way.

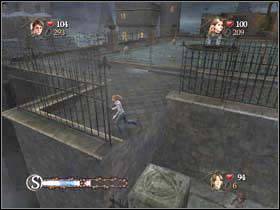
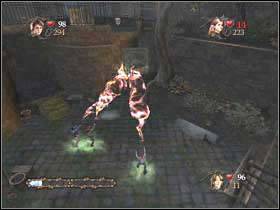
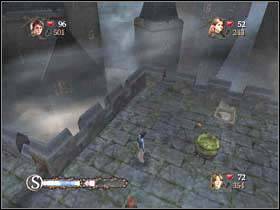
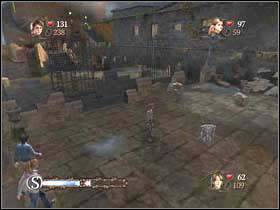
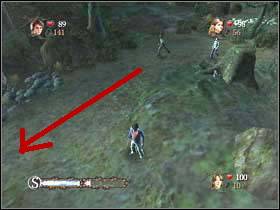
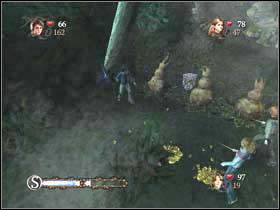
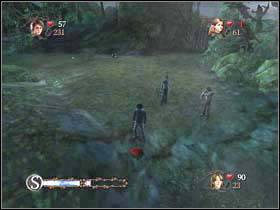
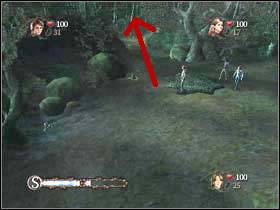
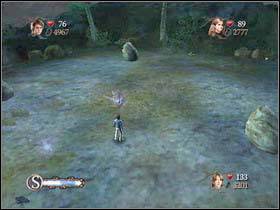
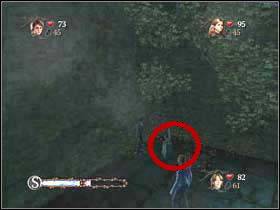
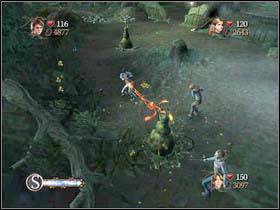
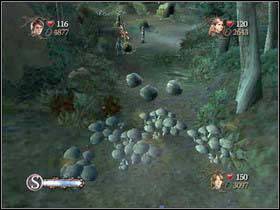
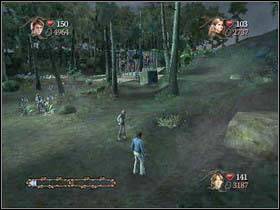
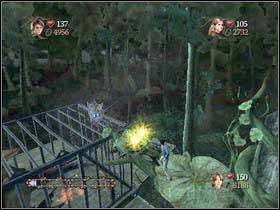
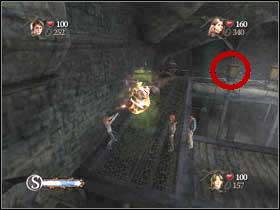
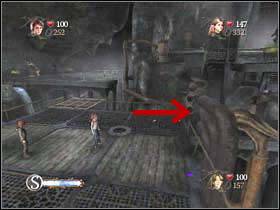
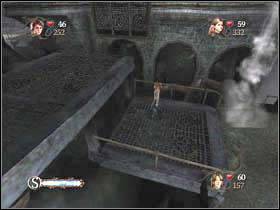
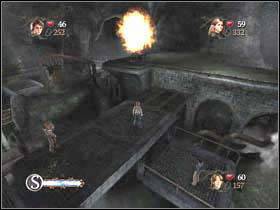
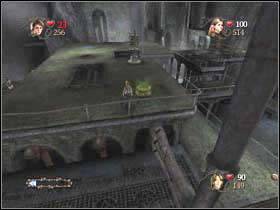
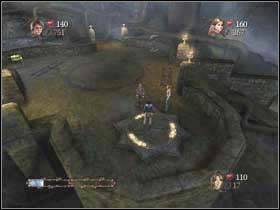
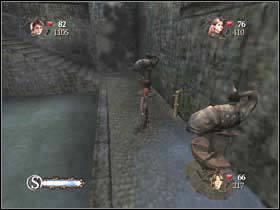
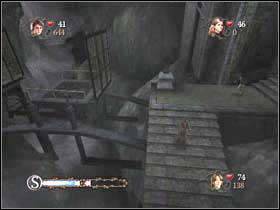
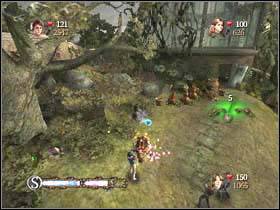
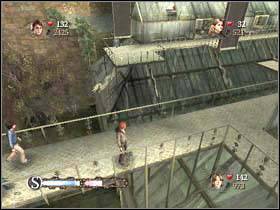
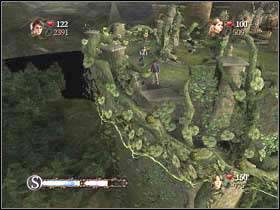
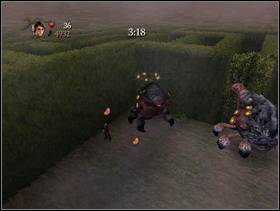
You will get to the point, where lots of dugbogs will attack you. Get rid of them and continue your way. Go to the bridge. Move a rock to unblock the passage.
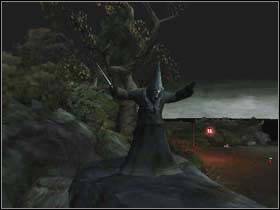
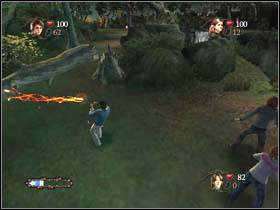
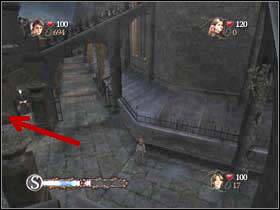
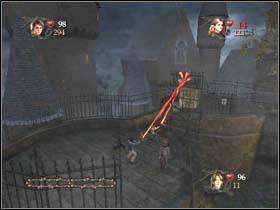
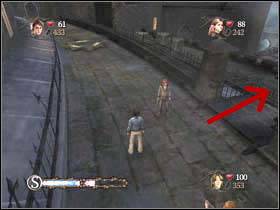
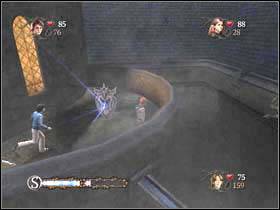
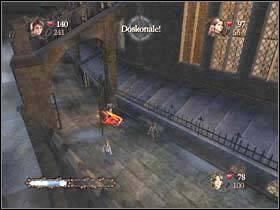
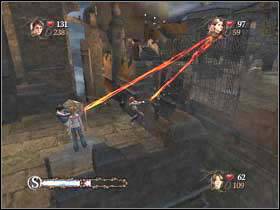
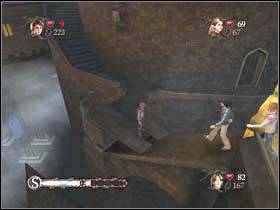
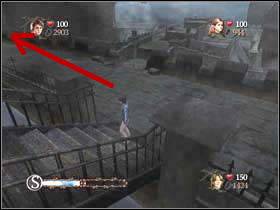
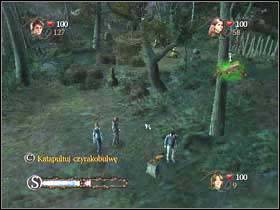
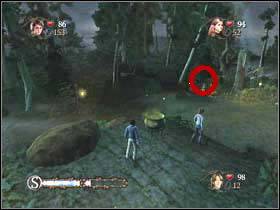
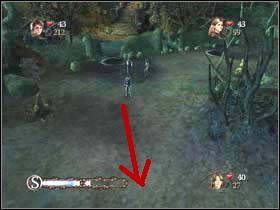
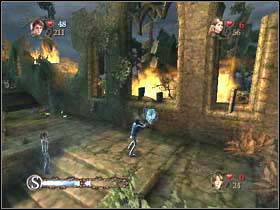
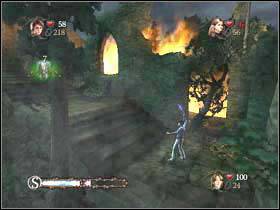
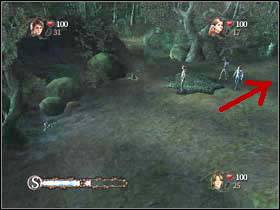
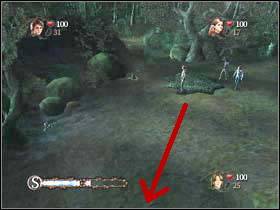
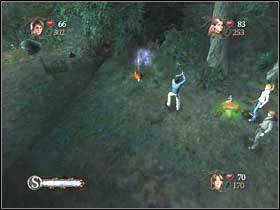
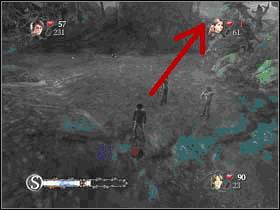
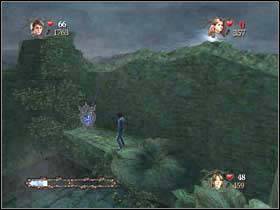
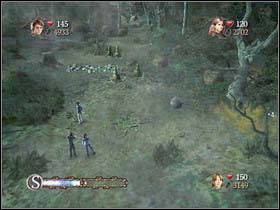
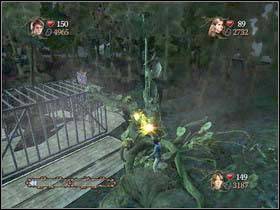
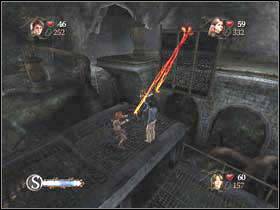
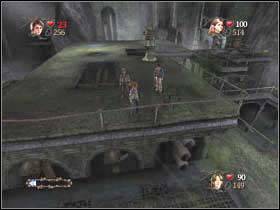
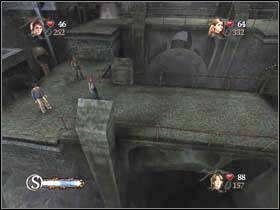
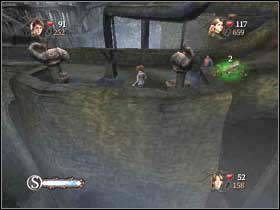
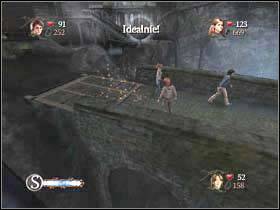
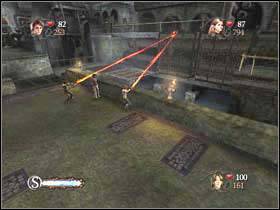
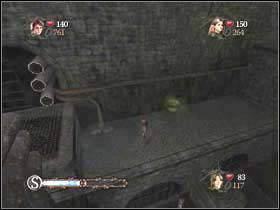
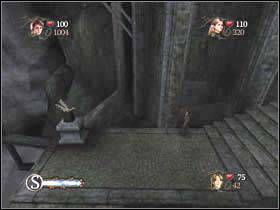
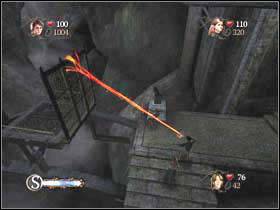
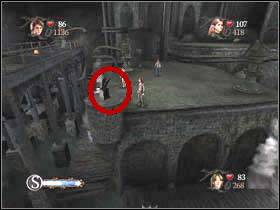
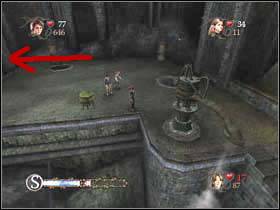
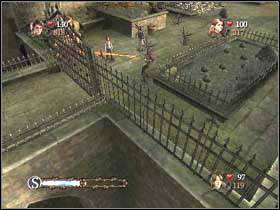
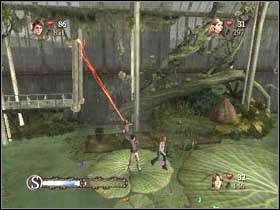
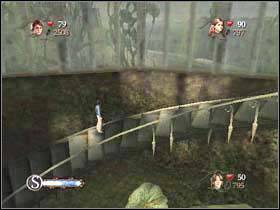
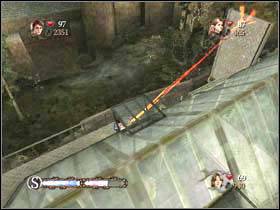
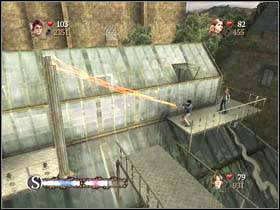
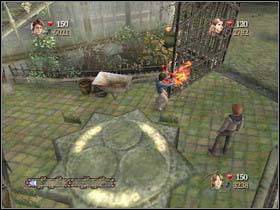
Continue your way. After a while you will see one of the Dead Eaters standing on some rocks. Pull the log with Carpe Retractum (C) and the evil man will drop down.
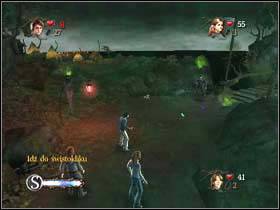
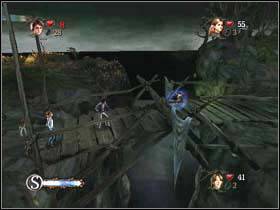
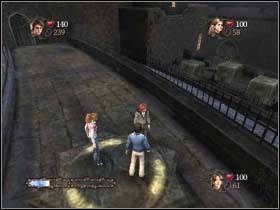
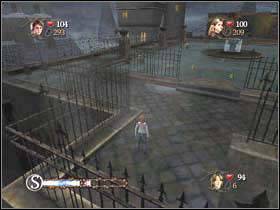
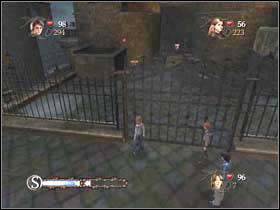
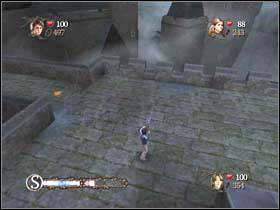
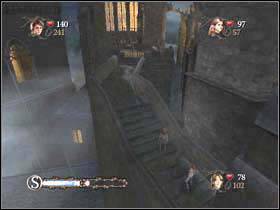
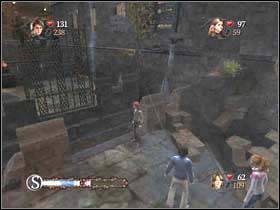
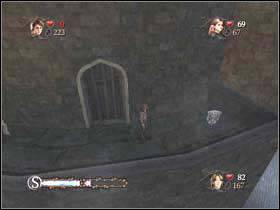
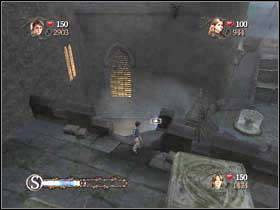
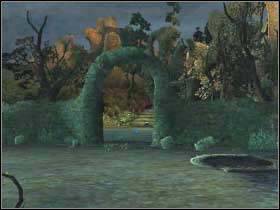
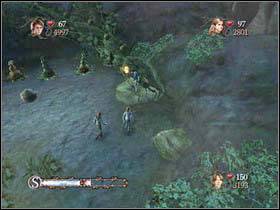
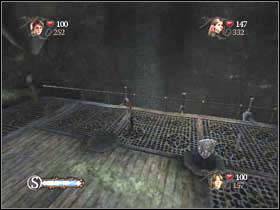
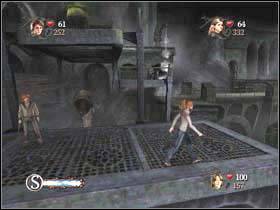
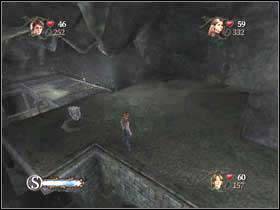
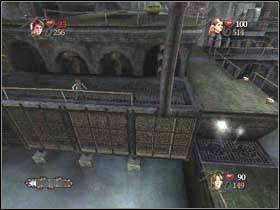
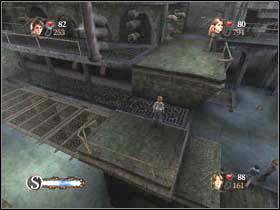
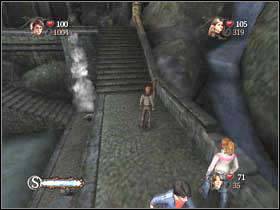
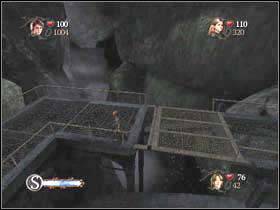
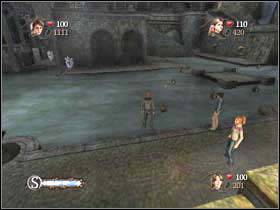
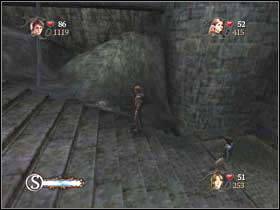
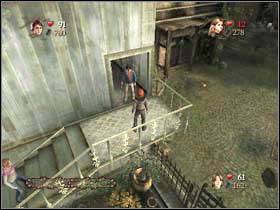
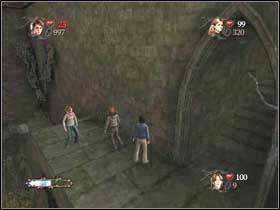
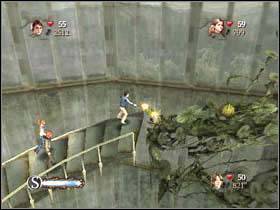
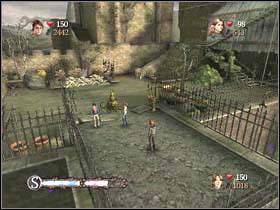
Finally you will get to the place, where Arthur Wheasly is waiting for you. Go to the bridge and get to the portkey.
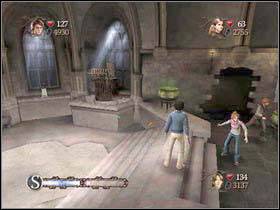
Harry, Hermione and Ron met Mad-Eye Moody for an extra Defence Against the Dark Arts lesson.
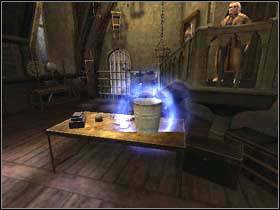
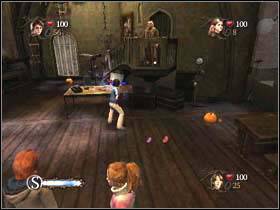
Moody will tell you to jinx the bucket. Jinx (X) it free or four times and you will get lots of beans. From this moment, jinx every bucket, chest, telescope, etc. And remember to jinx it several times.
Go to the next room.
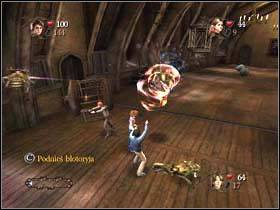
Here you have to fight with dugbogs. Jinx (X) them. After a while Moddy will tell you to lift dugbogs with Wingardium Leviosa (C). Do it.
And then go to the next room.
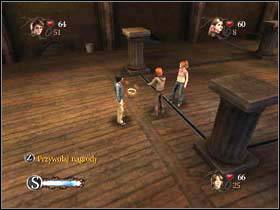
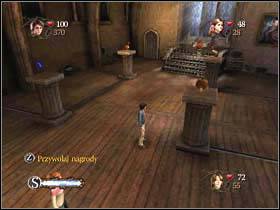
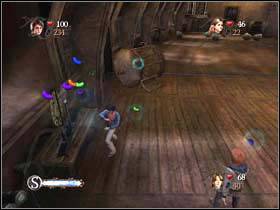
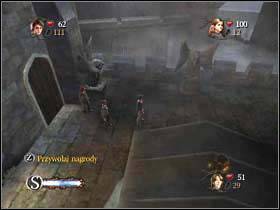
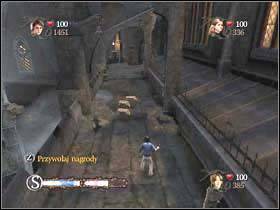
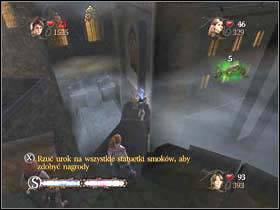
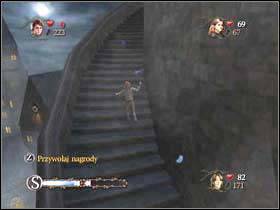
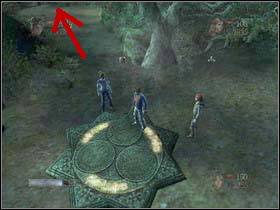
Moody will tell you, that you can summon rewards that are out of reach by casting Accio (Z). Summon all rewards.
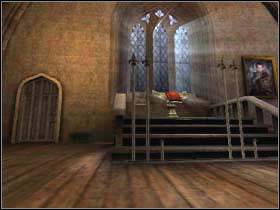
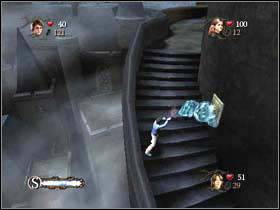
Now go to the spell book. From this moment, you can cast Aqua Eructo (C).
Moody wiil tell that you have to start collecting Triwizard Shields.
Summon with Accio (Z) all rewards, jinx everything and go to the next room.
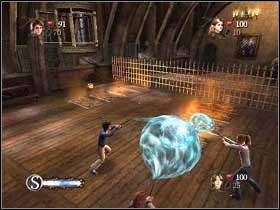
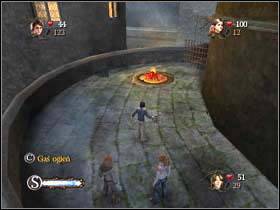
It's time to cast your new charm. Cast Aqua Eructo (C) on the fire. Then go to the next room.
Here you will meet three salamanders. First you have to cast Aqua Eructo on them. And then you can jinx them.
After the succesfull fight go through the next door.
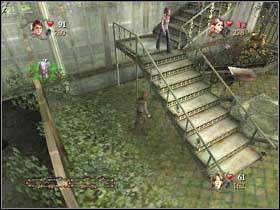
Now go to the stairs and cast Aqua Eructo on the fire, which block your way.
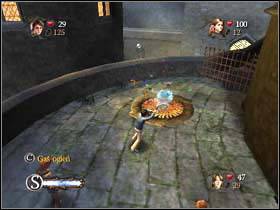
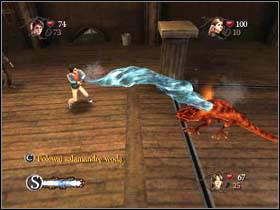
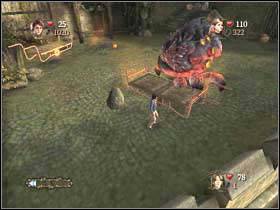
You will get to this place. Here you have to get rid of a salamander. And then cast Aqua Eructo on the salamander source.
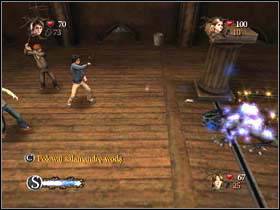
Go upstairs. Here you have to fight salamanders and again cast Aqua eructo on the salamander source. Now cast Carpe Retractum (C) on the draw-bridge.
Here get rid of salamanders and cast Aqua Eructo on two salamander sources. After the fight go upstairs and take your first Triwizard Shield.
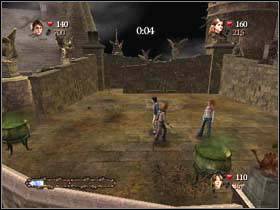
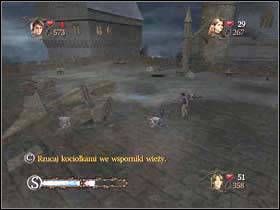
In first task you have to jinx Avifors on 10 dugbogs. It's not easy thing to do, but with some luck you should do it :-).
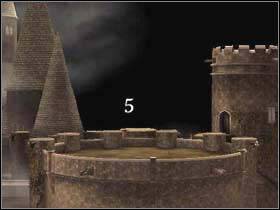
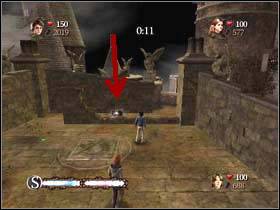
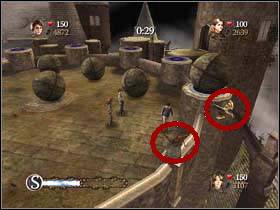
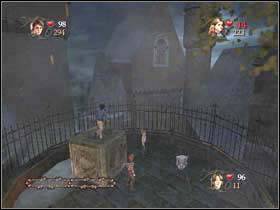
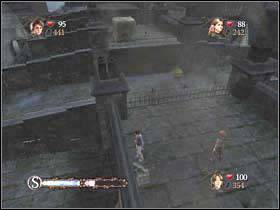
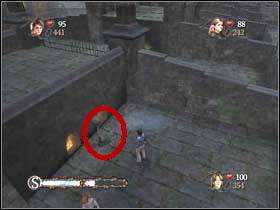
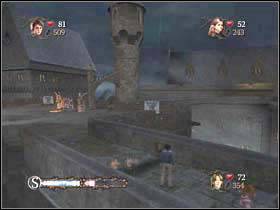
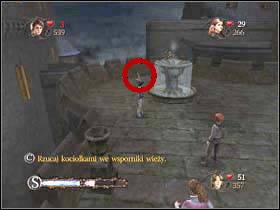
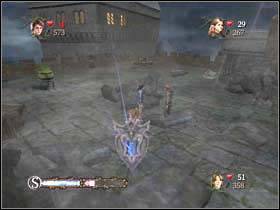
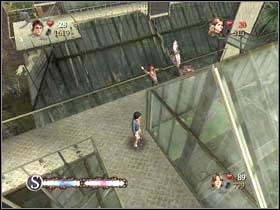
Here you have to lift rocks with Wingardium Leviosa (C) and put them on the turrets.
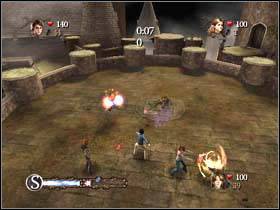
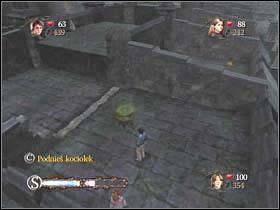
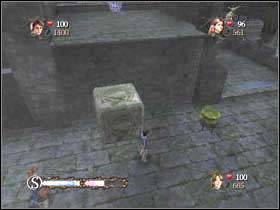
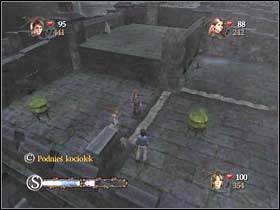
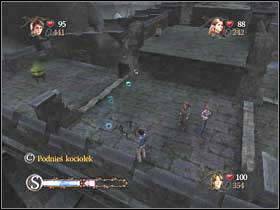
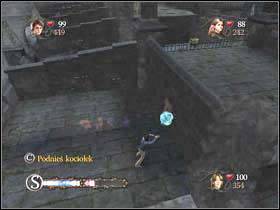
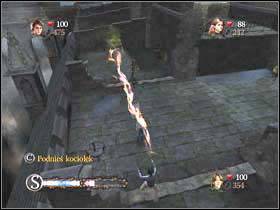
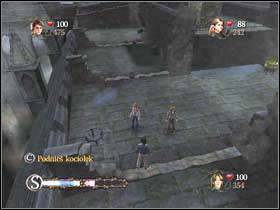
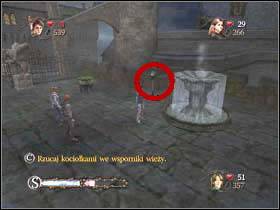
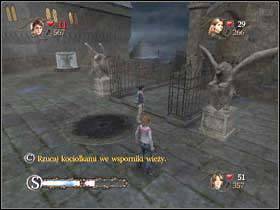
In this task you have to destroy all walls and statues with cauldrons. Lift a cauldron (C) and destroy the wall in front of you. Here you will see the vanishing card. Of course if you don't want to waste the time now, you can load this level later, grab the vanishing card, press Esc and End Level. If you don' catch the card, simply end the level and try again from the beginning.
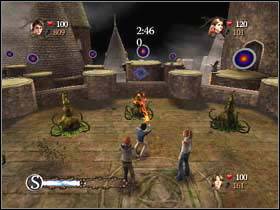
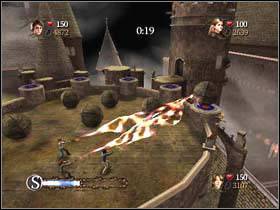
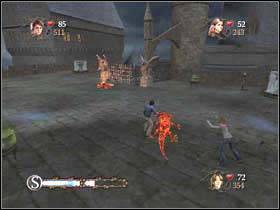
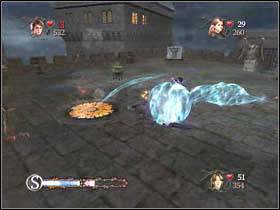
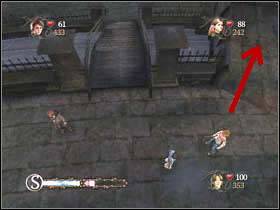
In this task you have to catapult bubotubers (C) at the targets.

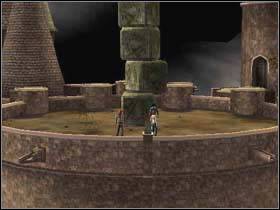
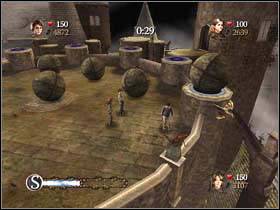
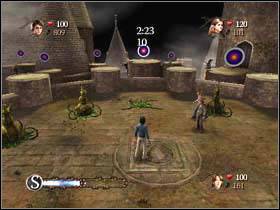
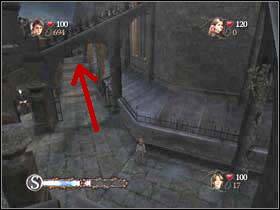
In last task you have to lift blocks with Wingardium Leviosa and put it on top of one another. You have to put the first block in the middle of the arena.
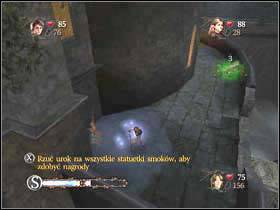
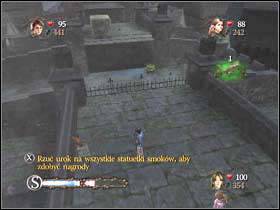
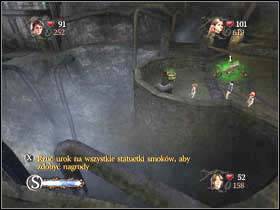
In this level you can get the vanishing card, 5 dragon statues and 6 gargoyles. Dragon statues and gargoyles are very easy to jinx (X). They are around the arena and for sure you will jinx it while doing one of the tasks.
This level contains many sublevels. Each sublevel will end, when you get the Triwizard Shield. So you have to come back to this level several times.
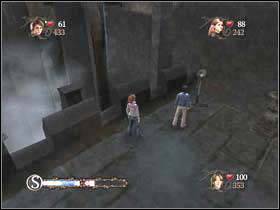
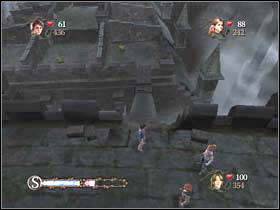
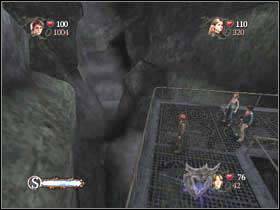
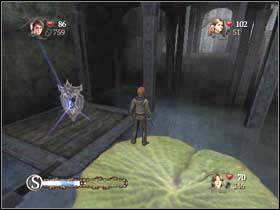
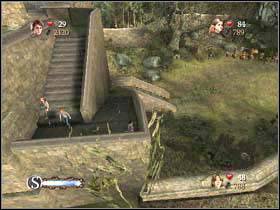
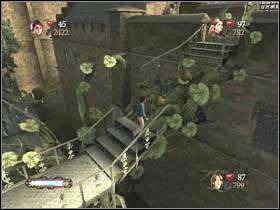
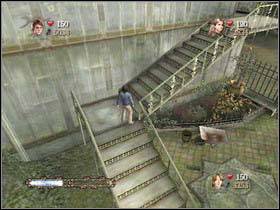
Every sublevel will begin in this place. Here, on the first floor, you will find your first mini-shield.
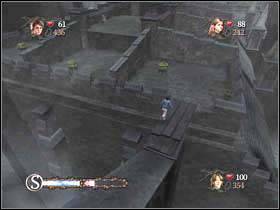
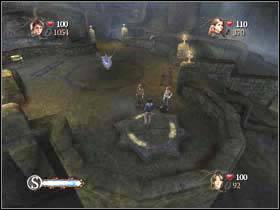
Now go to this direction. Move rocks with Wingardium Leviosa (C) to unblock your way.
Now turn to the left and go downstairs.

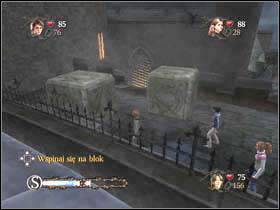
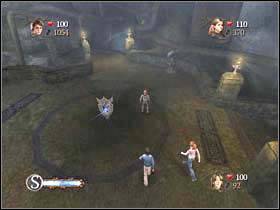
You will get to the place, where you notice a block. Lift it with and move it to the wall. Climb up.
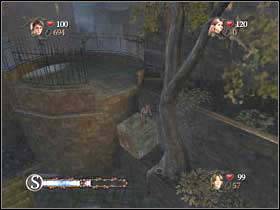
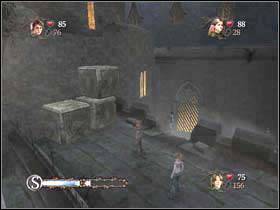
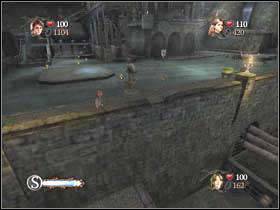
On the pond you will notice a Triwizard Shield, but the way to it is at this moment blocked for you. You will go back here with Herbivisus charm after Herbology level.
Go to the left or to the right, on your way put out the fire with Aqua Eructo (C).
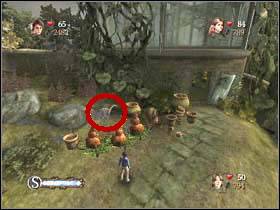
Walk to the pond and from this place summon with Accio (Z) your second mini-shield. After that open the gate with Carpe Retractum (C).

On the right you will find your first dark detector - jinx it. Now put out the fire and take your third mini-shield.

Lift a block with Wingardium Leviosa (C) and move it to this place. Now you can get to the upper floor.
Climb up and cast Carpe Retractum (C) on the draw-bridge. Grab your fourth mini-shield.

Now move another block to the place, where the first block was standing. The way to the next Triwizard Shield is free. Climb up, but before you take the Triwizard Shield, jinx your first dragon statue.
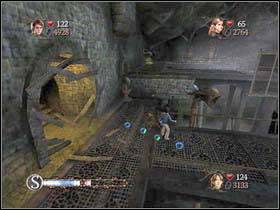
To get to the next Triwizard Shield, you have to go downstairs. On the right you will find your second dark detector.
On the left you will notice blocks. Move them to the wall and put them in such a way that they will allow you to climb to the next floor. Climb up.
Here jinx (X) your second dragon statue and then take the next Triwizard Shield.
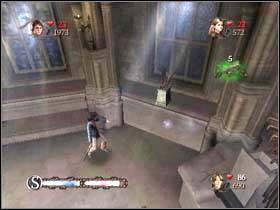
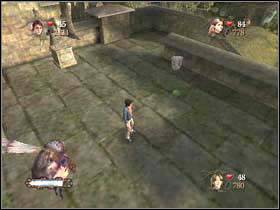
Now go downstairs and get to this place.
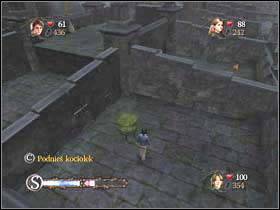
Lift a smoking cauldron with (C) and move it to the wall on the left. It will explode and destroy the wall.
Climb up and jinx your third dragon statue.
From this place cast Wingardium Leviosa (C) on the block in front of you and move it down. This block will help you to get to the next Triwizard Shield.

Now go back to this place, use the cauldron and destroy the wall in front of you. There you will find your third dark detector. Now destroy all the walls, until you get to the place, where on the upper floor you will notice the Triwizard Shield.
Now go back to the block and move it to this place. Climb up and take your next Triwizard Shield.
Now go downstairs and get to this place. Use the cauldron to destroy the wall on the left and then another on the left.

Now destroy the all in front of you, put out the fire and destroy another wall.
Go straight ahead destroying all the walls. On your way you will find two choc frogs. Remember this place, if you will need extra lives, you can always go back here and take another frogs.
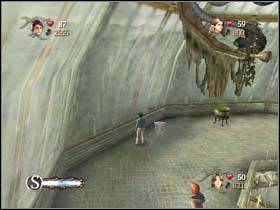
Now you have to get rid of a salamander and then you can take your fifth mini-shield.

Go straight ahead and then turn to the right. Put out the fire and use cauldrons to destroy four statues. You will get your sixth mini-shield.
Now from this place, turn to the left. Put out the fire on your way.
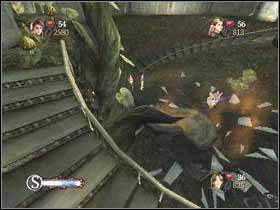
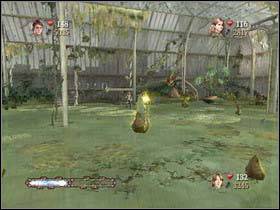
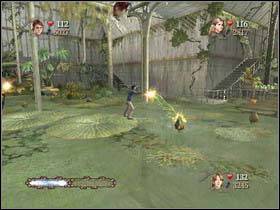
You will get to this place. here you have to kill salamanders and destroy their sources.
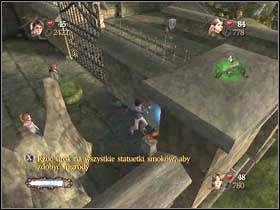
After that you can jinx your fourth dark detector and fourth dragon statue.
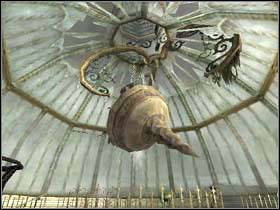
Now you have to use cauldrons to smash two tower support. When you do it, you will get your seventh mini-shield.
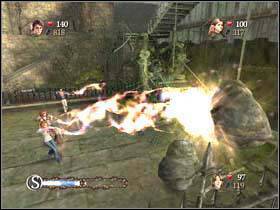
Now it's time to smash support of the big tower. Use a cauldron and destroy it. The big tower will drop down and the next Triwizard Shield is yours.
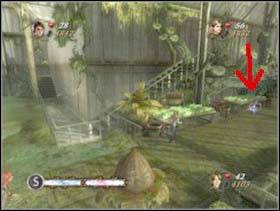
Now go to this direction and from this place turn to the right.
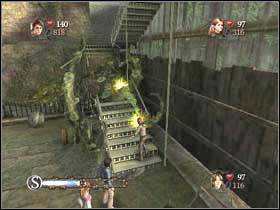
Open the gates with Carpe Retractum (C) and after a while you will get to the stairs. Go upstairs.
Now cast Carpe Retractum (C) on the draw-bridge. You will have to jinx (X) your fisrt erkling.
Cast Carpe Retractum (C) on the next draw-bridge. Here you will find your eighth mini-shield.

Cast carpe retractum on the next bridge, get rid of erklings and go upstairs.
In this place you will find your fifth dark detector. Go to the right and you will notice your fifth dragon statue.
Now turn to this direction and go down.
On the right you will find your ninth mini-shield. After that go upstairs.
Here you have to kill erklings, then put out the fire and the next Triwizard Shield will be yours.
If you have the Herbivicus charm from Herbology level, you can get the other Triwizard Shield. Remember the pond?
Go to the pond and now cast Herbivicus charm (C) on the flower pads. You will get to your next Triwizard Shield.
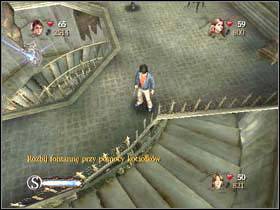
It's time to get the reward for finding 10 mini-shields. Go downstairs and get to this place. Use cauldrons to destroy two wall on the left.
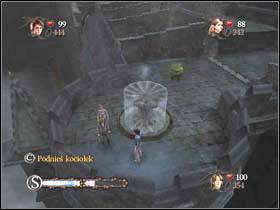
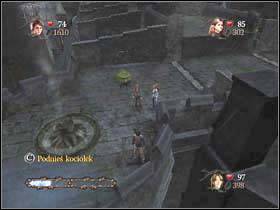
Now use the cauldron to destroy the fountain. You will see your tenth mini-shield. Summon it with Accio (Z).
Now go back to the floor, from where the sublevel began and here you will find your reward. Another Triwizard Shield is yours.
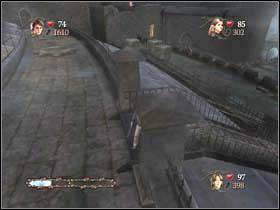
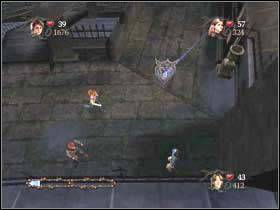
To get the vanishing card, you have to be quick. Run downstairs and to this direction. Run down and you will grab the vanishing card. If not, simply press Esc, End Level and try again from the beginning.
This level (like the previous one) contains many sublevels. Each sublevel will end, when you get the Triwizard Shield. So you have to come back to this level several times.
You will start in this place. On the right you will see your first mini-shield. Move a rock with Wingardium Leviosa (C) and take the mini-shield.
Go straight ahead, on the way jinx your first dragon statue. Near a tree trunk you will find your second mini-shield.
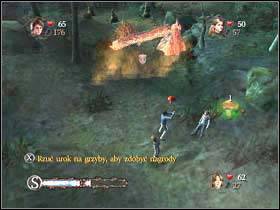
Now from the tree trunk go in this direction. You will see your third mini-shield, but the way to it is blocked by mushrooms.
Use Carpe Retractum (C) and catapult a bubotuber at the mushrooms to free the way. After that take the mini-shield.
Now go straight ahead and use bubotubers to destroy mushrooms on your way.
You will be attacked by dugbogs. Kill them and continue your way. Climb up the ledge.
Near three bubotubers you will notice your fourth mini-shield. Go there and try to summon it with Accio (Z). If it doesn't work, go back to the ledge and use a cauldron (C) to destroy the bubotuber. Now run quickly and take the mini-shield.

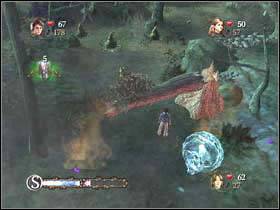
Suddenly a dragon will appear. The dragon will fire the ground in front of you. Put out the fire with (C) and continue your way.
When you walk to this place, turn to the left. After a while you will get to the place, where you will notice your. First jinx (X) your first mushroom, which is on the right.
Now put out the fire, take your fifth mini-shield and pull a log with Carpe Retractum (C).
In this place, use bubotubers to destroy mushrooms and get to your sixth mini-shield.

Now you have to get rid of salamanders and put out salamander sources. After that go in this direction.
Here you will find your second mushroom. Now go in this direction, near mushrooms you will notice a dragon statue.
Use a bubotuber to destroy these mushrooms and jinx your second dragon statue.

Go to the stairs, open the door with Carpe Retractum (C), go upstairs and put out the fire.
Turn to the left. Here you will find your seventh mini-shield. Continue your way.
You will notice a fallen tree. The dragon will drop the fire on the tree. Use Aqua Eructo (C) and pass by. Near the fallen tree, on the left you will find your third mushroom.
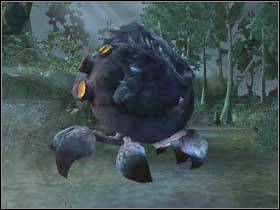
Go straight ahead. You will meet your first blast-ended skrewt. You have to jinx (X) her from behind. After the succesfull fight you will see your next Triwizard Shield.
From this moment next sublevels will begin in this place. Go to the right. Here you will notice the Triwizard Shield hanging in midair. Unfortunately you can't summon it with Accio.
Go back and continue your way in this direction. On the way use bubotubers to destroy mushrooms. After a while you will notice a block.
Lift it with Wingardium Leviosa (C) and move it under the hanging in midair Triwizard Shield. Go up and take it.
Now go to this direction. On your way you will have to get rid of dugbogs and use bubotubers to unblock your way.
When you get near the ledge, use a bubotuber to destroy mushrooms and free your way.

Now go straight ahead and on the right you will find your fourth mushroom.

You will meet another blast-ended skrewt. Remember? Jinx her from behind. After the fight, grab your eighth mini-shield.
Near bubotubers you will notice your third dragon statue - jinx it. And now you can take your next Triwizard Shield.
If you have the Herbivicus charm from Herbology level, you can get the other Triwizard Shields.
Go back to this place, where you found your previous Triwizard Shield. Again get rid of the blast-ended skrewt.
Now cast Herbivicus charm on the flower pads to get to the upper ground. Be careful, because vampyr mosps will attack you.
Kill another blast-ended skrewt and then you can take your next Triwizard Shield.

To get the next Triwizard Shield, go back to the fallen tree. Pass it by and turn to the right.
You will get to this place. Jinx your fourth dragon statue, which is in the left corner.
Now cast Herbivicus charm on the flower pads. Be careful, because vampyr mosps will attack you again. Get to the next Triwizard Shield and take it.

Now go to this direction. On your way you will have to get rid of dugbogs and use bubotubers to unblock your way. After a while you will find your ninth mini-shield.


Near the ledge use a bubotuber to destroy mushrooms and free your way. Go straight ahead.
You will get to this place, where you have to destroy mushrooms with a bubotuber. Unblock your way and go there.
It's time to meet a dragon.
Here you will find your fifth mushroom. Now lift a block and move it to protect from the dragon's fire.
Before you grab the next Triwizard Shield, go and jinx your fifth dragon statue and then take your tenth mini-shield.
Now you can grab your next Triwizard Shield.
Go back to the dragon. On your way you will notice the next Triwizard Shield. It's a reward for finding 10 mini-shields. Just take it.
Now again go back to the dragon. Use a bubotuber to destroy mushrooms and go straight ahead.
Cast Herbivicus charm on the flower pads, look out for vampyr mosps and grab another Triwizard Shield.
To get the vanishing card, you have to run quickly to this direction. Destroy mushrooms with bubotubers..
Run and you will grab the vanishing card. If not, simply press Esc, End Level and try again from the beginning.
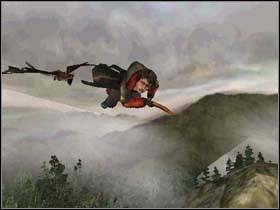
In this task the dragon is chasing you. Of course you have to run away. Avoid hitting anything and watch out for the dragon fireballs.
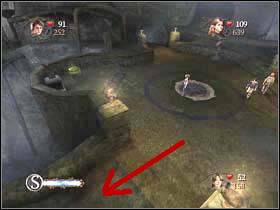
Fly through the red and blue circles. The red one contains beans and will rise your stamina. The blue circle will speed you up. You can also press C to speed up.
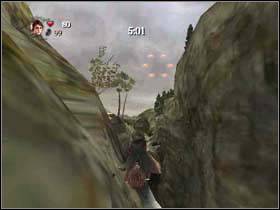
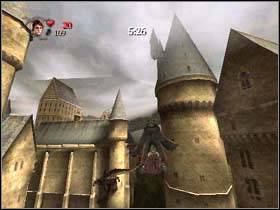
You will fly through a forest, Hogwarts and above a lake.
You can get bronze, silver or gold. For getting bronze, you will be awarded one Shield, silver - two and gold - three Triwizard Shields.
This level (like the Hogwarts Exterior and the Forbidden Forest) contains many sublevels. Each sublevel will end, when you get the Triwizard Shield. So you will come back to this level several times.
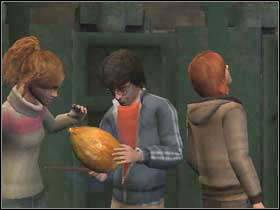
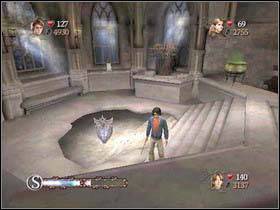
Harry, Hermione and Ron are in the prefect's bathroom. The golden egg, which Harry got in first Triwizard task, slips out of his hands and roll down into some pipe. Of course you have to find the egg.
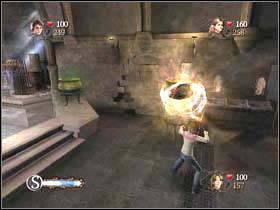
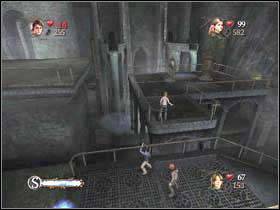
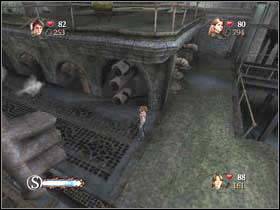
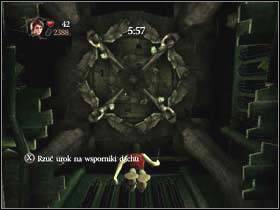
Use cauldrons (C) to destroy the wall. Go through the hole. From this moment, jinx (X) every pipe that you see and you will get lots of beans.
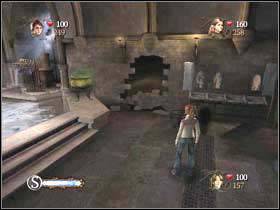
Cast Carpe Retractum (C) on the draw-bridge. Now use a cauldron to destroy two big pipes. You will see a mini-shield.
Take your first mini-shield and go back. Now use a cauldron to destroy pipes.
Watch out for the steam. Now jump down, turn to the left and climb up
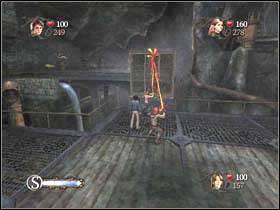
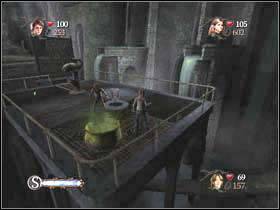
Cast Carpe Retractum on the draw-bridge and then lift a cauldron and destroy another big pipe. You will get your second mini-shield.

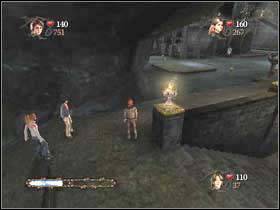
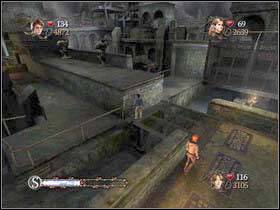
Take the mini-shield and turn to the right. Now cast Carpe Retractum (C) on the steam top and move it. Suddenly you will be attacked by erklings. Jinx (X) them.
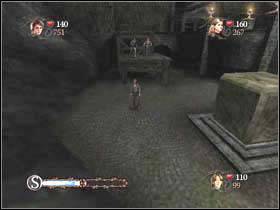
Go down and continue your way in this direction. Cast Carpe Retractum on the draw-bridge and climb up.
Here you have to turn two steam top and then use a cauldron to destroy the big pipe. You will get your third mini-shield. Again you will be attacked by erklings.
Now use the cauldron and destroy pipes below to free your way.
Go back to this place and walk to the right.
When you get to this place, climb up, destroy the big pipe with a cauldron and take your fourth mini-shield.
Now use the same cauldron to destroy two big pipes below on the right. You will see two mini-shields. Run there.

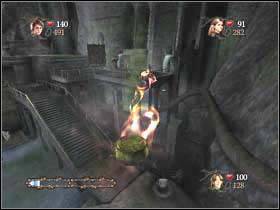
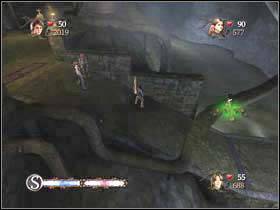
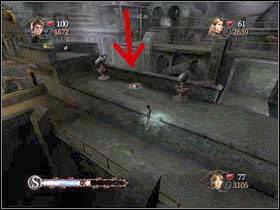
Take your fifth and sixth mini-shield. Now continue your way. When you get to this point, a salamander will appear.
Get rid of her and cast Aqua Eructo (C) on salamander source. Here you will find your first dragon statue - jinx (X) it.

Now go to the left and you will find your second dragon statue.
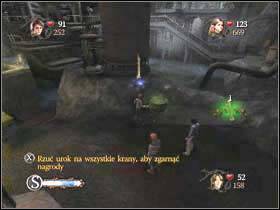
Go straight ahead, cast Carpe Retractum on the draw-bridge and then you will see your first tap. Jinx (X) it.
Destroy the big pipe on the left and take your seventh mini-shield. Continue your way and cast Carpe Retarctum on another draw-bridge.
You will get to this place. First get rid of salamanders and their source. Now you can try to get the egg. Cast Carpe Retractum (C) on the egg. Unfortunately it won't work. You have to go back to the bathroom.
Walk to this place and cast Carpe Retractum on four draw-bridges. Watch out for steam and erklings. Climb up.

Turn to the left and run to the bathroom. Here the Triwizard Shield is waiting for you.
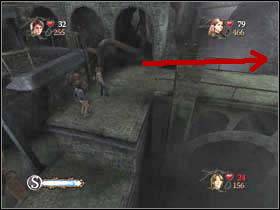
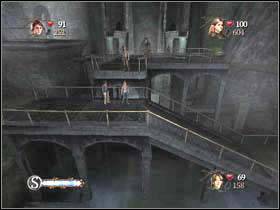
From this moment next sublevels will begin in this place. Go to the right, jinx your second tap and then go downstairs.
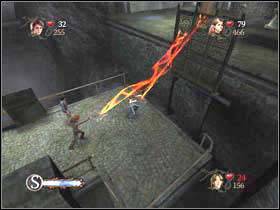
Here you will find your eighth mini-shield. Now lift a block with Wingardium Leviosa (C) and move it to this wall. Climb up and use a cauldron to destroy pipes on the left.
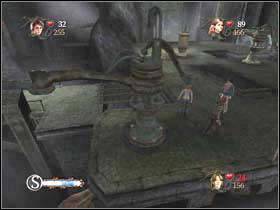
Again move the block to another wall and free your way to the Triwizard Shield.
Now go to this block, climb up and the next Triwizard Shield is yours.

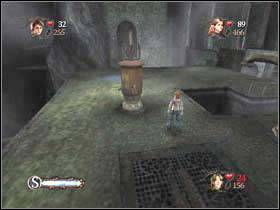
Now go tho the right. Don't use the stairs, just go straight ahead.
On the left you will notice two Triwizard Shields, but the way to them is at this moment blocked. You will come back here after Herbology level. So go upstairs, cast Carpe Retractum on the draw-bridge and on the right you will notice your third tap. Now you will get to the place, where salamanders will attack you. Get rid of them and cast Aqua Eructo (C) on salamander sources.
Use cauldrons to destroy two big pipes and you will get your ninth and tenth mini-shields.
Now go to the left, here you will find your third dragon statue. Now cast carpe retractum on two draw-bridges and walk to the next Triwizard Shield.
It's time to get a reward for finding 10 mini-shields. This is the easiest sublevel. Just load it and in front of you there will be your next Triwizard Shield.
If you have the Herbivicus charm from Herbology level, you can get the other Triwizard Shields.
Go to the right and get to the place with salamanders. Get rid of them again and destroy their sources.
Now cast Crape Retractum (C) on the steam tap and turn it. Go back to the water and cast Herbivicus (C) charm on the flower pads. Watch out for vampyr mosps. Go to the right.
Here jinx your fourth tap and go upstairs.
Here you will find your fourth dragon statue. Now cast Carpe Retractum on two steam tap. The way to the next Triwizard Shield is now free.
Go down to the water. Cast Herbivicus (C) charm on the flower pads and get your next Triwizard Shield.
On the way to the next Triwizard Shield, you have to go to the right and again get to the place with salamanders. Turn the steam tap. Then go back to the water, cast Herbivicus on the flower pads. Go to the right and upstairs. Then turn two steam taps and finally come back to the water.
Now cast Herbivicus on the flower pads and get to the stairs on the left. Watch out for vampyr mosps.

On your way, you will notice your fifth tap. Go upstairs and turn two steam taps (C). Now the way to your next Triwizard Shield is free. Go down.
Come back to the place, where salamanders were. Now go to the left.
Use the stairs to get to the next Triwizard Shield.
Now go to the left and get rid of salamanders.
Cast Carpe Retractum on this draw-bridge and then again on these four draw-bridges.
Go to this place and jump down.
Cast Herbivicus charm (C) on the flower pads and the next Triwizard Shield is yours.
The last Triwizard Shield from this level you will find in the prefect's bathroom. So go there. Oh, the water is gone. Now jinx your fifth dragon statue and then use a cauldron to destroy the floor. You will see your Triwizard Shield.

To get the vanishing card, you have to run quickly to the left. You don't have time for killing salamanders. Quickly cast Carpe Retractum on the draw-bridge, run and you will catch the vanishing card. If not, simply press Esc, End Level and try again from the beginning.
This level (like the Hogwarts Exterior, the Forbidden Forest and Prefect's Bathroom) contains many sublevels. Each sublevel will end, when you get the Triwizard Shield.
Neville sent you a note. You have to find gillyweek, which will allow you to breathe underwater for an hour.
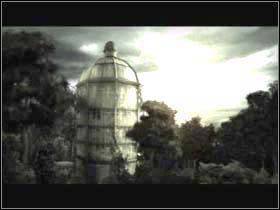
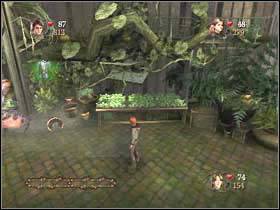
You will start in this place. Go down and near the stairs jinx (X) your first dragon statue. You will notice the Triwizard Shield, but the way to it is at this moment blocked.

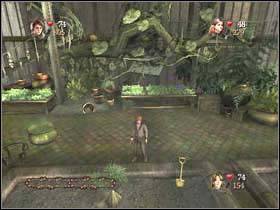
Here you will find your first shovel and in this place you can jinx the second shovel.
Now cast Carpe Retractum (C) to open the gate. Here you will find your first mini-shield.

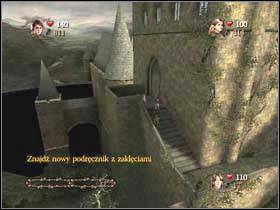
Go to the spell book. From now you can cast Herbivicus charm (C).
Here you will notice another Triwizard Shield, but you can't grab it right now.
Go to this place and move a rock to free your way. Now use your new charm - cast Herbivicus (C) on the flower pads and go up.
On the way you will find your second mini-shield. You will get to this place.
Go near the water and you will met your first vampyr mosps. You have to jinx (X) vampyr mosps. You can also cast Carpe Retractum (C) on them and then jinx them.

Cast Herbivicus (C) on the lily pads and go to the right. Here you will find your third mini-shield.
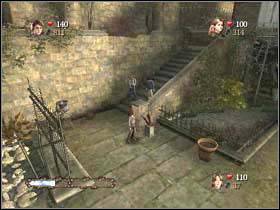
Now go to this place. here you will find your fourth mini-shield, third shovel and second dragon statue.
Now go to this point and use a bubotuber to destroy mushrooms. Cast Carpe Retractum on the draw-bridge. Get to it and then cast Herbivicus on the flower pads and cast Carpe Retractum on the second draw-bridge.
Finally you will get to this point. Go down, take your fifth mini-shield and jinx your fourth shovel and third dragon statue.
From this moment next sublevels will begin at this point.
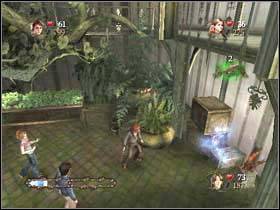
Open the gate and now you will have to fight with two blast-ended skrewts. Jinx them from behind. After succesfull fight, go to the stairs and take your sixth mini-shield.
Go upstairs. You will get to this place.
Watch out for vampyr mosps. Cast Crape Retractum on the draw-bridge and then get to this place. Cast Herbivicus on the flower pads and go up.
Here jinx your fourth dragon statue. Open the gate and you will find your seventh mini-shield.
Continue your way, go downstairs and in this place you will notice your eighth mini-shield.
Jinx your fifth dragon statue and then jinx your fifth shovel.
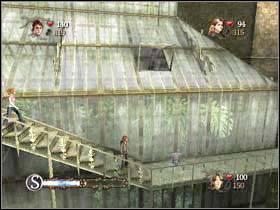
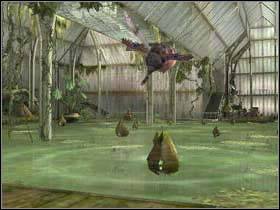
Now enter the green house and go upstairs. Watch out for vampyr mosps and cast Herbivicus on the flower pads to unblock the way.
On the top you will find your ninth mini-shield.

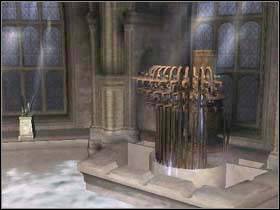
Now you have to smash the fountain. Use cauldrons to destroy it. When you do that, the Triwizard Shield will drop down.
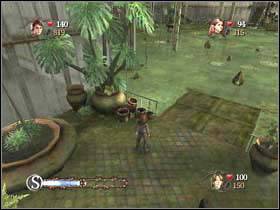
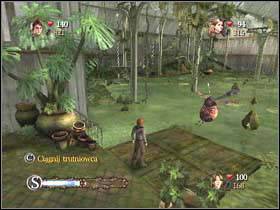
Watch out for erklings. Now go down and in this place put out the fire with Aqua Eructo (C). Near the Triwizard Shield you will find gillyweed.

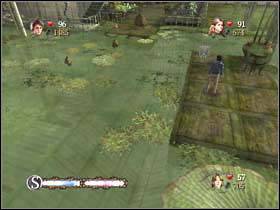
To get the next Triwizard Shield, you have to go back to this place. Watch out for dugbogs. Use a bubotuber to destroy mushrooms and free your way to the next Triwizard Shield.

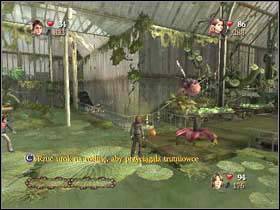
Now open the gate. You will be attacked by vampyr mosps. The best way to get rid of them is to lift a rock and drop it on the hole, which they are flying out. Now lift a block with Wingardium Leviosa and move it to this place.
Climb up and cast Herbivicus on the flower pads. The next Triwizard Shield is yours.

Now go to this place. Cast Carpe Retractum on the draw-bridge and go to the left.

Here you will find your tenth mini-shield. Now cast Carpe Retractum on the second draw-bridge and you will get to the next Triwizard Shield.
Go back to this place again. Now you have to cast Carpe Retractum on several draw-bridges to free the way to the next Triwizard Shield.

Now go and take your next Triwizard Shield.
Now go back to the place, where you found the spell book. Use a cauldron and destroy the wall. Now cast Herbivicus on the flower pads and grab the next Triwizard Shield.
Go back to this place. Now you can use a bubotuber to destroy mushrooms. The way to your next Triwizard Shield will be free.
It's time to get the last Triwizard shield from this level. Open the gate and go through this door (earlier it was locked).

Watch out for vampyr mosps. Cast Herbivicus on the flower pads and get to your next Triwizard Shield.
To get the vanishing card, go upstairs. Cast Herbivicus on the flower pads.
And run quickly to this place. Here you will catch the vanishing card. If not, simply press Esc, End Level and try again from the beginning.
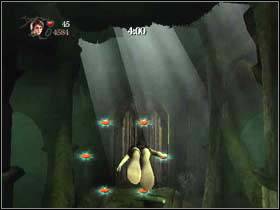
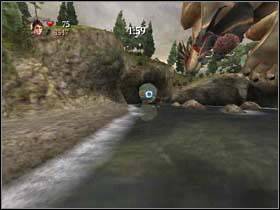
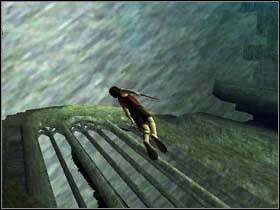
Swim through the red circles, which contain beans and will rise your stamina. Take gillyweed and it will speed you up. You can also press C to speed up.
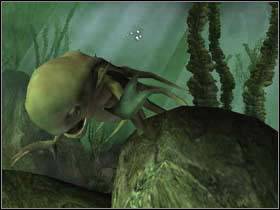
After a while you will be attacked by grindylows. Jinx (X) them.

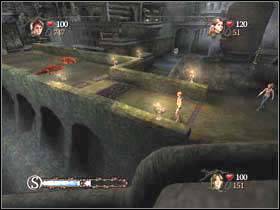
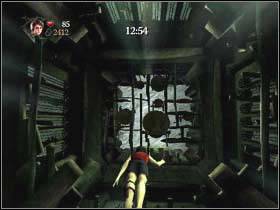
When you get to this place, you will have to jinx (X) four roof supports. Watch out for grindylows.
Then you will swim to the second roof and you will have to jinx four more roof supports.
Continue your way and ... this is the end of the task :-).
In this task you can win up to three Triwizard Shields with Bronze, Silver and Gold.
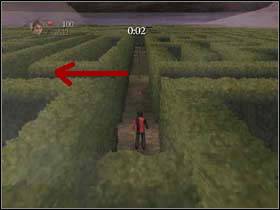
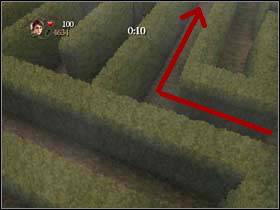
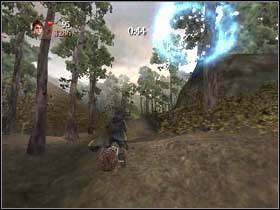
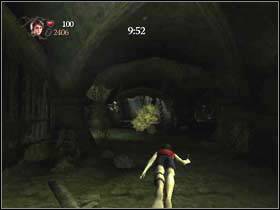
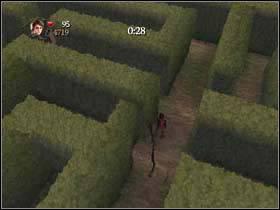
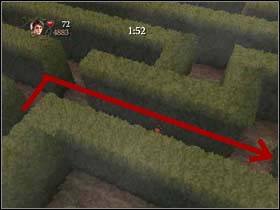
It's time for the last Triwizard task. You will start in this place. Go to the first path on the left, then turn to the right, go straight ahead and again go to the right. Watch out for the plants growing from the ground.
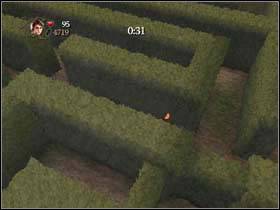
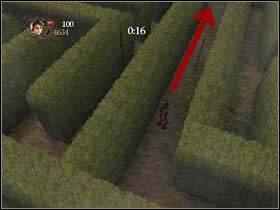
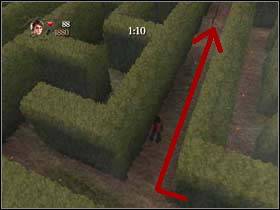
Now you are in this place. Go to the first path on the left and immediately turn to the left.
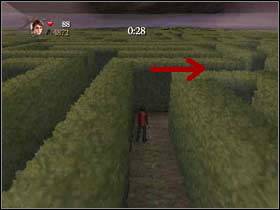
Go straight ahead and then go to the first path on the left.
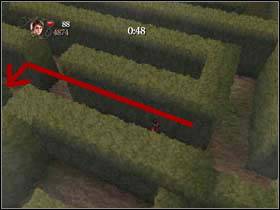
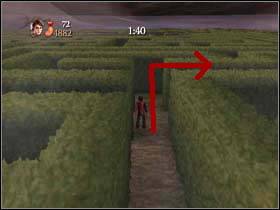
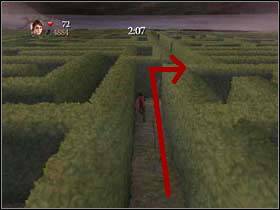
Go straight ahead and then go to the second path on the right, then straight and again to the right.
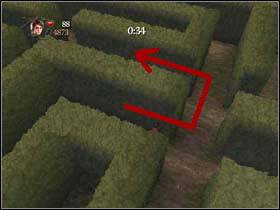
Now go straight ahead and then go to the first path on the right.
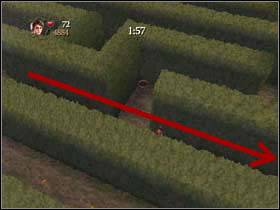
Go straight ahead and then go to the second path on the left.
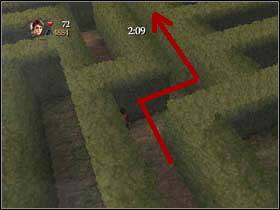
Now follow this path and that's it :-).
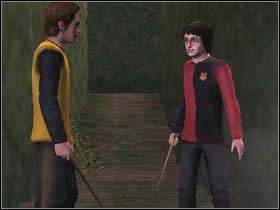
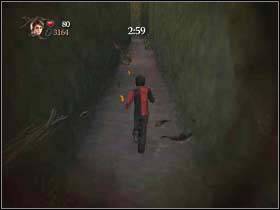
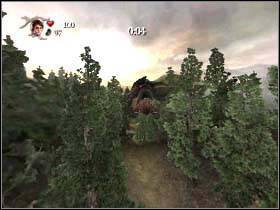
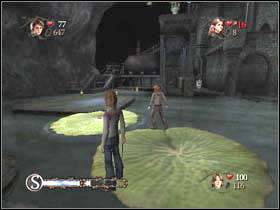
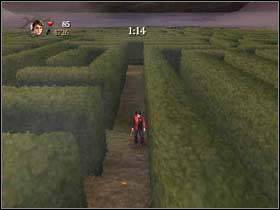
Here you will meet Cedric. Now you have to run. Just follow the path.
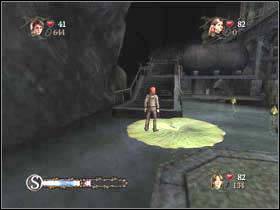
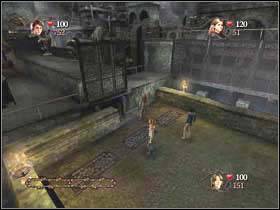
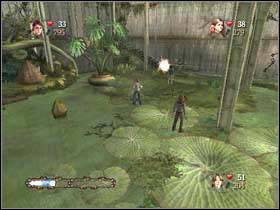
Finally you will get to this place. Now you have to kill two blast-eneded skrewts. Jinx them from behind.

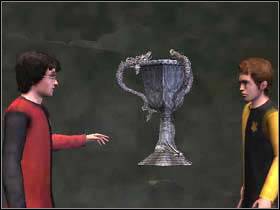
When two monsters are gone, Cedric will be free. Now you will take the Triwizard Cup.
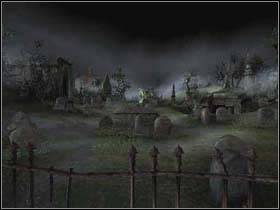

It's time to meet Lord Voldemort in the final battle.
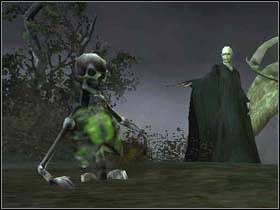
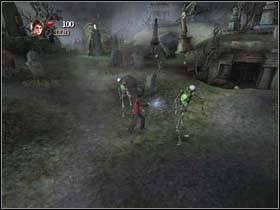
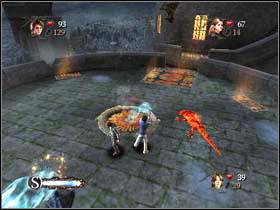
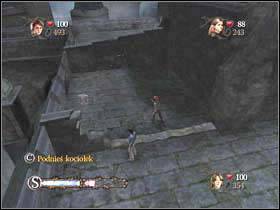
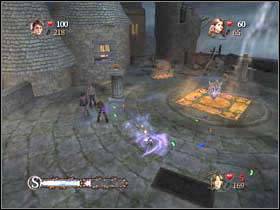
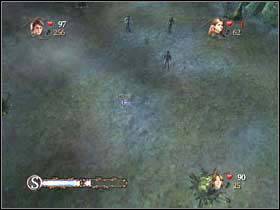
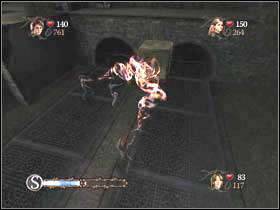
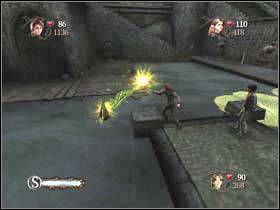
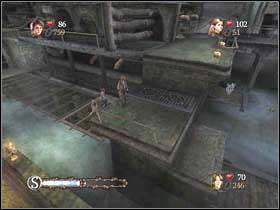
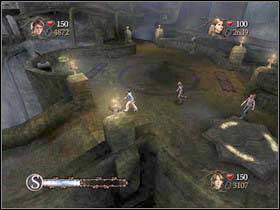
Voldemor will send an army of skeletons towards you. Jinx (X) them. You can also lift them with Wingardium Leviosa (C) and drop them down. But the first way is faster.

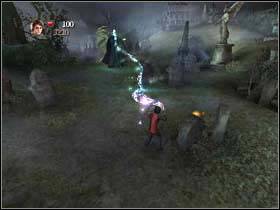
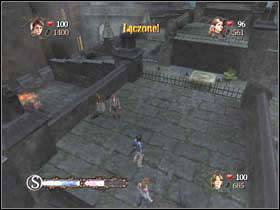
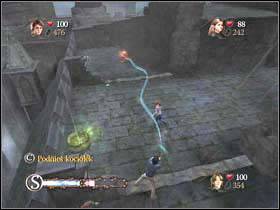
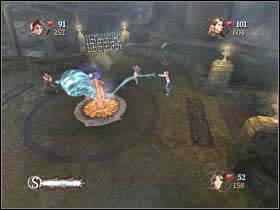
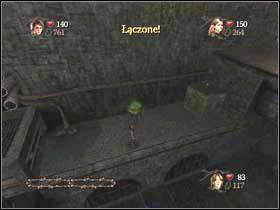
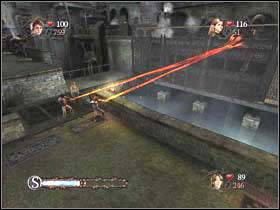
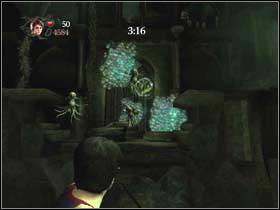
After a while Voldemort will attack you. Your spells will combine. Now move the bundled spell energy to destroy skeletons.
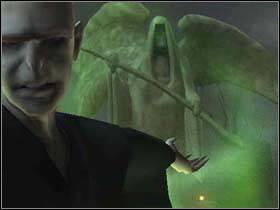
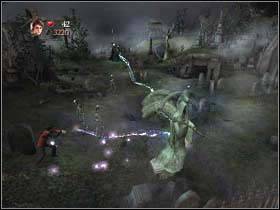
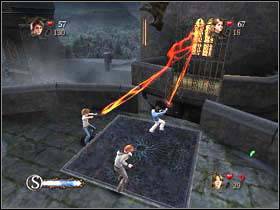
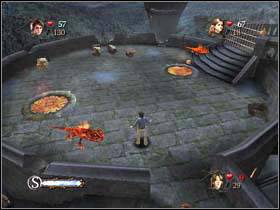
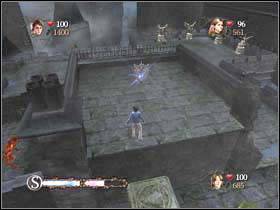
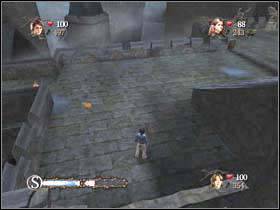
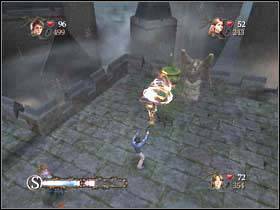
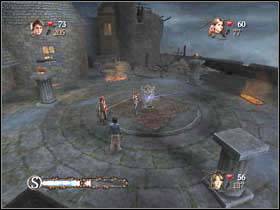
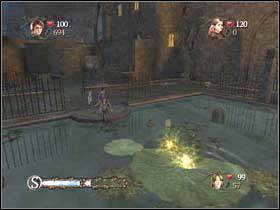
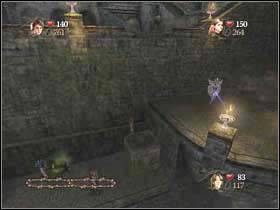
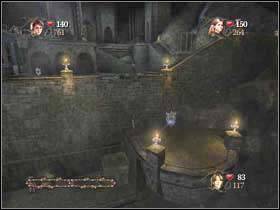
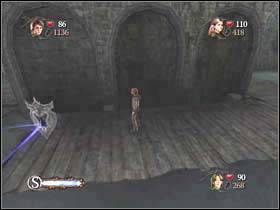
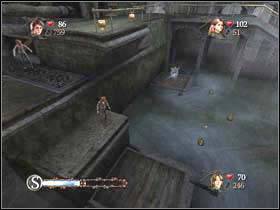
After a while Voldemort will send a big statue towards you. You have to avoid its attacks. When the statue stops for a moment, move the bundled spell energy to destroy it. After several times the statue will be gone.
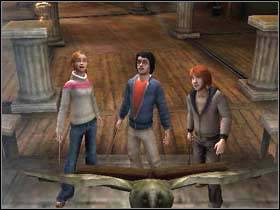
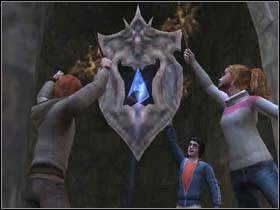
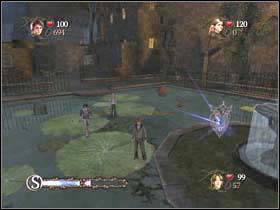
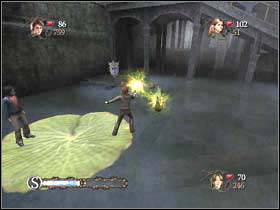
And this is the end. You will grab Cedric, summon with Accio Triwizard Cup (portkey) and get to Hogwarts again.


 Hitman: Blood Money Game Guide & Walkthrough
 Halo 4 Game Guide & Walkthrough
 Heroes VI - Pirates of the Savage Sea Game Guide & Walkthrough
 Hitman: Absolution Game Guide & Walkthrough
 Halo 3 Game Guide & Walkthrough