
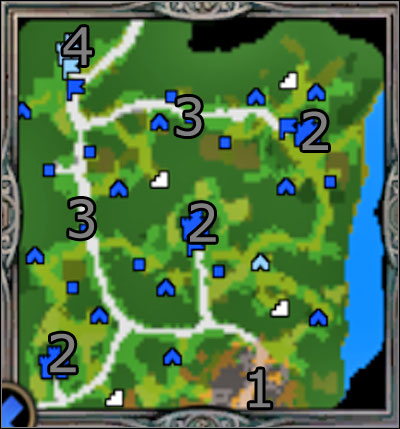
Halo 4 guide contains a detailed campaign walkthrough with localization of all Terminals. What is more, it includes hints about particular encounters and places where you can find useful weapons and ammo. All of this will make completing the game much easier, even on the most difficult level.
Guide contains:

In this guide you can find following distinctions:
Michal Rutkowski
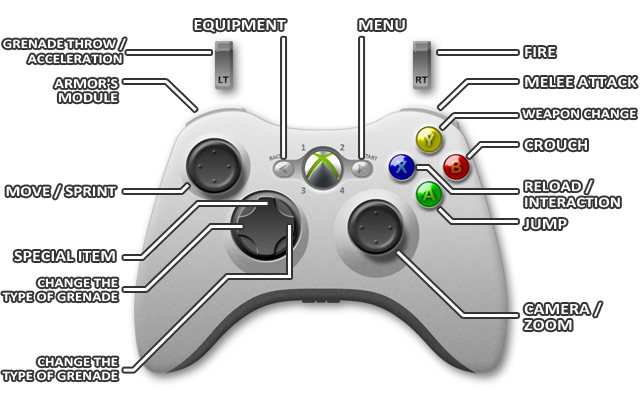

Move

Sprint

Controlling camera

Zoom

Jump

Crouch

Reload/Interaction (hold)

Weapon change
Change the type of grenade

Change the type of grenade

Special item

Using armor's module

Grenade throw/Acceleration (vehicles)

Melee attack

Fire

Current equipment

Menu
Enemies in Halo 4 are challenging even on the lower difficulty levels. They evade grenades, hide behind covers and, if it's needed, run away. On the higher levels of difficulty, you have to play patiently and eliminate opponents one after another.
Grunt: default enemy. When he remains alone on the battlefield, he starts running at you with a grenade.
Elite: they have an energetic armor, which regenerates itself. They also have a camouflage, which makes them invisible. Usually with energetic sword, will charge at you.
Jackal: often with a shield. You should aim at uncovered hand or legs. They can also have sniper rifles, which kill you at the higher difficulty levels.
Hunter: heavy armored enemy with a cannon. His back is the only weak spot. He has to charge his weapon before fire, what is a moment for you to hide. He can also charge.
Crawler: mostly in big groups. They can climb and attack from above.
Watcher: can resurrect and protect allies with a shield. If you throw a grenade nearby, he'll throw it back. The first one to be killed.
Knight: he has a regenerating armor and teleportation. After losing an armor, he speeds up to get you. In further part of the game, he can create turrets.
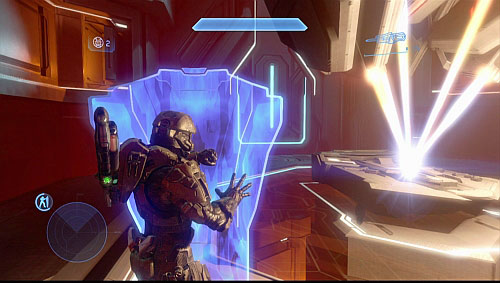
During the campaign you can find modules which upgrades Master Chief's armor. You can have only one active module at once. Turning it on consumes energy, about what informs you an icon in the left bottom corner of the screen. Below you can find a list of modules with a short description.
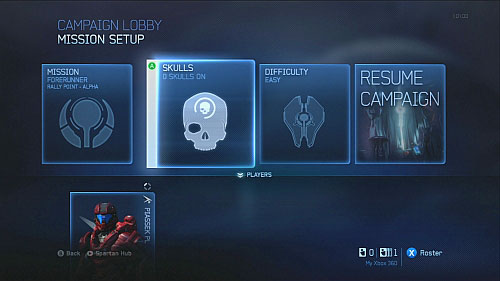
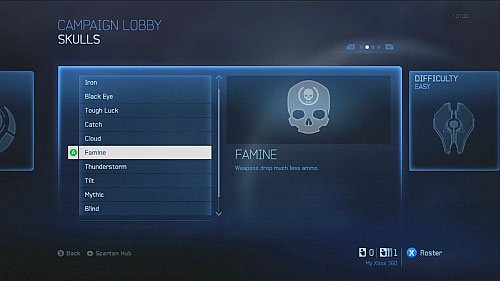
Skulls modify game's rules. All additional options may be turn on in the Skull menu, in the Campaign menu. Below you can find a description of ways how Skulls affect the game.

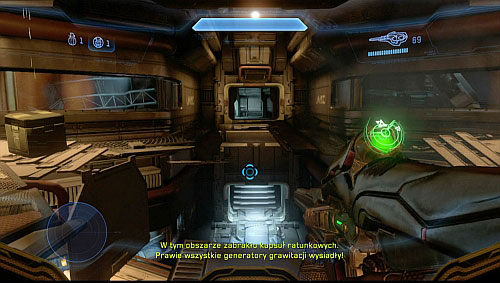
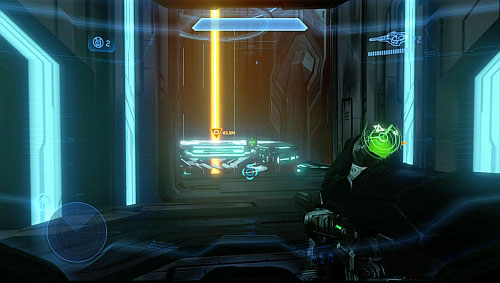
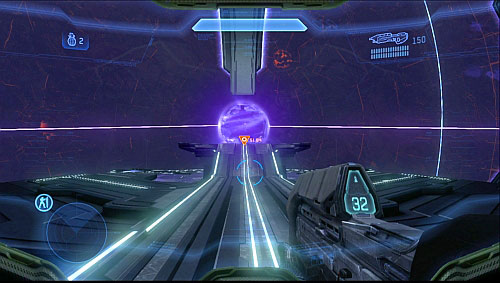
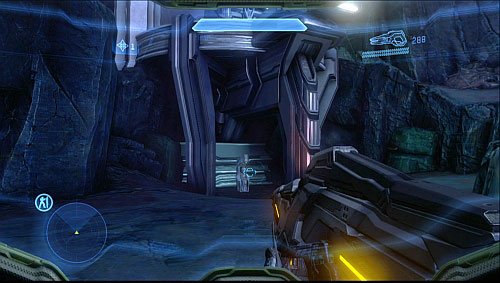
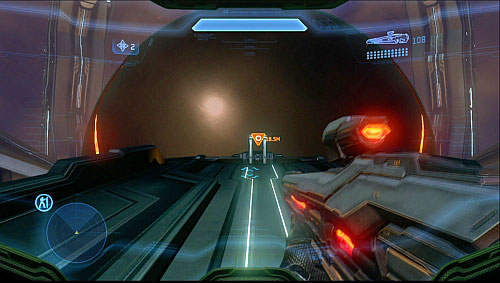
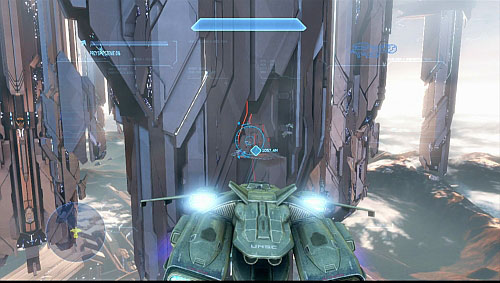
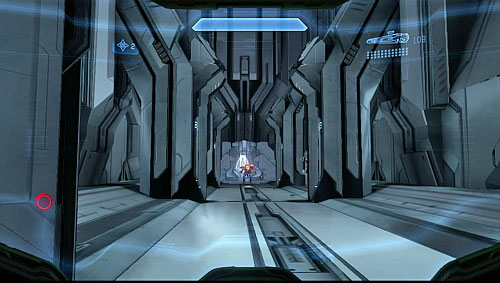
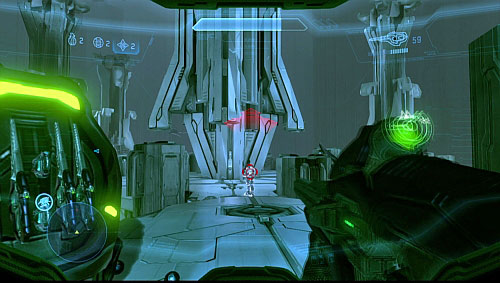
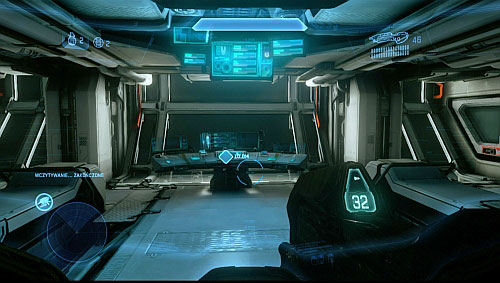
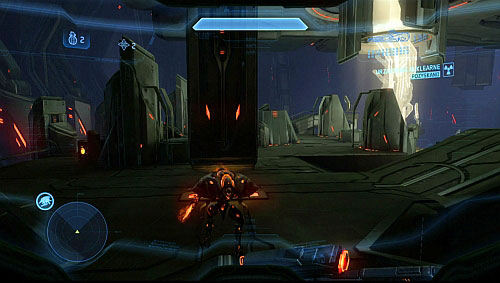
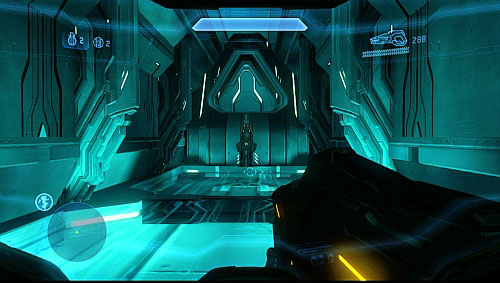
You have to pull a lever over Master Chief's head (on the screen). After leaving the capsule, go forward.
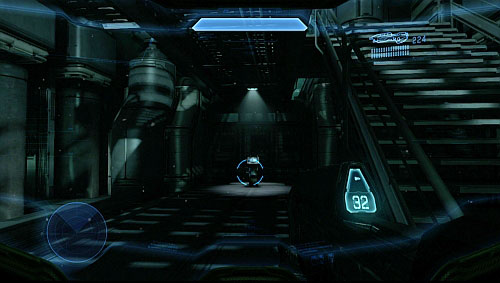
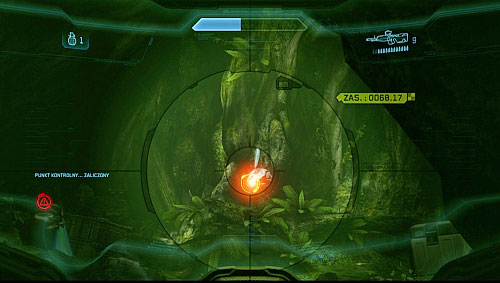
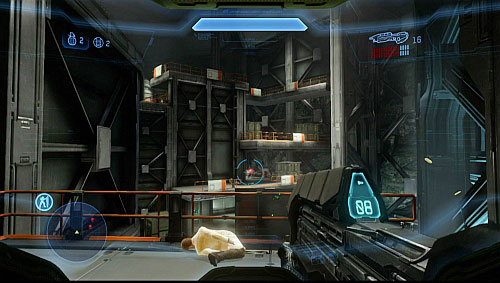
When you pass a first passage, you get stairs on your left. You can find a Terminal here - using it will briefly sum up events from the previous parts of the game.
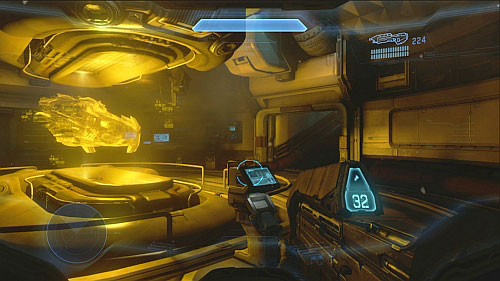
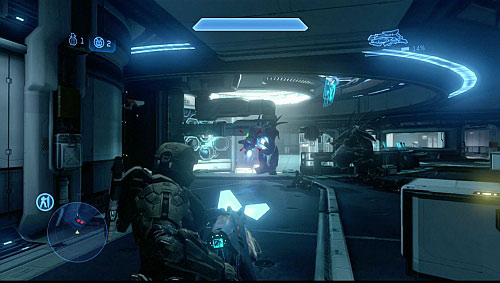
Corridor leads to the room with ship's hologram. You can use a panel shown on the screen, to check various ship's systems. On the right you have stairs. Climb up. Then go left.
After getting to the room with a map (screen), scanning begins. Door on the opposite opens.

Elevator's door will be closed. You need to batter it down (Use). When you get inside, climb up on the higher floor.
During a climbing you have to avoid falling parts of an elevator. Firstly jump on the left side of wall (you jump with left analog), then on the right and once more on right. At the top, jump left to exit the shaft.
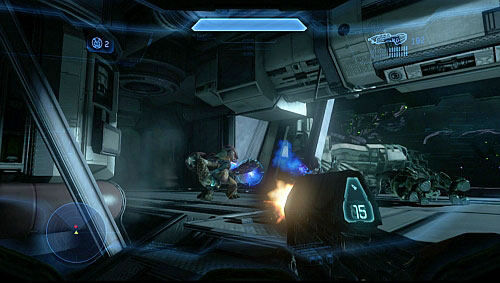
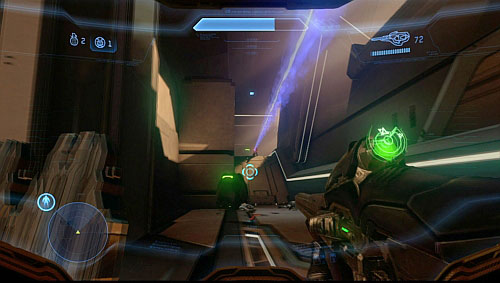
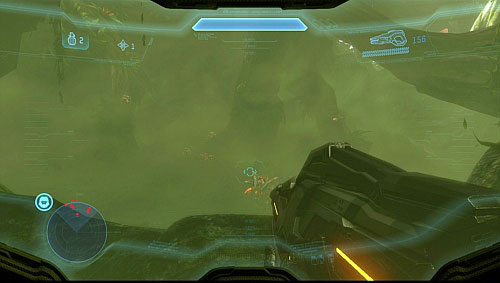
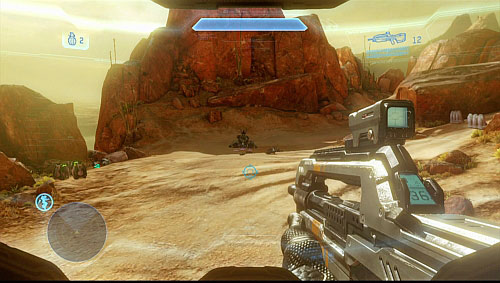
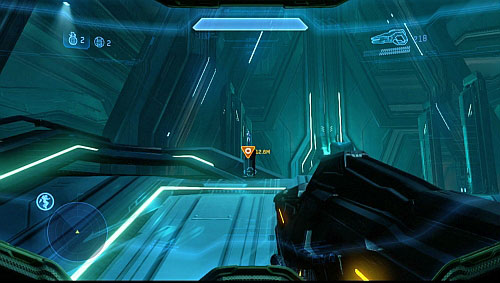
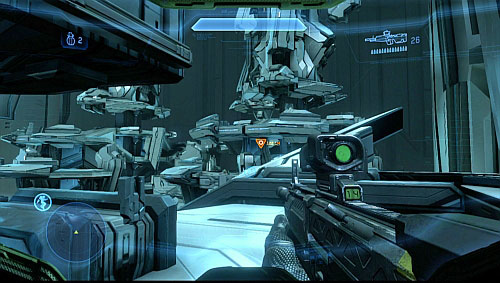
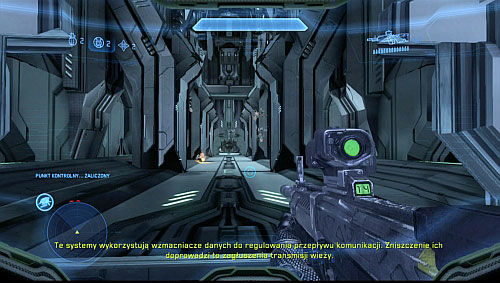
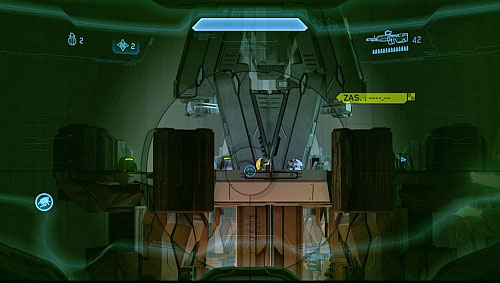
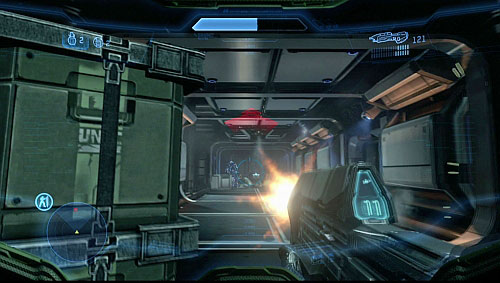
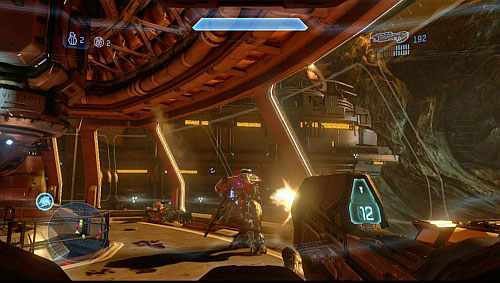
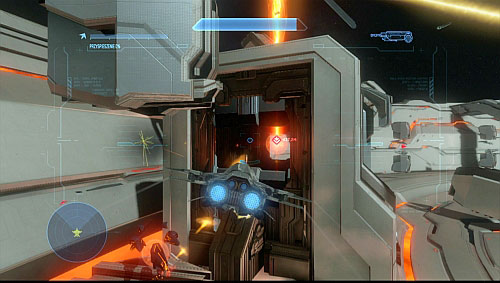
Here first enemy will attack. Throw him down to the shaft (melee). Stairs on left lead to room with a group of opponents. Nearby an entrance, on left, is a stand with weapons and grenades. You can get rid of an enemy next to panel using melee attack. Form this place you can fire at enemies below. After eliminating them, you need to use panel (screen) which lifts up covers.
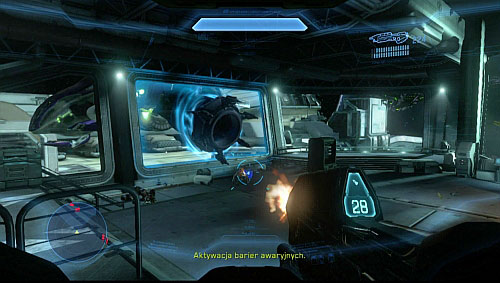
Ships with more enemies will land on both sides. You can retreat to the corridor and kill them from behind the cover. After that, go back via door you entered the room. Elevator's door on the left opens and takes you on a higher floor.
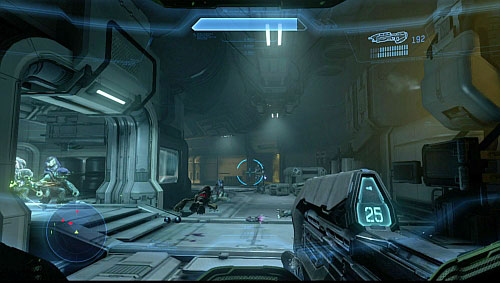
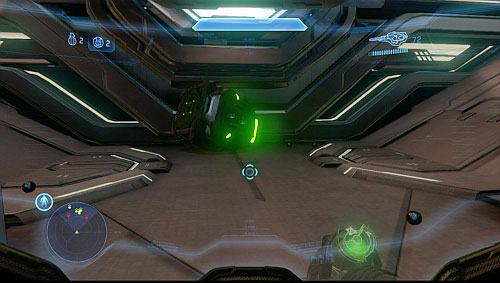
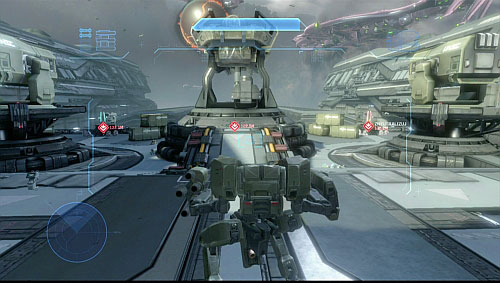
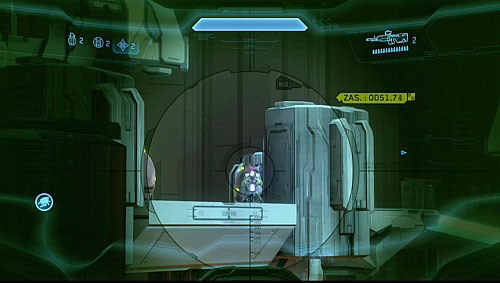
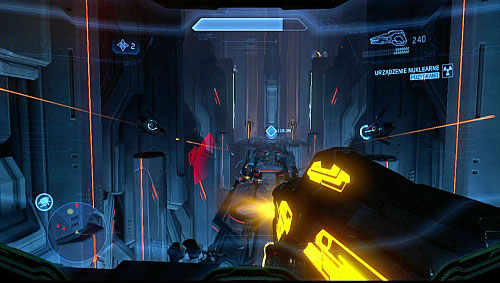
When you exit an elevator, follow one available path, eliminating enemies on the way. When you get to big, round room, don't run too deep inside. There is a big group enemies who'll kill you very quickly. Stay at the entrance and kill them from this place. An enemy with stun rifle goes out at the end - be careful.
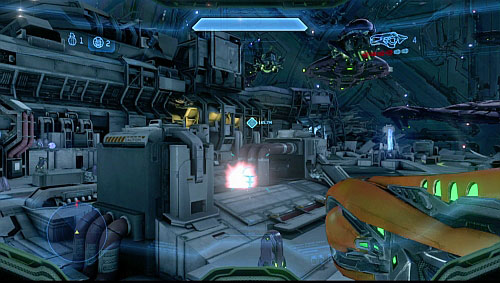
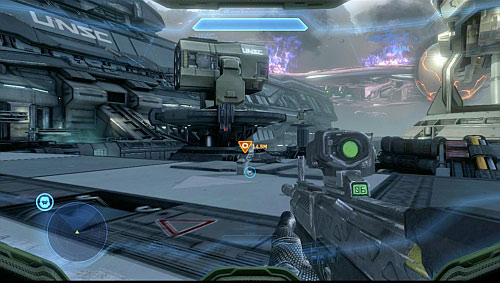
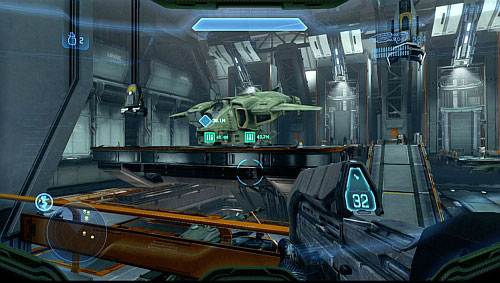
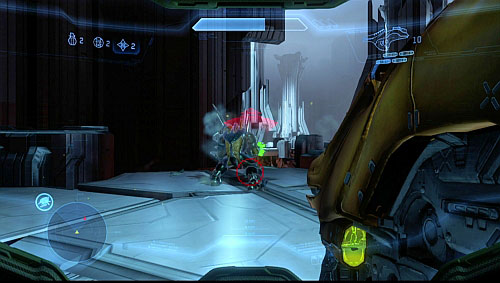
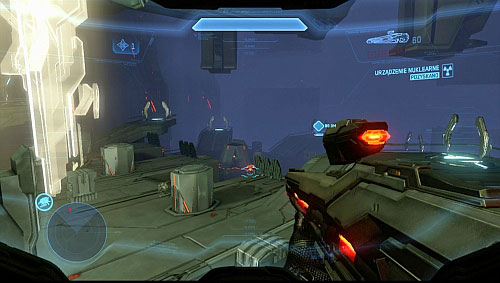
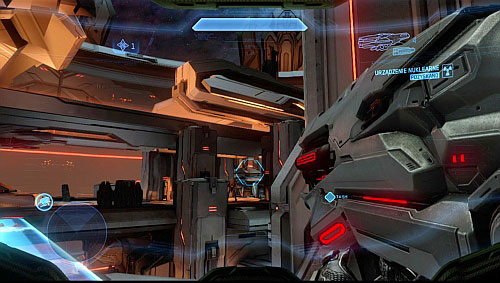
When you get to hangar, another landing happens. Rocket panel is on the left. It's a good idea to stay in the entering corridor and fire at enemies. On the right of entrance, you find a weapon stand. On the left, far off, you can see two snipers. Moving to the panel, stay close to left side of hangar. Few weapon stands are on the walls.
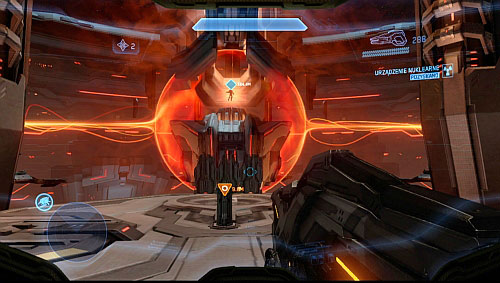
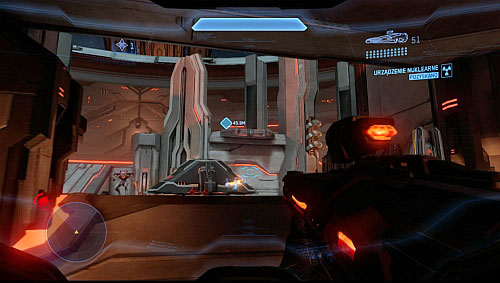
Silo's door gets blocked. Another enemy's landing stands between you and your goal. With your long range weapon eliminate them from a safe distance, staying nearby a rocket panel. Remember to pick up ammo from stands.
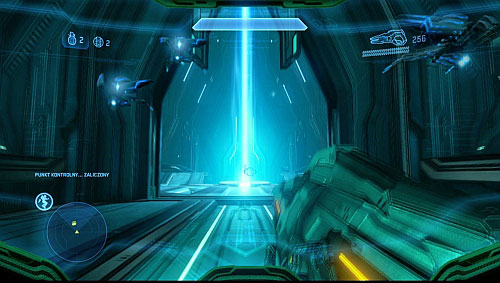
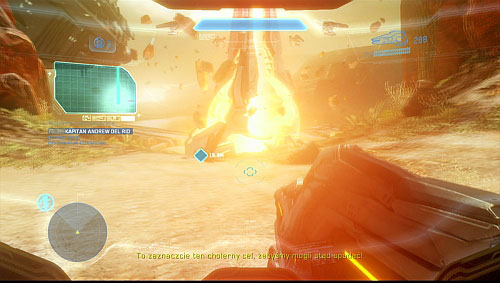
When the rocket launched, run away from the ship. head to a capsule (door nearby hangar's entrance).
When you get to the room shown on the screen, the floor explodes. Jump down and run the corridor ignoring enemies. Jump over a next hole in the floor. When you open door being your target, the wall will explode and you'll be sucked outside.

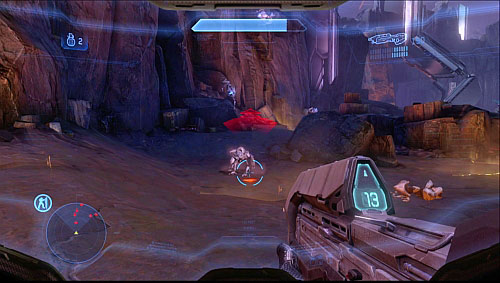
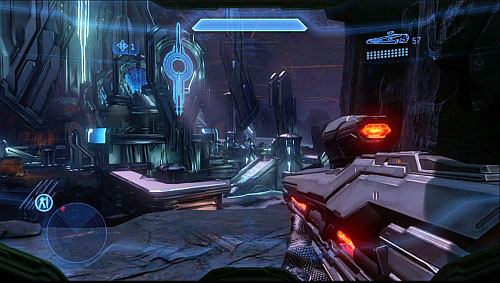
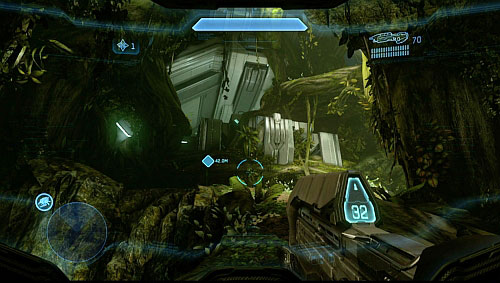
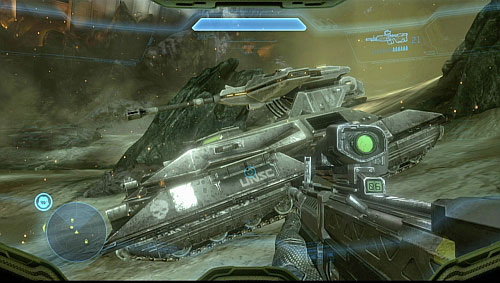
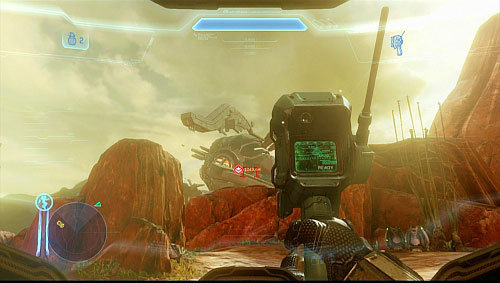
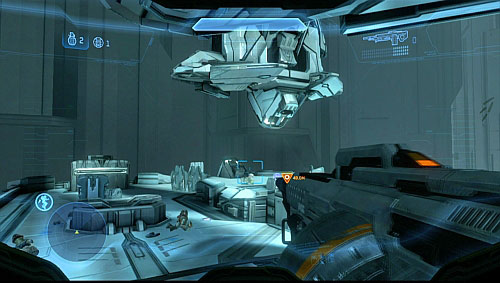
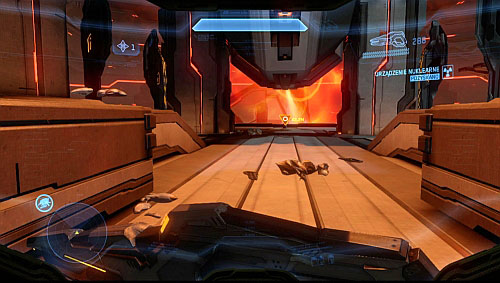
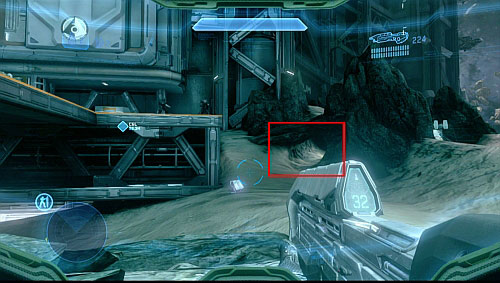
After landing go forward, omitting wrecks. There are bodies and weapons, which you can pick up, thrown around. After making a few steps, your first goal will be marked, on the left. On the right from tunnel you find a wreck (screen). You can enter it from a hill, also on the right side. Inside you find a very good SAW weapon.
After picking it up, go through a shown crack.
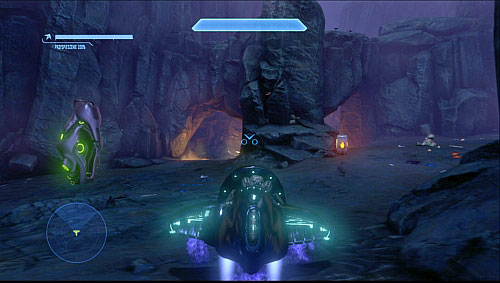
When you exit a cave, turn left and follow the path leading to Warthog (one more is located inside the ship on the left). Hold Use to revolve the vehicle. Enter it and ride down the path.
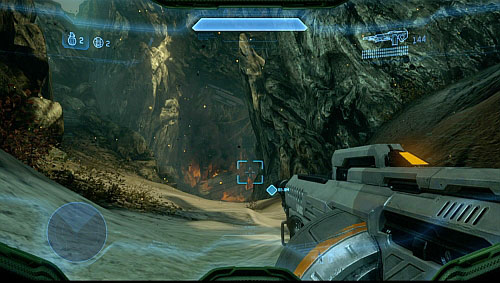
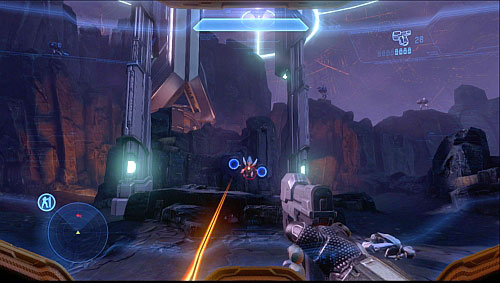
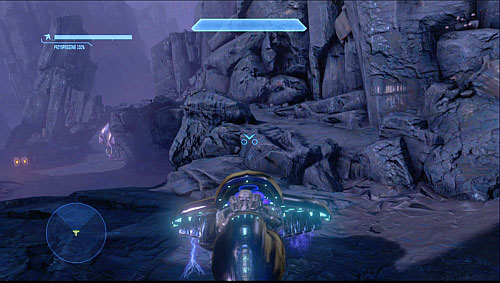
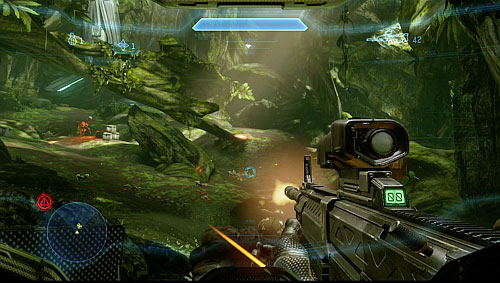
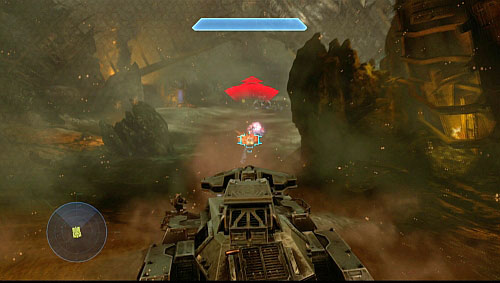
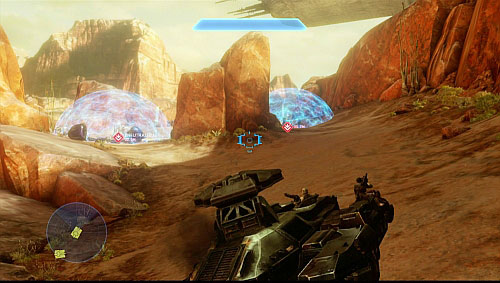
You enter another cave. Ride until you get to an open space. Get nearer to enemy camp and switch on cannon. Kill enemies in your range. One will try enter the Ghost. On the right you can another enemy camp in far off. From a place on screen you can destroy flying platform with enemies. In the very camp you find few more enemies and weapon stands.
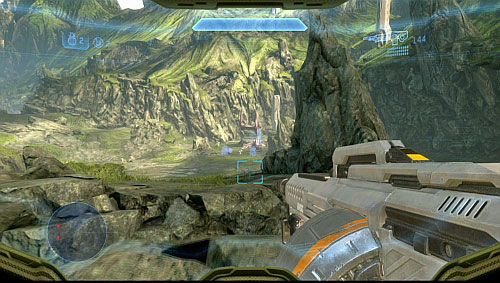
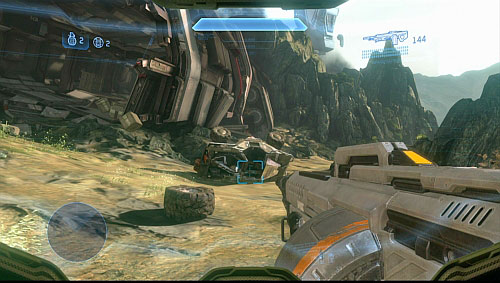
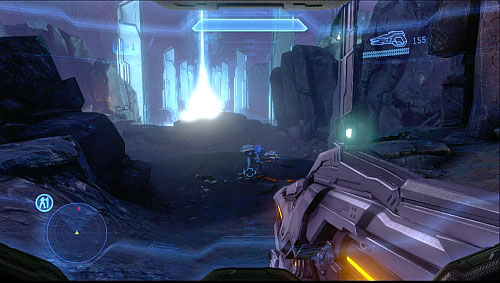
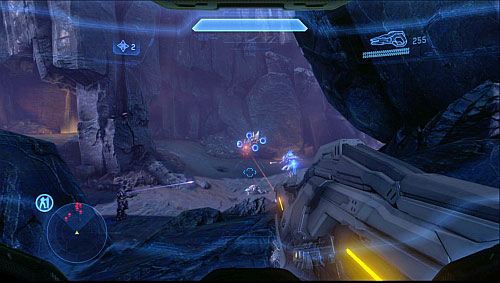
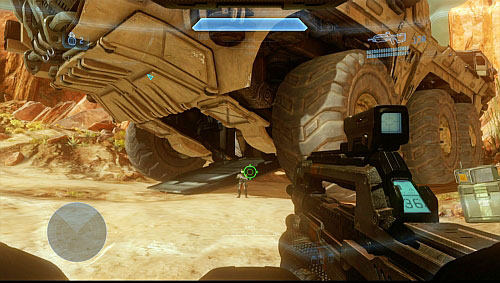
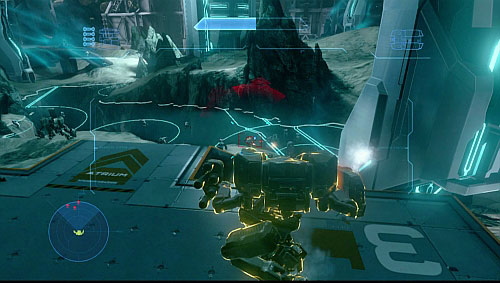
When you ride further the ride side, you see another enemy squad with a cannon. Kill an operator from as far as you can. You can also kill few enemies from a hill, where their second camp was (screen). Behind a cannon you find an elevation which blocks ride in Warthog.
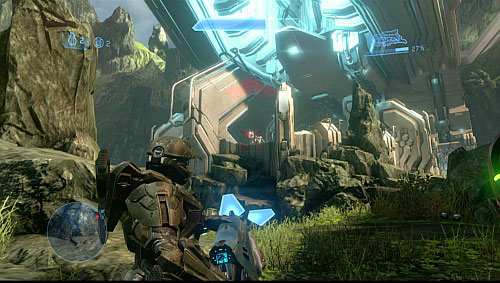
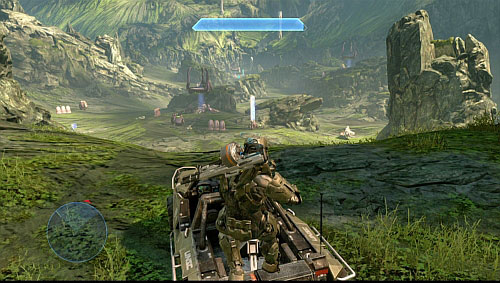
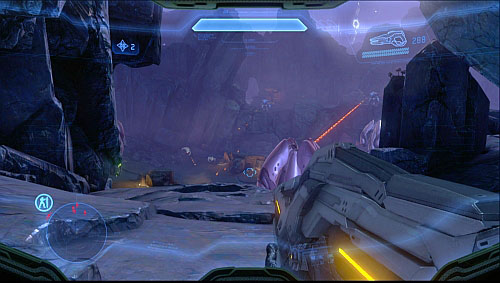
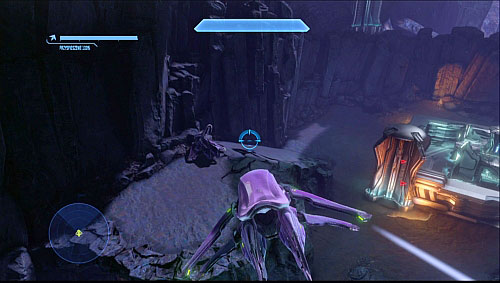
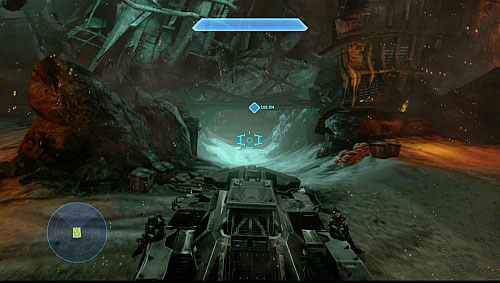
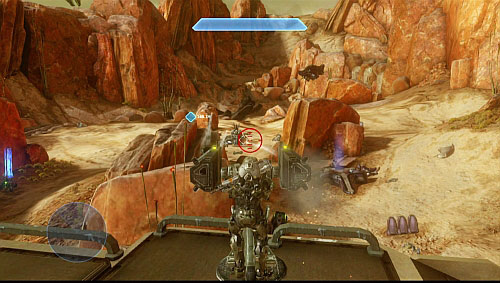
Leave a vehicle, take a cannon and enter next cave. Kill enemies and exit tunnel. In far off you see a well protected base. There are groups of enemies on both sides and also a sniper on an elevation (screen). There is a lot of rocks which can be good covers. Before entering the construction, another group will attack. Beware of a guy with energetic sword who'll charge at you.
One of enemies (with the sword) drops armor's active camouflage - pick it up. Gate opens.
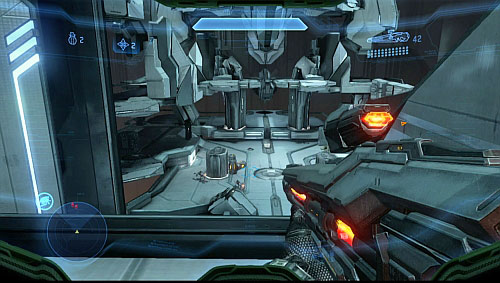
Inside you met non-aggressive guards. On the other side of room you find a console, Use it. Another goal is re-launching the cartographer. Switches are on the left and right.
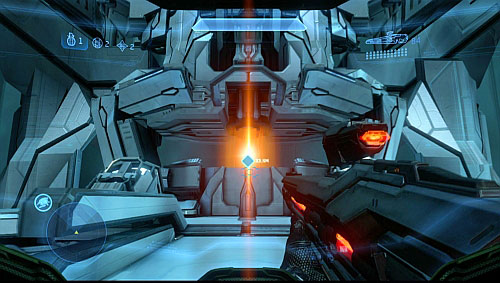
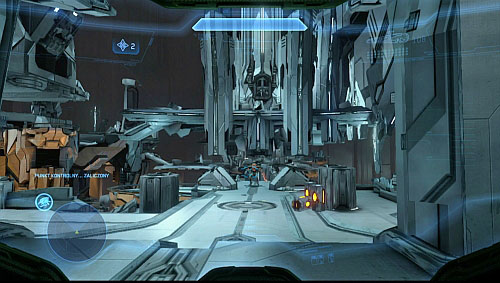
Push button shown on the screen to activate a bridge. At its end you find a core switch. When you activate it, turn around and jump on the bridge. Exit the place.
You'll see running enemies, who you can eliminate easily. Go to the other side of the room and repeat activities described earlier. Panel is well defended and you can't use it until you kill all enemies.
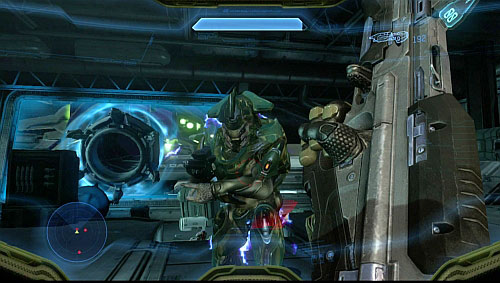
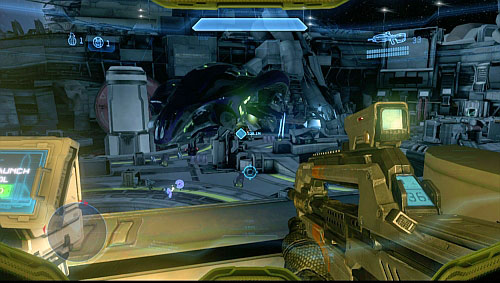
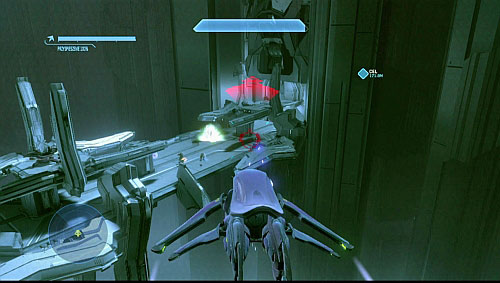
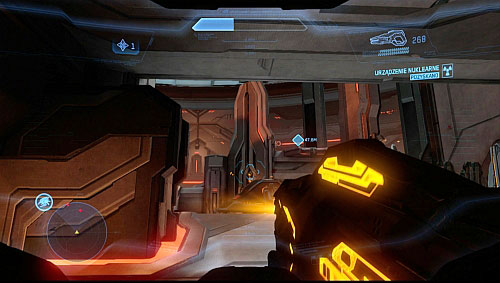
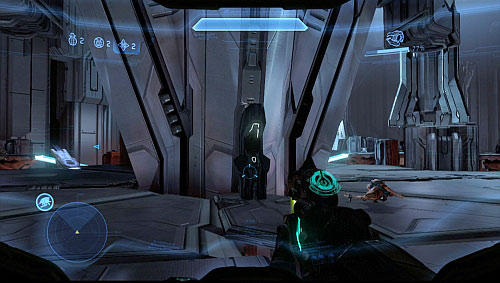
After a cut-scene you find a Hardlight Shield on a table. After crossing another door, you get to an open space. Ride lower with elevator and go up to the passage. You get to the ship from which someone will be firing at you. Kill the shooter and the ship will flee. Go through next groups of enemies until you see Banshee. Kill a sniper nearby it (screen). Kill enemies standing under the platform.

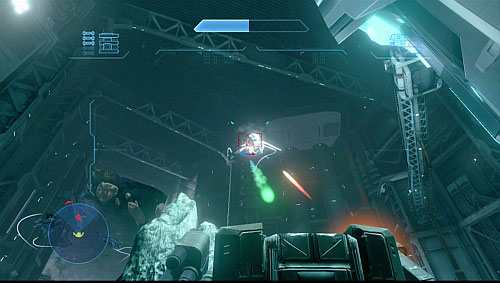
After getting to Banshee (screen), drive it. Destroy other vehicles and enemies, avoiding their fire. You get to the next entrance, where you need to leave your machine.
After moving to corridor, get to an open space and try to take over one of two attacking Ghosts, (get close to it and press Use to get rid of a pilot).

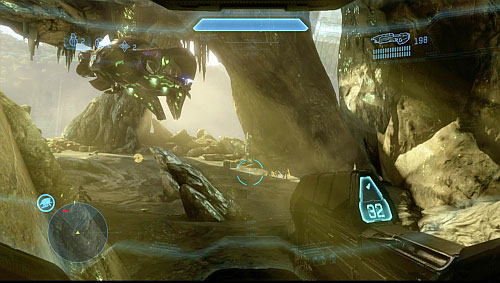
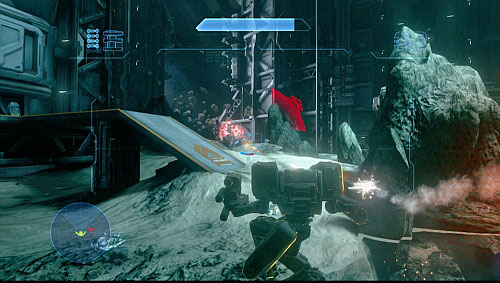
On the left you find a lot of weapons, including a rocket launcher (screen) - fire at Ghosts if you can't take them over. On both sides you find usable cannons. Climb up, cleaning up next groups of enemies. Enter the next building.
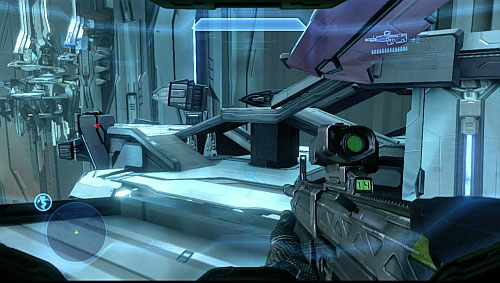
Go left or right to climb up. Kill sniper in the corridor on your way (screen).
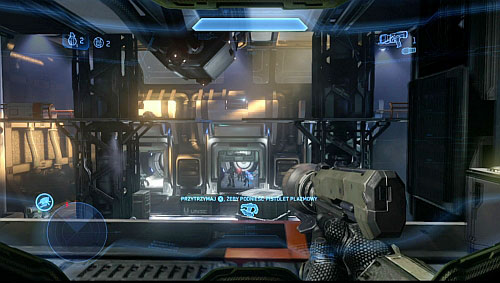
Before you get higher, you find a weapon stand nearby the platform (screen). Grab a weapon.
Climb up, where Sentinels are fighting with Hunters. Kill your enemies. After that, enter the building.
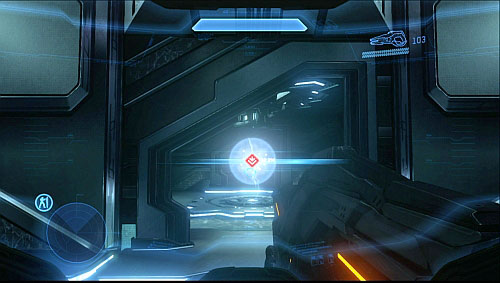
Get to the very end of a room. Before you get on a higher platform, walk under it. You will find a first Terminal there (screen). Climb on the platform and wait for an elevator. Go up. After a cut-scene the mission ends.
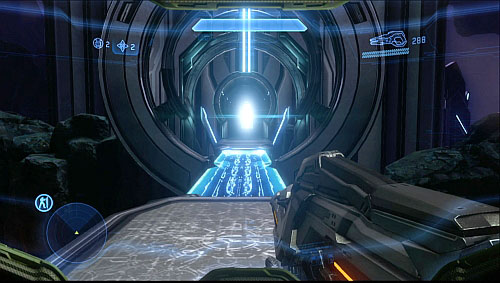
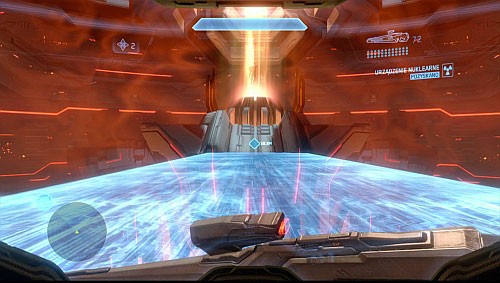
Go through the door. Get to the console at the end of bridge and Use it (screen). A portal opens, through which you should go.
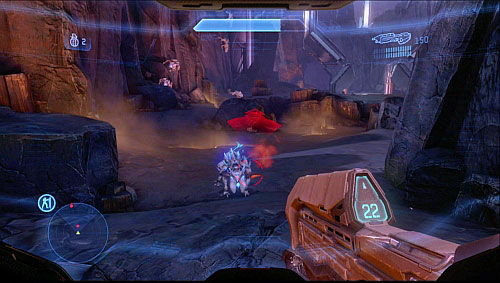
You'll be transferred nearby the first pylon. Exit cave and follow cliff until you meet first group of enemies (Crawler). After defeating them, move to the bridge, activate it, and move on.
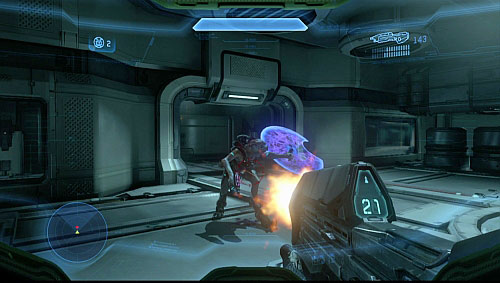
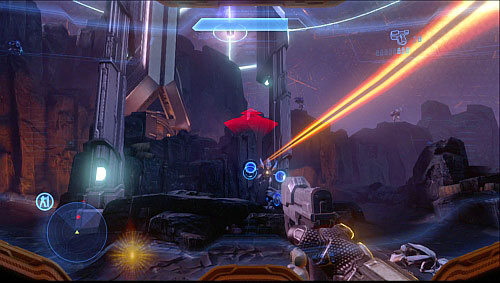
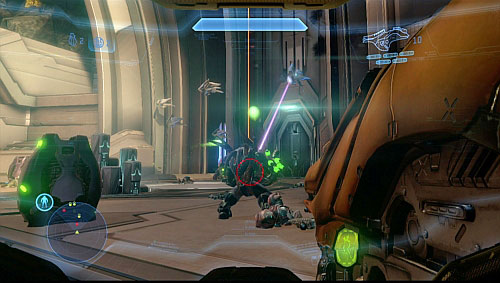
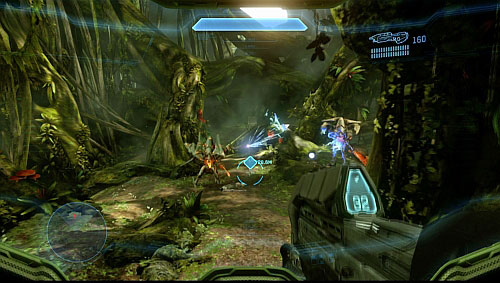
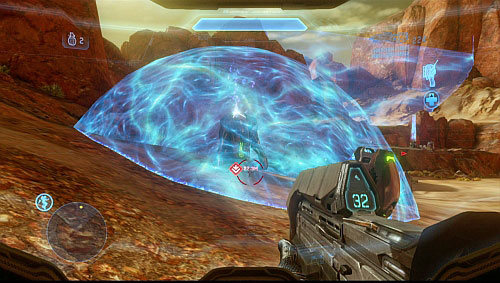
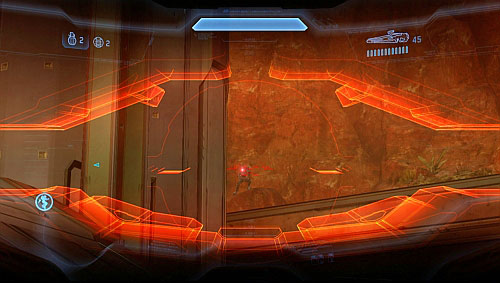
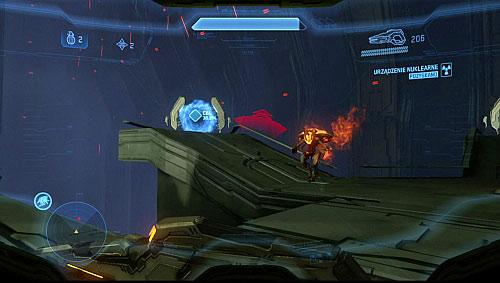
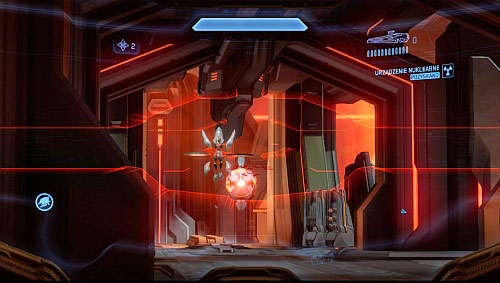
After few steps, you'll be attacked again - but enemy will disappear after a while. When you get to area shown on the screen, you meet a group of enemies. Firstly, try to get rid of flying Watchers. They can throw away grenades, create shield and even resurrect allies.
When the area is clear, go behind a rock, behind which you find door. Get on the other side with corridor. You find ammo and weapon on the way. After going outside, you'll be attacked again. The sequence of elimination is the same: Watcher, Crawler, Knight. Area is big and allows flanking: use it.

Find a place shown on the screen on the other side of this area, but don't jump down. Stay on an elevation and kill enemies from there.
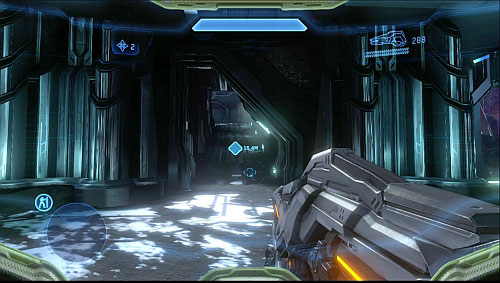
When you clean the area, go down where you find a second Terminal (screen). Then go to a rock shelf on left or right and go over the balcony (over Terminal) from which enter corridor. On your way you find a lot of ammo and weapons.
On the other side you find a place shown on the screen - it'll be well protected. You can stay in corridor and fire from there. When there is no one left in your range, turn back to corridor, pick up ammo and go inside to kill remaining enemies.
In this are you find three power sources. First one on the right from entrance, two more on the other side. In the room with those sources you can find also ammo.
When you destroy all targets, a portal opens between two cores opposite to the entrance. Go two levels upside. Activate an elevator at the end of bridge, which leads to source of radiation. Turn it off and go through the portal.
Go through a portal on right. Follow tunnel, at which's end jump into a hole. You run into a battle between Convent and Promethean. Stay on the shelf and kill them.
When you kill all enemies, go right. Here you run into another fight. Stay on the shelf and eliminate all of them. After that, start climbing up on the shelf on the other side. To destroy an "eye" which fires laser, you have to fire at it when it's charging.
On the top, kill a Knight on the right. Go on the shelf on right before launching Ghost. You get on a good fire position.
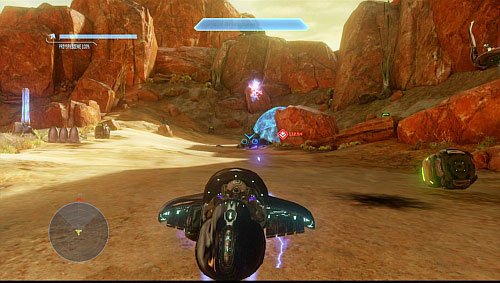
When you eliminate all enemies, return to Ghost and fly down. Kill remaining ones. Fly into a cave (screen). When you get outside, get rid of all enemies and fly into a corridor. Inside you get ammo and weapons.

When door at the end of corridor open, immediately kill an enemy on left who'll be trying get into a Banshee. Get inside yourself and destroy two other Banshees.
In case of need, on the left side you can see another Banshee. While flying, try to kill as many enemies as you can. But exit a vehicle, when it's heavily damaged.
And again you have to destroy three power sources. First is located on the left from this place, the remaining two on the other side. When it's done, climb up on a bridge (screen), into an entrance between two cores, opposite to the entrance to this place.
At the end you find an elevator riding to a radiation power source. Turn it off. Go through two open portals. Go through door on left or right (screen). You get into a middle of fight. Staying behind, try to kill as many enemies as you can.
Via the platform go left and through door at the end. Inside get on a hidden elevator (screen). Staying in elevator's room kill enemies outside.
When you kill all, enter the platform on left and go up. Replenish ammo on the way. Kill enemies on the top. There are covers - use them. In case of need retreat. After the fight, use a panel on at the top (screen).

Go higher and enter Ghost. Avoid obstacles, using acceleration. You have only one way, so finding a portal shouldn't be problematic.
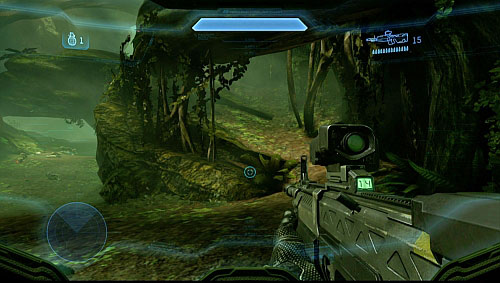
Turn left and follow path. You meet a group of enemies who'll disappear. Check an id card on the ground. Change your pistol for DMR, which is good for long distance. If you pass corpses and go further, you'll find a grenade chest on right.
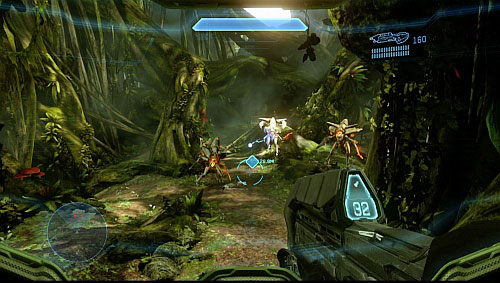
Turn left from where the id card was lying and follow the path. You meet a group of Crawlers and a Knight. On a screen above you can see a path on right leading up. It's a good fire place.
Go deeper in the woods, eliminating next groups of Crawlers and Knights. At some point you'll see a Knight who is killing a Marine. After eliminating him, you find a Promethean Vision, which allows you to see enemy's signatures.
You steps further you meet a group of patrolling enemies. Staying over them, kill them. On right you find a chest with grenades (nearby a picked up module) - you can throw them at enemies.
When you go lower, the fog gets thicker. One of enemies drops Autosentry which you should take, because you'll exit a fog in a while. You get to higher part of forest, where you find another id card. Check it.
Eliminating more enemies you'll get to the base shown on the screen. To get inside, climb on a tree on left, walking it around. Being on top, jump inside. Replenish ammo before you check another id card.

When you control your character, turn 180 grades to find another terminal. When you get outside you'll be attacked again.
Go up via path on left. You run into marine attacked by opponents. Nearby bags with sand you find Hologram module. Kill enemies and head to the base.
At the very top, you see two enemy's cannons, which you should destroy by firing when they're charging. Resupply ammo, use a console on right an prepare for an another attack.
Go to the furthest cannon from console and door (screen). Start firing at enemies but don't move a cannon. When you eliminate the last one, return to console and take Cortana.
When the door opens, return for one cannon. Get inside a tunnel, where you see a Knight at its end. Prepare for a big number of enemies there. Try to stay in tunnel as long as possible. Firstly, focus on Watchers. Just until you enter the cave, you find a path on right leading to a shelf with good vision.
When support will be dropping, retreat to tunnel or behind some cover. When the area is secured, enter Pelican, which will land in the cave.
Go lower, killing enemies blocking way to Scorpion. Ride slowly forward, focusing fire on turrets and vehicles. Left single enemies for your companions in the tank.
When you meet a first enemy tank, try to stay at maximum distance. Beware of his shots.
At the end you get to a tunnel shown on the screen. At its end you find an elevator which takes you onto an Infinity. Kill all enemies inside. When it's done, exit tank and go through door on right.
Activate a console on right. Mantis will ride on platform - enter it. Begin from destroying door blocking the further way. Then focus on cannons/laser and enemies above you.
When you get outside, destroy three targets marked on the screen. Cluttering device may be destroyed from far off.

When the devices are off, you have to repulse attacks of Banshees and Phantoms dropping more enemies. I dissuade you from firing at Phantoms especially on higher difficulty levels, because before you destroy them, they drop soldiers. If your vehicle will be seriously damaged, you find a brand new Mantis on right.
When you kill the last enemy, use a panel shown on screen to end this mission.
Enter the tunnel in front of you. Mammoth awaits on the other side. Enter it and go on the top floor. On all levels you find weapon stands (sniper rifles, rocket launchers) and ammo. On the outside, move to Lasky.

After that, turn around and pick up Jet Pack. Go on the left side of vehicle and use a turret shown on screen. When Pelicans go down, you have to destroy two targets on the ground.
When it's done, go to the turret on right. Mammoth will stop and more enemy ships will drop landing. Turrets can aim targets, so hold sight on a target to make rockets get it. Ignore a ship flying in front of you. Destroy Ghosts and Wraith. You have to destroy tank ASAP, because its second shot will hit you probably.
After cleaning the area up, go down. Get to the marked target, eliminating all enemies on your way. When you pick up an indicator, aim a ship nearby rocks. When the indicator is ready again, aim at molecular cannon. After destroying the target, return to the highest level of Mammoth.
Switch on the left turret again and fire at Banshees and shooters on Phantoms. When you get to the next target, destroy all vehicles you can aim from the turret. Then, using a sniper rifle, kill as many opponents as you can.
When you can't see more targets, go down. You have to destroy three sources protected with force fields. Go under the field so you can destroy the generator. Remember, that the field can also protect you. While exploding, generators may hurt you, so fire from distance or throw a grenade.
Last generator is protected by tank. You can use Ghost or indicator and aim this target for Mammoth. Beware also of enemies on the turret. At best, kill them before you approach to the last generator. After destroying last goal, return to Mammoth.
Go on the highest deck of the vehicle and outside. Soon, you get to the second cannon - aim it with an indicator. When it's destroyed, the big enemy's ship will approach with few vehicles. Try to destroy as many as you can with the right turret. But beware of tank.
When you drive down, stay close to Warthog shown on the screen. It'll be helpful. If it's without a shooter, take his place.
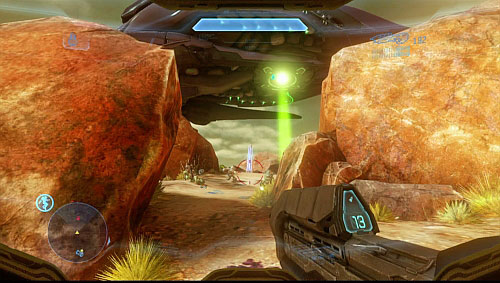
When all vehicles are destroyed, head to the ship with a green ray pointed at ground. On the way you meet few enemies. Get into a green ray to be sucked into a ship's deck.
Kill several enemies on the first level. When it's done, disassemble one of the side cannons. Armed, get on the higher deck. Kill enemies and destroy ship's core and get out of there. Use jet pack to soften your fall.
Return to Mammoth. After a short travel, way will be blocked with rocks. Before you leave the vehicle, arm in a long distanced weapons, like sniper rifle and assault rifle. You can kill few enemies from Mammoth. Go to the narrow passage on left. All area is full of snipers hiding on shelves on both sides. There are also weapon stands and in case of need you can return to Mammoth for ammo.
Finally, you get to buildings shown on the screen. Before you move on, search an area for snipers (there are three). Staying behind rocks, eliminate enemies rushing into the base.
The entrance is well protected by Knights. Kill a sniper on right (screen). Very carefully, via ramp, get to the entrance. Try to kill enemies in your range. On the left you'll see a big group of Crawlers. When you clean all area, enter the building. But before that, arm in random long distanced weapon.

In corridor, follow guards who'll open doors for you. At some point, you get to the room (screen) where you deactivate molecular cannons.
When Cortana disappears, turn around and head to door you entered here. In half of your way, a passage will be open on right. Then you get to the big door with five guards. When they're open, walk into a blue beam of light.
After a cut scene you find yourself in room with Crawlers and Knights. On left you'll see a terminal from which you take out Cortana. Staying nearby it, kill all enemies.
When you kill all enemies, go through door on the other side of room. In the corridor on right, you find another Terminal. Use it and go to elevator at the end of corridor. After getting on lower level, enter the portal on right.
You'll be transferred in the middle of battle. Enter Scorpion. Annihilate enemy's vehicles, protecting your units. Get on the peak on left, where you find more field generators. Try not to damage your vehicle during destroying them.
When field goes down, leave tank and go to the next target. Pick up indicator and mark a gravitational well. Destroying it ends mission.
Enter Pelican shown on the screen. You'll pass stands with various weapons. You have to pick up DMR with full ammo.
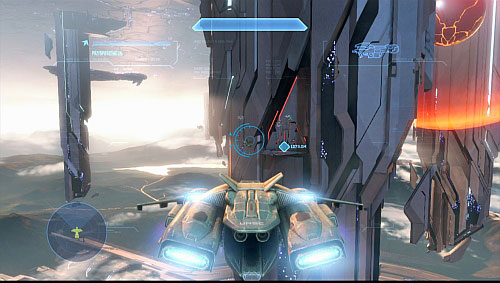
After a cut scene, fly out from the tunnel and head to a tower on left. Before you get to an entrance, fire down all Banshees.
When the landing site is safe, enter the building. After passing few doors, you get into a huge room. Move on right of gondola (screen) and activate it. On the lower level of platform you find weapon stands and grenades.
When you go, a sniper shows up on right. Kill him. In one third of the way, gondola will be stopped. Hide somewhere and kill enemies before you move on.
Approach your goal very cautiously, monitoring where your enemies are. The panel will be well protected. After killing all enemies, activate gondola and return to it. On the way back, you'll be attacked by Knights and Crawlers, who'll defend an access to gondola.
When the gondola starts, two Knights appear at its bow. When you eliminate them, more enemies show up on left. Gondola will be stopped again. Repeat actions needed to launch gondola and cautiously killing enemies.
When you launch gondola, once again Knights show up. When you do them in (one of them drops Autosentry module, which you should pick up) enter the beam of light (screen). When generator is launched, a big group of Watchers appear. Go down and use module. When you kill them all, return to gondola, activate it and move back to Pelican.
Fly toward the second tower and, again, destroy all ships before you land.
When you open second door inside, you'll be attacked by Crawlers and a Watcher. Kill the second one firstly.
After crossing another door, you'll get into room with Watchers and Crawlers. Use the previous room as a cover against Watchers flying by the door. Then, before you go lower, kill all enemies under you.
When you activate a panel in the center of the room, you'll have to destroy three generators. Every of them is protected by Knights, Watchers and Crawlers. Nearby every generator, and also on the way to it, you find a weapon stand where you should replenish your ammo. When you move closer to generator and destroy it, enemies appear. In case of need retreat and kill them from a safe position.
When you will be going back to Pelican you'll be attacked again by a Knight and Crawlers.
Enter the last tower. Inside you find a blue beam of light, which jumps you out on the higher level of this structure. When you get closer to the passage between constructions, the bridge will collapse. Before you enter the passage on right, kill as many enemies as you can.
Next passages will be very well protected, also by cannons. The most important is to eliminate enemies from the biggest possible distance, so they even can't start firing. Two ways lead to the target, but they don't differ.

You get on a platform in front of the target, with passages on left and right. Move onto a construction on left, where behind a wall you can find the sixth terminal.
The next elevator is defended by two Hunters. Fire at their back, it's a weak spot. When you finish them off, enter the beam of light.
When you get upstairs, kill an enemy guarding the Banshee. Beware of cannons on left and right. Reasonable is to kill enemies before you enter a vehicle. On the left you have a weapon stand. All area is defended by other Banshees and cannons. If your vehicle is damaged, you can find a new one on platforms.
Door to which you head, are defended by two cannons and a group of enemies. Fire at them and then fly under the platform on which they are to hide against their shots.
When you clear the area, enter the room and put Cortana in the console. When you take her out, the floor start sliding down. Jump from the platform shown on the screen to end mission.
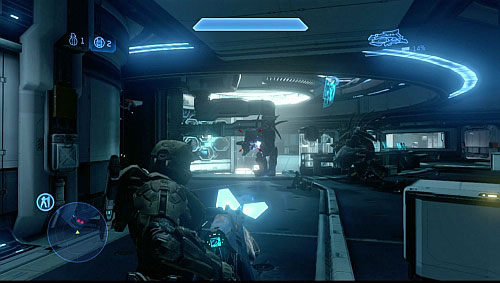
At first door you find chest with Holograms. When you open door to the bigger hangar, you'll see a group of scientists running away from enemies. Staying in the corridor, kill visible opponents on right. Inside the construction you find another enemies and a weapon stand.
Go upstairs on a roof. From this place you'll have a good vision. Beware of two snipers on the other side.

Finally, you get to the place, where you have to lift up covers. Ships will drop groups of enemies until you activate a barrier. Before you go outside, kill sniper on the left, on a balcony. Ob the right side you find a cannon - use it to clean the room.
Disassemble cannon and head for a panel at the end of the room, to activate barrier. If enemies attack, you'll defeat them quickly with the cannon.
Door on right opens (new cannon should also show up). Behind them you'll see enemies - kill them. Go inside and finish off rest of them. when it's done, take the cannon.
Get to the next room and with a group of marines go upstairs on the highest floor. When you kill enemies go through door on left.
You get to a room with two Hunters. In the same room, on right, you find a small office, where you can find a bit of weapons (including ammo to sticky detonator). The weapon is on a stand, left of the office. As usually, try to attack enemies from the back. If you have a Hologram module use it to distract enemies.
If enemies group in the middle of a room, it'll be easier for you to hide behind barriers and avoid shots.

After a cut scene, go through door on right. You'll find yourself on a piece of asteroid. Move to the other end of a room, heading for platform and another target. On the right side of platform find a passage marked on the screen. Inside you find another Terminal.
Get through door on platform. Inside, wait until marine opens door. When you get to the next corridor, a service channel appears on right - use it. In the next corridor, on left, you see a cannon. Kill nearby enemies and take it. Beware near to the next door, because enemies will be waiting behind it.
Moving through another room, you get to survivors who are being attacked. When you kill all enemies, enter this room and marine will open for you a chamber with weapons and Autosentry.
Continue journey, until you get to room shown on the screen. Go on the higher floor, using stairs on left, just before an entrance to this room. When you'll be entering the room, notice a sniper on a construction under the ceiling, a bit on right.
Wait in this place until doors behind enemies open (first on left, then the middle one) and fire inside with sticky detonator or throw a grenade. In this way, you eliminate all group very quickly. When it's done, a new passage, on the left, will be opened.
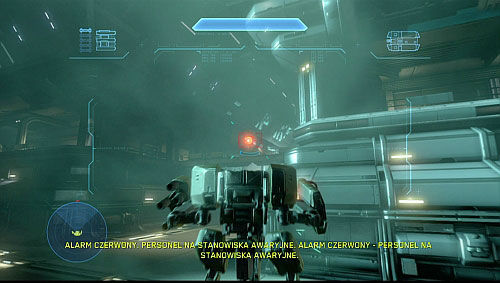
You get to room with a console and two camouflaging enemies. Use a panel to activate defend system.

Go out through door on left. Pass rooms and corridors, killing enemies on your way until you get to another control room. Exit via door on right. Enter Mantis which is nearby an entrance. If it happens to be destroyed, you find another one a bit lower.
Now you have to repel wave of enemies. It's worth to stay on Mantis' platform. This place provide you a good firing position. Ghosts with Grunts appear first. Don't let the last ones get closer with grenades.
Then, two Wraiths (tanks) will be dropped. Keep moving at a safe distance to destroy them.
Two waves of Banshees at the end. Fire rockets, keeping a red sight on a vehicle, so the missiles track them down. Move to become difficult to hit. In case of need, hide behind Composer to regenerate shield.
After destroying enemy vehicles, go to door on the other end of room. Enter a chamber shown on the screen and activate the elevator. When you reach a highest floor, press a button nearby door to end mission.
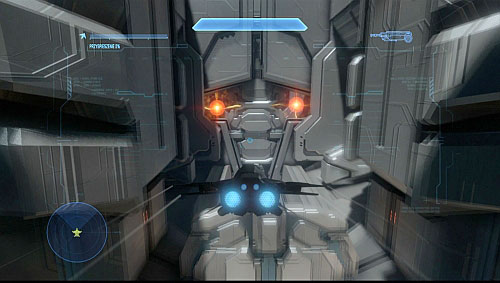
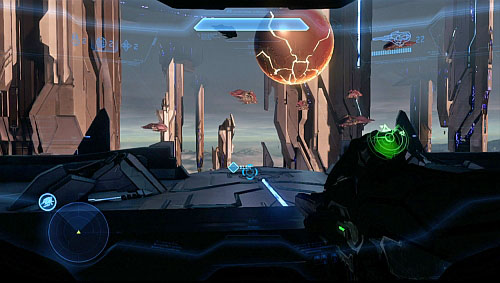
You begin this mission in Broadsword. Your mission is to avoid obstacles and destroying reactors (screen) blocking further way. Cannons will also show up - destroy them or pass. I recommend the second option. When you see that door in front of you start closing, use an acceleration.
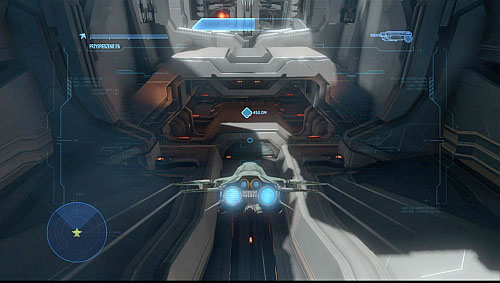
When the further way seems to be blocked, it's enough to fly into the bottom tunnel.
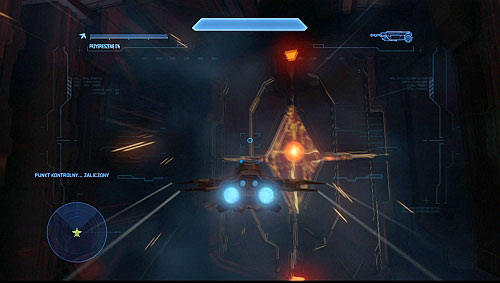
At the end, you reach an open space, where you need to destroy four reactors. To reach them, fly inside from a side, as on the screen. When you destroy all of them, you'll be transferred inside the ship.
Go out on a long corridor and destroy Watchers and a laser. Turn left on crossroads. Kill Knights behind door and turn right. In front of you, you'll see some sort of columns. Between them you find the last Terminal. Pick up Autosentry on your way.
After using it, turn right and kill enemies in the next room. Then, turn left according to Cortana's advice. You enter a room, where you fall down. Pick up ammo/weapons from stand in the corridor. Activate a panel on right to open a portal. Go through it.
You'll be moved to the next room where, after killing several Crawlers, another portal opens. On right, you find a weapon stand. Next portal in the right upper part of this chamber, defended by Knights and Watchers.
You get to a room, which is an armory. Pick up weapon with zoom and incineration cannon. Go through another portal. Quickly run downstairs and melee attack a Knight.
On the right, you can see another portal. It's protected by Crawlers, Watchers and Knights (one has an incineration cannon). Go on the platform on right (few Crawlers will charge at your), from where you have a good firing position. Use an Autosentry if you have one. When you kill all, go through a portal.
Kill another group on the other side, using covers nearby portal. You will find here also a weapon stand, on right. Be careful and don't fall from the bridge. When you kill all, you'll have to defend this place. Most enemies will run from right (screen). After a first wave Cortana will support you with lasers.
When you defended the point, take Cortana from console and move through to the next portal on the higher floor. Go to the end of a ramp, where you'll be transported to the other side.
There are weapon stands and modules in front of the door. But I recommend to keep an Autosentry. Go through door and use a panel shown on the screen. You'll get two targets. Firstly , go right. Use a jumper at the end of platform to get on the other side.
Whole area is defended by a big group of enemies. Eliminate them, staying behind some cover. Go on the higher level of construction. On the left, you meet next group of enemies (screen). In front of you, you have an entrance to room with weapons, including an incinerating cannon.
Activate a button on a platform above, to activate a bridge. On the other side of it, another group of enemies appear. Staying on the panel side, kill them. At the end of platform another panel appears - Use it.
Jump on the right side, where the jumper is. You'll be attacked on a platform. Go on the left side, to hide behind another cover to find another weapon stand. Go on the higher level of platform ,where you find another jumper on right and a group of enemies. At the end of this platform (with laser), you find few weapon stands.
On the next platform you should repeat actions concerning activating the bridge and console on the other side. And again, after climbing on the higher level of construction, you'll see enemies on left and a room with weapons in front of you.
After activating the bridge, stay at this side and kill enemies on the other side. When you finish off all Knights a panel appears. Use it.
Go on the right side, where you find another jumper which takes you onto a platform with an elevator to the core. But before you get there, you have to kill few Knights.
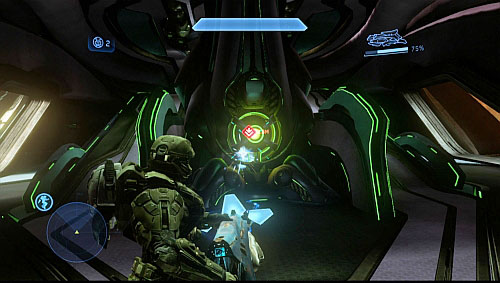
Being on top, try to get to the core. After a cut scene climb on the bridge again. Then click LT. When Didact fell into an abyss, crawl to the bomb and detonate it by clicking RT. Mission and game end. Congratulations!
Terminals are hidden in the all game. Finding them unlocks films in Halo Waypoint. Below you can find description of their localizations.

Terminal 1: At the end of Requiem, after killing two Hunters, enter a huge room. At its end you find a platform leading to an elevator. Terminal is under this platform.

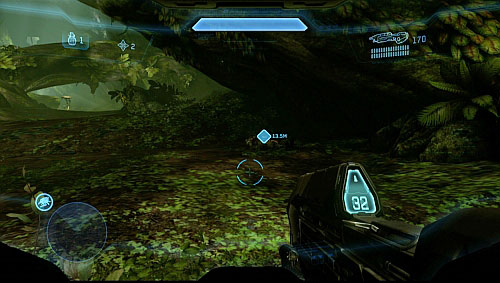
Terminal 2: in mission Forerunner after meeting few groups of enemies, you get to the place where you'll have to walk on a rock shelf on right or left to climb higher. Terminal is under the platform to which shelves lead.
Terminal 3: in mission Infinity where you get to the base in which you meet Lasky, turn around about 180 degrees after a cut scene. Terminal will be just behind you.
Terminal 4: in Reclaimer, when you regain Cortana in room with Knights and Crawlers. Exit this room, and enter a corridor leading to the elevator. But before you use it, you find another Terminal in the corridor on right.
Terminal 5: in Shutdown, in the last tower. It is in the place where you move between construction leading to the bridges. On the one of final platforms, you'll see a path going right and left. Go left, where you find a Terminal behind a column.
Terminal 6: in The Composer you find yourself on a piece of an asteroid. On the right side of platform which leads to your goal, you find a tunnel (screen). Inside you find another Terminal.

Terminal 7: in Midnight, go into a long corridor after landing and destroy Watchers and laser. At crossroads turn left. Kill Knights behind the door and turn right. After crossing door go forward, you'll see some sort of columns. The last one Terminal is between them.


 Heroes of Might and Magic V: Hammers of Fate Game Guide & Walkthrough
 Harry Potter and the Half-Blood Prince Game Guide & Walkthrough
 Hearthstone: Curse of Naxxramas Game Guide & Walkthrough
 Heroes & Generals Game Guide & Walkthrough
 Hearthstone: Heroes of Warcraft Game Guide & Walkthrough