Assassins Creed Revelations Walkthrough Sequence 1- A Sort of Homecoming
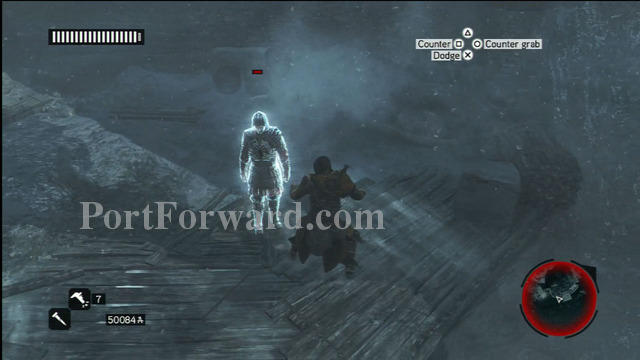
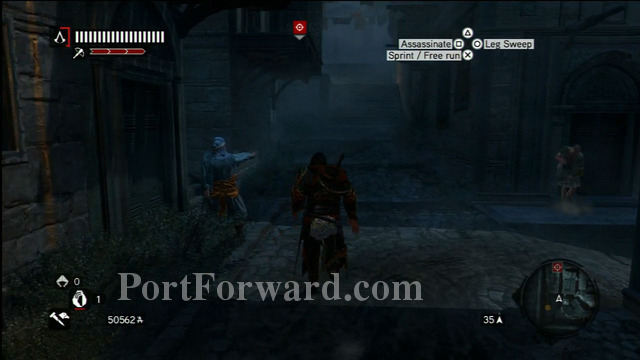
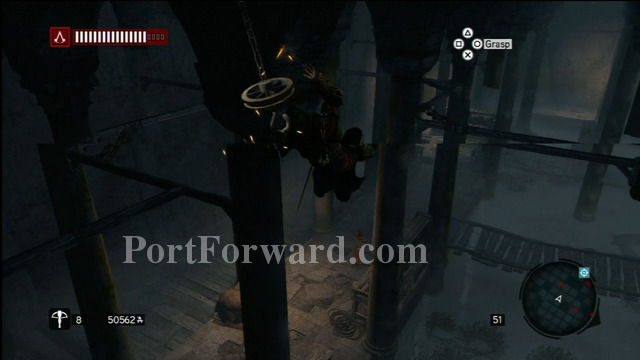
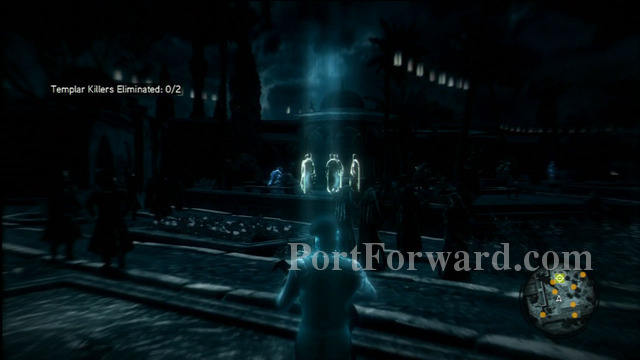
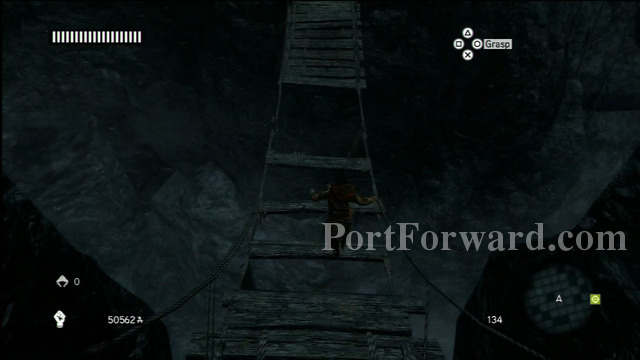
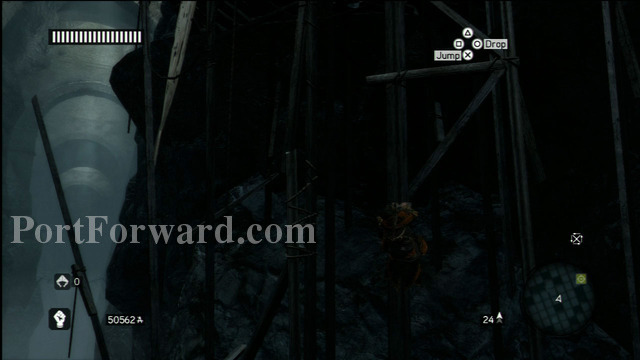
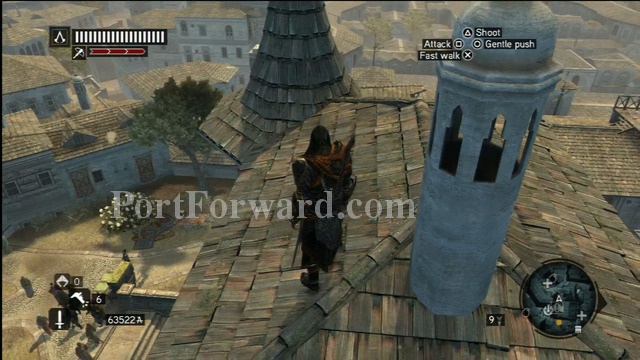
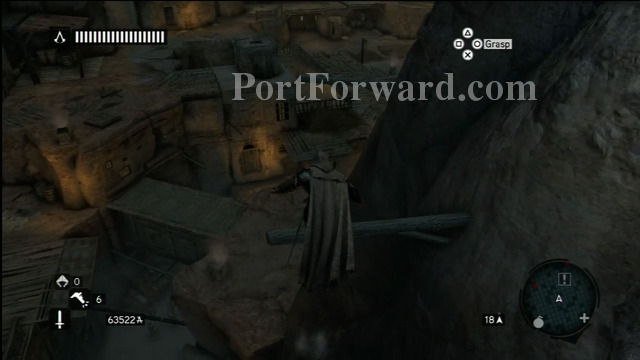
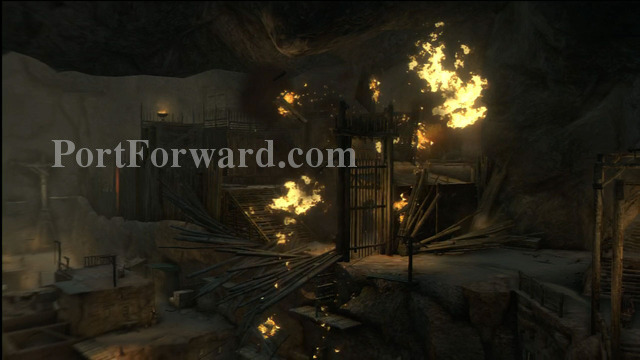
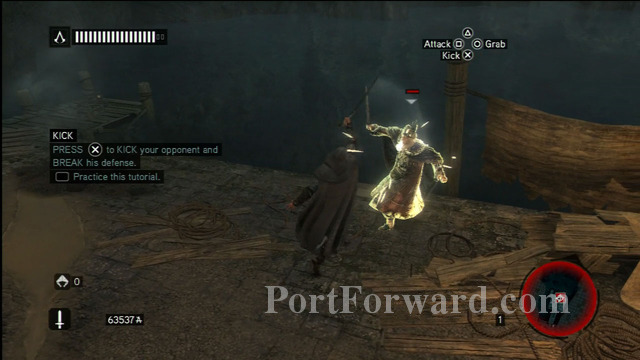
After watching Memory 1 (Cinematic) You will now be in Memory 2 - This mission serves as a quick refresher to the controls in Assassin's Creed. Follow the spirit of Altair across the scaffolding and up the structure. Take out the Templar that stand in your way and continue ascending the castle.
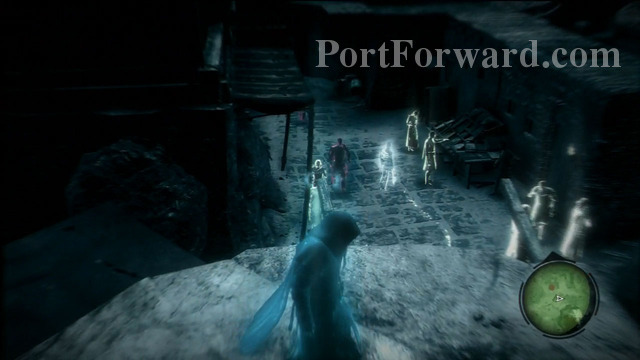
The ghostly Altair will always show you which way to go, so don't worry about getting lost.
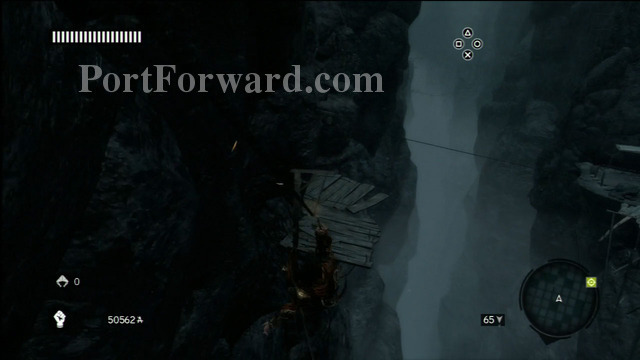
Continue following Altair and he will guide you to the top of the tower.
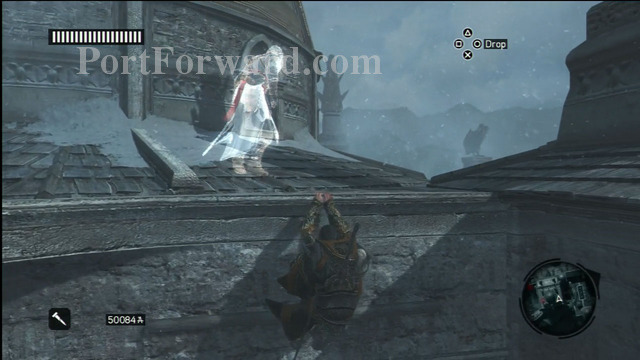
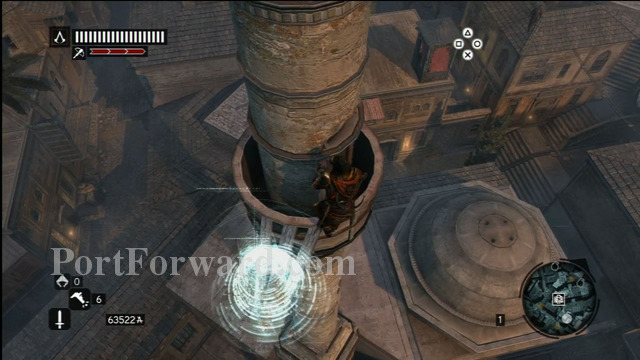
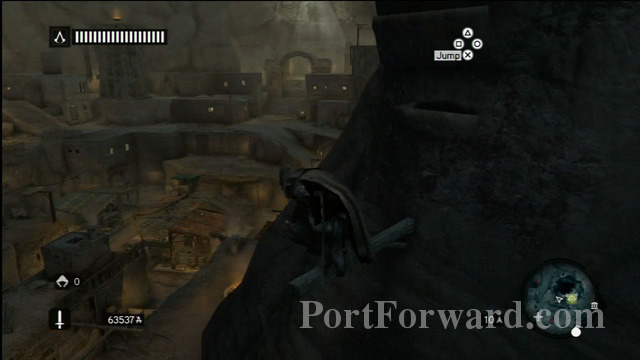
When you reach the top of the tower...
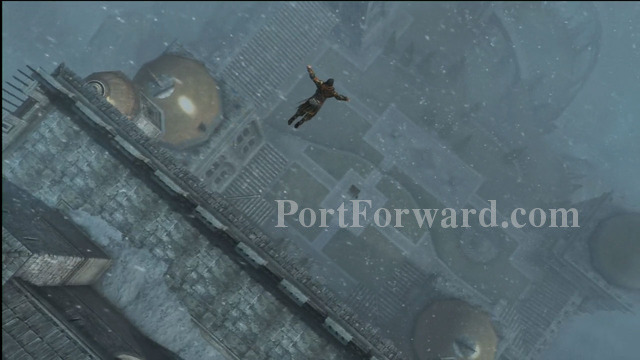
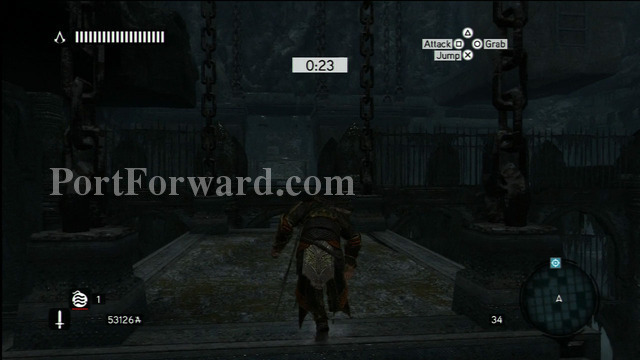
Jump off and dive into the water.
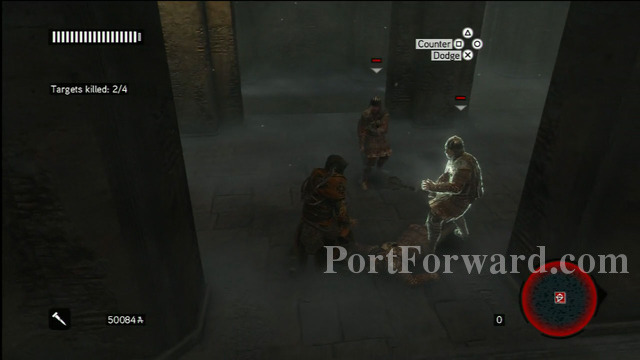
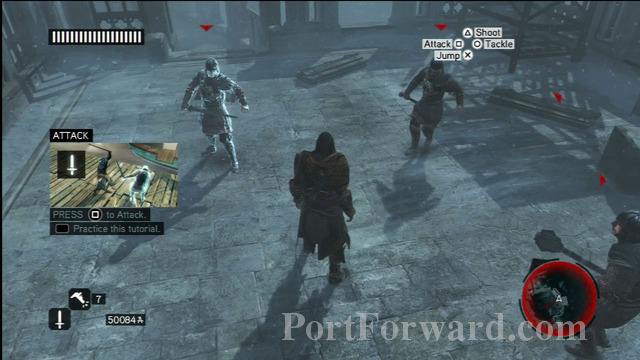
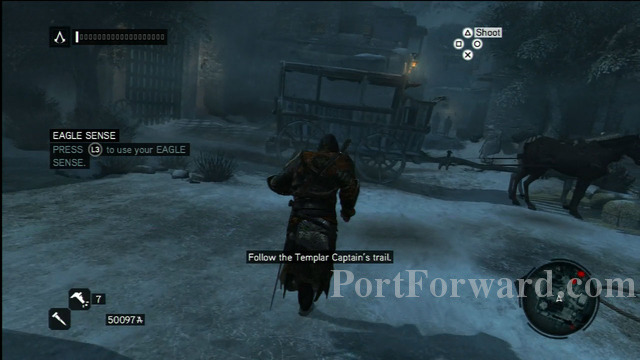
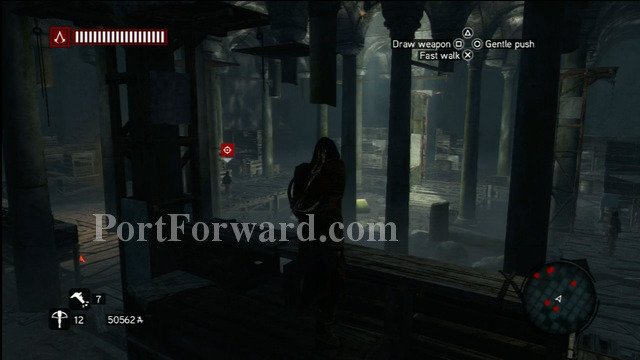
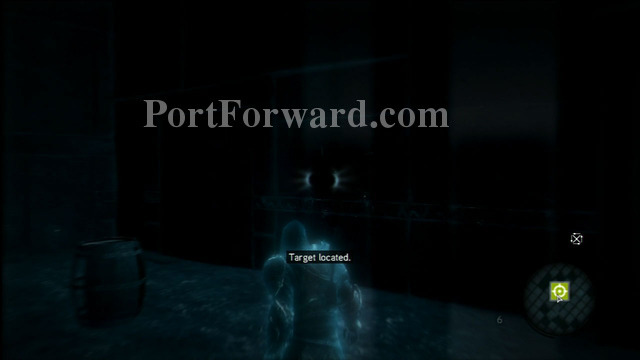
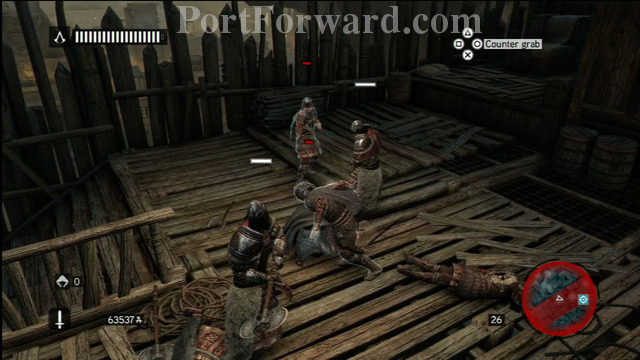
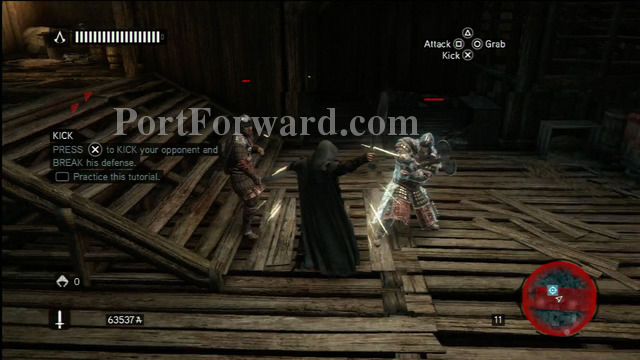
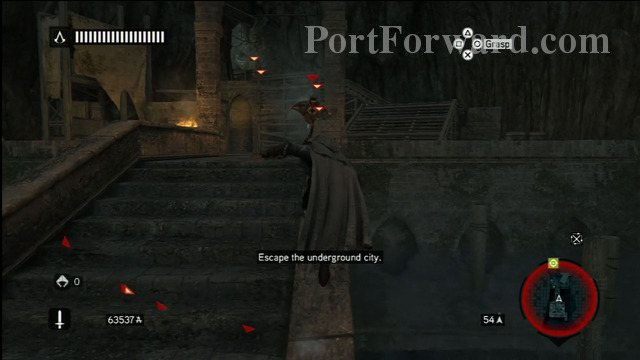
Memory 3 - Head straight down the dark corridor and into the larger chamber. Kill the guards in the room and interrogate the worker to uncover the Templar motivation.
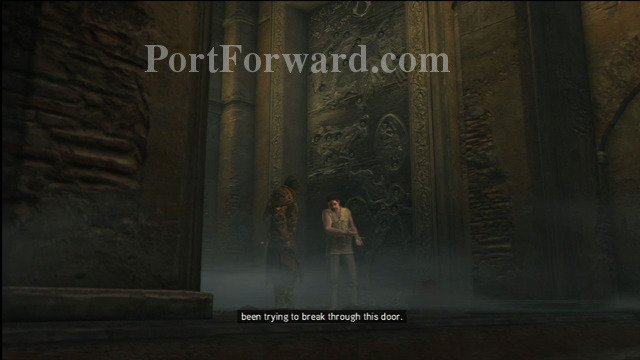
Follow the man out of the chamber and back into a familiar looking room.
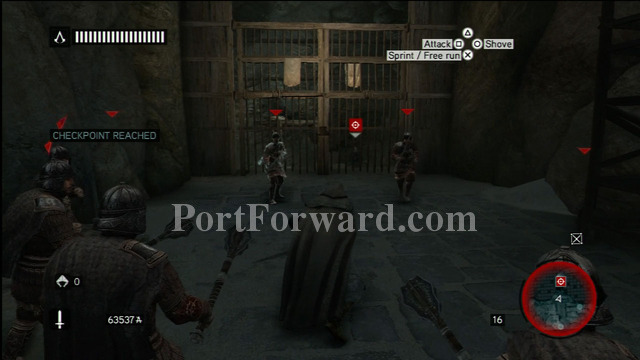
Get past the guards by killing them, or simply run past them and escape the courtyard.
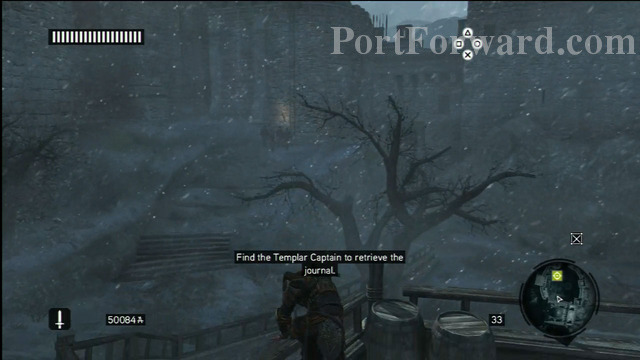
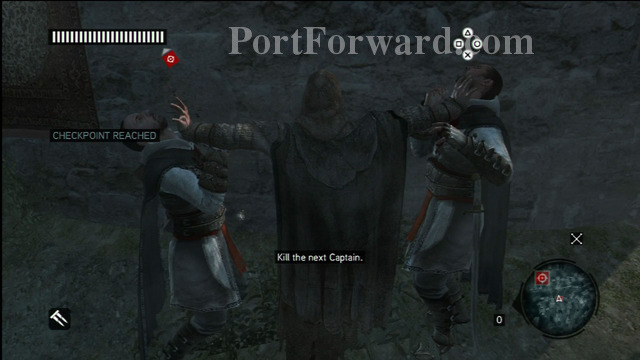
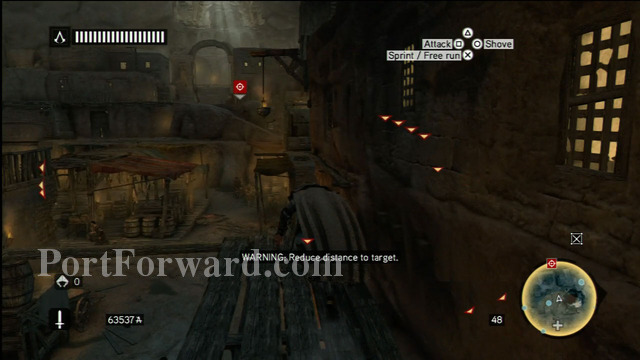
Make your way to the gate and follow the Templar Captain.
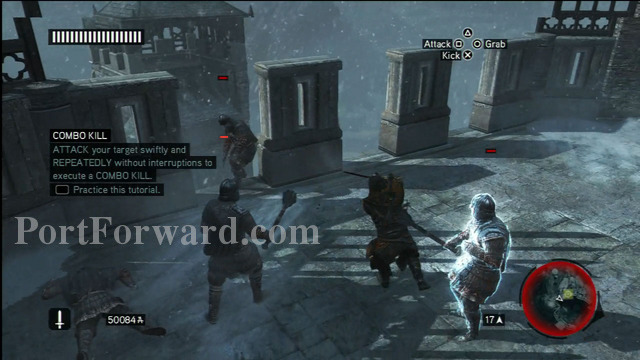
Fight off the guards on the roof.
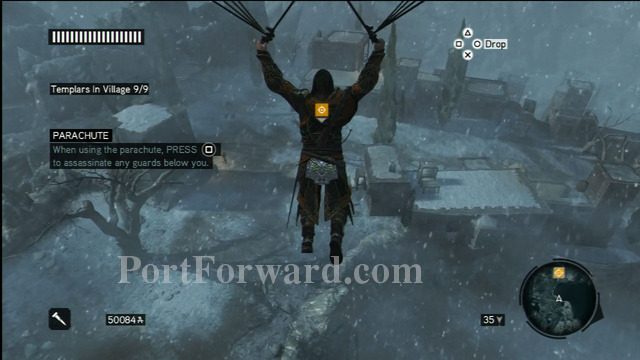
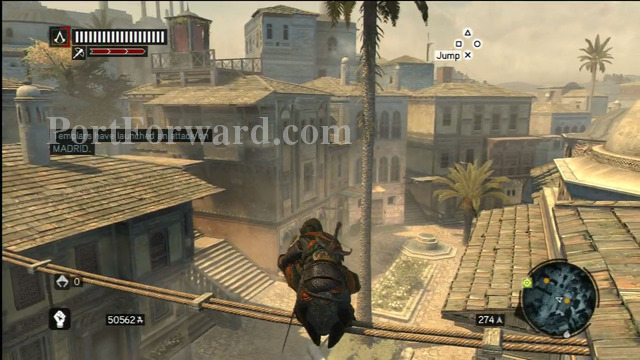
Deploy your parachute and navigate Ezio over the village towards the Templar captain.
Tail the group of men, maintaining your distance while still keeping them in full view.
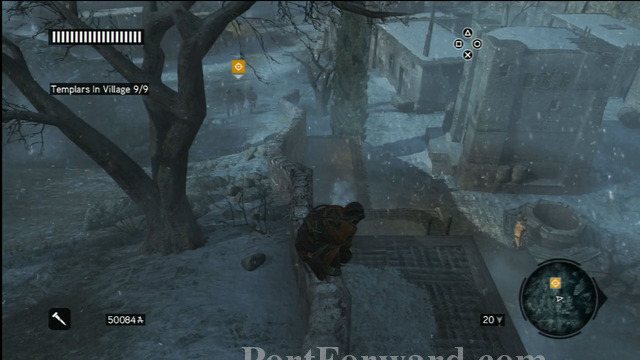
"At the bottom of the village, a cinematic will engage, marking the end of the Memory.
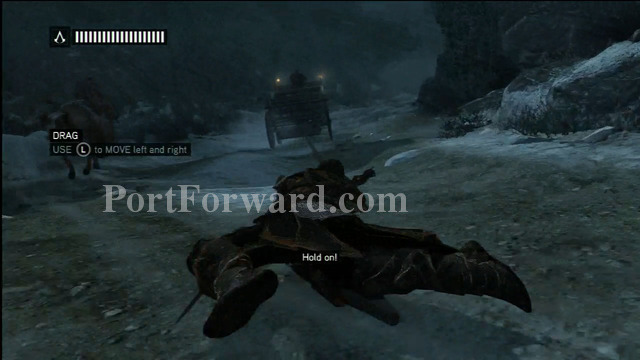
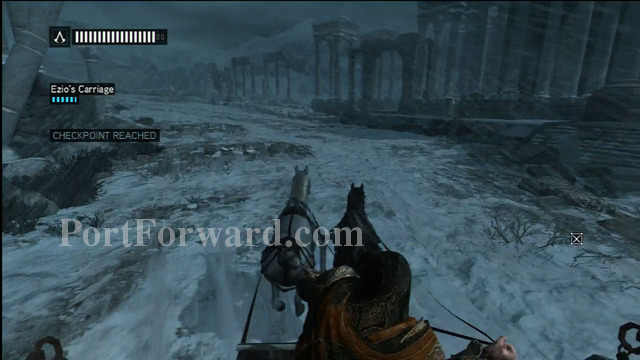
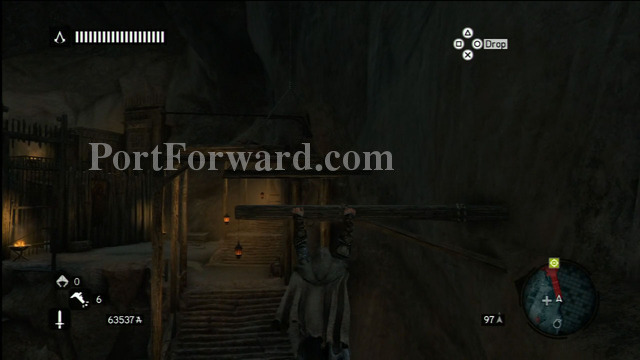
Memory 4 - When this Memory begins, start crawling up the rope towards the chariot. Hold up to inch yourself forward and move to the side to avoid any oncoming obstacles.
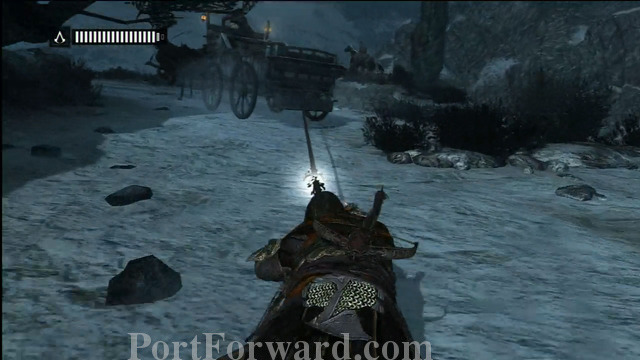
"Once you've reached the cart, you'll gain control of the vehicle. This section can be a bit tricky. Your goal isn't to necessarily destroy the enemy chariot. Instead, focus on just surviving the chase for a few minutes.
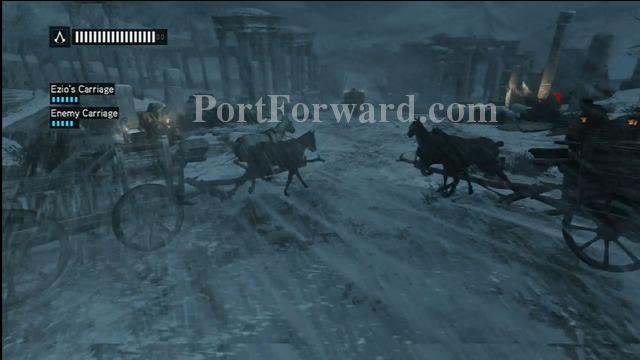
Stay clear of the other chariot while making sure you avoid the rough patches of ground that quickly decimate your health when ran over.
If you do intend on going on the offensive, make sure you build up momentum before you launch an attack to avoid taking damage.
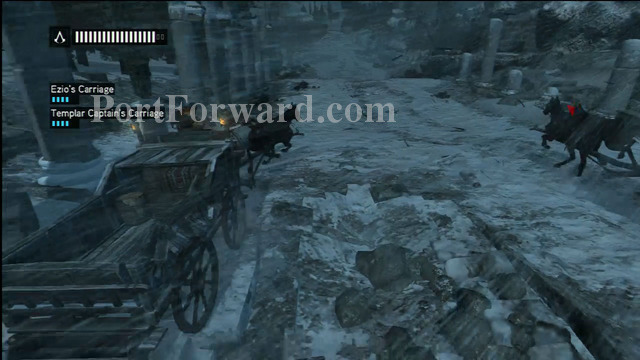
Continue doing your best to survive the chase and make sure you watch out for the rough patches of ground!
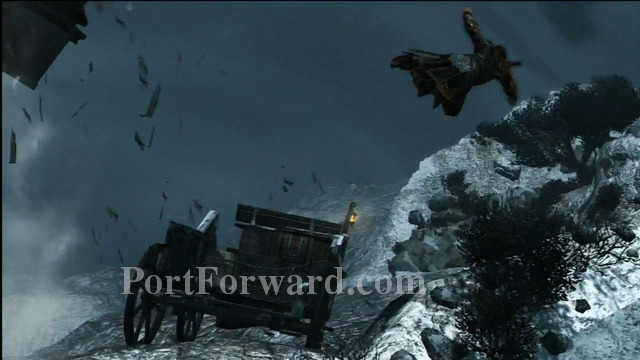
After a few minutes, your chariot will be destroyed, marking the end of the Memory.
"Memory 5 - Ezio will be impaired until you find medicine. This means that you won't be able to run, climb, or take very much damage for the first part of this section.
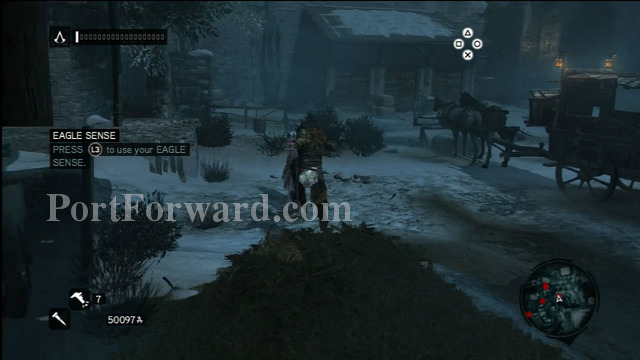
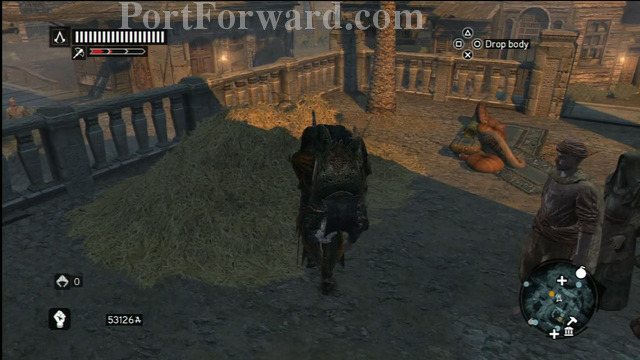
Make your way towards the village and kill the guard at the top of the stairs. Back on the ground, hide in the haystack and kill the guard as he walks by.
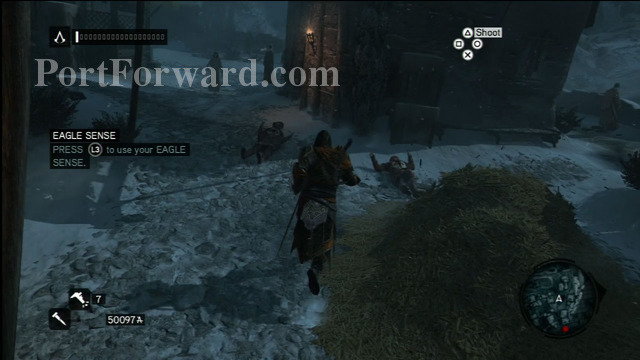
Sneak your way through the village towards the quest marker until your reach a group of soldiers.
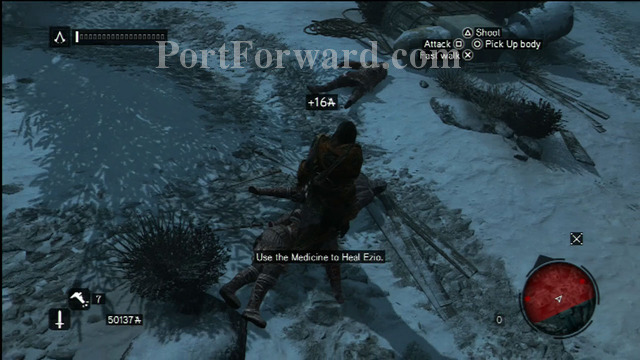
Kill them, then loot their bodies to find medicine. With full health, press on and clear out the rest of the village.
Once you've taken care of the enemies, climb up the structure on the far side of town.
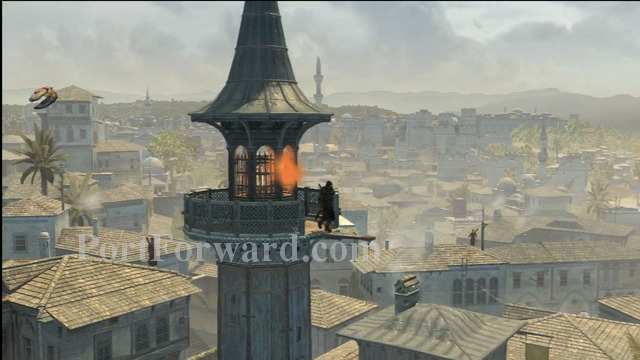
Assassinate the Templar at the top to complete the Sequence 1.
Assassins Creed Revelations Walkthrough Sequence 2- The Crossroads of the World
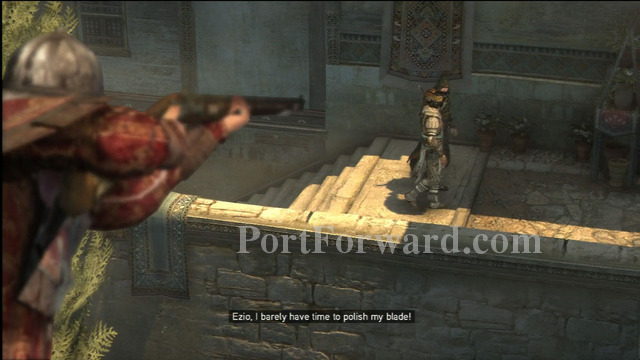
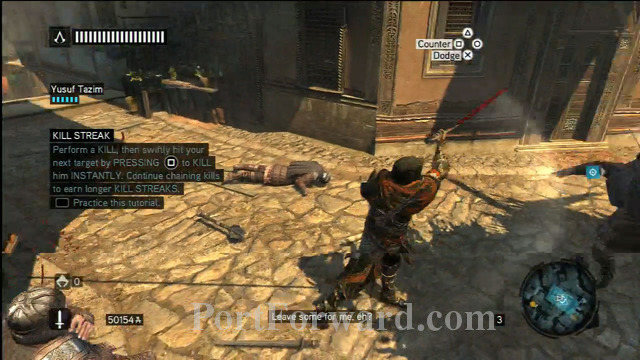
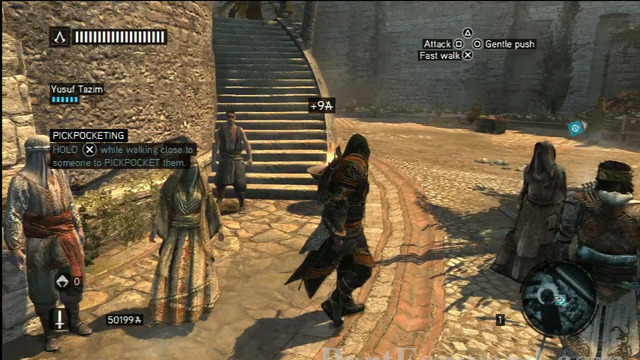
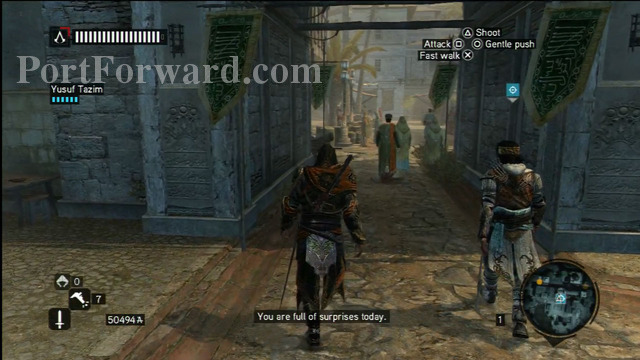
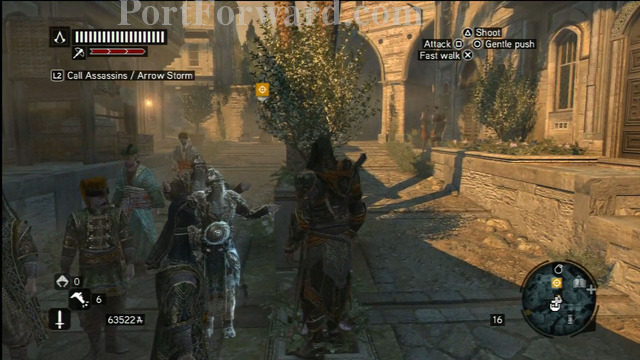
"Memory 1 - Once you've reached the shores of Constantinople, meet Yusuf Tazim and follow him through town. You'll eventually be attacked by a group of Templar. Take care of the grunts, then watch as the game introduces you to the dynamic of rival guards.
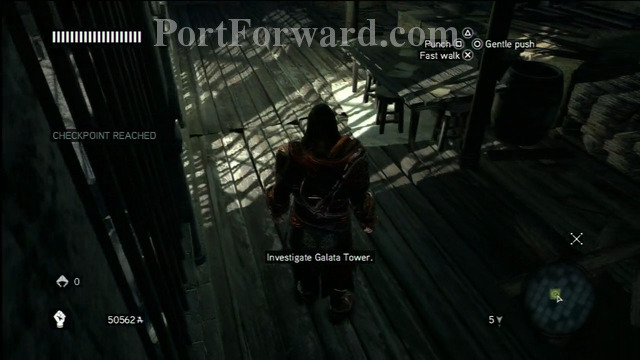
"Press on with Yusuf towards Galata Tower and eventually you'll come across your home-base for the course of Revelations.
Continue following Yusuf and killing all the attackers in your path.
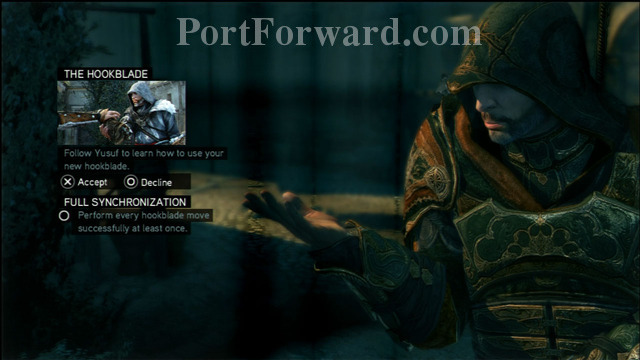
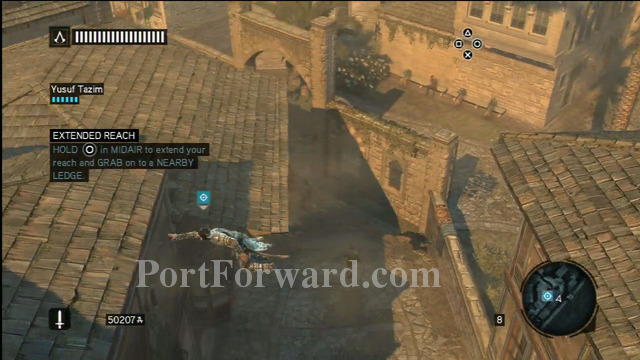
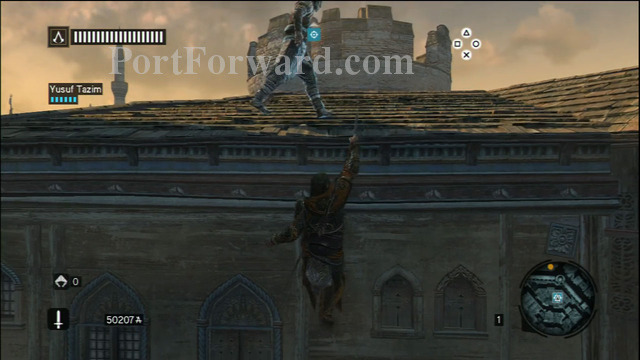
"After completing Memory 2 (Basic on screen combinations) you will now be in Memory 3 - This Memory introduces the hookblade, one of Ezio's new toys in Revelations. The functional armament allows you to slide across ropes, climb over higher obstacles, and quickly trip up opponents during combat.
Follow Yusuf as he trains you in the art of the hook.
Hitting the Circle/B Button in mid-air will cause you to extend your hookblade and reach out towards the nearest surface.
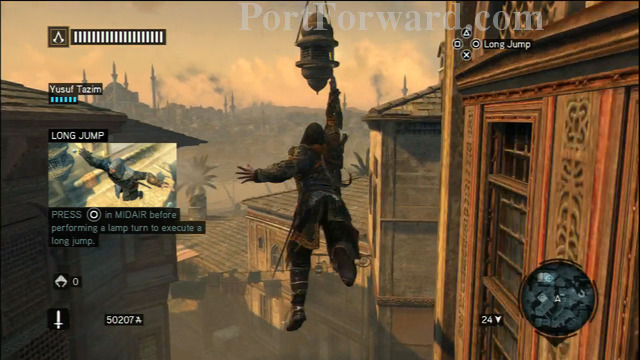
Using it when you approach a hanging lantern will cause Ezio to perform a long-jump.
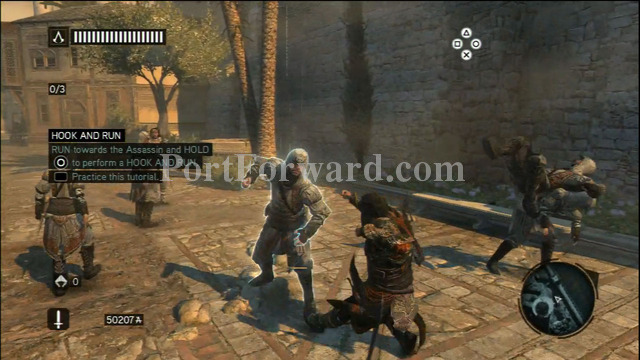
The final part of your training comes in the form of a combat simulator that teaches you how to "Hook and Run."
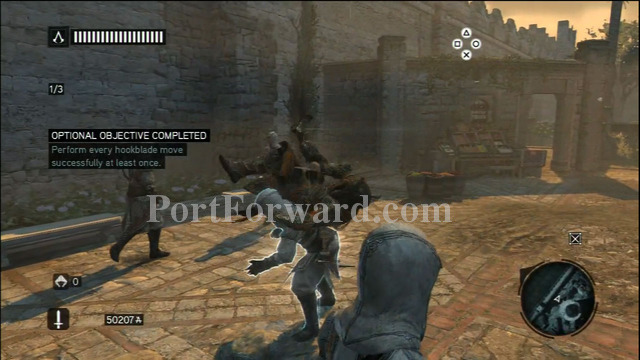
"Using the hookblade as you run towards an opponent allows you to trip them up without losing your own momentum.
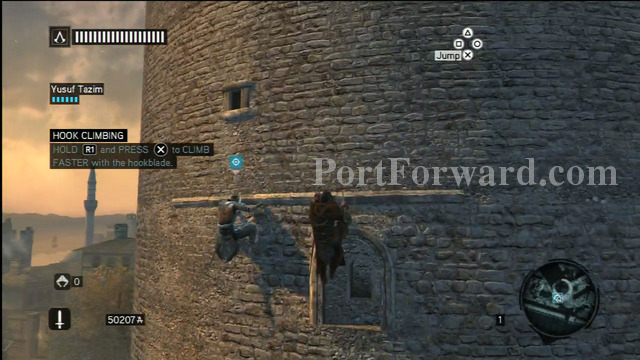
Memory 4 - Follow Yusuf's path as he scales the Galata Tower.
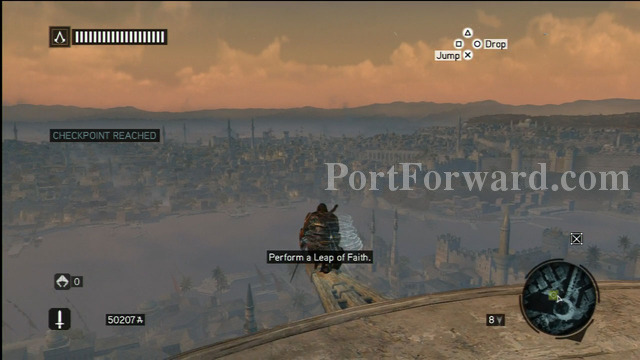
Using your new hookblade, hit the jump button to leap up from level to level to ascend the tower in a timely manner. When you reach the top of the tower, perform a leap of faith.
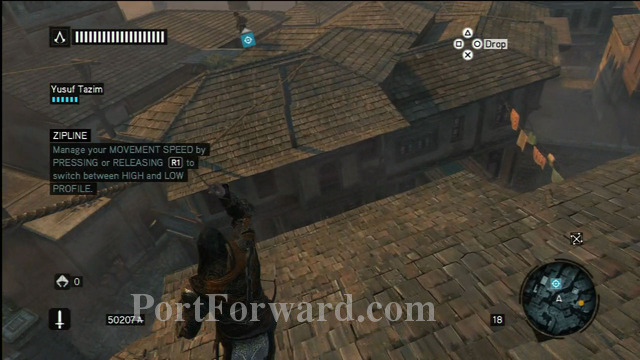
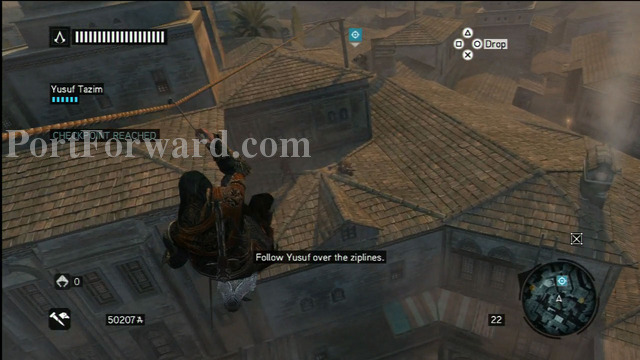
Memory 5 - This short section has you learning how to use one of the many ziplines that are scattered throughout the city.
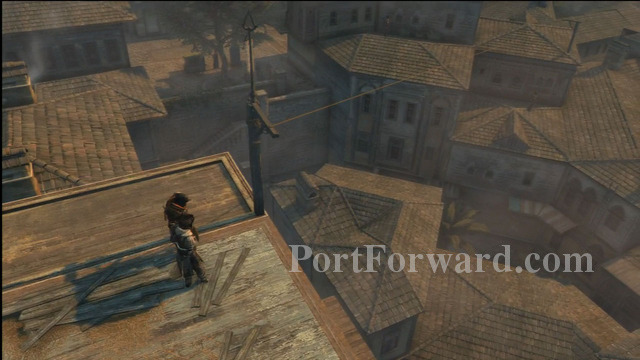
All you have to do is leap towards the line, and Ezio will do the rest of the work. Use R1 to control your speed while sliding down a zipline.
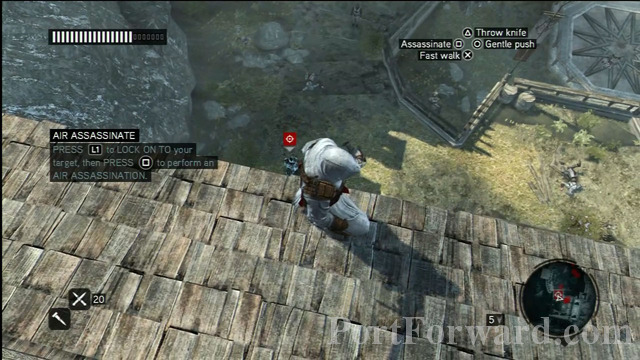
Later on, Yusuf will show you how to assassinate enemies via an airborne attack.
While sliding down, hit the attack button when above a Templar to perform a pretty nifty looking zipline assassination.
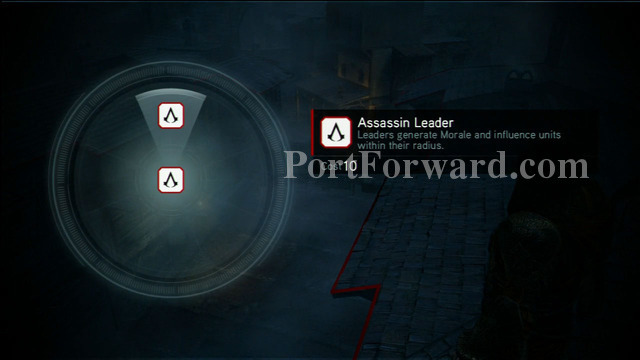
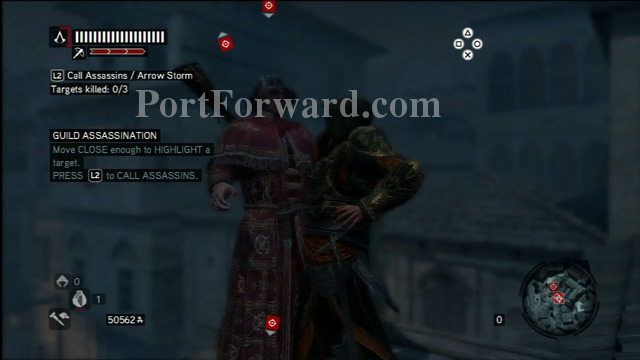
Memory 6 - Your first move should be to deploy leaders on both sides of the alley's entrance. This will allow you to populate the rooftops with Archers and Gunmen. You can also place a Barricade near the head of the tunnel to slow down the enemy attack.
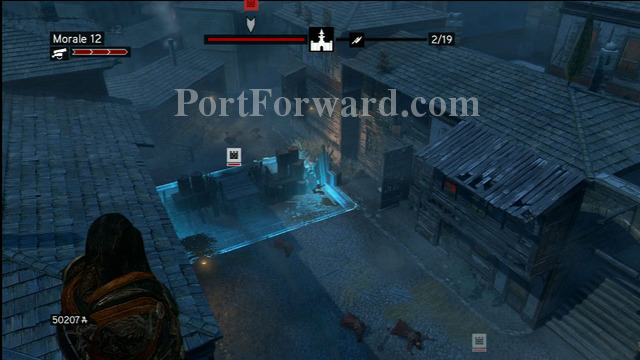
You gain Morale as you take down the oncoming waves. Use this form of currency to upgrade your barricade and to line the rooftops with your allies. You can also unleash a cannon barrage by highlighting a group of enemies and hitting L2. You can also gain extra money by sending your units to loot dead bodies in between waves.
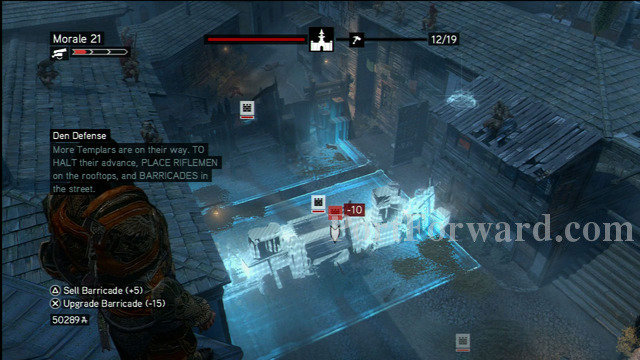
The final challenge comes in the form of a quasi-tank that the enemies send down the alley. Use the rest of your cannons and spend any Morale you have to defeat the hulking vehicle before it reaches your base.
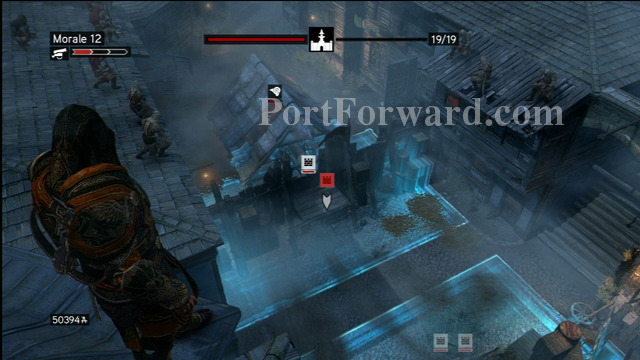
"Repel the 19 waves of enemies with your safe-house remaining intact to complete this Memory.

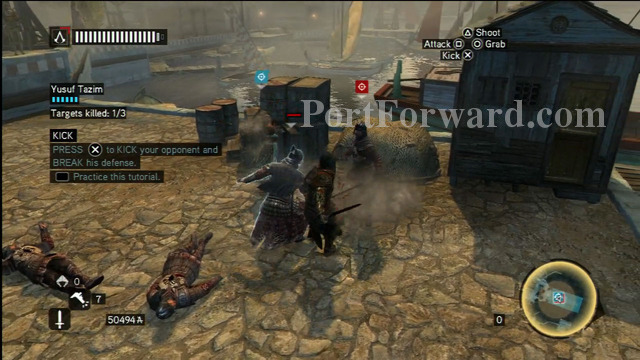
Memory 7 - Assist Yusuf with taking out the group of enemies at the start of the Memory.
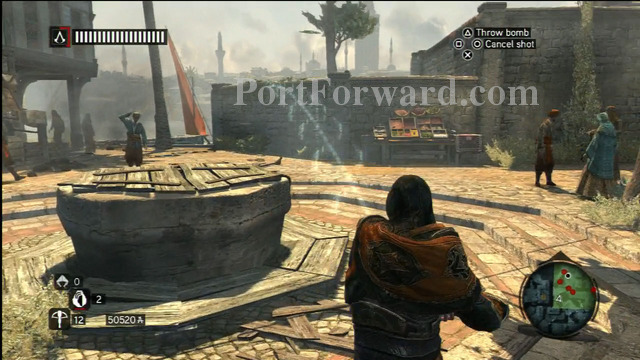
With them dispatched, follow Yusuf through the city as he teaches you how to use bombs. Distract the guards with the cherry bomb to gain access to a restricted part of the city.
At this point, Yusuf shows you how to gain control of this district of the city.
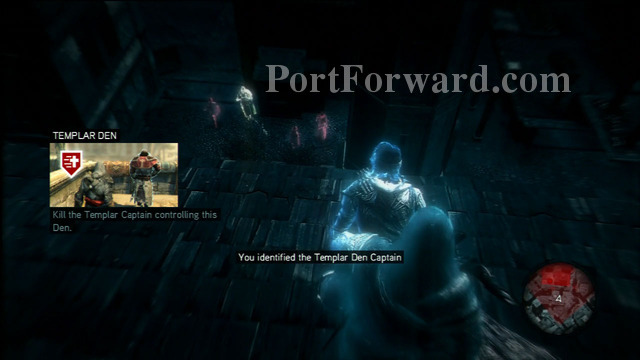
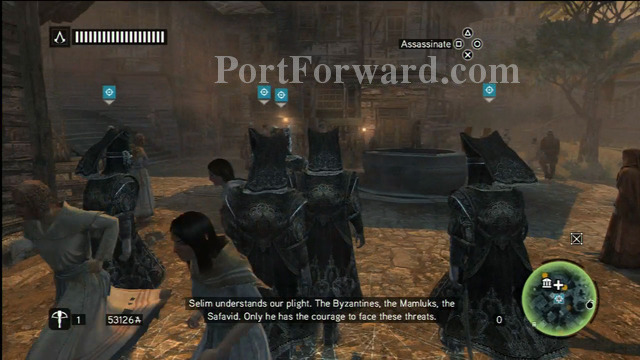
If you kill the Captain and then light the watchtower, the Imperial North Den will be yours.
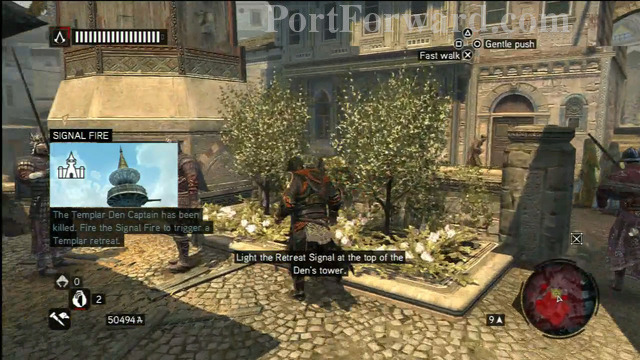
Navigate the rooftops towards the target, making sure that you stay out of sight of the guards. Get close enough to the marker to spot your target. You can hop down and take him out, causing a ruckus in the streets, or if you've already purchased a crossbow, take him out silently from the rooftop.
Regardless of your method of dispatching, your final goal is to climb the tower and light the signal fire to finally earn your territory.
Assassins Creed Revelations Walkthrough Sequence 3- Lost and Found
Memory 1 - Your goal is to free the prisoner and add him to your growing assassin posse.
Head towards the marker and toss a bomb near the guards to distract their attention. With them gone, enter the restricted area and climb up to the roof to survey the area. Use your eagle vision to spot the target. Once he's in your sights, you need to grab the key from him.
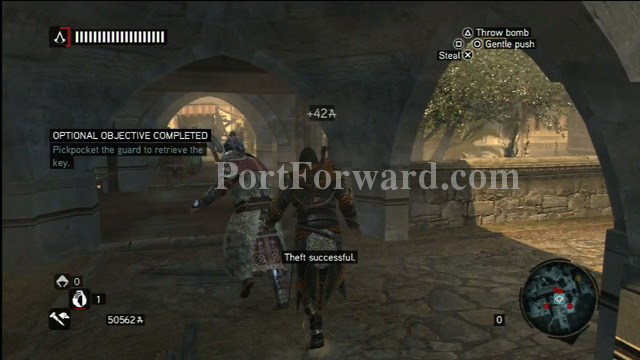
You can do it sneakily and earn Full Sync by walking behind him and pickpocketing it, or you can throw caution to the wind and just kill him. Either way, return the key to the prisoner to complete the Memory.
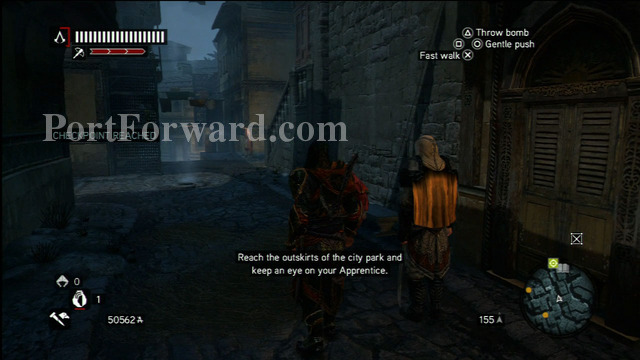
Memory 2 - Run to the marker to have your Apprentice take out the two guards on the streets.
With them gone, your goal is to take out the remaining guards without raising an alert.
Use ranged attacks or sneak up behind them to avoid causing a scene

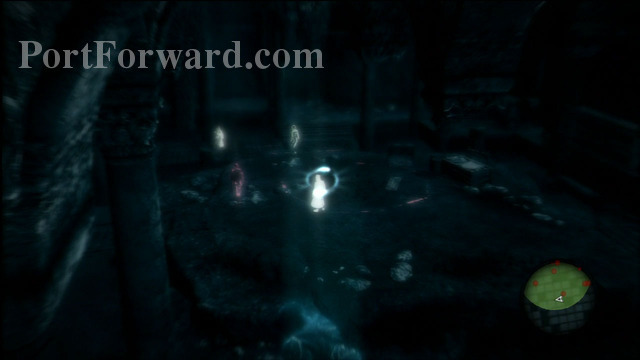
Meet back with your Apprentice at the haystack afterwards and use your Eagle Sense to view the final moments of the murder victim.
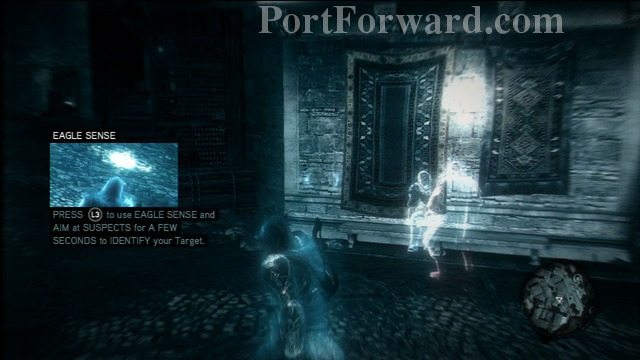
Remain in Eagle Sense mode and follow the spiritual until you stumble upon the culprit.
"Chase the Sentinel through town, making sure that you don't fall too far behind. Your Apprentice will eventually hop off the roof, but fail to kill the target. Fight your way out of the ensuing brawl to finish off the Memory.

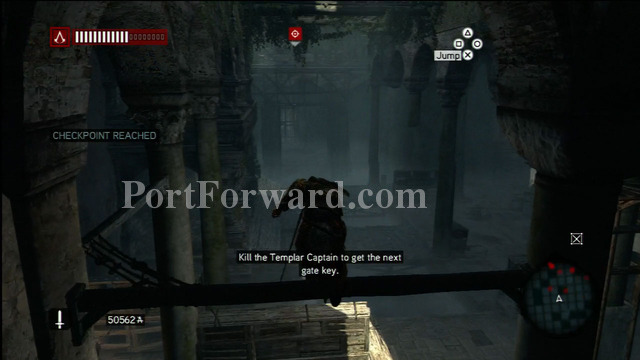
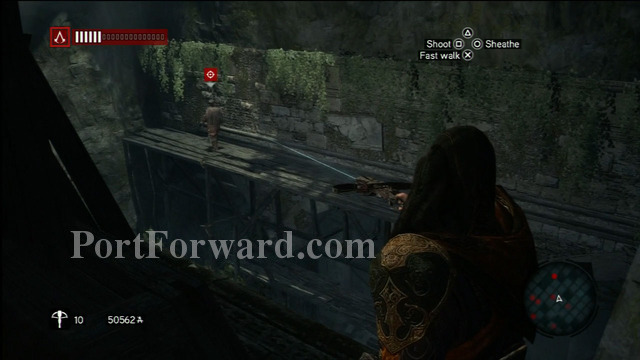
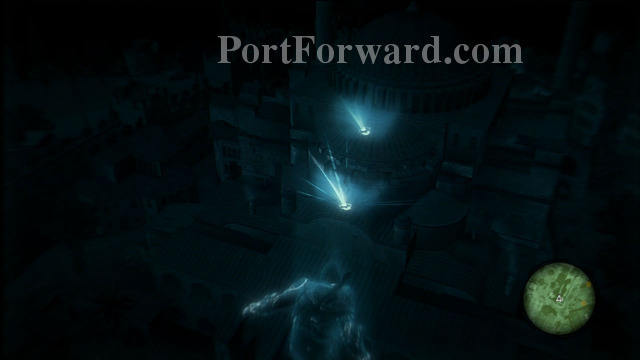
(Memory 3-5 are straightforward on screen key combinations) Memory 6 - The Yerebatan Cistern is a massive, shadowy labyrinth that just so happens to be heavily patrolled by guards. This section goes smoothly until you're detected, so try your hardest to remain in hiding. Try to remain up in the scaffolding and take out your targets using ranged weapons like throwing knives and the crossbow. If you do not have these weapons yet, craft a lethal bomb using shrapnel and an impact shell.
There's one enemy in each area that holds a key, so use your Eagle Sense to signal him out. Keep in mind that you obtain the key as soon as you kill the Captain, so don't worry about taking them out from a distance.
Use the bomb crafting stations scattered throughout the Cistern to arm yourself with a slew of diversionary weapons. These will allow you to distract enemies or draw them towards you in order to take them out in secrecy.
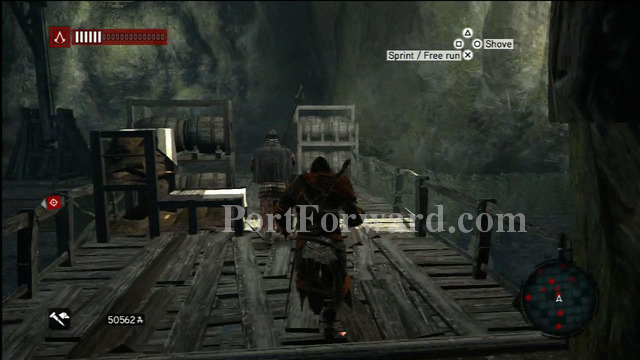
If you do get detected, prepare to take out all of the enemies in the room before you advance. You can't exit the room until you become undetected, and the easiest way to do that is to just kill all of your pursuers. The 3rd chamber opens up in the form of multi-tiered ruins.
Your target lies on the second level at the far end, so make your way towards him. If you have any bolts or bullets left, taking him out from a distance will keep you from having to navigate the intricate platforms necessary to get to his landing. Once you've obtained his key, exit the room and head towards the final encounter of the Memory.
The last chamber is a large, open area with your target patrolling around the center.
Again, if you have any ranged weapons, climb up towards the scaffolding and sneak your way towards the center, close enough to take him out from a distance.
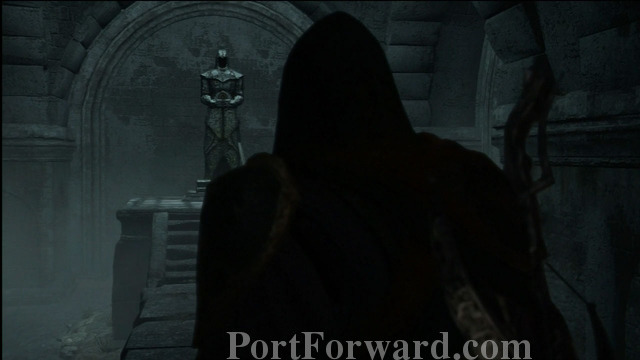
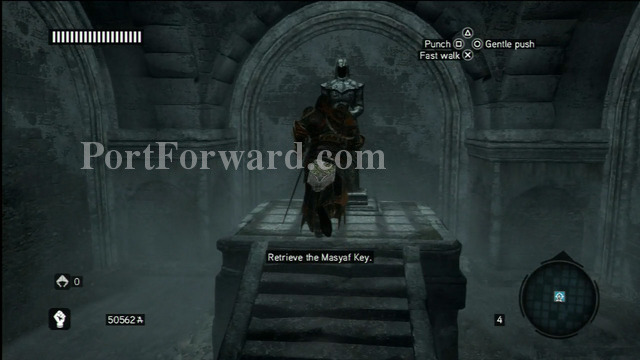
If not, simply pull out your sword and clear the entire room out. Once the final captain is dead, exit the room and head towards the statue to acquire your Masyaf Key.
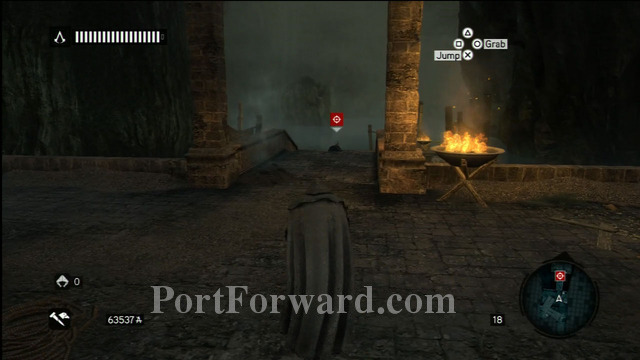
Memory 7 - After the conversation, exit the building.

"Head over to the fountain to meet up with Yusuf to complete this brief, mostly cinematic Memory.
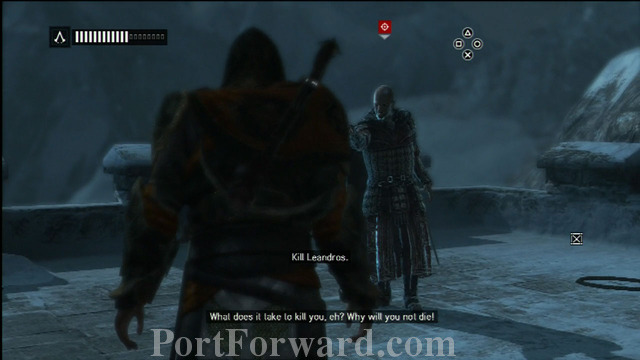
Memory 8 - This mission puts you back in the shoes of Altair Ibn-La'Ahad. Chaos has erupted in Masyaf, so you'll have to wade through the carnage to make it back up to the keep.
You'll be pitted against a seemingly unending wave of Templar, so concentrate more on making it up the hill than on disposing of each and every enemy.
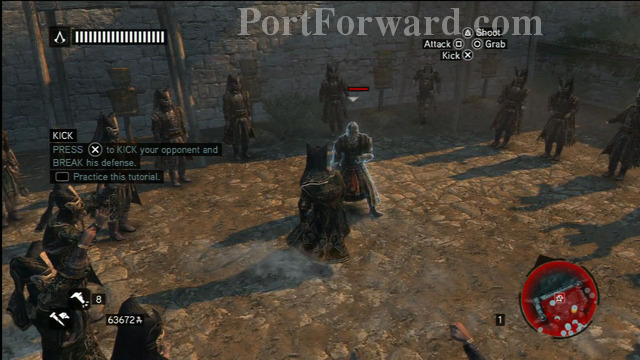
Keep your wits when you are forced into combat. These Knights are particularly adept at defending, so you'll have to use kicks to break their stances before attacking.
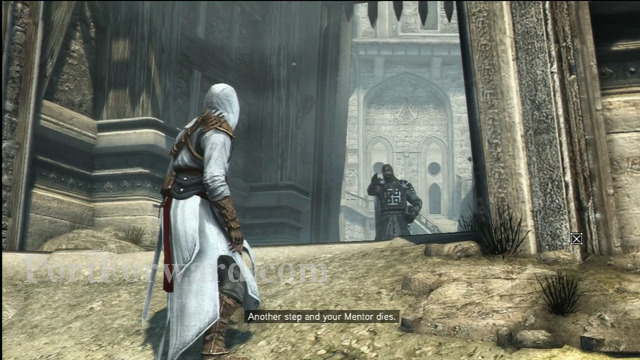
At the top of the hill, the Templar will close the gate and begin killing citizens one-by-one.
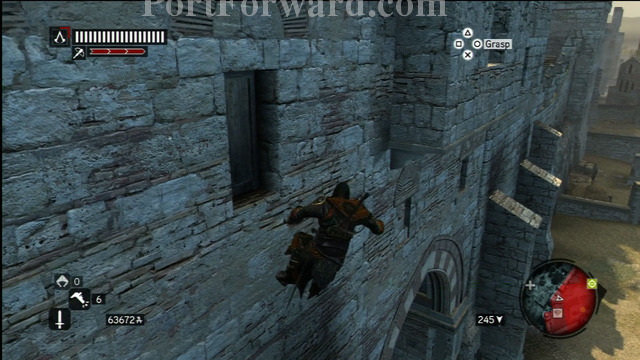
Quickly scale the wall to the right and take out the enemies that patrol the higher levels.
Once you've cleared the upper hallways of Templar, focus on the enemy below you and perform an air assassination. Once Al Mualim is safe, talk with him to conclude the Memory.
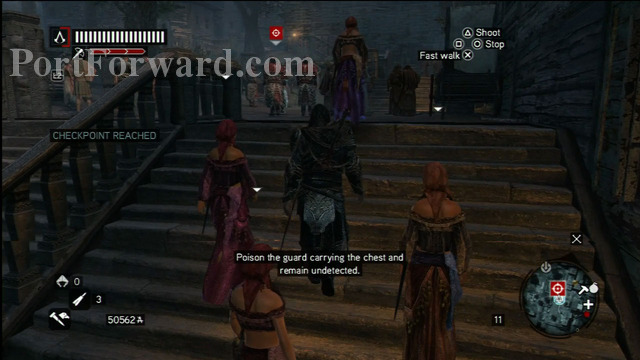
Memory 9 - Make your way to the Romani encampment on the southwest side of the city to begin this mission.
You're tasked with scaring off the couriers of a chest by poisoning them from a distance and making it seem as if the parcel is haunted.
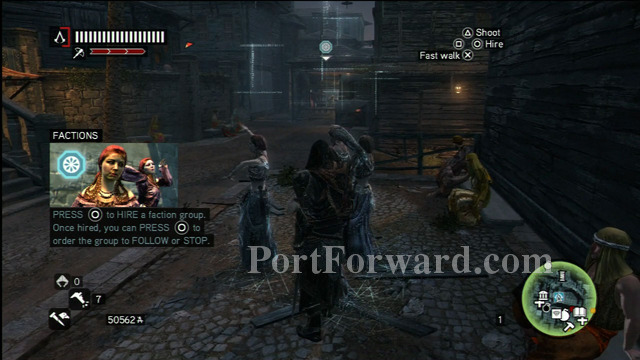
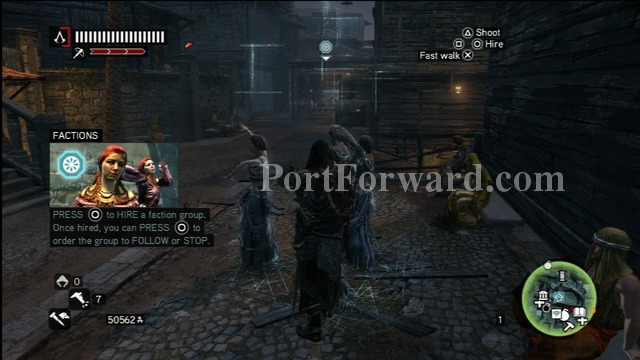
Head to the marker on the map and hire the Romanies to act as your escort.
Stay in the middle of the group to blend in as you slowly make your way towards the keepers of the chest.
Once you find your targets, you can use your poison blade to take them out, but that will cause a ruckus. The better alternative is to equip your poison darts and kill them while still remaining undercover with the Romani.
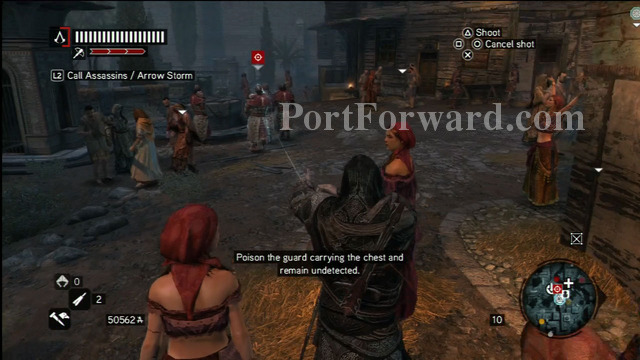
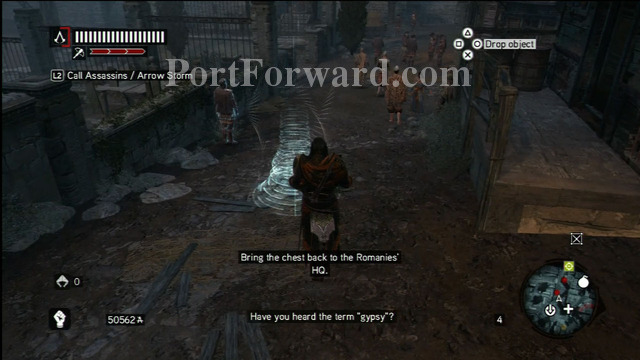
Once you've poisoned your targets, watch them thrash around for a moment before finally succumbing to your deadly concoction. Once you've taken out three separate guards, the rest will flee the parcel in terror. Grab the chest and take it back to the Romani encampment to complete the task.
Memory 10 - Head back to the docks to initiate the final Memory of Sequence 3.
Meet up with your fellow assassin and make your way towards the area that houses a pair of prisoners. In order to free them, you'll need to dispatch with the guards in front of their cells.
The safest and easiest way to do this is to stick to the rooftops and use your Assassin Signals to send your followers swooping in to take care of the guards.
With their captors dead, hop onto the streets and free the prisoner.
Repeat this with the second assassin to free both of your followers.
After your rescue attempt, head to the maker to run into The Sentinel once again. Follow him along the ground as your Apprentice does the same along the rooftops. Once you've gotten close enough, your Apprentice will swoop down and finish off your target,
Assassins Creed Revelations Walkthrough Sequence 4- The Uncivil War
Memory 1 - Race alongside your fellow assassin across Constantinople to Topkapi Palace. Once you've reached the marker, hop down and knock out the first trio of Minstrels. Pick them up and toss them in the haystack before pressing on. If you do the first one, your a
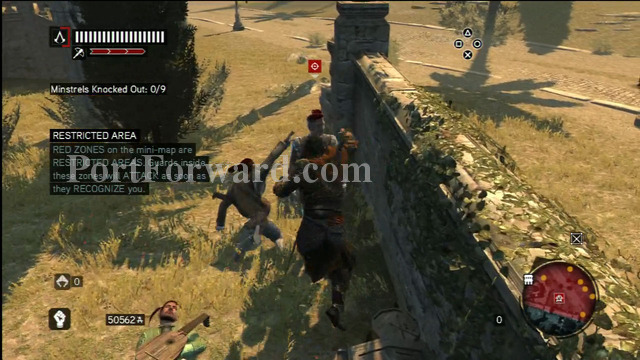
Hop over the wall and repeat the action with the second set of Minstrels. This time, hiding their bodies is a bit trickier.
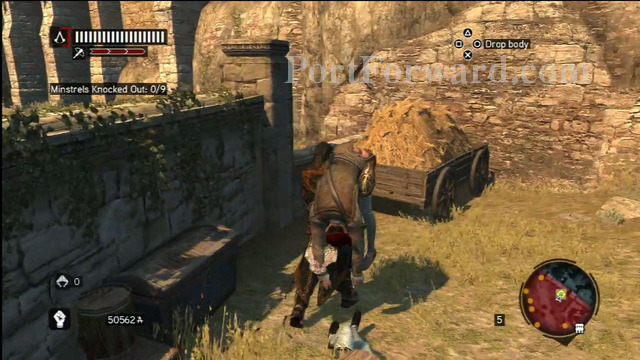
Slowly walk along the wall behind the guards, making sure that you don't get too close and attract their attention.
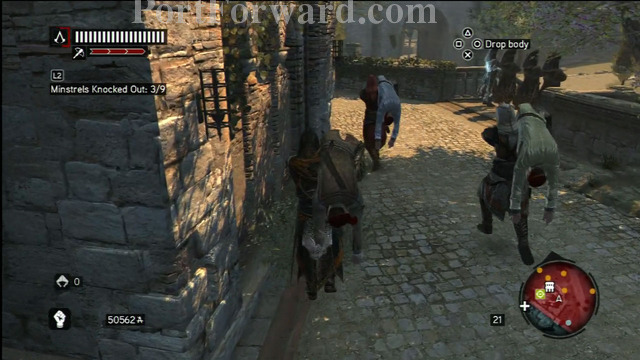
With this trio safely hidden, navigate along the rooftops towards the final group. Knock them out and hide the bodies to initiate the next part of the mission.
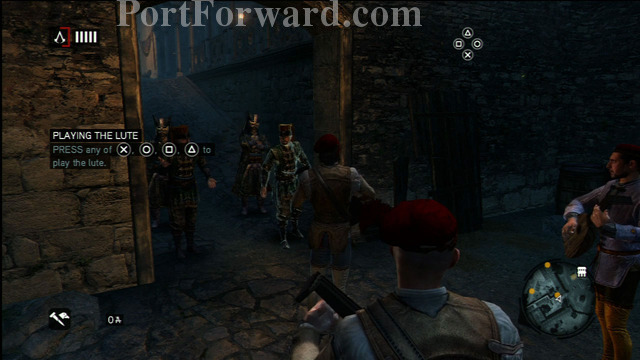
In costume and armed with a lute, it's now your job to distract the guards and party-goers while your compatriots take care of their targets. Hit any of the face buttons to play your instrument in front of the guards. This will allow your group to enter the party without setting off any alarms.
Once inside, use Eagle Vision to identify your Templar targets. Head to the designated spots and play your lute to allow your companions to perform their assassinations.

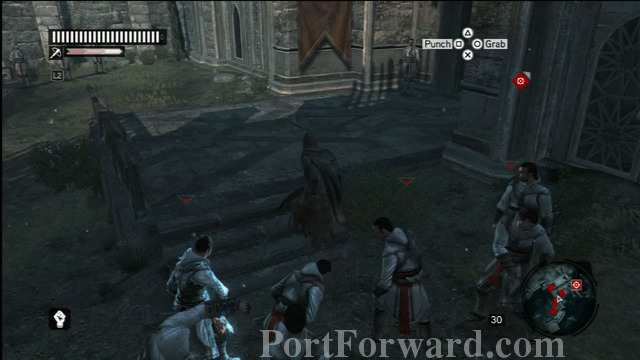
After the first two, move on to the area containing Prince Suleiman and take care of another four Templar.

With all of your targets downed, the Templar will make one final push at killing Suleiman.
Quickly charge towards the final enemy before he gets to the Prince and stop him from completing his mission. This will earn you a great ally, and finish off the Memory.
Memory 2 - Navigate your way through the palace to rendezvous with Suleiman again. Get to him by sneaking along the rooftops to avoid drawing any attention from the guards.
Once he has explained his fears, accept the mission and head back up to the roof on your way to the tower.

Make sure to stay out of sight from the guards as you approach the bell-tower.
At the top, enter the secret door and spy on the treachery inside. Speak again with Suleiman to complete your mission.
Memory 3 - Once you reach the port, your goal is to make it into the boat on the far side of the water.
With the straight route guarded by enemies, your best bet is to head down the alleyway to the right and dive into the water.
Circle around the far side of the boat and climb up part-ways. You'll need to take out the two guards patrolling the deck in order to be able to find the parcel you're looking for.

The easiest way to do this is to hang on the side of the boat, target each of the soldiers, and use your Assassin Signal to have your allies take them out. They'll remove both guards without setting off any alarms, leaving you free reign to explore the boat.
Use your Eagle Sense to highlight the documents. The one you want is located at the front of the ship just next to the steering wheel. Once you've grabbed it, you'll need to exit the port without causing alarm.

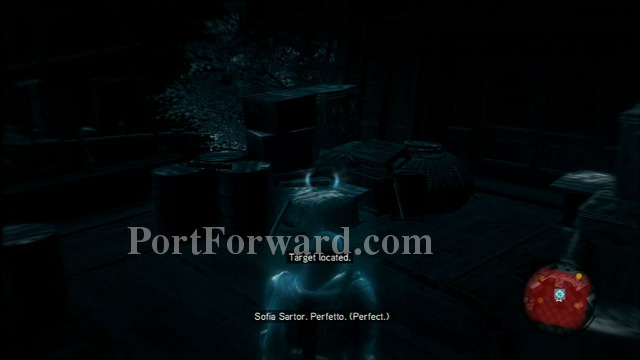
The best way to do this is to just dive into the water and swim away long enough to escape the restricted area ring. Once you're safe, head across town back to Sofia's and deliver the package to her.
Memory 4 - Make your way to the target and begin ascending the tower.
Once you've reached the top, use your Eagle Sight and begin focusing on the various glowing spots until you uncover the resting place of the book.
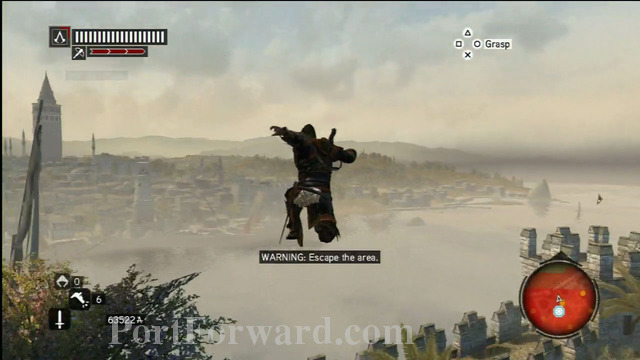
Hop off your ledge and glide over to it using a parachute, or just land in the haystack and scamper over to the light.
Regardless of how you get there, your prize is a copy of "Mission to Constantinople" by Liutprand of Cremona.
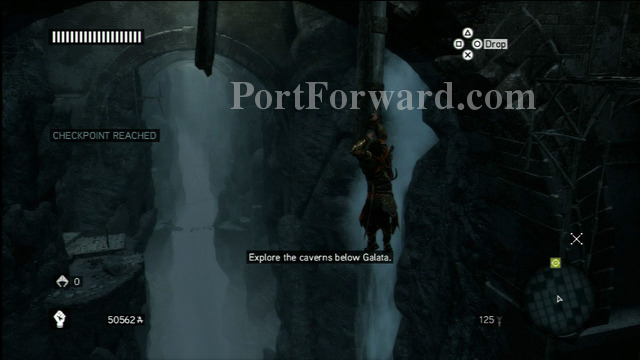
Memory 5 - Head back to Galata Tower and enter the structure to begin a lengthy platforming segment.
Head down the stairs to the opening in the wall and leap towards the hanging platform.
The rope will snap and send you plummeting down to the bottom of the chamber.
Slide along the floor until Ezio grabs on to the piece of wood. Climb up and jump backwards to the arch just in time to avoid more falling debris.
Shimmy over to the ledge and use the zipline to reach solid ground. Head through the cave, climbing up onto the pillars as you continue to press forwards.

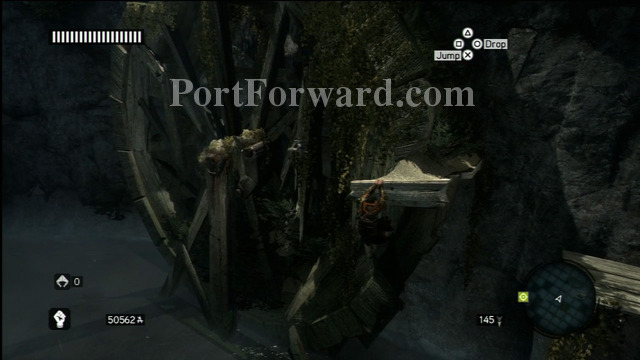
Swing and hop your way up to the stationary water wheel. Shimmy across and jump backwards to read the platform that leads out of this chamber.
Use the ziplines to make your way through the waterfall and the bottom of a much larger room. Continue climbing until you reach a wooden tower that collapses.
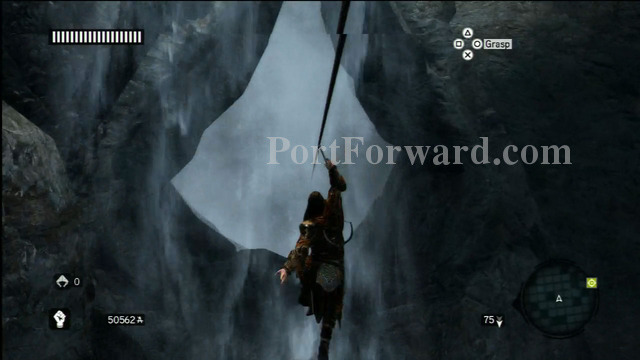
After Ezio jumps out of the way, use the next zipline to reach the top of a waterfall. Dive to the bottom and continue pressing on after you reemerge from the water.
Keep heading forward and always try to maintain your momentum. After the final zipline snaps, climb back up the side of the cliff and enter the tomb.
Use your Eagle Sense on one of the doors to your right to spot the hidden passages. Go inside to grab your second Masyaf key.
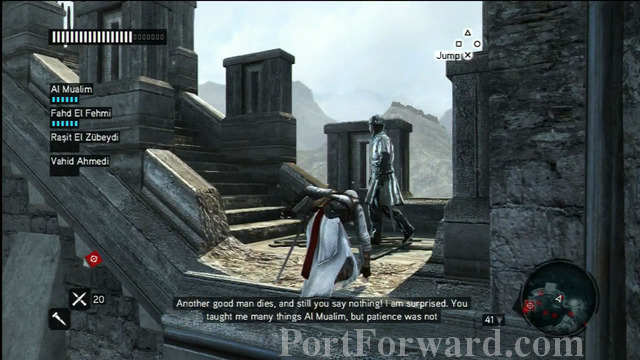
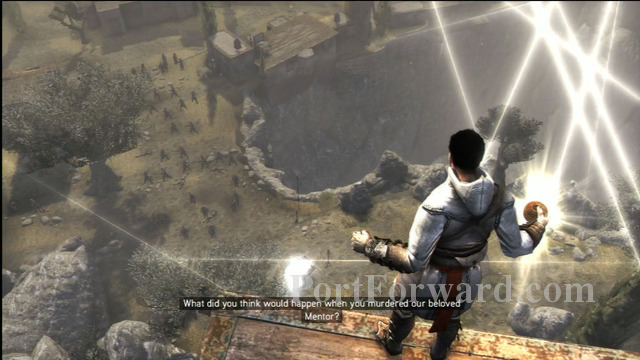
Memory 6 - This next Altair mission puts you in the shoes of the fabled assassin just moments after the conclusion of the first Assassin's Creed game.
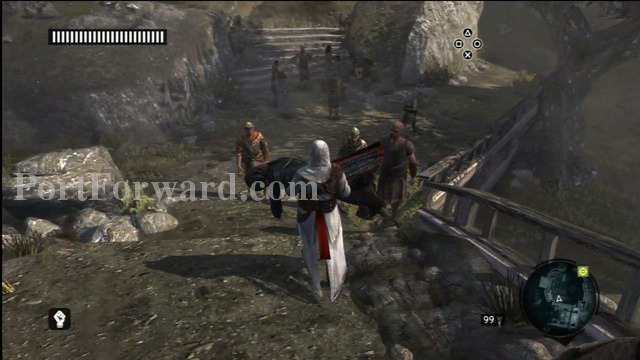
With the body of your mentor Al Mualim in hand, make your way out of the keep and down the hill. Ignore the numerous onlookers as you make your way towards the pyre.
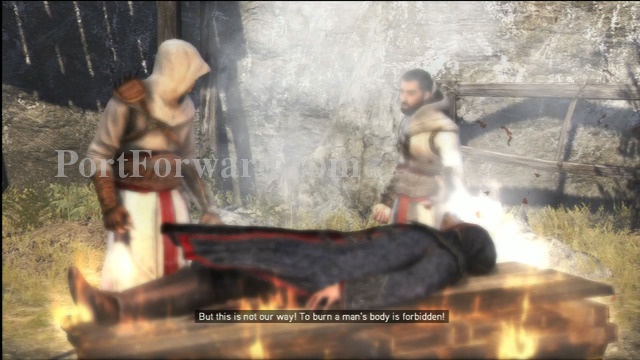
Once you reach the fire, place Al Mualim's body on the slab of wood. Igniting your former mentor will cause a rift in the group, dividing those who are with you against those who are not.
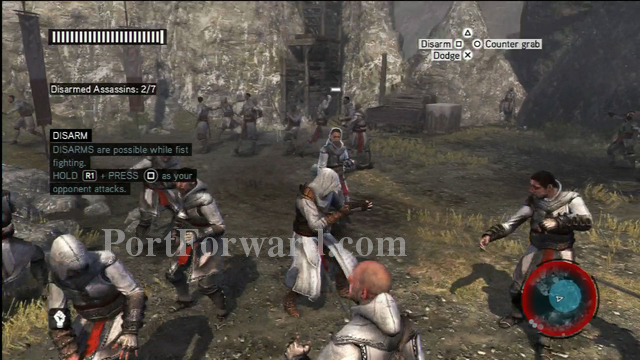
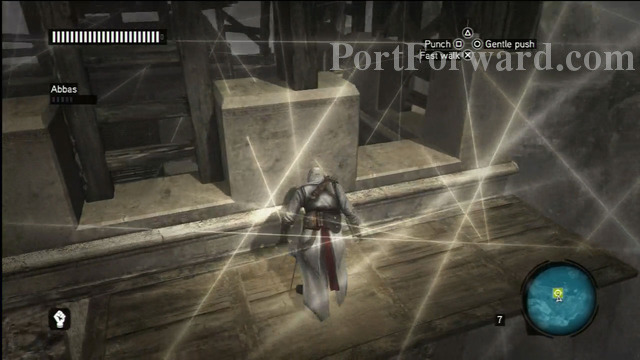
Once you regain your footing, disarm your fellow assassins by holding R1 and hitting the disarm button as soon as they're about to make contact with you. Subdue 7 of them to trigger the next cutscene.

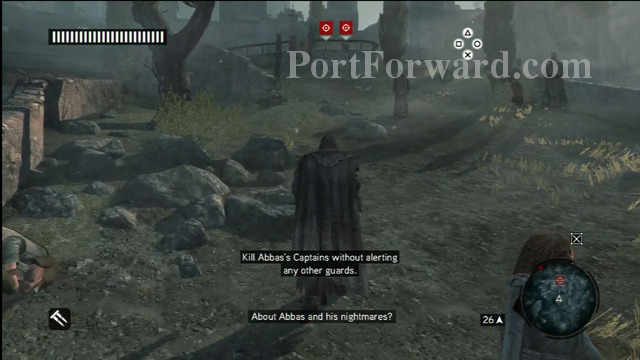
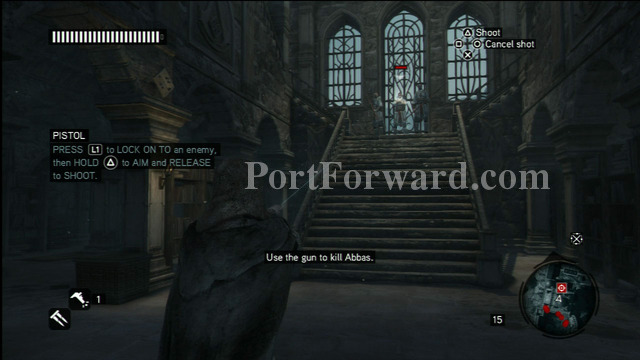
You are now tasked with reaching Abbas while the Apple of Eden grows out of control. Listen to the sound cues for when the Apple releases a surge of energy.

Make sure you have proper footing at these moments, because you'll be knocked down if you're in the middle of scaling the wall. Climb to the top of the tower and grab the Apple before Abbas dies in order to complete the Sequence.
Assassins Creed Revelations Walkthrough Sequence 5- Heir to the Empire

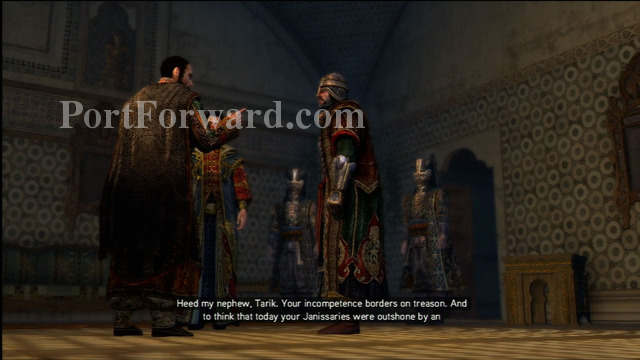
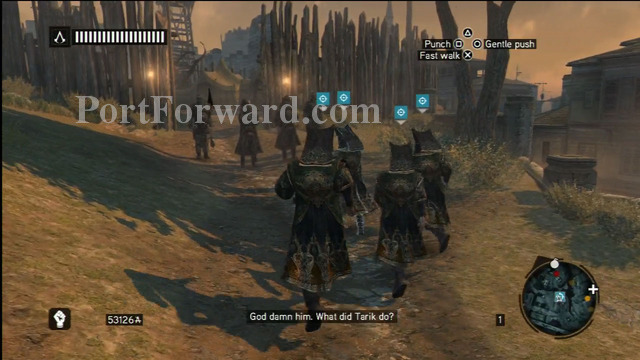
Memory 1 - Make your way into the bazaar and speak with the upset merchant. Listen to his complaints about the Janissaries before setting off to locate Tarik Barletti.

Use your Eagle Sense to spot him, then follow him through the market. Keep your distance and stick close to the crowds to blend in and remain anonymous.

If he turns around and spots you, quickly run away or go back in hiding to lower his awareness.

After you overhear Tarik's second conversation with a Janissary, he'll go into an area guarded by a pair of soldiers.

Use a Tactical or Diversion Bomb to distract or obstruct the guards and continue following Tarik. Cross the next bridge to conclude the Memory.

Memory 2 - Meet Yusuf in southern part of Constantinople. Watch the conspiracy unravel in front of the Arsenal gates, followed by the seeds of an uprising.

Your goal in this Memory is to convince the people to revolt against the guards.

Start out by bribing the three Harolds that preach near the gates. With that accomplished, join the rioters at the gates and defend them against the waves of Janissaries that attack them.

Use your Assassin Signals whenever they recharge and try to take out the soldiers as quickly as possible. If the number of rioters dips below 25, you'll fail the mission.

Keep moving and avoid getting into lengthy battles with a single enemy. Counter attacks and quick assassinations dispose of guards in a timely manner.
After a few minutes, the people will finally break through the gates, giving you entrance into the Arsenal.
Memory 3 - As soon as you enter the burning shipyard, engage your Eagle Sense to spot Manuel's trail. Head along the path to the right and avoid any skirmishes of making a b-line for your target.
The rioters will keep the Jannisaries occupied, so don't even worry about fighting them.
Once you reach the target area, use your Eagle Sense to spot your mark in the empty shed.

Listen in on the conversation until you get spotted.

It's now time to get out of the Arsenal as fast as possible. Dozens of enemies will be on your tail, so try not to linger at any spot for too long.
Climb to the rooftops to find plenty of ziplines that will speed up your escape. Head north to the same gates where you entered the Arsenal to complete your escape.
Memory 4 - Meet with Sofia to learn about the painting that has been stolen from her house. Head to the Bazaar and use your Eagle Sense to locate the man with information. Beat him up a little bit to learn about the merchant who's in possession of the painting.

Head to the Bazaar and use your Eagle Sense to locate the man with information. Beat him up a little bit to learn about the merchant who's in possession of the painting.

Head over to the store and spot the painting next to the merchant. Toss a smoke bomb at the storefront, then run in and grab the painting to avoid any detection.
With the art in your possession, head over to the marker and meet up with Sofia.
Memory 5 - Climb up the tower near the Herald and use your Eagle Sense on the perch to spot the book.
Jump down and examine the marker to uncover The Flute Girl.

Memory 6 - Upon entering the Forum, Ezio will stumble upon a group of guards loading a raft. Chase after the Templar without falling into the water.
Climb through the caves and hop from ledge to ledge to keep up with them.

After the cinematic where Ezio loses his footing, press on using the metal bars to swing from platform to platform. Shimmy up the wall and slide down the rope to keep up with the Templar. The enemies will begin firing cannons at you, so maintain your mome
Maintaining your momentum is key to keeping up with the enemies, so always keep one eye ahead on what the next obstacle is. However, falling in the water means instant failure, so you have to remain vigil about your current movements.

When Ezio reaches the wooden bridge, the Templar will toss a bomb and destroy the path. Hop through the fire along the posts and continue advancing on the boat.

You'll eventually reach a zipline that allows you to get above the enemies. Drop down onto the boat to halt their progress.

At the bottom of the waterfall, you'll be forced to deal with the four enemies at once.
Pull out your sword and make quick work of the group before engaging your Eagle Sense. Uncover the hidden door to find another Masyaf Key.

Memory 7 - This latest Altair mission puts you in control of the legendary assassin at a later point in his life. After your conversation with Maria, walk with her to the garden behind the Masyaf keep.
Meet with Abbas and watch the tragic cinematic until all hell breaks loose. Run out of the keep and head down to the village. Don't worry about fighting any enemies until you reach your son.
Once the two of you are together, head through the village and take out the targets using your throwing knives.
One knife is enough to stop an enemy in his tracks, so you shouldn't have too difficult a time clearing them out. Once you reach the bottom of the gates, Altair and his son will flee on horseback, ending Sequence 5.
Assassins Creed Revelations Walkthrough Sequence 6- Fortune's Disfavor
Memory 1 - After your conversation with Suleiman, make your way over to the target and identify the Janissary. You have a few choices in how to take him out without causing a panic. You can throw a smoke bomb and move in through the fog, use a distraction bomb to divert the crowds attention, or draw the soldier towards an uncrowded area.
Either way, you should make it a point to kill him near the haystack that sits on the other side of the tower. Your ultimate goal in the Memory is to hide the Janissary's body amidst the straw, so the shorter distance you need to carry him, the better. You'll complete the mission once he's safely tucked away.

Memory 2 - Blend in with your fellow Janissary and make your way towards the target.

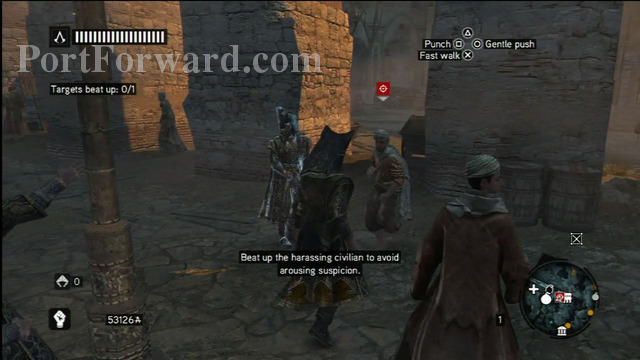
When you reach a citizen who's harassing the guards, keep up your cover by beating him up a little bit. Press on up the hill towards the gate.

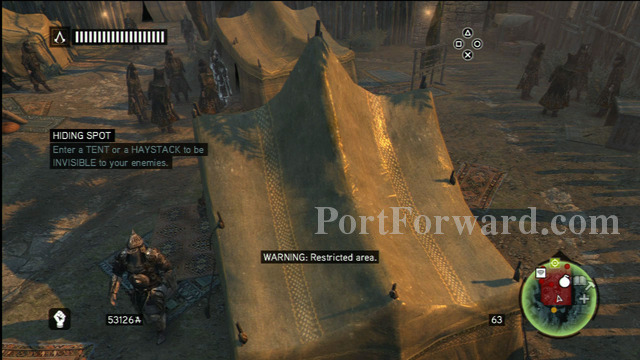
Once you're inside the Janissary compound you'll have to be extra careful, as the slightest misstep will result in you being detected. Quickly hop into the tent directly in front of you and wait for your awareness to dwindle.
Exit out the back and climb up the wall in the corner to the platform with the bomb-making station. Refill your supply of Tactical and Diversion Bombs, using British Gunpowder to ensure the largest blast radius.
When you're done, walk to the edge and wait for the guard to turn his back before you hop down into the haystack. Wait in hiding until the guard comes back, then take him out.
Run to the other side of the platform and climb the tower to reach your next vantage point. Wait for your awareness to go down, then hop off the tower into the haystack below. Aim a smoke bomb at the guard near you to distract him, then quickly dash to the entrance of the tent to initiate the cinematic.
Once you're back in control of Ezio, run forward and attack Tarik. The Janissary will circle you and you'll have to fight your way out. Once Tarik is dead, you'll have to escape the encampment with a mass of soldiers chasing after you.
Run across Constantinople until you escape the red zone, then find a haystack to hide in to lower your awareness ending memory 2.

Memory 3 - You goal in this Memory is to speak with Suleiman regarding what you just did.
The area is restricted, so pay Romani to follow you as soon as you enter.

Use them to keep you concealed as you navigate the palace towards the target.
Climb to the rooftops once you get near Suleiman to avoid being spotted.
After the conversation, run to the group of Romani and hire them in order to escape the palace unseen.
Memory 4 - Visit Sofia and speak to her about your troubles. She'll send you on an errand to gather flowers from hear near the Hagia Sophia.
Head to the target and follow him without being spotted to learn where he gets his flowers from.
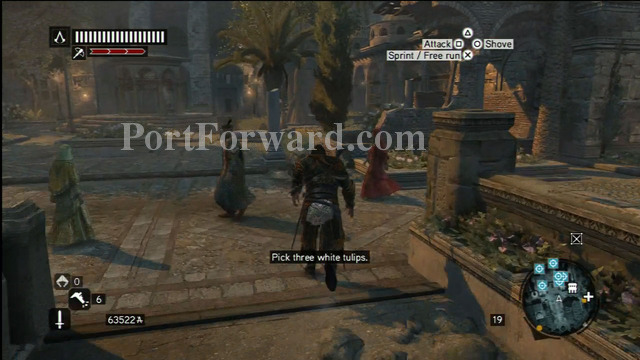
Once you reach the garden, pick three tulips and meet Sofia for a picnic.
Enjoy the picnic... ;)
Memory 5 - Climb the tower and use your Eagle Sense to spot the location of the next book.
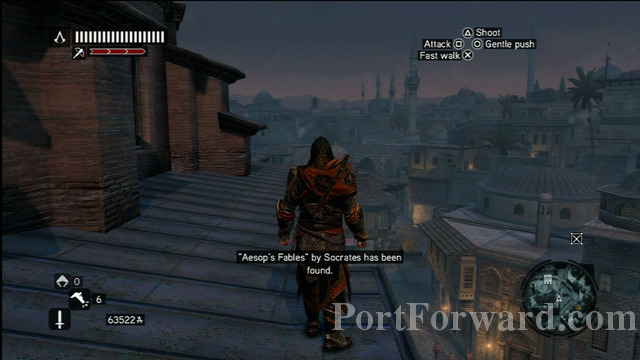
Head over to the light and recover a cope of Aesop's Fables.

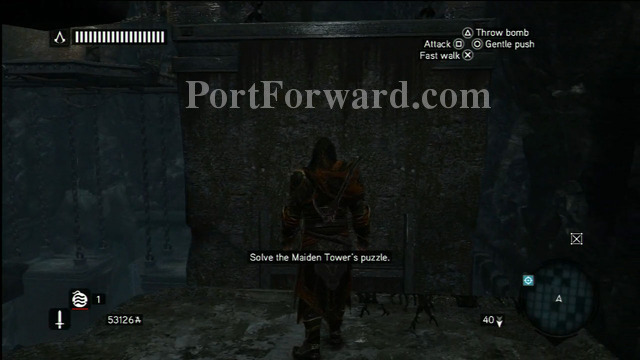
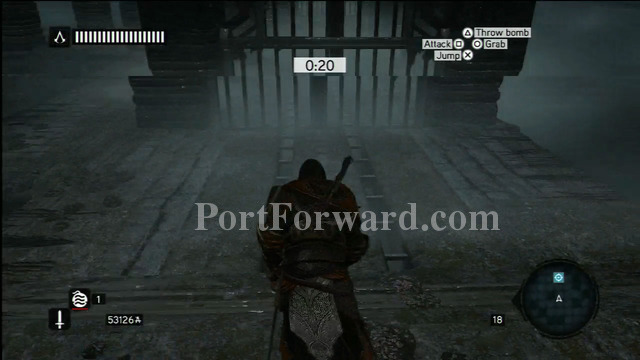
Memory 6 - The Maiden's Tower is one of the most complex puzzles in the game. Once you enter the main chamber, head over and pull the switch. You'll have 30 seconds to climb over to the open area and hit the next trigger, lowers the stones into the water.

Jump to the hanging slab in front of you and climb down. Hop behind you and shimmy along the wall until you reach solid ground. Run across the platform and activate the switch. This time you'll have 50 seconds to reach the open area. Climb up and swing across the bars until you reach the wall. Turn the corner until you can spot your target across the room. Use the bars and platforms to hop your way across the water and hit the switch before the time expires.

With the platforms rearranged, head right and pull yet another switch. This time you have 70 seconds to navigate your way over to the open wall. Use the hanging slabs as platforms and hop across them to the other side of the room.

You'll eventually reach the pillars and be forced to hang on them and circle around in order to slowly make your way towards the target. Keep rotating on the beams to line your jumps correctly. When you finally reach the target, pull the switch to adjust the placement of the obstacles yet again.
The central platform will raise and the gate will lower, revealing your next destination. You have 60 seconds to simply hop down to the walkway below you, run around to the other side of the cage and climb in.
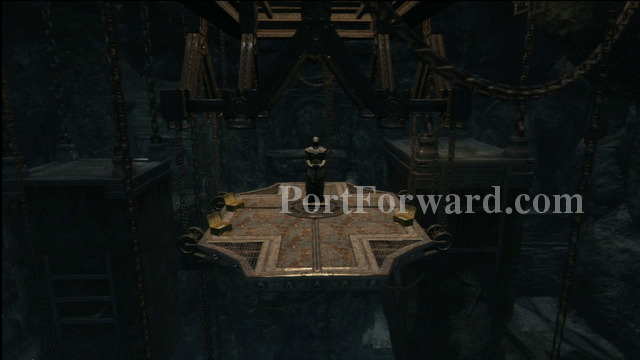
Once you've hit the final switch, the Masyaf Key will reveal itself at the top of the chamber. Climb up there to retrieve your prize.
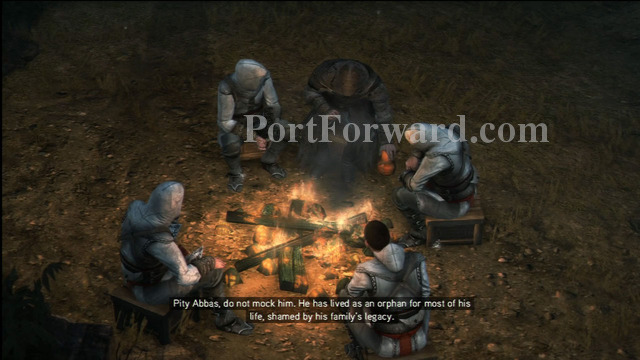
Memory 7 - Altair is now a man in his twilight years. After the campfire scene, progress up the hill through the village.
The older Altair is no longer the agile assassin he once was, so your movements will be slow and limited. Press on towards the target, and a swam of assassin with begin battling each other. Head straight for the Captain and counter his attacks to take him out.
Further on up the hill you come across a group of assassin who still pledge their allegiance to you. Follow them through the gates and continue up the hill.
Some enemies will begin to attack you, but your allies will come to your aid. Ignore all the soldiers and keep heading towards the door.
Once inside, pull out your gun and fire at Abbas to finally gain your revenge.

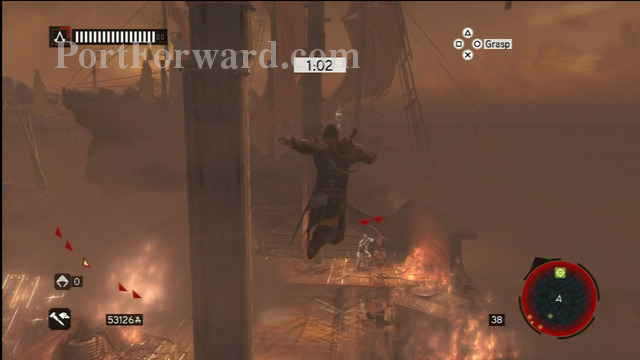
Memory 8 - Speak with Yusuf before heading to the giant chain at the docks. Place the bomb where the chain meets the tower to cause chaos in the area.

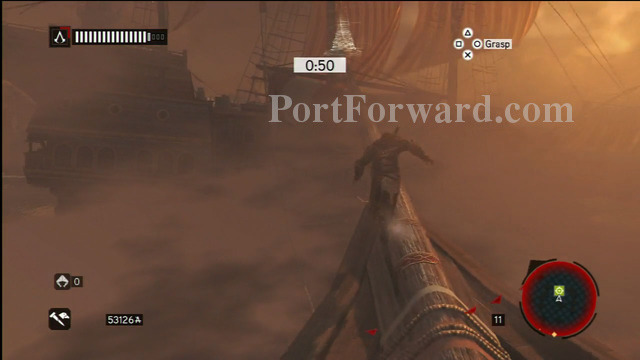
After Ezio takes the zipline to the boat, run to the cannon and begin spraying fire on the opposing ships. Destroy all seven before hopping through the fire from boat to boat.

You have two minutes to make it back to the safety of your ship. It's a straightforward shot to your target.
Just keep running forward and Ezio will do all the work in terms of jumping and balancing.
When you reach the final ship, a group of enemies will attack. Ignore them in favor of running to the glowing spot at the front of the boat. Ezio will reach safety as soon as you make it to the target, so don't even waste your time fighting the enemies.
Assassins Creed Revelations Walkthrough Sequence 7- Underworld
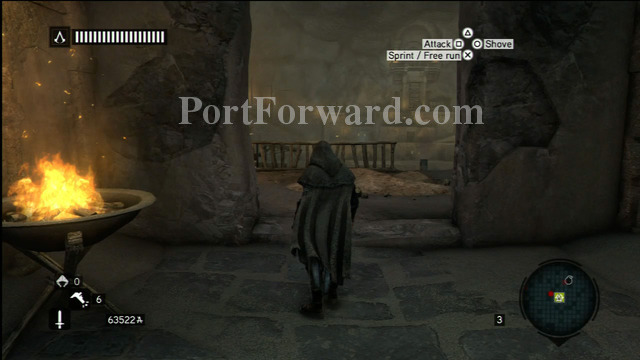
Memory 1 - Once you reach Cappadocia, head up the hill and into the mountain. Enter the city and hop along the shanties towards the perch spot on the center mountain.
Climb up and use the spot to fill in the map of the area. Jump down and head to the green area and use you Eagle Sense.
Stay on the rooftops and spy on the groups of people until you locate your target. Jump down and confront to spy, and she'll run away. Chase her through the streets of Cappadocia until you finally corner her.
Memory 2 - Make your way up the steps into the restricted area and spy on the two men. Make your way back to the marker to find the guard who's holding the key.

Use the high ground in order to maintain your low awareness.
When you reach the target area, use your Eagle Sense to locate the guard with the key. You'll spot him amongst a group of guards watching two men fight.
Pickpocket him to grab the key, but be careful when you do. The guards will realize what you've done and give chase.
Run back towards the cell using the highest route possible. Make sure your awareness has gone down before you approach the cell, otherwise you won't be able to open it.

Once the coast is clear, unlock the cell to complete the Memory.
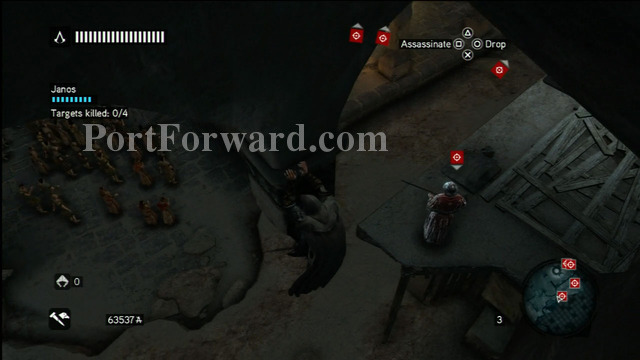
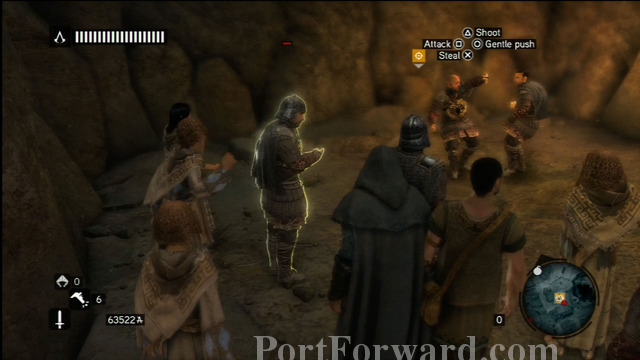
Memory 3 - Watch the cinematic as the guards torture the Ottoman prisoners. Climb up the pillars on the right hand side to reach the first guard. Hop off and air assassinate him before moving forward and sneaking behind the second guard.
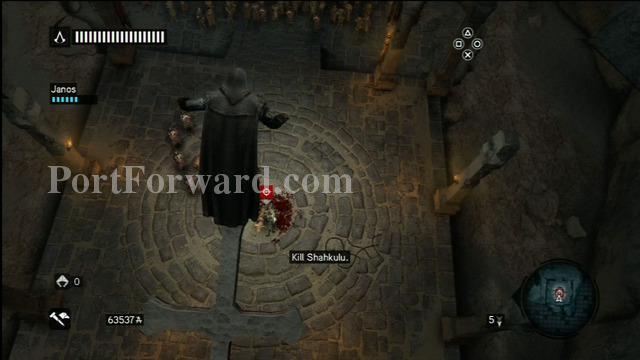
With the two down, swing over to the next platform take out the third guard. Climb up the wall and kill the final guard before looking over the ledge at the scene below. Climb out onto the cross and jump down to take out Shahkulu.
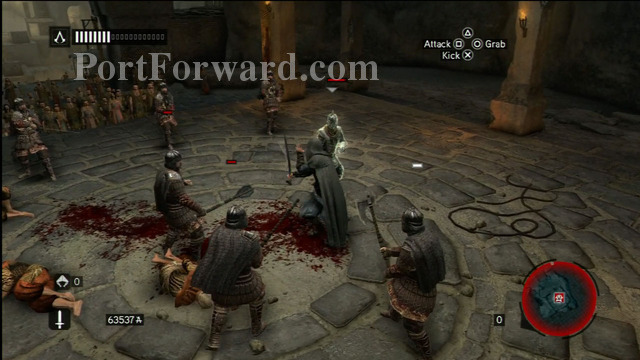
What you think is an assassination turns out to be a trap. Shahkulu and his guards surround you and force you into combat. If you can get a little space, your crossbow will take any of them out in one hit.

Once they get in close, hold your block and wait for them to attack you before countering them with a one-hit kill.
Memory 4 - Spotting the crates of gunpowder give Ezio an idea. Climb up the center pillar to find a way to the weapons depot.
Spiral your way up the center structure until you reach the checkpoint. Shimmy across the rope and make your way along the wall of the city. Once you reach the depot, you'll have to take out the group of guards at the front. Kill one from a distance with your crossbow or knives, then switch to your sword when they get close. Guard and parry their attacks to survive the fight.
There are a few pockets of guards throughout the depot, so spend a few moments clearing the area of all enemies.
Having the guards out of your way makes accomplishing your task so much easier.
With the guards all dead, interact with the box at the target marker.
Use the explosives on the gunfire to destroy the depot, and in doing so, begin the destruction of the entire city.
Memory 5 - Manuel will run in terror as soon as you approach him. Give chase along the rooftops of Cappadocia.
Dozens of guards will be on your tail, but simply ignore them and press forward.
When you reach the gate that Manuel hides behind, dash forward and climb over the obstacle. Run down to the docks and confront your target.
He'll pull out his sword and make one final stand. Finish off the last of the Palaiologi to claim your 5th and final Masyaf Key.
Memory 6 - Treachery! After the cutscene, turn around and run back up the hill. The city is filled with smoke from the fire that you caused.
Your health will slowly go down throughout the Memory, so start heading across the city immediately.
Make your way along the rooftops to the target. Your visibility will be hampered by the smoke, so use your Eagle Sense to see through the fog.
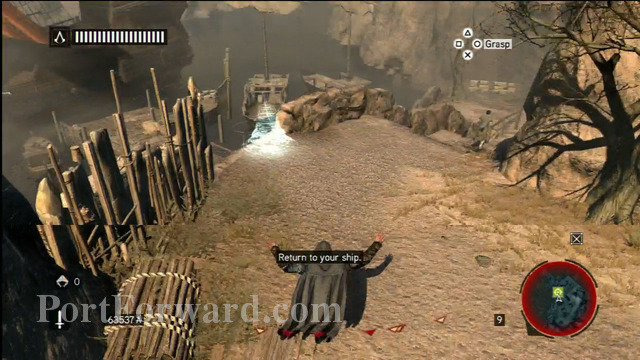
You'll eventually make your way to the mouth of the cave and back to your ship.
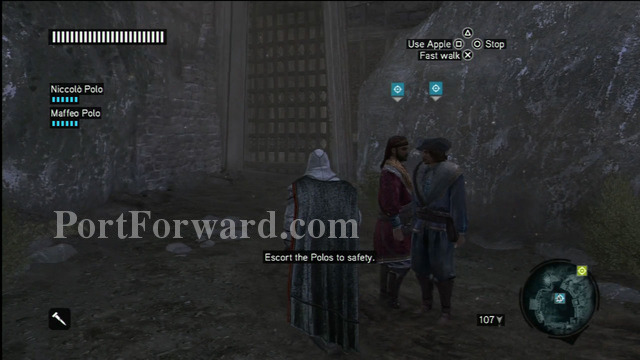
Memory 7 - It's your job as a much older Altair to escort Niccolo Polo and Maffeo Polo safely out of Masyaf.
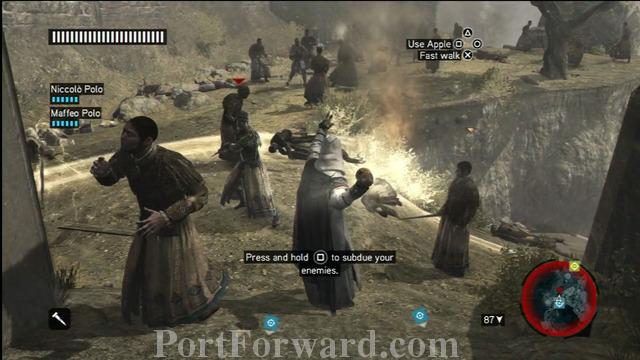
Chaos has erupted outside of the keep, but your Apple can be used to subdue all of the enemies around you.
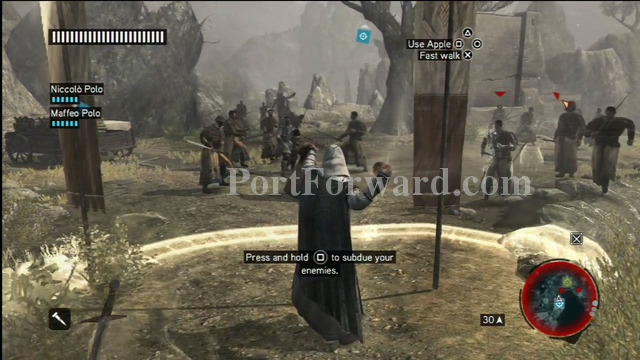
Keep heading down the hill and use the Apple whenever things look like they're beginning to get out of control.
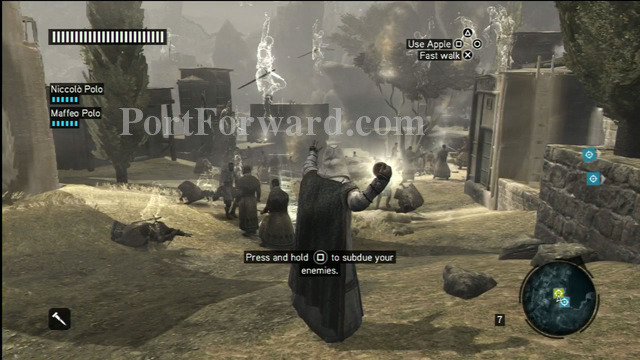
Stick close to your group, and you'll eventually reach the gate to Masyaf and complete the Sequence.
Assassins Creed Revelations Walkthrough Sequence 8- The End of an Era

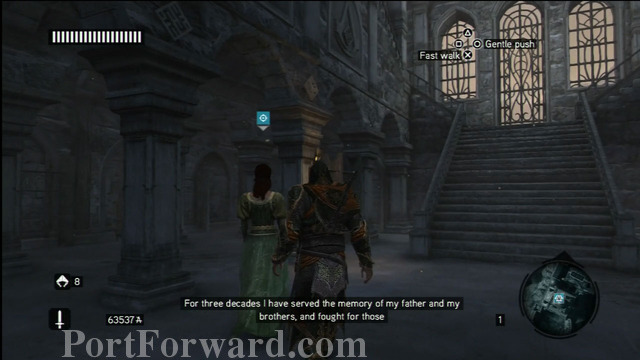
Memory 1 - Enter Sofia's house to discover a grisly scene. After laying your friend to rest, it's time to exact revenge on Ahmet. Enter the Arsenal and run through the guards towards the target.
Reach Ahmet and confront him about Sofia's whereabouts. He will give
Memory 2 - Collect the Masyaf Keys from your safehouse and gather up your fellow assassins to accompany you to the exchange.

Meet up with Ahmet in Galata, and he'll point you towards where he is keeping Sofia.

Climb up The Galata Tower after you hand over the Masyaf Keys to discover the that girl at the top is a fake. Spot Sofia in the distance and parachute off of the tower towards her.

Steer clear of the gunmen on the rooftops and drop from your parachute when you reach Sofia's tree. You'll complete the mission as soon as she's safe.
Memory 3 - The beginning of this mission plays out similarly to the chariot sequence at the beginning of the game. This time Ezio is tasked with surviving an attack from a pair of enemy vehicles that try to surround him on both sides.

Gather momentum when you attempt to ram the side of an enemy chariot. Whichever one of you is moving with the most force will be the one who delivers damage in the collision. Also keep your eye out for rough patches on the ground. Knocking an enemy into these will result in them taking a massive amount of damage. Likewise, finding yourself in one will quickly take down your health.

After you survive this first segment, you'll find yourself hanging in the air behind the chariot with your parachute keeping your afloat. Protect Sofia by taking out the guards that ride up behind the chariot. You can assassinate them for a quick kill, or go for a throw and take a chance at taking out two of them with one hit.

Whichever way you choose, your focus should be to remove all of the enemy horsemen from the pursuit. Also be sure to keep an eye out for walls and trees that pop up in your way. You have some limited control over Ezio's position in the air, so use this to avoid any oncoming obstacles.

As long as you take out the guards in an efficient manner, you should have no problem in keeping Sofia's health high. Once the level reaches the cliffs, you'll have to engage in a mid-air fight with Ahmet.

Block his attacks and counter with punches of your own to make quick work of your enemy. Watch the cinematic once you land to finish up the Sequence.
Assassins Creed Revelations Walkthrough Sequence 9- Revelations
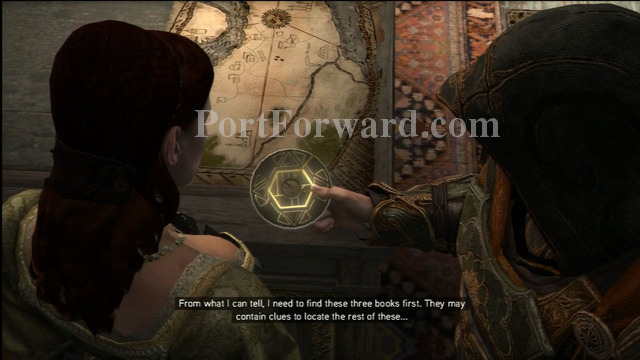
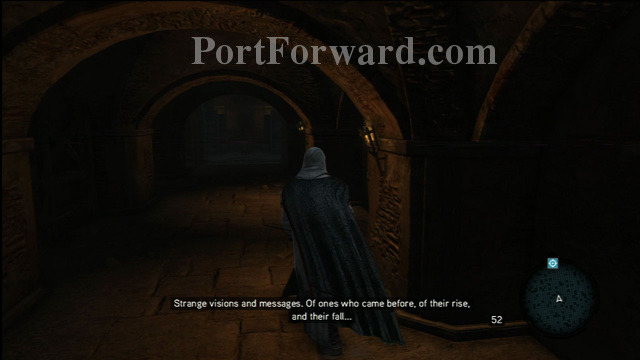
Memory 1 - Walk with Sofia up through Masyaf and into the keep itself. To the left of the main staircase is a path leading down to Altair's library. Place the 5 Masyaf Keys into the door, and you'll be tasked with solving a puzzle to open the way forward.
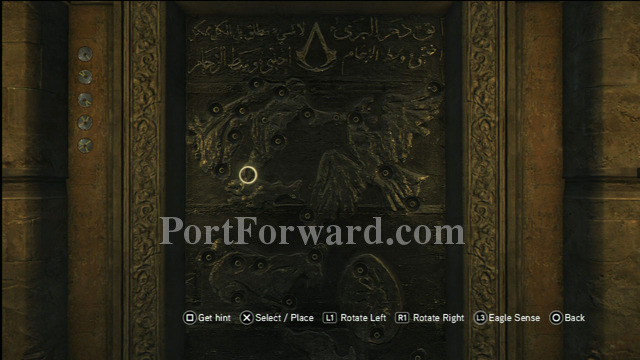
Use your Eagle Sense to view the outlines of the constellations. Each of your keys can only fit in one spot. Pay attention to the amount of lines on each key and the angles at which they meet. Match them up to the lines on the door to complete the puzzle. The solution can be found below.

Light the torches along the hallway before stepping into the library proper and discovering the body of Altair and the final Masyaf Key.

Memory 2 - The only action in this Memory is for you to douse the torches that line the hallway.
It's as easy as pie!
Memory 3 - Just sit back and watch the ending to Assassin's Creed: Revelations.

 Alpha Polaris Game Guide & Walkthrough
 Assassins Creed (XBOX360) Game Guide & Walkthrough
 Arma III Game Guide & Walkthrough
 Alpha Protocol: The Espionage RPG Game Guide & Walkthrough
 Alone in the Dark Walkthrough Alone in the Dark