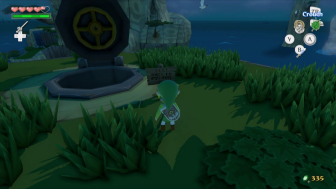
After acquiring Din’s Pearl and regaining control of Link, there are a few goodies for us to collect here on Dragon Roost Island. The first is nearby at the Wind Shrine. From where the King of Red Lions is located, turn around and pass through a narrow tunnel. Jump into the water and swim to the small piece of land.
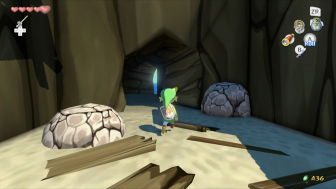
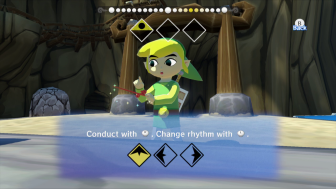
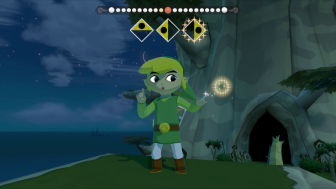
Examine the marking on the stone and pull out The Wind Waker. Play the tune as it is marked to learn the Wind’s Requiem. Link will then meet Zephos, the god of winds, and he well tell you that your new song has the ability to control the wind.
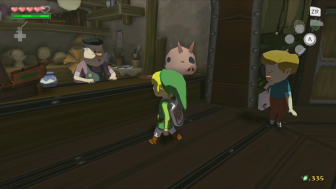
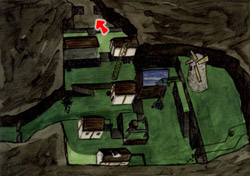
After acquiring the new song, there is one optional goody for us to collect. Traverse the island and make your way back inside where many of the Rito reside. Climb to the top and speak with Baito, the new Rito who is working at the mail-sorting station. (Note: If you didn’t complete this portion of the quest before Dragon Roost Cavern, than the initial Rito will still be here and he’ll first talk to you about mail-sorting.)
Sort 25-pieces of mail within 30 seconds and Baito will be so excited that he will feel the need to tell his Mom. Since he cannot leave his job, he asks Link to put a letter to his mom in the postbox. Head back outside towards the King of Red Lions and along the way, Link will find a red postbox. Drop off the ‘Note to Mom’ by selecting it while standing in front of the postbox and pay the 5 rupees of postage.


We’ll continue with this side quest in a little bit, but for now, there is nothing left for us to accomplish here on Dragon Roost Island. Return to the King of Red Lions and play the Wind’s Requiem, blowing the wind to the south. The King of Red Lions will tell you some back story and mentions that you need to go south to get the next pearl.
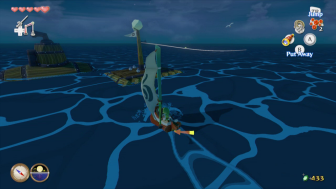
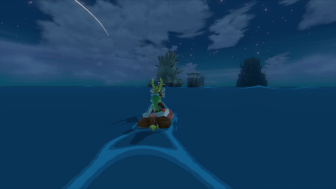
Climb on the boat and turn to the south. Pull out the sail to begin our journey to our next destination. When you reach the edge of Dragon Roost’s border, a Fishman will stop you. One of these little guys can be found in every square region of the Great Sea map. He will mark your map and give you a hint about whichever square region you are in. For other square regions, if Link sees a Fishman jumping out of the water, he can ride over to that area and drop some All-Purpose Bait, causing the Fishman to speak with him and mark his map.


From Dragon Roost Cavern, continue sailing southward towards the destination on your map. Along the way, you can find the various Fishmen and mark your map. The first two square regions that Link travels through are Fire Mountain and Eastern Triangle Island. Unfortunately, there isn’t anything significant that we can do at this point at either location.
The next square region, which is one square north of our destination, is Bomb Island. There isn’t much we can do on the actual island itself, but just south of it, Link will find a submarine, along with a small raft with a Pink Bokoblin on it. Whenever you see Bokoblins, you can use your grappling hook on them to get a spoil, which in the case of Bokoblins, is always a Joy Pendant. We will be needing a handful of these later on in the quest.
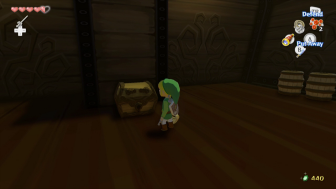
Jump over the submarine and head inside. There are a trio of Bokoblins in here, so collect joy pendants from them and then defeat them. Once all three have been done away with, a treasure chest will appear. Open it open to get the second Empty Bottle! Head back to the King of Red Lions and continue sailing southward.
Once you get near the Forest Haven, the King of Red Lions will tell you that inside this sacred place lies the spirit of the earth, the Great Deku Tree, and that he will give you Farore’s Pearl.

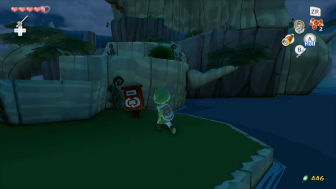
Once arriving at the Forest Heaven, you should see a red mailbox bouncing around. Examine the mailbox to find that there is a letter for you. The letter comes from Kashiko, the mother of the mailman Baito. She thanks Link for helping her son and rewards him with Piece of Heart #5!

Climb up the raised areas to make your way up the island. Defeat the Boko Babas and collect their Boko Baba seeds as you continue up to the top of the island.
Use your grappling hook to swing over the water and land on solid ground. You’ll find some Octoroks in this area that shoot rocks towards you. Raise your shield and the rocks will deflect back, defeating the enemy. Continue navigating across the water using the grappling hook and enter the large cave.


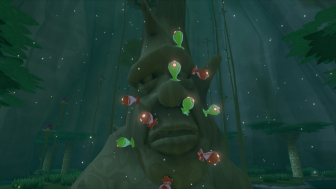
Follow the small river up to the massive tree and stand on the lilypad. The Great Deku Tree will wake up and be covered with Red and Green ChuChus. Roll into the tree to knock off all the enemies and then defeat them with your sword. The Green ChuChus will drop green chu jelly.

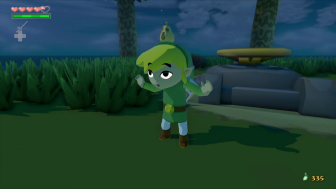
After a lengthy conversation with the Great Deku Tree and the Korok, Link will be set on a quest to save Makar from the Forbidden Woods. Before Link can do so, he must collect a special leaf.
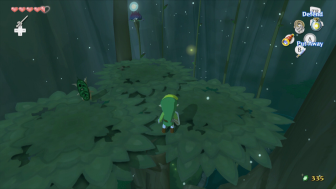
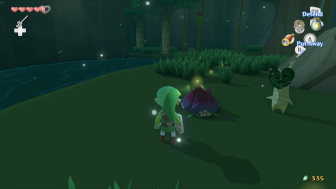
Run behind the Deku Tree and you should see a firefly that is bigger and brighter than the rest of them. Use a bottle to swipe and catch this Forest Firefly.
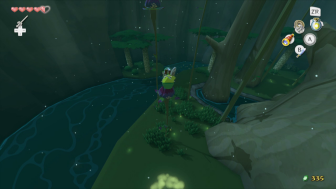
Run back to the lilypad and face the Great Deku Tree. Just to the left there is a Boko Bulb. It looks similar to a Boko Baba’s roots, but is slightly discolored. Link can jump into this boko bulb and it will launch him into the air. Face the the stem of the other bulb that is just beside it and hold that direction while Link is being shot up. Link will land inside of the boko bulb. Continue across a series of boko bulbs until you can land on top of the tree branches.
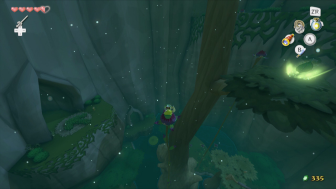
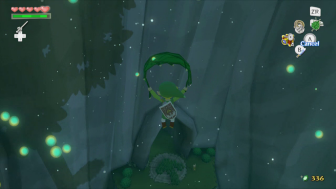
On the tree, use your Grappling Hook to swing across to the next bulb. Continue going from bulb to bulb until you reach the glowing Deku Leaf.

One of the Koroks tells you to fly to him so that you can get to the Forbidden Woods. Notice you now have a small green bar underneath your health, this is your magic meter. You can fly with the Deku Leaf as long as you have magic. If your magic runs out, you will fall to the ground.
OPTIONAL: Before jumping to the Korok, there is another area even further up. If you jump off the ledge and fly to the boko bulb, you can shoot yourself higher and glide to the highest portion of this area. Walk through the passage to get outside.
Play the Wind’s Requiem and change the wind so that it is blowing to the north. Now leap off the ledge and use your Deku Leaf to glide on over to the line island here. You can speak to the man here who is impressed about your ability to fly. He asks if you can hit the switch that is at the top of the Forest Haven. Pull out your Bait Bag and select a Hyoi Pear. Use the Pear and a Seagull will come down and grab it. You will now be able to control the seagull. Guide it in the direction of the switch and have the Seagull hit the switch. This will cause the door on the island to open, as well as the ladder to drop down.
Link can drop down into this area here to find the Nintendo Gallery. Also, since the ladder has fallen, Link now has easy access to this island from the sea, without having to travel through the Forest Haven. The Nintendo Gallery is a completely optional side quest that does not really have much of a reward, outside of just completing the game 100%. This is the only side quest that is NOT being covered in this guide. For more information please visit our Nintendo Gallery Guide.
If you did sidetrack to reach the Nintendo Gallery, you’ll have to return to the Forest Haven the same way you originally entered the area. Once inside, scale the room using the boko bulbs to reach the point where you initially got the Deku Leaf.
From where you acquired the Deku Leaf, jump towards the Korok and pull out your Deku Leaf. You will use it to float over to him. It’s easiest to adjust the camera so you can see below you. Once your shadow reaches the next section, you can let go of the leaf by pressing A. Cut down the grass to fill up on magic and then head outside.

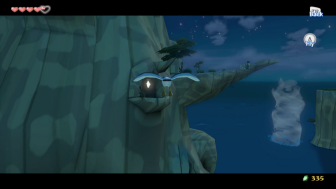
You should notice a Korok standing on the ledge. Climb up there and play the Wind’s Requiem to make the wind blow to the southwest. Hop off the ledge and use your Deku Leaf to float over to the small island in the ocean.

Cut down the grass for some extra magic and blow the wind northwest. This part can be tricky. You have to time your jump just right so that you float over the small cyclone so it pushes you upward. It’s best to jump when the cyclone is to the south of the island. If you miss, just drop down and try again.


When you get close to the ledge, the three peahats will try and knock you down. Do your best to avoid them, because if they hit you fall to the ground. Once you make it to the ledge, cut down the grass for some extra magic and hearts. You can use the grappling hook on the peahats here to get a Golden Feather spoil. These will be needed later on in a side quest. Once you are ready, head inside to take on the second major dungeon, the Forbidden Woods.

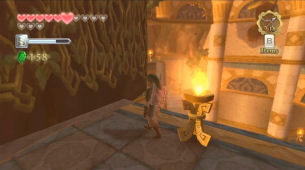 Skyward Sword Walkthorugh – Fire Sanctuary –
 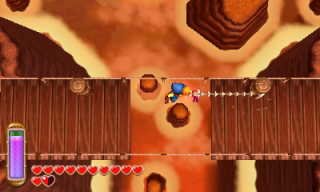 A Link Between Worlds Walkthrough – Ice Ruins –
 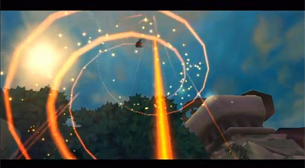 Skyward Sword Walkthrough – Eldin Volcano –
 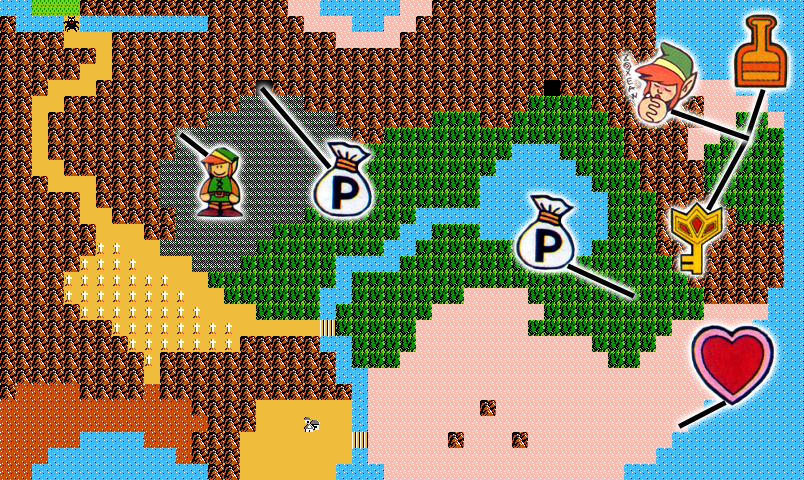 The Adventure of Link Walkthrough – Hidden Palace –
  A Link to the Past Walkthrough – Gargoyle’s Domain –