It is important that your games are protected and housed to prevent the CD from getting dirty or dusty. This has been made possible with Nintendo wii cases that are available in the market. They come in different colors and materials and you get the opportunity to select a case that interests you. However, you can also build a PC inside entertainment system of the Nintendo wii cases. Although it is a bit challenging, it can be done.
This entertainment system is very small and does not allow for much airflow which means that they are prone to overheating if you don’t use the right tools and components. If you want this to work out then it is important that you have a mini-ITX motherboard complete with processor, sound card and video card. With these components you can use laptop components to finish the project and maximize airflow in the system.
The things you will need in order for this to work include an entertainment system for Nintendo wii cases, mini-ITX motherboard, motherboard power deals, 2.5-inch hard drive, laptop optical drive and windows OS installation software. You will also need laptop PSU, dremel tool, and cooling fan. To initiate this process use the dremel to remove any protruding plastic from the inside of the entertainment system of the Nintendo wii cases. Place the hard drive on the bottom of the Nintendo wii cases and cut the mouse pad.
Place the motherboard on top of the mouse pad and then cut a rectangular hole in the back of the case to reveal the motherboard’s backplate with all the peripheral ports. It is important that you sand down the rough edges. Then remove the power button circuit board from the entertainment system of the Nintendo wii cases and solder the motherboard power leads to the circuit leading to the power button. Then remove the small piece of metal that keeps the button pressed when pushed in. However, if you are not sure of which piece to remove, then compare the power button to the reset button and take away the additional metal piece.
After that, place the power supply unit to the motherboard and drill a small hole in the back of the Nintendo wii cases entertainment system for the power connector. Then attach the optical drive to the top half of the Nintendo wii cases with a duct tape so that it will drive out of the game tray slot. Connect the optical drive and the hard drive to the motherboard using the IDE adapters. Then connect the PSU to the motherboard and connect the cooling fan.
Then take time to place the two halves of the Nintendo wii cases together and then secure them with the original [censored] s. When you are done, plug all the peripherals into the back, and connect the PSU cable to the connector and into an electrical outlet. Turn the system on, and load the installation software into the optical drive and if you did everything properly, the system will run without any hitch.


 Guide: How to Get a High Score in inFAMOUS: First Lights Battle Arenas
 Guide: How to Kill Micolash, Host of the Nightmare in Bloodborne on PS4
 Guide: Building Blocks for Beginners in Minecraft: PS3 Edition
 Guide: How to Earn Millions of Gran Turismo 6 Credits in Minutes
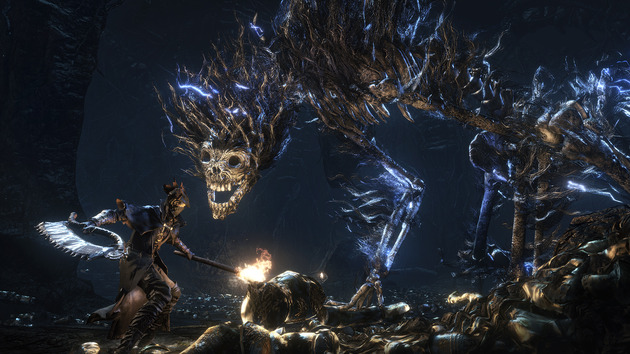 Guide: How to Kill the Darkbeast Paarl in Bloodborne on PS4