There are lots of boring tasks you can automate in Windows and saving time on otherwise tedious chores is something everyone can appreciate. Next time you need to rename many files at once, here’s how to complete the process in seconds no matter how many files are involved.
The simplest way is to select all the files you want to rename in Windows Explorer. It’s a good idea to put everything into its own folder so you can use the headings to sort the files how you wish — perhaps a set of photos from a vacation in chronological order.
Simply press Ctrl + A inside your folder to select all files. If you don’t want to rename everything in the folder, use your mouse to highlight a group, or hold Ctrl and click to select multiple files.
After making your selection, right-click the first file and choose Rename. You’ll then need to type a “root” name that all files will share — so typing “Example Photo” means the first file will be named “Example Photo (1)”, the second “Example Photo (2)”, and so on. Press Enter once satisfied with your name and every file’s name will change.
This spartan method works fine if you have a bunch of files with long, useless names and want to quickly get them under control, but PowerShell gives you more flexibility. If you’re interested, read up on PowerShell basics and consult Microsoft’s documentation on the Rename-Item command.
Check out our beginner’s guide to batch files if you’re interested in learning more about batch programming.
What files do you need to rename quickly? Do you use a different method for renaming? Have at it in the comments!
Image Credit: Ollyy via Shutterstock.com


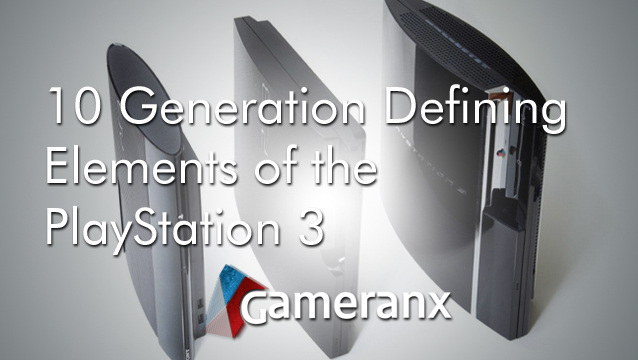 10 Generation Defining Elements of the PlayStation 3
 5 Biggest Video Game Industry Blunders In 2013
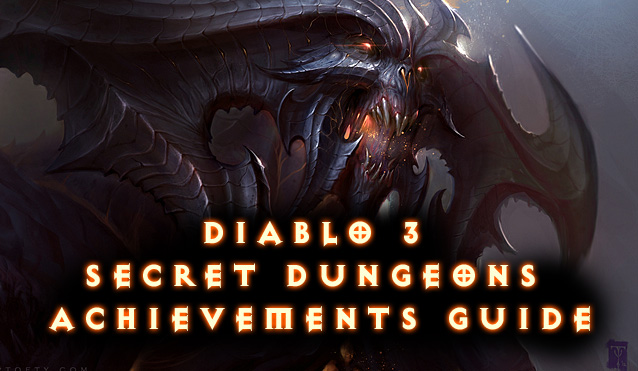 Diablo 3 Secret Dungeons Achievements Guide
 Dark Souls 2 Crown of the Old Iron King Boss Guide: Smelter Demon
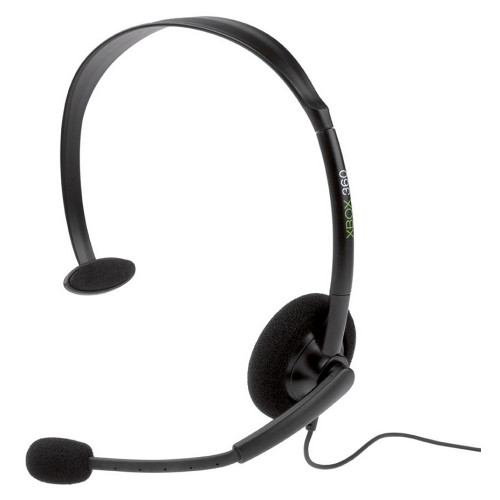 Have $20? Here's 10 Things To Improve Your Gaming Life