

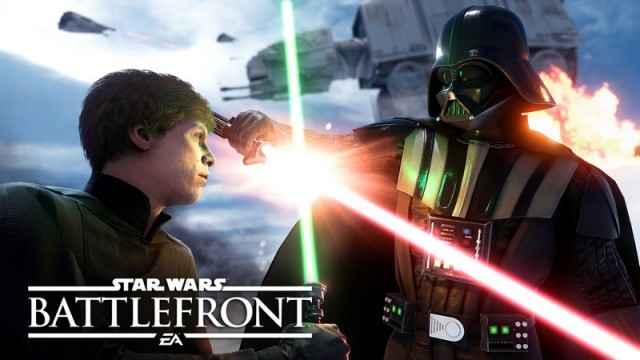
Star Wars Battlefront Beta is now available and you will experience the all new reboot of the famed multiplayer franchise Star Wars. As a Beta, you will only have a glance of what to expect and what will the full game offers. Here we have the best tips and tricks you need to know from you get your hands on the Star Wars Battlefront Beta.
The Big Map
The Maps you get in Beta are large so dealing with the AT-ATs Blasts can be tough but if you have unlocked the Thermal Detonator then it will help you find and open new areas to escape when the team is in a critical damage.
What is Important
Until other starships are controlling the sky, it's very important for you to stay on the ground and cover the remaining area. Winning or Lossing the battle purely depends on your attack and defending strategies.
Know Your Enemies Objective
Make use of best Vehicles and weapons like the ion-enhanced weapons that can charge the Ion Shot and Ion Grenade to deal extra damage of the AT-AT and other vehicles. Alos with the Ion Shot you have limited time to use the ion bolts. So move your move accordingly.
Being Rebels
Before AT-ATs makes it to the first or second checkpoint Rebels have only a few seconds left so it's better to make use of the outpost inside the mountain so that you are close to the walkers. Why escape from the outpost? Because this will prevent you from suffering the Orbital Strike or heavy blasters. Keep distance until AT-ATs is attacked by your team’s Y-wings. This will be the smartest move for the Rebels to win.
Being Imperial
For an Imperial, it's the opposite so keep moving forward until the uplink is secured. Once that is done Now you need to set the defence up reduce the chances of activating the uplink. Here the Squad Shield card play a major role(if you have one) to set up the perimeter.
Improving Defence
One Wrong move nad your enemies will have the advantage. So planning your defence is very important here. The Sulphur Fields are quite open and these are where you need to plan your defence from the vertical foes with a Squad Shield or Proximity bombs, where you most vulnerable.
Improving Attack
Always keep the Pod at your sight, ever spread out beyond the range of the pod. During the capture do not be too close as a single Thermal Grenade or Thermal Imploder can take down the whole defending squad.



 Bloodborne: The Old Hunters - How to Get the Church Pick
 Steps to Downgrade PS3 from Custom Firmware (Any)
 Panda Bear play Boys Latin on Jimmy Fallon show
 Mafia 3 Wiki – Everything you need to know about the game .
 Axwell Ingrosso release lyric video for Something New