Mission seven starts with Dante in the underwater Limbo world. Scale the four chunks of debris to a bridge that is blocked by a glowing, red wall. Instead of Arbiter, this will need to be opened by Eryx (the gauntlets you just received). Use the brawler attack to bust through the wall and onto the bridge. Now in the center of the bridge is another red, glowing area. This time, use stomp attack to bust through and drop below the bridge. Use angel lift a few times to get on top of a semi and use the brawler attack on the glowing area of the perpendicular truck. Double jump/angel boost to get on top of the semi. Use angel lift to get to the bridge and the brawler attack to clear your way.
Here you will be attacked by a death knight. He should be a piece of cake by now. After him will come a second death knight. Once you’ve taken care of the second death knight, go to the other end of the bridge and use the brawler attack to clear the way. Here you will face two death knights, a hell knight, and a handful of stygian. Now that you have Eryx, you can charge up your uppercut move to knock enemies in the air. Once up in the air, use the demon pull move to pull enemies up and beat them. When you are about to fall, charge up your stomp move to clear the ground below. After they are defeated, a tyrant will pop up from the ground. Now you will be able to charge up your uppercut attack to drop tyrant’s as they charge, however the attack doesn’t do much damage as the risk/reward is pretty low.
After you have finished the tyrant, head to the end of the bridge and use the brawler attack to continue on. To your left is an angel lift marker, use it, then use the demo pull to get past the first two platforms. Then use a double jump/angel lift to get to the third platform. Now use demon pull and a double jump/angel boost. Another angel boost will get to the next platform, then use angel lift and demon pull to cross the gap. Lastly, jump to the wood planks and use the brawler move to start a cutscene.
Use angel lift and you will activate a boost ring that will land you on your next ledge. Jump toward the angel lift marker and use the ability at the least second. Now use double jump/angel boost to get to the next platform. Use angel lift, then descend to the open platform. Two pathos will attack. Finish them and jump to the metal platform hanging off of the busted building on the right. Hop up and jump to the ledge that has “Obey Your Masters” scrolling across it. Use angel lift and another boost ring, when you land a rage spawn will spot you and run off.
Run forward and use the Divinity Statue if you need to. In the next room, a hell knight and three stygian will ambush you. After them, you’ll get a frost knight and three stygian. While hell knights are advisable to take out early, always leave frost knights as they are as likely to hit other demons as they are you. Now you will face a frost knight and a hell knight. Take out the hell knight first, then finish the frost knight.
After you’re done, use angel lift to exit the room. Hop down and the rage spawn will spot you again. Now you will have to fight two rages. These monsters are the tough, due to their speed and ranged attacks. The best way to handle them is to keep them up in the air as long as possible with your shredder attack. Try to evade their attacks, but be wary as they hit more often than they miss. The worst part is, after you kill one the second will go into a “rage” and become invincible as long as it is glowing. All you can do is evade its attacks until the glowing stops and then strike.
After you have handled the rages, jump through the hole in the wall and snake your way through the halls. After coming out on the other end, go forward and take a left. As you ascend the ramp, the pieces in the middle will abscond, so use a double jump/angel boost to get across. Then circle around and two shielded pathos and a hell knight will attack you. Use demon pull and Eryx to handle these enemies and then continue to circle to the other side. Here use angel lift to reach the second level of the structure. Continue to circle around the structure, using double jump/angel boost and angel lift to get past the gaps. Finally, you should come to an elevator. Use the stomp attack to take the elevator down.
Exit the elevator and go forward into the room straight ahead. In here, use stomp again to bust through the floor. Now you will have to fight two more rages. Use Osiris to deal with them and be ready to evade their attacks. Juggling one in the air for a couple seconds, then evading the second’s attack often the best strategy.
After the rages are defeated, use angel lift to get up to the open hallway. Go down the hallway and use the divinity statue if you have to. Then, take a left and use the angel lift marker above the black rocks. Cross the bridge and it will contort itself.
Dante will spot an old man in some trouble To make your way to him use angel lift to jump onto the first train car. A double jump/angel boost move will get you to the second train car. Now use angel lift and the boost ring. Then lastly, use a double jump/angel boost to get to the old man.
Here you will get an introduction to harpies. You can gun down their wings and then demon pull them close for the kill. It is tempting to angel lift yourself toward them, but that can sometimes leave you without ground to land on. If you do shoot off their wings, be careful as they will grow back in a few seconds. You will kill one, then two more appear. Watch out for their harpoon attacks, as they take time to aim, but often hit their target. After defeating the Harpies, the mission will be over.


 The True History of Assassin's Creed
 Fallout 4: How to Kill Animals and Bugs
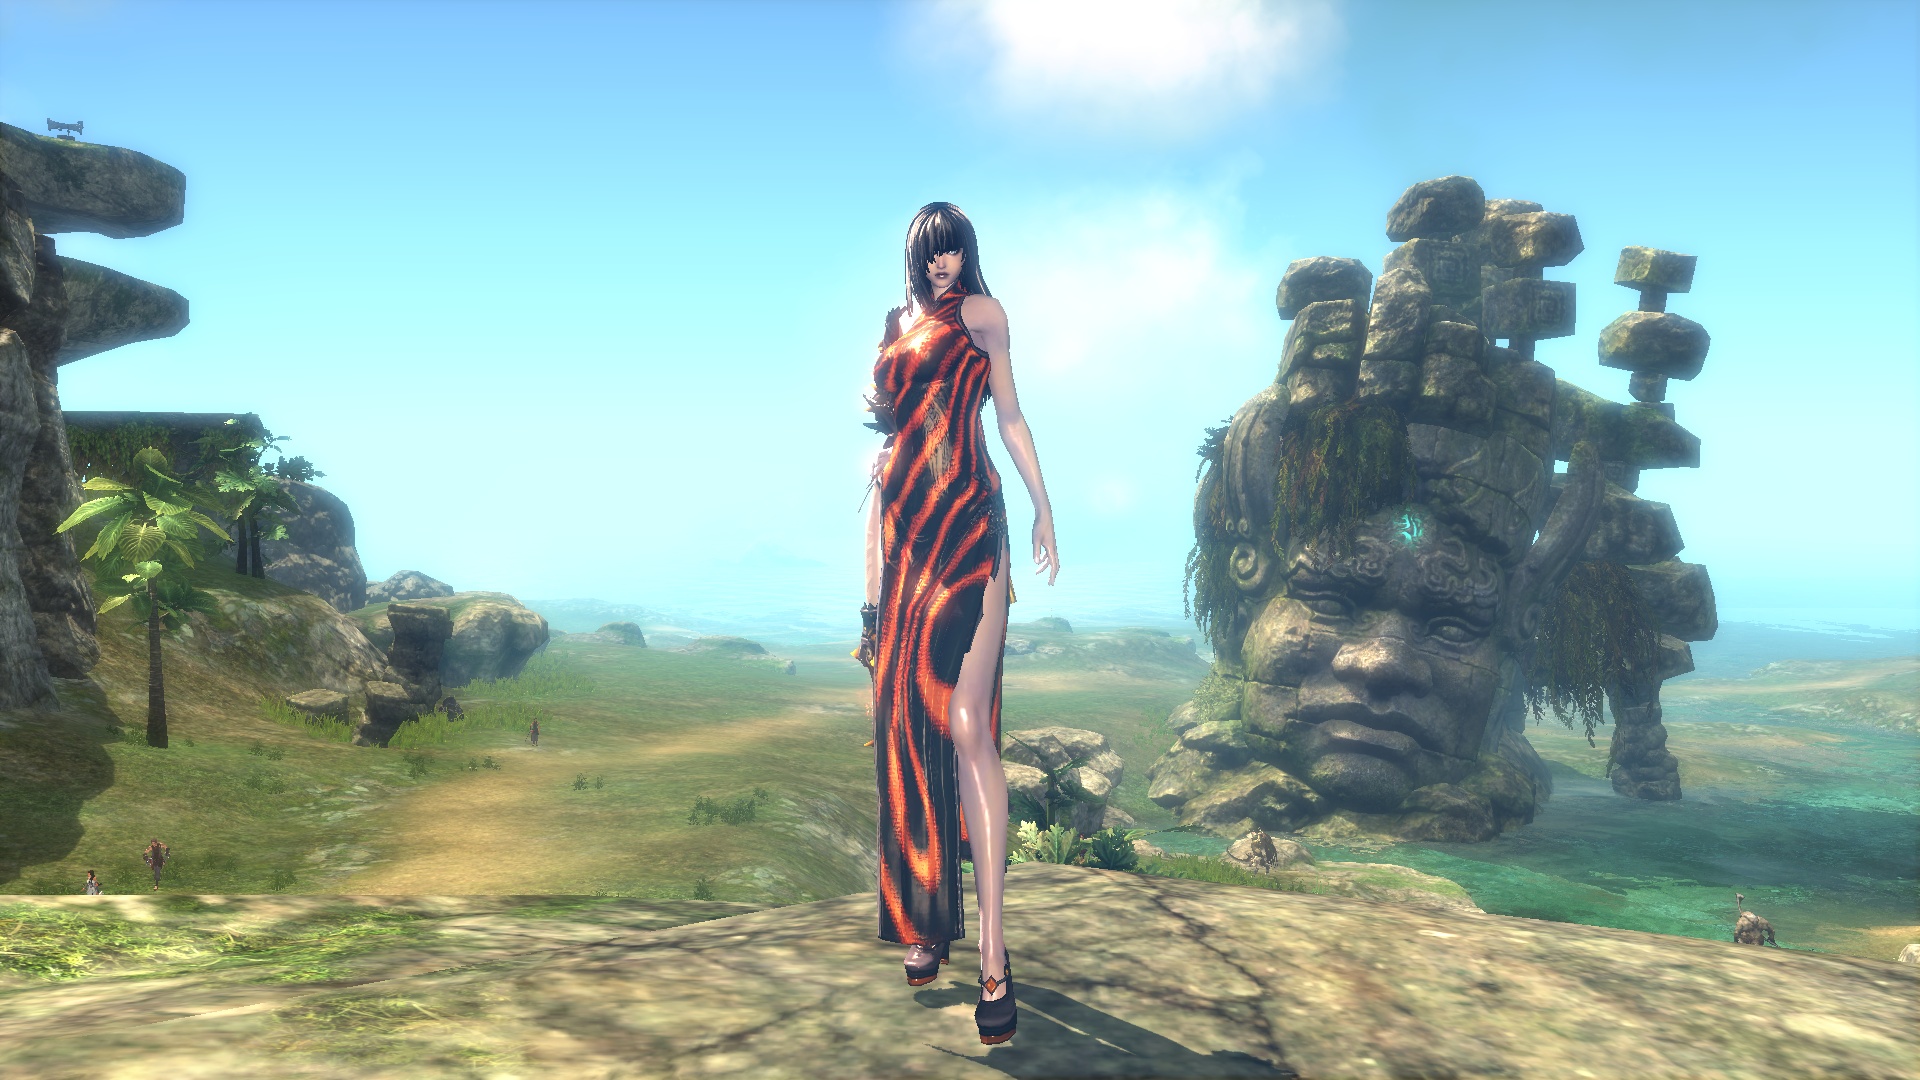 Blade&Soul Guide: How to Get the Red Specter
 GTA V PS4/Xbox One: Some Easiest & Impressive Money Making Tips and Tricks
 Xur Location And Exotic Items In Destiny For June 5-7th