The settlements system is probably the most substantial change to come to the Fallout series, overhauling the focus of the game and aiming it towards the rehabilitation of the radiation-torn wastelands.
When the Sole Survivor first emerges from Vault 111, they travel back to their original neighborhood of Sanctuary Hills to find it in ruins. Sanctuary Hills is your first settlement, where you can learn how to use all the tools you’ll need for building settlements in the rest of the game.
Be sure to check out our scrapping for beginners guide for what items to look for. Additionally, our fiber optics and steel guide will teach you the fastest and easiest way to acquire those materials. Should you run out of adhesive, this guide will help.
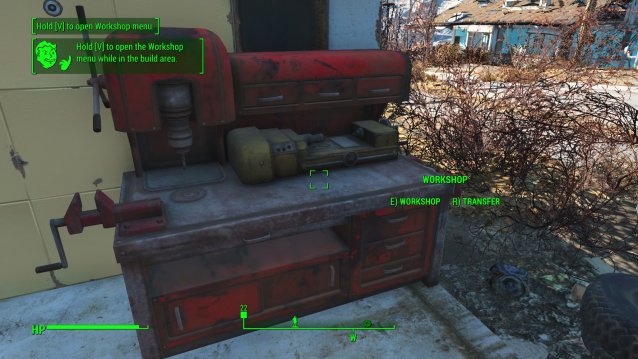
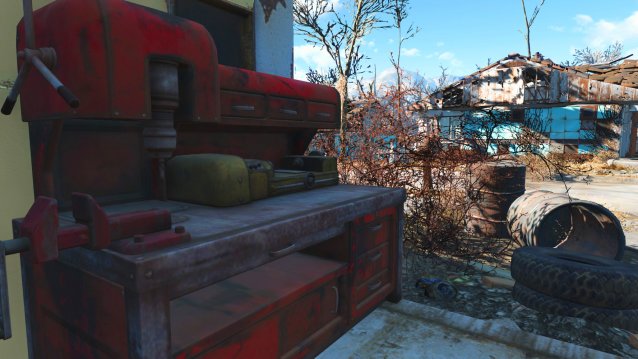
To enter crafting mode for settlements, find a red Workshop table. This will trigger placement mode. A green line will appear around the borders of the settlement, marking where you can build and scrap materials. Items that can be scrapped for components will be highlighted in yellow. You may also scrap the items highlighted in green, however those items (mostly furniture but other objects as well) can also be placed within your inventory for later use. When you open up the menu and choose an item to build, if you already have one stored in the Workshop, a number will appear in the thumbnail indicating how many you have in stock. This is useful in Sanctuary Hills, where there are many re-usable items still available. However, in most of your settlements you will need to start from scratch and bring in components from elsewhere.
Necessities and Structures
Shops
Gather materials from the settlement site by scrapping everything of use. This cleans up the settlement area. From there, choose what you need to build based on the needs of your settlers. Materials that have been scrapped will go into the inventory of the settlement site’s crafting table. Each inventory is specific to that location, and resources are not shared across sites.
Fortunately, if and when you acquire the Charisma 6 perk "Local Leader", you will be able to establish supply lines between your settlements and share resources. To build supply lines, enter Workshop mode, select a Settler and instruct them to establish a supply line to another settlement. This will allow both settlements to share materials during base-building, although the Workshop inventory will only show you items available locally.
Sufficient resources must be built to match the population of your settlement, including defense, water, and food. Here are some items you should plan for from the start, and their necessary ingredients.
Your settlers all need a place to sleep. You will need up to 20 beds. They require Steel and Cloth of varying quantities. You can also build Sleeping Bags, which only require Cloth.
Your settlers need plenty of water. The item you will use the most for this will be the Water Pump. Here are your options.
Water Pump (provides water for 3)
Concrete 1
Gears 1
Steel 4
Water Purifier (must be built on water, requires 3 Power, provides water for 10)
Oil 2
Ceramic 2
Rubber 5
Copper 2
Steel 10
Cloth 2
Copper will also be required to hook the Purifier up to a Small Generator.
Industrial Water Purifier (must be built on water, requires 5 Power, provides water for 40)
Oil 4
Ceramic 2
Rubber 10
Copper 4
Steel 20
Cloth 4
Screw 6
Copper will also be required to hook the Purifier up to a power source. A Small Generator is insufficient.
Water can be pumped by your player character. It will show up as purified water in your Workshop inventory. This makes for an easy early source of healing but also caps. Use them for trade in Sanctuary Hills when a traveling vendor shows up.
Your settlers need a source of food.
Pick vegetables or fruits at other nearby sites and plant them in Workshop mode. You can also plant the items you find out in the Commonwealth, but not if they are labeled “Wild”. Some of the crops you can grow include Carrots, Tato (a potato-tomato hybrid), Corn, Gourd, Melon, Mutfruit, and Razorgrain. You also build a Bathtub as a Brahmin Feed Trough to attract and keep Brahmin nearby. It requires 2 Steel and 8 Ceramic.
Your settlers need Power, especially because you need it to run the Recruit Radio Beacon that attracts other settlers.
There are a lot of options but you will mostly need the Small Generator. Bear in mind that all items requiring Power must be attached to your power source with a Copper wire. If the item that you wish to power has no number near the Energy symbol in its menu, that means it requires ambient Energy instead of direct Energy. For that you will need a Pylon, which must be attached to a Generator. More details are in our guide about powering your settlement.
Small Generator (produces 3 Power)
Gears 2
Steel 4
Rubber 2
Copper 2
Ceramic 1
Medium Generator (produces 5 Power)
Screw 3
Gears 3
Steel 7
Rubber 3
Copper 3
Ceramic 3
Large Generator (produces 10 Power, requires Rank 1 of the Science! perk)
Gears 6
Screw 5
Rubber 4
Copper 10
Aluminum 12
Nuclear Material 3
Windmill (produces 3 Power)
Steel 15
Copper 4
Aluminum 10
Gears 2
More elaborate Power-related structures can be made but this is what you will need to start out.
Your settlers need defense, and for that they need posts they can guard. Use the commands available in crafting mode to assign a settler to guard at a specific post. The amount of Defense you need is equal to the sum of your Water and Food resources. Plan your Defense based on that, not the number of settlers you have.
Guard Post (produces 2 Defense)
Wood 10
Steel 4
Guard Tower (produces 2 Defense)
Wood 12
Steel 6
Your settlers will be able to devote themselves to other tasks if Machine Gun Turrets guard their settlement. Set up Guard Posts first, then convert to Machine Gun Turrets as you can. You will mostly need the regular Machine Gun Turret, but here are your options. Some will require perks to unlock.
Machine Gun Turret (produces 5 Defense)
Steel 8
Circuitry 1
Gear 2
Oil 2
Heavy Machine Gun Turret (produces 8 Defense, requires Rank 1 of Gun Nut)
Steel 10
Circuitry 2
Gear 2
Oil 4
Laser Turret (requires 2 Power, produces 8 Defense, requires Rank 1 of the Science! perk)
Aluminum 5
Circuitry 3
Screw 3
Fiber Optics 4
Gears 2
Nuclear Material 2
Steel 5
Glass 3
Shotgun Turret (requires 2 Power, produces 8 Defense, requires Rank 2 of the Gun Nut perk)
Aluminum 4
Circuitry 5
Screw 4
Gears 4
Oil 5
Steel 6
Spotlight (requires 2 Power, produces 2 Defense)
Circuitry 1
Screw 1
Gear 2
Steel 6
Oil 1
Glass 2
Heavy Laser Turret (requires 2 Power, produces 12 Defense, requires Rank 3 of the Science! perk)
Crystal 4
Aluminum 7
Circuitry 4
Screw 4
Fiber Optics 4
Gears 3
Nuclear Material 4
Steel 3
Missile Turret (requires 2 Power, produces 15 Defense, require Rank 3 of Gun Nut)
Aluminum 6
Circuitry 6
Screw 5
Gears 5
Oil 6
Steel 6
You can also build traps. Your options are:
Tesla Arc (requires 1 Power, produces 2 Defense)
Steel 2
Copper 3
Circuitry 1
Radiation Emitter (requires 1 Power, produces 2 Defense)
Screw 2
Nuclear Material 3
Lead 2
Steel 2
Flamethrower Trap (requires 1 Power, produces 3 Defense)
Screw 2
Rubber 4
Aluminum 4
Oil 6
Recruitment Radio Beacon
Your settlers need other survivors to join them so their site will grow and become more prosperous.
Circuitry 2
Crystal 2
Copper 6
Steel 10
Ceramic 3
Rubber 1
Finding some of these items, like Circuitry, Gears, and Copper, will be difficult. You can purchase some shipments of necessary items from traveling vendors or sellers in the Diamond City Market, but for the most part you should track them down yourself. Try to aim for items that contain multiple components such as the items below so as to use your space most efficiently. Most can be found looting buildings. The remains of Machine Gun Turrets and Synths are good for some of these parts. If you’re having trouble keeping track of what you need, use the Search function within an item you wish to build. While you’re looting, a small magnifying glass icon will appear next to components you need to build it.
Hot Plates
Circuitry
Copper
Screws
Extinguishers
Rubber 2
Steel 4
Asbestos 2
Lantern
Glass
Oil
Steel
Biometric Scanner
Fiber Optics 1
Asbestos 1
Nuclear Material 2
Camera
Gears 2
Springs 2
Crystal 2
ProSnap Camera
Gears 4
Spring 4
Crystal 4
Desk Fan
Gears 2
Screw 2
Steel 2
High Powered Magnet
Copper
Ceramic
Nuclear Material
Typewriter
Gears 3
Screw 2
Springs 3
Carlisle Typewriter
Gears 6
Screw 4
Spring 5
Aluminum 2
Telephone
Circuitry 2
Copper 1
Fiberglass 2
Fishing Pole
Gears 2
Spring 1
Wood 1
Microscope
Gears 2
Glass 2
Crystal 2
Fiber Optics 1
Gold Watch, Silver Pocket Watch
Gears 2
Gold (or Silver) 2
Springs 1
Alarm Clock
Aluminum 2
Glass 1
Springs 1
Nuclear Material 1
One item you’ll need a lot of is Cloth, as you’ll need a lot of it to make the beds necessary for each settlement. You can have up to 20 settlers, and they’re all going to want their own bed. Some resources for Cloth include Newspapers, Cigarette Cartons, Cigar Cartons, and Pre-War Money. Pre-War Money is probably the best, as it does not take up any weight in your inventory.
You can build shops in your town to attract more settlers. It will require at least one Perk, but sometimes more. For instance you cannot build a vendor’s stand without having Level 2 in Local Leader which is a CHR 6 level Perk. To build a Clinic, you have to have both Rank 2 in Local Leader AND Rank 1 in Medic. To build the third level of the Armor Stand, you need Rank 2 in Cap Collector in addition to Local Leader. And so on and so forth. Here are each and their requirements.
Trading Stand (requires Rank 2 of Local Leader perk, and 1 Settler to attend)
Wood 5
Bottlecaps 300
Steel 3
Trading Shop (requires Rank 2 of Local Leader perk, and 1 Settler to attend)
Wood 5
Bottlecaps 500
Steel 3
Trading Emporium (requires Rank 2 of Local Leader, Rank 2 of Cap Collector and 1 Settler to attend)
Wood 5
Bottlecaps 1500
Steel 3
Armor Stand (requires Rank 2 of Local Leader and 1 Settler to attend)
Wood 5
Bottlecaps 500
Steel 3
Armor Shop (requires Rank 2 of Local Leader and 1 Settler to attend)
Wood 5
Bottlecaps 1000
Steel 3
Armor Emporium (requires Rank 2 of Local Leader and Cap Collector and 1 Settler to attend)
Wood 5
Bottlecaps 3000
Steel 3
Weapons Stand (requires Rank 2 of Local Leader perk and 1 Settler to attend)
Wood 5
Bottlecaps 500
Steel 3
Weapons Shop (requires Rank 2 of Local Leader perk and 1 Settler to attend)
Wood 5
Bottlecaps 1000
Steel 3
Weapons Emporium (requires Rank 2 of Local Leader and Cap Collector perks and 1 Settler to attend)
Wood 5
Bottlecaps 3000
Steel 3
Drink Stand (requires Rank 2 of Local Leader perk and 1 Settler to attend)
Wood 5
Bottlecaps 250
Steel 3
Bar (requires Rank 2 of Local Leader perk and 1 Settler to attend)
Wood 5
Bottlecaps 500
Steel 3
Restaurant (requires Rank 2 of Local Leader and Cap Collector perks and 1 Settler to attend)
Wood 5
Bottlecaps 1500
Steel 3
First Aid Station (requires Rank 2 of Local Leader perk, Rank 1 of Medic perk and 1 Settler to attend)
Wood 5
Bottlecap 600
Steel 3
Clinic (requires Rank 2 of Local Leader perk, Rank 1 of Medic perk and 1 Settler to attend)
Wood 5
Bottlecaps 1200
Steel 3
Surgery Center (requires Rank 2 of Local Leader perk, Rank 1 of Medic Perk and 1 Settler to attend)
Wood 5
Bottlecaps 1800
Steel 3
Clothing Stand (requires Rank 2 of Local Leader perk and 1 Settler to attend)
Wood 5
Bottlecaps 200
Steel 3
Clothing Shop (requires Rank 2 of Local Leader perk and 1 Settler to attend)
Wood 5
Bottlecaps 400
Steel 3
Clothing Emporium (requires Rank 2 of the Local Leader and Cap Collectors perks and 1 Settler to attend)
Wood 5
Bottlecaps 1000
Steel 3
There are five copies of the magazine Picket Fences, each awarding a new item for use in your settlement: picket fences, high tech lighting, statues, potted plants, and patio furniture.
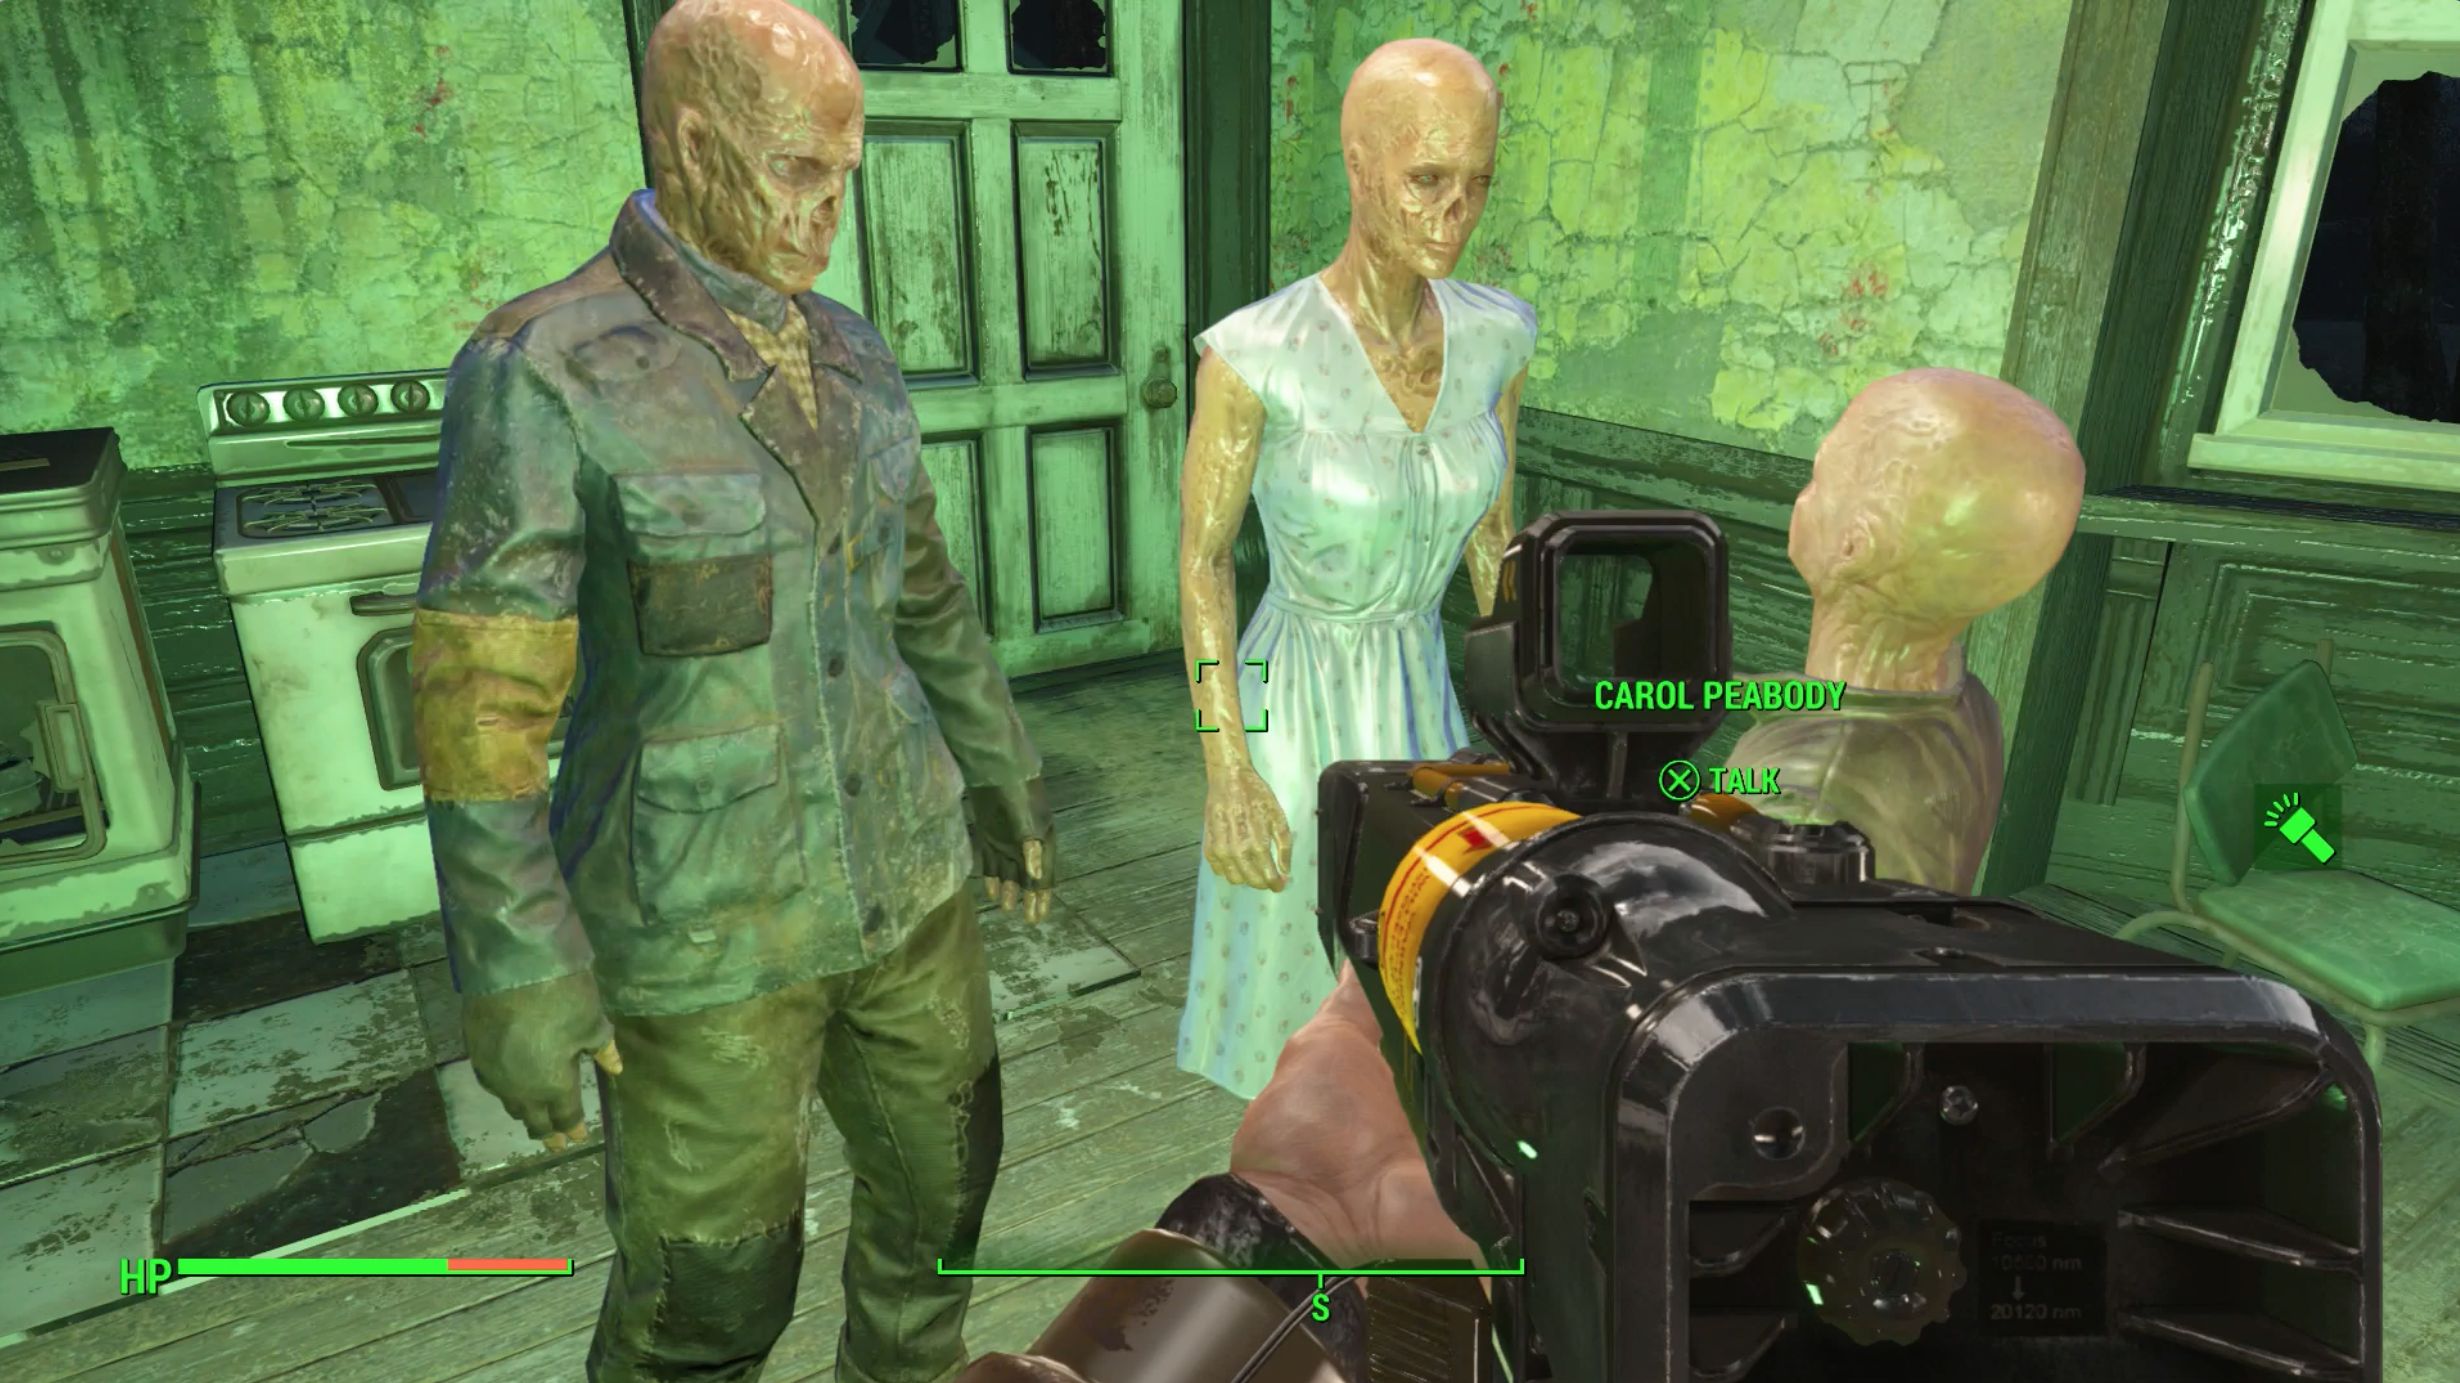
Settlers can be recruited through dialogue, even named NPCs. You will meet potential settlers in camps everywhere. You must be allied with a location in order to build upon it. You can become allied with a potential settlement location by helping one of the NPCs there with a quest. Talk to one of them to start a mission.
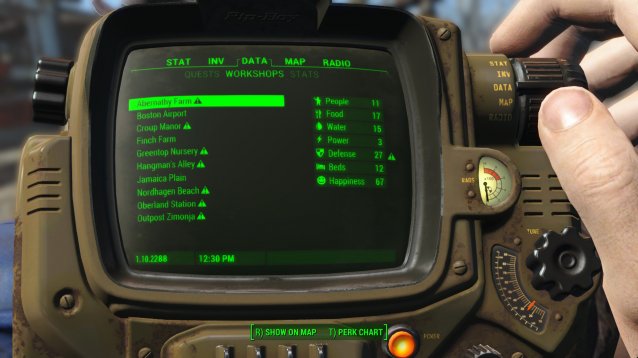
If your settlement is struggling to grow and your Happiness has dipped below 80%, don't forget that you can check on your settler's needs in your Pip Boy in the data menu. Distress is denoted by a triangle with an exclamation point. Whatever resource is marked must be expanded upon in order to stimulate growth. Most settlements will be fine if the amount of food and water and beds match the population, but defenses will need to be much higher. They must at least match the sum of your food and water.
You will need to focus on turrets over outposts at a certain point in the settlement's growth, because posts need to be attended by settlers, which takes manpower away from your crops. See the entries above to find out what perks are required and what parts you will need to scavage to start building turrets.
This document is an active work in progress. Check back for more soon. And if you haven't checked out Gameranx's Fallout 4 review, click here!


 Yahoo Games Launches New Design & Network for Developers
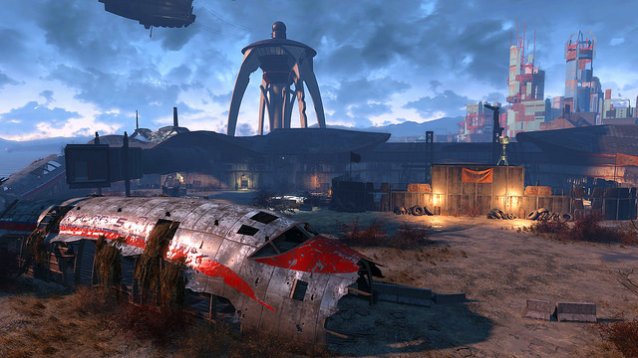 Fallout 4: 10 Pro-Tips You Probably Didnt Know
 Raving Rabbids: Travel in Time Wallpapers in HD
 How to Completely Destroy The Order 1886 Lycan / Half-Breeds
 Calling for help? Mr. Pacman