Not content with thoroughly teasing players with unobtainable powerful weapons, items and armour – Bungie have also littered their Destiny Beta with Invincible enemies that can only be found in secret places throughout the game world. Here, we’ll take a look at where to find them.
Choose exploration mode from Orbit and you’ll be placed on the edge of a cliff in a place called ‘The Steppes’. From here walk forward and take the path left. Continue along this path and you’ll find a small group of weak Fallen. Whether you take them out or not is up to you, what you want here is to enter the small metal cabin to the left of the Fallen and descend down the stairs. Follow the stairs and your flashlight will automatically turn on. Take a right as soon as your flashlight turns on and walk forward to find some blown out windows. Be careful now, as just around the corner to the right will be the first set of invincible enemies, which include 2 Hallowed Acolytes and a Hallowed Knight that will decimate you in pretty much one shot. Despite these enemies being immune to all damage in the Beta, when the full release of Destiny swings around, the amount of cover here will serve you well when trying to take them down. It is also possible to access this area from the map room that you find in one of the Beta missions. Once you are in the map room, simply find the giant hole in the wall to the right of the room and walk through.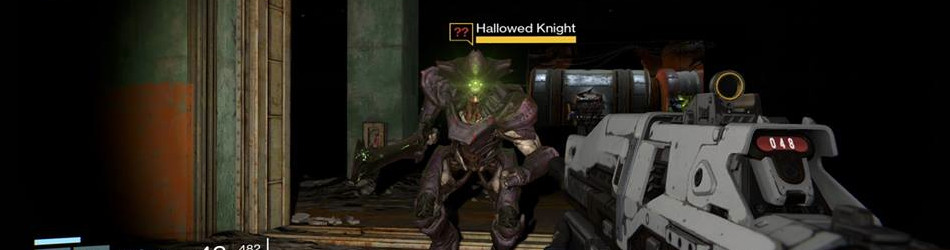
The next Destiny Beta Invincible enemy can be found in the ‘Skywatch’ part of the map. Make your way to where the rusted, downed helicopters are located and either go left or right of them. There is iron fencing to point the way either side, so it doesn’t really matter which side you choose to approach from. Entering from either side will take you down to a small narrow ledge. Again, be careful now as the invincible enemy in the form of a sword wielding Hallowed Knight, is close. As you make your way along the ledge you’ll come to a hole in the side of the wall, this is where he is located. He is actually protecting a loot chest which can be found to the right around the corner after you enter the hole in the wall. When it actually comes to killing him in the full game, using your jump boost will probably come in handy. He doesn’t have any sort of gun, so his range is fairly limited, the only thing he has in his favour is the small area you have to work in to kill him. Luckily he does venture outside of the hole in the wall, so it may be possible to lure him out, jump up to higher ground, hit him with as much as you can and rinse and repeat until he’s dead.
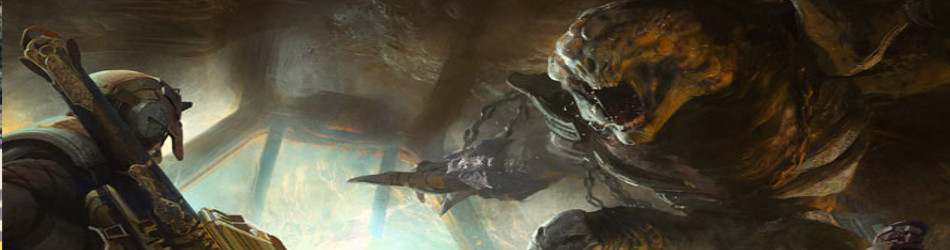
It is actually possible for a ‘Hallowed Ogre’ to spawn here instead. This guy is much bigger than the Knight and actually shoots lasers out of his eyes. Scary.
 The next set of invincible enemies is actually better described as an ‘army’ rather than a set. Don’t let that deter you however, as some exciting and deeper looks as Destiny’s mysterious world can be found by exploring here. There are two different ways to approach this location, so first we’ll take the Forgotten Shores route. Once you are in the Forgotten Shores, you’ll want to go as far forward and right beyond the beached ships as possible. You should find yourself eventually following a track through some cliffs and eventually getting the pop up location of ‘The Grottos’.
Everything and everyone here is invincible, so be prepared for death, lots and lot of death. The good news though is that you do not get penalised for dying in anyway, so you can just ride in with reckless abandon and not care at all. Not long after having The Grottos location pop up, around the bend you’ll find a trio of unknown level invincible Dregs.
You now have two options. You can try to continue along the road and in the process deal with a horde of invincible enemies shooting at you. Or you can be a little more sneaky. Follow the road around and you’ll encounter a whole heap of invincible Acolytes that can easily take you down with one shot, so getting through becomes a bit of a lottery on whether you get hit by a stray bullet or not. To take the safer option, you’ll have to stop yourself immediately after you turn the corner where you found the 3 invincible Dregs. After this corner you should see a small area with rocks sticking out of the snow. Jump up here and you’ll bypass the majority of the Acolytes.
In the interest of seeing as many of the invincible enemies as possible, after you’ve made the aforementioned jump, take the path to the right up towards the cave. There is literally nothing in here that will actually help you, but there are a bunch of invincible Thralls for you thrill seekers out there that want to chance death.
Either way, return to where you made the jump and on the other path you’ll be able to see one of the Hive’s massive ships sticking out of the ground. This is where you’ll want to make your way to, and you’ll need to be quick about it if you don’t want to die. One thing to note though is a before unseen enemy in the shape of a Shrieker. Interestingly, the Shrieker shows up on the mini map like an enemy vehicle would with a red circle, so read into that what you will.
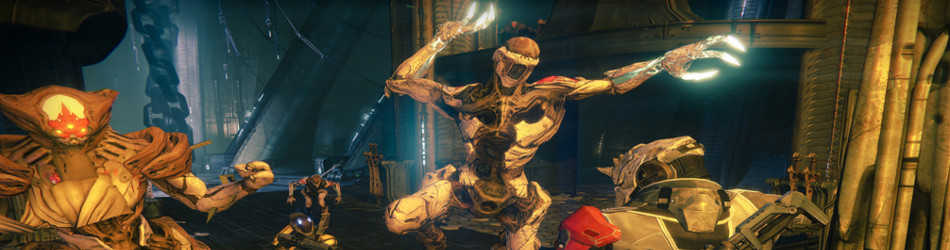 This thing hangs out right before the entrance of the ship, so you’re not likely to miss it. But you won’t want to sit around and gawk at it, because if by some miracle the Shrieker doesn’t kill you, the swarming Acolytes will, not to mention the Knight situated right next to the Shrieker too. Make your way past these guys and into the ship as quick as possible, and you’ll find yourself in a huge cave. At first sight there may not seem to be anything in here, but as soon as you turn the corner you’ll find Invincible Thralls, Wizards and Acolytes galore.
As luck would have it, if you die you’ll generally just spawn back in the large cavern just before the turn with all the enemies, so you can have a crack at exploring without having to traverse the whole environment before. Your best chance of survival here after you’ve had a good look at the invincible enemies, is to take the path to the right. It’s clear of any enemies until it rejoins the main path, and from here there’s only a short run to safety as the enemies don’t follow you around the corner. Following this path will take you to the Refinery section of the map, just off to the side of where you have to defend your ghost while he disables the laser beams blocking your path in one of the Beta missions. You’ll find a massive fight going on between the Fallen and the Hive, but you can actually kill these guys.
Back in the Forgotten Shores, there’s a unique invincible Hive enemy called ‘Celebrant of Onyx’. To find this guy and his two invincible Hallowed Knight buddies, you’ll want to make your way up to the building right on the shore. You will have been here before if you have completed all the Beta missions (where you plugged your Ghost in to analyse the music coming from the signals). Just behind where the Ghost was plugged in is a staircase. Descend that and follow the path to find the invincible enemies. What they are guarding is anyone’s guess as there doesn’t seem to be anything here relevant to the Beta. The location is called ‘Bunker RAS-2’.
Did you encounter any of these invincible enemies in the Destiny beta event? Let us know in the comments below!
If you enjoyed this, here’s a few more you’ll definitely enjoy:


 Mad Max: unlock new cars, Death Run, vehicle locations
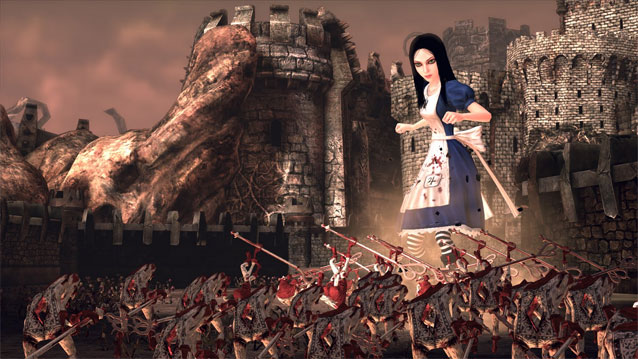 Alice: Madness Returns Review Round-up - The Sequel That Wasnt
 Paying for Reviews: Looking for Money in All the Wrong Places
 12 Social Media Facts and Statistics You Should Know in 2016
 Gran Turismo vs Forza Motorsport [Infograph]