It has been almost two weeks since Bungie has released The Dark Below, Destiny‘s first expansion. With it came a new level cap, new gear, new missions and most importantly: a brand new raid. Crota’s End sends you and five friends to the deepest recesses of the moon to take down the most powerful hive enemy you will ever face. It will test not only your ability to solve puzzles, but also push you to your limits as you try and survive the largest hordes of enemies the game has thrown at you so far.
Of course, before you set out to write your name in the history of Destiny raids, you will need to prepare yourself and your fireteam. Crota’s End is a serious challenge so entering the fray ill-prepared is not advised. You want to ensure the best chances for success by bringing the best tools and party members you can gather. Nothing is more frustrating than having to constantly retry a section only to realize that you left the perfect weapon or piece of armor in your vault.
Once you’re prepared it’s time for you and your fireteam to embark on your mission. Crota’s End can best be looked at when broken down into four sections: tunnels, bridge, deathsinger, and Crota. For that reason, this guide will tackle each of the four individually since they all require different strategies.
It should also be mentioned that this guide will contain no exploits. Practicing the proper way to complete the raid will help you in the long run. Most exploits get patched immediately and knowing how to do the raid in full will prove beneficial once the heroic option becomes available.
Follow the lights is the name of the game. Sticking together is the goal.
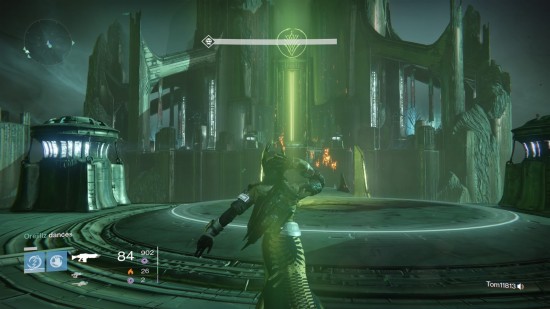
The very first section of Crota’s End immediately sets the tone for the rest of the raid. If you’ve played the Vault of Glass raid on Venus, then you were probably expecting manageable combat with lots of puzzles. Unfortunately you will be doing yourself a disservice by continuing that train of thought. Crota’s End will throw never-ending waves of enemies at you in the hopes of breaking up the ranks.
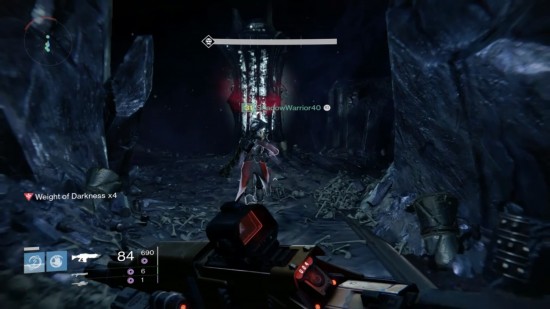
The tunnels are the very first attempt by the raid to separate you from the rest of the team. There are four major threats that you need to be aware of before tackling this challenge: Weight of darkness, pits, lamps, and hoards of thrall. This first section of Crota’s End does an excellent job of making you feel rushed by pouring on layers of circumstances to get you moving but don’t let it fool you. What you will want to do is pace your entire team.
These pits present a serious problem once you lose your ability to jump. Be sure to call them out for your fellow teammates.
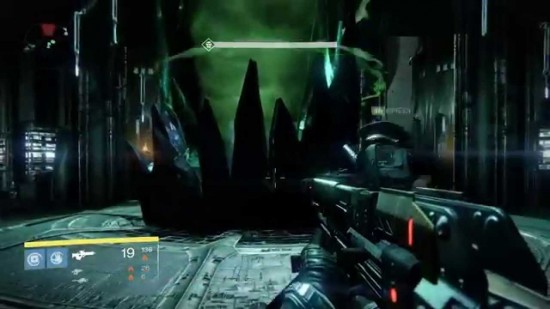
Your goal in the tunnels is to navigate the darkness as you follow a trail of glowing white lamps. The major issue is that as soon as you set foot into the darkness you will be hit with weight of darkness, a status effect that gradually removes your ability to run and jump. Normally moving slow wouldn’t be too much of an issue, unfortunately there is a never ending onslaught of hive thrall as you make your way through the tunnels. Being slowed to a crawl directly translates to death.
Your only course of action is to continually make your way to each lamp which bathes you in a cleansing light. You need to be careful how long you stand under their radiance because if you linger around for too long then you’ll have to deal with the explosion which instantly kills anyone standing in the immediate area. In order to stay cleansed and avoid explosions you will want to move with your team in a steady pace. Rushing ahead does nothing but jeopardize the safety of your fireteam and needs to be avoided at all costs.
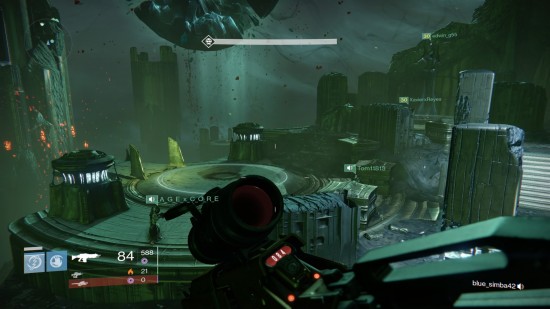
This image isn’t photoshopped, parts of the tunnels are really this dark. Make sure to call out threats for teammates so they can make it through.
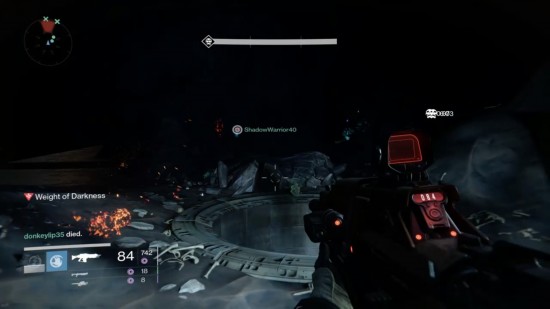
Once you’ve followed all of the lamps you will come across a bridge that needs to be formed. Have someone stand on the activation plate as the rest of the team takes out the waves of enemies. Make sure to preserve some ammo for the ogres that show up just before the bridge has completely formed. Take them out quickly and you should be fine. Once the bridge is formed run across and you’re ready for the next section.
Pro Tip: One of the easiest things to do during this segment is panic and that is the last thing you want to do. As you get swarmed by enemies you will be tempted to make a break for it and you will probably make it to the end of the darkness this way. Unfortunately, there is pretty much no way to survive the waves of enemies at the end all alone. Move as a unit and provide cover fire for your less agile allies.
Crossing this bridge will require communication as you work individually to achieve the team’s goal.
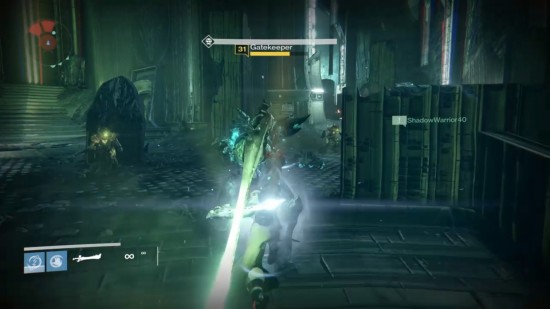
The second section of Crota’s End involves getting all six of your fireteam members across a bridge one at a time. This will require team communication as you split up to work individually during certain sections. There are three major threats that you must be aware of at all times if you want to succeed: annihilation towers, sword bearers, and gatekeepers.
The bridge in question requires that a guardian carries a sword in order to cross and is why you can only cross one at a time. Once across the bridge, you will have to deal with a gatekeeper that can only be damaged by the sword. That one gatekeeper spawns each time a sword bearer defeats it is something you want to keep in mind. Creating an un-killable threat for those who have already crossed can and will cause many problems.
To begin, you will want to split up your fireteam into three pairs; this will ensure that you get into a flow before you have to split up. Now, before you head down to trigger the activity, take some time to decide what order you will be crossing the bridge in. It’s a very good idea to send two of your strongest first that way they can cover whoever follows. Another good idea is to keep a sunsinger warlock for last so that they can revive themselves just in case things get a bit hectic on their end.
Make sure to establish an order before jumping down here.
Once you’ve established who is going to do what and when they are going to do it, you are ready to begin. Make sure to allow the pairs that are covering the left and the right to get into position first. Once the center pair takes position on the bridge plate, it will activate the annihilator towers which wipe your special meter and, if you take too long, will also kill your entire team. This can easily be avoided by making sure someone is standing on the tower plates at all times. If things get hectic, make sure that whoever guards the bridge plate gets off first.
After a few seconds the first sword bearer will make an appearance and should be called out immediately. Whoever is going first should leave their plate and focus on this enemy. Before dealing the death blow, make sure that the bridge is fully formed, the sword is on a timer so the last thing you want is to have to wait for the bridge. If the bridge is in fact ready kill the sword bearer and carry the sword across. Once across, you will have to deal with a gatekeeper that can only be killed by that shiny sword you are now carrying.
Take these guys out quickly or else you’re sword will expire and you’ll be left with one un-killable and very pissed off enemy.
To take out the gatekeeper, search him out and begin your attack as soon as possible. They glow blue so they stand out pretty well against the other knights you’ll come across. Your best bet would be to spam the heavy attack which will cause the gatekeeper to flinch and make it much easier to take it down without dying. Once you’ve taken this enemy out, all you have to do is survive until the next sword bearer spawns so you can have a team member join you. Just rinse and repeat until you have three guardians across and you are ready for the next phase of the bridge.
Once you have three guardians across, it’s time to take control of the plates to allow the other three to move freely and survive as they try to cross. The set up is exactly the same as the other side, just make sure that nobody stands on the bridge plate or it will cause the annihilator towers to act up. With all of this settled, you will shortly have all six of your fireteam members across the bridge, but you aren’t out of the fire yet.
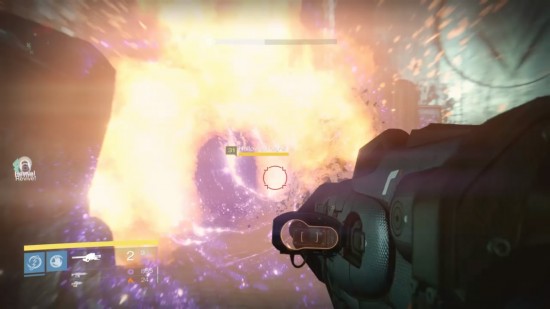
Bathe these ogres in fire and pain if you want to move on.
Once you have all made it across you will face one more challenge before moving on. There will be two hallowed ogres that will spawn on the left and right along with tons of thrall, acolytes, and a couple of wizards. Focus on just the ogres while moving around to keep out of harms way. Once they are defeated all of the other enemies will disappear and you’re ready to take on the next challenge.
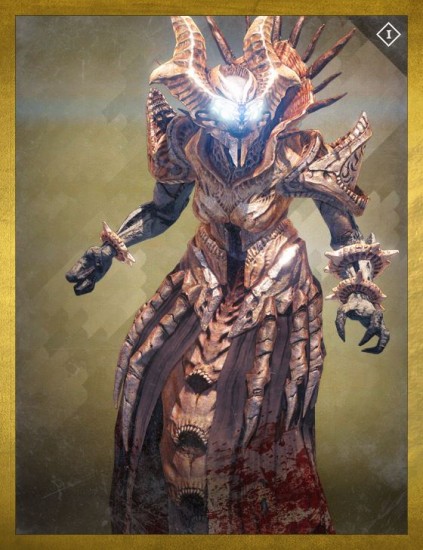
Ir Yut is the strongest wizard you will face and the last boss before facing Crota, Son of Oryx.
The third part of Crota’s End is probably the most difficult. This section gives you the task of making your way to a summoning crystal and defeating Ir Yut the Deathsinger, a powerful wizard that defends the soul of Crota. You will have to deal with waves of hallowed knights, wizards and shriekers before you can even place a shot on Ir Yut. To top it all off, you must defeat her before she completes her song of death which if you can’t tell instantly kills everyone in your fireteam.
Once you begin this section, you may notice that there are a lot of enemies in the room with you and almost all of them have yellow life-bars, meaning they are extra powerful. Most of your fireteam will probably be tempted to take each and everyone down, but that would just be a waste of time and ammunition. What you want to do is split into two teams of three in order to target only the necessary enemies.
You will notice that Ir Yut is behind some type of barrier and is completely safe from your attacks. The only way to crack that shell is to take out two shriekers which can be found in the rooms beside her. Of course, those two shriekers are being protected by two powerful wizards. The easiest way to tackle this obstacle is to take two from each team and have them find a high vantage point safe from the knights on the ground. Next, have the remaining member run into the shrieker rooms to lure out the wizards.
Taking over this room will be challenging but brings you closer to defeating Crota.
Once you take out the wizards, have someone on your team run in to defeat the shrieker and then run back out so they don’t get killed by the homing attacks afterwards. Now just have everyone swarm the center room and take out Ir Yut. She won’t leave that room so she’s an easy target to lock onto but she has quite a bit of guards present when you confront her. Get up on one of the many ledges in the room in order to avoid the brunt of the knights’ attacks. Once she’s defeated, all you have to do is eliminate the remaining hive that you see and you’re that much closer to defeating the raid.
Although this part seems simple, it can prove to be the most difficult due to the sheer number of enemies on the screen at all times. Focusing solely on your primary targets is a daunting task but one that is completely necessary if you are to have any hope of defeating the deathsinger in time. Rocket launchers are your best friend during this stage, so let those rockets fly and after a few tries you’ll have the routine mastered.
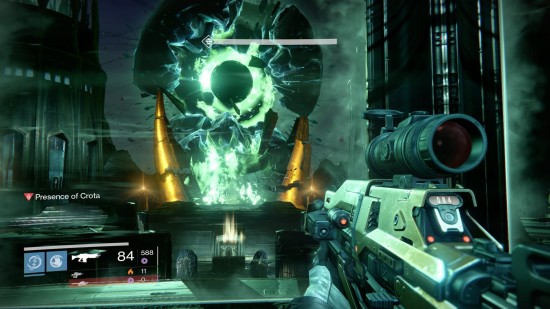
Summoning Crota, Son of Oryx begins the end of the raid.
You have waded through waves of enemies in the darkest tunnels of the moon. You have defeated the gatekeepers and laid to rest the ogres that blocked your path. You have even defeated Ir Yut and escaped the grasp of her death song. You are now ready to face Crota, Son of Oryx, and further the legend you’ve worked so hard on.
There are a few things that you need to be aware of before you take down Crota and claim your prizes. The first is the Presence of Crota effect that takes place immediately after summoning Crota. This makes it impossible to heal unless you are holding the chalice of light. Then you need to beware of the oversoul, a huge ball of light that appears whenever a team member is downed. You must destroy it as quickly as possible or else your entire fireteam gets wiped out. Next are the sword bearers, hive knights that will try and take you out in one hit, and ogres. Once you have these facts down you are ready.

The Crota fight begins where the deathsinger fight ended. Gather around the summoning stone to start the fight.
To get things started, everyone in your fireteam must touch the large stone in the center of the room were you killed Ir Yut, the Deathsinger. Everyone must touch the stone at the same time so make sure not to wander away. Once that is done, you need to eliminate all of the enemies trying to enter the room. This isn’t too difficult just be sure not to die outside the room. As long as your still in the room, no oversoul will appear.
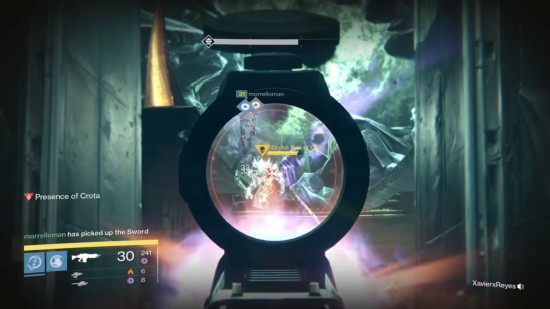
Once done, you must decide on your appointed sword carrier and send them to get the chalice of light. This item will negate the presence of Crota effect and allow for whoever carries it to heal. You will want your sword carrier to be the highest level on your team and to make matters even easier you’ll want them to be your fastest. As that teammate takes care of that, everyone else should move to the left doorway.
At this point you will assign one or two members of your fireteam to sniping duty in order to take care of the hive knights on the high platform. The rest of your team will handle the thrall and sword bearer. Once the sword bearer is down, your entire fireteam will shift focus onto Crota in order to take down his shield as fast as possible. As soon as the shield is down your sword carrier can spam the heavy attack until Crota begins to rise.
It is best to place shots on Crota as the sword bearer makes their way towards him in order to give them the most time possible to inflict damage.
Now, here is where you have a very valuable opportunity. You can actually bring down Crota’s shield a second time before the sword expires as long as you work on your timing and communication with the fireteam. A tip that tends to work more often than not is to use your primary weapons to take down the first shield, then your heavy weapons to rapidly take down the second one in order to get some much needed extra damage.
If done right you can take down a third of Crota’s health in one sword carry easily. This will enable you and your fireteam to defeat Crota in only three carries. If you’re unable to, don’t worry, you should still manage to claim victory within four carries. All you have to do is repeat the same process you did for the first carry.
Be aware that for every two sword bearers you kill, there will be a wave of ogres. This may seem like a big problem but you need only go into the room under where you started the Crota fight. Stay in there in order to keep covered and avoid a oversoul incident. After this wave, just return to the upper platform and continue your assault.
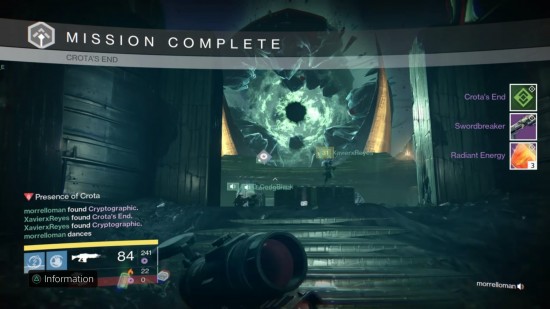
Ah, the spoils of victory.
Before you know it you will defeat Crota; it is really that simple. Managing this fight without dying is much easier than it seems, and the final fight is deceptively easy as long as you don’t panic or go lone wolf in the middle of the fight. All of your teamwork has paid off and you have extended your legend.


 Crysis 3 Wiki .
 Video Game Music Radio: The Perfect Background Noise for Geeks
 5 Things You Can Start Doing Today To Get Better At Hearthstone
 In Which I Ask a Lot of Questions About the Alan Wake Sequel
 Top 10 Funniest Patch Notes for The Sims 3