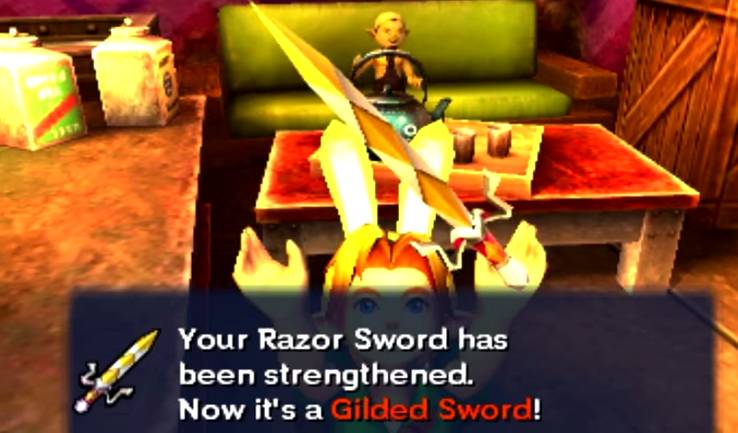
It’s golden! Gold is always better. That’s just how it works.
As mentioned in the Snowhead Temple guide, now is the time to get the Gilded Sword before you move on. The jump in damage output from your Kokiri Sword to the Gilded Sword is much worth the effort. As opposed to the Woodfall Temple, however, collecting all of the Stray Fairies from Snowhead is not crucial to success. It just nets you a more powerful Spin Attack. If you want to do it for completion’s sake, go ahead, but you can definitely give it a skip if you so desire.
Also, it would be recommended to grab Romani’s Mask from the Romani Ranch subquests. To get it, you have to protect the ranch from aliens on Day 1, and then protect Cremia’s cart from the Gorman brothers on Day 2. Then, you will receive Romani’s Mask. It provides a dual bonus of giving you access to the Milk Bar after 10 PM as well as making you look like a cow (though only the former is important). At the Milk Bar you can fill your bottles with regular Romani Milk for 20 Rupees per bottle, or Chateau Romani for 200 Rupees per bottle. Chateau Romani is expensive, but worth it– after drinking it, you get infinite magic power for the current three day cycle you are on. Since Zora fast swimming relies on your magic power, having infinite magic power allows you to swim as quick as you want.
A whole lot of ornate bullshit.
Great Bay Temple’s layout is cryptic at the best of times. Invariably you will be lost as to which underwater tunnel leads where. Thankfully, the 3D remake has a good method to lead you to where you go next; pipes going in and out of tunnels light up based on whether the pipe is receiving any water or not. So, a good way to start in the temple is to go to any underwater tunnel that has a pipe running out of it that doesn’t have water in it.
If you still need help, your map actually tracks where pipes go as long as they have water running through them. Tap on it to zoom in, and the map will give you a detailed view of each room, including valves and their current orientation as well as active pipes.
If you STILL need help after that, you’re not alone, Great Bay Temple is just very poorly designed. Just pay special attention to your map and double-check everywhere.
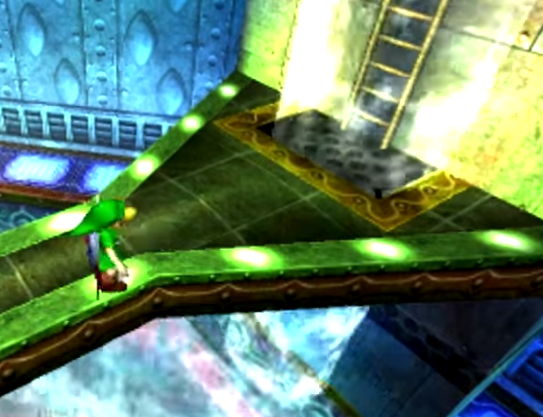
“Ah yes…this is the best spot for this ladder!”
Using the Ice Arrows effectively in the Great Bay Temple isn’t always immediately obvious. Ice Arrows can freeze water, but only in certain spots (more on that later). Along with these spots Ice Arrows can also freeze floes of water from the ceiling. This comes in handy for the spot pictured above, as well as a room involving weight-sensitive scales. For the latter room, it’s also important to note that the frozen water floes can also be re-melted using Fire Arrows. The water will then weigh down the scale and allow you to continue on.
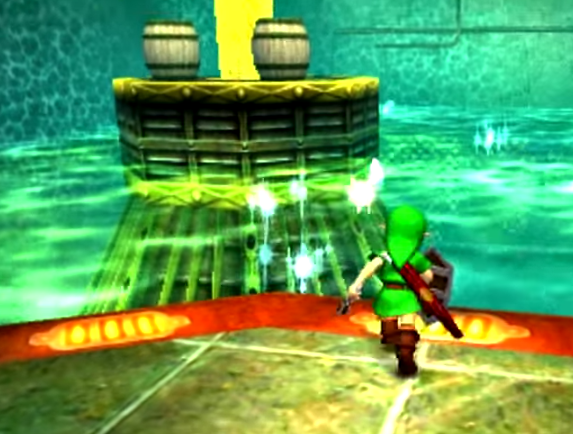
Shiny.
While you travel around the dungeon you may also note that there are parts of the water which sparkle. Take note of these spots, as these spots are the only places where you can create platforms using Ice Arrows. You can no longer create ice platforms anywhere in the dungeon, as these sparkling spots are the only places. The reasoning for this isn’t quite clear, as these spots are also the only places in the entire game that you can create ice platforms. Even outside of the dungeon.
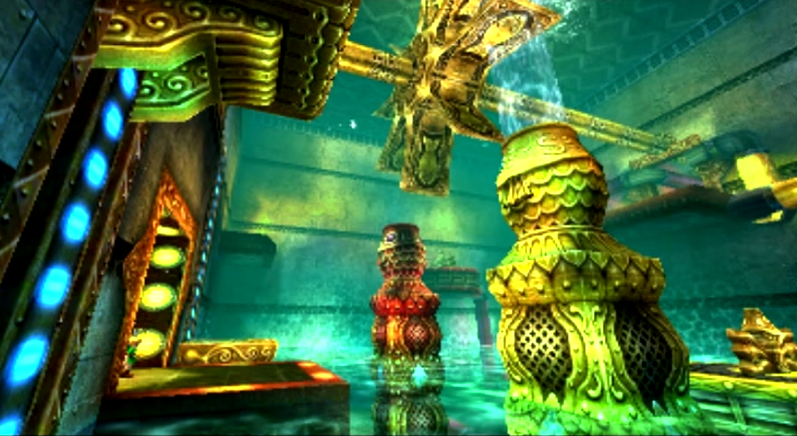
So, as a result, you can take the trails of sparkling waters as hints to where to go next. There’s one leading to the Gekko miniboss guarding the Boss Key, and there’s also one in the room with the yellow and green pumps as pictured above. There are also a couple sparkling sections in the latter room that seem to branch off into nowhere; if you follow them and look up, you’ll find hookshot spots to get to a room above the ceiling with a Stray Fairy.
Speaking of hookshot spots, in the first room with the spinning water wheel, you’ll note that there is a red-colored fountain that is just out of reach of your jump. As you progress through the temple, you’ll be able to turn it on, but you still won’t be able to jump to it, even with the Bunny Hood giving you extra momentum.
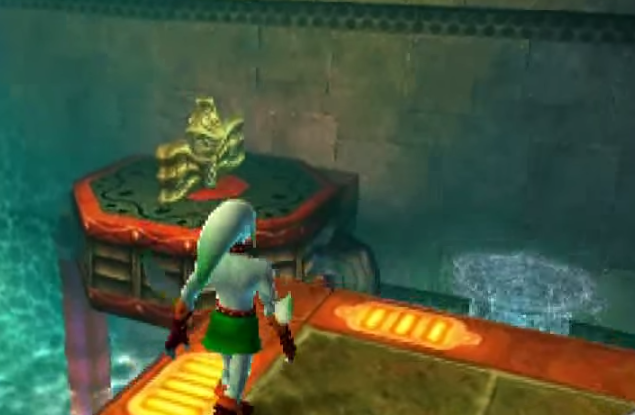
Look up. Please.
Directly above it, there is a hookshot spot. Right there.
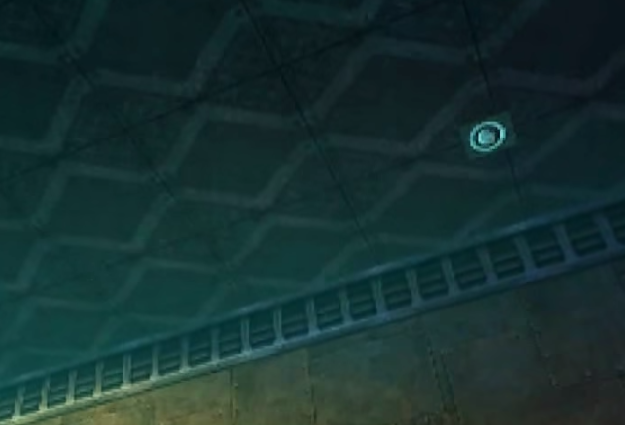
RIGHT FUCKING HERE.
This seems like a really obvious thing, and perhaps too small to note. But this hookshot spot is the most elusive thing in the entire game. Hours can be wasted looking for platforms to get to that fountain, or perhaps for some other method to get across to that fountain. But you don’t have to waste those hours, because now you know that this stupid hookshot spot is here.
If you are anything like me, it will also take you hours to realize it is here, because nowhere else in the Great Bay Temple does a hookshot spot appear like this. So save yourself the headache. Make a note, tattoo it into your skin, whatever you need to do. Don’t live like me.
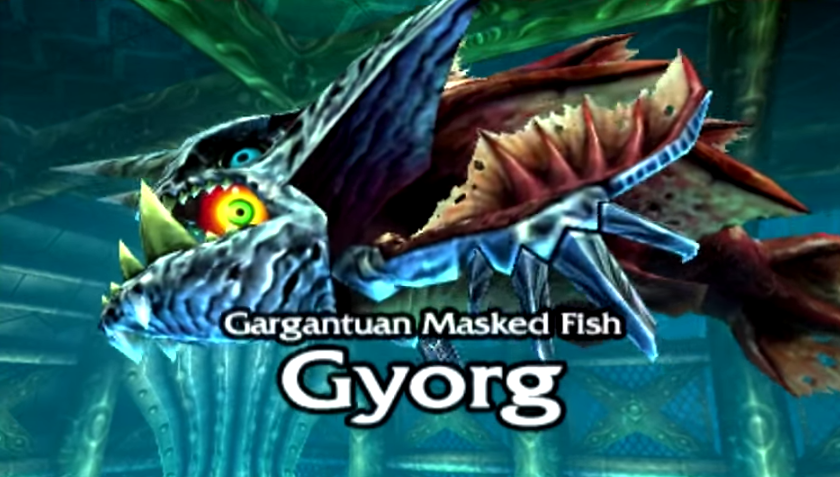
The mouth-eye knows what you’re trying to do and it is displeased.
Gyorg has changed radically from his incarnation on the Nintendo 64, but incredibly his battle has only gotten worse in the fifteen years since. Gyorg has two phases now versus just the one, and the first phase is similar to how he worked in the N64 version. Gyorg will swim around the center platform at the top. Aim for his red fleshy bits with your bow and arrow and he will begin to hop around. You can continue to pelt him with arrows if you can manage. Occasionally, Gyorg will hop on the platform; you have a couple seconds to get out of the way before he charges across the platform and back into the water. Eventually after enough arrow hits Gyorg will spit out his eye, which you should then focus on with arrows. Repeat this process a few times until a cutscene shows and Gyorg knocks down the middle platform. This will change the fight into phase two.
Phase two is very finicky and annoying. The center platform will sink to the bottom, so put on your Zora Mask and sink to the bottom. Gyorg has two main attacks in this phase; he will either suck up water in an effort to chew on your fishy Zora form, or he will release a large amount of small baby fish to irritate you slightly. Also during this time, mines will float up from the bottom of the floor at certain points. To hurt Gyorg, you have to get a mine into his mouth while he is sucking up water; the timing on this is very precise and difficult to get down, so don’t be surprised if you get chomped a few times as you try. For the best results, attack the weak point in the chain on the mine before moving in closely to Gyorg. Your proximity to Gyorg will impact which attack he uses, and the closer you are the more likely he is to suck you up; however, being too close will end up in you getting chomped and the mine getting wasted. Make good use of your Magic Power fast-swimming. After Gyorg eats a mine, he will once again spit out his giant gross eye weak point. Attack that and repeat the process until Gyorg finally gives up the ghost.
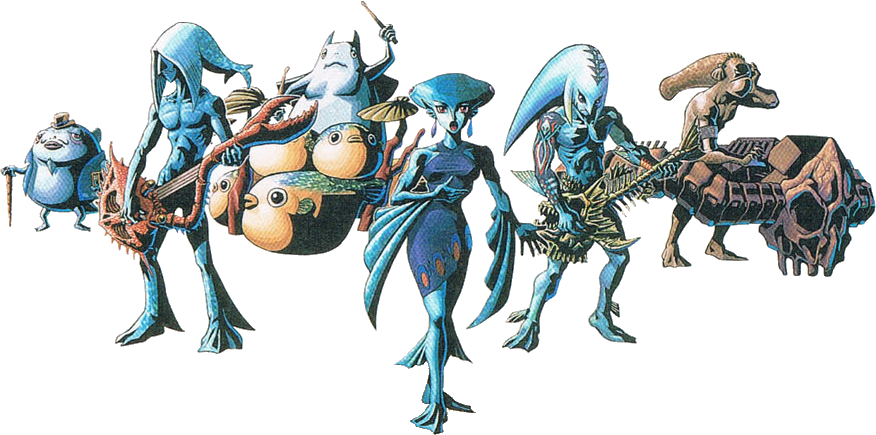
Finishing the Great Bay Temple won’t open a whole lot of options for you, but there are still a couple things to do now that the temple’s over. Now that Lulu’s voice is fixed, you can find the Indigo-Go’s in full form on-stage in Zora Hall. You can put on your Zora Mask and play with them for a special cutscene; listen to Lulu sing and see what all your hard work has brought.
To continue into Ikana Canyon, you have to have the Garu Mask from the Romani’s Ranch subquest. So really, if you haven’t done it yet, you now have to do it to move on. Quit draggin’ your feet! Cows and thirsty Milk Bar patrons are depending on you!
Otherwise, some important things to take care of can be found in Ikana Graveyard. At the very back of the graveyard, you can find an exceptionally large skeleton lying under a bridge; the sign nearby will mention that he is sleeping, so play the Sonata of Awakening to rouse his lazy bones. He will challenge you to a race; defeat him with your sword during and you can get the Captain’s Hat as a reward. If you have the Bunny Hood, it will make the race much easier, but you don’t need it to win if you’re good enough at killing the Stalchildren.
Using the Captain’s Hat, you can now talk to the Stalchildren that were hanging around the first section of the Graveyard. If you’re not on the First Day, warp back in time and talk to the Stalchildren circling a grave. Ask them to open it and the resulting hole will lead you to a small underground section. In it you find a room full of Keese, and beyond that a room with an Iron Knuckle. Dust both of them and you will earn the Song of Storms, which will be necessary to reviving the dead Ikana Canyon.


 Shadow of the Beast (PS4) First impressions - demo review
 Top 5 Windows Phone Games With Turn-Based Multiplayer Options
 Lollipop Chainsaw: What You Might Be Missing
 MH4U (3DS) Monster guide, tactics
 MGS 5 The Phantom Pain: how to build / optimize your military force