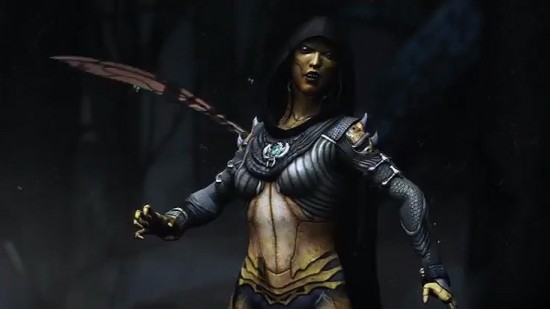
At first glance, D’Vorah’s Venomous variation looks barren. Devoid of any unique specials other than the Poison Ovipositor Charge. It’s true, it has a lot less specials. But what makes this variation extremely deadly is the passive poison damage over time effect on all Ovipositor based attacks. Yes even just your regular old Triangle attacks will inflict poison on your enemy that will slowly chip away at their help. You could play defensively while your opponents melts away, or keep the pressure on for fast victories. Either way is a viable strategy with the Venomous variation.
Bug Burst: Down, Forward, Square
Spawning Puddle: Down, Back, Square
Forward Air Throw: (Air), Down + L1
Posion Ovipositor Charge: Down, Back, Circle
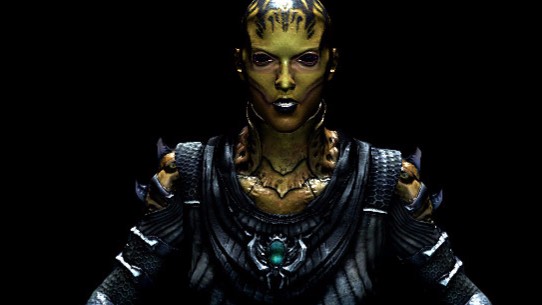
Like to keep your distance? The Brood Mother variant is for you. The Brood Mother adds two long distance attacks by way of Krawler and Bug Blast. This variation is built to harass, so harass away with your ranged attacks otherwise you won’t be getting the most of out of it. Keep slinging bugs at your opponent and drive them crazy. Note: the Krawler special is one of the few that cannot be enhanced, so don’t bother trying.
Bug Blast: Down, Forward, Square
Krawler: Down, Forward, X
Spawning Puddle: Down, Back, Square
Forward Air Throw: (Air), Down + L1
Ovipositor Charge: Down, Back, Circle

The Swarm Queen variation are for those that want to set up their own opportunities to kombo rather than having to wait for the time to present itself. Vortex swarm is essentially a better version of the spawning puddle D’Vorah usually gets. It throws the enemy further up into the air, dangling them around long enough to launch a combo. The Wasp Grenade, un-enhanced, is just a regular ranged attack. Enhance it however and it will stun the enemy for a couple of seconds, giving you an opportunity to wail on your opponent. If kombos aren’t your thing, you’re probably better off with the Venomous or Brood Mother variations.
Wasp Grenade: Down, Forward, Square
Vortex Swarm: Down, Back, Square
Forward Air Throw: (Air), Down + L1
Ovipositor Charge: Down, Back, Circle
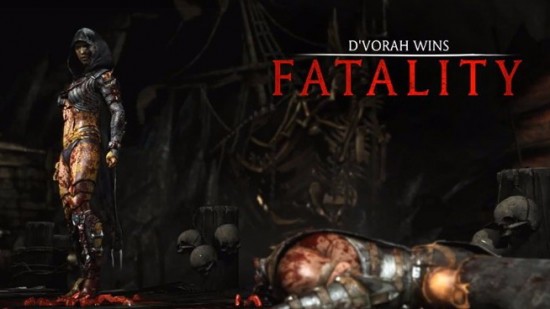
Fatalities:
Brutalities:
X-Ray (L2+R2 when meter is full)
D’Vorah launches herself into the air and strikes back down on the opponent’s middle section. It essentially functions as any other middle X-Ray would, where you hope your opponent isn’t blocking there. However the added effect of flying up a few feet before crashing down may hopefully throw your opponent off and help your attack land.


 Wolfenstein: The New Order Wallpapers in HD
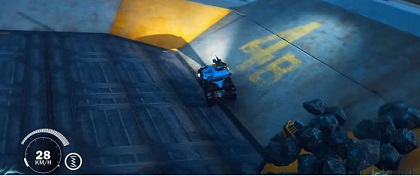
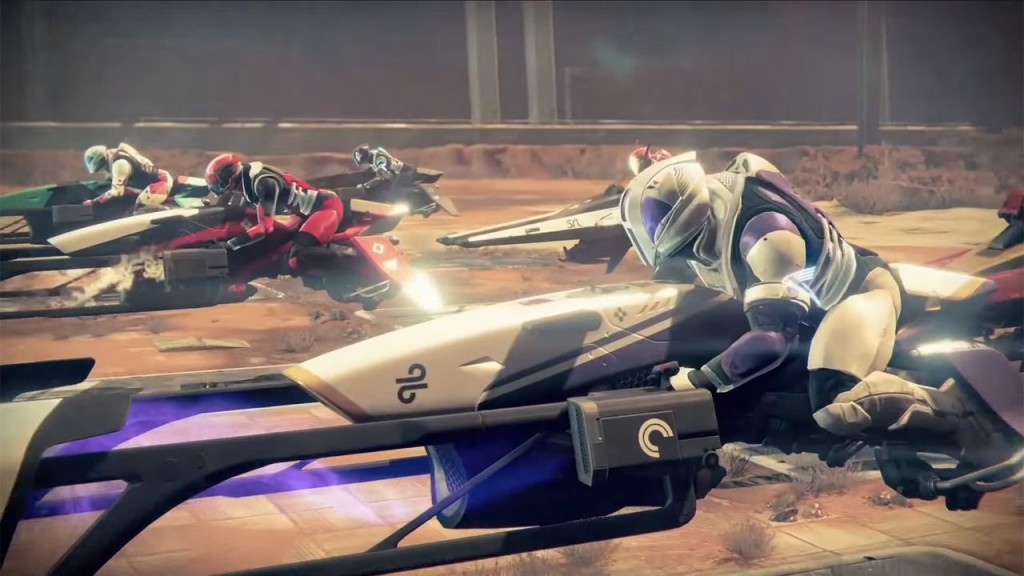 Destiny: The Taken King - Complete guide to the Sparrow Racing League
 Until Dawn Guidance Totem Location Guide
 Until Dawn Guide - How to Find All the 1952 Clues
 How to Disable Character Light for all of the NPCs, Enemies and the Player in Fallout 4