So you’ve tested the Taken in the halls of the Dreadnaught, and stopped the Cabal from blowing up their massive ship. Now it’s time to take on the big baddie himself, Oryx.
Before you get to the boss, you’ll need to clear the various wings of the Deadnaught and push the Cabal and Taken back so you can get to Oryx’s boss room. This isn’t terribly difficult, and you should be adept to defeating whatever enemies the Taken throw at you by now.
Enter the next room and you’ll see that you’ll have your work cut out for you, though…
A Colossus and an Ogre Walk into a Room
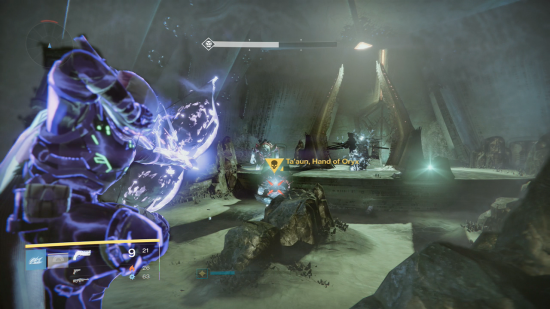
Once you’ve crossed the main bridge that the Taken have retreated over, you’ll enter a huge room with a large, green teleporter. Here you’ll have to slay two mini-bosses, Ta’aun and Baxx. Both of which are incredibly juiced up and considerably cranky.
Ta’aun is a massive Cabal wielding a powerful gatling gun. Focus on him first, move between the boulders on the ground for cover. You’ll notice various Taken will spawn out of the teleporter, as well; you can easily take them out with well-aimed precision shots.
Always be aware where Baxx is; if you get too close, he’ll stomp you into next year. He will also shoot void beams at you, so the boulders that provide cover are crucial.
Just aim at Ta’aun’s head and put the beast down. As long as you stay behind the rocks, he won’t cause too many problems. Once you have executed the Cabal Colossus, focus on taking out Baxx.
For Baxx, just make sure you keep your distance from the Ogre. In his Taken form, he runs much faster than a regular Ogre, but he’s also twice as big so headshots won’t be hard to hit. Just like Ta’aun, your best bet is to take out the minions and then focus on the boss. Just take your time and aim true.
After you’ve executed both mini-bosses, step through the green mist and you’ll come face to face with Oryx, the Taken King.
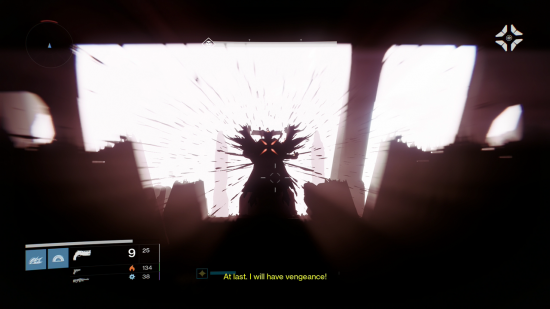
Once you emerge from the portal, you’ll be in a large dark room. You’ll notice a bright white light hovering on the floor — follow it.
The light will guide you to the oversized moth himself. Here, Oryx will spout various threats and lines about how you killed his son — no big deal.
Once he spreads his wings and gathers his sword, he’ll engage you. Just find the nearest rocks on the lower platform and shoot the Taken mobs he sends your way. The most important mob to take out during this first stage are the Taken Acolytes. They will summon turrets on the ground that will pepper your shields. Kill them dead, Guardian.
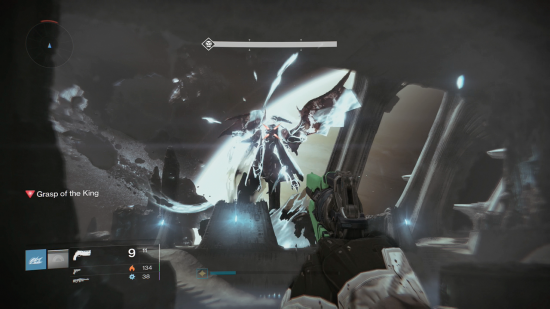
After you whittle down the Taken mobs, you can start shooting at Oryx. Every once in awhile, he’ll stop flying around and you’ll get a prompt that Oryx is draining your light. He’s completely vulnerable during this attack as he’s channeling a spell. Just make sure you do as much damage on him while he’s doing this, otherwise he’ll put on the hurt after he’s done channeling.
After you get his health down to about 50%, he’ll start summoning more mobs and start shooting void projectiles at you. Just take it slow, kill the mobs with your super and take cover behind the various objects in the room. At 25% health, he’ll teleport you into a different room, and you’ll enter the final stage of this encounter.
Oryx – Final Stage
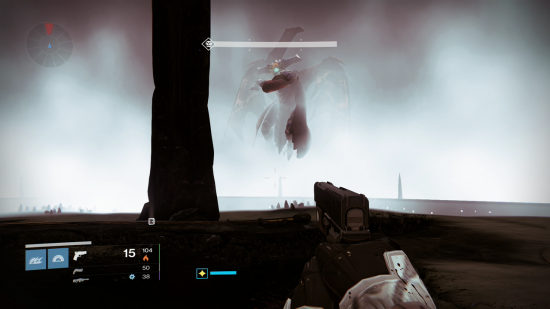
In this final phase of the encounter, Oryx will teleport you into a small arena surrounded by white mist. Here, he will fly between pillars holding his massive sword. Don’t panic and just prepare to take on whatever he sends your way.
As he flies around the room, he’s completely immune to damage. To damage him, you must wait until he charges you. In order to get him to do that, he’ll first have to summon waves of mobs. These are just your standard Taken enemies and nothing to worry about.
As you defeat the last mob, he’ll charge through the mist trying to wail you with his two-handed melee weapon. This can be tricky to avoid since the area of impact of his sword varies. Just jump out of the way as best you can. After he attempts to murder you, he’ll be vulnerable for a few seconds and you must damage him as much as you can during this. Heavy weapons and supers are the best ways to whittle his health.
After the first few swipes at you, he’ll start using a different attack pattern. He’ll send more mobs, then float behind the mist while shooting void fireballs. These are slow and clunky, so they’re pretty easy to avoid. Once he gets done firing, he’ll charge you once again and he should be at low enough health to defeat at this point.
Congratulations, Guardian! You’ve beat back the advances of Oryx in Destiny: The Taken King! Unfortunately, the battle was won, but the war has just started against the Taken. It seems that Oryx will be back and more powerful than ever in the King’s Fall raid.
For news, features and guides for Destiny: The Taken King keep it locked into Twinfinite. Check out our wiki for more guides, how to tips, and strategies! If you’ve had any trouble with Oryx or have any suggestions on facing him, please make a comment below!


 Batman Arkham Knight All Riddlers bombs locations
 Fallout 4: Brotherhood of Steel - Shadow of Steel, Tour of Duty, Show No Mercy, and From Within
 Metal Gear Solid V: The Phantom Pain Guide - Memento Photos Locations
 Dragon Age Inquisition: get most powerful Items / weapons
 Tomb Raider Guide (Part 3)