Bulletstorm is, without a doubt, one of the most anticipated games of 2011. The lushly designed FPS dropped jaws at many of 2010′s most prestigious expos, and now that its release is finally impending, the excitement continues to build. You might be interested in the Xbox 360 Achievements or the PS3 Trophies.
A collaboration between legendary, outspoken Gears of War designer Cliff Bleszinski and prosaically-named Polish design studio People Can Fly, the game promises hyper-violent, hyper-kinetic action, and, perhaps most importantly, a special edition that includes access to the highly sought-after Gears of War 3 multiplayer beta. We’ve also got a walkthrough for the release version of the game, along with a Cheats page that acts as a centralized Bulletstorm resource.
Some general tips:
You get more points the first time you accomplish a skill shot.
After that the score is lower, but will not diminish with repeated use.
You do not get bonus points/multipliers for using more than one skill shot on an enemy. However, combos are essential to ensure you get the most points from each opponent.
Don’t worry about the timer during your first several runs, just get used to each encounter.
Important note:
What follows is a guide based on my time with the demo. The people at the top of the Leaderboards – they’re masters of shooters. And I am not one of them. However, I do include every tip and strategy I know to help you craft your own run and make it to the top of the charts. Please feel free to comment with your own tips and findings.
After Gray’s excellent introduction of the demo, equip all three weapons available.
Select your Peacemaker Carbine then run forward through the two openings and turn to your left.
Leash the first enemy with LB.
He’ll be moving in the air toward you so kick him back with B.
While he’s still floating, precision aim with LT and unload a few rounds into his head by pulling the RT.
Move up to where the floor is level.
Ignore the obvious ceiling trap for now and leash this next enemy.
We want to get the Rear Entry skill shot so watch how he’s spinning toward you and kick him so that he will rotate enough to give you a clear shot from behind.
Aim exactly where you think Rear Entry would require.
Remember, skill shots require you to kill an opponent with the ability. Harming him one way but finishing him off enough will only award points for the final method of killing.
Move to the concrete slab then back off.
There’s an enemy coming up the stairs. If you already see him it might be too late.
Look up right away and leash the shutter above to bury him in dirt.
Switch to your Flailgun and move down the ramp.
A melee fighter will pop up just outside the doorway.
Fire a grenade chain on him then kick him back.
As soon as he hits the spikes behind, press RT again to blow him up. This will net you both the first Voodoo Doll skill shot as well as Sadist.
Equip the Screamer and press RBto prepare a charged shot.
Click the Left Stick to crouch and proceed left.
Once you can stand again hold LB to perform the Thumper move. This will launch all the enemies within the area into the air.
It can be hard to see with the flash from the Thumper but look up high to find the first enemy.
Fire your charged shot into his leg or arm to send him flying for the Fireworks shot.
Similarly aim for the limb of the next enemy. You’re looking to remove this one to get the Surgeon.
There should be two baddies currently left, one you haven’t touched, and one that fell from your Thumper move.
Start making your way right.
Leash and kick one of the enemies going for another Rear Entry or Headshot.
The other is probably taking cover so leashing will pull him right into some spikes.
Now hurry to the right and position yourself near the red and blue electrical cables.
Another enemy will run onto the screen. Leash him before he can get positioned behind a column.
Move back as he floats near and circle around his body so that you can kick him into the electrical cables for the Shocker skill shot.
Note that you can kick an enemy multiple times in the air to position him better, but they often float upwards making them eventually unreachable. And any impact with the spikes will kill them.
Continue ahead and get behind the first partial wall.
There’s someone manning a gatling gun.
Move up behind the second partial wall.
Another melee fighter will pop out at you. You don’t have much room to combat him so give him a swift kick and finish him in the air.
Move out into the open and leash the turret junky.
As he moves toward you, double-tap A to perform a slide kick. Again, don’t let him reach the ground alive.
Now grab the gatling gun and move forward. Keep moving forward and to the left the entire time.
Enemies will appear ahead. Fire on the first few in bursts so you don’t overheat the gun.
Once you see enough have gathered in a group, let loose to achieve the Full Throttle skill shot.
Stop firing whenever you reach the broken elevator.
Switch to another weapon and press X to activate the machine. Hold LT to send the cart smashing down.
Run up the ramp then down the other slope.
Continue in the clearing and you’ll fall through the floor.
Stay left and don’t make contact with the exposed cables.
There’s a DropKit ahead but you can ignore it in the demo.
The next cables are swinging so try to time your hurdle and run to move through them. The center is actually the safest. If you get hit, don’t worry, you’ll recover fast.
The next area is wide open offering you a lot of choices, but there are only two opponents.
Move ahead and crouch to get through the tight passage.
Kick over the desk at the exit.
Move straight ahead then look right through the opening.
Leash the enemy then pop him back for some points.
Yank the next guy over the concrete barriers and kick him into the spikes to your right.
Climb over the barrier then use the Thumper to clear out the group.
Equip your Flaigun and prepare a charged shot.
Step out left to see two greed baddies headed your way. When they get close enough, rip through them with the flail. Aim so that it goes through one and into the other.
Ready another charged shot for the next two headed your way.
Leash the last opponent and circle left around him. When he’s lined up with the electrical strands, give him the boot.
Move up toward the water to initiate another machete wielder.
Use the Leash to suspend him then strap him with a Flail.
Turn to kick him into either the spikes or electricity and blow him up for the Sadist bonus.
Continue ahead and around the side of the hole. Don’t fall in!
Take out the enemy ahead as he rolls down the rubble.
Switch to your Screamer and charge the shot, then run forward.
Pull the toxic chopper forward then kick him back across the gap toward the other enemy.
Catch him with rocket while he’s on his way back. If you’re lucky you’ll take them both out.
Grab the last gunner, wrap him in a flail, then kick him into the hole for some Sadistic Vertigo.
Proceed left around the hole and get ready for the last swarm.
See the broken wall to your left just ahead? And the piece of column right across from it? This is your choke point.
A large group of close-range crazies will charge toward you. Wait until they reach this narrow point then flail and immediately detonate the first enemy. Catch them all for some big Chain Gang points.
Now race ahead to the opening and down the slope.
Thankfully, we do have a shooter master working on staff! Check out these two high-scoring runs — think you can match them yourself?


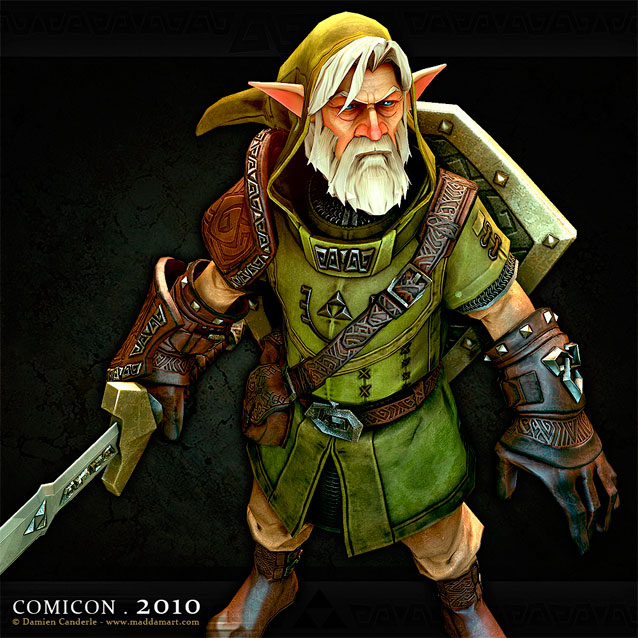 Amazing fan-art of an older version of Link
 Diablo III: Book of Cain Looks Suitably Diabolical, In Pictures!
 Enrique Iglesias almost crashes in Egypt
 Fallout 4: Jewel of the Commonwealth - Diamond City, Trinity Tower Radio, Valentine's Detective Agency
 Beat all Bosses in Bloodborne (PS4)