


Pull off the perfect heist with the Grand Theft Auto 5 walkthrough, showing you how to complete every mission in the massive open world of Los Santos.
Instead of playing as one hardened criminals, you’ll have your pick of three — each with their own stories to follow. That’s a lot of laws to break. See how to earn bank like a pro on our tips and tricks below.
Game Front is dedicated to bringing you the latest (and greatest) secrets, guides, and collectible locations for GTAV. Don’t miss out, find everything we’ve got on the Grand Theft Auto 5 cheats compendium. If you’re looking to see what challenges the latest Rockstar open-world actioner has in store, check out the complete list of GTAV achievements.
Check back soon for new updates!

Follow the on-screen instructions to subdue the hostages and blow the vault, then exit the bank to encounter the police outside.
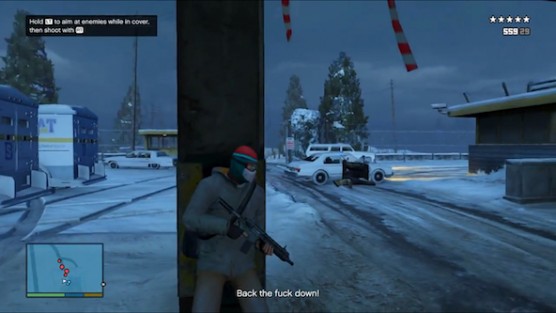
Take cover behind the beam in the front row that’s adjacent to the dirt road and alternate between aiming around both sides of this column to eliminate the officers ahead in the most tactical manner possible.
Once the area ahead is clear, proceed up the dirt road to exit through the security gate and sprint towards the next approaching vehicle to eliminate the officers inside at a more accurate distance.
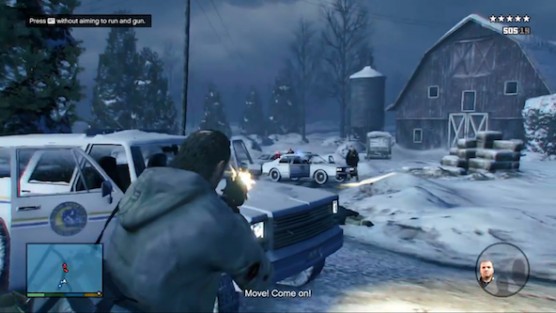
Use the first vehicle you clear as cover to take out the other officers that arrive up the road ahead.
Proceed forward up the dirt road by using each cleared vehicle as cover until you can approach the getaway car to activate the next cut scene.
Once you have control of the vehicle, stay as far to the right side of the road as possible to let the police cruisers and other vehicles pass by you harmlessy as they travel in the other direction.
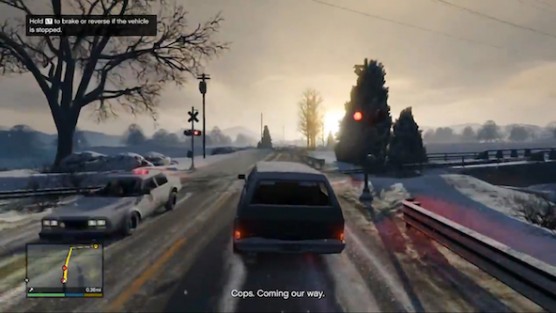
Take a right at the roadblock to activate another cut scene, then stay behind cover and pick off the police that arrive on either side of you until the mission eventually concludes.

Franklin and Lamar
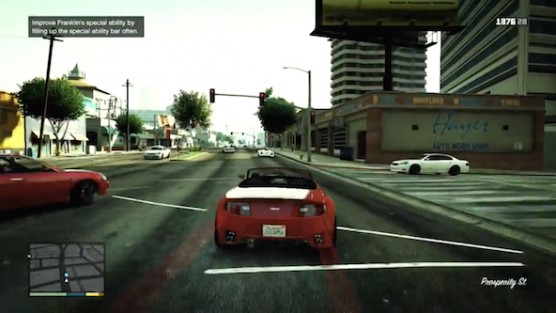
After choosing your vehicle, follow the on-screen prompts as they appear to try out new driving techniques that will help you evade traffic and maintain close pursuit of Lamar.
Use Franklin’s special ability to pass through busy intersections by slowing down time just as you enter them and stick to one side of the road to carefully navigate around the vehicles in your path.
As soon as you crash through the movie studio’s front gate, stay in the exact middle of the road ahead to pass through the separating groups of costumed aliens. Avoid these martians to complete one of the mission’s secondary objectives.
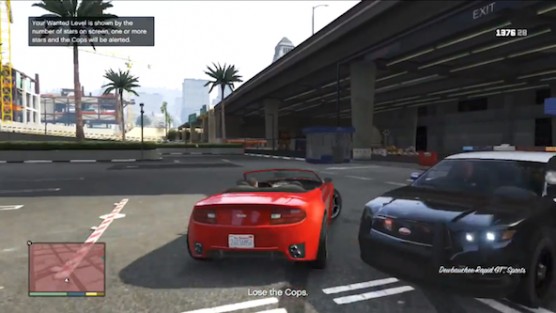
After catching up with Lamar in the bank parking lot to activate a cut scene, drive straight past the left-side of the oncoming cop car to breach the exit gate and make the next two available left turns to head south on San Andreas Ave.
Proceed south on San Andreas Ave. to stay ahead of the police presence and use your special ability to avoid imminent collisions that will slow you down.
Look for a black and grey checkered building on one side of the road and a construction crane on the other, then make a right turn at the large tree in front of the building and descend towards the parking garage.
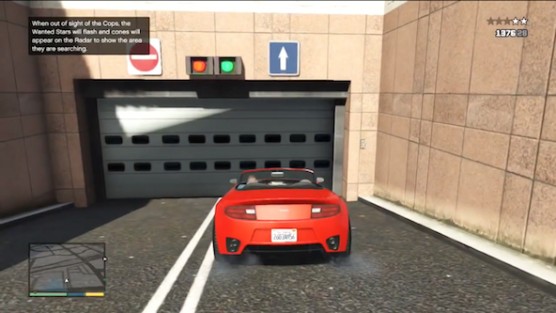
Stay parked in front of the closed garage door below and wait for the wanted stars to disappear, then follow the on-screen route to return to the dealership and drive your own car home to complete this mission.

Repossession
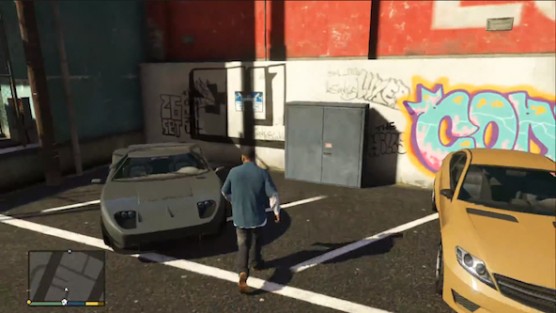
Get behind the wheel of the black Vapid Bullet, Super parked in the back of the dealership to reach your next destination quickly and for the high-speed pursuit that occurs later on in the mission.
Once you’ve parked the car and followed Lamar to the indicated garages at the end of the alley, open the closest one on the left first to pick up a bullet proof vest.
Open the largest of the garages to activate a cut scene, then equip your pistol and use the adjacent wall as cover to take out the enemies around the corner.
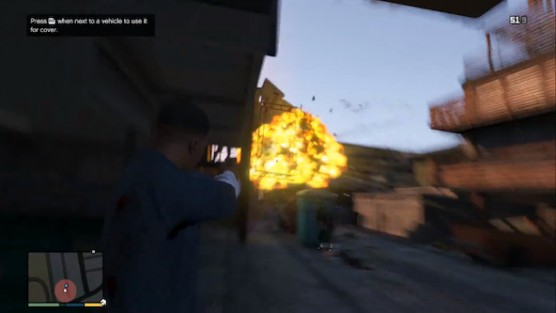
Proceed up the alley with Lamar to encounter the enemy on the scaffolding above to the left and shoot the fuel tank beside him to remove the threat.
Take cover behind the low brick wall across from Lamar on the right and pick off the enemy in the next two balconies above, then shoot the back tires and windows out of the blue car that pulls into the alley.
Fire at the ground in the area where you shot up the blue car to ignite the gas and blow the vehicle to pieces, then exit the alley to start chasing the thug on the bike and eventually run him down.
Drive the bike to the car wash to complete this mission.

Complications
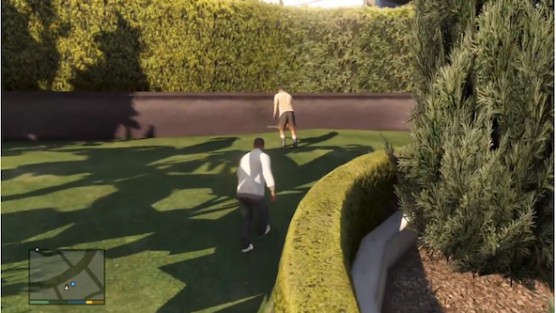
Drive to Michael’s house to park outside the front gate and climb over the smaller door to the left of it to access the property.
Take out the gardener in the north corner of the lawn from behind and approach the opposite side of the house to climb on top of the white pick-up truck under the car port.
Jump to the roof of the car port to climb through the open window above on the right and stay hidden inside the bathroom until the girl crosses by in front of you.
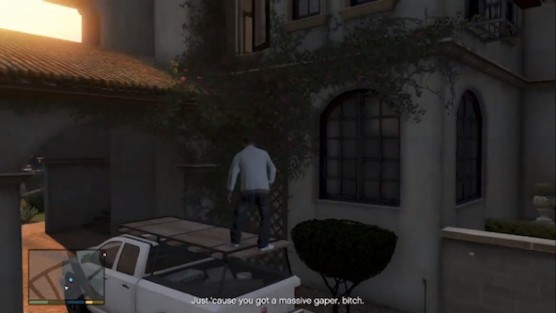
Descend the staircase to turn around at the bottom and make your first left to enter the garage, then get behind the wheel of the truck and drive it forward as the door opens in front of you.
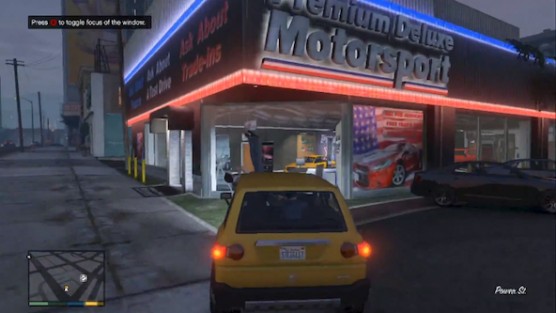
Drive back to the dealership to listen to Michael’s instructions, then hit the gas to smash straight through the window in the left corner of the building and activate a cut scene.
Once you have control of Michael, use the indicated combat maneuvers to defeat Simeon in a fist fight and complete this mission.

Father and Son
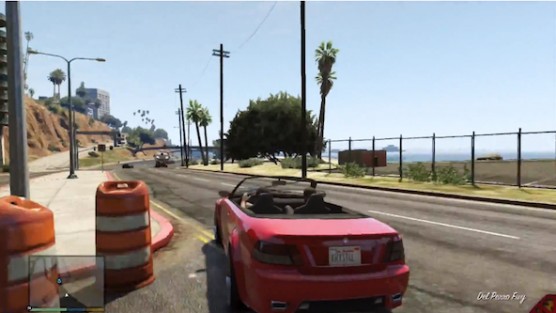
Get behind the wheel of Amanda’s red convertible and follow the designated route to reach Pacific Bluffs, then power slide to make a sharp left turn at the last intersection and begin pursuit of the indicated yacht truck.
Stay in the far right lane of the highway to maintain pursuit of the yacht truck and swerve around the surrounding traffic until you are able to catch up.
Move in close behind the yacht truck and keep the convertible as straight as possible so that Franklin can jump onto the back.
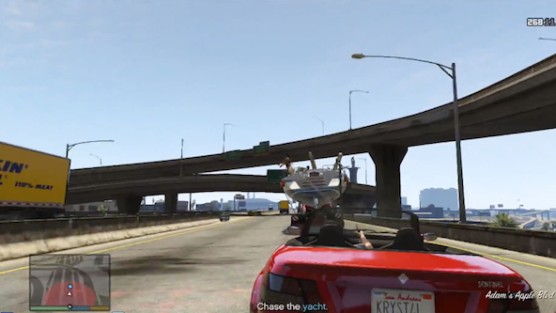
Continue chasing the yacht truck to watch Franklin dispatch of the pirates and aim your gun towards the left side of the boat to take out the thug that starts to choke him.
Move towards the far left lane when you see Jimmy swing out on the boom and swerve back onto the dashed divider lines to avoid any oncoming traffic.
Maintain a constant speed beside the yacht by staying in the left lane or at least by driving directly between both lanes and let Jimmy drop into the back seat, then fall back behind the truck to catch Franklin and continue driving until the car breaks down.
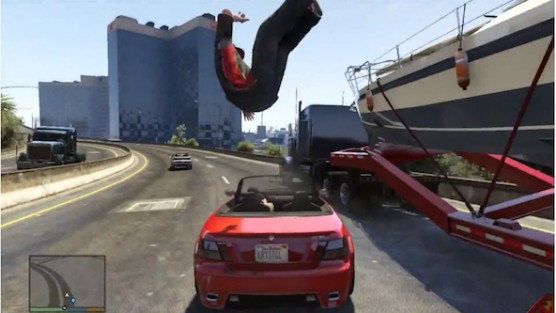
Follow the next designated route to arrive at Los Santos Customs and enter the garage tp get the car repaired, then drive Jimmy back home to complete this mission.

Pulling Favors
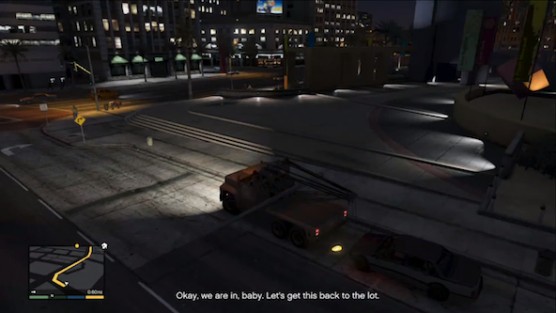
Follow the designated routes to commandeer the tow truck and drive to the junker that needs to be picked up.
Toggle your focus on the indicated junker as you approach the corner it’s parked near and maneuver the tow truck directly in front of the vehicle to lower the crane.
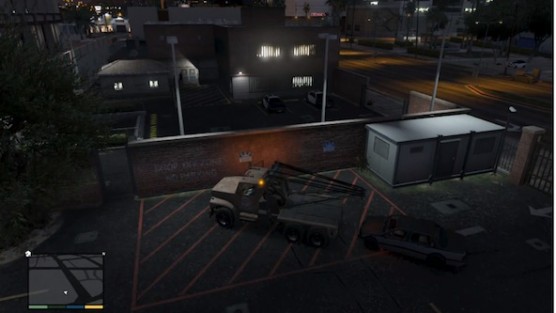
Back up slowly into the front of the junker to hook it with the crane and raise it into the air, then follow the designated route back to the impound and park within the drop-off zone designated by red lines to complete this mission.

Marriage Counselor
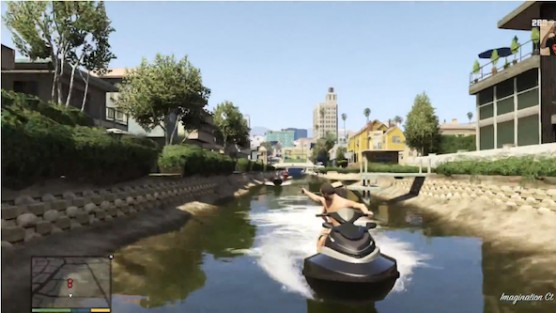
Get behind the wheel of the white pickup truck and watch the red dot icon on your map to pursue the tennis coach into the canyon until you spot him again on the balcony above.
Drive directly beneath the balcony to activate a cut scene, then get back in your truck and keep the accelerator pressed down to yank on the support beam until the entire loft collapses.
Afterwards, follow the designated route to eventually encounter the mafia and switch control over to Franklin to open fire on the pursuing vehicles.
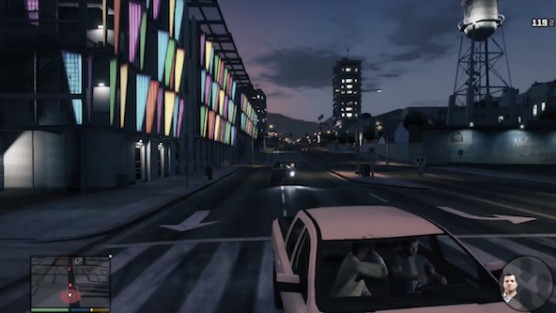
To fend off the approaching enemies, use Michael’s ability to slow down time, then aim for the driver’s side of the windshield to shoot the thug behind the wheel and prevent the vehicle from pursuing you any further.
You can also disable enemy vehicles by shooting out their tires, but these are harder targets to hit and using this technique doesn’t always guarantee immediate success.
Shake off the last of the pursuing enemies, then return to Michael’s house to complete this mission.

Daddy’s Little Girl
After driving to the beach and selecting one of the indicated rental bikes, pedal at top speed along the designated route to reach the end of the boardwalk before Jimmy does and activate a cut scene.
Once you’ve dove into the ocean, swim across the surface of the water to reach the yacht in the distance as quickly as possible and use the ladder in front of the jet skis to board the vessel.
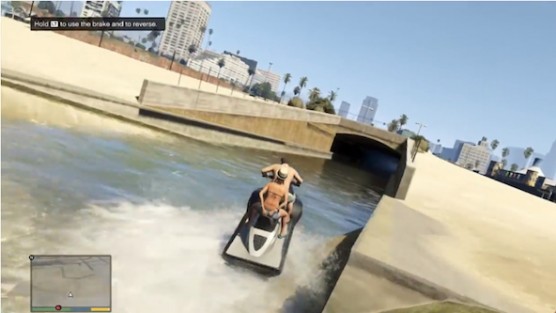
Following the next cut scene, head for the beach straight in front of you to pass through the inlet tunnel and maintain a consistent speed to keep the pursuers far behind.

Upon exiting the tunnel, continue moving in a straight line to keep the jet ski steady as you equip your pistol and start picking off the enemies in pursuit.
Continue forward until you pass through another long enclosed tunnel and make a sharp left turn out of it to avoid crashing into the docks at the end of the canal.
Follow the waterway around to make your last available right turn into a wide open canal populated by multiple buoys, then proceed at top speed in a southwestern direction to return to the ocean again and eventually lose your pursuers.
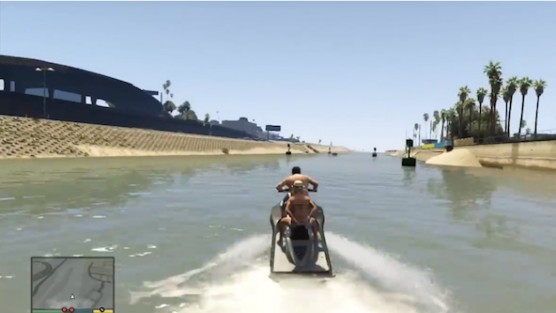
Drive the jet ski back to the boardwalk where Jimmy is waiting to activate a cut scene and complete this mission.

Friend Request
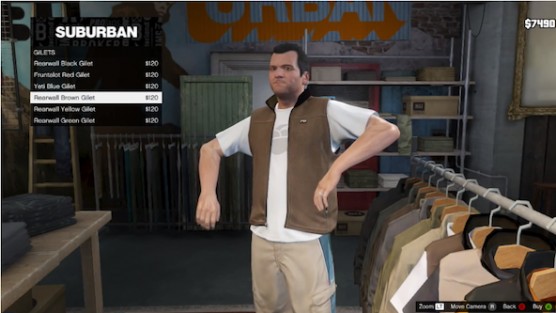
After speaking with Lester inside his house and driving to the indicated Suburban store in Vinewood, purchase a vest from the rack directly to the left of the counter and pick up a pair of shorts in the corner by the front window.
Use the next designated route that appears to drive to the Lifeinvader offices and approach the rear entrance behind the company’s sign to activate a cut scene in which you gain access into the building.
Follow the programmer through the building to reach his computer on the second floor and X out of all the pop up ads that appear to reveal the entire desktop screen.
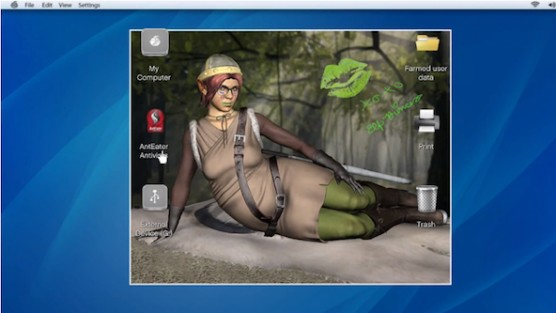
Click on the AntEater Antivirus icon to press the “Scan the Computer” button and hit “Exterminate after that to finish the process.
Turn right to pass through the next orange door ahead and activate a cut scene in which you rig the prototype.
Exit the building the same way you came in and drive to Michael’s house to watch the presentation on the TV in the downstairs living room.
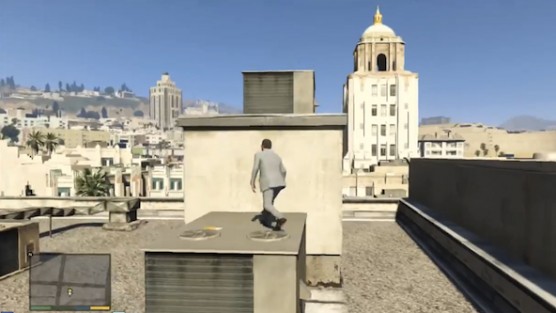
Flip through the channels to find Jay Norris on the news and wait for him to reveal the company’s new phone, then pull up his name in your contacts list to place a call and watch the destructive results unfold on television to complete this mission.

Chop
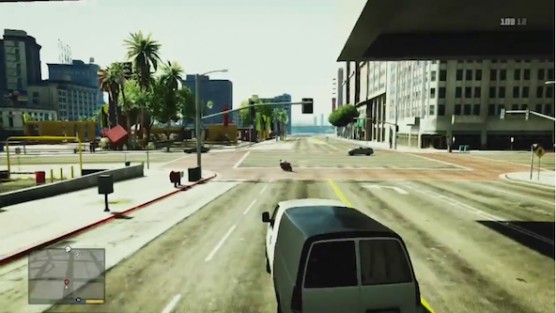
Follow Lamar to get behind the wheel of the white van and drive it to Vinewood Boulevard, then pull into the indicated alleyway to activate a cut scene.
Sprint back to the van to begin pursuit of OG and use your map to track his movements so that you don’t lose him.
Use Franklin’s special ability to make the same sharp turns as the motorcycle and maintain constant pursuit until OG crashes into a bus outside of Simmet Alley.
Chase after Chop on foot to continue pursuing OG and climb over the next fence on the right that dog jumps through.
Vault over the various obstacles ahead in a straight line to maintain a consistent speed and crash through the fence at the end to continue following Chop across the train yard.
After the next cut scene, switch to Chop’s point of view to locate OG’s possible hiding spots and open the two boxcars on the left to search for him.
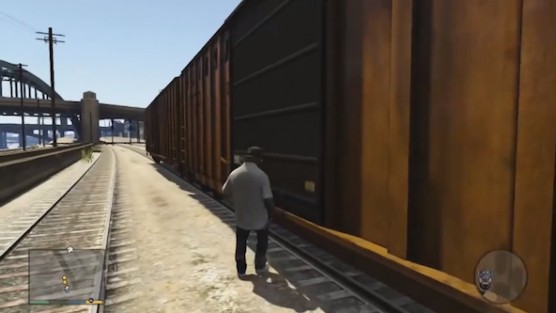
Continue following Chop to pull him off the other dog he starts humping and open the first boxcar on the tracks ahead to locate OG, then climb through the train to finally catch up with him and activate a cut scene.
Follow the next designated route until Lamar finishes his phone call, then stop the van to let OG out and drive to the recycling plant to complete this mission.

The Long Stretch
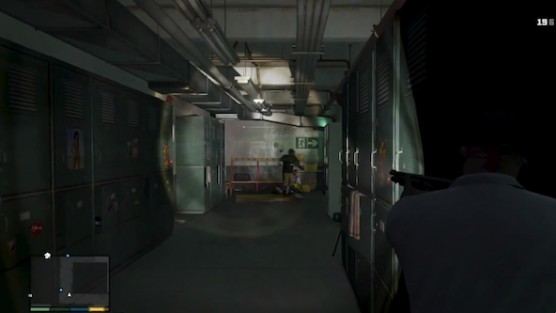
Drive to Ammu-Nation to purchase a pump shotgun with a flashlight mod, then follow the next designated route that appears to arrive at the recycling plant and enter the building to activate a cut scene.
Follow your partners out of the room to take cover behind the first stack of crates on the left, then alternate between eliminating an enemy with a single blast from your shotgun and shifting back into the cover until the room is clear.
Take cover behind the first row of lockers on the right in the next corridor to eliminate the next wave of enemies and proceed through the room ahead in the corner by using the same technique.
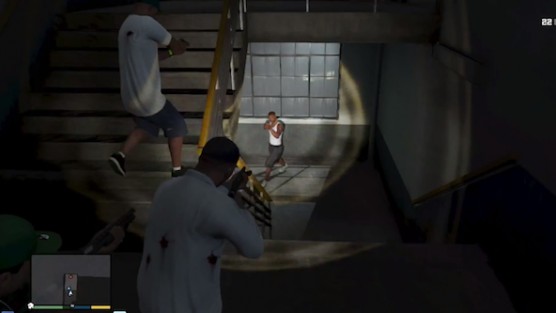
Descend the next staircase slowly with the shotgun pointed down towards the left at all times to anticipate enemies that suddenly appear from below.
Continue through the recycling plant by using the shotgun and the cover points available in each room to your advantage until you reach the building’s exit.
Make a right at the bottom of the staircase outside to climb the ladder against the wall and turn left at the top to shoot the gunners out of the nearby helicopter.
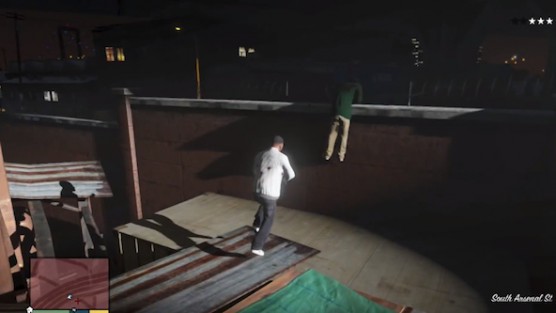
Take a left at the end of the catwalk you’re on to cross the series of tin roof panel ahead and make your first available right turn to vault over the section of wall that has a gap in the barbwire that runs along the top of it.
Once you land back on the streets, sprint towards the right to get behind the wheel of the nearest possible vehicle and speed off in any direction to lose the cops.
Watch your map for an instance in which there are no cop cars in the near vicinity and pull into the first narrow alleyway or shadowy overhang to lose them for good, then drive back to Franklin’s house to complete this mission.

Casing the Jewel Store
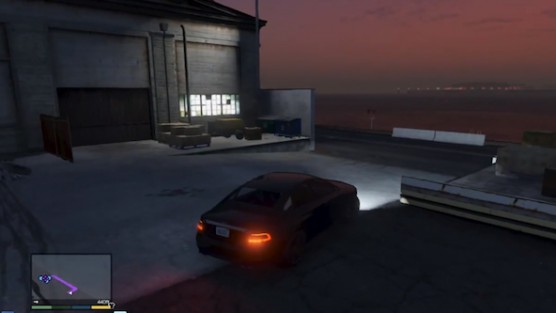
After driving with Lester to the indicated parking spot, enter the Vangelico jewelry shop on foot and activate the hidden camera in your glasses.
Look slightly towards the left to take a photo of the alarm keypad, the security camera and the vent behind them all in one shot.
Speak with the girl at the center of the store to learn additional information and return to your vehicle to take the first right turn ahead.
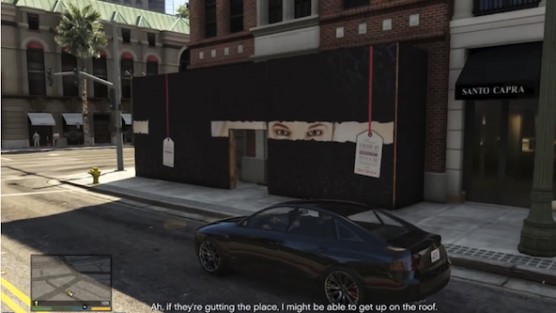
Circle around to the street behind the jewelry store and park in front of the black construction facade on the corner ahead.
Enter the building under construction to climb the staircase in the corner and exit through the open doorway at the top.
Ascend the pair of ladders in front of you and exit through the open doorway at the top, then head left to transfer onto the adjacent building’s rooftop.

Proceed forward across the next rooftop to climb the ladder on the third building and continue moving forward by circling around the ventilation system.
Transfer to the last building and climb onto the a/c unit attached to the only square structure on the rooftop.
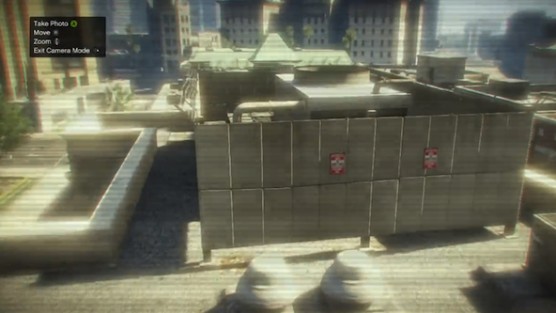
Ascend to the indicated vantage point above and turn towards the right before activating your glasses’ camera.

Snap a photo of the fenced-in ventilation system on the opposite rooftop, then return to your vehicle and drive with Lester back to the garment factory to organize the heist before the mission is complete.
You can choose whichever approach and team is best for you, but the most advisable way to take on this heist is by selecting the “smart” method and hiring Eddie Toh, Norm Richards and Paige Harris.

Bugstars Equipment (Smart Heist)

After reading Lester’s text and marking the H symbol on your map with the GPS, drive south to the Bugstar warehouse in the Port of Los Santos and make a right in front of the entire complex to head towards the ocean.
Turn left down the road adjacent to the ocean and approach the rear entrance to Bugstar’s warehouse.
Exit your vehicle before you reach the rear entrance and approach it on foot by entering stealth mode to remain undetected by the workers.
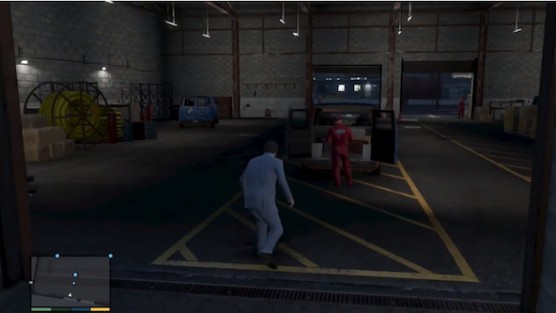
Sneak up on the Bugstar employee looking into the back of the nearby van and knock him out from behind with a melee strike.
Steal the van to back it out of the warehouse, then drive along the designated route to hide the vehicle in the tunnel adjacent to Lester’s factory and complete this mission.

BZ Gas Grenades (Smart Heist)
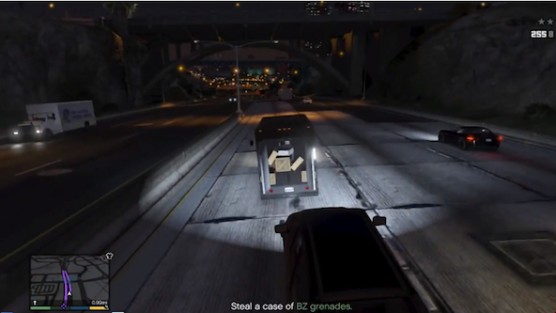
After taking Lester’s phone call and marking the H symbol on your map with the GPS, drive north along the designated route until a blue dot icon appears.
Chase after the blue dot icon to locate the van and pull up directly behind it to shoot open the rear doors.
Exit the vehicle to pick up the case of gas grenades that fell out of the van and get back behind the wheel to lose the cops, then return to the garment factory to drop the bag off in Lester’s office and complete this mission.

The Jewel Store Job (Smart Heist)
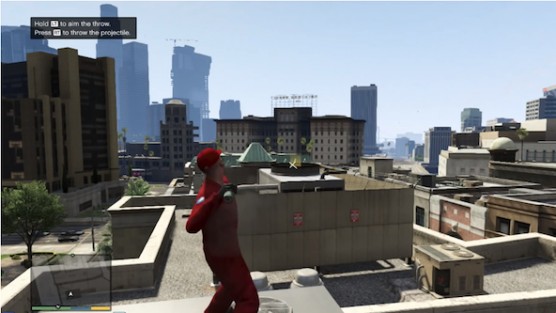
Get in the car downstairs to drive it back to the construction facade adjacent to the jewelry store and enter the building to ascend to the rooftop area again.
Return to the vantage point from the previous casing mission and equip the gas grenades.
Look towards the fenced-in ventilation system to aim for the base of the yellow light beam and toss a grenade through the opening to activate a cut scene.
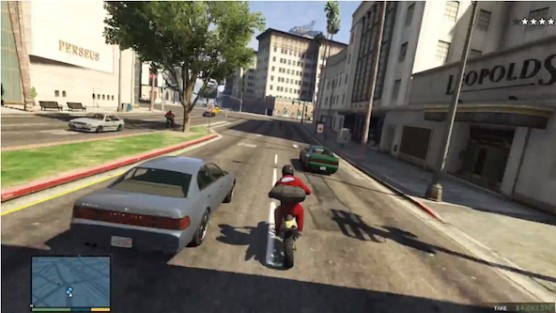
Once you have control of Michael, walk over to every display case in the store and smash the glass to steal the jewelry inside of them.
Exit the store to take control of Franklin and drive the motorcycle forward to keep up with your crew, then follow them around the city by navigating along the dashed road lines to squeeze between vehicles blocking both lanes or go around them via the surrounding sidewalks.
Continue maintaining a close distance behind the rest of the team to make the next hard right turn that drops you off the edge of a bridge and onto a freeway below.
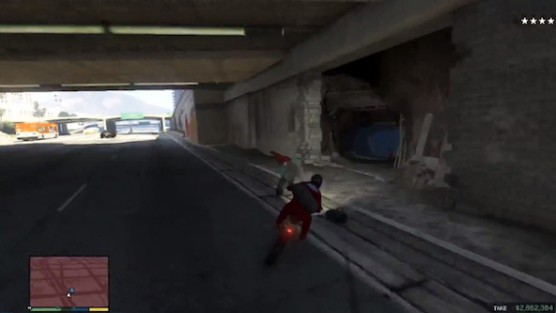
Steer your bike towards the right side of the area beneath the overpass ahead and drive through the hole in the wall at an angle to enter the tunnel.
Maintain a speed that’s fast enough to keep your partner in sight, but not so fast that it becomes difficult to control the bike within the winding underground tunnels.
Use Franklin’s special ability to better anticipate the sharp turns and obstacles that suddenly appear in front of you during your trip through the tunnel system.
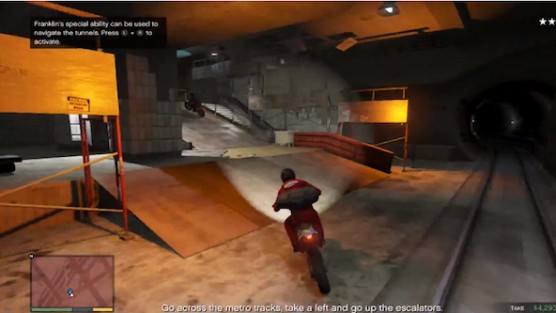
Listen for your crew member’s instructions to cross the metro tracks at an angle and ascend the ramp on the other side, then continue through the next series of winding tunnels at the top by using Franklin’s special ability frequently.
Continue following your teammate’s lead through the tunnels to eventually reach the exit and take control of Michael again, then steer the truck towards Franklin on the right side of the canal and approach the cop cars from behind to smash through them one-by-one.
Cross to the left side of the canal at a sharp angle to ensure another direct hit on a cop car and accelerate forward behind the motorcycle to take out another cruiser that emerges from a nearby tunnel.
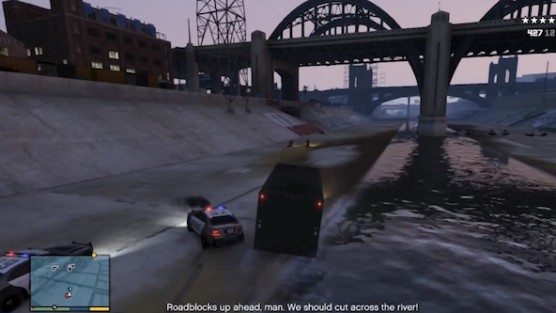
Reach the objective marker at the dock ahead to get the rest of your crew in the truck, then follow the designated route to park at the lockup and complete this mission.

Mr. Phillips
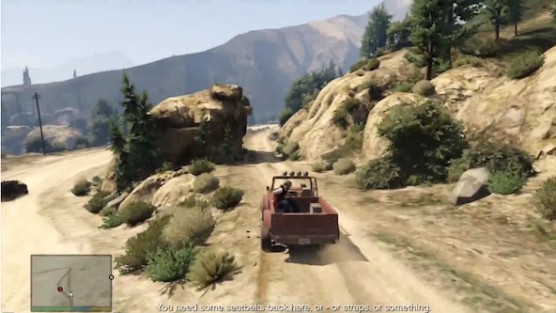
After driving to Grapeseed to confront the bikers, chase after them by smashing through the two white picket fences around the corner at an angle to close the gap faster.
Take out the two bikers ahead with by shooting them and close in on the van by taking advantage of the various shortcut opportunities along the way.
After the first shortcut, prepare to use a power slide to make the next sharp left turn ahead and avoid hitting any obstacles in the process to maintain a close-distance on the van.
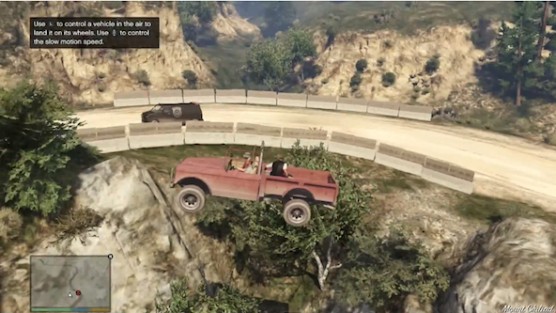
Follow your partner’s instructions to hit the next ramp ahead on the left and veer right immediately upon landing to side-swipe the approaching van as a means of slowing it down even further.
Cut every corner in the road possible to stay on top of the van until it leads you to the biker’s hideout, then exit your vehicle and equip the shotgun for the battle to come.
Use the surrounding cover to approach and take out the nearest guards ahead, then activate Trevor’s special ability to better ensure your survival as the number of hostiles increases.
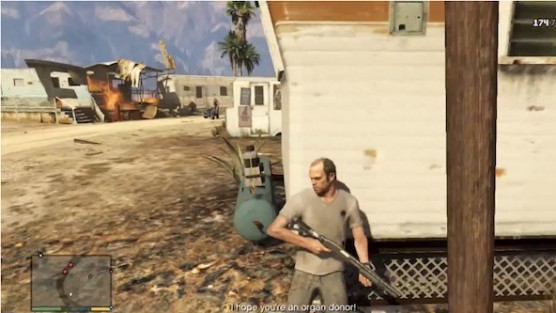
Take cover behind the first palm tree on the left to pick off the escaping biker and the next oncoming truck.
Continue up the dirt road that runs through the middle of the camp by moving between the surrounding cover points and eliminate the enemies you encounter along the way.
Detonate vehicles or nearby gas tanks you see alongside the road to eliminate the harder-to-reach enemies.

Take cover behind the trailer on the left with “The Lost” banner hanging from it to take out the enemy on the rooftop above and the next pair of approaching motorcycles.
Use the trailer directly across the street as your next cover point to eliminate the wave of enemies around the corner by first blowing up the fuel tanks behind them.
Activate Trevor’s special ability to quickly eliminate the remaining enemies by charging straight towards them and firing the shotgun non-stop, then return to your truck and follow the next designated route to drive to the riverside trailer.
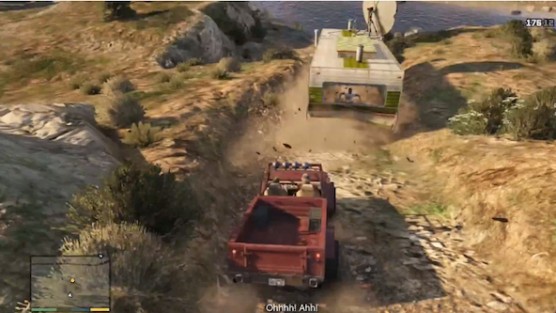
Drive straight forward into the riverside trailer and keep the accelerator held down until you’ve push it into the water below to activate a cut scene, then shoot the dealer in the head and return to Ron’s place to complete this mission.

Trevor Phillips Industries
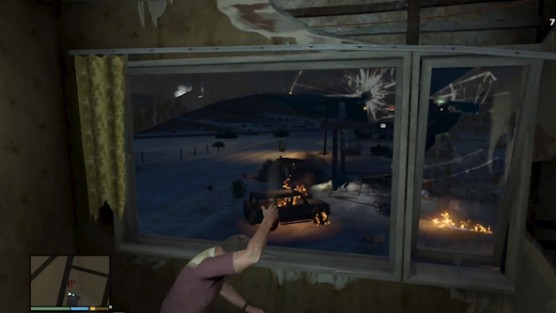
After leaving the bar and driving Chang Jr. to the meth lab, use grenades to take out the vehicles below and the enemies hiding around them.
Use the automatic rifle to finish clearing the area below and exit the building with Chef to take cover on the next rooftop.
Clear out another wave of enemies on the ground below with the automatic rifle and grenade launcher.
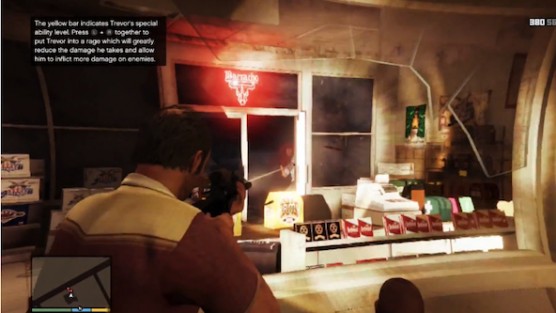
Aim the grenade launcher at the vehicles or at the ground around the enemies’ feet to wipe out remaining thugs quickly.
Follow Chef into the store to take cover behind the left side of the counter and pop up to mow down thugs coming through the front entrance until the gang finally retreats, then return to the icebox to complete this mission.

Nervous Ron
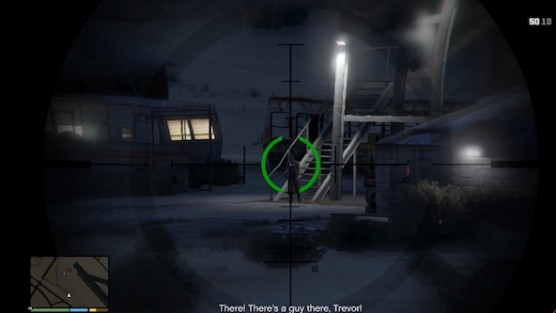
After picking up a sniper rifle at Ammu-Nation and driving to the water tower north of the airfield, climb both ladders to reach the vantage point at the top and activate a cut scene.
Use your map to aim the sniper rifle in Ron’s direction and track his movements through the scope by zooming in on him.
As Ron sneaks behind the first building, shift your gaze to the right of him to locate the biker at the bottom of the control tower’s staircase and pick him off.
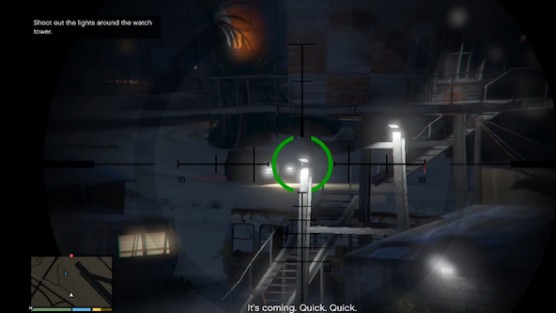
When Ron informs you that a vehicle is approaching, aim the rifle above the guard you just killed to shoot out the pair of overhead light poles.
Follow Ron’s instructions to eliminate the guy in the van and the one who steps out of the control tower above.
Take out two more enemies at the bottom and top of the control tower’s staircase to let Ron pass by.
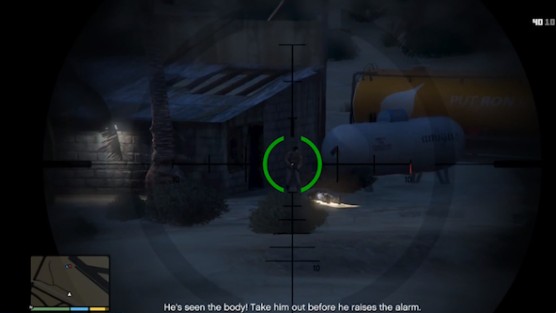
Shift your gaze to the right of Ron to snipe the pair of thugs in front of the Amigas fuel tank beside the next building.
As Ron plants the bomb, keep your sights on his location to see the next biker pass by on the road behind him, then wait for this enemy to get off his motorcycle before eliminating the threat.
Zoom all the way out to look for the helicopter approaching from the southeast and zoom in on the chopper to track it across the sky.
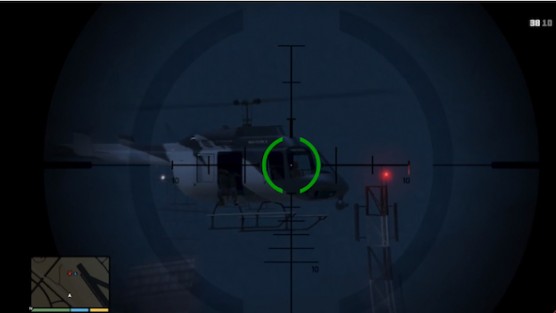
Wait for the chopper to turn sideways within your sights until you can see the outline of the pilot’s head against the window, then pick him off to crash the helicopter.
Drive the ATV to Ron’s current position and dismount the vehicle to quickly find the nearest cover point, then equip your automatic rifle and use the map to determine where you should be aiming the weapon.
Once Ron is in the hangar, activate Trevor’s special ability to walk out onto the runway and eliminate the remaining bikers you see on your map.
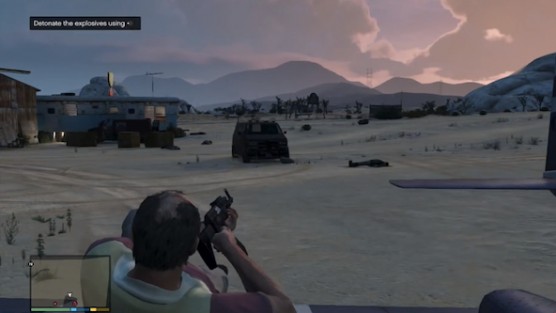
Get on the wing of the plane to mow down the enemies that block its path and aim behind the aircraft as well to pick off bikers in pursuit.
After you detonate the explosives and commandeer a plane of your own, follow the on-screen instructions to ascend into the air and turn completely sideways to shake off the enemy clinging to the wing.
Follow the blue dot on your map to tail Ron’s plane until you reach Fort Zancudo, then drop low towards the surface of the water and fly just a few feet above it to avoid military radar detection.
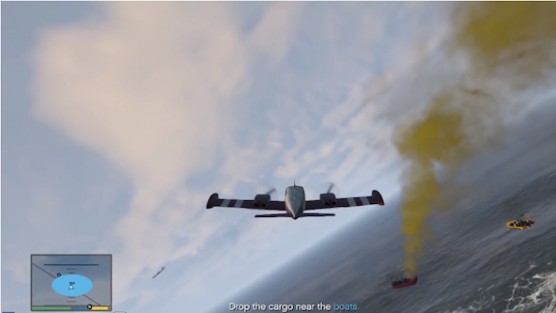
Drop the cargo near the yellow smoke you see billowing up from the water ahead and start the race to the runway way Ron, then point your plane so that the yellow map icon is directly ahead and fly high over the mountain range to reach it faster.
As the dirt runway comes into view in the distance ahead, press the indicated button to focus on it so that you can maintain a straight path towards the airstrip and decelerate to start your downward approach.
Hold down on the decelerator as you pass above the runway to drop your landing gear and push the plane toward the ground for a successful landing, then steer into the nearby hangar on the right to complete this mission.

Crystal Maze
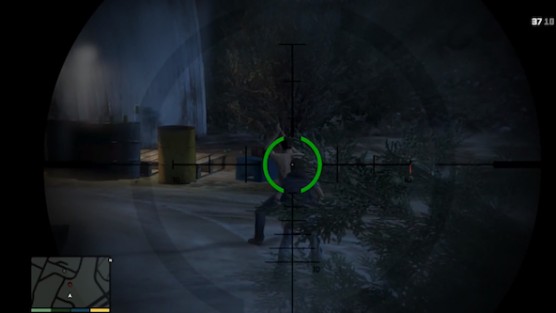
After leaving the bar and driving to the vantage point on the O’Neil brothers’ farm to activate a cut scene, zoom in with the sniper rifle on the two men playing around in front of the open barn and line up the shot so that the bullet passes through both of their bodies to take them with one pull of the trigger.
Shift your gaze to the second floor of the house on the right and aim through the open door on the balcony to eliminate the two men inside with a single shot as you did before.
Move the scope slightly towards the left to pick off the man visible through the second floor window, then point the rifle below that to take out the guard drinking on the front porch.
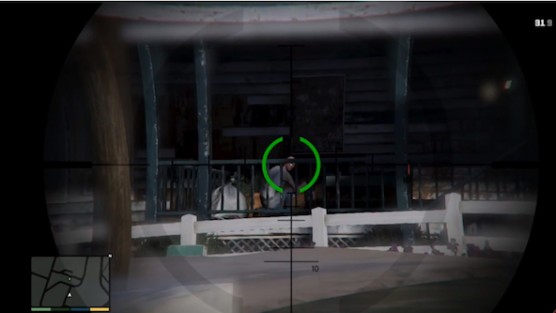
Head south to reach the adjacent dirt road that leads straight to the O’Neill farmhouse.
Remain at a safe distance from the farmhouse to snipe the guards through the front windows and around the porch.
Proceed through the opening in the picket fence to climb the steps on the right and approach the first window in the corner to take cover beneath it.
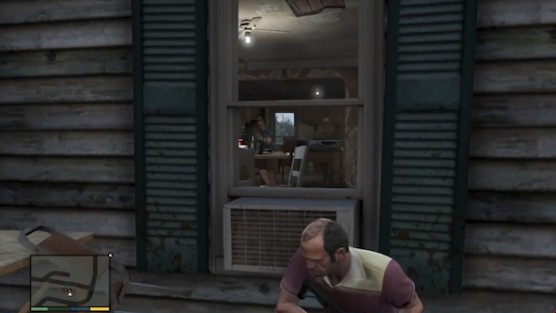
Equip your shotgun to fire on the enemies moving around inside the farmhouse and finish clearing the kitchen before pass through the white door beside you.
Move left through the house to reach the last room in the corner and descend the basement steps to approach the current objective marker.
Kill the remaining O’Neill brother to pick up the jerry can and start pouring gasoline onto the floor.
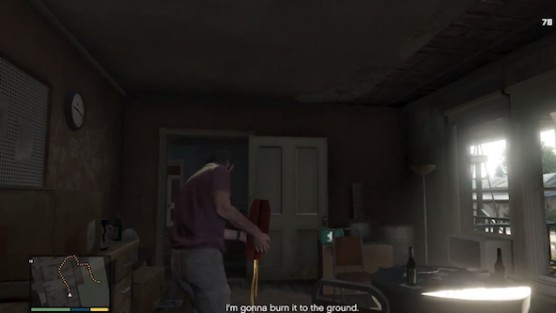
Use your map to follow the dotted-line route out of the farmhouse and leave a long trail of gasoline behind you, then shoot the fuel to ignite it and drive off the property to complete this mission.

Friends Reunited
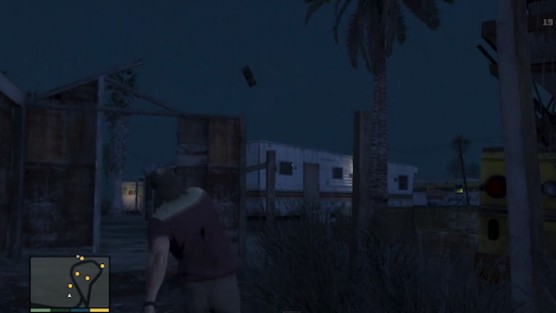
After driving to the biker camp, approach the first enemy ahead on foot to take him out from behind and head left towards the yellow school bus to toss a sticky bomb on the first trailer.
Cross to the opposite side of the camp to hide within the two green walls that surround a couch and look north to toss a sticky bomb on the second trailer.
Move forward alongside the western road to approach a trailer that’s been tagged with the phrase “Cycle Riders” and hit it with another sticky bomb.
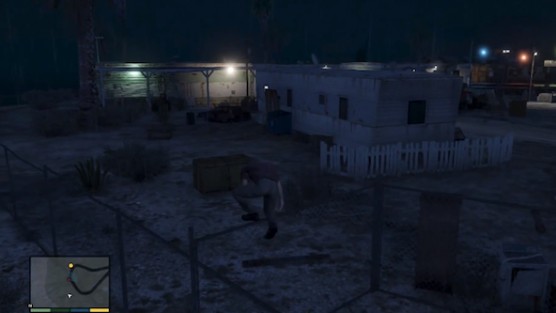
Remain in stealth mode to approach the northernmost trailer undetected and toss a sticky bomb onto it from the other side of the road.
Cross the eastern road to pass between the row of trailers and make a right to proceed forward behind them, then jump the next three fences to plant the final sticky bomb and detonate them.
Return to your vehicle, then follow the next designated route to reach Los Santos and complete this mission.

Hotel Assassination
After speaking with Lester, purchase a sniper rifle from Ammu-Nation if you haven’t already and enter the parking garage across from the hotel.
Approach the map marker on the ground level of the parking garage to activate a cut scene and equip the sniper rifle.
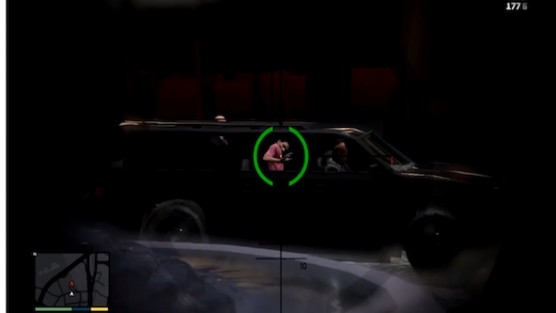
Zoom in on the black SUV parked behind the fountain in front of the hotel and wait for a man wearing a pink shirt to get into the back seat, then snipe him through the window and escape the police to complete this mission.

The Multi Target Assassination
After speaking with Lester, purchase an advanced sniper rifle from the nearby Ammu-Nation if you haven’t already and enter a high-speed vehicle to follow the designated red route that appears.
Use Franklin’s special ability to navigate around traffic without having a collision and reach your destination as quickly as possible.
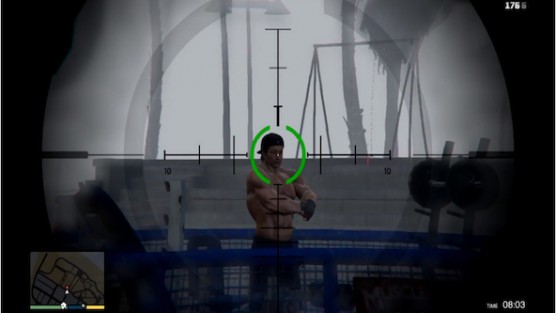
Park across the street from the beach’s weight lifting area and exit the vehicle to stand beside it, then zoom in with your sniper rifle to pick off the shirtless weightlifter wearing a backwards black hat and black shorts.
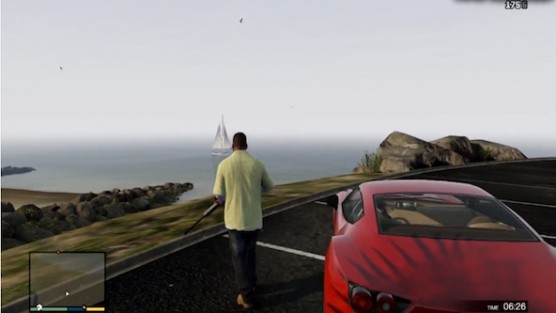
Get back in your vehicle immediately to follow the next designated route that appears and stop at the edge of the fenced-in circular parking lot that overlooks the ocean.
Zoom in on the sailboat in the distance to look for the man getting a lap dance towards the back of the vessel and aim low to snipe the second juror.
Quickly re-enter your vehicle to drive to the next destination and park across the street from Betta Life.
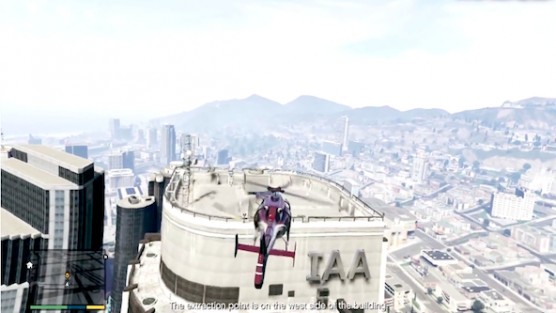
Aim your sniper rifle high above the Betta Life building to zoom in on the window washer scaffolding and pick off the third juror.
Travel to the final destination and immediately begin pursuit of the juror on the motorcycle, then pull up behind him to fire your weapon out the window and get the fourth kill to complete this mission.

Scouting the Port
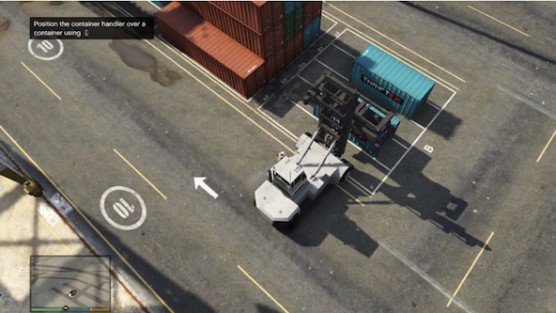
After driving to Pier 400 and getting behind the wheel of the handler, steer it towards the shipping containers indicated by the green dots on your map and raise the vehicle’s crane to the halfway point.
Approach either of the containers from their longest side and drive the front of the handler right up again it, then lower the crane arm to pick up the crate and transport it to the indicated area on your map.
Drive into the red lined grid of the loading area and gently set the shipping crate down within the painted rectangles, then repeat the same process with the second container.
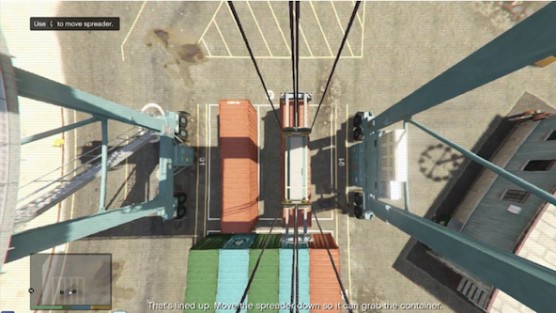
Make your way over to the indicated crane to climb the series of ladders and staircases attached to its base.
Approach the supervisor at the top of the crane to descend the ladder beside him and enter the cabin below, then switch to an overhead POV to look down on the shipping containers for better accuracy.
Shift the cabin over to the right so that the shipping container disappears beneath the spreader, then lower the spreader to line up its edges with the edges of the crate and lift the container all the way to the top of the crane.
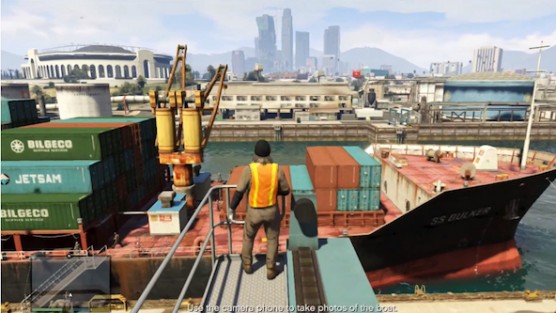
Return to the previous viewpoint and back the crane up to pass above the stack of shipping containers, then stop above the truck bed at the end and lower the spreader to the halfway point.
Switch back to the overhead viewpoint to line up the crate with the truck bed and lower it onto the vehicle gently before releasing the clasps, then repeat the same process with the other container.
Exit the cabin to make a right at the top of the ladder and drop onto the catwalk below, then turn right again to approach the end of the crane arm that looks down on the freighter.
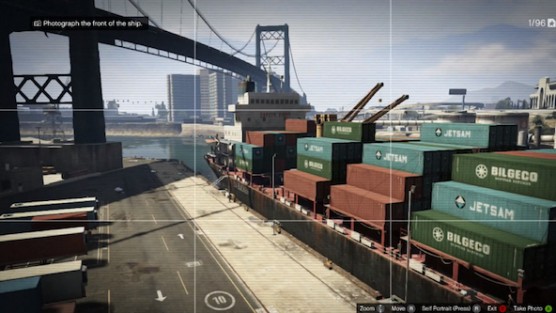
Activate the camera on your phone to turn turn left and snap a photo of the front of the ship, then zoom in on the deck directly in front of you to take a picture of the patrolling guard.
Take a photo of the left end of the boat again without zooming in and pull up Ron in your contact list to send him the pictures.
Descend back down to the bottom of the crane to get behind the wheel of the indicated semi and follow the next designated route that appears to arrive at the warehouse.
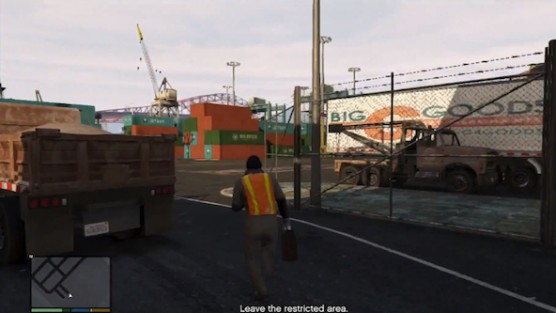
Pull up to the security gate in front of the warehouse to activate a cut scene, then sprint forward out of the warehouse to commandeer the tow truck on the right and return to Floyd’s apartment to plan the next heist before the mission is complete.

Dead Man Walking
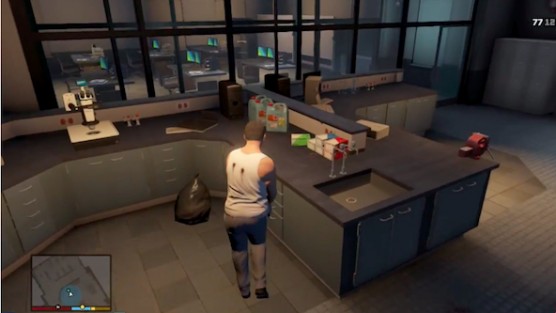
After waking up in the morgue, sneak up the first enemy to knock him out from behind and take his gun to equip it.
Enter the room in front of you to examine the bodies, then proceed through the hallway to take cover at the first corner and eliminate the enemies ahead to clear a path.
Use Michael’s special ability to slow down time and take out multiple enemies at once or fend off agents rushing towards you at close range with better success.
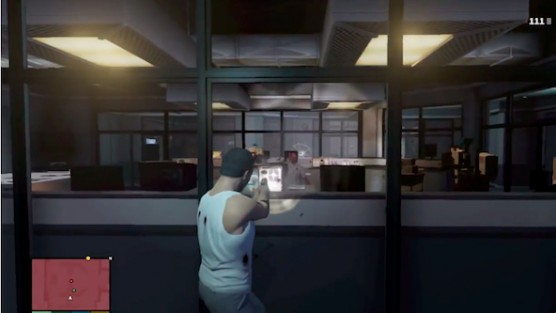
Proceed through the hall and use your map to anticipate the arrival of enemies coming from behind the reception desk on the left or the double glass doors on the right.
Slow down time as you exit the first corridor to eliminate the enemy in the elevator on the other side and enter the stairwell on your right.
Ascend the next two staircases to reach the floor at the top and make a left around the room in front of you to fire through the windows at the enemies inside.

Clear the area to enter the the lab room and approach the green map icon to collect your weapons from the black trash bag.
Equip a shotgun and use the counters in the lab area as cover to fight off the surrounding enemies.
Approach the indicated window to make your escape and commandeer the nearest vehicle in the parking lot to lose the cops, then drive to the oil derricks to meet up with Franklin and complete this mission.

Three’s Company

After driving to the meeting point and activating the next cut scene, fly the helicopter between the skyscrapers downtown to reach the Agency Headquarters and ascend above its rooftop.
Approach the Agency Headquarters from the east to fly directly over it and descend towards the opposite edge of the rooftop to take control of Michael.
Rappel down the side of the building to activate another cut scene before smashing through the window and switching to Franklin.
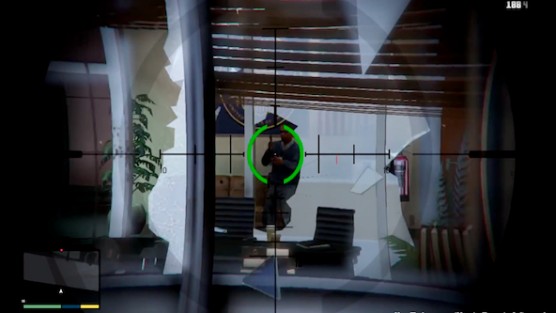
Zoom in with the sniper rifle to score a head shot that’s already been lined up for you, then quickly shift the crosshairs to the left to take out another agent by the door.
Shift your aim towards the unbroken glass on the right to eliminate the enemies hiding behind it until you can take control of Michael again.
Remain in control of Michael to open fire on the remaining agents in quick succession as they appear in front of you to activate the next cut scene.
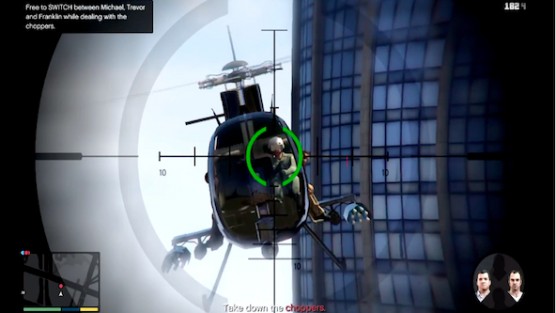
Once you have control of Franklin again, zoom in on the lowermost helicopter that’s moving towards you and take out the pilot to crash the chopper.
Switch control back to Michael for the remainder of the mission to let Trevor fly the chopper so that you can focus on eliminating the enemies in pursuit.
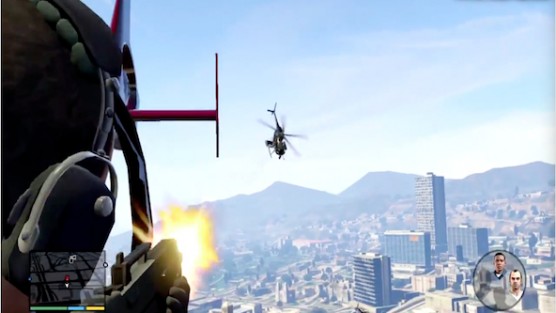
Aim for the rounded cockpits between the winged missile launchers of the enemy choppers, as they represent the largest section of the entire aircraft and the easiest to target for better accuracy.
Focus on shooting down one helicopter at a time and moving on to another as soon as you see the current target catch fire.
Fight off the remaining choppers, then remain in control of Michael to let Trevor land the helicopter safely and complete this mission.

Hood Safari
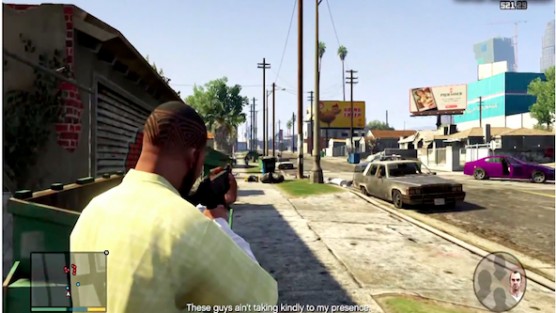
After driving to Grove Street and activating a cut scene in which the drug deal goes bad, gun down the enemies in front of you and take cover with Lamar behind the car in the middle of the road.
Equip an automatic rifle and follow Trevor up the sidewalk on the left to move between the dumpster cover points.
Continue clearing the street ahead to proceed forward and target the vehicles being used as enemy cover until they explode to eliminate the surrounding threats with more efficiency.
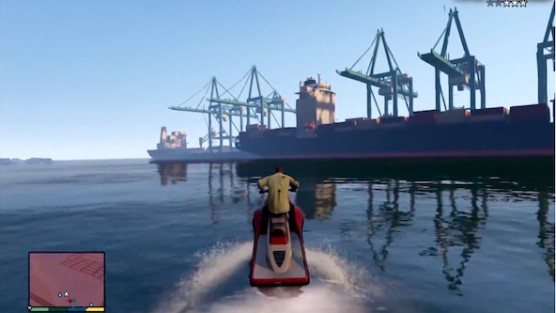
Stay behind Trevor as he progresses up Grove Street until the police arrive, then follow Lamar down into the canal to steal the jet skis.
Follow your crew into open water and beneath the series of bridges ahead without collision, then wait for the group to split up and break off towards the ships on the right at full-speed.
After passing the last ship, steer your jet ski back towards the left to proceed forward along the shoreline until you eventually lose the cops to complete this mission.

By the Book
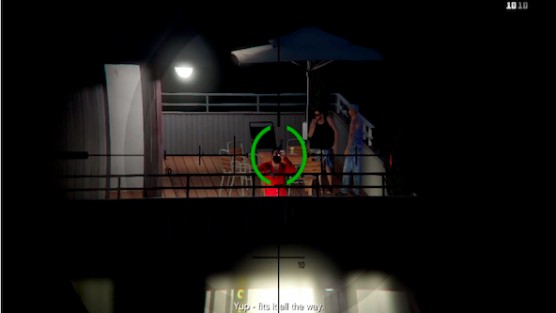
After driving to the indicated house and taking control of Trevor once it’s revealed you’re at the wrong place, choose from any of the tools on the table to torture the prisoner for more information.
Once you arrive at Chumash, continue using each of the available torture tools to learn more about the target’s appearance until it’s confirmed that you’re looking for a bearded left-handed man who smokes.
Zoom in on the second floor of the building across from you, where the party is taking place, to take out the bearded man with a cigarette in his left hand and drive the prisoner to the airport to complete this mission.

The Merryweather Heist
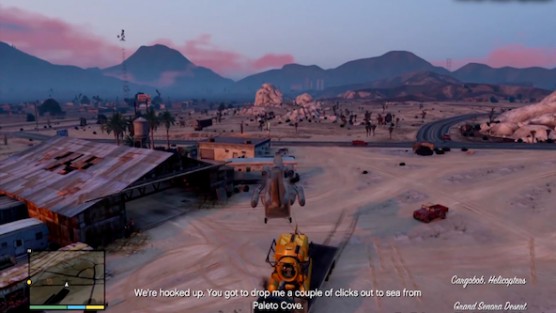
After driving to the airstrip and commandeering the cargobob, hover a few feet above the minisub to hook it with the extended cable and fly to the test site.
Hover a few feet above the ocean to drop the minisub into the water and switch control to Trevor, then turn the sub until the red Trackify dot is north of the radar on the screen.
Proceed in the direction of the red dot until it’s lined up with the radar circle and dive straight down towards the ocean floor.
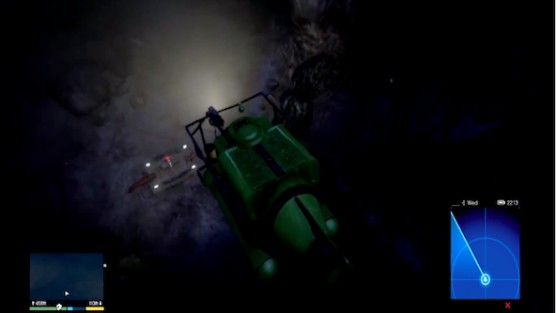
Head towards the four blinking lights below to approach the mystery device and drop the sub on top of it to grab ahold.
Ascend straight up out of the water to break the surface and take control of Michael again, then keep the cargobob hovering a few feet above the ocean to fly over the sub and hook it with the cable.
Take control of Franklin when Merryweather shows up and watch your map to know which side of the helicopter you should swap to, then open fire on the boats below and pick off the pilots in the surrounding enemy choppers.
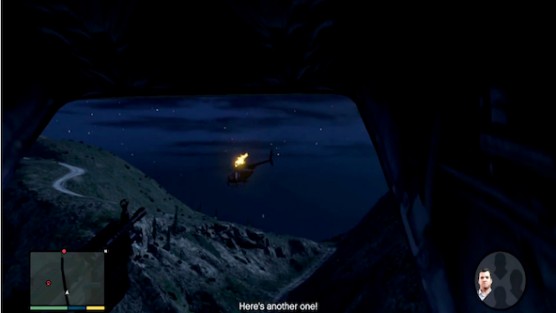
Take care of the enemy firing missiles directly behind your chopper first before dealing with any of the others and try to keep a direct stream of bullets on it at all times until it explodes rather than aiming for a specific area since it weaves around constantly.
Finish defending the chopper to control back to Michael and fly to the airstrip to complete this mission.

Blitz Play
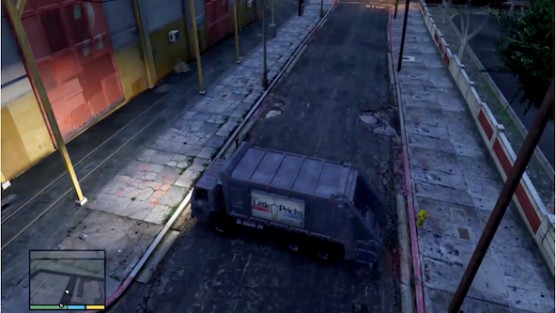
After driving the garbage truck to Cypress Flats, approach the indicated point in the road ahead and position the truck sideways across it to block both lanes.
Once you have control of Franklin, keep the accelerator held down to smash into the side of the security truck and exit the vehicle to toss a sticky bomb on the truck’s rear doors.
Detonate the bomb and keep your gun trained on both security guards until the police start to arrive, then head west with Michael and follow him up the staircase to take cover at the top.
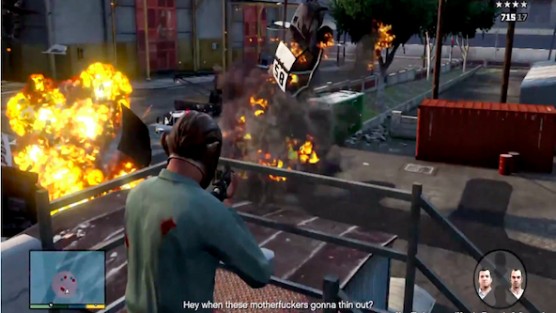
Toss all but one of your sticky bombs down onto the cop cars and detonate them with an automatic weapon to start clearing out the police using the vehicles as cover.
Switch over to Michael as more police arrive on the scene and use his special ability to start picking them off with more accuracy.
When you are informed of the NOOSE agents coming from the rear alley, descend the staircase to sprint forward at the bottom and take cover behind the barricades on the right to start clearing the area in front of you.
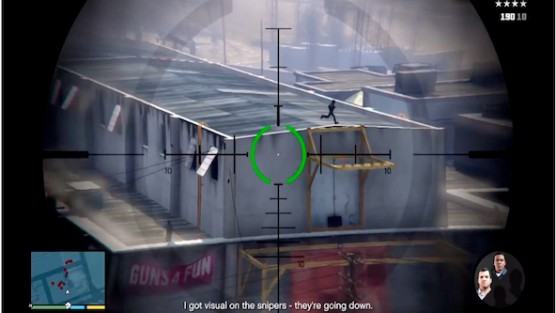
Once the team has split up, switch control to Trevor and use the bazooka to take out the police cars you see below.
Use Franklin to clear the main road with an automatic weapon or shotgun and use Trevor to take out the three snipers on the rooftop in the distance across from you on the right.
Take control of Trevor to shoot down the helicopter with the bazooka and look down towards the rooftop below on the left to eliminate another sniper.
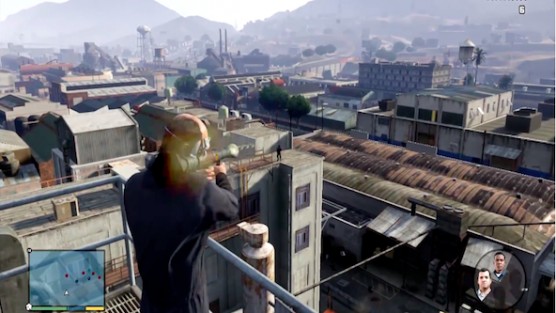
Have Franklin commandeer the garbage truck to escape from the area and drive to the getaway location to destroy the vehicle with your remaining sticky bomb, then travel to Devin’s house as Michael to complete this mission.

Mr. Richards
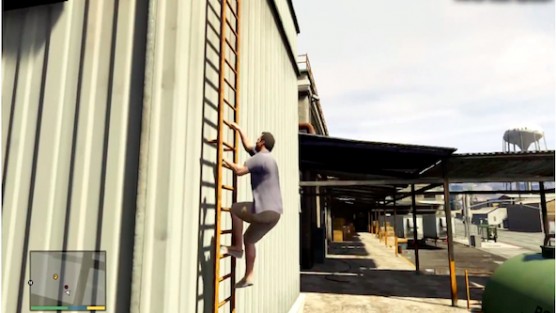
After driving to East Los Santos and parking the car, make your way up the sidewalk to approach the loading dock on the right and ascend the ladder on the left side of the building.
Turn right at the top of the ladder to drop over the edge of the roof and eliminate the maintenance man with a melee attack from behind.
Climb the nearby ladder to head left at the top and score a quick headshot on the thug who comes out of the green door in the corner.
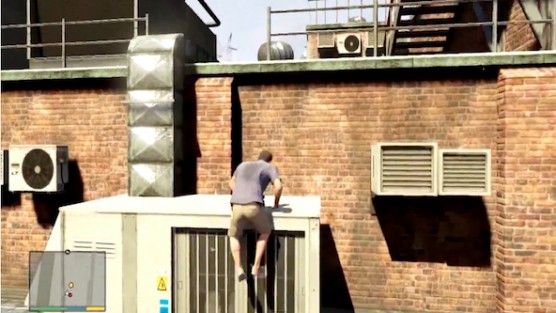
Climb onto the ventilation system nearby to reach the next rooftop and approach the helicopter above to activate a cut scene.
Defeat Rocco in the fistfight to commandeer the helicopter and turn it 180 degrees to fly towards the underpass in the distance below.
Drop the helicopter low into the canal at top-speed and pass beneath the series of bridges ahead without crashing until your passengers submit.
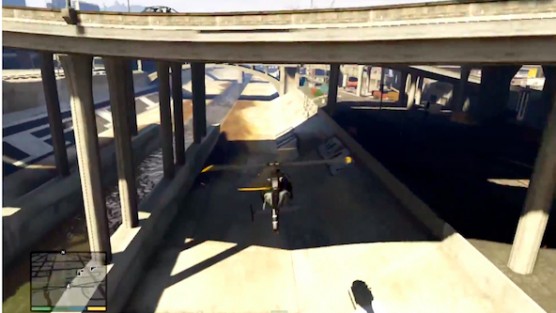
Fly back to the studio to land inside the empty blue water and approach Solomon’s office to complete this mission.

I Fought the Law
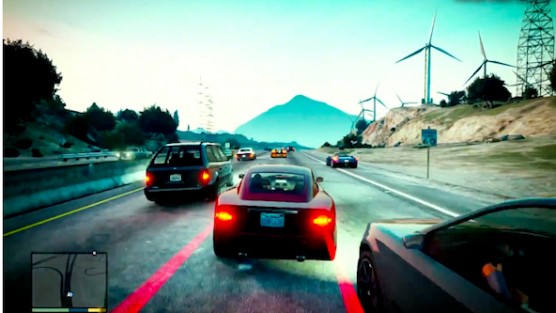
After driving to the gas station to start the race, keep the target cars in front of you at all times to avoid any competitive collisions and use Franklin’s special ability to weave through the heavier sections of traffic.
Ride along the asphalt shoulders of the road when available to keep a close distance behind the other racers without having to deal with collisions.
Once you switch control to Michael, stay on the painted divider lines or the shoulder to maneuver around traffic and follow Trevor’s lead whenever necessary to eventually catch up with the racers.
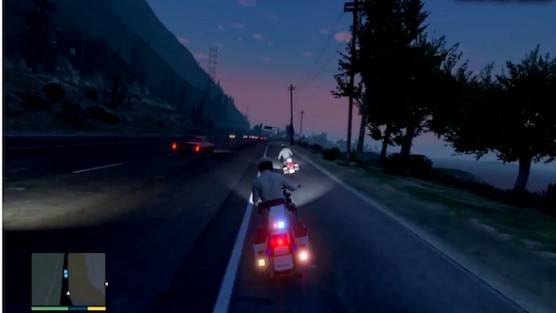
After pulling the cars over and driving away with them, follow the designated route to arrive at the garage and complete this mission.

Eye in the Sky
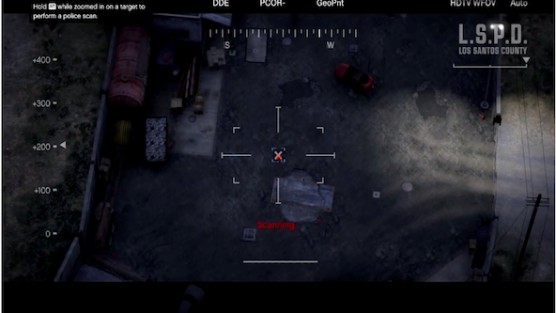
After changing the viewpoint to the helicopter’s camera, move the x in your crosshairs right over the blue box that appears around the targets and zoom in while holding down the indicated button to perform a police scan.
Continue scanning each of the indicated targets until you locate Chad Mulligan and follow him to his car by zooming out whenever he disappears behind an obstruction until he emerges again from a new position on the screen.
Follow the car that Mulligan speeds away in by zooming on it right from the start. If you happen to lose it for a few seconds, look for any vehicle driving erratically or the one that has a rounded cab with an elongated hood section.
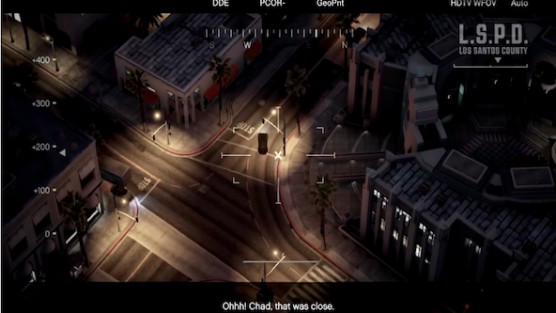
Zoom all the way out to ensure a consistent line of sight on Chad Mulligan during his escape until he enters the parking garage.
Once the helicopter flies in close beside the parking garage and you’ve activated thermal vision, point the camera all the way towards the left side of the level and scan the figure sitting in the car to locate Mulligan.
After taking control of Franklin, shoot Mulligan to steal his car and drive it to the airport without having a collision to complete this mission.

Caida Libre
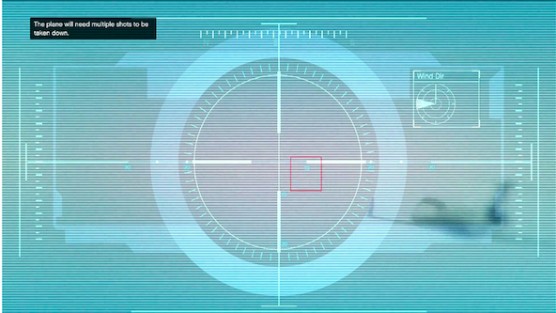
After getting in the van at the observatory, aim the rifle towards the left of the skyline and zoom in on the red square icon that appears to target the oncoming jet.
Move your sights above and to the left of the red square icon, then let it eventually drift over into your crosshairs and pull the trigger just as both symbols are lined up to successfully shoot the jet engine.
Repeat the previous step two more times to shoot down the plane and take control of Trevor to follow the smoking jet descending in front of you.
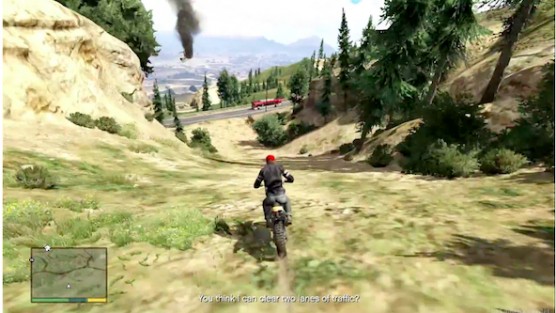
Stay directly behind the falling jet by taking dirt bike off-road, then follow the depression in the hillside down to hit the ramp below and launch over the highway road.
Continue following the dirt path and canyon cut into the hillside to pass through a drainage pipe.
Enter the small town area ahead to proceed in the direction of the falling jet and make a sharp right turn upon reaching the next blacktop highway.
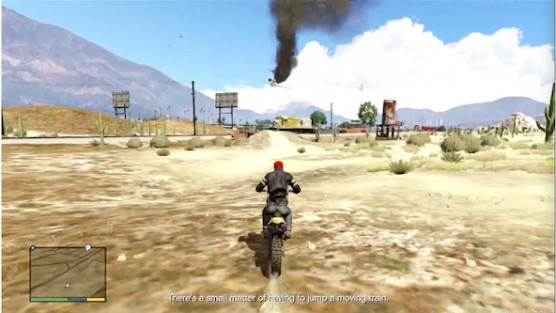
Stay directly behind the jet to leave the highway and cut through a desert landscape, then look for a dirt ramp on the left side of the rusted water tower ahead and use it to launch over the train.
Continue following the jet without collision by staying in the right lane of the next asphalt road you transfer onto and turn off the highway as soon as it hits the ground, then approach the wreckage on foot to shoot Javier and collect the briefcase.
Have Michael drive the van to an isolated location in the surrounding hills and destroy it with gasoline or gunfire, then commandeer another vehicle and travel to the cement works to complete this mission.

Minor Turbulence
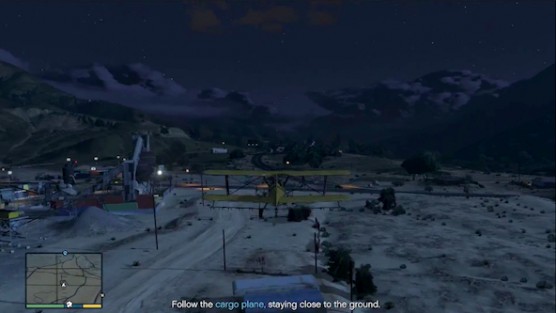
After commandeering a plane at the airstrip, fly it in the direction of the blue dot on your map and keep the aircraft low enough to avoid radar detection but high enough to stay above the telephone poles on the ground.
Travel above the river to the left of Fort Zancudo to pass by it undetected and follow the cargo plane across the ocean by stay a few feet over the water.
Once you’re out of the military radar’s range, ascend sharply into the air to approach the cargo plane at close-distance and steer towards its back end.
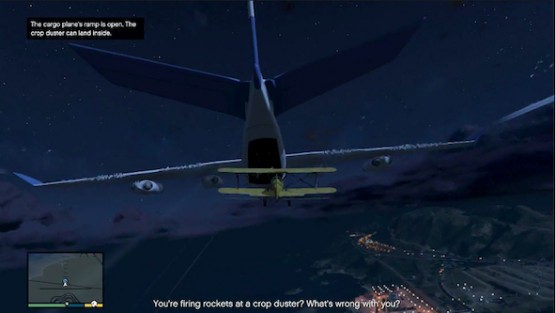
Move the plane up and down to dodge enemy fire coming from the back of the cargo plane, then direct the aircraft directly towards the rear door that’s been opened to land inside.
The best way to proceed through the plane’s cargo bay is by equipping a grenade launcher and targeting the vehicles ahead. If you don’t have this weapon or something like it, then move between the cover points on the left each time a truck rolls by and pick off the enemies as you go.
Kill the pilot to take control of the cargo plane and fly it back towards the airstrip until the air force shoots you down, then parachute out the rear door to land safely on the ground and complete this mission.

The Construction Assassination
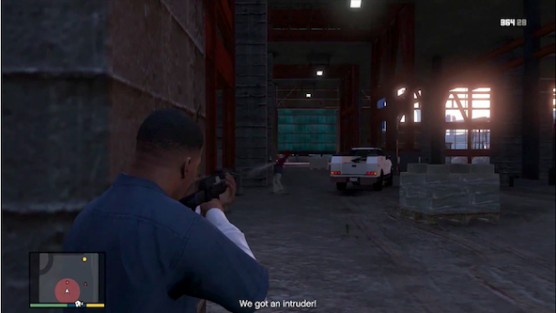
After driving to the construction site, take out the man standing in front of the building with a single punch and equip an automatic weapon to start fighting your way towards the yellow dot on the map.
Use a single cover point to draw enemies towards you and eliminate them as they approach to clear the ground floor.
Exit out the other side of the construction site to immediately take cover and eliminate the carload of enemies that pull up next, then enter the indicated elevator in the corner and ascend to the next floor above.
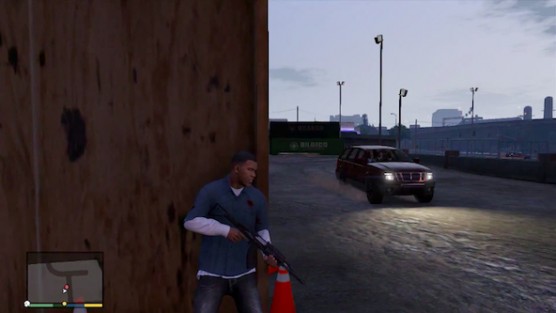
Start taking out the enemies ahead as soon as the elevator stops and move between the limitless cover point options to finish clearing this floor.
Approach the next elevator to eliminate the enemies inside as soon as it drops in front of you and ascend to the rooftop.
Take cover as soon as the elevator stops and eliminate the enemies the nearest enemies, then focus your aim on the helicopter to take out the target as he flies by.
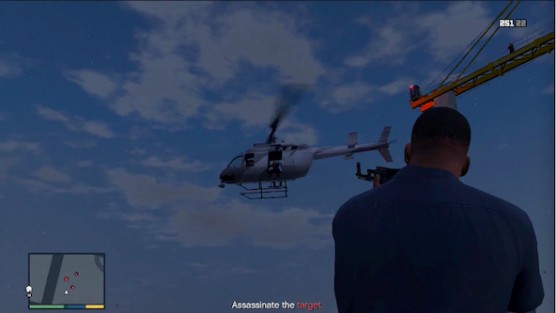
Return to the previous elevator to descend all the way back to the ground and leave the area to complete this mission.

Deep Inside
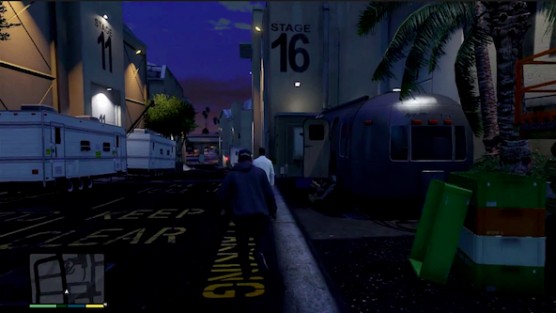
Once you’re at the studio, climb over the top of the emergency exit door to get inside the property and head left to approach the actor around the corner from behind.
Wait for Tina to walk away before sneaking up behind the actor and knocking him out.
Steal the indicated car to drive straight over the security in front of you and follow the designated route to exit the studio grounds.
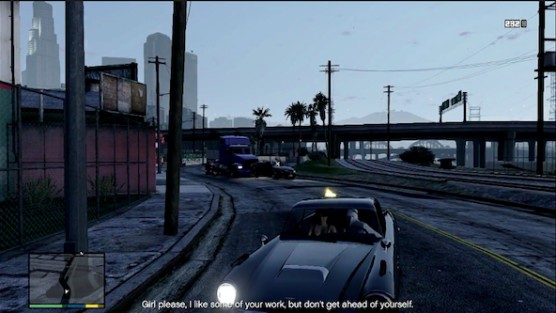
Use Franklin’s special ability to take the sharp turns along the designated route without losing speed.
The best way to ensure your spikes hit the security behind you is by staying in one lane for a prolonged period of time and dropping them on the straightaways of the designated route. You can also turn the camera around to fire your gun at the enemy drivers in pursuit for the same result.
Once you lose studio security and eject your passenger, drive the car to the garage to complete this mission.

Predator
Once you have control of Franklin, maintain close pursuit of the enemy vehicle and be prepared to make a sharp turn with it onto the dirt road ahead on the left.
Use Franklin’s special ability to navigate the sharp turns in the dirt road without losing speed and stay behind the enemy vehicle until it eventually crashes.
Sprint downhill to reach the burning wreckage at the bottom and take control of Trevor to commandeer the helicopter at the airfield, then fly it towards the orange dot icon on your map to reach the forest and navigate through the floating ring.

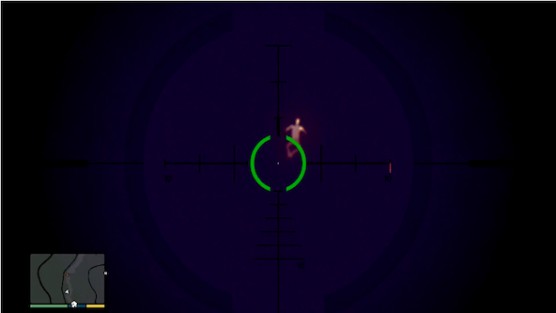
Once you have control of Michael, point the rifle towards the bend in the section of river to the west and zoom in to locate the human figure swimming in the water.
Snipe the first O’Neill brother, then shift your crosshairs in a northern direction to search the forest and locate a figure emitting a bright yellow light from his center.
Take out the second O’Neill brother, then move the scope up towards the left to locate the remaining target and activate a cut scene in which you take control of Franklin.
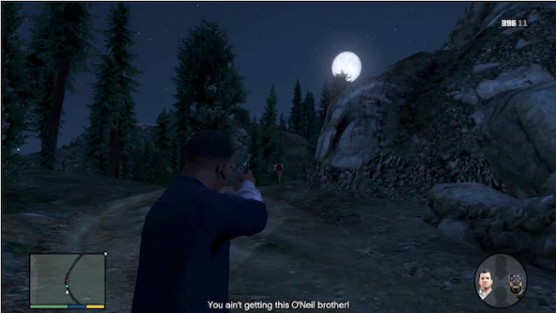
Sprint after Chop to cross the river and continue following him through the river on the other side to reach the dirt road above, then immediately turn left to take out last fleeing enemy.
Collect the bazooka laying beside the dead body before you take control of Trevor again, then fly towards the yellow map icon to descend towards the dirt road and land on the indicated spot to pick up Franklin.
Fly the helicopter back to the airfield to complete this mission.

Military Hardware
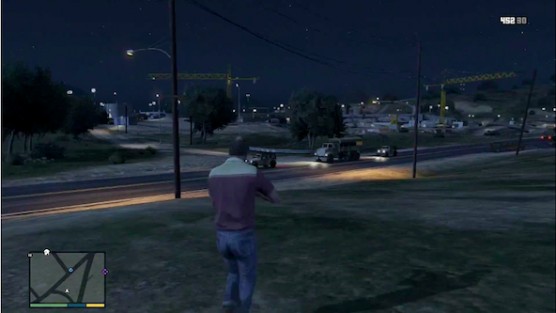
Purchase a grenade launcher or bazooka for this mission.
Once you locate the military convoy, drive past it to continue up the road ahead and pull off to the shoulder to exit the vehicle.
Sprint a few feet in the opposite direction of the road and watch your map to track the convoy’s oncoming approach, then turn around to target the lead jeep with the grenade launcher or bazooka and blow it up.
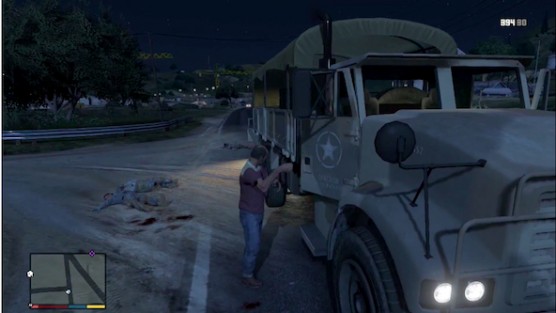
Take out the second jeep without hitting the larger truck, then equip an automatic weapon to mow down the remaining enemies who exit that vehicle.
Commandeer the large truck to drive it to the meth lab and complete this mission.

The Paleto Score
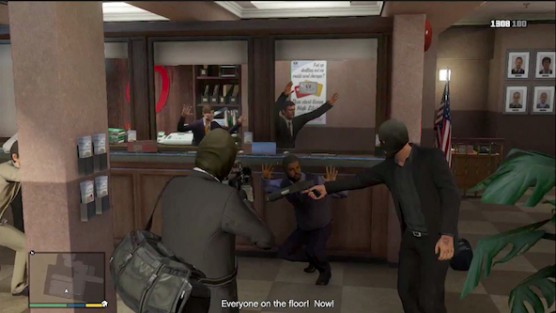
After dropping Franklin off at the pier and parking the van near the bank entrance, make your way into the building and point your gun at each of the people on the left to keep them under control until the vault is accessible.
Approach the safe to kick the door in and take control of Trevor, then join the rest of the team to activate a cut scene.
Maintain control over Trevor for the remainder of the mission whenever you can, since he carries the most efficient weapon for eliminating both enemies and their vehicles.
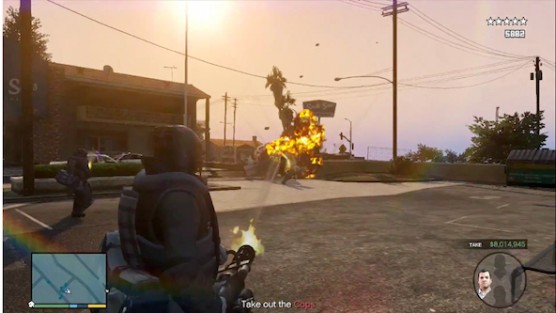
Target the line of cop cars in front of you to cause multiple explosions and eliminate the police using the vehicles as cover in the process.
Walk forward towards the police as you continue to mow them down with the mini gun and target the helicopter that appears above on the left to blow it out of the sky.
Follow your team into the building across the street to pass through to the other side and fire your mini to destroy the wooden fence in the distance ahead.
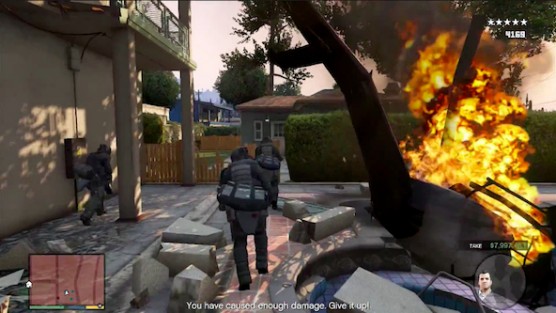
Turn right to eliminate the next wave of police and proceed through the fence you destroyed to follow your team through the series of yards ahead, then destroy the armored vehicle that drives by on the left.
Make your way up the street to take out the police on both sides of you and continue moving forward to destroy the next helicarrier that descends ahead before it lands.
Follow your team into the construction yard to destroy the jeeps on both side and continue walking forward to mow down the enemies in front of you.
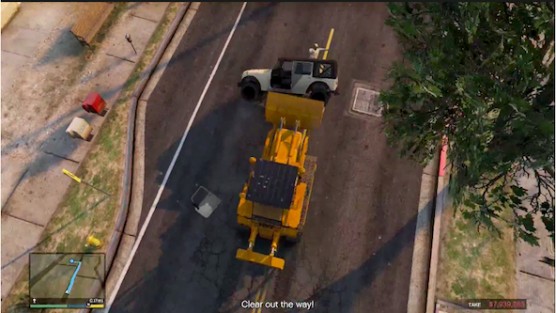
Once you have control of Franklin, raise the blade to block the front of the cabin and make a left out onto the road to follow the designated route that appears.
Drive around or lower the blade to plow through the vehicles that pull into your path. If you decide to plow through them, you’ll have a better chance of taking out enemies before they can open fire.
it’s easier to knock vehicles out of your way if you lift the blade of the bulldozer after making contact.
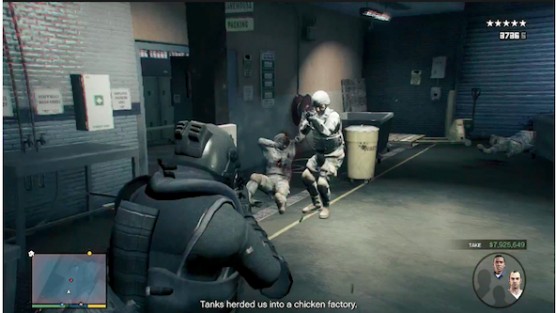
Rejoin your team in the construction yard to drive them towards the factory entrance ahead on the left and take control of Trevor again.
Navigate the next series of corridors to encounter another group of soldiers and mow them down without taking cover.
Continue fighting your way through the various rooms and corridors of the warehouse by walking straight towards each enemy without stopping while firing constantly to mow them down. The body armor you’re wearing will allow to execute this normally suicidal combat tactic without taking much damage.
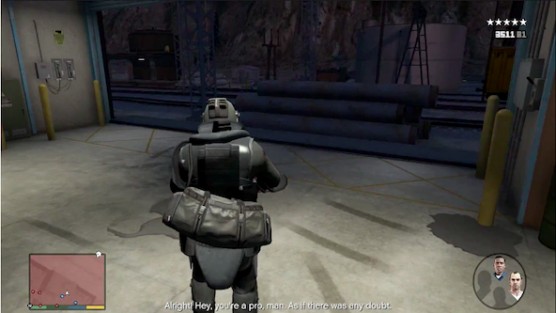
Once you reach the last room in the warehouse, ascend onto the platform to your left and turn around to defend it until the train arrives to complete this mission.

Derailed
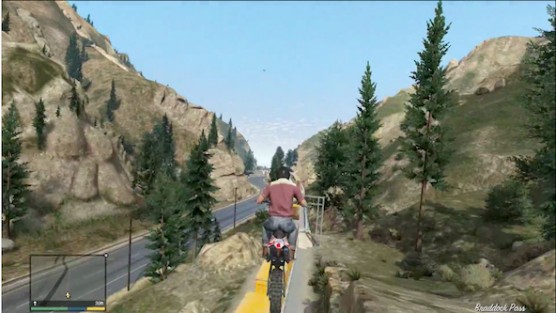
Follow the designated route on the dirt bike to move up alongside the train and take the next dirt road in front of you to transfer onto the train tracks behind it.
Proceed forward through the space between the right side of the train and the bridge railing.
Transfer onto the next elevated dirt path on the right, then point the bike diagonally towards the left as you launch off the ramp at the end and land on top of the train.
Drive forward across the train cars as you would any other narrow pathway to reach the engine and activate a cut scene.
Once you have control of Michael, steer the boat into the river ahead and follow it towards the yellow map icon to reach the rail bridge.
Drive over to the nearest orange train car with the rear doors facing towards you and use a sticky bomb to blow them open.
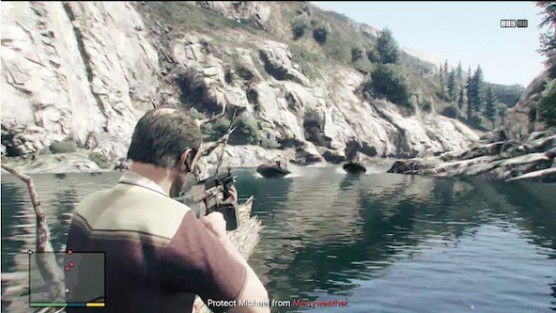
Once you have control of Trevor again, take cover behind the fallen tree in front of you and look towards the right to start opening fire on the approach Merryweather boats.
Pick off the passengers of each enemy boat before moving on to the next one and take out the pilots of the next helicopters that appear above to shoot it down.
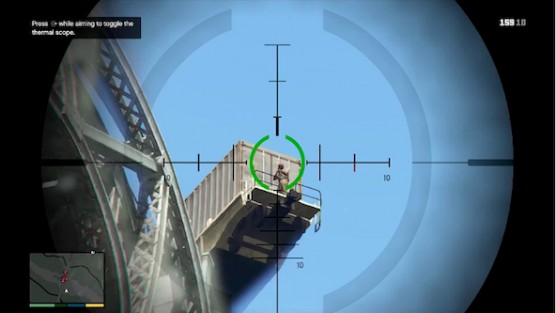
Equip a sniper rifle to look up towards the train car hanging off the side of the rail bridge and pick off the enemy standing on the back.
Activate your rifle’s thermal scope and look left towards the bottom of the bridge to locate more enemy snipers.
Snipe the pilot of the next helicopter that appears and take out the enemies that parachute onto the hillside below it as well.
Get in the dingy with Michael and open fire on the drivers of the Merryweather boats in pursuit until you reach the mouth of the river, then approach the getaway vehicle on land to complete this mission.

Monkey Business
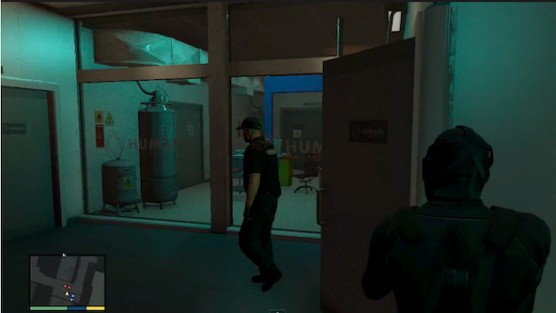
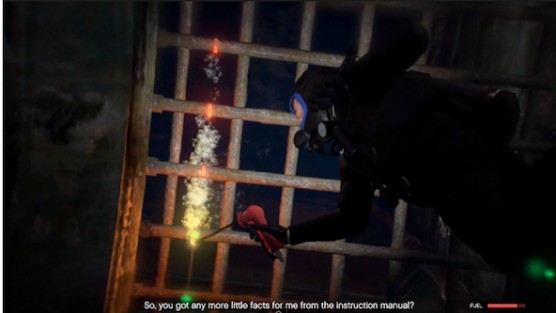
After following the coastline towards the yellow map icon in the south and diving into the water, swim after the rest of your team to reach the grate near the ocean floor.
Trace your cutting tool slowly along the green dots that form a square inside the grate and don’t move onto the next bar until a red line appears, then finish creating an opening before the fuel is depleted.
Upon reaching the secret facility at the end of the underwater ventilation system, pass through each room and corridor ahead by tazing the enemies or civilians you encounter.
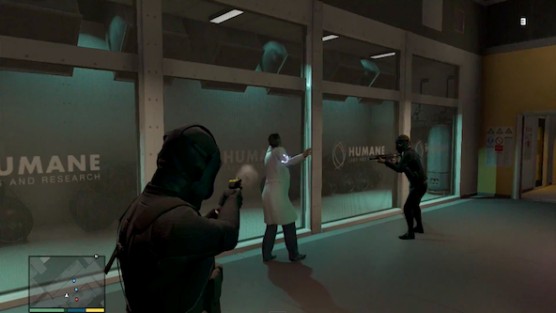
Follow your team to the lab on the second floor to dispatch another pair of scientists and hide in the next corner with them to avoid security, then take them out from behind with the taser as they enter the room.
Use the security card you picked up in the previous elevator to unlock the next door and force the scientist to open the restricted lab area by first shooting his colleague.
Collect the nerve agent to follow your team into the next corridor and equip an automatic rifle to start fighting your way through the security forces ahead.
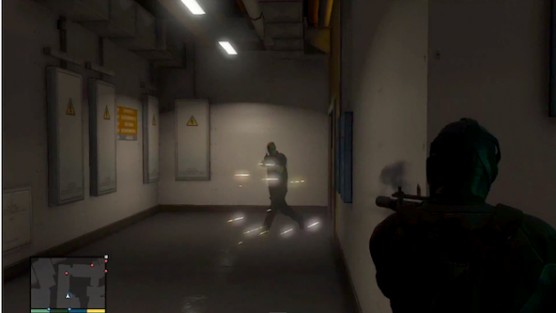
Take cover beside the open doorways and at the corners of the hallways to pick off the security guards in each new area ahead.
Use your map to anticipate the approach of the oncoming enemies and collect a medkit from the wall on the left in the first room with the caged monkeys.
Exit the loading bay at the back of the building to approach the shipping container in the corner ahead and insert the nerve agent into the refrigeration unit to take control of the helicopter.
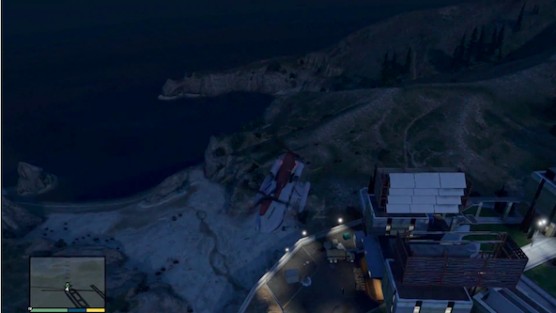
Fly the helicopter to the green dot on your map and hover above the loading bay to start gently descending towards the shipping container below, then navigate the aircraft over the top of it to activate a cut scene.
Return to the airfield to hover above the bed of the indicated truck and drop the crate on it.
Once you have control of Trevor, drive Patricia back home to complete this mission.

Surveying the Score
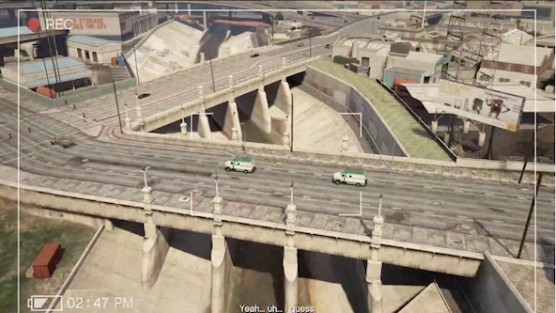
After scoping out both sides of the bank and commandeering a helicopter with Trevor, fly towards the yellow dot on your map to reach Murrietta Heights and switch the viewpoint to Lester’s footage.
Navigate the helicopter directly above or beside the the pair of indicated trucks with green roofs and keep them in the sights of Lester’s camera at all times to track their movements across the city.
Continue pushing the helicopter along the same route being taken by the pair of security trucks until you lose sight of them in a tunnel.
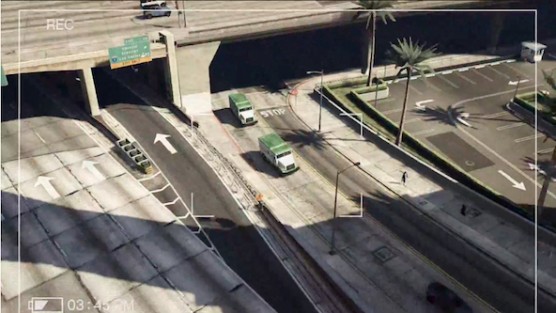
Fly forward past the entrance to the tunnel to fly above the next overpass ahead on the right and turn around to continue filming the security trucks as they emerge below.
After the security trucks enter the bank, fly south to make a left in front of the red company sign below and turn left again along the next two-level highway.
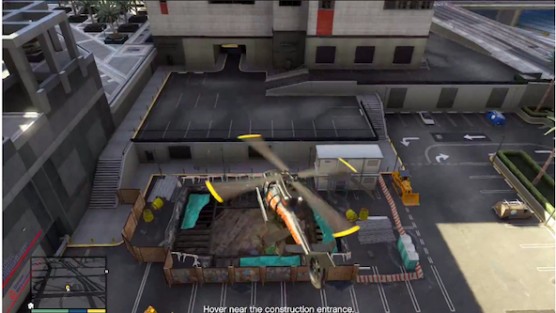
Approach the next parking lot on the left to hover low above the construction entrance lined with green tarps below and maintain this position until Lester has all the footage he needs, then return to the airfield to complete this mission.

Bury the Hatchet
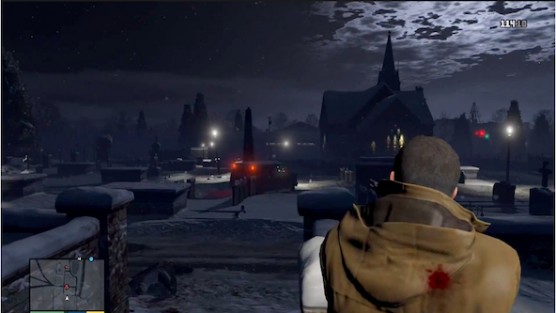
After arriving at the cemetery in North Yankton, stay behind the tombstone to eliminate the enemies that come up the steps ahead.
Collect an automatic weapon from one of the thugs you just killed, then take cover at the top of the aforementioned steps and open fire on the van that arrives below.
Clear the area below until there are no more red dots remaining on your map, then descend the steps to collect additional ammo or weaponry from the various corpses you’ve created.
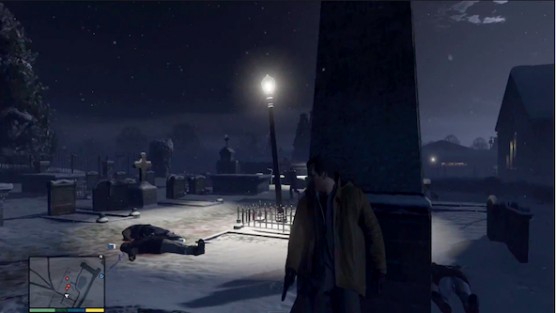
Take cover behind the grave marker that looks like the Washington Monument to the left of the van and open fire on the next wave of enemies ahead.
Proceed forward to take cover at the top of the next set of steps and eliminate another group of thugs below.
Exit the graveyard to sprint towards the right across the parking lot and re-enter your car to take control of Trevor, then land the plane on the airstrip to complete this mission.

Pack Man
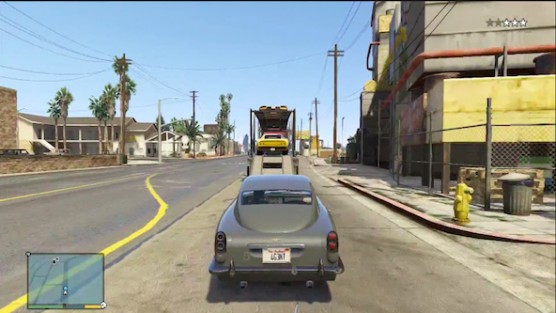
Drive the Packer along the designated route that leads to the drop-off point until you draw the attention of the police, then stay in the right lane to keep the truck steady so that Franklin can reach the James Bond car as quickly as possible.
Use the median or shoulder to swerve around traffic without shaking the trailer until you have control of Franklin, then position yourself directly behind the rear of the Packer to ensure that the dropped spikes hit the police in close pursuit.
You can also slow down to let the cop cars drive ahead and take them out with the mounted machine guns until the police notoriety disappears, then follow the Packer to the truck stop and meet molly out front to complete this mission.

Fresh Meat
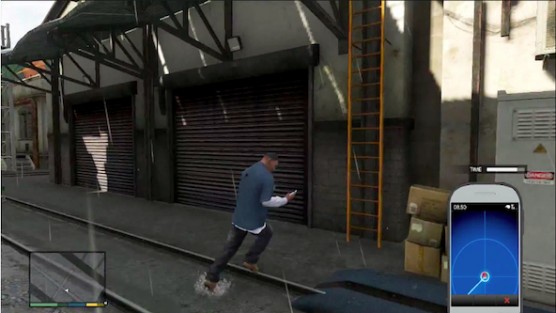
After using trickily to locate Michael at the meat packing plant, climb the ladder in the alley outside the building and cross the catwalk to locate the enemies below on the other side.
Stay on the catwalk to eliminate the enemies that emerge from the factory and target the surrounding vehicle to cause explosions for more efficient kills.
Climb down the next ladder to make a left at the bottom and fire through the open doorway to eliminate the enemies inside before entering the meat packing plant.
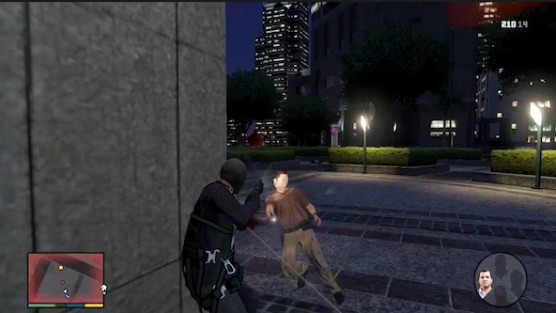
Equip an automatic rifle or shotgun to start fighting your way through the factory and use every available cover point to proceed safely across each new area.
Once you reach Micahel and take control of him, open fire on the enemies approaching from ahead and unload as many rounds as necessary without the fear of running out of ammo.
Clear the next corridor as Franklin to get jumped at the corner ahead and return control to Micahel, then line up your shot above Franklin’s body to pick off his attacker.
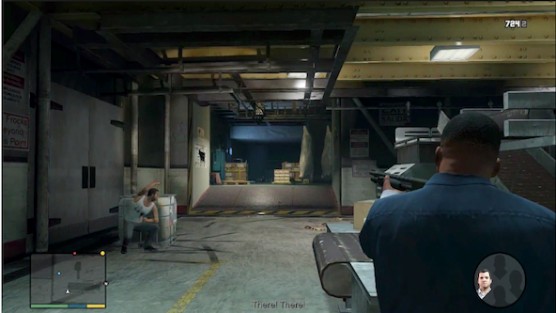
Return control to Franklin so that you have access to better weaponry, then continue fighting your way out of the meat packing plant by working as a team from different cover points to clear each new area.
Exit the factory to commandeer the car outside and use Franklin’s special ability to navigate through traffic at high-speeds, then wait for the enemy vehicle to pull up behind you and slam it into reverse.
Back up around your pursuers to put them in front of you and open fire as a team to eliminate the remaining enemies in the car, then drive back to Michael’s house to compete this mission.

Architect’s Plan
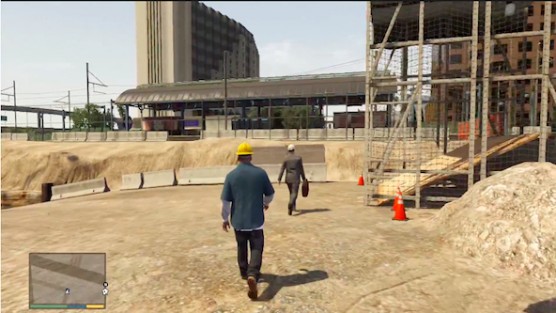
Trail the architect across the construction site until there’s no one else within close-range, then shoot him in the back before he reaches the elevator.
Sprint back towards the street to commandeer a car, then use Franklin’s special ability to navigate traffic at high-speeds and put some distance between the cops to eventually lose them.
Return to the garment factory to organize the Bureau raid before the mission is complete. You can choose whichever method best fits your playing style, but the most advisable/cinematic approach to take is the Roof Entry with a team that consists of Rickie Lukens, Gustavo Mota and Eddie Toh.

The Bureau Raid (Plan B)
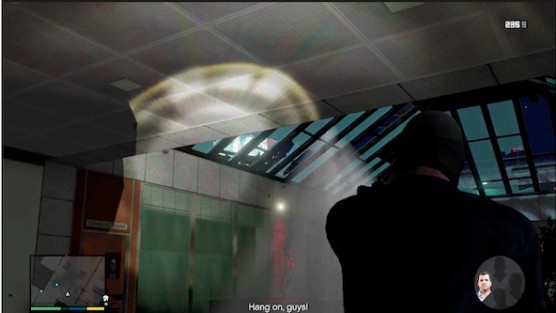
After flying the helicopter through the yellow ring at the jump zone, drop out of the aircraft to steer yourself towards the skyline below and pull the chute when you see the rest of the team do the same.
Focus on the landing zone to continue guiding the parachute towards the indicated rooftop and push down on the control stick as you get closer to hasten your descent.
When you are nearly above the landing zone, press the indicated buttons to slow your descent and touch down on the rooftop below before you sail too far past it.
Following the next cut scene, approach the yellow dot on your map to plant charges on the indicated door and shoot one of the explosives from a safe distance to blow it open.
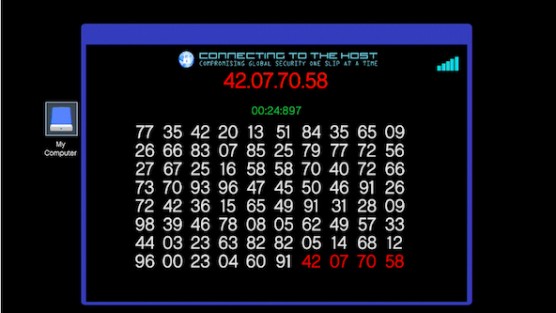
Sprint into the server room to hack into the terminal and open the HackConnect program, then select the same four numbers from the grid that match the red IP at the top of the screen before time runs out by focusing on finding the lead digit first.
Open the BruteForce program and line up the vertical green bar with the leftmost column, then wait for the red letter to descend into the horizontal blue bar before locking it in and continue this process across the screen until you complete the entire word.

After starting the Down&Out program, use the cover provided outside the server room’s doorway to pick off the enemies approaching from across the room and through the skylight above.
Switch control to Franklin to eliminate the enemies on the left side of the skylight, then return to Michael’s viewpoint to continue defending the area and checking the computer’s download progression.
Once the download is complete, sprint forward across the room to break through the door in the corner and execute the next guard you capture.
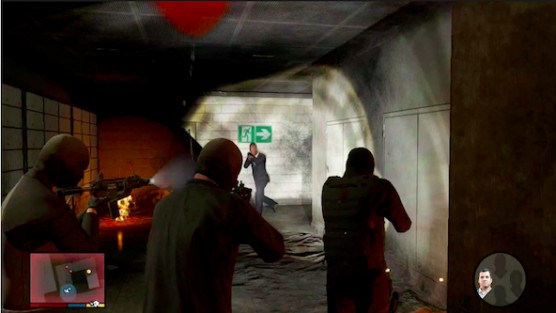
Make your way to the floor below and continue fighting through the enemies blocking the path to reach the crashed helicopter.
After dropping down another level, navigate the series of corridors ahead as a team to clear the enemies in each area and approach the yellow map marker on the next floor below to rappel down the side of the building.
Upon landing on the balcony below, look towards the left to anticipate the arrival of an enemy chopper and open fire on it immediately as you track it across the sky.

Shoot down the chopper to approach the left side of the balcony and continue rappelling down the building to reach the ground below.
Sprint towards the next yellow map marker around the corner by quickly shooting any agent that gets in your way without stopping, then commandeer the ambulance parked on the street and drive to Franklin’s house to complete this mission.

The Wrap Up
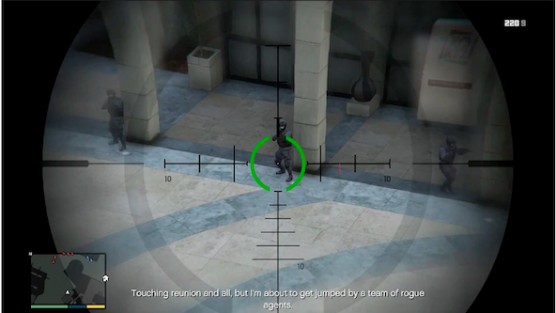
After the cut scene, use the provided cover to eliminate the surrounding and sprint towards the crashed helicopter ahead to make a right in front of it.
Follow the walkway around to encounter an enemy chopper and take control of Trevor to snipe the pilot, then zoom in on the columns below Michael to eliminate the three members of the SWAT team.
Shift your scope to the left to pick off the remaining enemies on the ground and take control of Michael again.
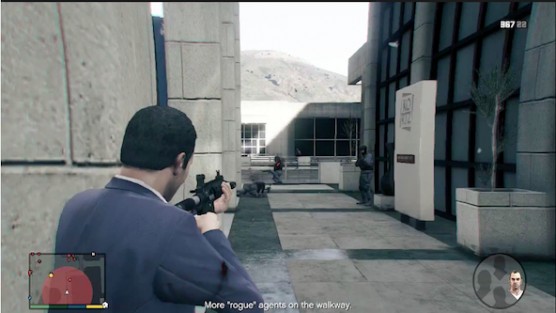
Use the columns on the left as cover to eliminate the next group of enemies ahead and proceed forward along the walkway to eliminate hostiles blocking the path, then use Trevor to shoot down another chopper and switch back to Michael.
Look down over the railing as you continue along the walkway to clear out enemies on the ground below and descend the next staircase to approach the yellow map marker at the bottom.
Take cover beside Dave to fend off the surrounding enemies and use Trevor to shoot down the next approaching helicopter.
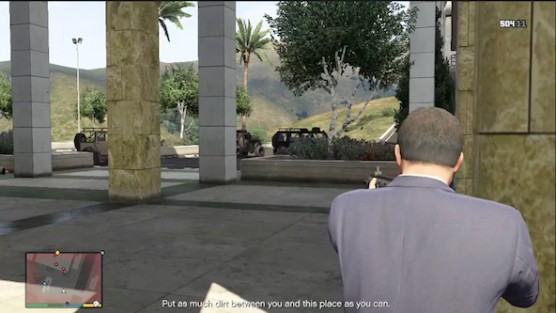
Follow Dave out of the observatory to take cover behind the columns at the bottom of the next staircase and fend off the surrounding enemies until he escapes.
Commandeer a car from the parking lot to drive to the pawn shop and complete this mission.

Legal Trouble
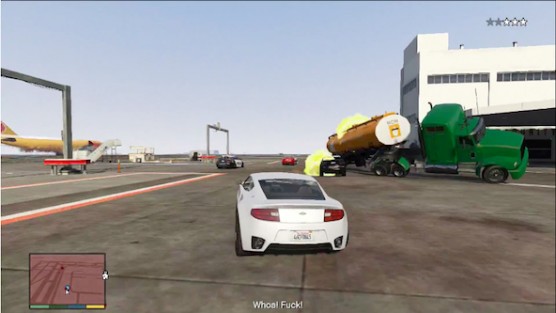
Once you catch up with Molly and her police escort, stay close behind the rear car to follow them through the airport’s front gate and make a sharp right turn in unison to maintain pursuit.
Swerve slightly left when you see the oncoming green tanker to avoid the explosion caused by the crash and shift your focus onto the remaining cop car to continue following Molly.
After your next sharp turn, swerve right around the wing of the plane ahead to avoid the flying cop car and follow Molly through the gaps in the next two buildings.
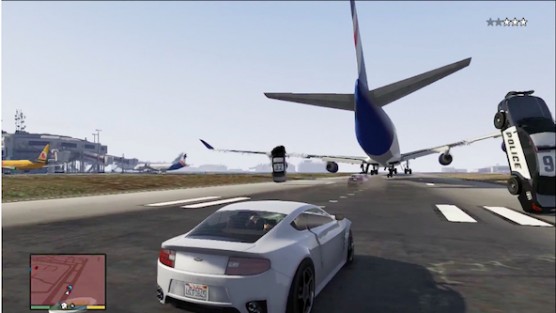
Make the next two sharp left turns with Molly to proceed forward across the runway and stay directly in the middle of it to avoid the oncoming pair of flying cop cars.
Drive diagonally towards the left to cut across the patches of land and continue following Molly, then swerve to the left of the next oncoming plane and turn behind the building ahead.
Continue the chase on foot to follow Molly through the door on the left and proceed towards the blue dot on your map to watch her get sucked into a jet engine.
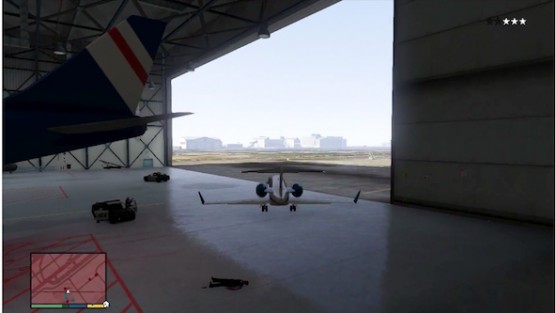
Pick up the film reel that Molly dropped in front of the engine, then commandeer the small plane in the corner of the hangar to escape from the cops and complete this mission.

Lamar Down
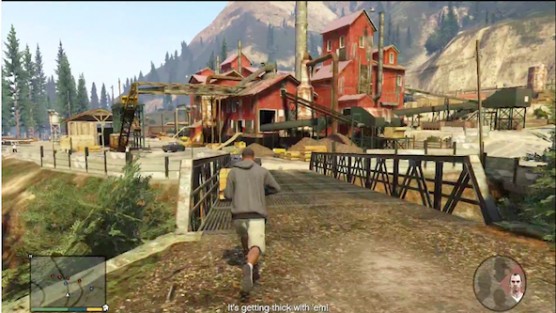
After driving to the sawmill, move Trevor to the assault position in the south and take control of Franklin to cross the bridge leading straight into enemy territory.
Take cover behind the hay bale on the bridge to open fire on the enemies ahead, then alternate between Franklin and Trevor each time their icon flashes red to start clearing the area.
Follow whichever character you’re not towards the south end of the sawmill and eliminate enemies along the way you’re forced into cover.
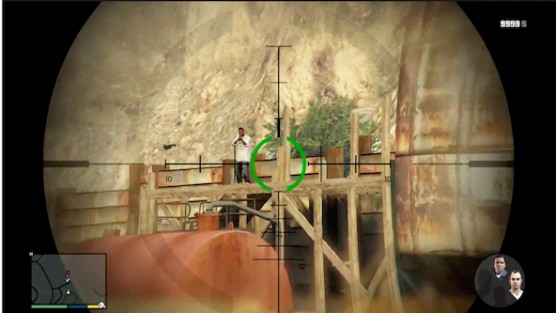
Take control of Michael to zoom in on the sawmill’s roof and pick off the sniper firing at your team, then shift the scope towards the left to eliminate another thug on the scaffolding beside the water tower.
Aim your scope towards the wood pile below the water tower to another group of enemies and shift focus to the long purple roof above it to remove the remaining thug.
Take control of Franklin and fight your way towards the mill ahead, then make a left in front of the building to locate Lamar and take control of Trevor afterwards.
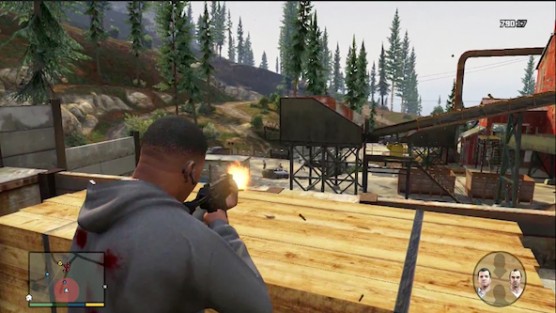
Activate Trevor’s special ability to eliminate the next wave of enemies and switch over to Michael for dealing with the harder to reach thugs.
Before you descend back to the lower level of the sawmill, take cover behind the woodpiles near the top of the ramp and clear out the enemies below.
Commandeer one of the cars at the sawmill’s exit to drive away with Lamar, then follow the designated route to arrive at his house and complete this mission.

Meltdown
Once you reach the premiere and walk the red carpet, commandeer the red sports car parked behind the limo and follow the route back to Michael’s house.
Equip an automatic weapon and burst through the front doors of the house to spot the enemy on the staircase, then use Michael’s special ability to slow down time and pick the thug off with a headshot.
Climb the steps to enter Tracey’s room and move slightly to the left side to shoot the thug in the head.
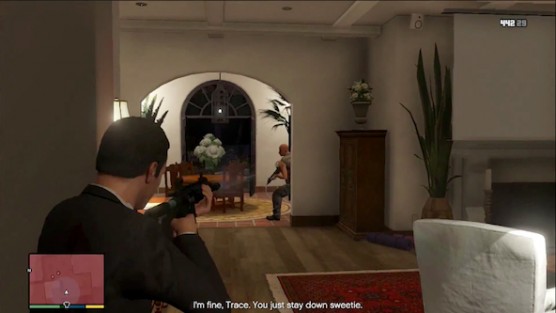
Eliminate the enemy coming up the stairs, then descend the steps to stop on the landing at the halfway point and open fire on the smoke that pours through the front door to clear out the next wave of thugs.
Turn left as you descend towards the bottom of the staircase to eliminate another charging enemy and take cover within the living room’s entrance to take out the thugs in the dining room.
Exit the house through the dining room to turn right in front of the pool and eliminate the enemies along the brick path leading to the car port.
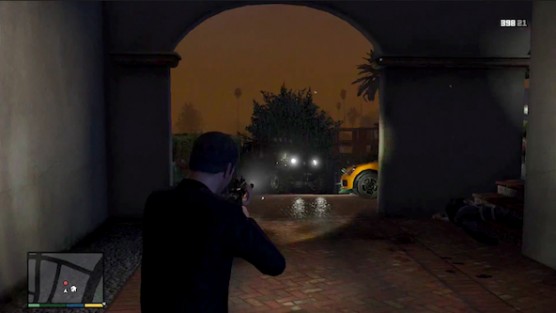
Proceed forward through the carport to open fire on the truck that appears ahead, then clear out the remaining enemies and return to the family to complete this mission.

Driller

Drive to the H icon on your map and park in front of the building to the right of the guard entrance, then proceed on foot through the opening in the fence that leads to the alley and club the ladder on the left.
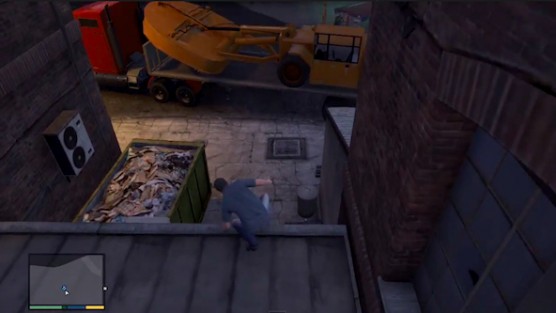
Ascend the second ladder to reach the rooftop and sprint to the opposite end, then walk down the inclined section of shingles on the right and drop to the next highest level below.
Commandeer the red semi-truck below to drive through the exit on the right and lose the cops before following the designated route to the parking lot.

Sidetracked
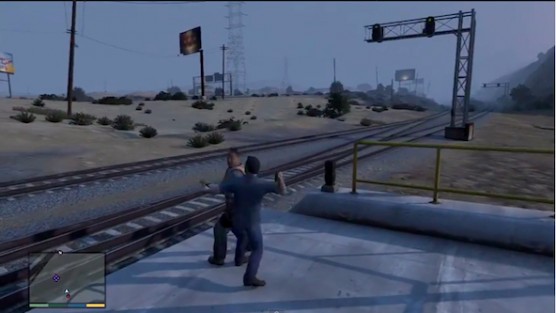
After driving to the train station as Michael, knock out the worker on the edge of the platform from behind and enter the tower above to shoot the other man inside.
Press the indicated buttons to switch the siding by pulling the levers, then take control of Trevor to take off in the helicopter and fly towards the blue marker on your map.
Approach the front of the train to hover above the engine and descend slowly to pick it up longways with the electromagnet, then return to the airstrip to drop the engine on the trailer and repeat the same process with the one of the train’s flatbed cars complete this mission.
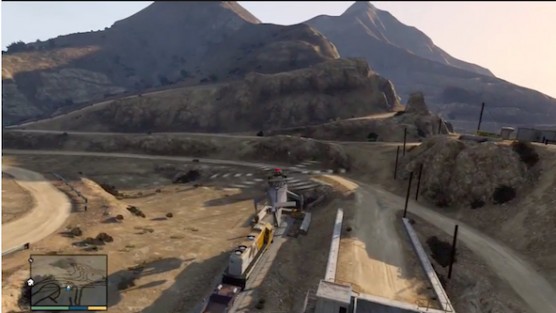

The Big Score (Plan B)
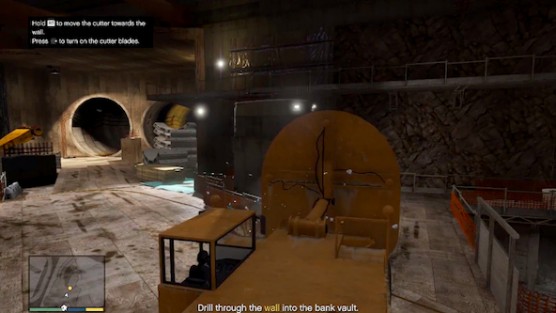
After upgrading your getaway vehicle at the customs shops so that it can withstand police attacks and escape from threats as quickly as possible, leave it in a parking garage and return to the strip club.
Following the next cut scene, drive to the bank to take control of the cutter and move it forward to make the first right turn ahead.
Activate the cutter blades to drill through the wall in front of you until it breaches the vault, then back up the vehicle to reveal the hole that’s been created and proceed into it on foot.
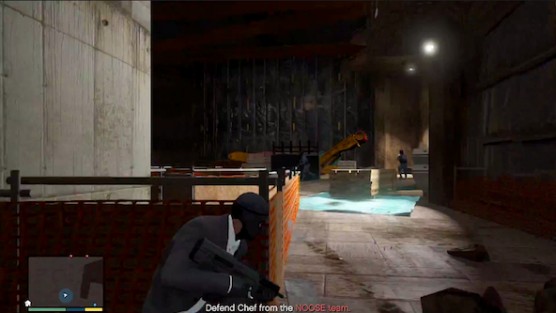
Plant explosive or use grenades to blow open the cage doors on both sides of you, then exit the vault to take cover behind the orange fencing on the right and mow down the approaching NOOSE team.
Once you’ve eliminated the first wave, turn around to use the orange fence behind you as cover and take out the next NOOSE team approaching from the corner.
Continue defending the area until your partner finishes his job, then take cover beside the hole you drilled in the wall to eliminate another wave of enemies in the vault.
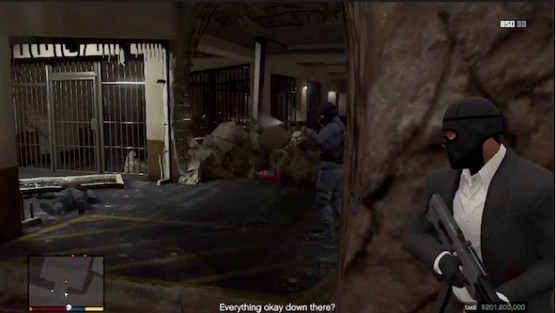
Use the orange fence behind you on the right as cover again to eliminate the enemies that descend from the ceiling and take control of Trevor.
Follow the other helicopter in front of you out of the city and switch control back to Michael, then immediately start mowing down the police forces ahead and move between the column cover points on the left to proceed forward safely.
Once you descend to the level below and meet up with the third member of your team, fire down over the balcony to eliminate the police on the street and skybridge below.
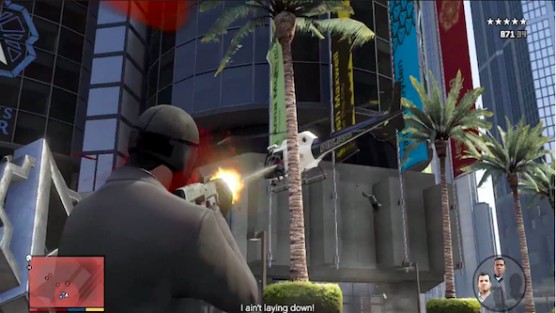
Fight your way across the skybridge by using the planters as cover and wait for the helicopter to fly by on the right, then target the gunner to chase the chopper into retreat.
Proceed forward to eliminate the NOOSE team on the other side of the skybridge and approach the next staircase ahead on the left to kill the pilot in another helicopter that flies by over the street.
Sprint forward across the balcony, while shooting the police below on the left, to turn around at corner ahead and ascend the staircase to take cover at the top.

Take out the gunner as the helicopter flies by from the left and pick off the pilot when it turns around on the right.
Continue clearing the area to follow your team forward and pass through the building’s outside corridor, then target the helicopter on the other side to immediately wear it down with constant automatic gunfire.
Descend the next two staircases with your team to continue fighting through the cops and reach the streets below, then enter the parking garage on the left to take cover behind the columns ahead.
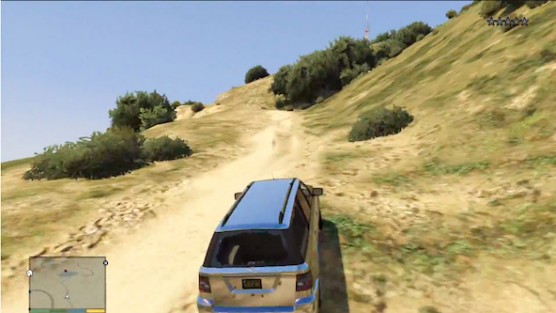
Open fire on each of the police vehicles that descend into the parking garage and finish clearing the area to enter the getaway car.
Drive out of the parking garage to head into the hills of Vinewood and lose the cops by driving off-road if necessary.
Once you have control of Trevor again, follow the other helicopter to a approach the group of Merryweather choppers ahead and keep the aircraft level so that Lester can fire missiles with accuracy.
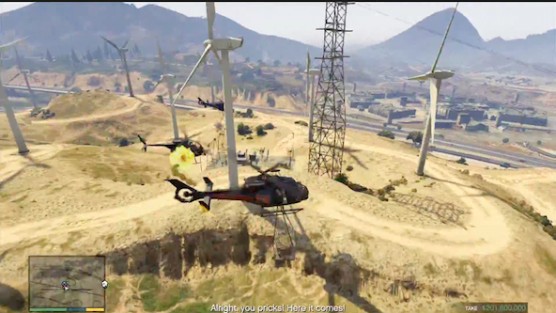
You can also target the enemy choppers by flying alongside them to avoid the fan blades that they pass through and waiting for Lester to shoot them down.
Fly back towards the blue map marker to locate the train in motion and pass in front of it to hover in place above the tracks, then wait for the train to travel directly beneath you to drop off the cargo and return to the airfield to complete this mission.

The Third Way
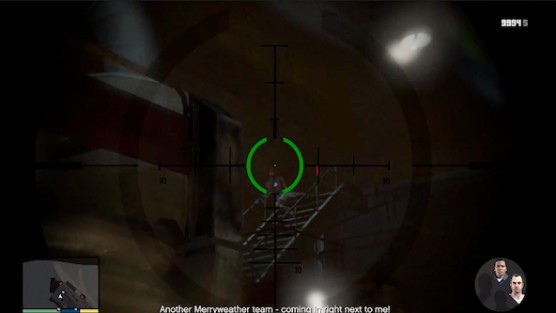
After picking up Lamar and driving to the foundry as Franklin, enter the building to approach the yellow map marker and activate a cut scene.
Wait until the enemies below are somewhat close to your position, then open fire on them to start clearing out the hostiles as a team.
Once the enemies are positioned on the upper walkway, take control of Michael to look towards the south and use the sniper rifle to pick off the hostiles above.
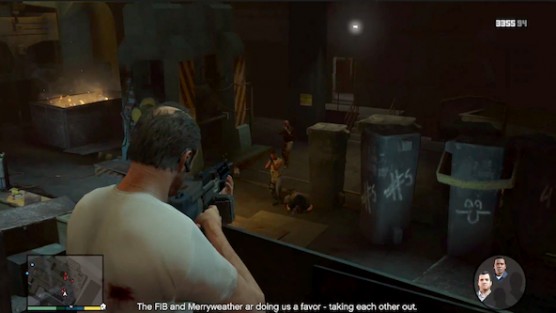
After clearing the upper walkway, take control of Trevor to eliminate the next wave of enemies approaching from below and switch back to Franklin to start fighting your way towards Lamar’s location.
Enter the security room to pass through the blue door in the back and take cover beside Lamar to fend off the enemies outside of the foundry.
Once you have control of Michael again, target the barrels below to cause explosions and finish clearing the area to rescue Trevor.
Fight your way over to the security room to take cover beside Trevor and switch control to him, then activate his special ability to clear out the surrounding wave of enemies.
Exit the foundry to continue fending off the enemy forces until the area is clear and approach the yellow marker that appears to activate a cut scene.
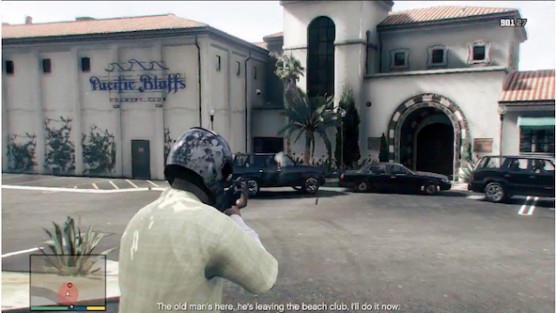
Drive along the designated red route as Franklin to locate Mr. Cheng in the Pacific Bluffs parking lot and open fire on the three cars out front to disable them, then eliminate all the enemies inside to ensure the target is dead.
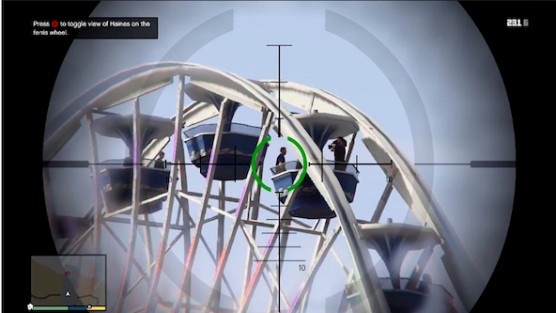
Switch control to Trevor to locate Haines at the boardwalk and approach the ferris wheel to activate a cut scene, then zoom in on his position with a sniper rifle and pick him off with a headshot.
Drive across the beach to lose the cops and switch control to Michael, then follow the designate route to locate Stretch at the basketball court.
Park across the street from the basketball court and stand beside your car to pick off Stretch from a distance with an automatic weapon or sniper rifle.
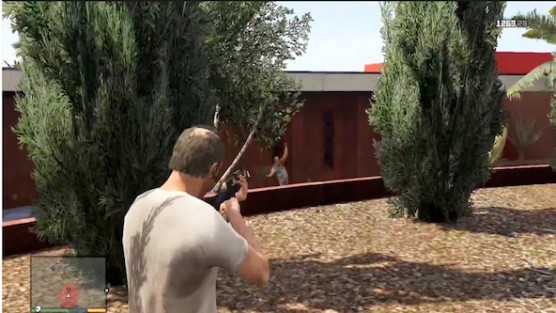
Take control of Trevor to arrive at Devin’s house and park at the front gate to activate a cut scene, then vault over the hedges on your left and sprint towards the front of the building to start mowing down the guards.
Activate Trevor’s special ability to make your way around the side of the house and continue fighting through the guards to reach the pool out back, then approach the blue map marker to kidnap Devin and drive him to the rendezvous point to complete this mission.



 Star Was: The Force Unleashed 2 Guide
 Evoland 2 (PC) walkthrough
 Hotline Miami 2: Wrong Number Guide - How to Make It as a Beginner
 The Witcher 2 Enhanced Edition Achievements
 9 Magical Harry Potter Gadgets You Could Actually Own