Jump to Content
The Heart of the Swarm singleplayer campaign is pretty fun to play. There’s about 12 hours of gameplay in it, with different features that give players the experience of being Kerrigan and the Swarm. For those who are a bit intimidated by StarCraft II’s gameplay, yet still want to fully experience the HotS campaign, then here’s an easy way to play it.
While it’s not entirely a shortcut for winning, it is less micro-intensive for those who aren’t used to StarCraft II or RTS games in general. This method will enable you to just attack-move towards your objective without too much trouble. Of course, this doesn’t mean that you should just charge in without regard for threats, so back off if you’re in trouble. If you’re able to micro your units though, then you can supplement your Zerglings with other units to become more effective.
This singleplayer strategy is centered around how you get Zerglings throughout building missions. Regular Zerglings come in pairs and spawn in around 24 in-game seconds, although it may be a bit faster in singleplayer. You can also morph them into Banelings, which are suicide units that do tremendous splash damage. They need little to no micro and are quite expendable. You do have the option to make them stronger later on in the game.
Once you get the evolution mission for the Zergling, get the Swarmling. Each egg spawns 3 Swarmlings within literally a second, so you can gather a whole lot of them very quickly. So imagine dumping 500 minerals on Swarmlings, you get 30 of them in a second. You then get either the Adrenal Overload or Metabolic Boost mutation for your Zerglings, then +3 melee attack upgrade from the Evolution Chamber in-game, and you’ve got yourself some cheap harbingers of destruction that go rampant all over the map.
Another good thing about the Swarmlings is that you can make a lot more Banelings with them. Imagine having the Rupture mutation for the Banelings that increases blast radius by 50%, or the Corrosive Acid mutation that basically doubles the damage, and then just attack everything. You then make even more Zerglings and morph some of them into Banelings again. You’ll just tear everything to shreds, units and buildings alike.
When Kerrigan reaches level 10, select the Zergling Reconstitution ability. This lets your Hatchery replace 10 dead Zerglings every 30 seconds. With how many you can Swarmlings you can churn out in a short amount of time, those that die will then be brought back. Along with even more Swarmlings that you may later on, you can have them go attack wherever you wish, either where you already are or a new location.
Take note that if you make Banelings and they die, they will not be brought back by Zergling Reconstitution. The ability only counts for Zerglings, but at least you will quickly destroy whatever is in your way with them. In any case, you should not stop making Swarmlings and keep them coming to reinforce your army and maintain the pressure if they’re on the attack.
Once you have this down, you must then remember to make at least 2 Evolution Chambers to upgrade melee attack and carapace to make your Zerglings stronger and tougher. Having two of them at one time lets you get the upgrades all at once. Remember to upgrade your Hatchery as well into a Lair, then into a Hive so that you can get those next level upgrades as well.
As for other units, you can use Roaches, Hydralisks, Mutalisks, and Ultralisks. You can use Roaches to bust down buildings and armored units, Hydralisks can take down air units, Mutalisks to add more anti-air power and also attack other parts of the map if you wish, and finally Ultralisks to tank damage and kill everything else in sight. As you get more familiar with the higher tier units in the game, you can then supplement your Swarmlings with them.
Whatever mutations and strains you pick for the other units is mostly up to your preference. However, you can put an exclamation point to your offense with a particular Mutalisk evolution. You get to pick between the Brood Lord and the Viper, and the former is perhaps one of the most powerful Zerg units in Wings of Liberty multiplayer, alongside the Infestor. They are durable and can do tremendous damage to anything on the ground, so take that strain.
This is just one way to play the campaign and shouldn’t be the only strategy you go with. If you’re the type of person who likes replaying singleplayer games to try out different strategies, then HotS should give you a way to experiment with other unit strains and playing styles. But if you’re not that good at real time strategy, but still want to play the HotS campaign, then this is the way to go. Give this a try and enjoy the Heart of the Swarm campaign.


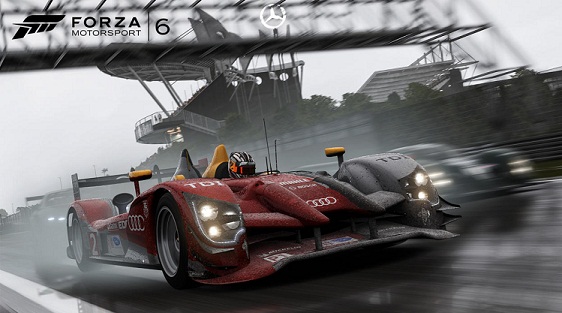 Forza Motorsport 6 beginners guide
 Until Dawn Best Ending: How to Keep Everyone Alive
 The Witch and the Hundred Knight Wiki – Everything you need to know about the game .
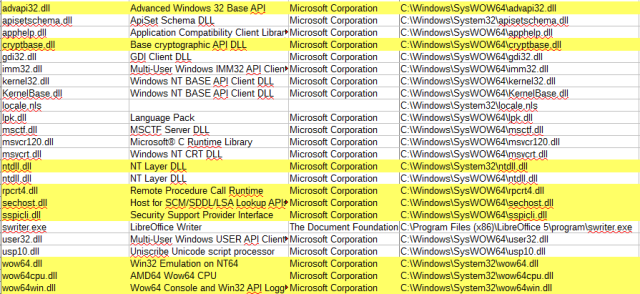 Do You Need More RAM To Run 32-Bit Programs On 64-Bit Windows?
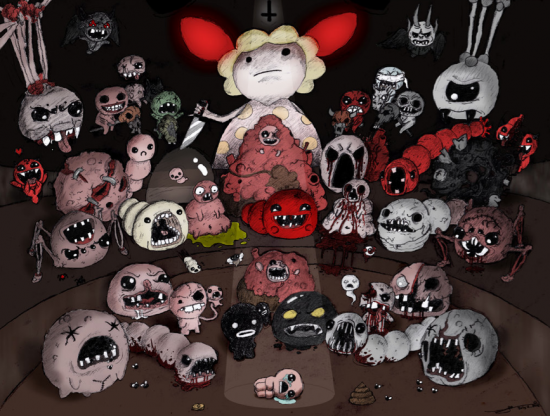 Binding of Isaac: Rebirth Guide - How to Find the Secrets