Windows 8.1 is the latest edition of Microsoft’s Operating System. It is a free upgrade for all existing Windows 8 users but sometimes an update can have some side-effects on the system so a better option is to do a clean install. Follow this guide if you want to install a fresh copy of Windows on your system. Note that this guide also works for Windows 8 as well.
Before starting, the first thing to do is BACK UP YOUR DATA! A clean install involves formatting your hard disk so make sure that you have copied all your data to some place safe.
The first thing you need to do is make either a USB or DVD disc to install the Windows from. This guide will explain how to install Windows using a USB drive as they are more convenient.
First get an ISO file of the Windows you want to install. You can download the ISO file directly from Microsoft based on your product key or you can get it from some other source.
After downloading the ISO file, we shall use ZOTAC WinUSB Maker to make a bootable USB drive. You can also use the official Microsoft USB maker but for some reason, that did not work for me so I used a third party application.
Making the USB drive is easy as pie. Depending on the version of Windows that you downloaded, you would need to use a 4GB or 8GB USB drive, although 8GB is preferable (You can also use a pen drive with more space).
Now run ZOTAC USB maker and you will be presented with a screen like this
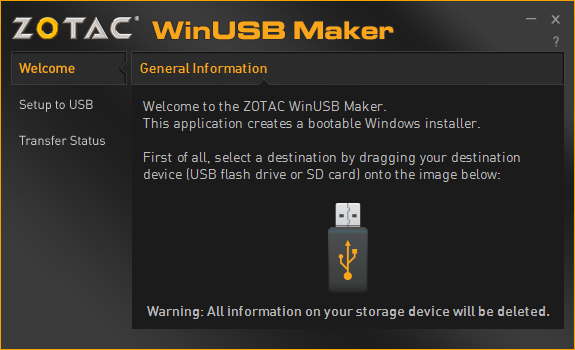
Insert the USB and drag the drive (from Windows explorer) to the program. After that, drag the ISO file you downloaded in step 1 in the same way. Then start the process and wait for the program to make the bootable Windows 8 setup USB. That’s it, you’re all good to go!
Before we can start the setup, we need to change the boot priority so that the PC boots from the USB drive instead of the hard disk. To do that, just go to BIOS setting and change the boot order so that USB is given priority. To go the BIOS Settings, just turn off your computer and then turn it on again. During startup, (depending on your computer as they are different for each manufacturer) press F1, Del, F8 or F10 key. If you cannot access the BIOS, contact your hardware manufacturer for details on how to enter the BIOS settings menu.
After changing the boot order, restart your computer and this time you will be greeted by the Windows install screen. Just click on install now after selecting your time zone and language.
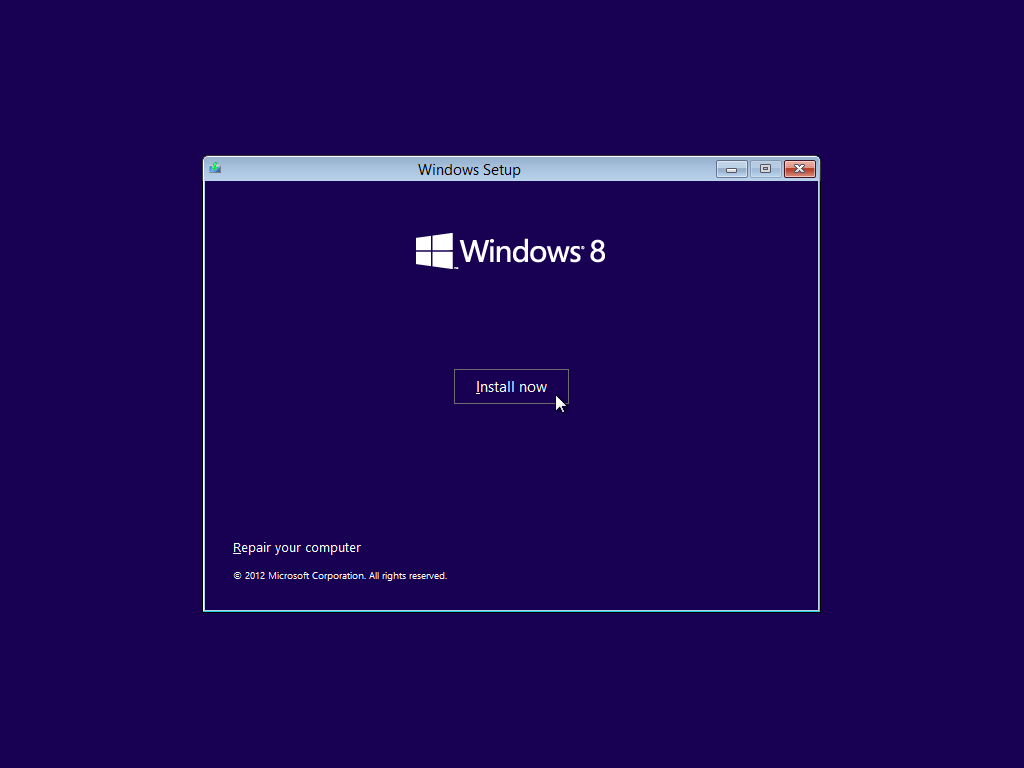
Enter you product key* and hit next until it asks you HOW you want to install Windows
* If your laptop/PC came preinstalled with windows 8 or above, you would not require a product a key as it is embedded in the BIOS and the setup will detect the key automatically, provided you use the same version of Windows that your computer shipped with (For example, if you had Windows 8 Pro pre-installed then a clean install of Windows 8 Pro will not ask for a product key)
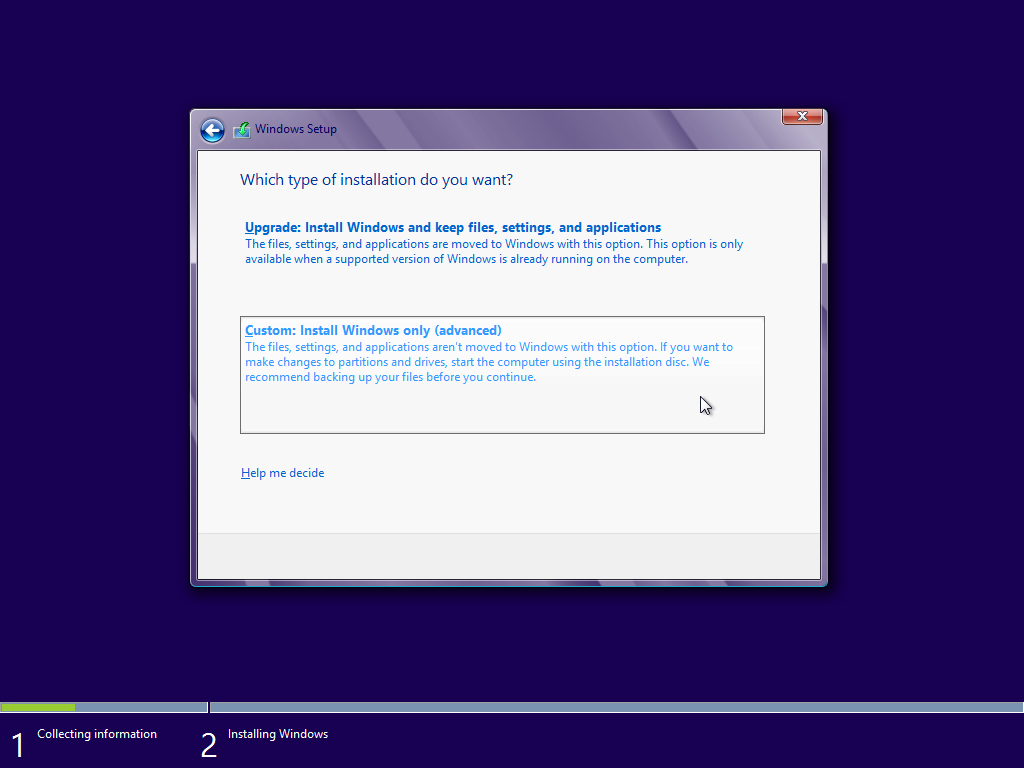
Select “Custom Install” as we do not wish to update.
Now the next part is important. You will be presented with a screen which shows all partitions currently made on your hard drive. Click “Drive Options (advanced)” and you will be presented with some options.
You will now be deleting the partitions and ALL DATA WILL BE LOST SO MAKE SURE YOU HAVE BACKED UP EVERYTHING.
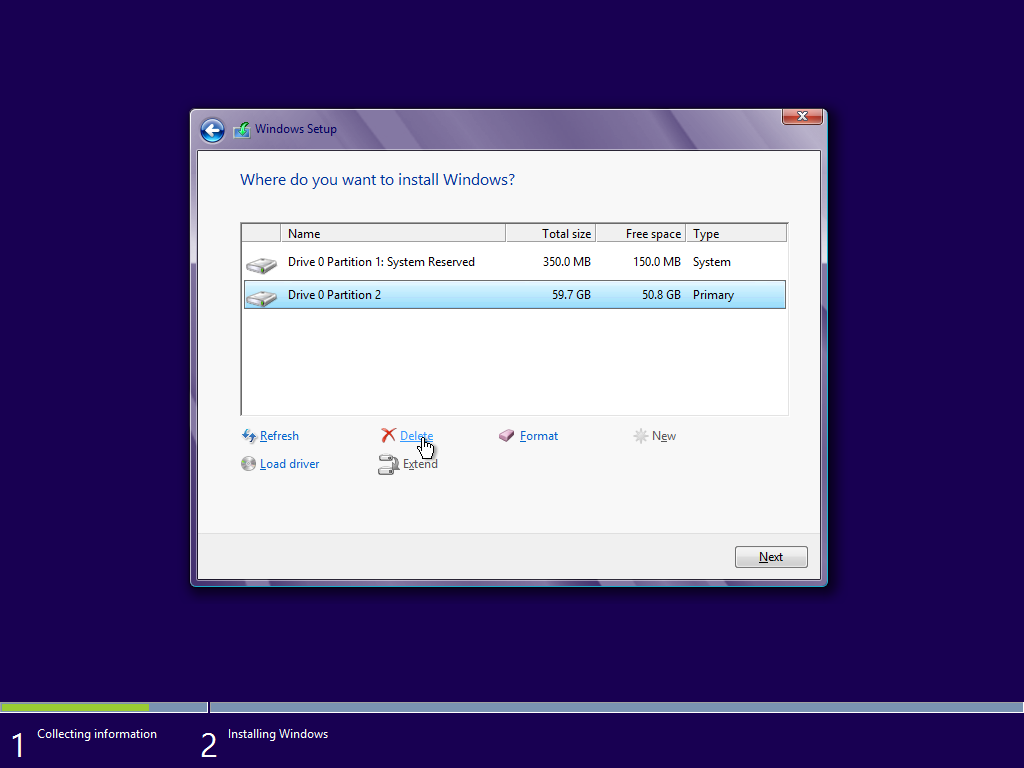
Now select one partition and click “Delete”. Do this for all the other partitions that you want to format. After doing this, you will notice the space now says “Unallocated Space”
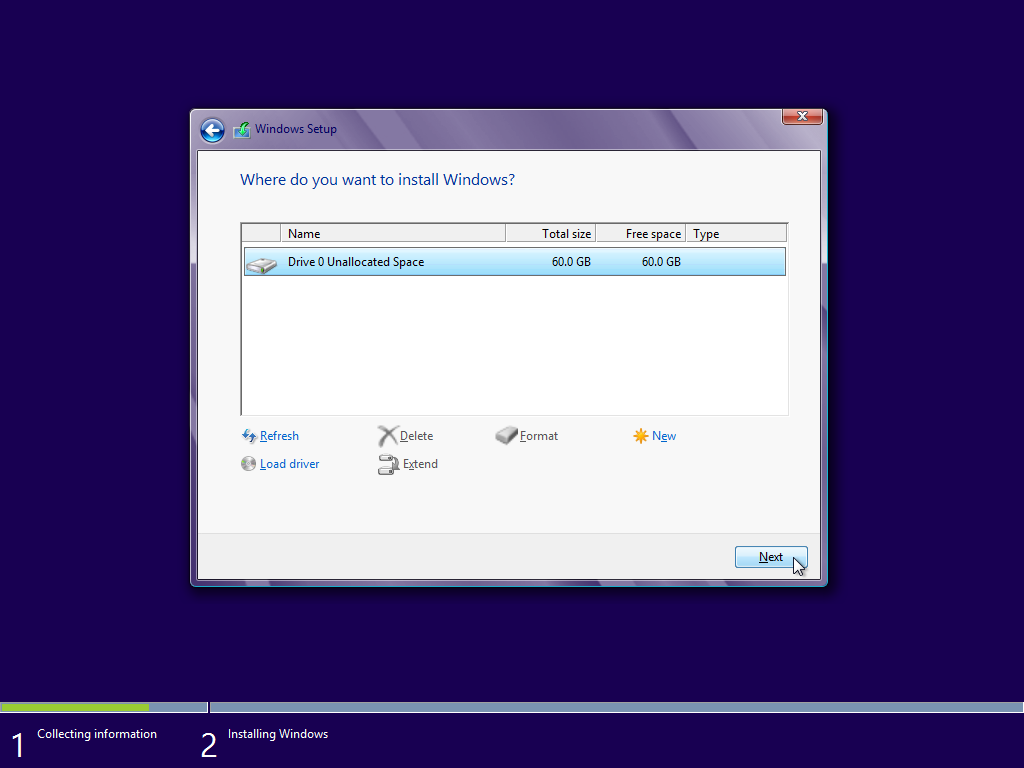
At this stage, your hard drive is clean as a whistle. If you want to create a new partition, you can do that by clicking “New”.
After you are satisfied with where you want to install your new Windows, just click on that partition and click “Next”. That’s it, now Windows will start the setup so just grab a cup of coffee while it installs.
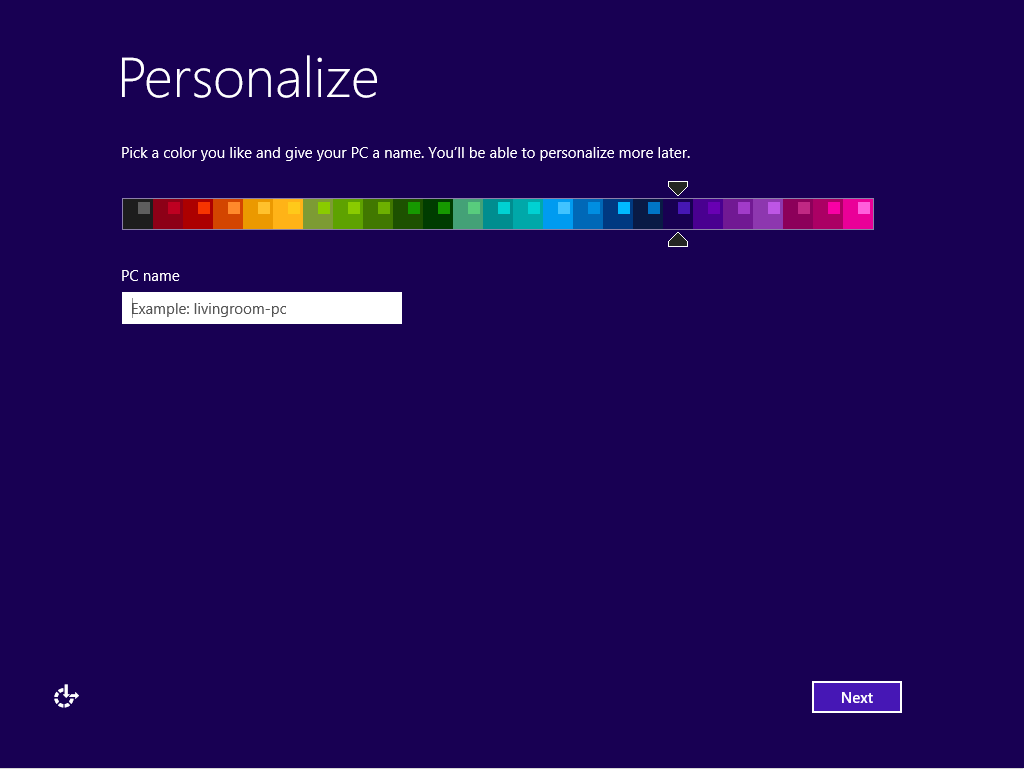
After a couple of restarts, you will be presented with a screen to choose your theme. Just follow the instructions to personalize your computer and after that, you will see the beautiful metro start menu. Restart your PC once just to be on a safe side and you are done.
Enjoy your fresh install of Microsft Windows without any OEM bloatware
This method can be used on laptops and PCs.
Was this guide helpful? You can also ask us if you run into any trouble. Let us know in the comments!

 Get Lost in these Free Adventure Games
 Fallout 4: Out of Time walkthrough
 Calling for help? Mr. Pacman
 AMD's New Plan: Make Virtual Reality Cheaper for You
 Gears of War: Ultimate Edition - Achievements List Guide