

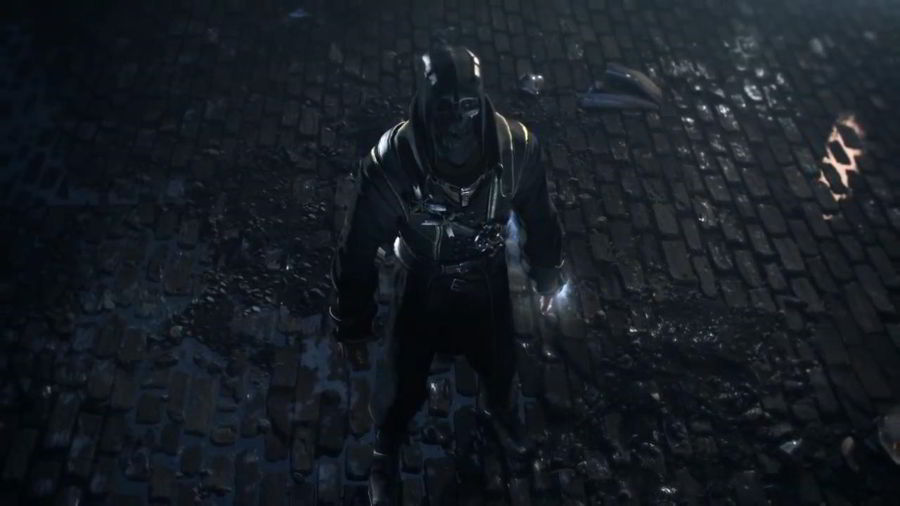
After completing the Boyle Estate you’re taken back to The Hound Pits Pub. I’m not totally sure here as it depends on your actions in the previous mission but there’s a Rune on Corvo’s bed on the top floor. After grabbing the Rune pick up any upgrades and refill supplies before following the mission objective to Lord Pendleton to hand in the side quest from the Boyle Estate. After this speak with the Admiral before jumping on the boat. This Dishonored Guide: Dunwall Tower Stealth Guide will walk you through the entire mission without being seen and collecting all collectibles.
When you first arrive swim through the archway ahead and climb the pipes in front. Look up to your right, there’s a small hole, get in there. Turn around and Blink to the other side, look to your left to find another hole. There’s a Bone Charm in here next to a dead body. Go back to the first hole and proceed through the ventilation shaft, make sure you time your run to avoid the spinning blades, or use Blink to be safe. Walk to the end, out the small window and across the pipes to the door. Open the door from the side, so you’re behind the wall and use lean to look around. You’ll see a machine in the center that gives you a nasty shock if you get too close. Use Blink to travel to the other side of the machine next to the Whale Oil, take it out and proceed up the stairs.
Once outside head up the next stairs, there’s 1 Guard that patrols out here, take him out and hide his body back down the stairs. Head through the big door and look at the Guard on the left. Take him out once his back is turned and place his body outside. Then do the same for the Guard on the right as he goes onto the balcony. Grab the key off his body. Go back over to the left side and jump out of one of the windows onto the pipes below. Follow the pipes around to the spotlight but be careful as a Tall Boy patrols the area. Turn right as you jump near the spotlight and climb partway up the stairs. Then Blink onto the roof above the spotlight ahead. Proceed forward until you reach the high wall, climb on top and Blink directly ahead to a door. Enter the door as quickly as possible. There’s a Rune under one of the bunk beds and some coin nearby, grab all that. Be cautious as you exit out of the far door as a Guard patrols the stairs. Wait for him to stop, Blink up behind him and drag him back down into the room. There’s a fair bit of loot to the right of the stairs, go and grab that then turn and take a right. Opposite to the Guard above. Follow that around until the end and then Blink onto the large building in the middle. Walk around and Blink to the High Pressure gate and enter the Dunwall Tower Interior.
Follow the tunnel to the end, Blink onto the large Chandelier on the right. Then Blink across to the Lord Regents Bedroom and search the chest at the end of the bed for a Rune. Grab the rest of the stuff in the room. The combination for the safe in the Lord Regents room is 935, make sure to grab the Confession Tape from inside. Go outside and take the Guard out, go back onto the balcony and Blink to the walkway on the right. Take the door closet to the Regents Chamber to find a Sokolov painting inside the room with the piano. Go back onto the Balcony and Blink to your left onto the walkway taking the body with you. Through the door on your right is another machine, Blink behind it onto the left side of the stairs and you’ll avoid damage. Head up the stairs and hide the body. You have to talk to the Propaganda Officer at the top, so don’t kill him. You’ve already got the tape so put it in the machine. This completes the mission without any deaths.
Head back down the stairs this time right to the bottom, using the Blink ability to dodge the tower using the support pillars as cover or just straight down the middle. Disable the tower at the bottom, grab the key near the door and exit. Follow the walkway and enter the first door you see, disable the Whale Oil. Wait for one of the Guards to patrol and he’ll stop right outside the door, take him out and stash him in the room. The other Guard paths all the way round, down the stairs and back up. You can avoid him easily or take him out, up to you. Walk out the door and head round past the electric fence, take out the patrolling Guard at the end and place him in the same room as the first Guard. Follow the walkway all the way round using the chandeliers above for cover. You’ll reach a room with a Guard and Dog. There’s a fireplace nearby, use your heart to locate the Bone Charm and activate the switch on the wall near the fireplace to get it. It’s a lamp on the wall to the right as you look at the Fireplace. Head down the stairs and go through the door under the stairs and to the right, into the servants quarters. Go straight ahead and down the stairs to the Torture Chamber to reach an Outsider Shrine and Rune. Now head back up and exit to return to Samuel via the rooftop to get the final Rune for this area.
Did you find this Game Guide helpful? Follow us on Facebook for all our latest Game Guides, Game Reviews, Games News and our Suck My Controller Game Podcasts. You can also follow us on Twitter, Raptr, Youtube and Freeglance.


 The Top 15 Most Awesome PC Games of All Time
 DOTA Hero Tips: Vengeful Spirit
 Darksiders II Guide: Locations of the Book of the Dead Pages
 Minecraft Mod Examination: Climate Control
 Cliffwalker's Examination of Myth 2: Soulblighter