
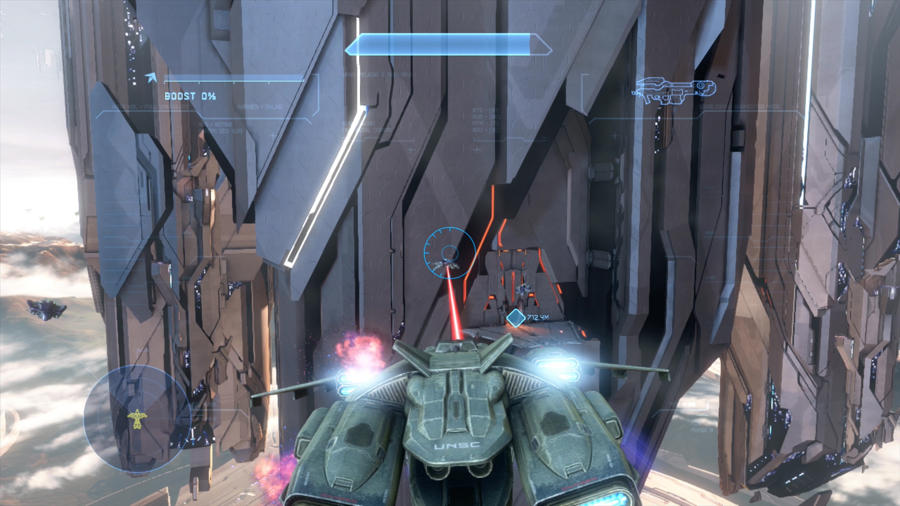
Halo 4 has a legacy when it comes to Legendary Mode. The enemies are tougher, smarter and more abundant leading to a difficult setting that would drive any hardcore gamer mad. This Halo 4 Guide will go over Legendary help, tips and tricks for dealing with even the worse case scenarios. We will be covering where the power weapon locations are and what enemies you can look forward to. We will also try to give some tips on what load out will lead you to success. We will also be posting videos of Legendary Walkthroughs hopefully soon. We will post those under the section for each mission. We will be rolling out a new mission every day until we complete the guide, so if your mission isn’t there yet, hit us up in the comments and let us know your looking for a specific mission. We will have them all up shortly!
Legendary Tips for Mission 1: Dawn
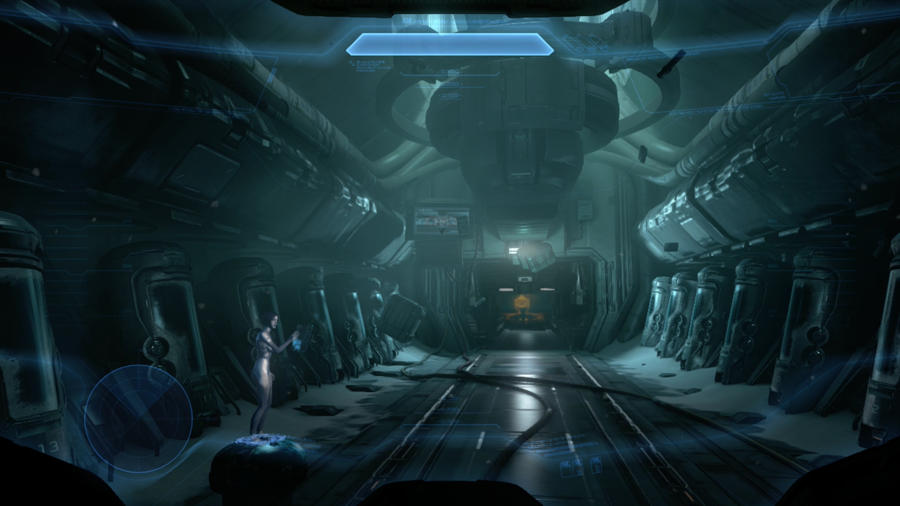
The first thing that is a must in Legendary mode is to get rid of the assault rifle. There will be a ton of plasma pistols around. The combination of a fully charged plasma pistol and a magnum will be your best friend when going through Dawn on Legendary Mode. As soon as you find a plasma pistol switch out the assault rifle.
Moving forward form the beginning there will be some fun stuff that you can check out if you want. Moving forward an elite will jump you. Press the RB to preform a melee attack on the elite and kill him. After making it past the elite there will be a sequence where you have to climb a ladder. Look for the Chief to look in the directions you need to hit so you don’t get knocked off.
Eventually you will be funneled into a docking bay with a ton of enemies. The key is to kill elites fast. Plasma pistol and then pick them off with a head shot. If you are close get an assassination to drop enemies fast. Don’t waste your time with assassinations on grunts though. That precious time is not worth a cool little animation. There are a ton of frag grenades in here but use them wisely. The best time to use one of the frag grenades is when the Phantoms stop by to breach and drop off troops. The center raised area is a good place to take out a lot of enemies in the room with the raised area as cover.
Move through some hallways with limited enemies, pick up plasma ammo when you can and make your way to a room with a smaller containment room in the center. These tight quarters are very deadly. Take your time, but take your shots on elites when you can. Pop the grunts in the face with a magnum or carbine rifle to dispose of them quickly.
After moving from this room eventually you will move onto the deck of the ship. In this sequence the Battle Rifle will be your best friend. Focus on the Jackles as some of them will have beam rifles that will take out your shields faster then anything else on the battle field. Move very slowly and be careful of the random Elites hidden around. Make sure to carry a plasma pistol when you find them to take out the Elites.
After activating the missile more enemies will be dropped off. Aim for groups of enemies with grenades to thin the pack. Grab cover and slowly take out what you can. One drop ship will drop a couple of Elites so make sure not to get to close to that group.
After this section there is an escape sequence that has minimal battles so you should be pretty much in the clear, just look out for exploding barrels that will kill you instantly.
Legendary Tips for Mission 2: Requiem
Most of Requiem is fought outside in large open areas. These are especially hard in Legendary because the enemies have decent accuracy at long range. The key is to only take on one group at a time. Use the terrain to your advantage to cut off flanking groups of enemies. The most important thing starting this Requiem on Legendary is to grab a Covenant Carbine and stock up on ammo whenever you can. This long range rifle will take out the Grunts and Jackles with only a shot or two.
Moving into the environment there will be lookout gravity posts where the Covenant will be grouped up. Take these sections slowly. A lowly Grunt can kill you easily with a well placed plasma grenade. Let any Phantoms dropping troops clear before you engage. Their cannons will tear you apart. If you can skip by the outposts in this area it is generally a good idea. The one towards the exit of the large canyon is the hardest part. Sticking to the right side of the map will give you height advantage. Take out the Jackle Snipers first as they can mess you up from far away. It is possible to steal a ghost and move quickly past some of the lookout posts, but this is usually not advised. Grunts with fuel rod cannons as well as the guns of a Phantom will kill you quickly if you are trying to move to fast.
Next you will be in a canyon facing a large Forerunner building. Take this section even slower than the canyon before it. Make sure to clear out all of the Elites, or else you will be in a world of hurt. In general it is good to stay as elevated as possible. The elevated position will allow you to pick off the sniping Jackles from the Forerunner construct. If you do take the right elevated position stay alert for grenades. Elites will chuck them haphazardly up in your direction. There are some Jackle with beam rifles at a choke point. The beam rifles can take out stronger enemies quickly so it may be worth it to pick these up.
When you get inside the building there will be a group of grunts and a very high ranking Elite. The Elite moves very quick and has an energy sword. It is important to have a plasma pistol to take out this Elite as quickly as possible. Hit him with a charged up blast and headshot him with a carbine rifle before doing anything else. Move on into the construct.
In this section you will be interacting with what’s called the Cartographer. You will also get an Active Camo mod for this part of the mission. Use the Camo to your advantage. Use active Camo to get a jump on the elites in the section. Also make sure to clear the room after each wave and stay clear of the Cartographer when fighting. Elites will be spawned with heavy weapons. If you can clear the room use these heavy weapons to your advantage. Be careful though, the concussion rifle sounds like a great idea, but will not work to well on Elite shields. During the portion where you have to wait for Cortana to open the door stay clear of the open. Dart into one of the side walls so you can use Active Camo to take out enemies 1 by 1.
After this section you will be lead into a large bridge like structure. You will be tempted to pick up the Hardlight Shield that will be in a small middle room. However the shield is not very effective in Legendary mode because characters will just close in while shooting you will be that much closer to death. The stealth armor power in my own opinion is a much better tool for the job ahead.
This bridge is littered with baddies. You have two options. Make your way slowly along the platforms, using stealth and the given rocket launcher that is at the beginning to take out Banshees. Or you can try to risk it, take the Banshee that is parked in the middle of the bridge and going at it from the sky. Be careful if you try the sky route though. Fire from ground covenant as well as from Banshees and Phantoms can take you out quick. Also look out for Covenant with heavy weapons like fuel rods.
After getting past the bridge you will move into a section called The Gateway. This part royally sucks. There are a ton of enemies, a ton of cross fire and not very many options. My line was to take out the firs set of enemies and Ghost with a rocket if you are lucky. From there move up the left side and pop off shots when you can to whittle down the the enemy load. Clean up and move on to the ramps leading to another Forerunner building.
On a platform there will be some Elites including a sword high rank Elites. Take them out with a charged plasma blast and a Covenant Carbine headshot. After that there will be 2 Hunters waiting for you. Pick up a Fuel Rod Launcher and some grenades on the platform the Elites where on. Take your time and take out the Hunters with these grenades and Fuel Rod shots. If you are getting overwhelmed, walk down the ramp to the platform where the Elites were and the Hunters will back off.
Finally after taking out the hunters you will be able to move into the structure and towards the end. Make sure to grab the Domain Terminal right before the end elevator before finishing this mission.
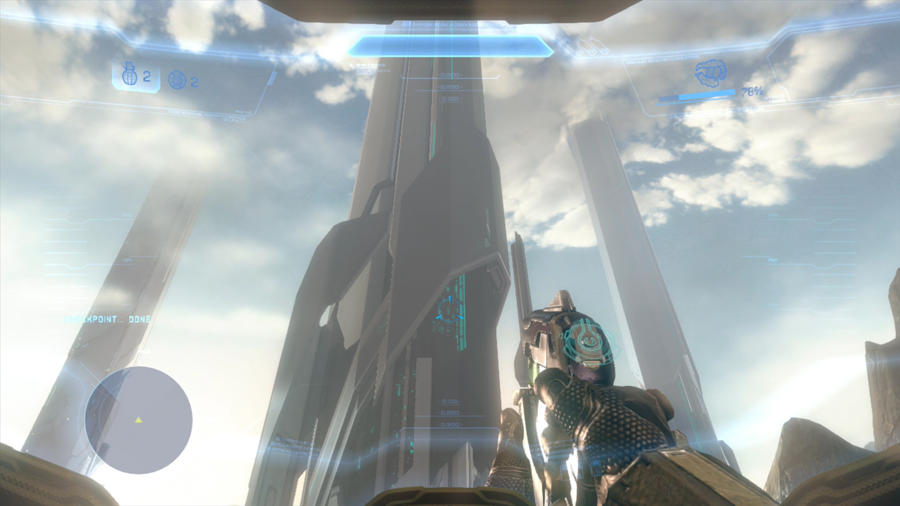
Legendary Tips for Mission 3: Forerunner

This mission is the first time you see Crawlers. These orange wolf like creatures can be difficult to kill in legendary mode. They move quicker, shoot more accurately and set traps for the Master Chief. It is key to use a single shot weapon like the Magnum, Covenant Rifle, Lightrifle, DMR, Boltshot and Battle Rifle. Stay away from automatic weapons as you have to hit a headshot to kill the Crawlers.
Shortly after your meetup with the crawlers you will also meetup with your first Knights and Watchers. This duo will be the bane of your existence if you don’t learn how to kill them effectively. The best coarse of action is to use a long ranged weapon like the DMR, Battle Rifle and Lightrifle to take out the watchers first. After a couple of shots into a watcher it will fold it’s wings to make it smaller and try to fly away. A couple more shots and it will be gone. Then move onto the Knights. The Knights in Legendary are lethal. The best way to take them out is with long ranged shots with a Lightrifle. You have to hit them in the face when they scream after their shield breaks. Try not to get to close thought, at any time even the low level Knights can take you out in one hit with their arm sword.
However, in larger groups of Knights, it may be better to not kill the Watchers first in some situations. When you kill a watcher in a group of Knights they could get emotional and pursue the Chief even more. If there is a large group of Knights it is a better option to put a couple of shots into the Watcher, make it flee, reload and then do some work on Knights. Either way whether you are going 1 on 1 or Knights in a group the most important thing to do is to keep space between you and the melee blade. Also in Legendary the Knights will throw a ton of pulse grenades. Don’t let yourself be backed in a corner while fighting the Knights or looking for space.
After meeting the crawlers and the Knights you will come to an area called the substation. This area has three switches that you need to take out. This area is crawling with Knights, Watchers and Crawlers. First thing’s first, take out the crawlers. Lightrifle and Boltshot bullets to the head will take them out quickly. Use the buildings to block fire from Watchers and Knights. If you manage to take down the power at a substation you will hit a checkpoint but don’t force yourself into a bad situation.
After taking out all of the power at the substations you need to make your way to a ramp. Two Knights will warp in. There is no great way to take them out other than brute force. A Suppression Rifle may work out nicely to get a ton of bullets into a Knight fast. If you happened to pick up an auto centry from one of the dead Knights before that may also be an option to distract the fire momentarily.
Eventually you will come to another section very similar to the first set of powered substations. The only difference is now there are more baddies and Banshees flying in the sky. The tactic I had the best luck with was through taking a ghost. The ghost isn’t very powerful against the Knights, but what it can do is get you into a power substation fast while the Banshees are still trying to find you. This section is difficult and there is no great one way to tackle it. If you can clear the skies that would be nice, but use the substations as cover in between sections.
Moving into a big battle room, the Forerunner Core, there will be intense battles between you, the Covenant and the Prometheans. Some of the Knights will have Binary Rifles. These high powered sniper rifles will take down the Master Chief in one shot. Take out Watchers and Knights first before even touching the Covenant. The Elites will keep the Knights occupied while you put bullets into them. The Covenant are much easier to deal with so use that to your advantage. Also if you can find the Binary Rifle they will be strewn out throughout this section of the mission. Binary Rifles are a great way to take out Knights from behind the Covenant distraction. Just make sure to manage the fight against the Covenant and the Prometheans. If one side gets outmatched to much just take out a few to make it a fair fight. You can whittle the enemies down with very few bullets and interactions if you are smart about this section.
Moving forward there are more Covenant fighting Prometheans. Take out Watchers, high ranking Knights and then move on to the lower ranking targets. There will be Knight Lancers, I believe they are called, with more Binary Rifles. Again, one hit kills, keep the Covenant around to distract the Knight Lancer. However he will be able to tare through the Covenant too so be quick about putting him down.
Eventually you will push through the entire facility. When you go to disable the effects of the station the man antagonist of the game will appear. This will lead into a section with a ghost get away. Basically just hold the boost trigger and try to avoid what you can. Make it through the 3-5 minute ghost getaway part and you will have finished Forerunner on Legendary.
Legendary Tips for Mission 4: Infinity
The key to this mission is Promethean Vision. Early on in the mission you can pick the armor mod up. This will allow you to see enemies through walls and the mist. This will be a huge advantage to taking out crawlers before you get swarmed.
Another huge plus will be the DMR’s that are strewn throughout the level. You can pick up the DMR early when there is a bunch of fallen Marines and you are searching for IFF tags. These weapons can take out even Knights at long range if you don’t have a plasma pistol or plasma weapons to take out the shields.
The first section of this mission comes down to if you are patient or not. Use the Promethean Vision to point out all of the enemies before they see you. Crawlers will be all over the place including ones with Binary Rifles that will end your life in a single shot.
Eventually you will meet back up with some Marines and be thrown into a gauntlet of fire. For this section, hang back and use the walls, ledges, cliffs to aid you. If you go to the right side there is a tunnel that you can funnel enemies into. Also before even thinking about moving forward make sure to kill everything. Eventually you will get to a section where you have to fend of waves of enemies. Don’t stick to the manned turrets and think about saving the rail gun that is in the center of the map. A full charged rail gun will take out a Knight with a direct hit. There is also a Hologram that could be very useful during waves. You can use the armor ability to buy yourself some time.
Finally after fighting off some waves a pelican will drop and get you into a battle zone where your help is much needed. There is a tank available, but you may want to wait. A wrath is watching you like a hawk. Kill all of the enemies and then think about the tank. If you can board the Wrath however, you may be able to have a heavy vehicle with a little bit more movement. If you don’t feel like chancing it grab the tank. Move forward through the caves slowly and take out any Covenant towers that you see. There will be grunts waiting to fire fuel rod shots at you if you don’t.
The last section of this level is played in the new Mantis vehicle. There are a ton of hazards to look out for, Banshees, Phantoms, explosives but there is one thing you have to look out for most. Grunts with charged plasma pistols will put your vehicle down for a ridiculous amount of time. Make sure to take everything really slow and clear out every single one of the little bastards before moving forward. Nothing will leave you more vulnerable than a grunt with a plasma pistol with a new wave of enemies inbound. Clear the Mantis section and you will beat Infinity on Legendary.
Legendary Tips for Mission 5: Reclaimer
The first half of this mission is fought from a UNSC vehicle called a Mammoth. This hulking tank will carry a couple of warthogs and tons of ammo for all kinds of fun. Manage your ammo throughout this section by not switching a ton of guns out. Keep a Battle Rifle on you for long ranged battle. The sniper is very useful for taking out the pesky Covenant from long range.
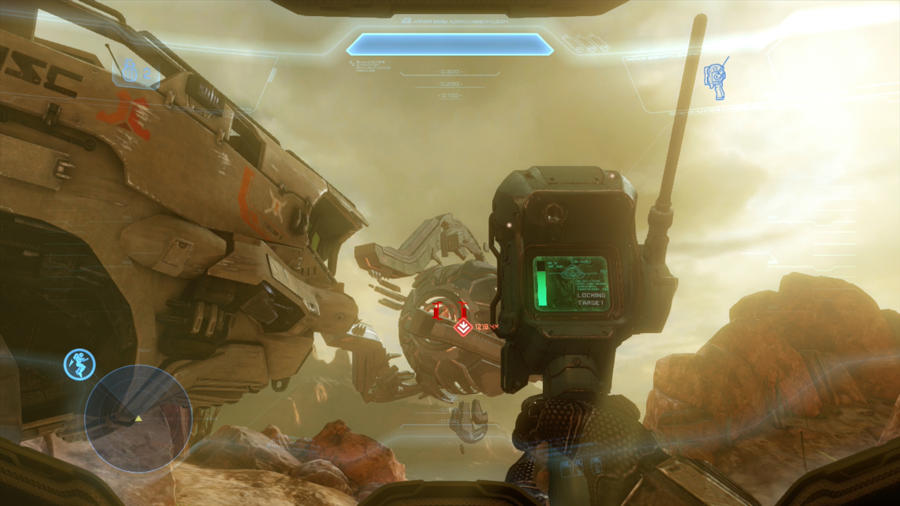
After a while of driving around in the Mammoth and shooting down Banshee’s with rocket guns you will stop to pick up a target locator. You have a couple of different options for completing this section on legendary. You can try to sprint for the equipment. This is hard in legendary but is possible. If you don’t feel like trying to be lucky you can also try getting in a Warthog and moving slowly around the right rocks to keep your cover. The gunner is pretty good at taking out enemies, but will die quickly if you rush in. Also, it might be a good idea to give your passenger a rocket launcher so they can fire unlimited rockets at enemies.
In the next section you will have to take out some shield generators. If you were careful in the previous section you should have a Warthog and some Marines left. If not it might be a rough go. Grab a sniper off the top level of the Mammoth located on the sides. The sniper will be a valuable tool for taking out enemies at long range. Focus on stranded elites and grunts in towers. There is a couple of turrets around. If you still have rocket ammo it would behoove you to put a rocket into the turret so no one else jumps in and kills you. Go to each section carefully, take out the generators and move on.
The next section has you boarding a Lich to take it out. Tons of enemies, enemy vehicles and headaches are coming your way in Legendary. If you still have a Warthog there is some positions along hillsides that work relatively well. However you have to be ready to move at any second. If not, move carefully forward and be very wary of the Phantoms dropping enemies. Their cannons will make your life hell.
When you finally make it up to the Lich you can go up the gravity lift, or Jet Pack up to one of the sides. Either way you will run into a ton of enemies. If you have a bunch of grenades you might want to throw one or two up the gravity lift. Make you way into the ship and go balls to the wall. If If you go up the gravity lift you can hide behind the pillar the gravity lift is against to get away from enemy fire. Pick up a plasma pistol to take care of the Elite’s shields on the top floor. Hit the switch and jet pack off the Lich to finish off this section.
Eventually you will be dropped off at a dead end. This next battle is basically full of snipers. Pick up your sniper from the Mammoth, or from the drop just outside the entrance of the Forerunner building. Take out all of the snipers first. You might be able to pick up some Beam rifle ammo off of the fallen Jackles. Be very careful of the Knights as well. You can drop the Knights shields with a plasma pistol and then finish them off with a beam rifle or sniper shot. Kill everything and make your way into the building.
Make your way through the Forerunner building. After a cut scene you will be forced to take out some Crawlers and Knights with limited cover. You will be able to move on back outside after the battle. Before going out the elevator though there is a Domain Terminal that you might want to pick up if you haven’t on other playthroughs.
Heading towards the end you have another Scorpion tank battle sequence. This sequence is difficult, but if your patient can be won pretty easily. Stick to the energy shield areas so you can protect yoruself from Wraith fire. Take out all of the enemies and you will complete Reclaimer on Legendary.
Legendary Tips for Mission 6: Shutdown
This mission starts off with a fully loaded Pelican and a pissed off Cortana. Make your way to the first point. Stay away from the center of the map or else you will be killed instantly. Both of the platforms are surrounded by Phantoms. As long as you don’t run into the middle of the group of Phantoms you will be fine. Make your way into the first, hellish, compound.
These compounds (yes there are gratefully two of them) are a hell-scape on legendary. The good thing is you are given tools to deal with it. I took the DMR and the SAW with me into this battle. The SAW is very valuable for taking out even the toughest of Knights at close range. The DMR will take out all of the lower level enemies and can be swapped out by Covenant rifles or Light rifles when you run out of ammo. It also might be a good idea to take a Jet Pack to keep yourself from falling.
The second compound is not much better than the first. There are a ton of Binary rifle carrying Knights in this section. Your first move may to be to pick up these Binary rifles to take out more of the Knights, but I recommend using these precious bullets to take out the Watchers. Take each section 1 by 1. The worst thing you can do is try to move on to the next section without taking out every possible enemy first. Be especially careful of the Knight at the end of the section. He has an Incineration Cannon that is deadly quick on Legendary.
Now you can move on to a tower that contains three shutoff switches, hence the name of the mission, that consists of a TON of baddies. The best course of action is to use the center tower to take out the Watchers and Crawlers. It might take a while to clear out the enemies, but taking out the supporting cast for the Knights is always a good idea. There is also a ton of Incineration Cannon’s laying around the place. Picking this power weapon up whenever you can will be helpful in taking out Knights quickly when they start to swarm.
The last two sections consist of firefights on small platforms. The first platform is just a brute force firefight. Check your corners, keep an eye out for heavy fire and clear each platform 1 by 1. There is a Domain Terminal in the first section of octagonal platforms on the far right side. The second set of the firefight can be blown through pretty quickly. You can grab a Banshee, take out turrets closest to you and then take out Banshees flying around looking to take you down. You can then skip most of the fight by staying high and taking out the Covenant at the exit. After you finish this section you will have beaten Shutdown on Legendary.
Did you find this Game Guide helpful? Follow us on Facebook for all our latest Game Guides, Game Reviews, Games News and our Suck My Controller Game Podcasts. You can also follow us on Twitter, Raptr, Youtube and Freeglance.


 Bloodborne guide part 07: Healing Church Workshop to Vicar Amelia
 Call Of Duty Black Ops 3 Dark Ops List And How To Unlock Them
 Six Minecraft Challenges
 Sleeping Dogs Stick Up and Delivery Mission Walkthrough - GamersHeroes
 Walkthrough Cradle