
It wouldn’t be a Tomb Raider game without the addition of explorable Tombs! Rise Of The Tomb Raider has quite a few of these and each has their own challenges to overcome. Check out this Rise Of The Tomb Raider Tomb Guide to get through them without nay trouble!
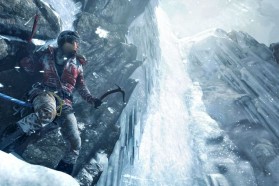
Just over to the ship and use your Pick on the switch there. Run up the wall to the right of the switch, right around the corner from it, not the huge ice wall, and jump to the golden anchor(I think it’s an anchor). This will crash into the ice and break it so you can climb up the right side. Climb up the right side and use your Pick Axe on the switch.
This next part requires you to be a bit quick. Once you move the anchor all the way down you will need to run to the end of the sail so you can jump on it and break the next part of the ice. If you are not quick enough the anchor will go all the way back up and you will miss. It might take a couple tries but it isn’t too difficult.
Once it is broke, climb up to the top via the left path way and collect your reward. Don’t forget the map and the document up here!
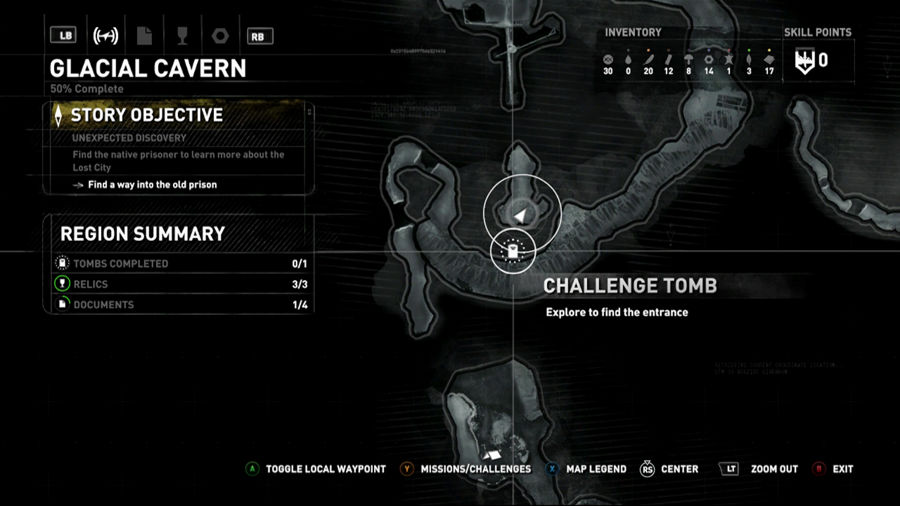
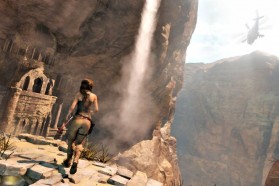
Once inside you will need to work your way to the Cistern Cavern. Go to the point where Lara says “It sounds like there is alot of water down below” or something to that effect. Use your vision to spot the areas you can use to climb around the wall to a safe landing spot. Once you are in the ruin, go up the stairs and jump and grab the wooden plank at the top. Wait for the water to lower and then drop, make sure to not get hit by the spinning things. Follow that path to the end for a new fire and the actual Tomb. Oh and use the explosive barrel to blow up the wooden circle blocking the path in the water, shoot the barrel.
Follow the path at the start of the tomb and jump like you are going to make it towards the end right away, we all knew it couldn’t be that easy right? Swim to the hole in the wall down below and go up the stairs. Use the red barrel to blow open the circle door that is holding the water back. Go through the hole you just created to the next room.
In the next room you will want to get out of the water and up the stairs. You will see three gas cans that you can use to break the next door. Toss them onto the floating wooden platform on the water and then go up the next set of stairs. You want to jump onto the wooden beam to move the wooden platform in the water. Then you want to drop down and get ready to shoot the explosives when it comes back near the door. Stay up for a couple seconds then drop down and get ready. Go through the door once you blow it open.
For the next room you will want to go up top and break the wall down with your pick first. You can see that this leads back to the room you were just in. Jump down, toss another barrel onto the wooden platform and raise the water again. This time you will need to get onto the platform and toss the explosive barrel into the hole you just created so you can use it in the next room. Once you do that, toss the barrel at the wooden door and blow it up.
Take the door and you can claim your prize!
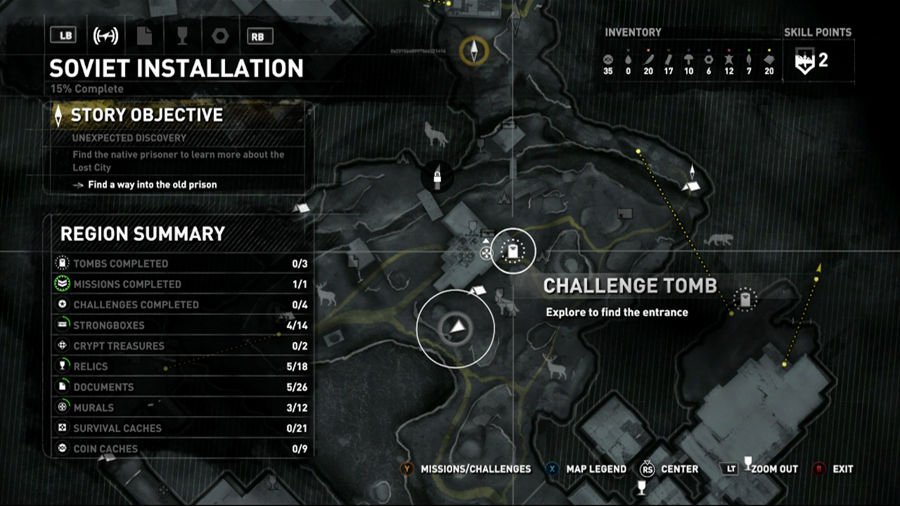
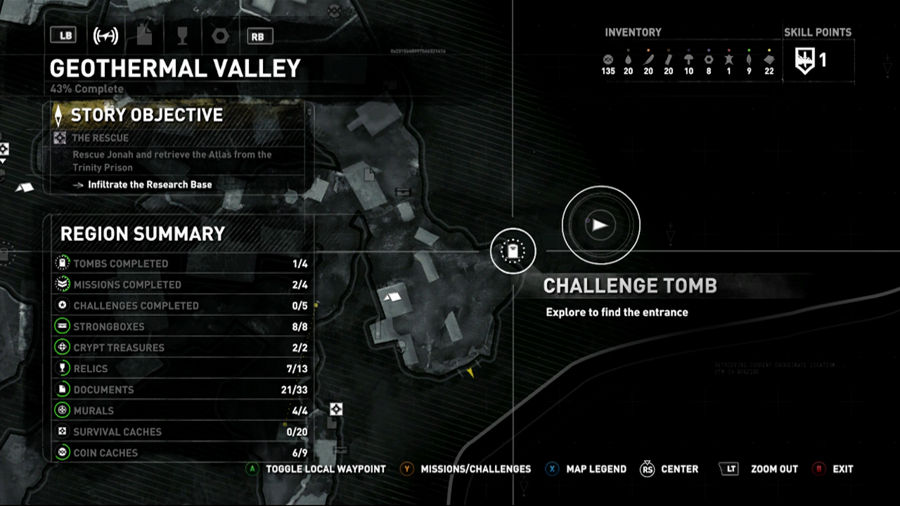
You will have to use the bottles to create a Molotov and toss it at the cloth to find the entrance. You can find that area on the right side of the water area. There is a cache of bottles and some cloth there. When you get to the room with the broken water pipes and the burnable wall, create a Moltov and toss it over the pipes to avoid putting it out.
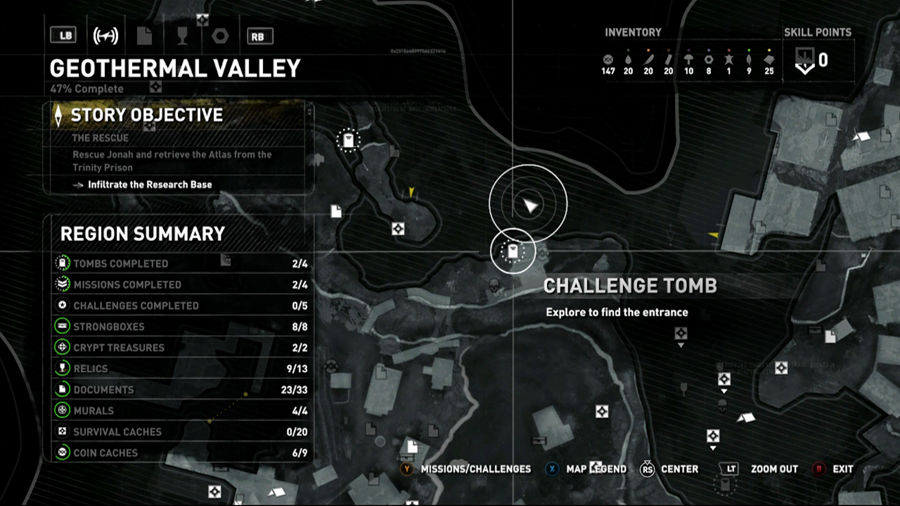
When you get into the Tomb, jump to the left and follow that path. Jump over the gap near the fire and climb up to the platform and jump the next gap. Use your survival vision to see two mine carts on the tracks. Lara will say something about using them to block the water. Jump onto the crane thing that is holding the boulders and the carts will come down. These will fail and you will need to go with a plan b.
Go up the stairs and to the platform then look at where the mine carts were coming from. Use your survival vision if you are having a hard time finding it. Hook the mine cart with a Rope arrow and then go to the roof of the building. You can do this by using the pole sticking out of the wall to get over the gap. At the top, use the pipe with the rope to attach to mine cart to the pipe so it won’t fall. Now go back to the crane with the rocks and jump again, the mine cart will block the water.
Create a Moltov to burn the cloth in the way and jump over for your prize.
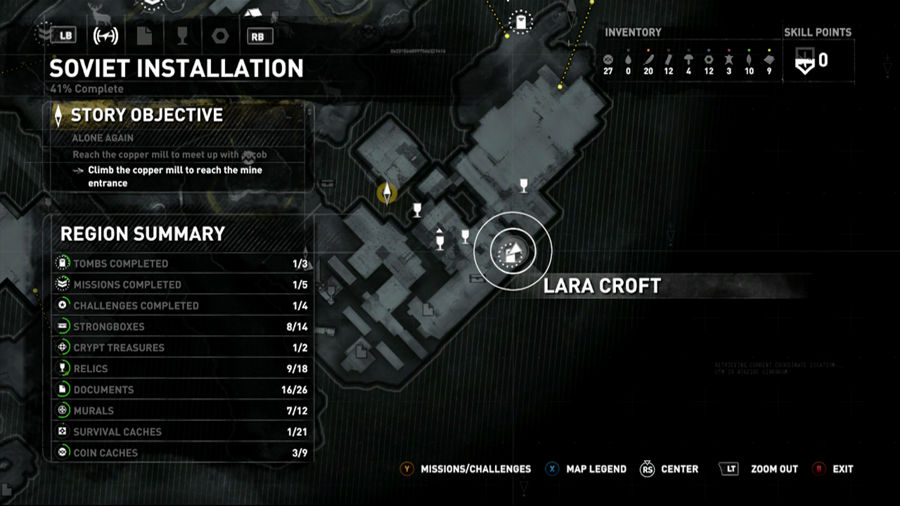
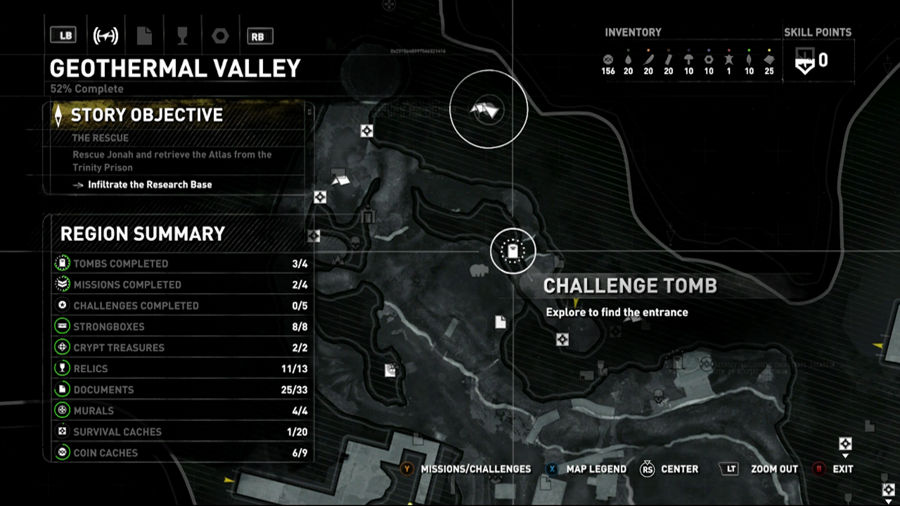
There is a lot of rock climbing to the entrance so expect sudden drops often. Once inside use the switch to close the door. Climb up the door and follow it to the left. Drop down the the rope arrow point and use an arrow to attach to the bell in the distance. Leave the rope attached and go break the wall across the gap. Go back to the rope arrow point and pull the bell towards you.
You can either cut the rope if you have the knight, or use the pick on the other side to release the rope. Make sure the wind is blowing when you cut the rope so the bell can break the ice. Now you can open the door and get your reward.
You will see two tracks that you can go up. Go up the one that isn’t blocked off. At the top use your rope arrow to connect underneath the other track. You aren’t using this yet but we will later. At the top of the ramp, rotate the mine cart until you can push it down the track. Once you push it down, it will blow up on down below.
Now take the rope arrow to the other side. There is a wall you can run up and climb here and another above that, do both of those. Use the switch up top to bring the mine cart platform down below. Once it is down below, use the other switch to turn it so you can push the mine cart onto the platform. Now before you bring it back up, rotate it on more time counter clockwise because on the way up it will auto rotate one spot. At the top, push the mine cart down and you can access the secret.
You will need to pull the raft towards you and jump on it. You need to get to the middle island first so attach the boat to the spinning rope point near the island, this should bring you close enough to jump onto the island. There is a second boat under the water fall you will need to pull out. You have to be quick with this one or else it can mess up.
When the boat is coming out you need to jump onto it ASAP. From there you need to attach the boat to the other side and then use the crank on the boat. This will get you close enough to jump off and get to the other side. From there you can get the secret and leave.
First thing you will want to do it to pull out the cart with the rope arrow point on it, pull it out all the way. Next go to the left of the entrance and look up with your survivor sense to see a switch. Shoot the switch with a rope arrow and it will fill the counter weight with water. When the weight gets to the ground, shoot the rope arrow from the weight to the cart to make it the weight stay for the moment.
Now to go the other side and jump into the lift at the bottom. Use the rope arrow to shoot the weight up above the lift. Now go back to the cart and cut the rope. Then repeat the process of attaching the weight to the cart so the other lift will be high enough for you to access the secret. Use the stairs next to the entrance and jump across to get the secret.
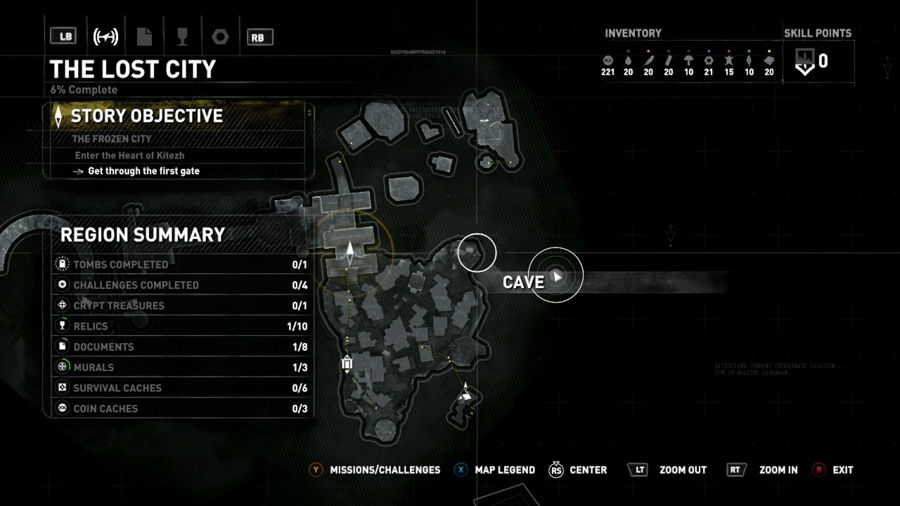
Once in the tomb, go to the boat and use the rope arrow to bring it to the middle. When it is in the middle, go to the right and jump up the wall and over the gap. In the next room you can see a rope arrow point under the water and one above water. Go to the one above water and pull it out until all the water is drained. When it is drained, go to the other rope arrow point and connect the two. Use the switch to keep the water drained permanently.
Swim out into the center and swim into the next room. This room has another water drain switch but no winch you can use. You will have to bring the boat close enough that you can attach it to the water drain point. The is an opening on the opposite side of the drain point, this is where you should drop the boat off. Go to the side of the drain switch and use a rope arrow to attach it to the boat. Then go onto the boat and use the winch on there to drain the water. Once the water is drained, blow up the pots near the gate and go get your secret.
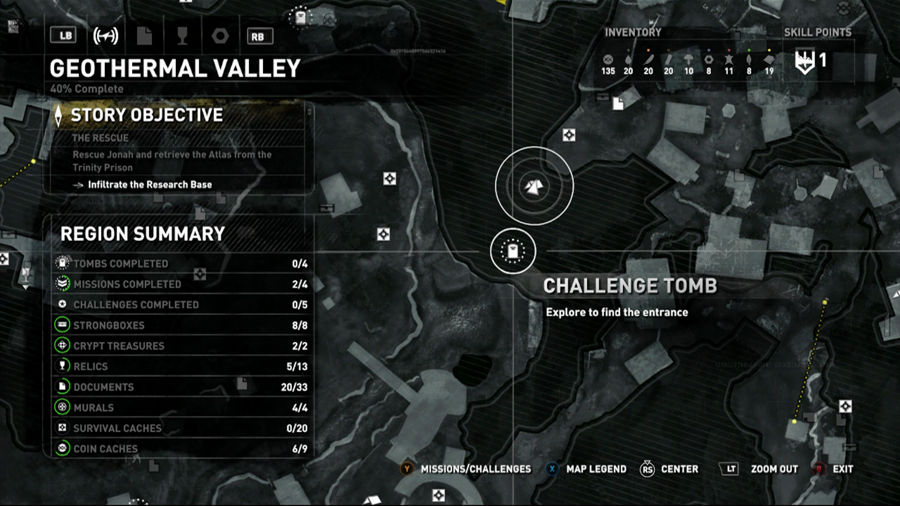
You will need to use a fire arrow to blow the door open, be sure you aren’t close or you will die. Inside you will need to use fire arrows so make sure to grab some. Go down to the bottom and you can see two rope arrow switches up above you. What you need to do is hit both switches in quick succession and then go down below where the water is drained. When you are down there, use your pick to break the cage free and then go back up.
Let the gas go away and then use the crane to raise the cage up. Climb up the stairs and then use the Rope Arrow on the crane to move it. Once it is moved, go back down and hit both the switches again and go up the stairs. When you are clear of the gas, use a fire arrow on it to blow down the door. If you are to close to the gas you will die so make sure you are up the stairs a bit. Now you can grab your last secret and complete the quest in the Geothermal Valley.
 Posted November 10, 2015 by Johnny Hurricane
Lara has many different outfits to unlock and choose from in Rise Of The Tomb Raider. Some are easy to get while others will require some work. Check out this Rise Of The Tomb Raider Outfit List to
 Posted November 9, 2015 by Johnny Hurricane
Rise Of The Tomb Raider adds side quests to the mix to help you get new gear and allies. These missions start off easy but quickly get more and more difficult. This Rise Of The Tomb Raider Side Quest
 Posted November 9, 2015 by Johnny Hurricane
Like the last Tomb Raider, Rise Of The Tomb Raider has weapon parts for you to find throughout the world. These will be the key to keeping the advantage over the enemies you come across. This Rise Of
 Posted November 9, 2015 by Johnny Hurricane
The Archivist Maps in Rise Of The Tomb Raider will help you unlock everything on the map. They are hidden throughout the world and can easily be missed if you aren’t searching the right areas. This
 Posted November 9, 2015 by Johnny Hurricane
It wouldn’t be a Tomb Raider game without the addition of explorable Tombs! Rise Of The Tomb Raider has quite a few of these and each has their own challenges to overcome. Check out this Rise Of The


 Middle-earth Shadow Of Mordor Rune List
 Silent Hills: Welcome back to a world of survival horror
 Metal Gear Solid 5: The Phantom Pain – Side Ops 82 Make Contact with Emmerich
 Murdered Soul Suspect Ghost Girl Guide
 E3 2012 Scorecard: EA