In the previous mission, we learned that only Ascendant Hive can pass through Rupture portals. Now the plan is to have you walk in Crota’s dying footsteps, in order to become Ascendant and make your way to Oryx. What’s the worst that could happen?
You begin the Lost to Light mission at the Circle of Bones on the Moon, and must make your way to the Chamber of Night where the crystal shard is located. From the starting point, kill the few Hive that are nearby and follow the arrow indicator on your map. The area should look familiar, as this is where the Dark Below mission previously took place.
Continue through the corridors, slaying a Wizard and some other Hive enemies along the way. Prepare to fight off several handfuls of Thrall that lurk in the Chamber of Night. Keep following the objective marker on your map until you reach a large, bone filled arena.
Here you must battle a burly ogre named Baxx, the Gravekeeper. Riddling Baxx with bullets should do the trick, but you can bust out your subclass super ability to spice things up if you wish. When Baxx’s health is nearly depleted, Oryx will suddenly take him away, allowing you to freely snag the crystal shard in the center of the arena.
Of course, leaving with the crystal won’t be that easy. Just when it seems the mission is complete, Baxx returns in Taken form as Oryx’s Hand. He’s also brought a slew of enemies along for the fight, too many for you to handle at the moment. Make a run for it!
Book it from the chamber and through the corridors as quickly as you can in order to escape the Hellmouth. Don’t get caught up in fighting enemies, as this will just slow you down. Continue to retrace your steps through the corridor until you reach the World’s Grave (not yours) once again.
Once you reach the World’s Grave, the Taken will lock the door to the exit. To unlock the door, you need a floating black orb known as a Tomb Husk. Locate this Relic on an upper platform near the front of the room. Pick up the Relic and bring it to the door to unlock it.
Prepare to fight off several more Taken Knights and Acolytes as you proceed to the next area. You will discover another locked door, except this one requires two Relics to unlock it. The first Relic is located on a platform across from the locked door on the far side of the room. The second Relic is at the end of a short passage on the bottom level to the right.
Continue through the corridor to the Temple of Crota, where you encounter yet another locked door. Are you sensing a pattern here? This door requires three Relic orbs: the first is just to your left as you enter the chamber; the second is on a high platform near the center of the room; and the third is behind a barricade to the right of the door. However, you may want to clear out the Taken Captains and other enemies that are harassing you first.
Now you’re in the final stretch. Dash up the stairs through the final passage to make your escape. Once you reach the outside, the mission concludes.
Continue to Destiny: The Taken King: The Promethean Code, or return to the Destiny: The Taken King Walkthrough and Guide.


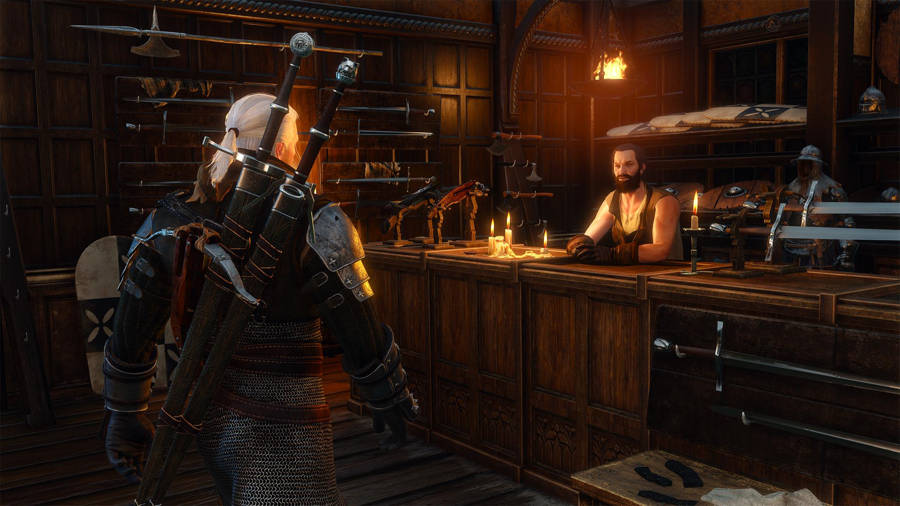 The Witcher 3 Wild Hunt Crafting Guide - Where To Find All Levels & Master Blacksmith
 Dark Souls 2: Crown of the Old Iron King – Sir Alonne boss battle
 Darksiders 2: Forge Lands Side Quest Guide
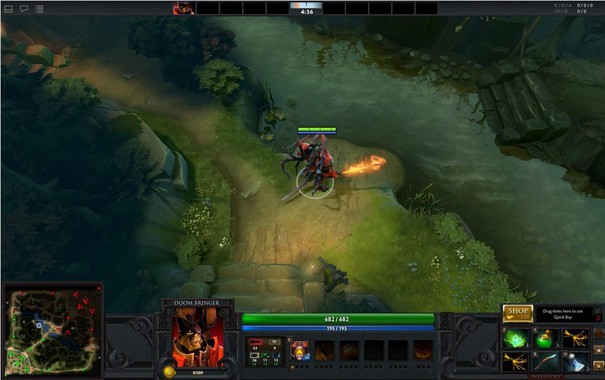 DOTA 2 and MOBAs: What you need to know
 How to Reduce the Cost of Training Summoning in RuneScape Using Distractions and Diversions