In the Secure Area multiplayer mode, teams must quickly rush to a specified area to secure a location that houses a biohazard container. Players only have one life, meaning that a team can win a round simply by eliminating all players on the opposing team. It’s not necessarily the biohazard container that needs protecting, but rather the entire room that contains these materials that must be secured. This makes Secure Area a bit more akin to Team Deathmatch, since there isn’t a particular object that needs to be taken or destroyed. Players on both sides must secure the target room by eliminating the opposition.
We also have guides for the other two game modes, Hostage and Bomb. The links to both of those articles are listed below.
When playing as an Attacker, your first step is to roam around the map using your rolling Drones to try and locate the biohazard container. If you have a full team, you should have five player Drones searching the area, making the search for the container go by rather easily. You will have about 45 seconds to make a thorough sweep of the area, so make sure your teammates are searching different parts of the building to cover all floors.
Keep an eye out for reinforced walls and barricades, as these can indicate nearby enemies. If an enemy spots your Drone, they can shoot to destroy it, so try to keep your Drone device somewhat hidden while searching. You can also tag enemy players that you spot with your Drone, so that teammates can be made aware of their location.
If you have not found the container location during the Preparation Phase, then your team must go in and just try to find it on your own during the Action Phase. Move cautiously, and stick with your teammates to revive one another when injured. At least one of your players should be prepared with a shotgun for CQB encounters. Bring along some breach charges to bust through enemy barricades.
It is also beneficial to have at least one Attacker that can perform supportive actions. For example, IQ can use her Electronics Detector to locate electronic traps and explosives through walls, allowing her to warn teammates before they enter a booby-trapped doorway. Thermite is also a valuable Operator to have on your team, as his special Brimstone BC-3 breaching charge can melt through reinforced walls in a matter of seconds, allowing your team to infiltrate through an area the enemies may have their backs to.
Once there are more Attackers standing within the Secure Area than Defenders, a countdown will begin to end the match. While securing the area, beware of opposing players who will rush to take back the location. Either secure the area or eliminate all hostiles to end the match.
While playing as a Defender in Secure Area, your goal is to fortify the target location to keep it secure long enough, until the time runs out or all hostiles are eliminated. Like the other modes, you will have about 45 seconds to secure the target room before the opposing team makes their advance.
Barricade all doorways and windows attached to the secured room, and make sure several teammates throw down some barbed wire to slow down incoming enemies. Don’t forget to reinforce the walls surrounding the area as well, to prevent surprise breaches. Castle is a good choice for placing down reinforced metal barricades on doorways and windows, effectively deterring players from these entry points altogether. Select Operators that can place down defensive traps, such as Kapkan, who can place tripwire explosives along windows and doorways as well. Rook is also a good Operator to have on your team, since he provides armor packs for teammates that are especially handy in this mode.
Make sure at least two teammates stay within or near the secured location, in order to take back or contest the room in the event of enemy infiltration. As long as there is at least one or two teammates within the secured area, the countdown to win cannot be started, at least not easily. However, if the secured area is contested, this means both teams are aware of the others’ presence, so just be ready to fight when you see the objective being contested.
Have several teammates equip shotguns to blast any incoming enemies. Also, while defending from within the room, keep your back against corners rather than full walls to prevent getting hit during a breach. Keep to the side of windows to prevent being seen in case an enemy breaches or rappels in, and you should be able to take them down quickly as soon as they vault through.
Make the most of your Preparation Phase while defending in order to reduce the work you will have to do during the Action Phase. A well prepared defensive team can usually secure a victory simply by having excellent defenses.


 Top ten Dota Heroes
 Murdered Soul Suspect Receptionist's Office Case
 Epic speculation
 Pro Flight Simulator download, Private Pilot Training, Airplane games, 3D Games
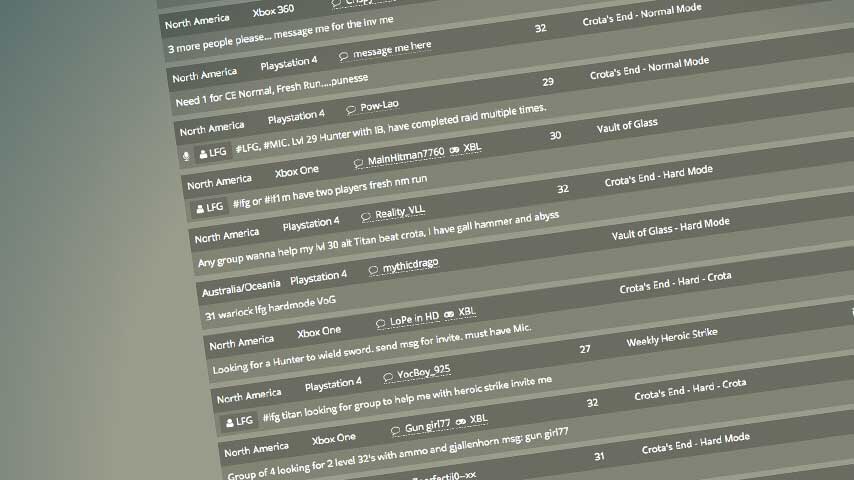 Destiny: how to get a raid group together using LFG sites