
Travel to Boston Airport and locate Proctor Ingram, who is found in a storage area to the right of the main gate entrance. Speak with her to learn about the new project the Brotherhood is working on.
Proctor Ingram has you follow her into a secure storage room where several other Brotherhood members have been working on their latest project. Here, Ingram will fill you in on the details of the project, and the problems they are facing. The Brotherhood is essentially attempting to build a massive war machine, but need further assistance from a scientist in order to get the tech running again.
Proctor Ingram will have you seek out one of two scientists, depending on your previous actions during the Brotherhood of Steel Quest: From Within. If you were able to convince Doctor Li to aid the Brotherhood, then Ingram will send you to speak with her. However, if you were unable to convince Doctor Li, or if you killed her, then Ingram will have you track down Professor Scara instead.
We were able to get Doctor Li join forces with the Brotherhood, so she is the scientist we went to for this project. If you do not have Doctor Li available, then your quests will guide you to Professor Scara:
At the Science! Center in Diamond City, talk to Doctor Duff. She will have you search for Professor Scara at the General Atomics Galleria, where you will find her inside.
If you convinced Doctor Li to help the Brotherhood, you will find her on the Prydwen. Travel to the main deck of the airship, and locate Doctor Li in the Power Armor staging area. A brief conversation is enough to convince her to work on the project.
Return to Proctor Ingram down in the airport to report the good news, and to receive your next task. When you arrive, Doctor Li will likely already be in the control area investigating the machine.
The machine she’s working on is actually a huge robot, which happened to be designed in part by Doctor Li herself. Ingram needs you to build the Electromagnetic Actuators needed to power the robot’s limbs. Doctor Li will give you a list of materials that you will need for building the Actuators. Ingram will have you search for a High Powered Magnet, which she says can be found in one of the local hospitals, such as Milton General Hospital. The High Powered Magnets can also be purchased, or scavenged from the Commonwealth.
One magnet’s location will be conveniently marked on your Pip-boy map, so you can just go straight there. The map will guide you to a random local hospital. Beware of defense robots or other enemies as you search the location. The magnet is typically found within a marked Steamer Trunk. Leave the area once you’ve obtained the magnet.
Now that you have a High Powered Magnet, it’s time to build the actuators needed to power the robot limbs. Return to Boston Airport and locate a special Workshop workbench marked on your map. Access the Special menu in the Workshop, and build four Electromagnetic Actuators. The actuators require the following components: 5 Circuitry, 1 Screw, 10 Steel, 3 Fiber Optics, 5 Rubber, and 1 High Powered Magnet.
After creating the Electromagnetic Actuators, speak to Proctor Ingram once again. She tells you that the only thing that the robot needs now are its weapon systems. To install these devices, you will need to track down some Mark 28 Nuclear Bomb packs. Proctor Quinlan was able to obtain a lead on a weapons cache potentially containing these bomb packs, but you will have to go to the Glowing Sea to find it.
Waypoint Echo’s location will be placed on your Pip-boy map, near the Glowing Sea. Prepare yourself accordingly, and then travel to the waypoint. It’s a good idea to equip your Power Armor for this mission, as it will make traversing the Glowing Sea much more bearable. If your Power Armor isn’t available, then you can also purchase a Hazmat Suit to trek through the irradiated area. While you’re at it, purchase some extra RadAway and Rad-X for this mission just in case.
Scribe Haylen will be waiting for you when you arrive at the Glowing Sea waypoint. Speak with Haylen to receive a Distress Pulser that will be used to find the nukes. Haylen’s team is prepared to go in and extract each nuke that you find.
Upon receiving the Distress Pulser, a new location will be marked on your map to the southeast of Waypoint Echo. Carefully make your way to the location, destroying any irradiated enemies you encounter along the way. When you arrive at Sentinel Site Prescott, enter the door and begin searching the facility for the nukes.
Make your way to the lower level of the facility. Unlock the blast doors using nearby terminals. As you go through a set of cylindrical tunnels, you will briefly encounter a devout man named Brother Henri in a control room. If you have a high enough Charisma level, speak with Henri and tell him that you are a part of the Children of Atom. If he is convinced, then he will let you open the doors to the facility. Or, you could just kill him and take the password from his body. With the password in hand, use the nearby computer terminal to unlock the doors to the room containing the stockpile.
Approach the stockpile, and place the Distress Pulser nearby so that Haylen’s crew can track the location. If you happened to bring Paladin Danse along as your companion for this mission, speak with him, and he will decide to stay behind to defend the stockpile.
Scribe Haylen and her team will deal with the stockpile now that the nuclear payload has been located. Leave the Glowing Sea, and head back to Boston Airport to update Proctor Ingram on your progress.
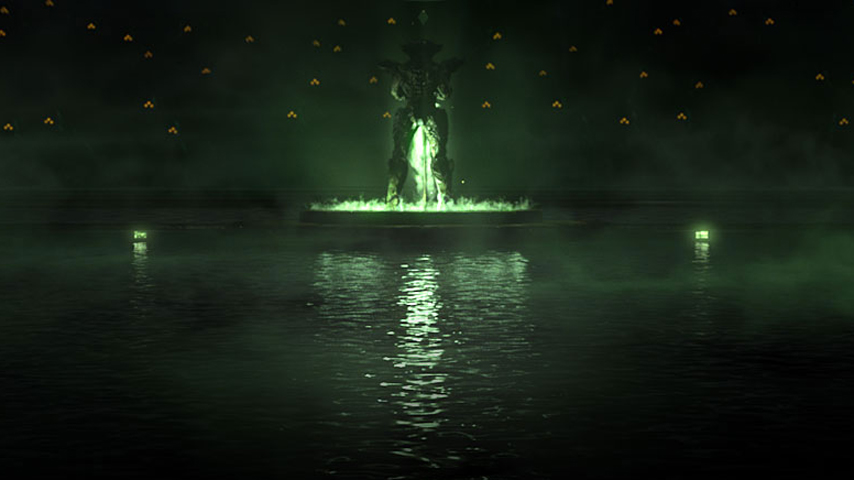
Liberty Prime has been restored to its former condition and should now be a fully functional war machine. All it needs now is to be activated. Proctor Ingram feels that you deserve to do the honors, so go ahead and press the Power Transfer Switch to begin the diagnostic tests.
After a few more tweaks, Liberty Prime will be ready for action. Speak to Proctor Ingram once more and she will gift you a new T-60 Medic Pump for your Power Armor as a token of gratitude. After your brief chat with Ingram, the quest concludes.
Continue on to Blind Betrayal, or return to the Fallout 4 Walkthrough and Guide.


