Head back to the Records room located just off of the Maximum Security Ward. Hobson, in his usual drawn out manner will tell you about Mary. She apparently comes from a well-to-do family and has likely taken to hiding at her relative's dilapidated though opulent old house. From the Records Room, you will need to travel back to the pier and speak with Milton once again to embark on the second hunt.
When you arrive on the Island, you will learn that Mary and Turner stand at two opposite ends of a spectrum. She stands for old money, aristocracy and nepotism while he stands for revolution and freedom under military rule. Not exactly the kind of people who would normally get along. Milton makes a comment that the two of you would have gotten along well. When asked why, it is because you were both revolutionaries. The problem would be that you stopped being one once you took the throne.
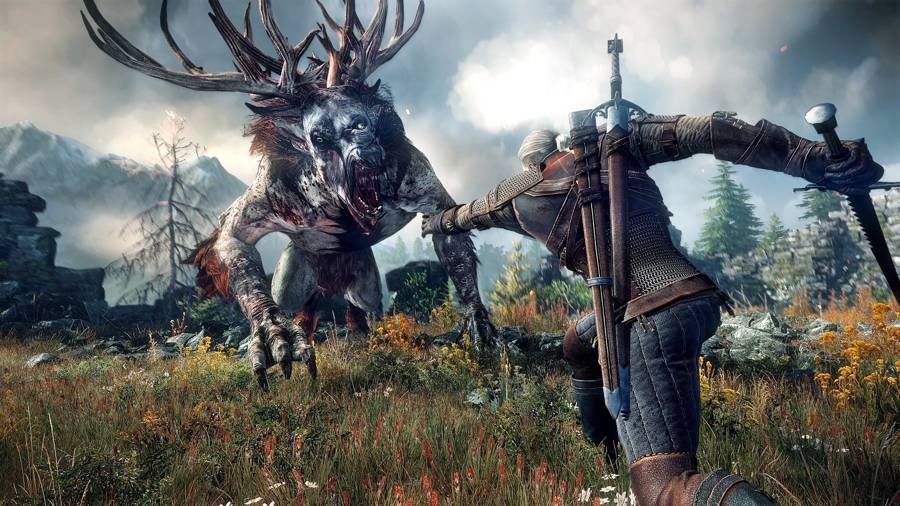
Take a moment and explore the beach to find a chest with some goodies in it. After that, start going up the hill, following the path toward the estate. The first plateau has some interesting statues, all Balverines. That is a little creepy in its own right. Head up to the next landing to actually find some Balverines that are more than willing to make a snack of you. Bring them down then take a moment to back track.
To the left of the stairs, heading back toward them after the Balverine encounter, you will find a chest tucked next to a bush. After that, head back to the main path and keep going uphill. You will find yourself in Godwin Menagerie. Reading the various post can be somewhat funny, but keep focused and continue to wind your way through. On the bench opposite the Corpse Moths you will find the first of Mary's Diary entries. There are a few creatures still there, one of which has a tendency to explode at the sight of strangers. Head toward the gate and you will learn that she's electrified it, making it impossible to open. You need to find another way around.
Keep to the right and follow the shrubbery to find one of Mary's notebooks. It is on the far side of the Exploding Monkey cage. Go down the stairs near the diary and to the left to find a treasure chest among a number of tombstones. Head through the cemetery, up the hill, and open the gate, you will be greeted with a quick scene and Hollow Men appearing to do battle. These are a different sort than what you usually encounter. Some of them are ethereal, you cannot hit with your weapon at any time. You need to lure those over the seal on the ground that you were shown in the cutscene to bring them to your plane. Without that, you cannot hurt than though they can get you.
Once the battle is over, head down the stairs that are open to you. If you have missed any of the diaries, you may want to backtrack and find them. As you descend the steps, you will find some crypts at the bottom. Explore the ones on the right to find one with a chest inside it. Keep going downhill and you will find yourself facing another electrified gate. Milton figures there must be a place that is supplying the power to all of this.. From there, keep follow the path to the left. You will find yourself in a courtyard with two of the Hollow Men Seals on the ground. Walk over to the big machine near the building. Milton will attempt to shut it down but instead trigger an alarm. Prepare for the Hollow Men you should have been expecting as well as some Balverines. By the crates nearest the building, sitting on a small box, you can find another of Mary's diary entries. Grab it.
Now, head back to the formerly sealed gate and press on up the hill, toward the house itself. Head up the slope a short ways and will find a small pond you can wade through just to the left of the first set of stairs. Do so and on the far side of it, tucked around a corner is another chest. Now, head up the aforementioned stairs.
You will find yourself in a garden. Keep moving on through. You will want to pay attention to the fountain though. On one side of it, you will find another chest with some clothes in it. After that, just head up the path toward the house. You will find that rubble has blocked the main path to the house. There is, though, a smaller path just to the right of the blocked path. Head down to it and keep on it to make progress forward. You will find a cave at the end of the short path. This is the way forward so head on it.
Inside the cave, keep moving forward. You will find yourself in the Godwin Wine Cellar. Here, turn to the right and you will find a treasure chest tucked behind some of the wine barrels. Keep moving forward, through the wine cellar, the joining corridor and into another room. Just keep following the one path in front of you. Go up the stairs and press on. You will find yourself inside the Godwin House itself now. You can find some things in the dressers around the room, but nothing of importance, head on through the other door. You will find yourself in a room full of sleeping Hobbes. Milton will move for quietly passing through the room. The problem is, when you make it the closed door you are shown to, a stuffed fish will start singing and wake up all the Hobbes! Time to lay them to rest for good, they've had a good party with some very, very bad wine.
Go through the door underneath the annoying singing fish. Milton will point out one of Mary's notebooks and mention that she talks about Turner in this one. You can run over and grab it, its on the small nightstand on the opposite side of the room as you came in. Milton makes a beeline for it, so use him as a Guide. Just as you grab it, Hollow Men appear, Fire Hollow Men. The good news is fire still works quite well on them. The problem is, they do more damage with fire. It's an easy battle though as its a small group of them. Be sure to grab the Mary's Diary before you leave the room if you didn't before the fight. After that, head through the door that opened, underneath the Stag-head mounted on the wall.
Head down the short corridor to find yourself confronted with another door. On the other side, it sounds someone is up to no good. It is soon revealed that this machine can augment Hobbes! As if they weren't bad enough to begin with. Slaughtering takes only a little more effort. Pay attention to the colors. Red Hobbes can be defeated with magic attacks, green with ranged and blue with melee. They all fall down after a hit or two from the right attack.
There is only one open door, so make for it and head deeper into the house. Down the first flight of stairs is a boarded off area you can smash or burn your way into. Not much to find aside from a dig spot. After that, keep moving deeper and lower into the house. Just as you enter this room, look to the crates, near the machines, on the right. You will find the last of Mary's diaries here. It is before you reach the chest. Now, grab the chest and keep on moving downwards. At the bottom of the stairs, you will find a small plateau surrounded by strange machines. Inside them is something to actually be feared: Poisonous Balervines! When they hit you, there is a chance time will slow down, not in your favor, you will know its happening because the battle music will distort a bit. Balverines will not stop coming out of a machine until it is broken, which thankfully happens after only a few of them.
When the dust settles, go up the stairs on the far side, that had been blocked by steam blast. Head up the stairs and you will find a cutscene waiting for you. Mary will combine the essences of Hollow Men, Balervines and Hobbes. She will transform into some kind of Hobbe herself, but this one is not to be underestimated in the least. She will split from that form into a pack of the colored Hobbes. Remember what to use against which ones to keep this part of the battle simple.
For Phase two, she will become a Fire Hollow Man. A small crowd of them will be unleashed upon you. Just handle them like normal Hollow Men again, for this area, nothing too bad. Remember, any that are ethereal, lure them over the seal. It is located near the machines Mary used for her “Purification”.
Phase three has her in a White Balverine form, perhaps the nastiest of the normal Balverines. These things are nasty enough as it is, since they can jump around the field at will and launch chain attacks on you. After a short while, she will call forward reinforcements, of the poisonous kind. Keep on guard and focus on the most immediate threat to you. Once Mary is down though, the battle will end.
After, she will be crying, for she does not want to be human. She will beg you to kill her, but Milton will insist that the Keep will be able to treat her decently. Your choice, whether to kill her or spare her and bring her back to the Keep. Make your choice, earning the achievement for her portion of this quest, “Unnatural Law”.