Dragon Age Origins Walkthrough Part 3 – Dalish Elf Origin
The story starts with you and a friend finding a trio of humans who have come close to your camp. You can kill them or let them go, but either way you learn about a cave to the west that supposedly contains Elvish Ruins.
The Lost Mysteries Of The Ancients
Head down the path in front of you. Keep an eye on the roadsides as you can find plants useful in brewing. Around you go around the first bend you will encounter a pair of wolves who attack you. Just past the Halla and the wolves, there is a locked chest with a Scout's Bow inside it. Behind it is a tree stump. Investigate that to get the Brecilian Forest Codex entry. Head on north from there. As the path winds to the west, you will find Elfroot plants. Loot it to get some the herb and keep moving to the west. When you reach the first archway, look to the left to spot a pile of rubble which has a potion ingredient inside it. Keep on going forward to find the Cave that the humans mentioned to you.
Investigate The Cave
Head into the cave to start investigating. Head forward and on the right, on the ceiling, is a cocoon with some blank vellum inside it. When you exit into the first hallway, you and your friend will be attacked by a pair of Giant Spiders. Kill and loot them. Now head to the south, there is a locked chest here with a Saw Sword inside it. Head north now and loot the pile of bones not too far from the double doors. There you will collect a Dagger and a Lesser Health Poultice. Now head through the door to the west.
Head to the north and you will encounter a trio of spiders. Be careful as there is a pressure plate trap just to the left of the rubble you see closest to you. Head around the rubble to find another pile of bones with an Iron Small Metal Round Shield inside it. Finally, investigate the southwest area of this chamber to find another cocoon with treasure inside it. Now head out of this chamber to the west.
As you head west then north, your party will find a familiar statue. You can question your friend some to learn a bit more about elven history. If you head for the door opposite the statue, be wary as there is a poison trap in the center of the floor. To advance the story, you would want to head through this door, but there is a bit more to see in this area first.
If you go south of that door, you will find a locked door. Inside the room you will find three spiders lurking about. To the south is a cocoon with some treasure in it. The door to the north is open and just inside it is another pressure plate trap. If you head to the north you will find a pile of bones with a lesser health poultice and an Iron Large Darkspawn Shield. There is another trap just before the second door leading north.
The door leading east, from the chamber with the trio of spiders, has a pressure plate trap in front of it so come at it from either side. Beyond it you will find a way back to the entrance of this “cave”.
Head back to the door across from the elven statue now. Go through it to fight a Bereskarn. While it is tougher than the other things you have fought it will go down somewhat easily. There are a few things to see in this room. First, search the rubble to get a bow. Head behind the mirror to find a sarcophagus, which contains an Elm Tevinter Shield and a Dalish Leather Belt. You want to investigate the mirror after that. Your friend will do so regardless. The scene fades to black and Duncan can be seen apologizing to you.
The Elven Camp
When you come to, you are back in camp. You will be talking with a friend who explains that a Grey Warden brought you back to camp. Now you will get a chance to talk with the keeper and learn something more about the happenings that have occurred. She will ask you to lead the way back to the cave. Be sure to opt for more equipment to learn who to talk to in order to get more weapons and armor.
Time to explore the camp some and collect things. Next to the tent behind the Keeper is a pile of sacks with some treasure. Head to the right of there to reach a bench with a scroll on it, giving you the codex entry about the City Elves. Head farther to the right. Above the fire, and the gathering, in the nearby bushes you will find a book with the codex entry “History of Ferelden: Chapter 2”. Now on the other side of the fire you will find a number of things. Investigate the Large wooden crate and the scroll (which has the codex entry Arlathan: Part One). Between them are two locked chest. The one of the left has armor in it and the one on the right cannot immediately be opened. Head to the right to find another chest with treasure inside it. Head south from there and investigate the bust that is on the wagon below to get the codex entry “Elgar'nan: God of Vengeance”.
Head to south now, to the Halla's Aravel. Talk with their keeper then investigate the statue just beyond her to get the codex entry “Ghilan'nain: Mother of the Halla”. Now head to the west, to the Hunter's Aravel. Just over there you will find a small wooden crate with some treasure in it. Next to it is a dusty scroll with the codex entry, “Arlathan: Part Two”. Turn around and investigate the wagons to find another bust, this one of the god June. Look at it to gain the codex entry. Now turn to the right and talk with the two elves there. One of them is fresh out of the city so you can have some fun with them. Head back out and you will find Iela. Talk with him, and with persuade, get a bow out of it. Now ask to see his wares.
Head south now to the Cooking Pit. There you will find a locked chest with an ice arrow in it. Talk with Ashalle to learn something of your family's history. She will give you a key to the locked chest in the storage aravel. The chest contains a Leather Helm and an Heirloom Necklace. Now head all the way south. Before you meet with Merrill, search the opposite side of the wagon to find the codex entry on Aravels on a note beside it. Now talk with Merrill to advance the story
Return To the Cave
After you are in control again, head to the right. As you go around the bend this time you will encounter two Genlock archers. Continue on to find a camp laid out. After that conversation, head to the north to encounter three more Genlocks. Continue on to find the cave once again.
Inside the cave, head for the mirror chamber opposite the entrance. Taken the southern route will land you in combat with three more Genlocks. Going along the northern side has much the same result with another trio of Genlocks. However, there are a number of traps leading toward the mirror chamber. Stick to the sides to avoid them. This is true for the north and south passages. Just note that the door leading the mirror chamber's hallway in the south is locked.
Just in front of the mirror chamber is another mass of Genlocks. Among them is a Lieutenant Ranked one who is tougher and stronger than the rest. Head into the mirror chamber. There you will find Duncan looking at the mirror. He will explain things about the mirror then you are free to explore beyond that chamber. You can easily persaude him to let you explore the area more. There is a little more to find so it cannot hurt to finish exploring.
Head up the slope behind the now broken mirror to find a locked chest. It has a number of Fire Arrows inside it. Keep going down the same path to find another locked chest with an Expert Slow Rune inside it. Next to it is a Strange Statue, look at it to trigger a fight with seven skeletons. After that, head for the entrance of the cave and go on outside.
Return to the Elven Camp
Head to the left to find the Paivel. Talk with him to arrange for a service for Tamlen. Now you need to head for the Keeper. Help Paivel tell the tale of the Fall of the Dales. Now head for the Keeper to finish out this Origin story.
 Crusader Kings II - 10 General Tips - AlterGamer
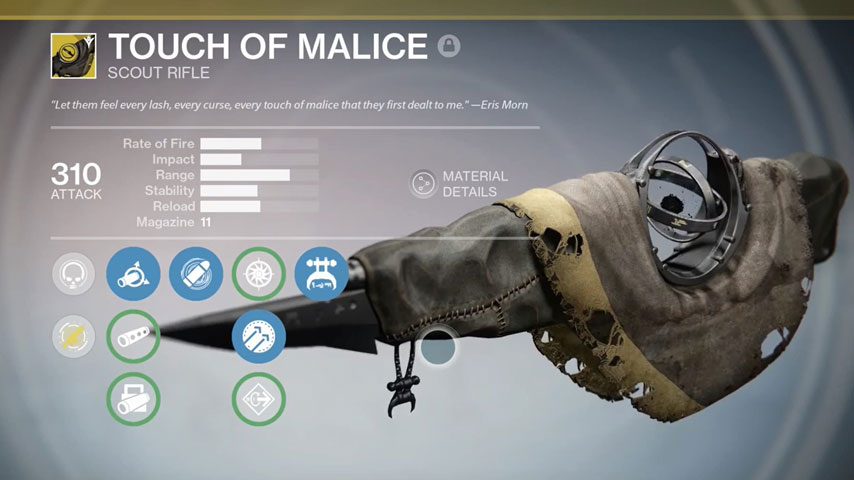 Destiny: The Taken King – Calcified Fragments locations guide
 . Plays February 12, 2012
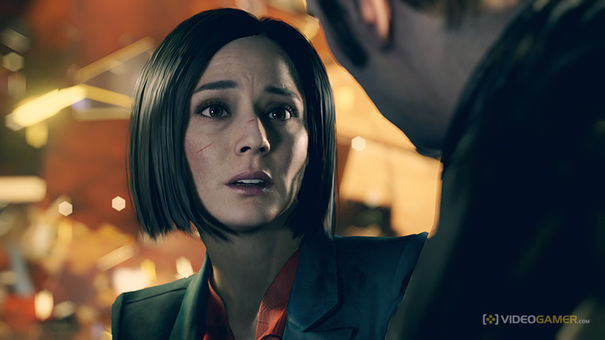 The Retail Games of 2015: Part 5
 Best Zombie MMO and Multiplayer Games