This will be your second of the Deadly Descents. Although an Ice Axe is recommended for this course, you can technically complete it without one as well for an Achievement. For your first time, however, stick with the Axes, as they help your traction on the ice a great deal. Enter the store just in case the random drops favor you with something better than your default Ice Axes. In most cases, it probably will not, as your default Ice Axes are actually pretty good. Equip whichever item is best, and then begin the event. After a close call over the icy abysses of the mountain, Alex will let go of the helicopter and speed onto the frozen path.
Immediately you will be faced with a decision: You may go to the right or the left. All of the paths will meet up in the same general area eventually, but they are all different at first. If you choose to go left, two more paths will open up. The first is a rail to the center, while the second veers off into the mountains to the left. If you grind on the rail in the center of the area, it will simply guide you over to the right side of the path, where you would have ended up had you chosen the right-hand branch in the path earlier. The left side will take you to a series of ridges that will slowly grow on either side of you. Keep between the ridges and catch the rail ahead. This is a long rail, so feel free to show off a bit. As you near the end, be sure that you are boosting, because it will leave you suspended in mid-air above a vast gorge. Pre-load a jump and catch big air to land on an icy ridge.
Keep to the left of this area to avoid sliding off of the narrow path. If you are feeling more daring, you can shave some time off of your run by avoiding this advice altogether and simply booting towards the natural peaks that begin to form on the edge of the cliff. You can jump from one section of the narrow path to another using these peaks, but if you miss, you will plunge into the abyss below. Either way, the path will eventually rejoin with the right-hand path via a jump. From here on out, the path will continue to swerve from the right side of the canyon to the left side, and back again.
If you chose to go to the right at the initial split, proceed over the jump ahead of you and cling to the side of the narrow path. Again, stay as far away from the edge as you can if you would like to play it safe, or boost yourself over the subtle ridges along the drop to skip a few small sections of track. You can also ride the inclining walls here so as to maintain momentum while angling yourself away from the harsh drop on the side. Your navigator will warn you about a big jump coming up ahead. Ride the crest that forms in the middle of the path using LT. Boost and jump off of the end of the crest to clear the large gap ahead and reach the left side of the canyon.
As you land, hug the left wall to avoid the drop. Be careful, though, because if you have too much momentum as you ride up the wall you can actually propel yourself back out into the air and over the opposite side of the cliff. You may have to cut back a bit as you land. The path will narrow even further as you proceed. Be prepared to jump as you see a crest approaching in front of you. As the little point forms in the middle of the track, grind on top of it and trick a bit. Boot as little, too; the crest will lead you over a large gap and back to the right side of the canyon.
When you land, there will be several paths to go down. The right side arcs upwards a bit and goes above the rest of the track before eventually rejoining it at another grind spot. The center remains straight, while the left offers up another rail to grind on. No matter what you do, you will end up in more or less the same place. Grind on one of the grind spots or keep it straight ahead. Stick to the sides ahead to avoid plunging over the side. Ahead, the path will branch further. A jump to the right will lead to the other side, while the narrow path going to the left of the jump will keep you on this side and have you flirting with the edge of the abyss. If you choose to jump, grind on the protruding ridge to straighten yourself, boost, and soar over the gap. Otherwise, just stick close to the wall as you have been doing.
When the paths rejoin, stay to the right to avoid a large drop off to the left. Twist around the path, and jump as the ridge ends to reach the other side. This will quickly lead to another jump. Avoid the thicket of trees on either side of you. Grind on the series of two ridges that emerge from the ground. You are almost at the end now. The helicopter will fly overhead and you should see it briefly stopping off in the distance. A rail will creep up from the ground. Try to catch the rail, and as it ends jump to another. Keeping to the rails will be safer than boarding on the ground, as the rails will not allow you to fall off. They will lead you back onto the ground. Ride up one last crest in the snow. This one is long. Boost as you get towards the end and you will be launched over the canyon and into the finish zone. Congratulations, you have just finished the second of the Deadly Descents!

 Learn How to Perform Surgery Using Surgeon Simulator
 What Is The Grimoire In Destiny?
 12 signs that you’re obsessed with Left 4 Dead
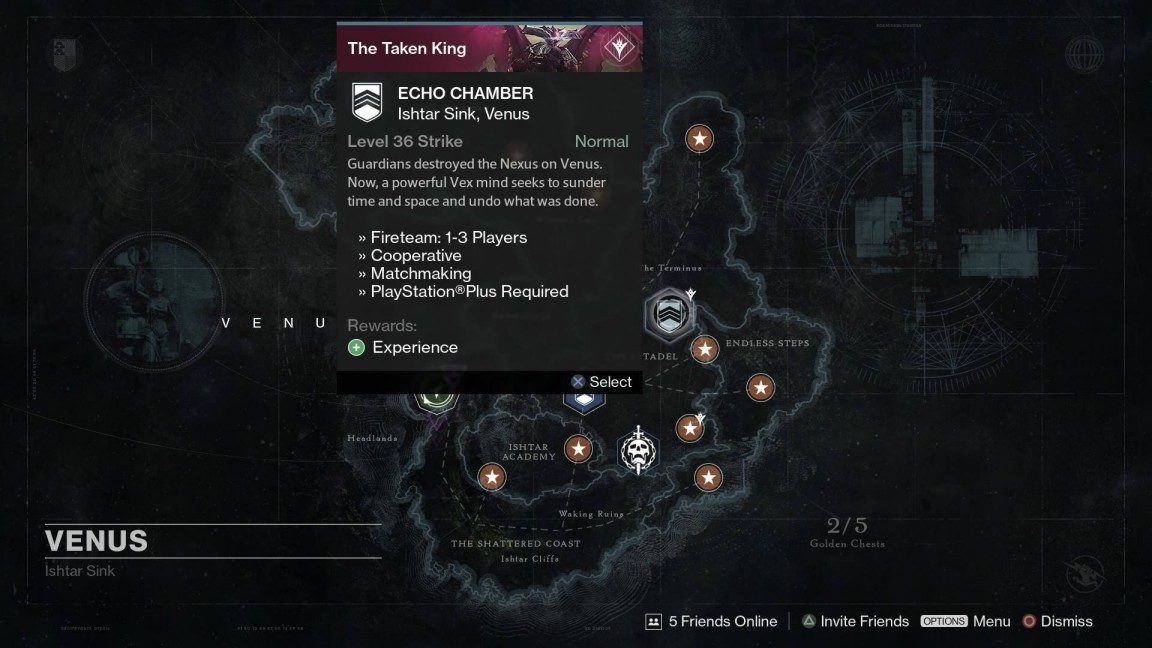 Destiny: The Taken King – how to beat the Echo Chamber Strike
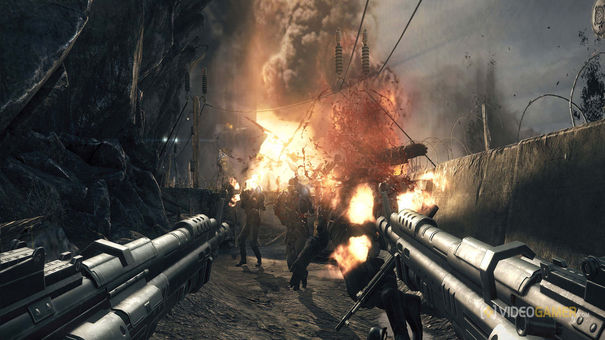 . Plays, 14th February 2015