After the large battle against the combined forces of the Reapers and Rachni, search the area in the recession near where the Ravager was. Search to the left to find the Shotgun Shredder Mod on a krogan body. Grab it and leave the area through the back. Another wave of enemies will attack, led by a Ravager again. Strong classes such as the Vanguard can feel free to use the Shotgun and Nova to mow down the Reapers as they charge before getting in close to the Ravager to finish it off with a combination of the Shotgun and Warp or Incendiary Ammo. Otherwise, hang back and rely on Biotics to get you through the battle. If the enemies bunch up, use Singularity and follow it up with Warp to cause an explosion. Then weaken the Ravager’s armor before attacking it with Warp Ammo.
Proceed down the path into the next area. Along the way, examine the left side of the path to find the Shotgun Spare Ammo Mod. Then drop down and destroy the egg sacs. You can find some Reaper Tech behind where the pods were, then follow the path and jump over the gap. You will find the Ariake Technologies Shoulder Guard lying next to the gap. Grab it and continue onwards. Torch any egg sacs you come across, as they will begin to increase in number now that you are close to the Rachni lair. You will soon pass by Grunt and his team, firing upon Reapers and Ravagers to your right. Follow the path to loop under them. You will find another Reaper Node at the end of the path. Shoot it and the krogans will be able to move down and join you. In a cutscene, Grunt will tell you that he will hold this spot for you while you investigate ahead. Search behind the Reaper Node to find the Pistol Piercing Mod and a med kit, then exit through the door that Grunt guards.
Follow the narrow path to be released into a large cave. Another fairly large battle will await you in this room. First, though, you’ll have to shoot the Reaper Node high up on the wall. Husks will run out and attack you when you lower the wall. If you still have a Firestorm equipped, simply burn the Husks as they rush you. Otherwise, take them out with an Assault Rifle or Shotgun. Head around to the right, where you will be able to pick off the Reapers as they come to you. Command your squad to attack the Ravager while you deal with the Cannibals and Husks. If you still have ammo left in the Firestorm, it’s best to get in close, although you may be surprised by the range on the flamethrower, too. Keep a good distance and let the lingering flames deal damage over time. Proceed around the ridge after killing the Reapers to get in close to the Ravager. Use a similar strategy as you did before to eliminate it up close.
Another wave of enemies will run in. This wave will consist only of Husks and Cannibals, though, and can easily be dealt with by using Biotics and an Assault Rifle. Use Singularity, Nova, or Shockwave the knock most of the enemies off guard, then open fire. Another Ravager will soon enter the fray after this. Jump down into the recession in front of you and use the cover to your right to approach it. Use your squad to fend off the other enemies while you close the distance to the Ravager, then mop up the remaining enemies and proceed onwards.
You will find another Reaper Node. Blast it to open the door, where you will find still more enemies. Hang back and snipe the Ravager from cover, then proceed out into the arena to kill the remaining enemies, of which there should be few. Walk into the next area. This is the nest of the Rachni, and in the center will sit a huge, disfigured creature. If you saved the Rachni queen in the first Mass Effect, she will be here instead of the strange creature. As you approach, a gravelly voice will ring out through the chamber. Soon, you will find that the creature is speaking using captured krogan bodies as a sort of puppet to communicate with you.
The creature will reveal itself to be of synthetic origin. It is not a natural Rachni queen, unless of course you let the last of the Rachni live. Rather, it was manufactured from different genetic parts of the Rachni by the Reapers, a sort of sick Frankenstein of a real Rachni. The creature will beg that you save it. It does not control the Ravagers and swarms that are currently plaguing the caverns, but maybe if you release it, it will say, it could manufacture more and help you in your war against the Reapers. You will now have the option to either free the manufactured queen, or leave it to die in the caves.
Although it may seem the inhumane thing to do, it is actually best to leave the creature to its fate in the caverns while you and the krogan squads escape. If you do this, you and the krogan squad will leave the area and, impressed by your leadership, the krogan’s Aralahk Company will become a war asset for you. If you choose to let the queen live, you will have to buy it time to escape. This means leaving the leader of Aralahk Company to die in the caverns as the swarms of Ravagers overwhelm him. If you have a save file with Grunt as the leader of the squad instead of Dagg, however, Grunt will likely survive anyway. There is still a chance that he might die, though. The Aralahk Company war asset will be stronger with their leader, so leave the queen to die and escape the caverns to add another powerful asset to your team.
Note that this decision will affect more than just the outcome of this mission, as the krogan diplomat will be very upset with you if you left his team to die in the caves.


 Saints Row 3 Heli Assault Walkthrough
 Eve Online: Trading tips and tricks
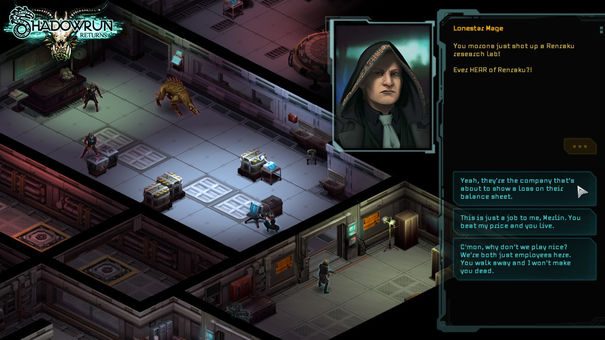 Shadowrun Returns: Just What Kickstarter Needed
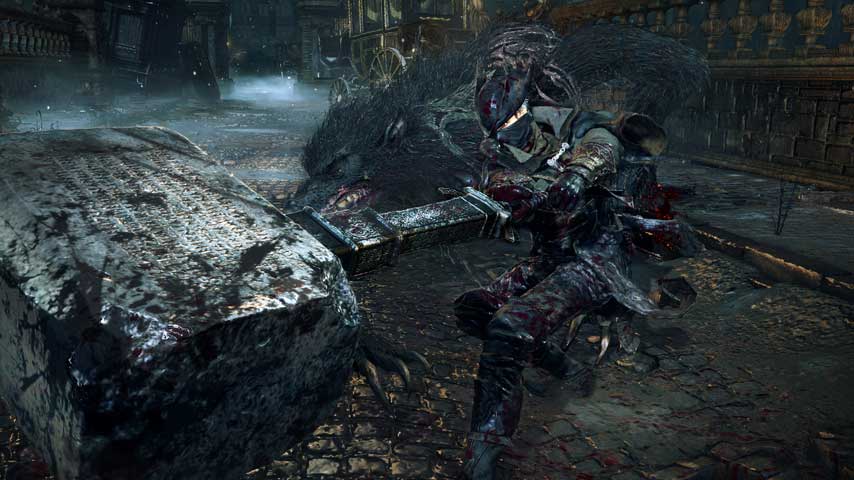 Bloodborne guide part 19: Amygdala boss battle (optional)
 Will Star Wars Battlefront actually look as good as that trailer?