When you emerge into the next area, you will have a long stretch of near constant combat to deal with before you can help Hammer Squad destroy the Reaper near the base of the Citadel Beam. Throughout this section, you will face Marauders, Cannibals, Brutes, and Banshees. The entire force of the Reaper army will be lining up to take you out, so take the combat in these next sections slowly and be sure to use cover as much as possible, especially on higher difficulty settings.
As soon as you land, the enemies will be there to welcome you. One will toss a grenade right at your feet as you are leaving the shuttle, so sprint forward as far as you can to escape the blast, and take cover on the fallen concrete in front of you. There will be a small group of Marauders directly on the other side of your cover, while the rest of the enemies will hang back a little bit and fire at you from afar. If you can, try to take out a Marauder or two by reaching over your cover and killing them with a melee attack. This will be far faster and easier than using a gun.
If you have a Sniper Rifle, feel free to hang back here and fire upon the enemies on the other side of the battlefield. You might want to send your squad-mates to positions to your left and right to distract the enemies so that you can have a better chance of hitting them without getting hit yourself. You can also summon a Combat Drone or a Decoy to send out to fill the same role. Go for headshots, and use powers like Adrenaline or Stasis to make this process easier. If you are having trouble lining up a shot on the enemies from your current position, you can head up to the area between the first two low walls, and use this as a new vantage point. If you don’t want to snipe at all, you can also hit the enemy from the front and the side. You can send your squad down the relatively straight path ahead, and occupy the other side yourself. Rely on your squad to eliminate the enemies on the other side while you focus on killing the Marauders nearest you. When both groups reach the midpoint of the area, turn towards each other and focus your fire into the middle of the arena.
When you have wiped out all of the enemies from the landing zone, drop down the little ledge at the end to meet up with a Mako vehicle. Follow the Mako for a few yards until an enemy attack blows it up. Stop where you are and head to the left. You will find a small area enclosed by fallen pieces of concrete. This area makes great cover from the Reapers who are about to come rushing out at you. A wave of Cannibals will emerge from the left. Pop out from cover and deal with them quickly. More Cannibals will rush out in a second, followed by Marauders on the level above you and directly ahead. Make your squad-mates cover one side of the arena while you cover the other, so that the enemy’s attempted flanking maneuvers will fail. Use Biotics or something like a Turret or Proximity Mine to draw the enemies into a trap. With your squad split into two, you should be able to beat this battle in half the time.
After the battle is over, leave cover and head forward, past the flaming wreckage of the Mako. Another Mako will soon emerge from the right to guide you forward. Unfortunately, a Reaper Harvester will fly down and land directly in your path. Take cover behind the vehicle and order your entire squad to focus their fire on the Harvester. If you have the Incendiary Ammo power, now would be a great time to use it, as the Harvester is only armored and has no shields. If you have specced Incendiary Ammo so that your whole squad gains the power, you should be able to take down the Harvester in no time flat for a nice experience point bonus. If you do not take down the Harvester, it will attack the Mako until the vehicle is destroyed, and then it will fly away to find a more formidable opponent. If you let the Mako live, it can cover you in this next fight.
While you were killing the Harvester, however, a group of Reaper ground forces will have assembled in front of you. You will now have to contend with a group of Cannibals and Marauders, in addition to a Banshee. As mentioned earlier, the Mako can help to take a little bit of heat off of your party during this battle. Order your entire squad to focus on the Banshee first, as this teleporting enemy poses the greatest threat. Set up a Turret, or use Decoy or Combat Drone to distract the Banshee. Use the Mako in the center of the battlefield as cover. Any distance you can put between yourself and the Banshee is helpful. Pause the game with the bumpers and order your squad to pepper the abomination with Warp, Grenade, Concussive Shot, Incinerate, and anything else that may help. With the combined forces of you, your squad, and any Turrets or Drones you may have summoned, you should be able to bring the fearsome enemy down.
Now you will just have to deal with the Cannibals and Marauders who will still be firing at you from a distance. Take cover behind the Mako if it is still alive, or by one of the fallen concrete walls otherwise. Use a Sniper Rifle, a scoped SMG or Pistol, or your Assault Rifle to kill the enemies at range. If they start coming in close, hit them with the Shotgun, a charged melee attack, a Biotic power such as Biotic Charge or Nova, or a Tech power like Tech Armor. When the enemies fall, you will be clear to move on to the next, even fiercer, battle.


 Walthrough Halo 5: Guardians
 Assassin's Creed Unity Skills Guide - All Skills With Tutorial Videos
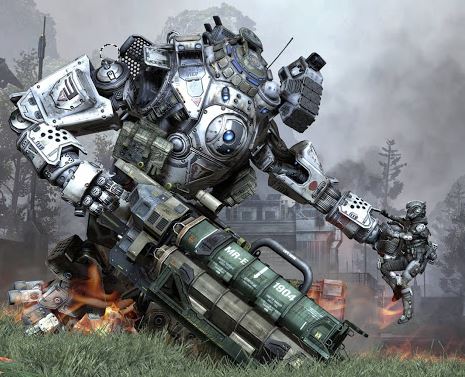 Titanfall guide: how to smash the opposition online
 Uncharted 3 Knight Puzzle
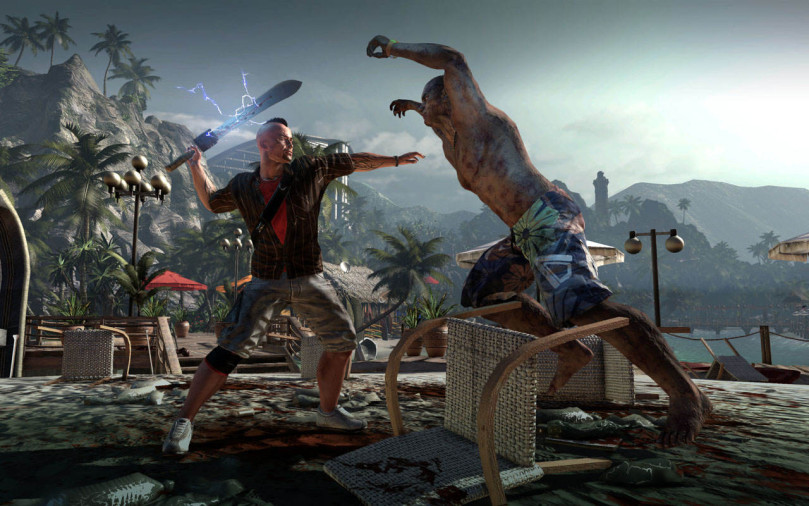 Dead Island Chapter 2 Walkthrough Guide