A group of infected dogs will attack you when you go through the door into the next area. These dogs can be deadly if you let them leap onto you. If you have a Shotgun, you should easily be able to knock them out of mid-air when they leap for a quick and painless kill. Otherwise, backpedal away from the dogs and unload on them. If the dogs get close, don’t even bother taking the time to aim precisely. Just fire from the hip, as this position is closer to the level of the dogs anyway.
After you take care of the initial wave of infected dogs, reload your weapon. Open the door around the right corner. Another dog will charge through the door when it opens. There is a pretty good chance that this dog will ground you, since it has the element of surprise. If you get tackled to the ground, wiggle the left stick back and forth to escape, and then hit it with a melee attack while it’s down. Otherwise, just backpedal and gun it down.
Head through the door and follow the hallway down through the facility. You will come to another door. Walk through here to reach the next area. You will find more ammo on the other side of the door, as well as Stun Grenades and a First Aid Spray canister. Grab these items before heading over to the Laptop against the side wall. Upload all of the Intel you have collected so far, as this will be the last spot to cash it in for the remainder of the level. Finally, shoot the Security Camera on the angled wall. You will receive a bonus of 500 experience points if you have been following this guide to find all of the Security Cameras in the level. When you are ready for the final encounter, head to the door at the back of the hallway and walk through into the next corridor. A group of Spec Ops soldiers will try to stop you at the end of the hallway. Take cover behind the crates. Toss your Stun Grenade behind the crates to stun the enemies, then pop out to mow them down to clear the area with minimal damage sustained. Walk up to the crates, only to have Birkin burst through the left wall and throw you to the ground.
Hit the left stick to either the left or right, whichever way the icon indicates (you’ll have to look closely, as it can be really tough to tell which way the icon is actually pointing) to dodge Birkin’s pipe blows. If you have enough health, you’ll be able to take a few blows from the pipe without immediately dying. After dodging a few blows, you will be back on your feet. Sprint towards the end of the hallway. Yet again, you will have to avoid the flames as they burst from the walls to either side of you. Just keep sprinting, as if Birkin catches you, you will have to replay the whole pipe-dodging QTE again. When you reach the door, activate it and turn around. You will have to hold Birkin off one last time. Target the eye in his shoulder as usual. When the door opens, sprint through. You can grab a Green Herb and some ammo from the table to the right. Sprint across the grate on the floor, avoiding the steaming diamonds below you. These spots will spit flames out of them. Sprint across the grate to reach the end of the mission.


 Is BioWare becoming crass?
 DmC: Devil May Cry Hunter Boss Guide
 Life is Strange
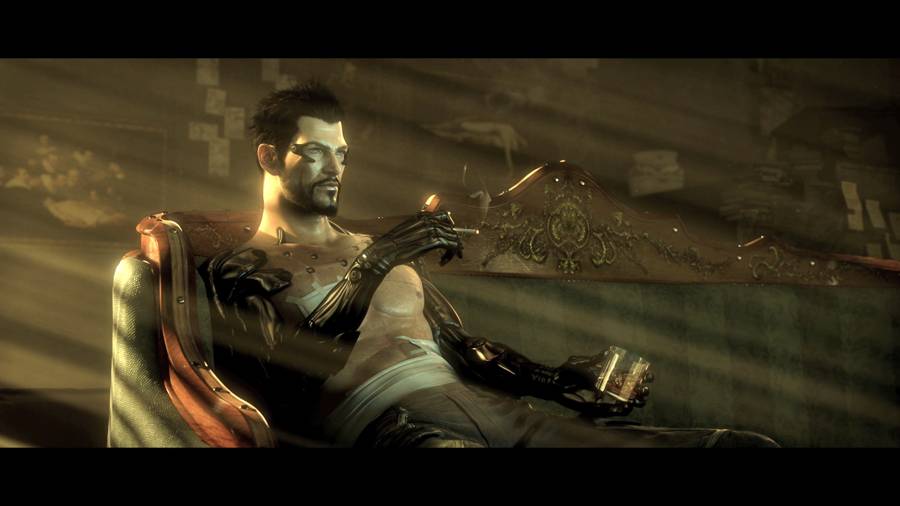 Deus Ex The Human Revolution The Transmission Guide
 Assassin’s Creed IV: Black Flag – Elite Design Plans Guide