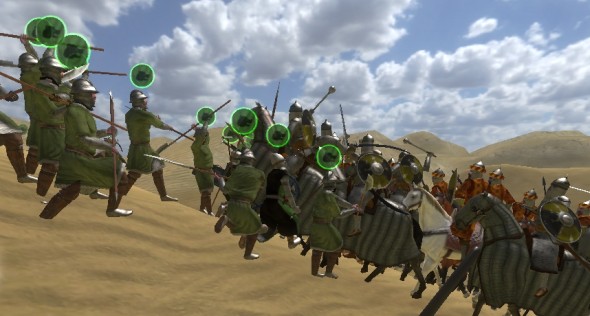
After taking on the pickup truck, you will almost be at the end of the level. Follow the waypoint to your next objective. Along the way, you won’t be finding any enemies, so hold your fire. The only people you will encounter are civilians. When you reach the end of the area, turn to the left and crouch under the obstacles in the middle of the path. Drop off the ledge and turn to the left to approach Paez’s hideout. Rush up to the next intersection and a cutscene will play. The vehicles ahed will be hit by an RPG and destroyed. You will begin behind cover, luckily, so simply peek out and throw a sensor grenade up ahead. This will reveal the locations of the two enemies with RPGs. They will be up on the rooftop to the left and right of the street. Take them out first.
When the RPG soldiers are down, use the cover swap function to rush to the right side of the street. You will be able to see another soldier with an RPG in the distance. Aim with the scope to take him down. Head up to the next waypoint, where you will see the Ghosts helping each other over the next wall and into the next area. The first thing that you should do upon scaling the wall is loot the ammo box by the door. Restock on ammo and sensors and exchange your weapon for another if you want to. In this case, you will be swapping out for SR-3M PDR, which is silenced. You will want to be sure that you have a silenced weapon here so that you can get through this next section relatively unscathed.
You don’t need to kill all of the enemies in this next section, as your main objective is simply to reach and secure Paez. Start by approaching the enemy soldier with his back turned to you. Hit the action button to silently take him down. Toss a sensor grenade ahead into the next area. This will reveal the other enemies and help you eliminate or avoid them. Wait until the nearby soldier turns his back on you and approach him to melee attack him from behind. With these two enemies dead, you won’t need to kill any of the others. Simply head straight to Paez’s hideout.
Outside of Paez’s hideout, stock up on ammo, sensors, and grenades from the ammo box. At this point, a timer will appear giving you exactly four minutes to rescue Paez, as he has been found by the enemies at last. Toss a sensor grenade into the building before stacking up at the door. That way, you can at least see the outlines of the enemies before kicking in the door and opening up with gunfire. As you breach, the game will slow down a little bit and give you some time to target enemies with your sidearm. Eliminate the enemies and Paez will be rescued.
You will now have to escort Paez to the extraction point. This is where the level will really open up with the action, with enemies showering you in gunfire the whole way. You will have Paez in one arm, meaning that you have to target and kill all of the enemies with your sidearm. Your running path will largely be predetermined. You will encounter a steady stream of enemy resistance throughout the entire level. Watch your fire, though, as it can be really easy to hit civilians in this section. Just keep shooting the enemies and you will soon reach a shed, where HQ will send extraction for you and Paez.


 Cloud9 at Season 2 of the NA ESL ESEA Pro League (Week 1)
 Walkthrough The Witcher 3: Hearts of Stone
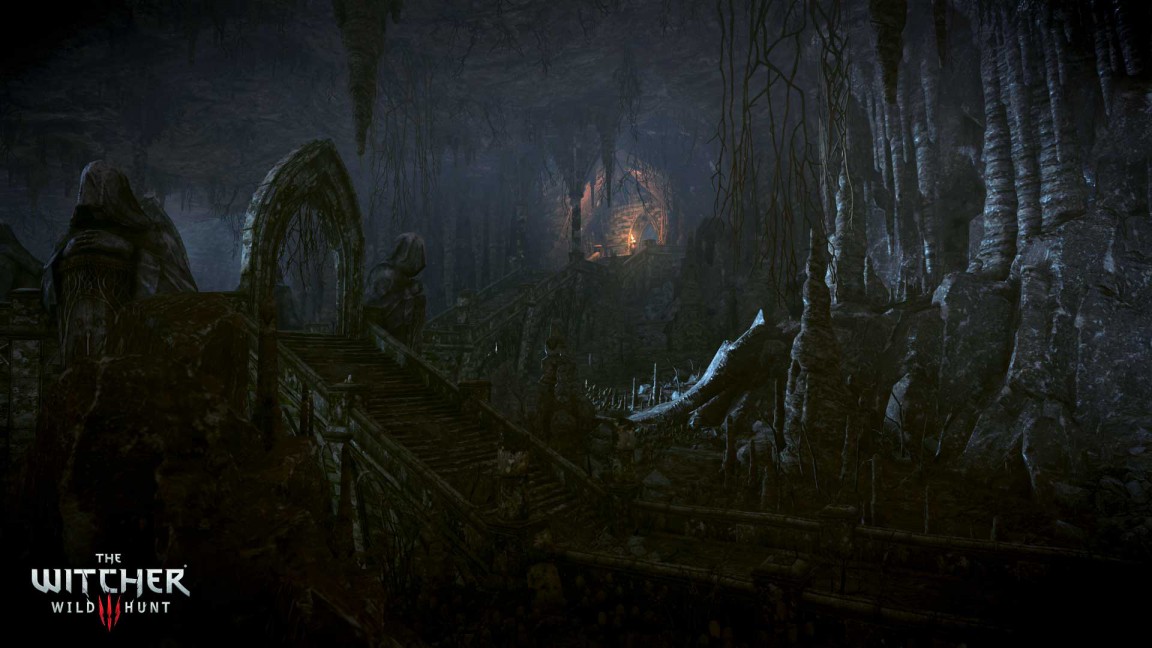 The Witcher 3: A Greedy God
 Fire Emblem: Awakening Guide – Paralogue 6: A Man for Flowers Guide - GamersHeroes
 Sonys PS4 Conference: What We Want To See... And What Well Probably See