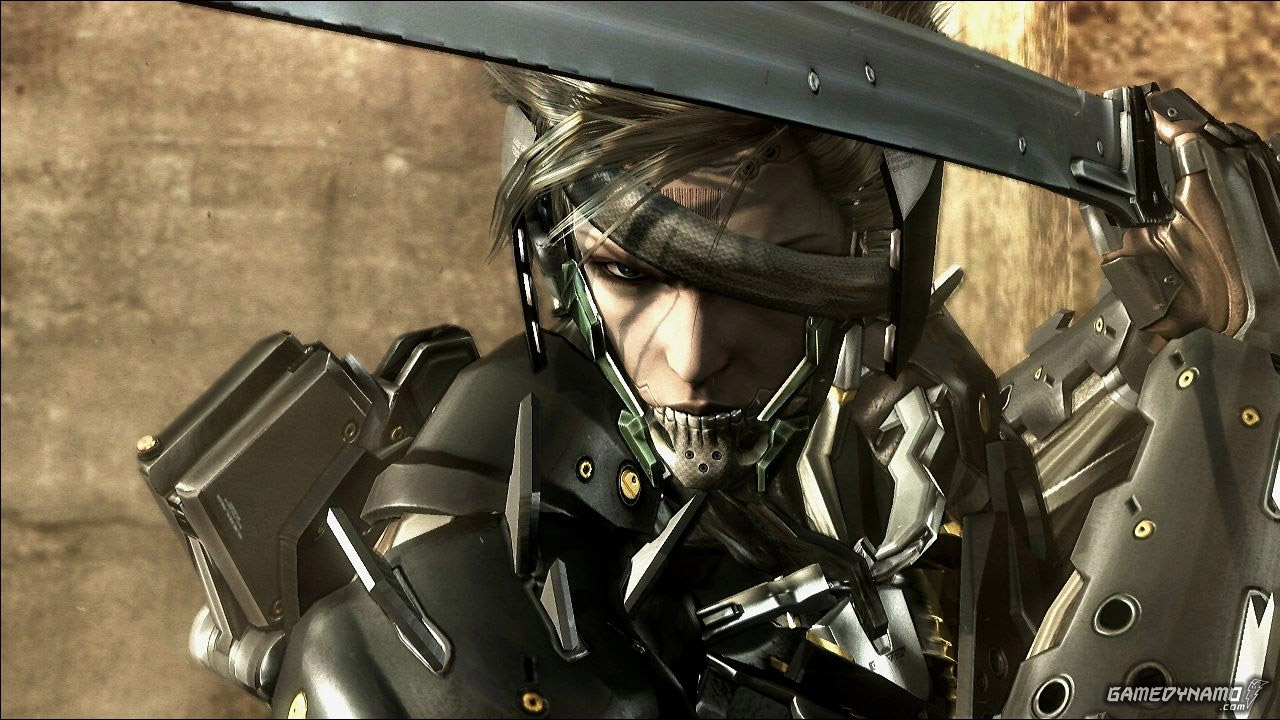
Metal Gear Rising Walkthrough Part 13 – R-02: Research Facility (Sewer Level 2 to Facility Entrance)
Metal Gear Rising Walkthrough Part 13 – R-02: Research Facility (Sewer Level 2 to Facility Entrance)
Head on into the next room. There are 3 Mastiffs that need to be dealt with here. They patrol the area and it is not too hard to just kill them all without alerting the others. Start by Ninja Running up to the first one, slowing once you are close. It is important to get it before it makes its jump. From there you can easily drop onto the second Mastiff for a second Ninja Kill. From there head over to the boxes on the right. Wait for the Mastiff to jump over and climb them with Ninja Run. Get a Ninja Kill on him but do so carefully as to avoid the walkway and keep it intact. If Alert Mode is triggered immediately run back to the room where you got the Cardboard box and engage the Mastiffs there. After that fight Raiden is told about an optional battle he can participate in. This is next after getting the Data Storage from where you found the Mastiffs. You can also find a Holo-Chip (M) underneath the walkway that you entered this room on inside the item chest.
With the Mastiffs destroyed there is a Data Storage on the Left-hand side of this tunnel. It can only be reached via the destructable walkway and tube. It is found in a locked Item Chest requiring some careful Blade Mode work. With everything intact head down to the first pipe going across the room. Cross over to the Left-hand side and turn to the left. There is a second shorter pipe that leads directly to the Locked Box. Carefully aim your Blade Mode strike to cut through the lock and nothing else. If you open the chest but slice the pipe you are on, there is still nothing to worry about. It means you need to get back onto the walkway and jump over to it (Ninja Running and Jumping is recommended to land it properly) to claim the data. Now head back through the room where you got the Cardboard box and head back up the stairs. Cut through the door and head forward to trigger the Optional Battle.
Ranked Battle 4: 1 Vodomjerka (1 Vodomjerka, 6 Tripod, 2 Vodomjerka, 3 Tripod)
Focus immediately on the Vodomjerka that makes it appearance. If you want to get a good ranking, attempt to Parry Counter. If you wind up blocking, immediately start attacking with the Pole-Arm and Blade to cut through it as quickly as possible. If this has happened be wary of its flamethrower and focus on a ground assault for the evasion. Once it is possible, perform Zandatsu on it to finish it off. Now start running down the tunnel toward the next marker on your radar. A second Vodomjerka will appear so once again go for a Parry counter on its initial charge attack to end this part quickly. If not, once again start moving around it and slicing it until you can perform a Zandatsu. In the process, use the Pole-Arm to quickly take out the Tripods that are starting to come in toward you. A little work with the Pole-Arm and they will go down. The final part has 2 Vodomjerka move in toward Raiden. Either Parry one of them or just throw an EMP Grenade between them and go to town. A fast and aggressive strategy will get you through this fight without much trouble at all.
Head back to where you encounter the trio of Mastiffs. Head on back over to the left-hand side walkway (if its still intact) and go through the opening there. You will be able to grab some Nanopaste Repair. If the walkways were destroyed, look along the right-hand side of the room. There is a door you can cut down and through through a short passage. This leads to a Holo-Chip (S). Either way, you can either engage the 2 Vodomjerkas in this are or just cut by them and head for the marker that Wolf has put down on your map. If engaging, attempt to get Ninja Kills on both of them. Start waiting in the starting position from whatever entry point you used. When the first Vodomjerka comes by, get a Ninja kill on it. After that attempt to get a second Kill on the remaining Vodomjerka. With them both down there are a few thing to collect here. Along the Western side you will find a Repair Nanopaste (another in the Northwestern corner), an EMP Grenade in the Southwestern corner. Next head for the small room in the center. You will find a Man In A Box here (look for the dark box) and a Fuel Cell. After that head for the marker to advance. Head to the marker and go through the darker portion of the wall to continue on by using Blade Mode to slice the weak portion of it.


 Darksiders 2: Relic Side Quest Guide
 Minecraft How to Find The Ender Dragon and the Rarest Minecraft Block - The Dragon Egg
 Everything EA Sports UFC gets wrong
 Final Fantasy VII – Enemy Skills Materia Guide
 Why you should love Uncharted