Heart of the Swarm Campaign- Umoja: Back in the Saddle (Part 3)
An aid station awaits beyond the ultralisk’s corpse, not that you're likely to need it much at that point, though the turn after leads to a marauder, a ghost, and a marine- so be ready with Kerrigan's abilities. Another aid station is past these, in a room full of debris. When you near the far end and the rubble blocking your way, a cluster of zerglings are revealed to be chewing away at it, and a hydralisk behind them. Jim asks how many zerglings Kerrigan made, anyways, and Sarah sheepishly admits she 'may have gone a little overboard'. The next door isn't much farther, but it's blocked by a chunk of debris- fortunately, there's an aid station past it, so go ahead and Kinetic Blast the roadblock to get through.
With the debris destroyed, Jim and Sarah need to cross the bridge to the next area, which holds three marines and two marauders. Kerrigan's abilities will make this a short fight, and there's yet another aid station present to take advantage of. There's also a small waypoint- and Sarah says she can feel a large number of Dominion troops in the next room. The console gives you a view of the enemy units- mostly marines, but also a pair of goliaths and one siege tank- and gives you two options- release the caged Zerg to fight the Dominion forces and leave you to mop up the remainder of the winner, or activate the gas defenses in the area. Releasing the zerglings will leave you sweeping through light Zerg units for the duration you're in the large room, and hitting the gas will only clear out the marines, leaving you to deal with the goliaths (simple) and the tank (Kinetic Blast). There's an aid station in here as well, so don't be too concerned about Sarah's condition after the fight.
Head up the ramp to face a last squad of four Dominion marines and you've brought Sarah and Jim to the last door. There's a small firefight to help out with here, particularly easy since the enemies won't even bother turning to look at you when you shoot them, and then load the two heroes onto the transport. This then launches itself, prompting a new section of the stage. Jim and Sarah are now on the transport with two aid stations and four marines guarding it- and them- from enemy forces.





 . Plays May 20, 2012
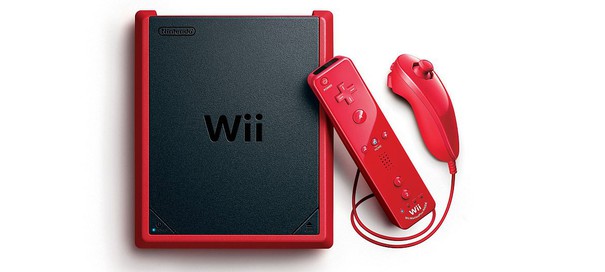 The Week in Review: Wii U is out, but fans seem more interested in Wii Mini edition
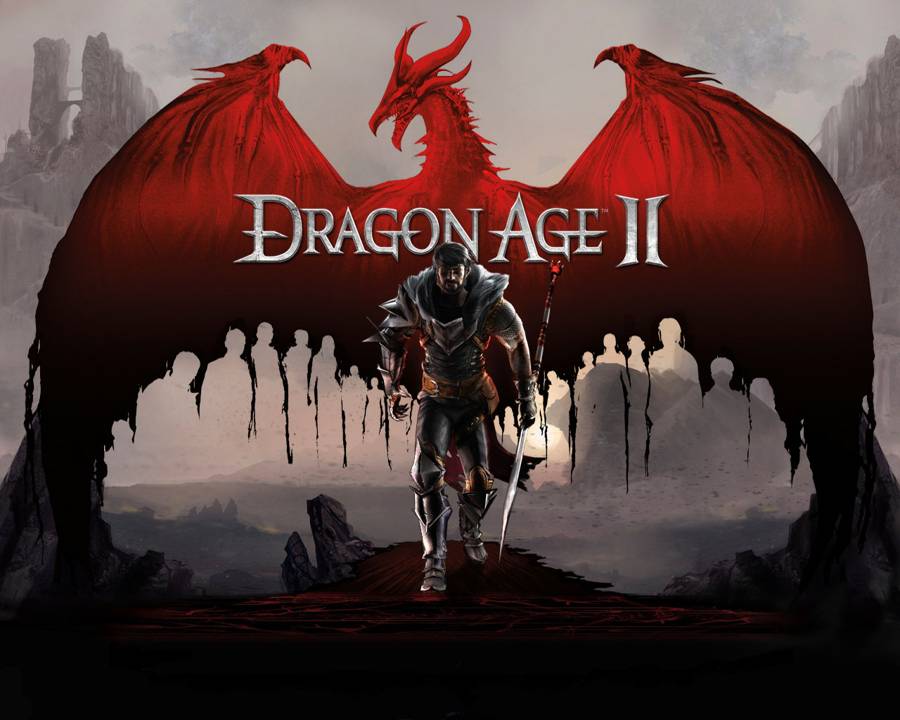 Archeologist Trophy/Achievement For Dragon Age 2
 . Plays Feb 16, 2013
 Walkthrough The Witcher 3: Wild Hunt ALL QUESTS OF SKELLIGE