Heart of the Swarm Campaign- Dominion Space: Conviction (Part 2)
On arrival at your current destination you will find another fortified position, this time including a siege tank. As you attack another leviathan tentacle will deliver more zerglings and a pair of infestors to aid your forces in breaking through the ship. Make sure you take out the siege tank before it can convert to artillery mode or it will punch some rather large holes in your attack mass. If you're quick, you can use an infestor to snag the tank and give you a very useful tool for further on in the mission. With the Dominion troops destroyed here, turn and head Northeast to face a pair of bunkers and a thor backed up by a large squad of marines. If possible, you'll want to take control of the thor with your infestors, but don't count on it working- the thing is on the front line, and will likely take the bulk of the attacks from your troops.
Behind this force you'll find a closed, secure bulkhead that Kerrigan will need to slowly carve her way through. This means leaving her on the waypoint circle to breach the armor as your other troops guard here. Another delivery will drop you a queen, some aberrations, and a few zerglings that you can use here to your advantage as a screening force. This will let you use your infestors to take control of the heavy Terran troops as they emerge from the four nearby rooms to attack Sarah. If you're quick, you can even use Consume to devour zerglings (or broodlings/roachlings) and gain control of more enemy units. Of special note are the pair of siege tanks in the third group, and the thor and goliath in the fourth group of Terran assault units.
Once all four groups are defeated, Sarah will rend the doors asunder, and you can move on to the Northeast. You'll encounter another small Terran force here, which should be quickly obliterated by your accumulated troops thus far. If you head Northwest from here, you can recover the first secret document that serves as the other half of your bonus objectives for this mission, which includes various prisoner logs. There are three ghosts and a turret protecting these, which wouldn't be an issue if the corridor weren't so small- don't expect to take control of any of these.


 Call Of Juarez The Cartel Special Item Location Chapter 5
 Mad Max Guide - Gutgash's Stronghold Guide Project Locations & Rewards
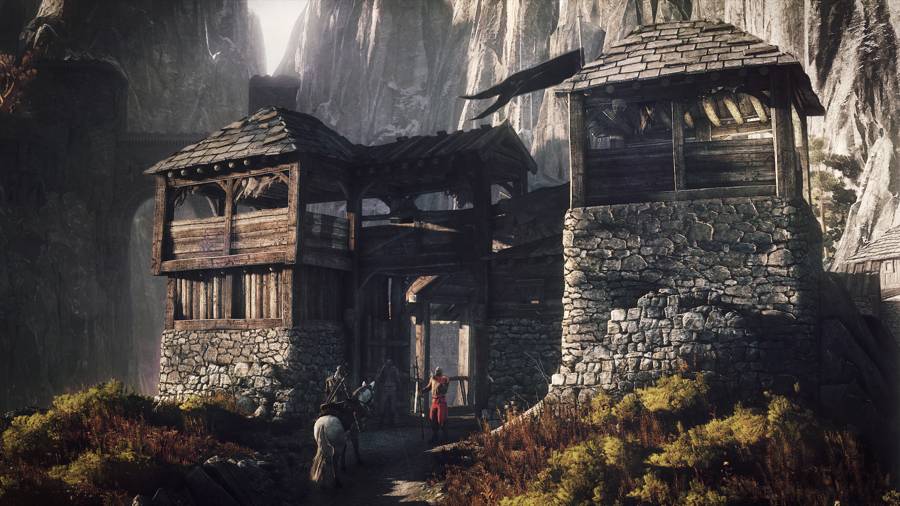 How To Fast Travel In The Witcher 3: Wild Hunt
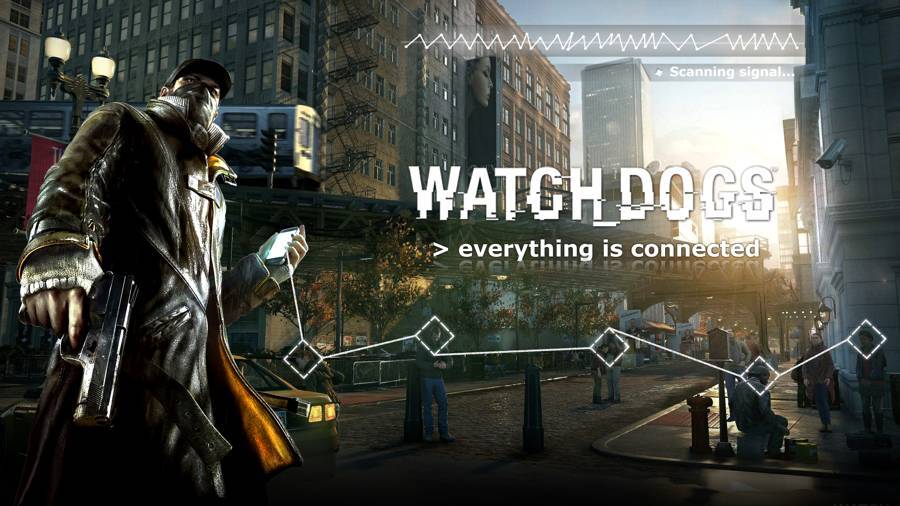 How To Fast Travel In Watch Dogs
 Dark Souls 2 Newbie Q&A Tips & Tricks