With the immediate treasures gathered, sneak your way up onto the West ledge and open the door- but be wary as a pair of frostvenom spiders lurk here. They are small, but they can be fairly dangerous if you're not prepared. Thankfully, the door itself won't get their attention and that makes them much easier to sneak up on despite that they stand where they can watch the portal.
Enter the webbed area and look to the right to find a locked door- behind this you can gather some heavy armor and a high-value healing potion that will be of considerable use to you later on. There's little else through here, though, so turn and head across the hall to keep creeping through spider-infested ruins.
Keep an eye on the floor to spot the pressure plate here, which triggers a poison dart trap in the hallway ahead. Past that the floor descends a set of stairs past a number of animal images- Eagle and Whale on the left, and Whale and Serpent on the right. Don't just head down will-i nill-i, though, as a pair of draugr wait in their creches in the wading area at the bottom of the stairs. The first is immediately visible where he lies from the stairs themselves, but the other is around the corner and past some rubble, and its attention will provoke a third archer draugr to come around a corner from the hallway further on. If you're a good sneak, you won't even wake the draugr behind the obelisk off to the right, but you should make sure to kill him off anyways.
With the three guardians of the area dead, it's safe enough to have a poke around.
Ignore the animal pillars for the moment- they're your key to moving on, but you're not done here just yet. Instead, turn your attention to the stone table in the hallway. You will notice that the only actual valuable on it is a soul gem, which has been placed on a rather obvious square stand. This is actually a trap- removing the gem drops a mammoth-skull battering ram from the end of the hall over the animal obelisk. Avoid the trap by grabbing the gem from arm's reach, then take a quick peek into the next area to see the fourth obelisk and the porticullis with its lever.
You will note that this means there are two obelisks to either side of the path you need to walk, which will tell you what you need to set as the forward facing on each.


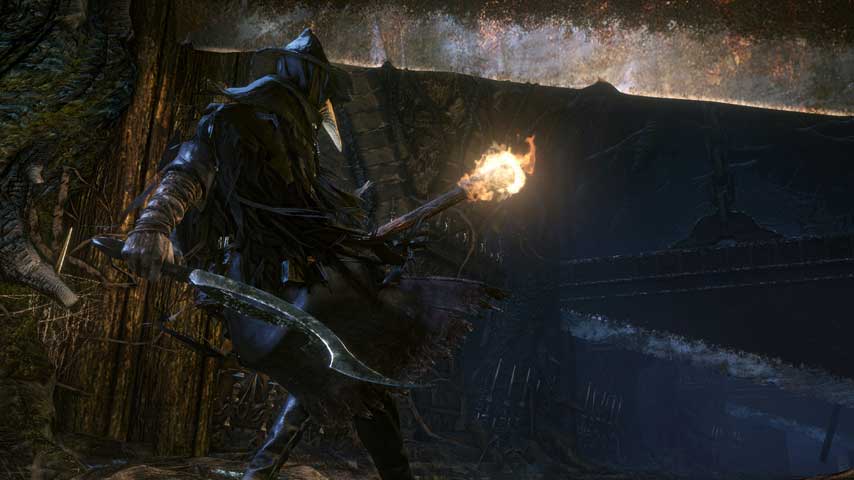
 Dark Souls 2: Crown of the Old Iron King – path to the Fume Knight
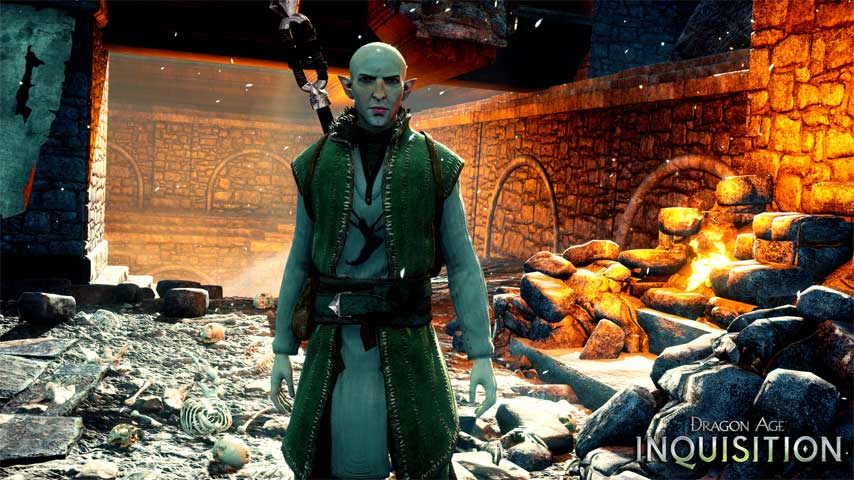
 EA Sports UFC: Preserving a legacy
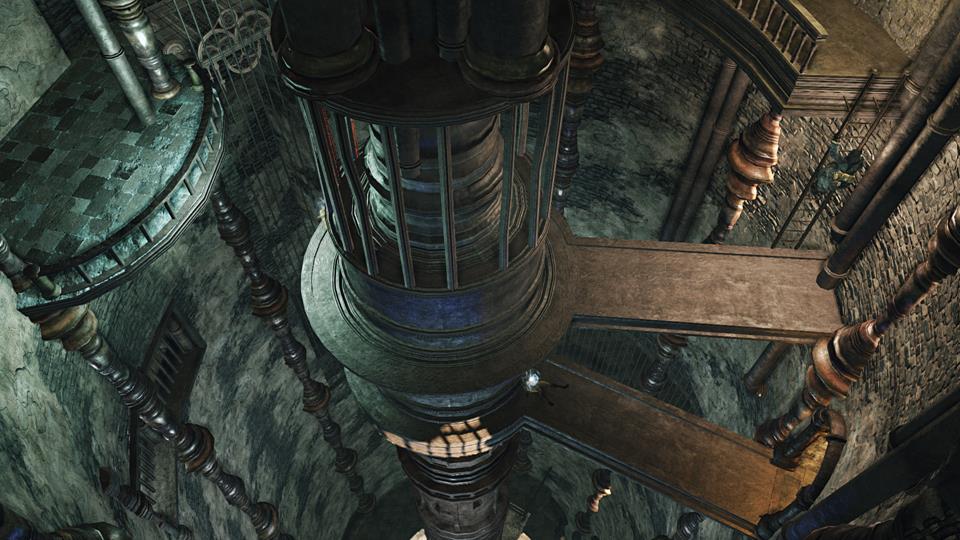
 How To Fly In Minecraft | Minecraft Single Player Commands Mod
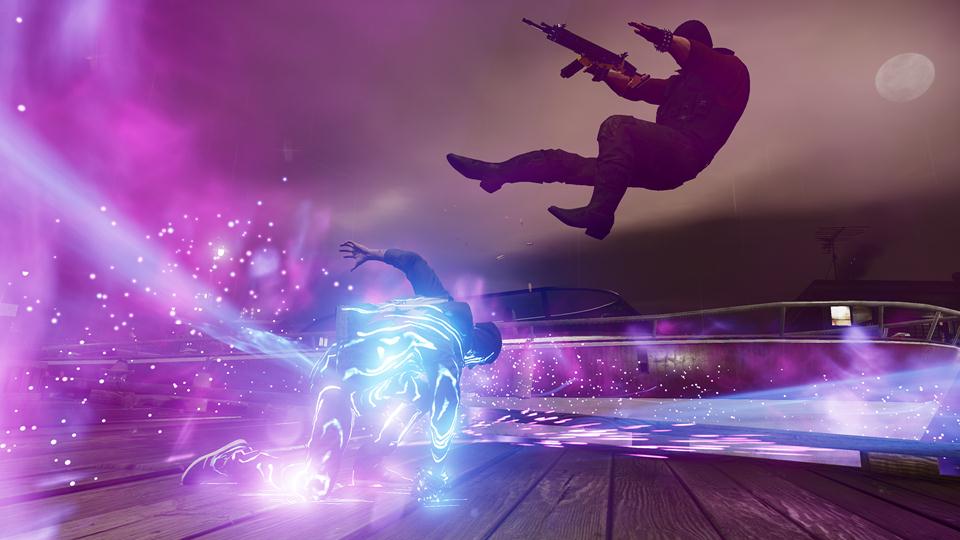 inFamous: Second Son – Catching Smoke, Sulfur Bomb, Cinder Missiles, Comet Drop
 . Plays, 16th May 2015