Skyrim- From Calcelmo to Nchuand-Zel: Coming Back Around
Advance fearlessly past the table Stromm was working at and you can enter an area full of corpses- not only a guard and two Falmer, but also a number of skeletal remains in a torture chamber, which includes not only a dissection rack, but a table with a repeating spear trap mounted over it, apparently intended to stab anything roughly humanoid to death in a matter of several seconds (why this would be of any advantage is beyond explaining- a dead prisoner cannot talk and thus the torture is basically worthless). The torture room holds a couple of valuable poisons, and the chamber beside it is chock full of still more Dwemer metal scraps.
Return to the tree and head in the remaining direction to enter an area of steamworks with still more scrap metal on a large stone table right by the entrance. Follow the U-shaped room around the corner to face a Falmer and its pet Skeever (an odd choice for the arthropod-loving race) and then get the chance to loot a dining area and two bedrooms.
The dining area holds nothing of any actual value, but the bedroom with four beds in it has a number of pieces of scrap metal and a small stone chest with an unfortunate pittance of treasure. The other room holds still more scrap, and two small Dwemer dressers that may contain even more scrap- and over the head of the bed, in a perfect place to smack its owner on the head in the event of an earthquake, sits a Dwarven shield, excellent for heavy armor users. This leaves the Nchuand-Zel quarters picked clean and likely also leaves you moving at a pace comparable to a crippled slug, so this would be a good time to come up for air- step out of the ruins, let Calcelmo know that you have dealt with Nimhe, and avail yourself of the nearest smelter to lighten your load from massive chunks of metal to more easily-carried ingots.
Calcelmo, thankfully, has something to say not only about Nimhe, but also about the journal or journals you’ve found. When informed of the death of the spider, the aging wizard thanks you graciously and gives you the key to the Dwemer museum. He does caution you to be careful while you’re in there, as some of the exhibits are frail and easily broken, but all the same you now have free access to the place. When shown the journal, he has a look at it and mentions that this appears to have been ‘part of Staubin’s little group’. He characterises the researchers as brave, but lacking in wisdom and perception, and asks that you bring back any notes that you can recover- he sincerely doubts that any of them survived their foray into Nchuand-Zel, though.


 Assassin’s Creed Syndicate Sequence 4 – Unnatural Selection
 What we want from gamescom 2012
 How To Reactivate Samuels' Communication In Alien Isolation
 . Plays Feb 23, 2013
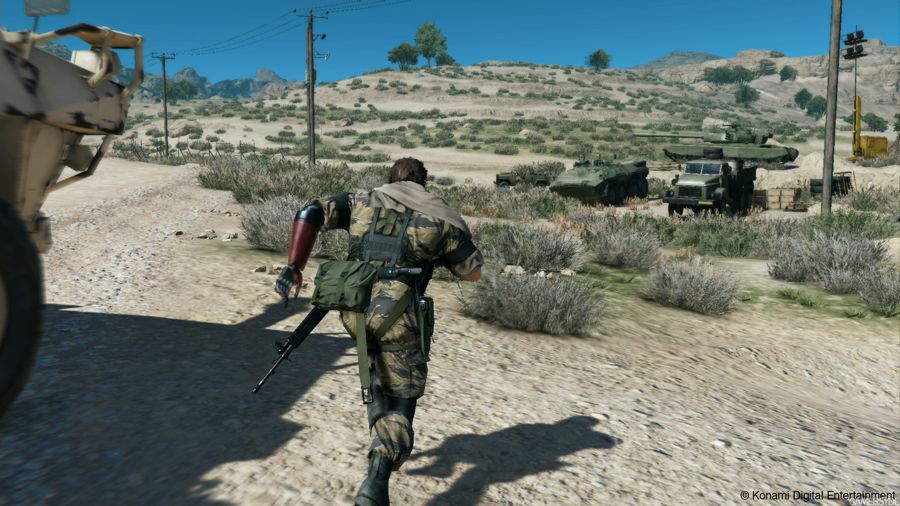 Metal Gear Solid 5 The Phantom Pain Guide: Border Region Side Ops Guide