Blackrock Caverns is a new dungeon in the World of Warcraft: Cataclysm expansion.
Every trash pull will have a ranged mob or two, but there are plenty of places to use Line of Sight to your advantage. Raz the Crazed will help the group after the first boss, so it may be a good idea to wait for him to clear some trash whenever possible.
The bosses are in order, so here we go:
Need WoW gold easily without buying it from gold farmers? Check out WoW Schools: Reaching Gold Cap Guide for tips on making gold quickly and efficiently.
Rom’ogg Bonecrusher
Clear trash in the room before engaging him or he’ll call for help periodically.
He’ll trap the group with Chains of Woe, so dps the chains down quickly and run away before he hits the group with Skullcracker, which is a large damage AoE on a long 12 second cast that starts when you get hit with chains. Skullcracker only has a range of about 10 yards so it’s easily avoidable as long as the chains are broken quickly.
The tank should try to pop a cooldown through Wounding Strike (25% reduced healing debuff) if possible to reduce needed healing.
Corla, Herald of Twilight
There are three Twilight Zealots that are kept dormant by a spell called Evolution which will morph them into a Twilight Drakonid when the stack reaches 100. DPS (preferably ranged) should go in and out of these beam on two of these while the tank gets Corla, and the first Twilight Drakonid that comes up. On Heroic, this is much more difficult and if you don’t have ranged dps to stand in 3 of the beams, then you may want to skip this boss unless you’re overgeared. A skilled tank can block a beam while engaging Corla, but this takes a lot of concentration since they still have to go in and out of the beam, while maintaining the boss.
Whoever is going in and out of the beams needs to watch their stacks as they can turn into Drakonids as well if the stack reaches 100 on them, so get out of the beam at around 70 to 80 stacks and let them drain off, then get back in. The stacks drain much quicker than they accumulate.
She will also cast Fear on random targets which does high shadow damage, so be aware of this and get back to your beam quickly if you get feared.
Karsh Steelbender
Karsh starts with Quicksilver Armor that makes him nearly immune to damage (99% damage mitigation). The tank needs to drag him through molten metal flows in the center of the room (run, don’t back pedal) to give him a few stacks of Superheated Quicksilver Armor, increasing damage taken but increasing his damage output as well. Allow a few stacks to add up then pull him out, let them nearly wear off and then add some more. If they wear off completely, it will spawn fire elemental adds.
Keep repeating this process until Karsh is dead, as there isn’t much else to this fight.
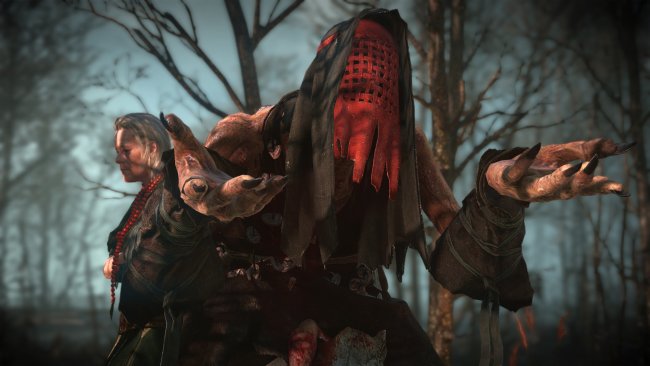
Beauty
She is surrounded by several adds which won’t aggro Beauty if you pull them on Normal mode, but they will pull Beauty on Heroic mode. The adds should now be able to CC’d.
Do not kill Runty, as it will send Beauty into a Berserk state and wipe the group. On Heroic mode, Runty won’t pull unless you attack him directly.
She uses Charge on the player furthest away from her randomly.
She has knockbacks that will effect tank and melee dps.
She has an AoE Fear, so make sure to clear all of the trash in the area before the fight.
Ascendant Lord Obsidius
Wait for Raz to kill all of the earthen mobs before you engage him.
There will be two adds left which can be snared or rooted, have dps kite or root them. Make sure they don’t stack on your tank at all costs, as they have a healing debuff which will kill your tank.
Obsidius will switch places with one of the adds at random points and drop aggro completely, so your tank must pick him up quickly and the dps needs to find their targets and lock them down again. It will help to have each add marked and assigned to certain people in the group.