Chapter 3:
You can watch this video walkthrough for chapter 3 or follow the step-by-step walkthrough below it:
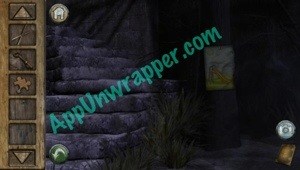
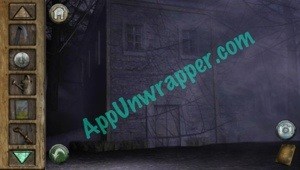
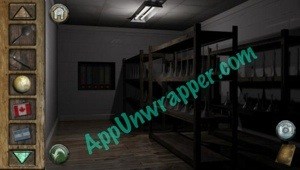
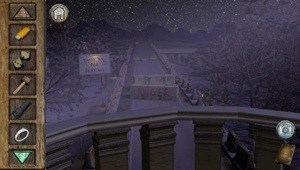
1. You start off where the first episode ended, at a big opening. Tap the doorway to the left to see a staircase and head down.

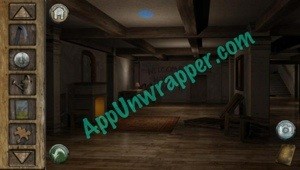
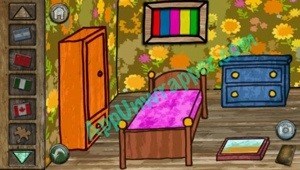
2. Tap the bed and when it asks you if you want to sleep, tap “yes.”
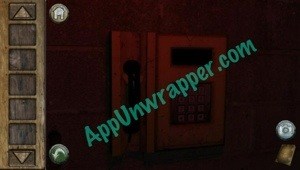
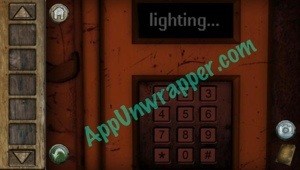
3. When you wake up, you’ll hear a phone ringing. Tap it and enable the lights by dialing “1#”.
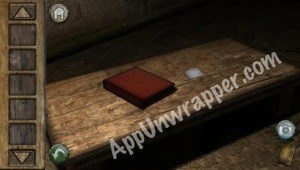
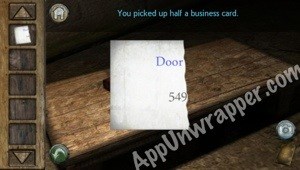
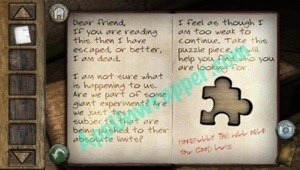
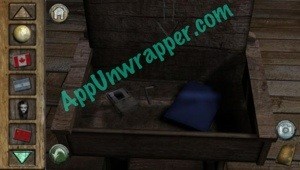
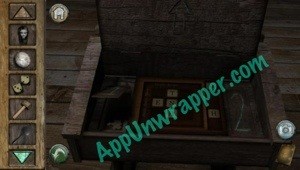
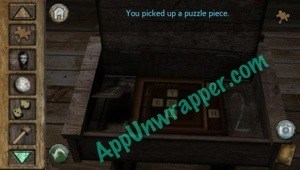
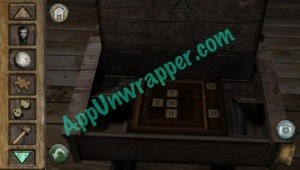
4. Tap the table and pick up the half of a business card. Also open the book and take the puzzle piece.
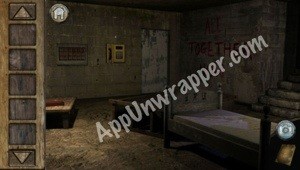
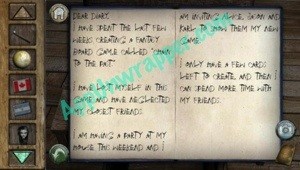
5. Tap on the bed to get a clue. Take a photo of it bc you’ll need it for a puzzle in this room.
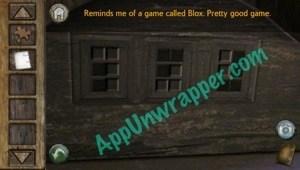
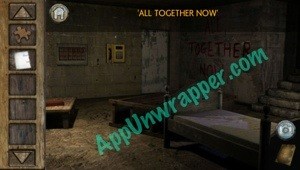
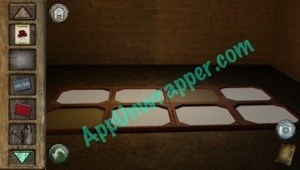
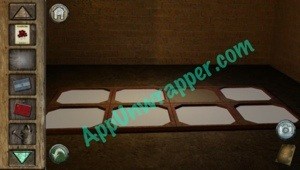
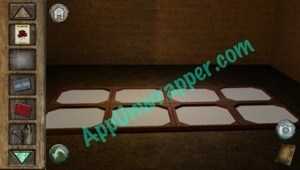
6. Tap the words on the wall to see “All Together Now.” It’s also a clue for the “Blox” puzzle.
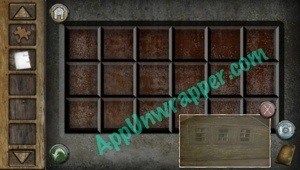
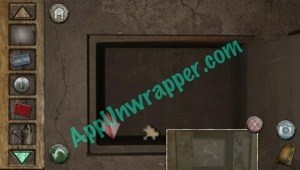
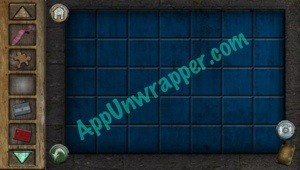
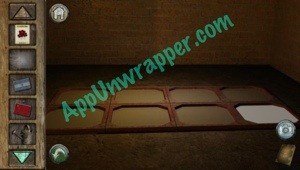
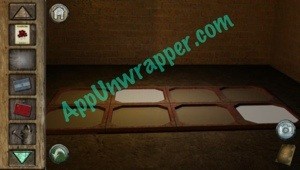
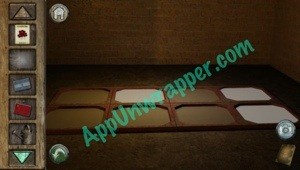
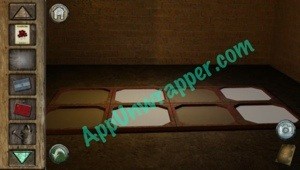
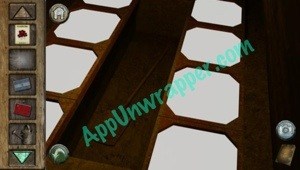
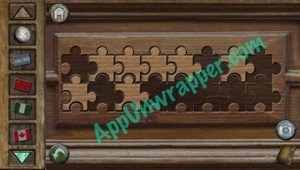
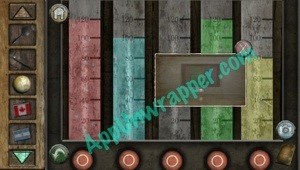
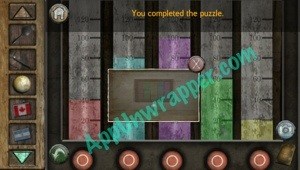
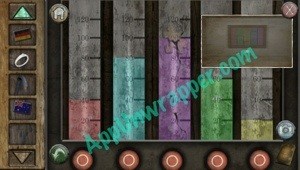
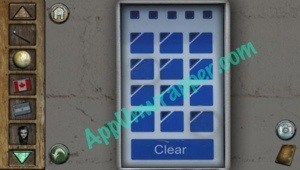
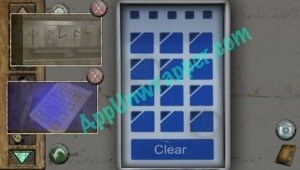
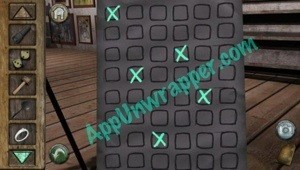
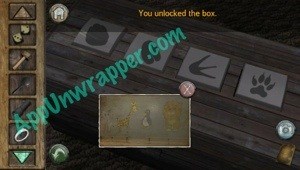
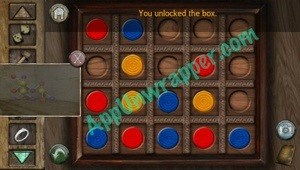
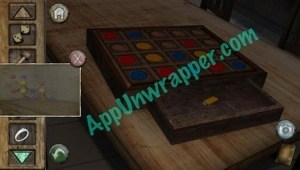
7. Tap on the grid on the wall. Notice when you tap a block, it presses in, but if you lift your finger off the screen, it won’t stay down. Open the photo you took from the bed and move it to the corner so you can copy it. Now trace the blocks that are black in the photo. A finger must stay on the screen for them to all stay pressed. Once you solve it, it will open up, revealing the other half of the business card, a key, a button, and a clue. Take all the items and take a photo of the clue.
If you liked the Blox puzzle, try the full Blox game by GlitchGames on Amazon or iTunes:
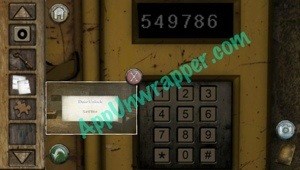
Download from iTunes8. Put the two halves of the business card together to get the code to open the door. Use the code on the telephone and the door will open.


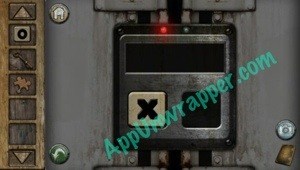
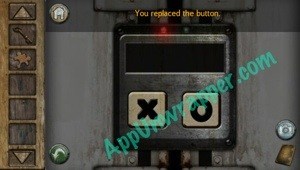
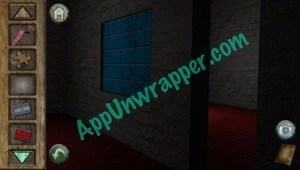
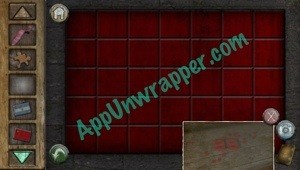
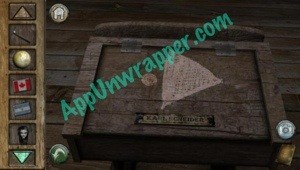
9. Enter the room. There’s a tic tac toe board on the wall. Take a photo of it. Leave the room and go all the way back outside. There’s a device on the wall that has an X button. Place the O button in the slot that’s empty.
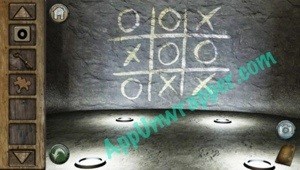
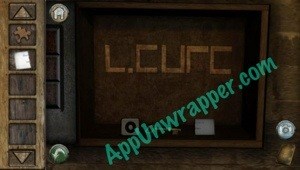
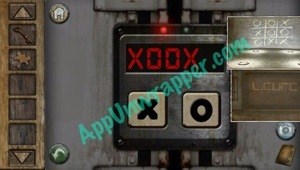
10. Now take out the photo of the tic tac toe game and the clue from the safe to get the combination to open the door. The clue from the safe tells you which section of the tic tax toe board to use. For instance, the “L” shape would be “X” and so on, so you get “XOOXO”.
Chapter 4:
You can watch these walkthrough videos for Chapter 4 or use the step-by-step walkthrough below:
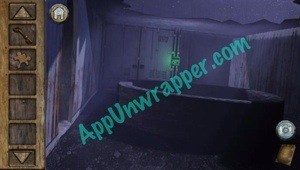
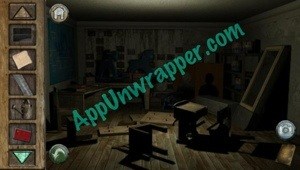
1. Tap the green light to find yourself in a new area.
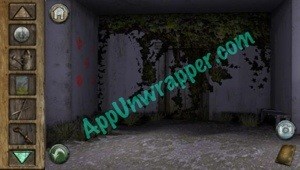
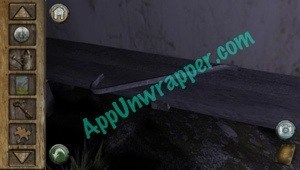
2. Tap the wall to the left and pick up the garden shears leaning against it.
3. Go back a screen and tap on the directional sign in the center. Take the path to the left. Take the poster/painting off the wall and climb up the stairs. Take the watering can. Then tap on the bird bath and take the Glitch coin.

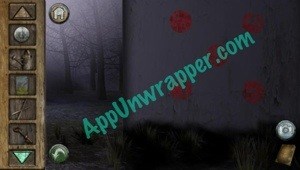
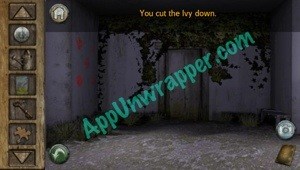
4. Go back to the sign and take a right. Look at the wall to see the 5 red dots. Tap on the bench to the right to get a crowbar. Then use the garden shears on the ivy covering the door.
See my interview with developers Simon Pearce and Graham Ranson of Glitch Games.
5. Go back to the sign and tap behind it to see a house. Use the key you have to unlock the door and enter the house.
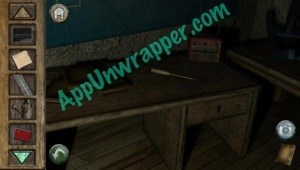
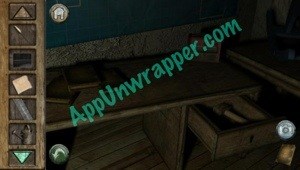
6. Tap on the desk and take the fuse.
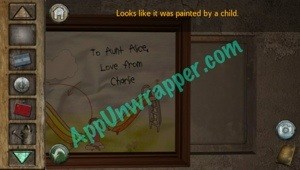
7. Tap on the framed drawing and place the other half from your inventory.


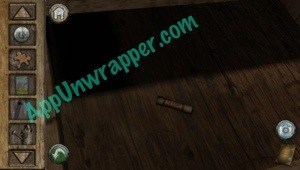
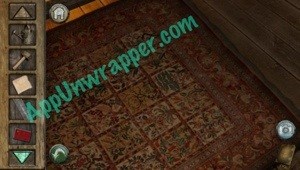
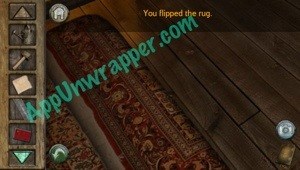
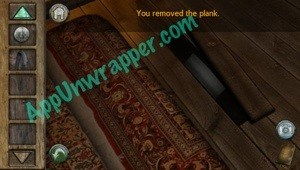
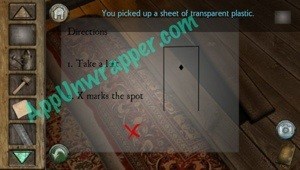
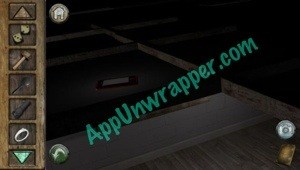
8. Tap on the rug on the floor. You’ll be able to lift up the corner and see a loose plank. Use the crowbar to lift up the plank and you’ll find a sheet of transparent plastic underneath.
9. You can go through the door here and explore if you’d like. But we can’t do anything yet in there.
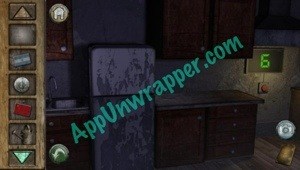
10. Go back a bit and then go to the right side of the house. Take the door closest to you into the kitchen. Take the magnets off the fridge.
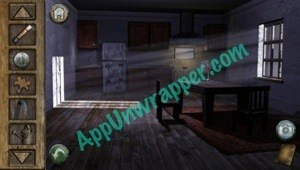
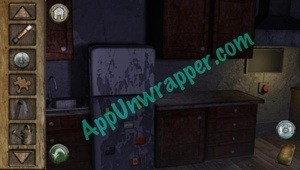
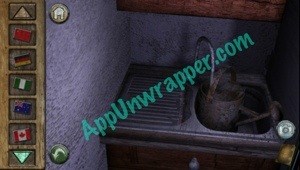
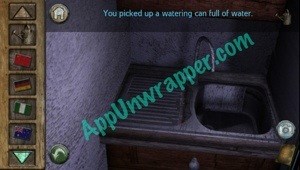
11. If you open the fridge, you’ll notice a block of ice. We’ll get back to that. Go to the sink and put the watering can in the sink, then turn on the water to fill it up. Take the full can back.
12. Open the cabinet and take the test tube. Also, take a photo of the yellow dots.
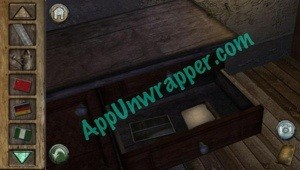
13. Open the drawer and take the slice of bread and the photo. (Recognize that wall? We’ll get the DVD soon.)

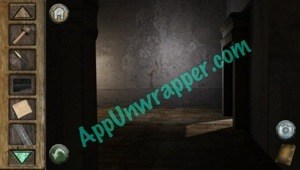
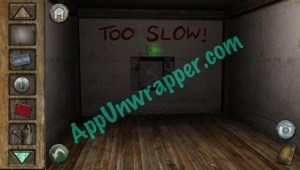
14. Notice the screen on the wall with a red button. When you press the red button, it starts to count down from 7. If you explore the house a bit, you’ll find a wall near the stairs that says “TOO SLOW” with a red light below it. You need to go back to the kitchen, press the red light, and quickly get back to this room, press the green light and snap a photo of the clue before the timer runs out. Just keep trying until you get it.

15. Now go back until you see the group of doors and staircase. Take the door on the right wall that’s closest to the staircase. Pick up the ice pick from the desk and the hammer from the drawer. You can also look at the books on the desk.
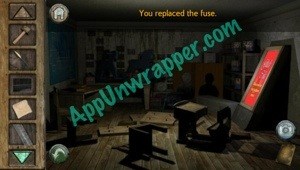
16. Tap the screen leaning against the right wall the it will flicker. The fuse is blown. Place the fuse you found in it and it will turn on.
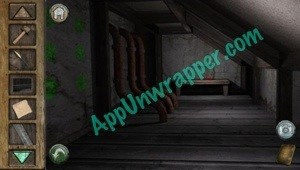
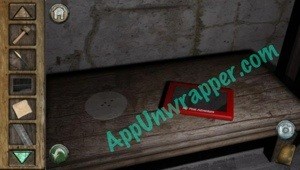
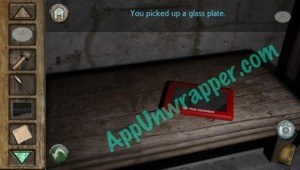
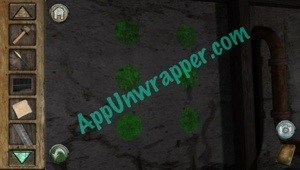
17. Leave the room and zoom in on the stairs. There’s a room underneath the stairs. Enter it. Take the glass plate from the bench/table and play the game a bit if you’d like. Also take a photo of the green dots on the wall.

18. Go back to the kitchen and use the ice pick a few times on the block of ice in the freezer. It will break and you can take the lever.
19. Go back to the first room in the house. Enter the door towards the back wall (Where it says “Welcome home Jason”). There’s a light in the fireplace instead of a fire. Place the glass plate on the light and then look at the pattern it creates above. Take a photo of this because you’ll need it soon.
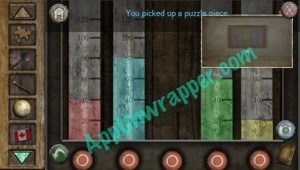
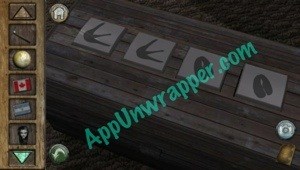
20. Go back to the stairs. Enter the room opposite the room under the stairs. There are some levers on the wall. Replace the one that’s missing.
21. Take out the photo that you just took from the fireplace. Match the levers to the picture to open it up and reveal some knobs. We’ll come back to those later. Take the puzzle piece, then leave.
22. Go outside to the wall where you found the shears and look at the photo you found in the kitchen. Find the loose brick and pry it loose with the crowbar. Then take the DVD.
23. Go back to the house and enter the right side again. Go through the middle door that says “Jason’s Room.” Place the DVD in the DVD player and explore it a bit.
24. Look at the drawing under the bed and take a photo of that. Also take a photo of the Cheat Codes on the shelf. Then look at the device on the table and use the Cheat Codes book to solve the puzzle. Then take the glow sticks from inside the box.
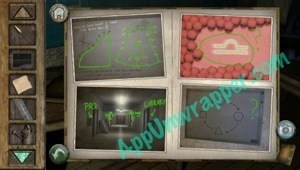
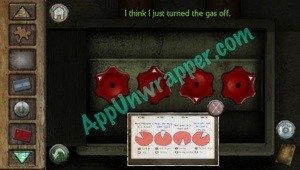
25. Go back to the room with the four red knobs. Take out the photo of the pie charts from under the bed and match the knobs to it. The gas will turn off.
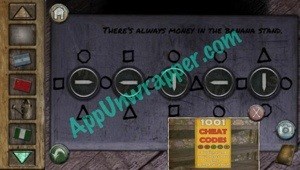
26. Go back to the room where you used the glass plate in the fireplace. Look at the dice puzzle on the table and change them to red-5, blue-1, yellow-2 , and green-6. The box will open and reveal two dice. Take them.
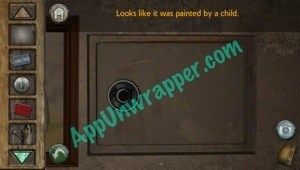
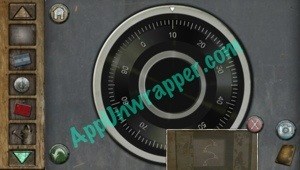
27. Go back to the first room in the house and face the painting opposite the fireplace. Slide the painting to the left to reveal a safe. Use the code from the “Too Slow” game to unlock the safe. Take the Gem and puzzle piece from inside.
28. Go back outside and take the right path (the sign says left) and put the gem in the door. The door will open. Head inside. Take the blue key that says “Fire Door.”
29. Go back to the house. In the first room, the fireplace is empty since you shut the gas. Now there’s a small door that’s accessible. Use the key to unlock the door and enter.
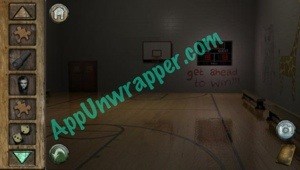
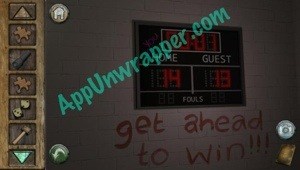
30. Explore the room. The chalkboard says you need to enter the high score to win. Go to the arcade and play until you beat the high score and get some tickets.
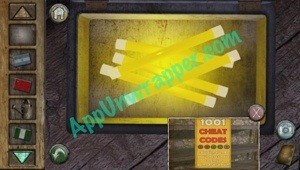
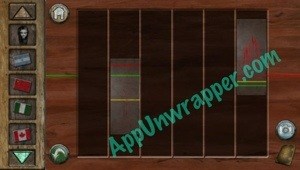
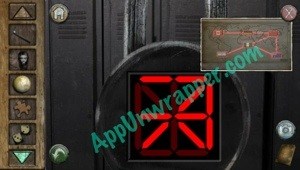
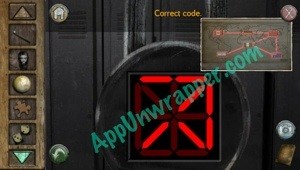
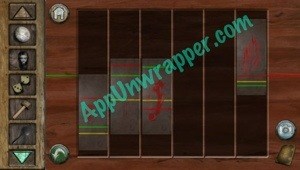
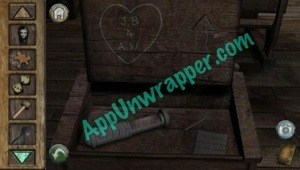
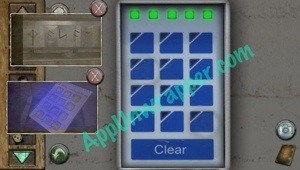
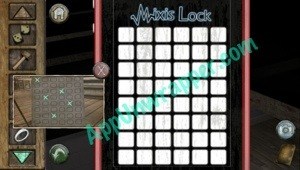
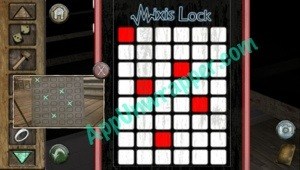
31. Now, there are two panels of buttons in this room. One has red buttons and one has blue buttons. Notice the number “38” in red on the table (take a photo). You need to make the 38 out of the red panel. The way these work is when you press the buttons in on one, they get pushed out in the mirror image on the other panel. So for this you can either draw the 38’s mirror image in the blue panel for it to show in the red. Or press in all the blue buttons and then trace 38 in the red. Once done, the panel below the red buttons will open, revealing a spool of rope. Take it.
32. Go back to the left side of the house. There’s something that looks like a gumball machine. Put the tickets in the slot and you’ll get a game piece.
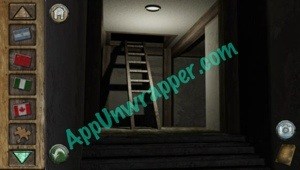
33. Leave the house and tap to the left side of it to see a stairway leading down. It’s too dark. Use the glow sticks to light it up and head down.
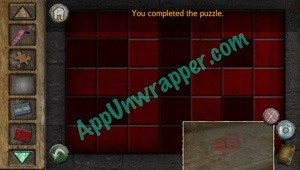
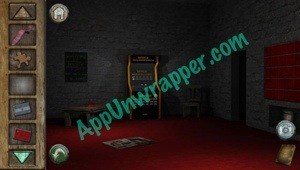
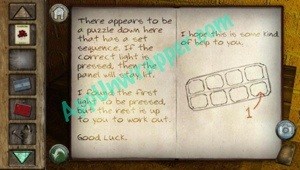
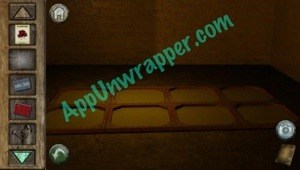
34. Look on the table. Take the pack of seeds and read the book. It tells you how to solve the puzzle down here. Look for the puzzle (it’s above the doorway). You need to press the buttons in the correct sequence. Just use trial and error. Once they’re all lit, you’ll get a shovel.

35. Go back to the right (sign says left) side of the sign and use the transparent sheet on the door. Then dig where the X marks the spot and take the salt shaker.
36. Go inside to Jason’s Room and plant the seeds in the flower pot, then water them with the watering can.
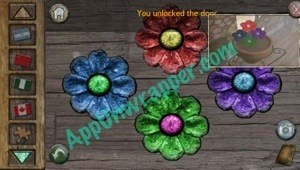
37. Go to sleep in the bed and the seeds will grow into flowers. Take a photo of them.
38. Go back out and up the stairs. There’s some flowers on the ceiling. Match the colors to the flowers in the pot and a door will unlock. Feel free to enter and explore.

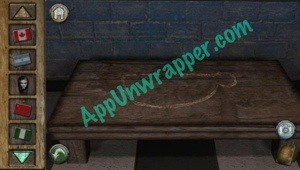
39. Go back to the kitchen. Zoom in on the table and see that there’s a sticky patch. Use the salt shaker on it. Then turn on the fan to see a message telling you to look under the table. Do so and take a puzzle piece.
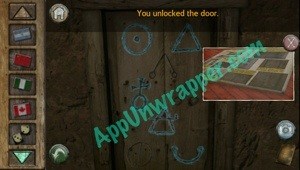
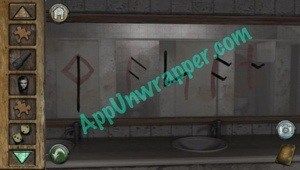
40. Go back to Jason’s Room and play the DVD Deleted Scenes. Go downstairs and head to the door with the symbols on it. Remember the comic book from the arcade room? Use the clues from there to open the door (press the symbols you see in the comic book) then go through the door.
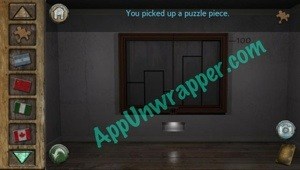
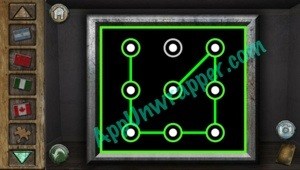
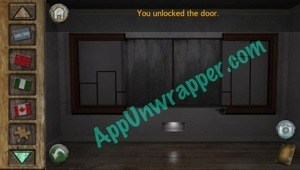
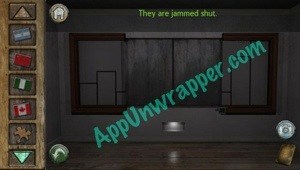
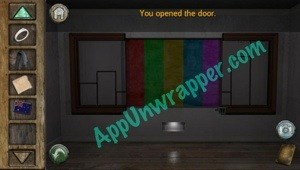
41. Pick up the puzzle piece. Then tap on the keypad and trace the pattern you saw on the DVD (the green loading screen) to unlock the doors. The next set of doors are jammed shut. Use the crowbar to open them. Note the colors. Close the glass doors again to get a clue. Snap a photo to save it for later.
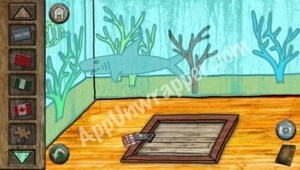
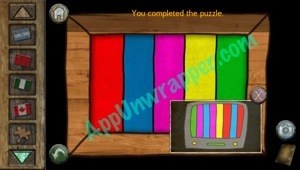
42. Go back and play the game in the room under the stairs. Go to the fish tank and take a photo of it. You then go back to the first room in the game and match the colors on the door to the coral colors (green, yellow, red, blue). Enter the open door.
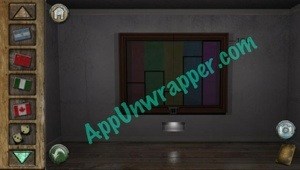
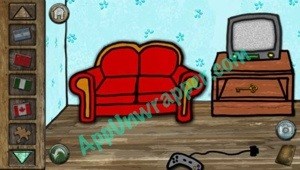
43. Enter the right door. Take the key from under the TV. Turn on the TV and take a photo of the colorful screen. Then leave the room.

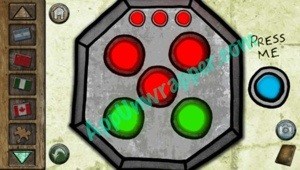
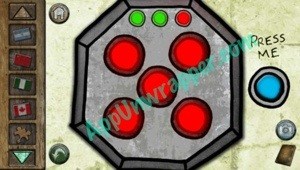
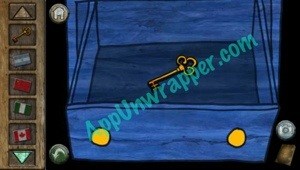
44. Face the left door. This puzzle is kind of like the same Simon. You need to press the blue button, watch the sequence, then copy it. Each sequence will light up one of the three lights at the top. Once all three are green, the door will open.

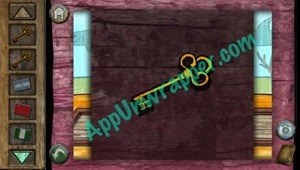
45. Enter the room. Take out the photo of the TV and then press the colors on the photo in the same sequence. It will open up, revealing a key. Then open the drawer and take another key. And for the final key, solve the puzzle on the floor.
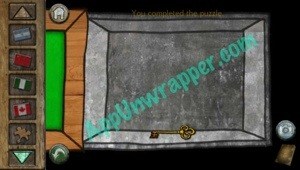
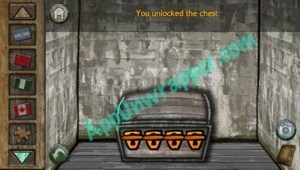
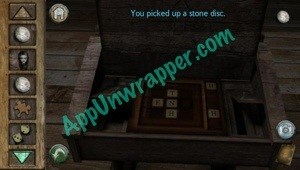
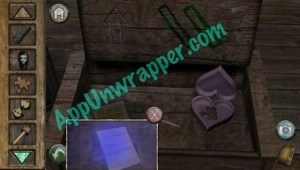
46. Leave that room and enter the room straight ahead. Place the four keys in the chest to open it up. Take the stone disc and key and snap a photo of the piece of paper.
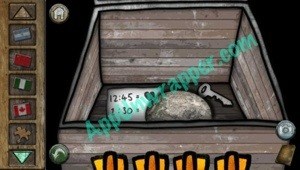

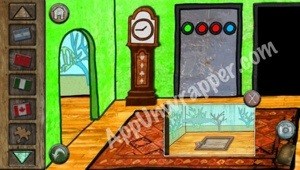
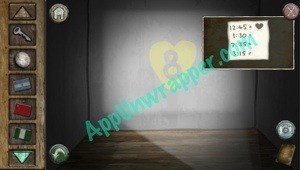
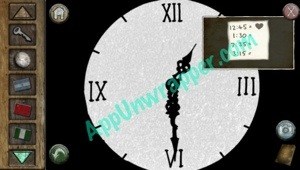
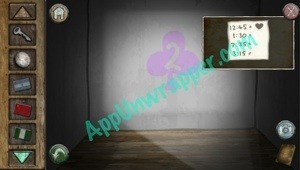
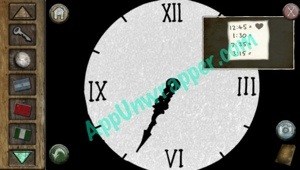
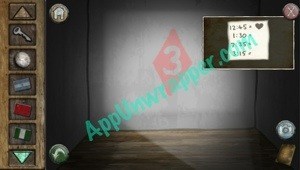
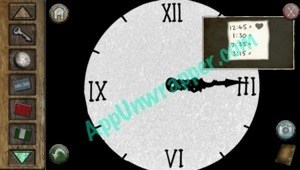
47. Leave that room and go back to the clock room. Zoom in on the clock face and make sure it’s set to 12:45. Then go to the room all the way on the right and take a photo of the projection (yellow heart with an 8 in it). Do the same for each of the times on the piece of paper.
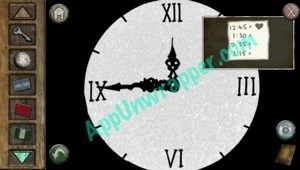

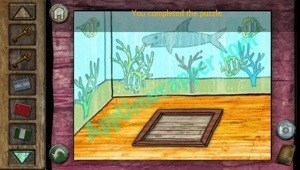
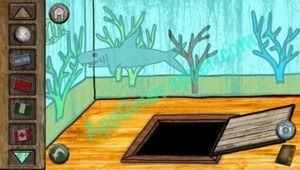
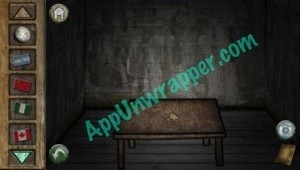
48. Go to the room with the shark and use the clues you just found to unlock the lock on the trap door (don’t forget the key!). Go down and get another puzzle piece.

49. Go back to the room where you found the dice. There’s a board game. Play it by rolling the dice and using the game piece. Keep rolling until you get a screen with a table. Read the note and take the engagement ring.
50. Keep playing until you get a key card. Then continue until you get a bedroom. Take the puzzle piece off the bed. Read the patient chart on the dresser and look at the easel. Then finish the game.
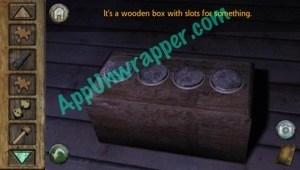
51. If you’d like, you can go back and up the stairs to a door with the slots for all the puzzle pieces and put the ones you have so far.
52. Go back to the staircase and enter the door opposite of “Too Slow.” There’s a door with a slot for a key card. Swipe the key (use your finger to swipe) and enter. Go into the container that says “LOVE” and you’ll see another well. Tie the rope the metal bar and climb down the rope into the well.
Chapter 5:
You can watch this YouTube video of Chapter 5 or follow the step-by-step instructions below:
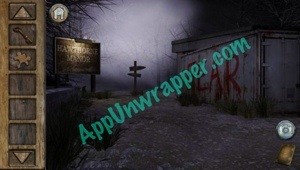
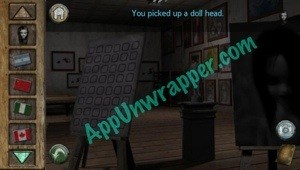
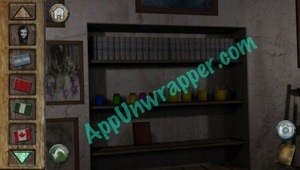
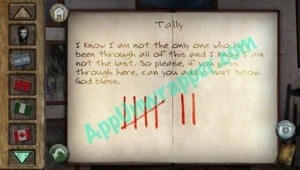
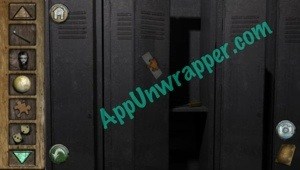
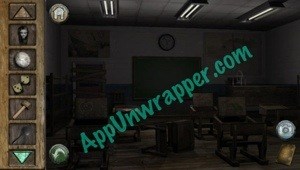
1. Enter “Hawthorne School.” Go past the lockers and enter the door to the right. This is the art room. Explore, take photos. Get the doll head from the statue of the doll. On the shelf below a row of books is a journal with a tally of visitors. Draw another red line in the book.
2. Leave the room and look at the door to the left. Take a photo.
3. Go past the two doors. There are signs for the gym or the bathroom. Take a left towards the bathroom.
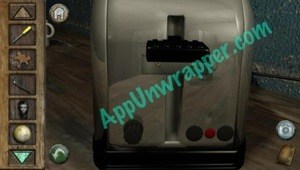
4. Enter the Staff Room. You can put the bread in the toaster, but you can’t toast it yet. Make note of the colored circle on the wall, then leave the room.
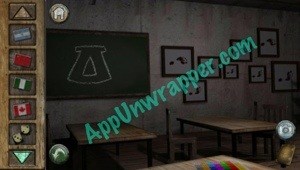
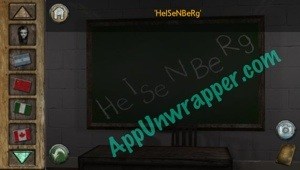
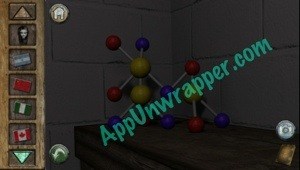
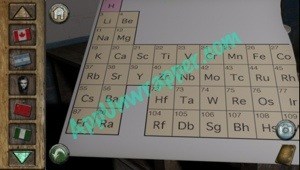
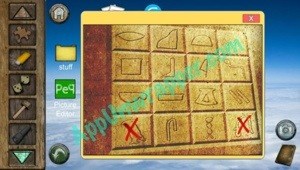
5. Enter the next room, a science lab. Take a photo of the blackboard that says “HeISeNBeRg”. Also take a photo of the half of the periodic table on the wall. Take a photo of the molecular model in the corner and note the puzzle on the left desk. Then leave the room.

6. Turn left. There’s a 1-UP soda machine. Go to the whiteboard on the back wall that has a map on it. Match all your fridge magnets to the correct countries and you’ll get a clue for a different puzzle. Also take a photo of the symbol on the bench.


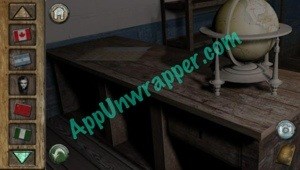
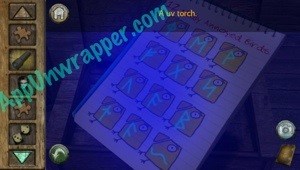
7. Feel free to explore the bathroom to the right. Then take the left door to the classroom. Take photos of each desk and their contents and take any items that you can (a hex key). Take the globe from the teacher’s desk in the back and take a photo of the other half of the periodic table. Open the drawer of the teacher’s desk and take the UV torch.


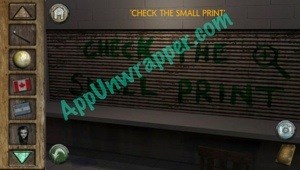
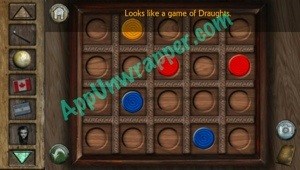
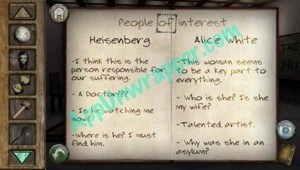
8. Leave that room, go back to the hallway and enter the Canteen. There’s a soda machine here but you can’t use it yet. There’s a note on the wall, “Check the small print.” Keep that in mind. Also notice the Draughts game on the table and take a photo of the note on the floor, “People of Interest.”

9. Go back to the science lab. Go to the locked door at the back. We’re going to unlock it. Look at the keypad and take out the photos of the blackboard and the two halves of the periodic table. You may need to enlarge the tables to see them. Use the elements on the blackboard to get the password for the key pad and open the door.
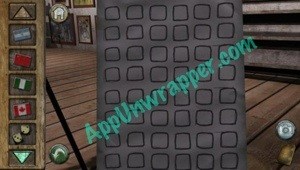
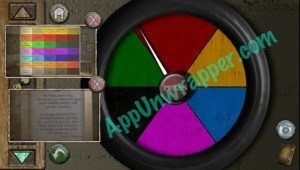
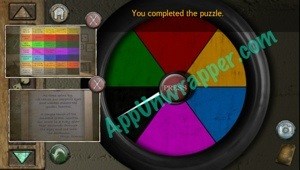
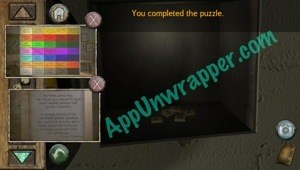
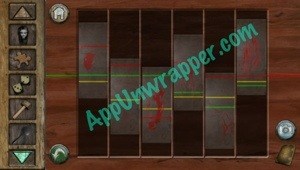
10. Enter the next room. On the back wall are some test tubes filled with colored liquids. Add the test tube you found. Take out the picture of colored wall behind glass doors from earlier. Tap the circles under each test tube to match the lines on the photo. When you finish. A puzzle piece will float up in the middle test tube. Use the crowbar to break it open and get the puzzle piece.
11. Go back to the locked locker. Use the pattern from the map to open the lock (take out the photo). Take the puzzle piece and screwdriver from inside.
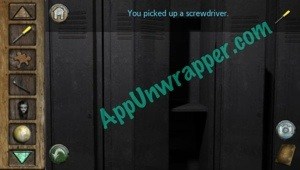
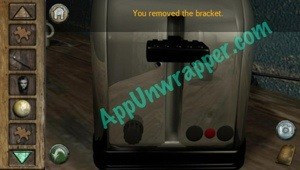
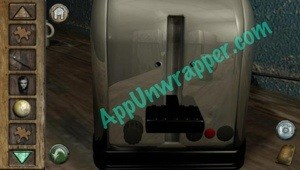
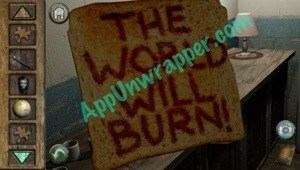
12. Go back to the kitchen and use the screwdriver to remove the screws from the bracket under the lever. Then push the lever down. Look at the toast when it’s ready. It says the world will burn.
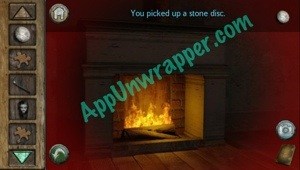
13. Remember the levers back in the house that control the gas? Turn one of them to turn the gas back on. Pick up the wet cloth while you’re there. Then go to the fireplace and the fire will be back on. Throw the globe into the fire and take the stone disc.


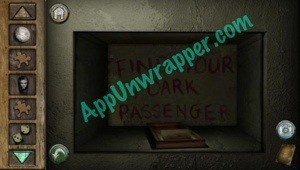
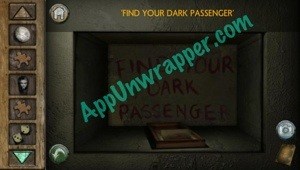
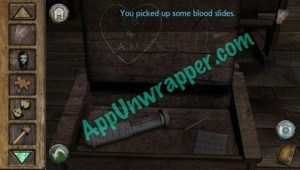
14. Go back to the room with the board game. There’s an air conditioning vent that’s screwed into the wall. Use the hex wrench to remove the screws (you need to turn the wrench with your finger). Then read the message (Dark Passenger… Dexter anyone?). Take the blood slides. Go back to the science lab and add the slides to the others.

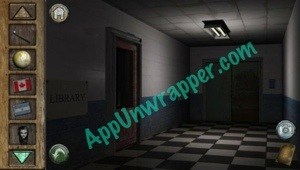
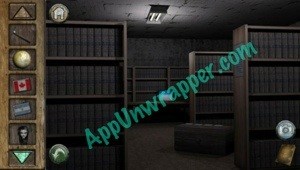
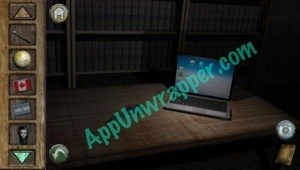
15. Go back a few screens and head in the direction of the gym. Note the keypad at the gym door, then enter the Library. Note the chest with the footprints on it. We’ll come back to it later. Read the note on the bookshelf and take a photo of it. Then go to the computer desk. Pick up the magnifying lens. Look at the computer.


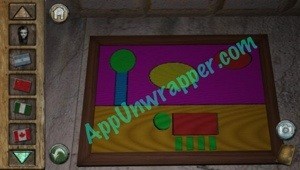
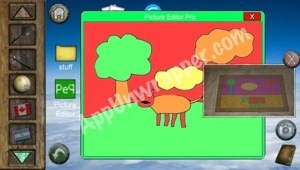
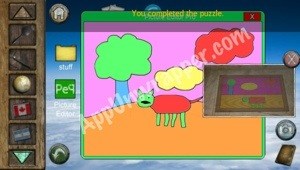
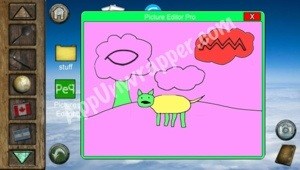
16. Look at the cat photo if you want. Open the picture editor. Remember the painting from the art room? Take it out and change all the colors to match it. Then take a photo of the symbols that appear.
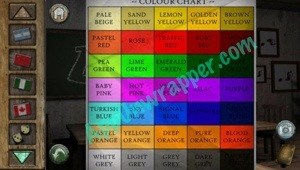
17. Go back to the kitchen. Zoom in on the clock-like object on the wall. Take out the photo of the color chart from the art room and the poem from the library. Read the poem, and push the button on the clock as it approaches each of the colors in the poem (ie. sapphire is blue, golden is yellow, etc). So the order is Blue, Yellow, Green, Red, Black. When it opens, take the letter tiles.
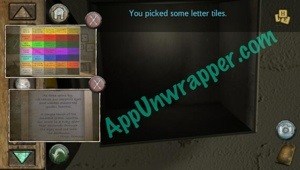
18. Go back to Karl Schneider’s desk. Place the letter tiles into the game. Then spell out each word based on the clues given. When you complete it, the lights will go out and you’ll get a clue, “THINK OUTSIDE THE BOX”. Take a photo of it. Then take the puzzle piece from the box.


19. Open the word puzzle again and spell “THINK” on the side of the game (where the extra letters are). Then take the stone disc from inside the “2”.

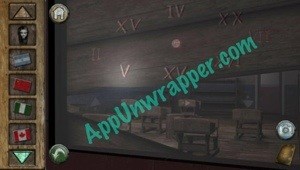
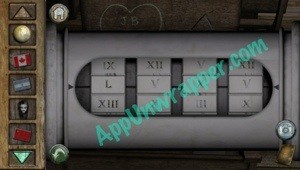
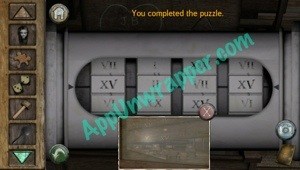
20. Look at the inside of the lids of each desk. If there is an arrow pointing upwards, open the lid. If it’s pointing downwards, close the lid. Then go back to the window with the Roman numerals on it and take a photo.

***Check out Glitch Games’ new game, Ferris Mueller’s Day Off!***
21. Come back to the classroom and open the first box to the left. There’s a white oblong puzzle with Roman numerals on it. Look at the photo and follow the arrows from left to right. When it unlocks, take the blood slides.
22. Go back to the science lab and place all the slides with the others.
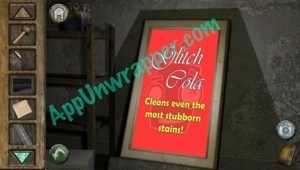
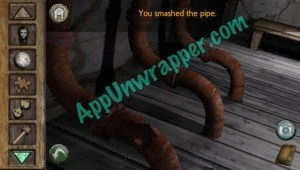
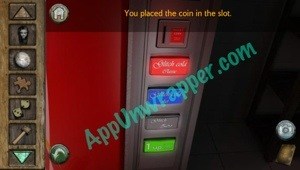
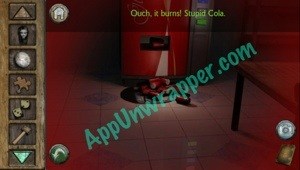
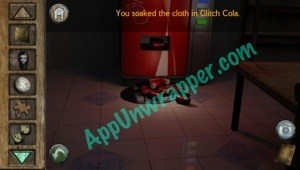
23. Go back to the room under the stairs. There’s a damaged pipe. Use the hammer to smash it and take the coin from inside. Go back to the red soda machine in the Canteen and use the coin to get a Glitch Cola. A bunch of cans will spill out of the machine. They’re hot, so just use the wet cloth on the cans to soak it in cola.


24. Go back to the classroom and open the first desk (Jason Bethlam’s) and look at the letter. Use the UV light on it and take a photo.
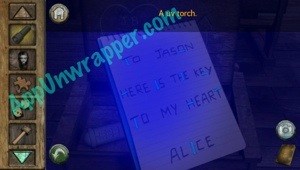
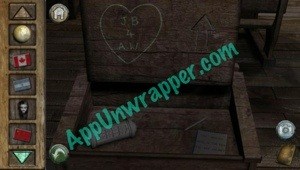
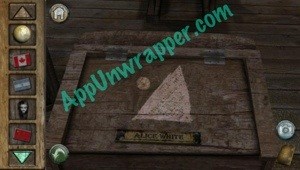
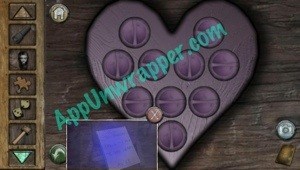
25. Go to Alice White’s desk and take out the photo you just took. Use it to unlock the heart puzzle (I couldn’t get a photo in time — sorry!) and get another puzzle piece.
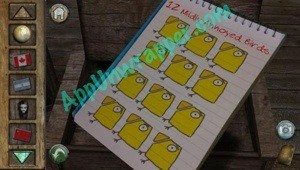
26. while you’re at that desk, look at the paper with the “12 Mildly Annoyed Birds”. Use the UV light on it and take a photo.
27. Go back to the bathroom. Use the Glitch Cola-soaked cloth on the mirror to clean it off. Play around with the doors so that their reflection matches symbols on the picture you just took. Then snap a photo of the mirror and head back to the Gym door.
28. Take out the photo of the birds and the photo of the mirror. Press the buttons that correspond with the symbols you see on the mirror. Once it’s unlocked, enter the gym.
29. Take a photo of the animals on the right wall. You need to win the game. Use the doll head as a basketball. Throw it in the hoop and your score will go up. The door at the back of the room will open.
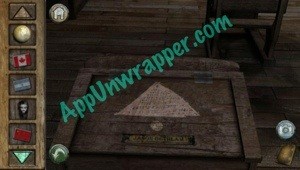
30. In this room you’ll find the last stone disc. Take it and go all the way back to the attic in the house. Place all four discs in their place in the middle of the room. Take the puzzle piece out from the box.
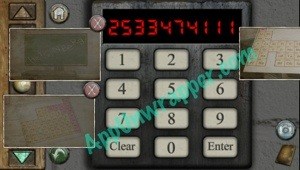
31. Go back to the art room and use the UV light on the drawing of a grid. Take a photo of it. Then go back to the lab and climb up into the hole in the ceiling. Use the X’s on the photo you just took to unlock the cell phone.
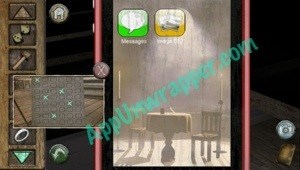
32. Read the text messages to find the password you need to chat with Alice on the computer in the Library.
33. Look at the image on the phone and take a photo of it.

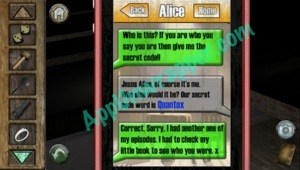
34. Go to the library computer and click on the “gIMp” (Instant Messenger) icon. Tell Alice the password (Quantox) and she’ll give you an assignment.


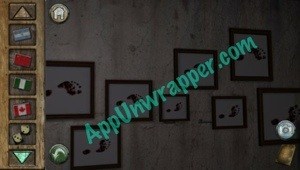
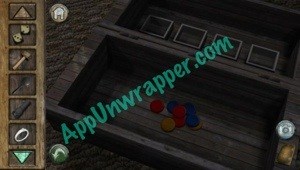
35. Go to the chest with the footprints on it and take out the photo of the animals. Match the footprints to the animals to unlock the chest. Take out the wooden pieces.

36. Go back to the Canteen. Put the wooden pieces on the game of Draughts. Take out the photo of the molecular model from the lab and match the wooden pieces to it. Take the USB stick.
37. Go back to the art room. Look at the pictures of the footprints. Use the magnifying glass on the smallest print (“Check the small print” — get it? 😉 ). Take a photo of the colored tear. Then go to the lab and match the lines on the blood slides to the photo you just took. Take the puzzle piece from inside.

38. Go to the library. Insert the USB stick into the laptop. Open the file on the computer and eject the CD tray. Take the puzzle piece, then take the USB stick back.
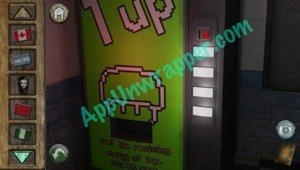
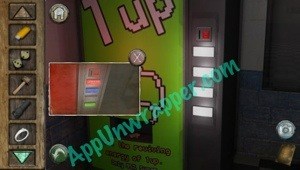
39. Go to the Glitch Cola machine (the red one) and take a photo of the buttons. Then go to the green 1-UP machine and use the photo as a guide for ordering the drinks Alice asked for (press gray, red, gray, green). Take the puzzle piece that comes out.
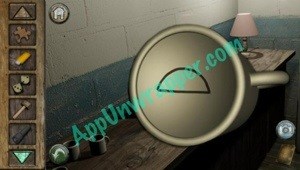
40. Go back to the library and chat with Alice again. She’ll show you a photo with two more hieroglyphs crossed off. She also tells you to check the farthest mug in the Staff Room. Do so to get another hieroglyph.
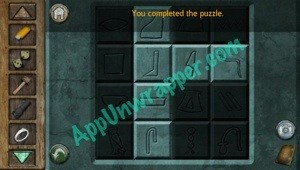
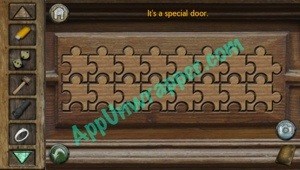
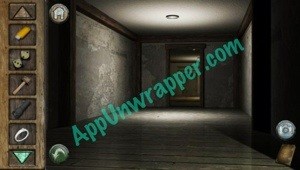
41. Go back to the attic and press all 10 hieroglyphs you’ve seen (the red square above you counts as one). Take the puzzle piece. You should now have all 16. Place them in the door upstairs and it will unlock. Go through and watch the ending.
Congratulations! You finished Episode 2! Continue to the walkthrough for Episode 3.
Click here for the walkthrough for Forever Lost: Episode 1!
Also, Check out Glitch Games’ new game, Ferris Mueller’s Day Off and Cabin Escape: Alice’s Story.
If you liked this game, check out these other adventure games and escape games at AppUnwrapper.com, including Adventure Escape Murder Manor.
Also, make sure to check out my little preview and teaser for Forever Lost Episode 3!


 Fusionfall Heroes Cheats, Guides, & Tips - AppGameCheats.com
 How to break out - Hellraid: The Escape chamber 5 walkthrough
 Guess the Shadow! Level Pack 4 Answers
 3×3 Word Square Answers All Levels
 Movie Pic Quiz Answers All Levels Walkthrough