Welcome to our complete walkthrough to
The Room's epilogue update.
This is by far the most tricky set of
The Room-related puzzles we've come across yet. It's a non-stop barrage of head-scratchers involving musical notes, 3D cubes, gems, and mazes.
If you've got stuck, you've come to the right place. This is a complete, step-by-step guide to the final chapter of
The Room. Just follow our walkthrough to finish all the puzzles.
Let us know if you're still stuck in the comments below and we'll try and help you out. Now - onwards!
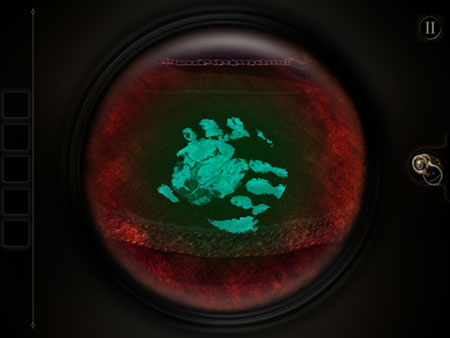
Use the eyepiece and scan around the table until you see an odd mark in fluorescent blue ink. Swivel the inner circle until the ink stain becomes a handprint.
A circular section of the table will rise up.
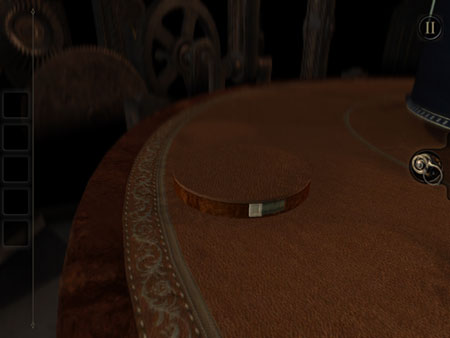
Take off the eyepiece, and look at the side of the circular plinth. There's a small switch. Flick it, and a drawer will open. Take the gear from the drawer.
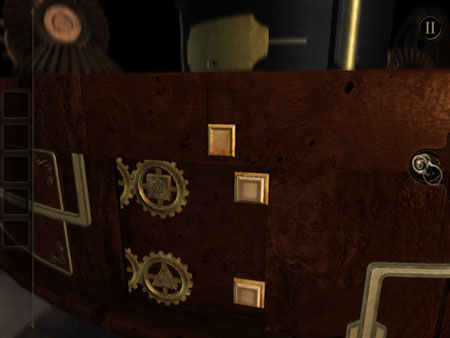
On the side of the table, just left of the ink-stained notebook, is a small square latch. Pull it down to reveal a pair of gears.
Place your triangle gear in the lower space, and hit the lower button. You will be taken to a new puzzle area that looks like…
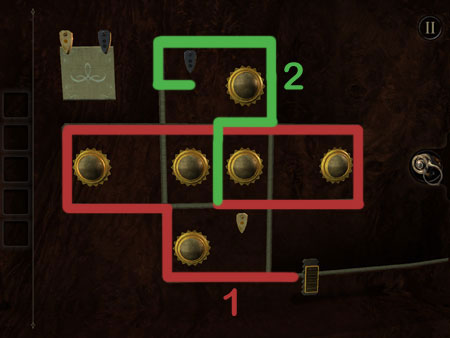
This! Now, you need to move the little slider in the bottom right so that it turns over all six circles, and then into one of the tiny pathways that it opens. The route for the upper pathway is above.
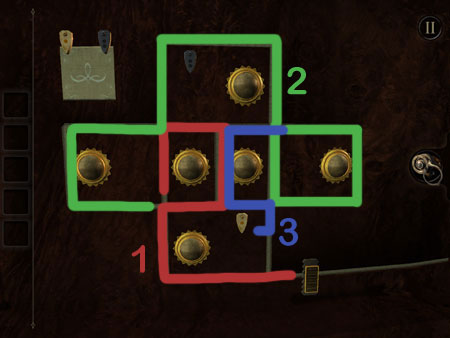
And here's the route for the lower pathway. When both latches have been pushed, flick the switch to continue.
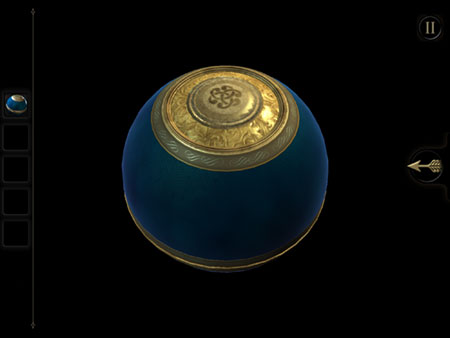
A platform will appear, containing a weird metal orb. Take it, and then open it in your inventory. Now, slide the top around until you see the icon - above - poking out of the hole.
Press the icon, open the orb, and take the gear.

Go back to the area with the triangular gear. Put the square gear in the upper slot, and hit the upper button. A drawer is revealed. Open it, and tag the star-shaped key.
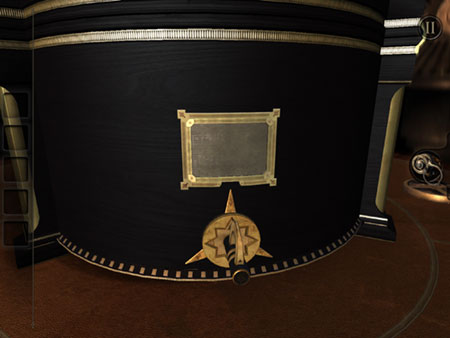
Place the key in the music box on the top of the table. Spin it left once, so the dark arrow on the key is pointing to the bottom-left arrow on the music box.
Look on the right side of the box and you'll be able to grab a metal plate from a open panel.
Now go back to the key, and turn it so the dark arrow points to the bottom-right arrow. A switch will appear above the key. Flick it.
Turn the key so it is pointing to the bottom-left arrow again, and now take the key from the panel on the side of the musical box.
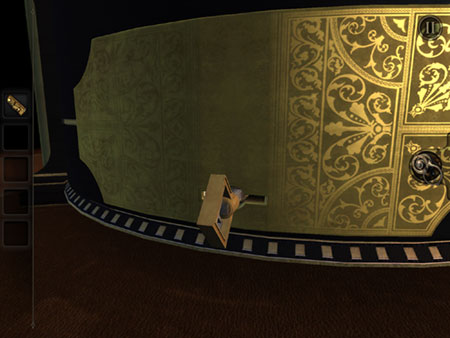
Put the key in the keyhole around the back of the music box. Turn it, to reveal a puzzle.
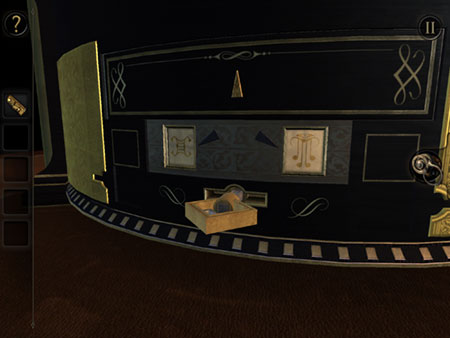
Now, go back to the key and make the dark arrow face the top arrow on the musical box. Go around back and you'll see the image above.
Remember these two icons. A harp-like image on the left, and a four-legged musical note on the right.
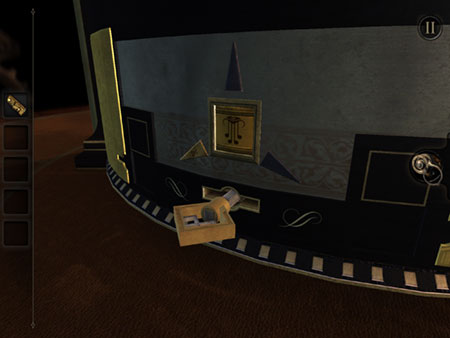
Turn the key again, and make the arrow point to the left. Go back to symbols, and turn the brass panel until it shows the harp-like icon from above.
Now go back to the key, make it point right, and go back around to the symbols. Turn the panel until it shows the four-legged musical note.
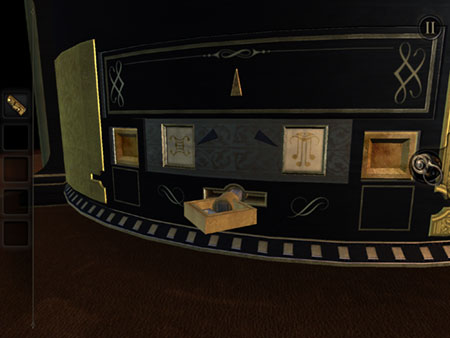
Now turn the key once more, so it's facing up. There will be a pair of buttons on the back now. Press them both at the same time to reveal some new areas.
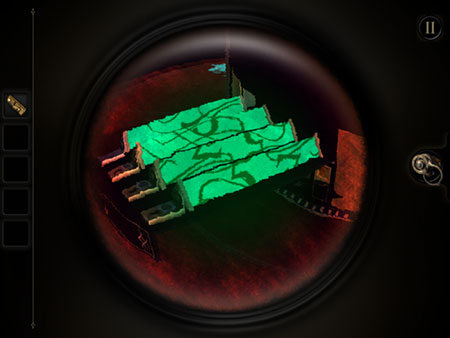
Find these four Toblerone-shaped bars. Look at them from this angle, and use your eye piece, and you'll see some lines appear.
Keep turning the bars, by using the switches at the bottom, to turn those lines into numbers. 573, to be precise.
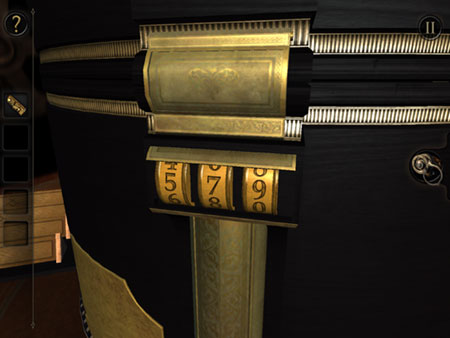
Now put that combination into the number dials on the side of the musical box. A panel will appear. But we'll come back to that in a little while.
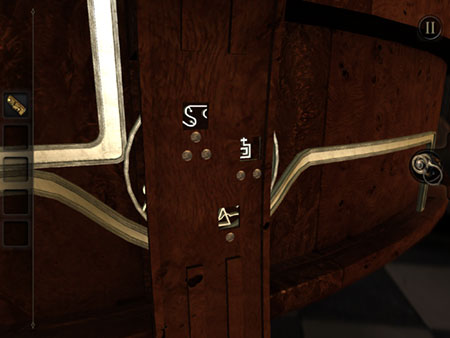
There are three holes on one of the table's legs. By moving the drawer lock out of the way earlier in the game, there are now three icons in the three holes.
A triangle in the hole with one dot. A right-angled snake in the hole with two dots. And an S in the three-dot hole.
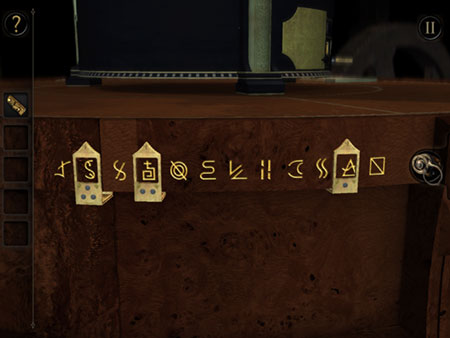
Another leg has a section of wood that can be pushed down. Push it to make three little sliders appear, over these symbols. You should recognise three of them from about three seconds ago. Seriously. Look one paragraphs up.
So put the slider with one dot over the triangle. The slider with two dots over the right-angled snake. And the slider with three dots over the S. A coin will appear. Take it.
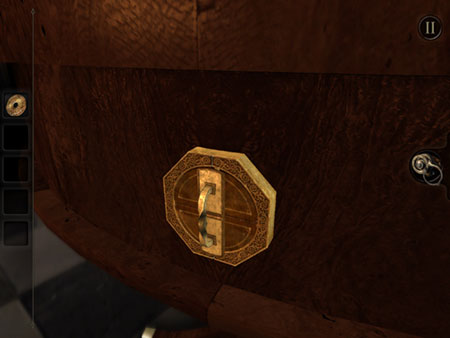
Put the metal panel in the circular plate with two holes in it. It's on one side of the table's outer edge.
Twist it, to reveal a piano.
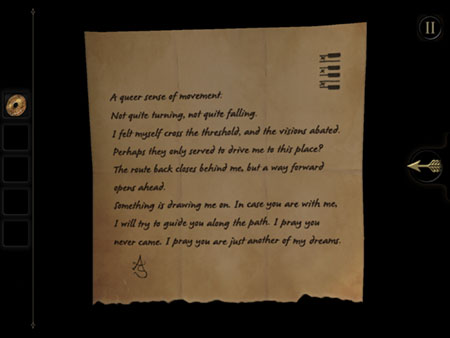
Check the note on the table. It's got a message, but also a clue. See the little piano drawing? That's telling you which keys to hit.
So, press those three keys at the same time (marked A, B, and C, above), to open the piano's secret compartment. Now put your coin in the coin slot.
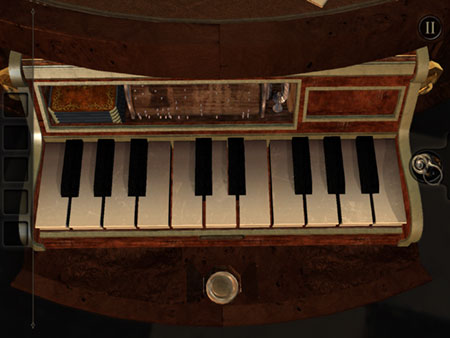
Press the big old button, and you'll notice the piano play a short ditty by itself. Copy the exact pattern yourself, to advance. You'll have to do this correctly three times to continue.
A panel will open, revealing a pair of metal handles. Grab them.
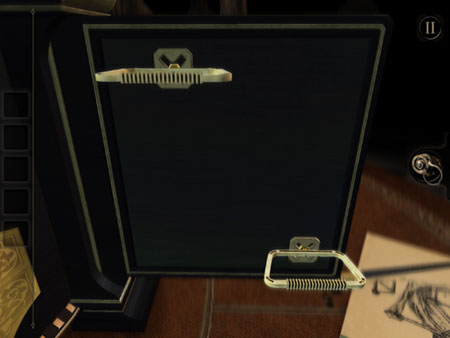
Put the handles in the panel on the side of the music box. Use your eyepiece and you'll see a 3D floating cube inside the panel.
Now here's the plan. You need to use the handles to spin the cube so that one of the indented sections is facing away from you. Then, take off your eyepiece, spin around to the other side of the panel and…
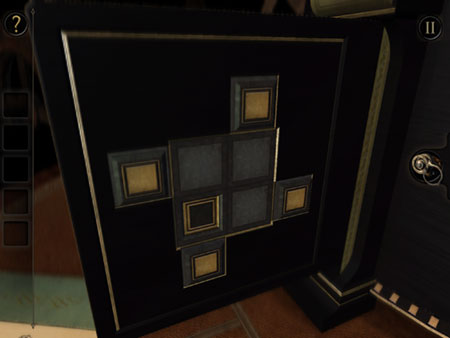
Drag one of the four stones into the indented area. Keep doing this (by spinning the cube and dragging the squares) until all four indented areas are filled up with stones.
This will reveal a gem (which you should take), and a few new puzzle areas.
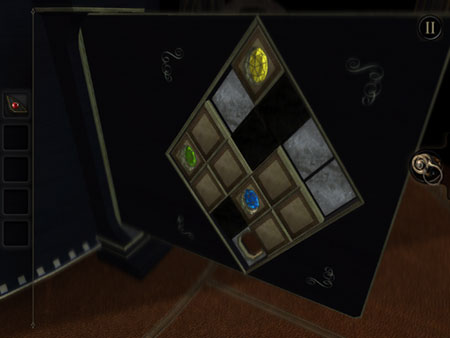
The goal on this part is to move a coloured gem to the bottom area, so you can spin around to the other side and take the gem from the hole.
Do it for until all three gems are in your inventory.
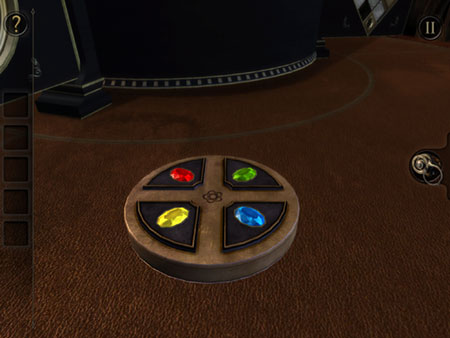
Put the gems in this little plinth, mimicking the colours you see above. Then look through the porthole, using your eyeglass, and you should see a cool shape. This will cause the music box to open up.

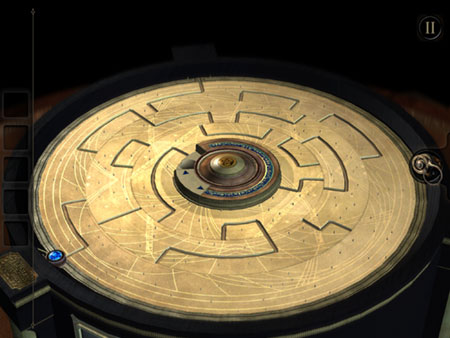
Open the lid properly, and you'll see this maze area. The idea is to get the blue gem into the hole at the centre, by moving it along the different pathways.
Hit the button at the centre to shift the maze through three possible positions, and keep moving the gem when new paths are opened. Don't be afraid to move back towards the edge. It's necessary to get to the centre.
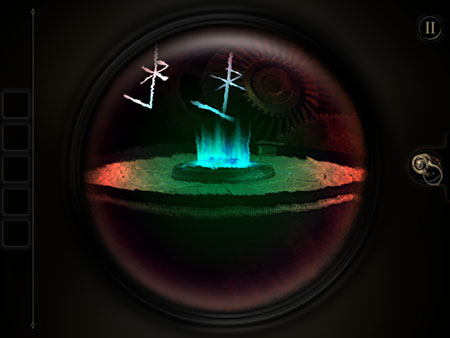
When it's done, the gem in the middle will light up. Look through your eyepiece, and then line up the floating sticks with the image in the background.
Now do the same gem moving puzzle again. This one's a little more tricky, but just assess all three possible moves for each path, and try all pathways, and you'll get there.
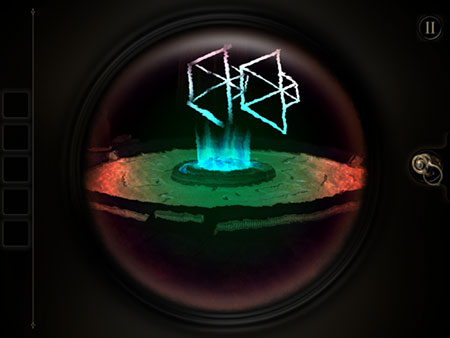
Use the eyepiece again. This time you can rotate the sticks to form the null symbol. Line it up with the image in the background to finish the epilogue.
The Room Two will launch later this year.



 Candy Crush Soda Tips, Cheats & Hack for Lives, Gold Bars & Moves - AppGameCheats.com
 Lumos Cat guide - Tips and tricks to effectively defend the cat nap
 [Update] Bad Piggies 3-star level guide - Road Hogs (levels R-1 to R-7)
 Picasso Pop Level 6 Answers and Solutions
 Clash of Kings Hack for Gold, Silver & Wood - AppGameCheats.com