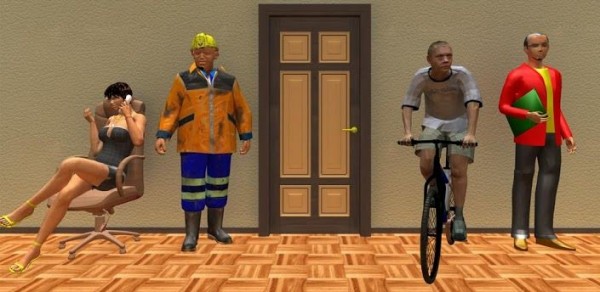

Take Action to Escape is an extremely popular escape the room game for Android from Mobest Media, one of the most appreciated developers of room escape titles for our mobile devices. And since they have such a solid background of quality releases, it’s obvious that Take Action to Escape is also a pretty difficult game, with a walkthrough being more than necessary in order to beat it. I am here to share with you, therefore, a complete Take Action to Escape walkthrough to help you solve all the puzzles and we’ll start with the Take Action to Escape walkthrough for levels 1 to level 15.
Check out the walkthrough below for Take Action to Escape level 1 – level 15, and make sure to check back soon as we’ll have a lot more for you!

Take Action to Escape Walkthrough: Level 1
Tap the door and exit
Take Action to Escape Walkthrough: Level 2
Get the key from the pot and use it to open the door.
Take Action to Escape Walkthrough: Level 3
Get the magnet from the bar and use it with the mouse hole. Use the key to exit.
Take Action to Escape Walkthrough: Level 4
Get the bucket and use it with the water faucet. Tap it and then use it with the fire. You can now get the key from the fire and move on.
Take Action to Escape Walkthrough: Level 5
Tap the similar objects on the left and right and pick up the key in the lower right side of the screen. Use it to exit.
Take Action to Escape Walkthrough: Level 6
Get some matches from the table and use them with the ball. Now tilt the phone and move the ball under the block of ice – keep it there until something drops. It’s a key and you can use it to proceed to the next level.
Take Action to Escape Walkthrough: Level 7
Tap each of the circles until you create the image of a lion. Get the key and exit.
Take Action to Escape Walkthrough: Level 8
Slide the right door of the cabinet to the left and pick up the rifle. Select it and tap the door a million times (more or less) until the door breaks and falls.
Take Action to Escape Walkthrough: Level 9
Swipe your finger on the area above the door and you will reveal an eye that shows you where the key is.
Take Action to Escape Walkthrough: Level 10
Tap the puzzle pieces to the right until you create a heart. Get the key from the table and exit to leave the couple alone.
Take Action to Escape Walkthrough: Level 11

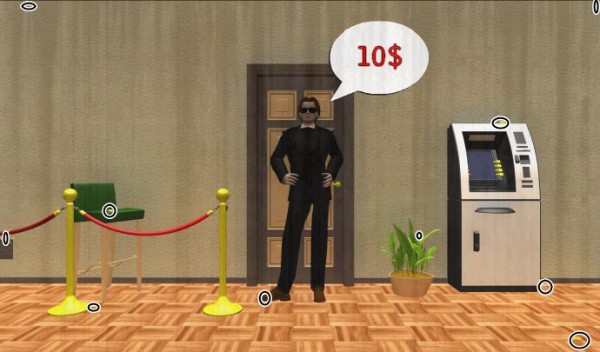
You need to find a total of 10 coins in the room – I have marked them for you to make things easier. After you get them all, give them to the bouncer and you can move on.
Take Action to Escape Walkthrough: Level 12
Take the rock from the top of the hourglass and place it under the faucet. Turn the faucet on and wait until the rock breaks and reveals the key.
Take Action to Escape Walkthrough: Level 13
Take the screwdriver and use it with the car. Tap the car and get one battery. Tap the display on the right wall and use the battery with it – it will show you the time (19:23). Tap the display case to the left and enter that code to get the key and exit.
Take Action to Escape Walkthrough: Level 14
Tilt the phone back and forth until the door opens (you have to hit it with the log 5 times).
Take Action Walkthrough: Level 15
Get the paperclip and piece of paper. Use the paper with the lower side of the door, then the paperclip with the door’s handle. Get the key from the piece of paper and you can move on to the next level.
And this is it! We have completed the first set of levels in Take Action to Escape and I am really hopeful that you found this walkthrough useful. Stay tuned with us as we’ll have the next levels uploaded to the site shortly!
UPDATE: We have published the rest of the walkthrough, make sure to check it out here if you need help with the rest of the levels!


