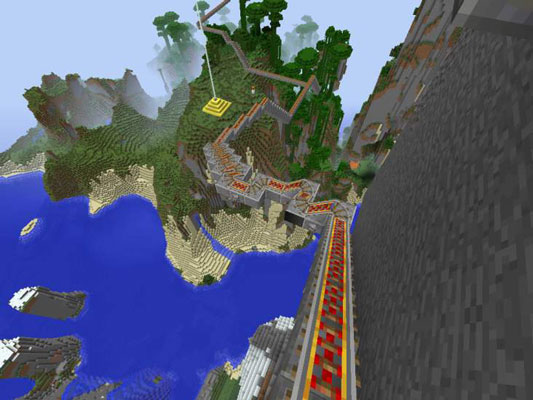
Many Minecraft players navigate their worlds by creating a track system. When rails are placed, they automatically join together to create a straight path or a curve (when one track is joined perpendicularly to another).
This strategy prevents tracks from being multidirectional unless they’re connected to a redstone circuit-powered T switch.
Rails naturally attach to form either a southern or eastern orientation when placed at a cross-section, so you should plan intersections carefully. Rails can also be built to go uphill or downhill. They’re regularly created with gaps or even jumps requiring impressive timing and engineering. One favorite use of rails is to create roller coaster rides.
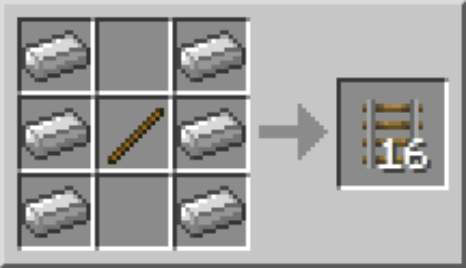
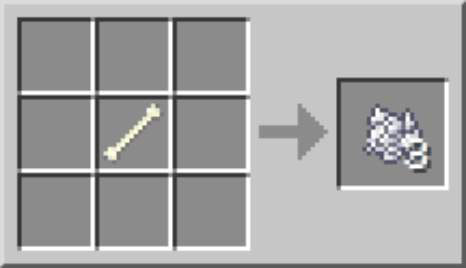
To craft a rail, place 6 iron ingots in 2 columns with a stick in the middle, yielding 16 pieces of rail.
Powered rails are used to adjust the speed of a minecart. When powered with redstone, they increase the speed while acting as a brake when turned off (except in the PE edition). If one end of the rail is blocked, turning on a powered rail lets a stopped minecart begin moving in the nonblocked direction. Effectively, players can then load and unload carts.
Connecting powered rails doesn’t continue to increase the speed of the cart significantly. Many uphill slopes require a powered rail to help minecarts successfully reach the top. Powered rails don’t curve like traditional rails do.
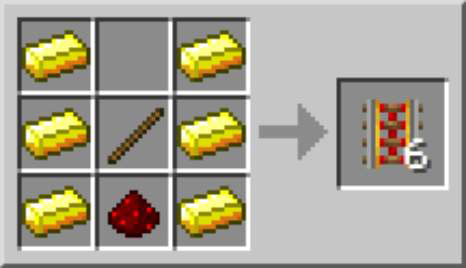
To craft a powered rail, place a stick above a redstone in the middle column’s bottom 2 boxes with 6 pieces of gold ingot in both outer columns.
When a minecart is on a detector rail, it gives a redstone signal to any adjacent block, including the one above and below it. A detector rail is similar to a switch that turns on things around it. You can then connect a detector rail to a number of items. When a minecart travels across the detector, it activates the adjacent block using a redstone signal.
For example, connecting to a note block alerts you whenever a cart has passed, because the note block chimes. Connecting to a weapon dispenser, especially one that shoots arrows, triggers an attack on the cart (similar to a tripwire). They also can be connected to powered rails, to power several stretches of track.
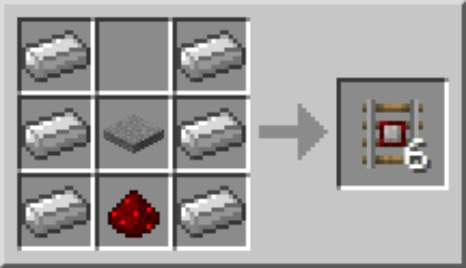
To craft a detector rail, place 6 iron ingots in two vertical columns with a pressure plate in the middle and a redstone below. This yields 6 rails.
When a minecart passes over an activator rail, the contents within the cart itself are “activated” in various ways, such as the following:
TNT is lit and exploded after a few seconds.
A hopper is turned off and unable to load or unload.
A player or mob is tossed from the cart (as though the Sneak command were activated).
In fact, any command block activates its sequence. Activator rails can power as many as 9 blocks on the same rail and can be connected to detector rails to power 2 separate tracks.
An activator rail is different from a detector rail in that the activator rail affects the contents of the minecart itself, whereas the detector rail only detects when the minecart passes over the rail and affects the things around the rail itself. If you want to affect what’s in the minecart, use the activator rail. If you want to affect things on and around the rail, use the detector rail.
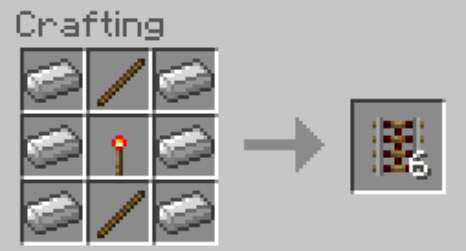
To craft, place 6 iron ingots in two vertical columns on the outer edges of the crafting table. Place a stick, and then a redstone torch, and then a stick in the middle column. This yields 6 rails.
The engineering of rails and redstone can be difficult to understand. Many players switch to Creative mode, giving them endless inventory items, so that they can build and test their ideas. Use Creative mode as a way to practice building your redstone creations and rails.
 Learning Basic Coding Skills to Mod Minecraft - For Dummies
 Minecraft Modding: How to Make a Way to Win and Lose in Spleef - For Dummies
 How to Raise Pets in Minecraft - For Dummies
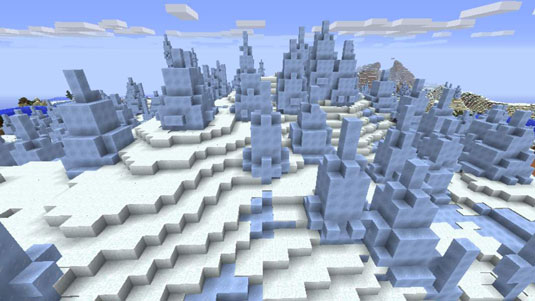 The 6 Snowy Biomes in Minecraft - For Dummies
 How to Sketch Out Your Minecraft Mod - For Dummies