

The new Tomb Raider reboot exceeded expectations, and now the new Definitive Edition is coming to next-gen consoles. In addition to an all-new storyline, the game features secret tombs for the player to explore. These tombs are filled with hidden goodies, including bonus XP, salvage, and treasure maps. These treasure maps will reveal the locations of caches and relics. There are seven hidden tombs total, and each one has a small puzzle you’ll need to solve before you can reap the rewards. Use our guide to find them all.
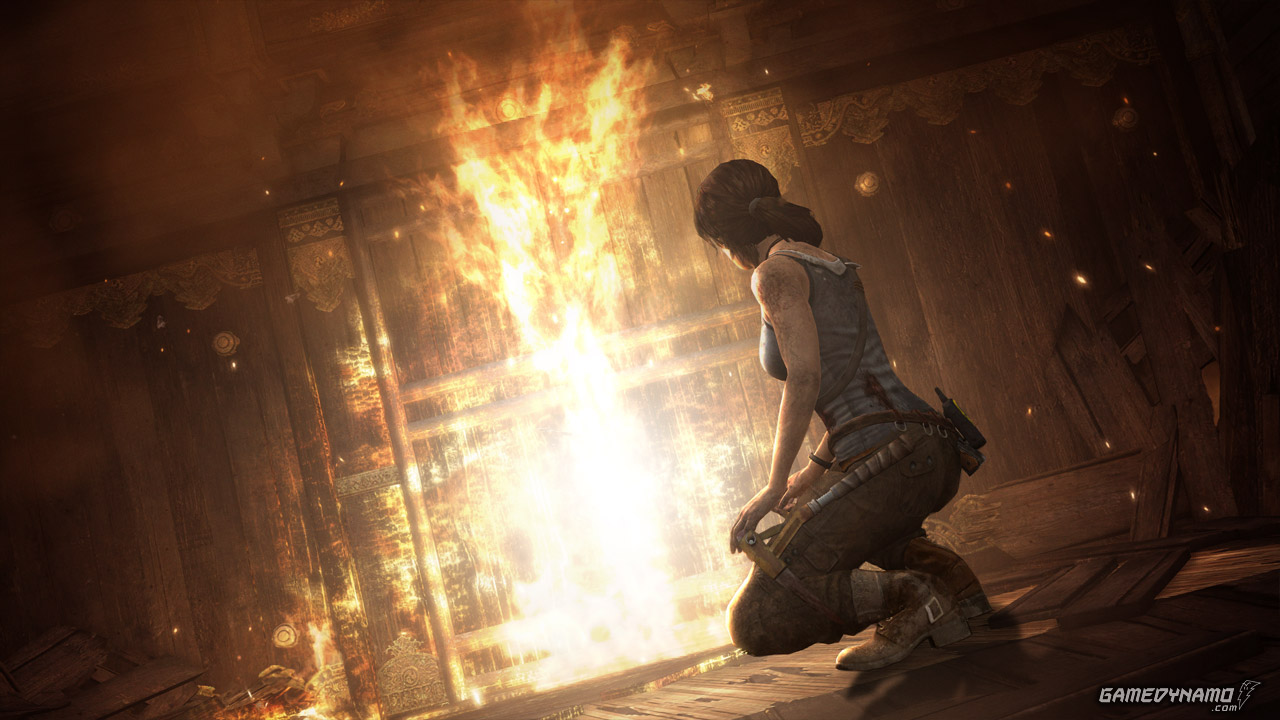
This is the first tomb. It will introduce you to how you can find tombs and what they will entail. It’s basically a tutorial tomb. After you get the Climbing Axe, go to the Mountain Village. Go to the camp located at the base of the waterfall and use the axe to get into the tomb. Once inside, you’ll need to solve a puzzle using fire. Use the firepot to get started. You could also use the flint if you have it already. From here, burn the bodies, allowing the lift to rise. Push the rest of the weight off and use it to reach a climbable wall. Grab the reward; a partial Mountain Village Treasure Map. This one will list the relics.
This tomb is also in the Mountain Village. To reach this one, you’ll need to have the Rope Arrows. Go to the Overlook Camp where you need to go to in order to reach the crashed plane. Instead of heading down to the plane, use a Rope Arrow to reach the northern ledge. Follow this path. You’ll need to use one more Rope Arrow to get to the tomb.
To solve this puzzle, there are a few things you need to do. You need to close the shutters using one crack, and then raise a platform with another crank. You will need to do this at the right time in order to reach the top area. To do this successfully, turn the crank to close the shutters. Run over to the platform’s crank and wait about 2 seconds before turning it quickly to raise the platform. Run to the platform and get on it. When the shutters open, the wind will push the platform (and Lara) over up and to the right. From here, jump to a flat piece of wood so you can climb up to the upper ledge. Follow the ledge slowly and get to the treasure. The big reward here is the rest of the Mountain Village Treasure Map. This one will list the caches.
This tomb is found in Shantytown. Go to the Shantytown Helicopter Hill Camp. You’ll need to have Rope Arrows to reach the tomb area. Go through the town until you reach building with white tomb symbol. There is a hung corpse at the building. The tomb is beneath the floor. Destroy the floor and follow the path to get to the tomb. You need to use the rope arrows to pull open the entrance.
In the tomb, there is a platform. You need to weigh down the platform so you can reach it. There are several yellow canisters in the area that you can throw into the platform so it lowers to the ground. Once it does, hop on and then throw the canisters off so it will rise back up. Get off the platform and use the ledge to jump onto the now raising platform, and then quickly jump to the left side ledge before it starts to go back down. You may need another try to get the timing down. Your reward is the Shantytown Relic Map.
This tomb is also in Shantytown. Go to the Windmill Camp and then go into the caves below the gondola station. Slide down and cross the gap. Then go right and cross a small wood bridge to get to the tomb’s narrow entrance.
To reach the treasure, you need to use the ramp. To get it to tip the right way, you need to weigh down the raised section with the yellow cans. You’ll need at least four to keep it steady. To reach them all, you’ll need to use Rope Arrows to destroy some weak platforms. Then you can reach the two canisters on a higher ledge. Once you’ve weighed down the seesaw, use it to jump and spear the climbing wall. Climb up to reach the treasure, which includes a Shantytown Treasure Map detailing the caches.
To get to this tomb, go to the Hunting Lodge Camp in the Summit Forest. Head north past the bridge. There will be a lamppost by the entrance. Make sure you have two Fire Arrows before you go in. It’s better to have more, just in case you miss.
The first thing you need to do is use a Fire Arrow to detonate the gas. Quickly make your way past the area where the gas comes out. Otherwise, the gas will reappear and you’ll need to detonate it again. Now, move forward until you reach a climbable wall. Before you climb up, look around and find some explosive crates up on a ledge. Blow it up with a Fire Arrow and then climb the wall. From here it’s a straight shot to the treasure. You’ll get a Summit Forest map which details the relic locations.
You can find this tomb in Shipwreck Beach, on the way to the bunker. To reach it, you need the Climbing Axe, the Shotgun, the Pry Axe, and Rope Arrows. The tomb will be at the top of the bunker. Use the Pry Axe to get into the building where the entrance is. Look for the tomb symbol outside the door. Inside, press the first two green buttons. Then you will move into the actual puzzle area.
There will be electricity around, so be careful. First, you need to use the Shotgun to destroy the wood barricade. Then you can get a good vantage point to see the floating raft. To get the raft to you, shoot a Fire Arrow to burn the rope keeping it in place. Pull the raft over through the opening you made with the Shotgun using a Rope Arrow. It should be near the other platform. Carefully make your way over there. Now you need to stop the electricity. Use another Rope Arrow to pull a beam at the end of the room, which will raise the generator out of the water. Jump right to the platform. Pull it up again and make your way through the water. Finally, pull up the generator one last time. Pull the platform under the generator to keep it out of the water. Now you can safely reach the treasure, which is a Shipwreck Beach Treasure Map detailing relic locations.
This tomb is also in Shipwreck Beach. Go to the Survivor’s Camp and then head north to the zip line. There will be a barricade. Use the Rope Ascender to bust through it and keep going forward. Use your Rope Arrows to reach a cave that leads to the tomb entrance.
To start the puzzle, use the crank by the entrance to raise a platform. The buoy will then go left. Follow it until it hits the first turnstile. Use it to jump over the gap. Then, shoot a Rope Arrow on the white beam. Wait for the buoy to move again and then line the beam up with Lara. Jump to the bar as it is moving away from Lara. Jump to the climbing wall. Climb up to get to the treasure, which includes a Shipwreck Beach cache map.


 DmC Devil May Cry Copper, Gold, Ivory, and Argent keys and Secret Doors Locations Guide
 How to Access Dawnguard in The Elder Scrolls V: Skyrim
 Joe Danger: Special Edition - Guide to Danger!
 Terraria - XBLA Fans Guide
 Batman: Arkham City Cheats, Hints, and Easter Eggs