Lara Croft has an awful lot of collecting to do in the reboot of Tomb Raider from Crystal Dynamics and Square Enix. In fact, the island of Yamatai has a lot more collectibles than it probably ought to. Arguably, the most thematic of which are the ancient (and not-so-ancient) Relics strewn about the island.
We've devised the following Tomb Raider Collectibles Guide - Relics Locations to make the task of collecting these artifacts significantly easier.

Tomb Raider Collectibles Guide - Relics Locations
Use the Rope Arrow to zip down to the Village Overlook Base Camp. Take out the Solarii. Enter the wooden shack they were guarding. The Medicinal Herb Vial Relic chest is on the table.
Mountain Village (Day Time 1) Old Photograph Exit the caves from the Hall of Ascension Tomb. Go south toward a wooden ledge that overlooks a waterfall. Drop down to the roof below you. Drop down to the ground. Under the roof you’ll find the Old Photograph Relic chest on top of a crate. Mountain Village (Day Time 2) Dried Gobo Root Head northwest from the Village Plateau Base Camp. Past the first statue, you’ll see a wooden shack with a door that has ropes tied around it. Use the bow to pull the door off its hinges. The Dried Gobo Root Relic chest is on the table inside. Mountain Village (Day Time 2) USMC Dogtags After the plane crash, head into the unlocked area. Head west from the Village Plateau Base Camp up the dirt ramp. Pass the plane’s tail section and head into the larger house to the southwest. The USMC Dogtags Relic chest is on a table inside the building. Shantytown Decorative Inro Head down two flights of stairs to the south of the Helicopter Hill Base Camp. Toward the south you’ll find a ramp going into a building. Enter the building and turn west. Break through the barricade with a torch or your bow. The Decorative Inro Relic chest is on a table inside the room. Shantytown Jade Horse From the building that houses the caves which lead to the Well of Tears Tomb to the south, head northwest. When you come upon a building with stacks of crates crossed by brackets, break through the barricade with the shotgun. The Jade Horse Relic chest is inside the building. Shantytown Commander's Inro Head north from the rickety bridge in the southwest portion of the map. Pass the wooden stairs that lead to the tower. Instead, head up the rusty metal ramp leading up to the tower. The Commander’s Inro Relic chest is on the table inside the corrugated metal structure. Shantytown Metal Inro Head down two flights of stairs to the south of the Helicopter Hill Base Camp. Make your way east across the open area to the set of stone stairs. Destroy the barricade with the shotgun. Fight the Solarii. Head up the three flights of stairs heading east. Turn right at the top of the stairs and head through the doorway. Pass through the wooden structure, turn right, and then climb up the low-hanging roof. Pass the tagged wall and enter the doorway. Head up to the upper room where you’ll find the Metal Inro Relic chest. Shantytown Scribe's Inro Defeat the Solari that pops out at you whilst on your way to meet Grim. Cross the large metal tower heading north until you reach the wooden bridge south of the Ancient Gate Camp. Go east across the bridge. When you see the lumber pile under the painted wooden wall, turn north and follow the balcony until you reach the crates. Turn right and destroy the barricade with the shotgun. The Scribe’s Inro Relic chest is on the table. Shantytown Jade Water Buffalo From the building that houses the caves which lead to the Well of Tears Tomb to the south, go down the stairs and then to the north to the right of the circular cage. Turn east past the first set of stairs to your right. Head east between the railing and the building. Jump onto the landing you’ll find to the east. Turn southeast and jump from the blue cloth the landing located to the southeast. When you land, jump up on the white railing to your right. Turn northeast and jump up to the next floor to the left of the barbed wire. After climbing up, head northwest a few paces, turn right, and destroy the barricade with the shotgun. The Jade Water Buffalo Relic chest is on a crate in the northeast corner of the room. Shantytown Jade Drinking Vessel Approach the windmill blades and defeat the Solarii. Drop down to the ground. You’ll land next to a set of wooden stairs. Head up the stairs towards the east. Walk north past a bush and then turn east again, passing underneath a different set of wooden stairs. Keep going east whilst passing under a building until the path ends at a table with barrels on top of it. There you will find the Jade Drinking Vessel Relic chest. Geothermal Caverns Funeral Fan Enter the large cavern from The Pit Base Camp, turn towards the northwest. Look for the candles up on the rock wall. Head up to the candles and then jump down to the ledge directly below them. Pulling yourself up, you’ll see the Funeral Fan Relic chest next to the skeleton tied to the post. Geothermal Caverns Wedding Fan Starting at the Catacombs Base Camp, turn towards the south. Look for a crate surrounded by skulls and red candles. There you’ll find the Wedding Fan Relic chest. Geothermal Caverns Inscribed Silk Fan After finding the room where the Solarii are worshipping the Sun Queen, move to the west of the altar and then head northwest, following the stream. Continue along the stream until you see an improvised altar. The Inscribed Silk Fan Relic chest is on some planks on the ground there. Summit Forest Chao Dynasty Dagger Starting at the Summit Marsh Camp, head east down the stairs and through the wooden archway. Turn towards the helicopter wreck to the southeast. Head towards the helicopter and then circumvent the cluster of trees with the fallen log. On the east side of the tree cluster you will find the Chao Dynasty Dagger Relic chest. Summit Forest Japanese Ceremonial Dagger Starting at the bridge to the south, head northeast to the rock ledge that is west of the aircraft wing. At the easternmost portion of the area whilst on the ledge, turn southeast and jump he gap towards the plane’s wing. Pass along the wing and then use the zip line to the right. Head southwest up the rope to a tree stand. Drop down on to the stand and face east. Jump the gap towards the small ledge in front of you. The Japanese Ceremonial Relic chest is on the ledge. Summit Forest Jade Ceremonial Dagger Starting at the entrance of the large forested area, head southeast along the westernmost portion of the map. Continue walking until you come across a fallen tree. Walk up the tree ramp and jump to the rock wall and scramble up it to the ledge above. Jump the gap to the northwest tree stand. Grab the rope and swing to the next tree stand to the northeast. The Jade Ceremonial Dagger Relic chest in on the stand. Shipwreck Beach (Day Time) Brown Jade Ink Box Starting from the old gun boat Reyes is working, head south along the pier to the ladder at the crane. Use the zip line to reach the galleon. Pass through the ship until you find the Block and Tackle, when the mast falls over. Head down the mast past the wooden wall on your left. Turn to the left and head into the wooden shack where you will find the Brown Jade Ink Box Relic chest. Shipwreck Beach (Day Time) Stuffed Bunny Use the bow Jonah gives you to reach the scuttled boat on the eastern portion of the map. Head east past the large Salvage crate and cross the beam that spans the gap. Drop down to the floor below. Head southeast to the right of the green pipes. Inside the room on the left you will find the Stuffed Bunny Relic chest. Shipwreck Beach (Day Time) Worn Wallet Use the zip line to the northeast from the large tower located at the southwest tip of the peninsula. Head northeast and jump up to the next highest ledge. There you’ll see a bunker in the side of the cliff with a metal door. Pry the door open with your axe. Inside the building, turn right, walk a few steps, and then turn left into the next doorway. Walk to the back of the room, climb the ladder, and then turn east. Jump to the rock wall. Use the Climbing Axe to get to the next level. Follow the path and crawl into the tight passage before you. Wall Scramble up the wooden wall to the west. Follow the path there until you are heading southwest. Head up to the upper level of the bunker via the wooden ramp. The table next to the burning barrel has the Worn Wallet Relic chest. Shipwreck Beach (Day Time) Stained Jade Head Rest Use the bow Jonah gives you to reach the scuttled boat on the eastern portion of the map. Head east past the large Salvage crate and cross the beam that spans the gap. Drop down to the floor below. Head northeast and drop down to the next floor towards the blue cloth hanging over the edge. Once there, move southwest a few steps and then turn to the southeast. On the table situated between the beams you’ll find the Stained Jade Head Rest Relic chest. Shipwreck Beach (Day Time) Shaped Jade Head Rest Use the zip line to the northeast from the large tower located at the southwest tip of the peninsula. Head northeast and jump up to the next highest ledge. There you’ll see a bunker in the side of the cliff with a metal door. Pry the door open with your axe. Inside the building, turn right, walk a few steps, and then turn left into the next doorway. Just past the threshold there is a table to your left that has the Shaped Jade Head Rest Relic chest. Shipwreck Beach (Day Time) Toy Train Slide down to the peninsula from the scuttled boat on the east side of Shipwreck Beach. Head south and jump to the metal ramp towards the concrete post. Jump from the post and Wall Scramble up the wooden wall. Walk towards the barrels and then jump across the gap to the west onto the wooden ledge. Pass through the doorway and jump onto the ladder. Climb up to the next wooden catwalk. Head northwest to the edge of the catwalk, and then turn around 180 degrees. Look above and destroy the barricade with the shotgun. Climb up, jump, and then Wall Scramble to reach the small room you just opened up. Inside you’ll find the Toy Train Relic chest. Cliffside Bunker Japanese 2 Sen Coin Starting at the Endurance Overlook Camp, head northeast behind the rusty truck and into the garage. The Japanese 2 Sen Coin Relic chest is inside the garage. Cliffside Bunker 100 Mon Coin Starting at the Endurance Overlook Camp, drop through the hole in the floor and use the axe to pry open the metal door to the northwest. Pass through the doorway and look to your right. Use the bow to open the next door with the Rope Ascender tool. Jump over to the doorway and climb in. Once there, go into the room and turn right. You’ll see the 100 Mon Coin Relic chest on the desk. Cliffside Bunker Portuguese Tin Coin After acquiring the Rope Ascender tool, go back through the bunker to the room with the cannon. Turn to face northwest and pull down the wall with the Rope Ascender tool. Pass through the new entrance, following the wall towards the northeast. The Portuguese Tin Coin Relic chest is right in front of the tree. Research Base Chou Dynasty Helmet At the entrance of the Research Base, head northwest and jump across the gap to the rock wall. Latch on with the Climbing Axe and then drop down past the metal gate. At the next lowest rock wall, reattach the axe. Slow yourself down and then drop into the water. Move a bit to the west and then turn east. Use the grenade launcher to destroy the metal wall. Pass through the hole you just made. Look up and to the north. Destroy another metal wall with the grenade launcher. Enter this room and Wall Scramble up the wall to the north and enter the hidden area. The Chou Dynasty Helmet Relic chest is on a cluster of crates. Research Base Ceremonial Helmet Destroy the elevator by breaking all the gears. Head into the elevator shaft. Drop down to level 1. Pass through the hole in the southwest wall. Pass through the gap in the north wall and turn towards the east. Walk behind the large cluster of crates. The Ceremonial Helmet Relic chest is on the floor behind the crates. Chasm Shrine Kansu Burial Urn Exit the Sacred Hall Base Camp and head east along the north wall to the table. There you will find the Kansu Burial Urn Relic chest. Chasm Shrine Satsume Vase Upon reaching the Sacred Passage Base Camp, look southwest and you’ll see the Satsume Vase Relic chest on the ground near the rock fall. Chasm Shrine Ban Chiang Vase At the Chasm Shrine, walk southeast to the door. Use the axe to open it. Continue southeast and drop off the wooden ledge. Turn to your left and pass through the cage beneath the northwest corner of the ledge above. The Ban Chiang Vase Relic chest on the ground in the pool of blood.
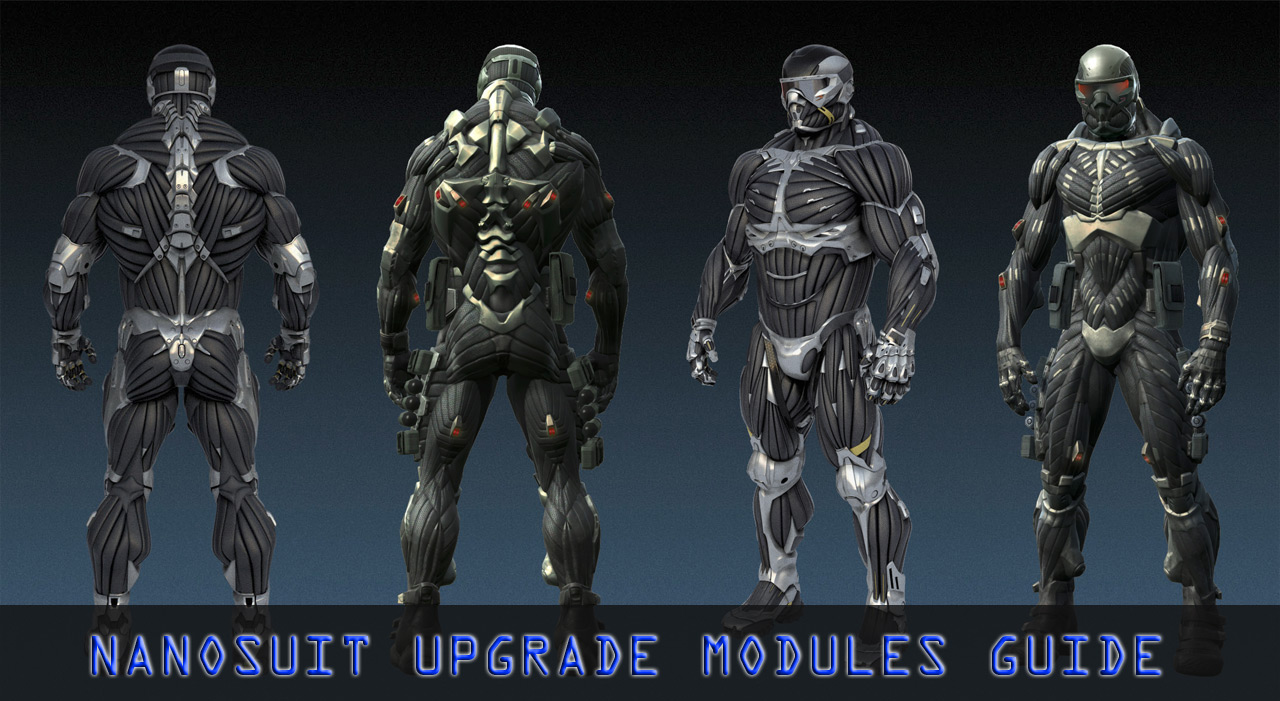 Crysis 3 Nanosuit Upgrade Modules and Packages Guide
 Borderlands 2: How to Access the Black Market
 Lollipop Chainsaw Guide: All 40 Lollipop Wrapper Locations for the Lollipop Addict Achievement / Trophy
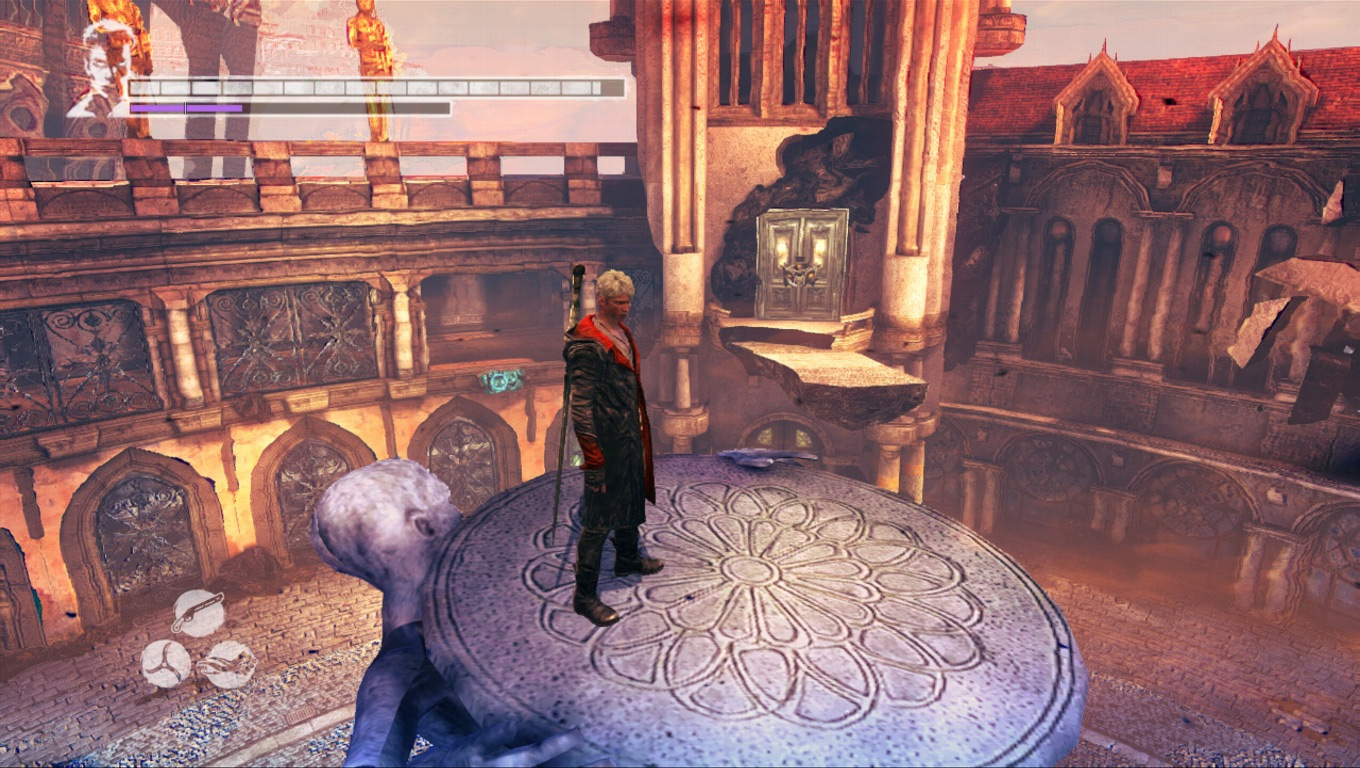 DmC Devil May Cry Copper, Gold, Ivory, and Argent keys and Secret Doors Locations Guide
 Watch Dogs – Easter Eggs