What would Assassin’s Creed be without some assassination missions? Just like the other entries in the series, Assassin’s Creed IV: Black Flag has plenty of assassination contracts for you to complete. There are 30 of these contracts total, and finishing them gets you some nice rewards. Each mission will net you 1,000 Reales, and you can get a bonus for completing it stealthily as well. Finishing 15 contracts will get you the special Stealth outfit, which makes completing the rest of the contracts easier.
 Guide Screenshots")
All assassinations take place in a Restricted Area, so you’ll need to be careful and stay hidden. Use Eagle Vision to find the target more quickly. Your hidden blades may be useful if you can get close enough. Use drunk pirates and dancers to get close to your target, then take them out quickly with the blades before you can be seen.
Most contracts will benefit greatly from using the blowgun. With this, you can stay in a hidden area and attack your target without being seen. Be sure to have extra ammo and crafting supplies for it just in case you miss. Remember that different darts do different things. You’ll need to use a fatal dart to assassinate a target.
You can use firearms for a long-range kill, but this will nullify the no conflict bonus and your reward will be significantly less. It’s also important to remember that you have to get out of the restricted area unseen, even after shooting or otherwise assassinating your target.
This is one of the only assassination contracts that doesn’t let you get a bonus for no combat. So you can do whatever you want! To get to the target, go to the restricted area and find the group of guards at the pier. You need to take them out however you want to make the target appear. He’ll sail into the pier. At this point, you can move in and kill the target, who is standing on the deck of the ship.
Find your target on Abaco Island. He will go into a tent. You can easily take him out with a dart and escape using a leap of faith.
The target in this contract kills somebody, then escapes to his boat to flee. You’ll want to try to kill him before he reaches his boat for this contract to be easy and conflict free. Run as fast as you can to the harbormaster, identify him as he runs to his ship, and accurately shoot him with the blowgun. If you miss this chance, you’ll have a naval battle to deal with.
This target is on Pinos Isle, in a large restricted area. There are many guards here. You’ll need to take some of them down in order to get to your target. Use sneaky corner assassinations or use the blowgun to pick them off. Then you can focus on using the blowgun or a corner assassination to take out the target.
You have to find this target in some old ruins. Reaching them means you have to swim through an underwater maze. At the ruins, watch out for guards and pirates. Try to take them out if possible – be patient and wait for patrols to come to you. Use your blowgun for far away enemies. Move forward one you are clear and find the target in the ruins. You can approach him stealthily to take him out or use the blowgun. If you don’t care about combat, you can always just shoot him!
You can’t get this contract until you have captured Fort Chinchorro. After accepting the contract, find the target at the fort near the commander’s office. Watch for the gunner on the rooftop; take it out silently. Then you can use his vantage point to take out your target with a dart.
Find this target roaming Salt Lagoon. He’s by himself so just take him out without triggering combat to complete the contract.
Get this target on Mariguana Island. You can use the viewpoint here to gain a great vantage point for shooting the target with a dart. Do be aware that if he sees you, he’ll run, leading you on an annoying chase.
You need to find this target by swimming through the underwater area leading to Anotto Bay. When you get there, watch out for a guard who patrols the area. You can use the ledge nearby to wait for him and then take him out. Take out the guard who is beating a prisoner too. Then, find the target near the cave. Hit him with a dart and hide so you aren’t spotted while you wait for him to die.
There are two targets to kill in this contract. They are right near the starting point. Use the rooftops to travel east and get close to them. There are a lot of guards so you really don’t have a choice but to use the blowpipe if you want to go unnoticed. Hit them both as quickly as possible then escape into the surrounding, unrestricted area.
You can find this target arguing with some guards. He’ll start running away if he sees you, so use the rooftops to sneak up on him. Watch out for a nearby scout. Shoot him with the blowgun as soon as possible and he’ll die a few moments later.
This target is found by the south docks. There are plenty of guards here, so you’ll need to be careful. You can approach from the water to avoid detection and you can even use a ledge assassination to take him down. If you do this, swim out of the restricted area ASAP.
Find your target on the beach. West of the restricted area he patrols, you can find a stalking zone. You can use this to take out your target from afar as he walks by.
There are plenty of rooftops to use in this contract. Avoid the rooftop gunners and find your target. Take him out with the blowgun and then stealthily get out of the restricted area.
This bigwig is in a courtyard with guards and gunners. You can hire some dancers to distract some of the guards to gain entrance to the courtyard. From there, use the blowgun to hit the target. You could also attempt to go up onto the roof, where you’ll need to put some gunners to sleep. Then you can cleanly shoot the target with a fatal dart.
This target is also in a courtyard with gunners and guards. You can hire dancers again to distract the guards at the south entrance. You can then go inside to find a small passageway with a low roof. On top there is a little area where you can safely take out the target without being seen.
Find this target hanging out in Cumberland Bay. You can find him wandering around near the viewpoint. Use a high building or the beach to sneak up on him. Along the beach, there is a stalking area for easy stealth. Hit him with a dart and exit the area to complete the mission.
This target can be found at a villa in Tortuga. Use the left path to get up to the villa and avoid the patrols by using the stalking zones nearby. Climb the roof and use an air assassination to take him out without causing combat. You can also always use your trust darts.
This guy is surrounded by other people. You need to find a nice rooftop so you can safely shoot him with the blowgun to avoid combat. You could also try to use the nearby group of drunks to get close, but this is riskier.
This target will not be alone; watch out for patrols. Wait for him to be alone or put the other guards to sleep with the blowgun. Then you can pretty much take the target out however you want!
This target can be found in the south area of Kingston, yelling outside a house. Don’t get too close or he’ll run! Instead, sneak up and find a place where you can make a clear shot with the blowgun.
Find this target on the plantation. You can use the small hut to the west to gain a good vantage point to shoot a dart. After shooting, leave the restricted area and wait for your target to die.
This target is roaming around a large house. Be aware that on one of the roofs, an enemy is waiting to spot you. Quickly avoid him, dart your target, and run out of the restricted zone to complete the mission.
There are a few enemies to be aware of in this contract. Watch out for a gunner patrolling the area. You can use a lift at the back of the area to gain a vantage point and take out all the enemies and the target.
This target is found near a viewpoint in the restricted area. There is a guard on a rooftop to be aware of. You can put him to sleep. Use the roofs to find your target and take him out with the blowgun.
Use the surrounding forest to find a good vantage point in a tree. From here, you can see the target walking around. Hit him with the blowgun to complete it.
This target is found in Cayman Sound. Find him close to the viewpoint in this restricted area. Watch out for the pirates in the area, as alerting them will count as conflict. Once you get close to your target, use one of the nearby stalking zones and hit him with a dart.
Go to Mistiriosa to find this target hanging out by the viewpoint. Stay above him to get a good vantage point. When you have a clear shot, hit him with a fatal dart.
You can only do this mission after conquering the fort at Dry Tortuga. After accepting it, go to the fort to find the target. First, you’ll need to take out a nosy scout on top of the gate. Then climb up to get high and spot your target. He’s standing near some gunpowder – shoot it and be done with the mission.
This mission will require you to engage in a naval battle with the target’s ship. Obviously, it will have combat. Stock up on Jackdaw ammunition and get started. Identify the target with your spyglass and move in. Shoot mortars to either sink it or incapacitate it so you can board. Be sure to kill the target, and watch out for enemy reinforcement that will possibly show up.


 The Elder Scrolls V: Skyrim Cheats, Tricks, Glitches, and Exploits
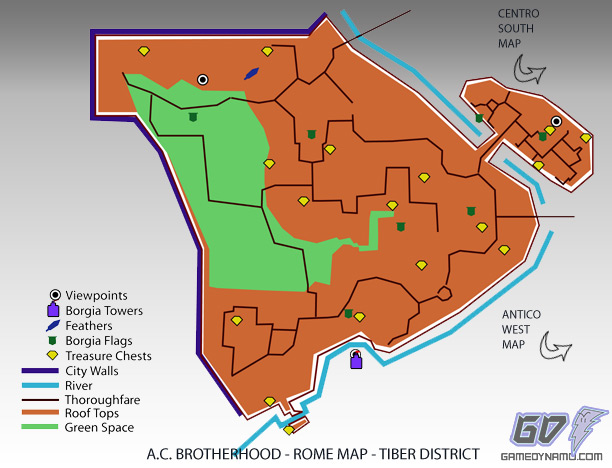 Assassins Creed: Brotherhood Map - Feather, Treasure, Flag Locations
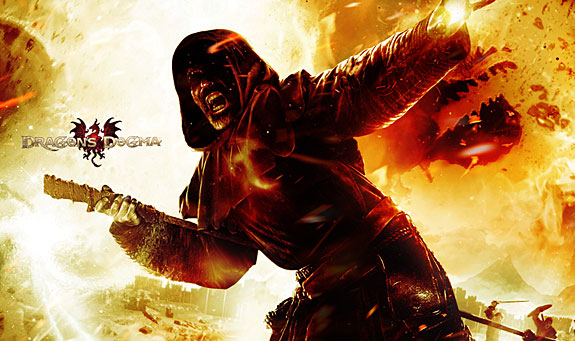 Dragons Dogma Guide - Cheats, Tips, Tricks, Achievements / Trophies, and Easter Eggs
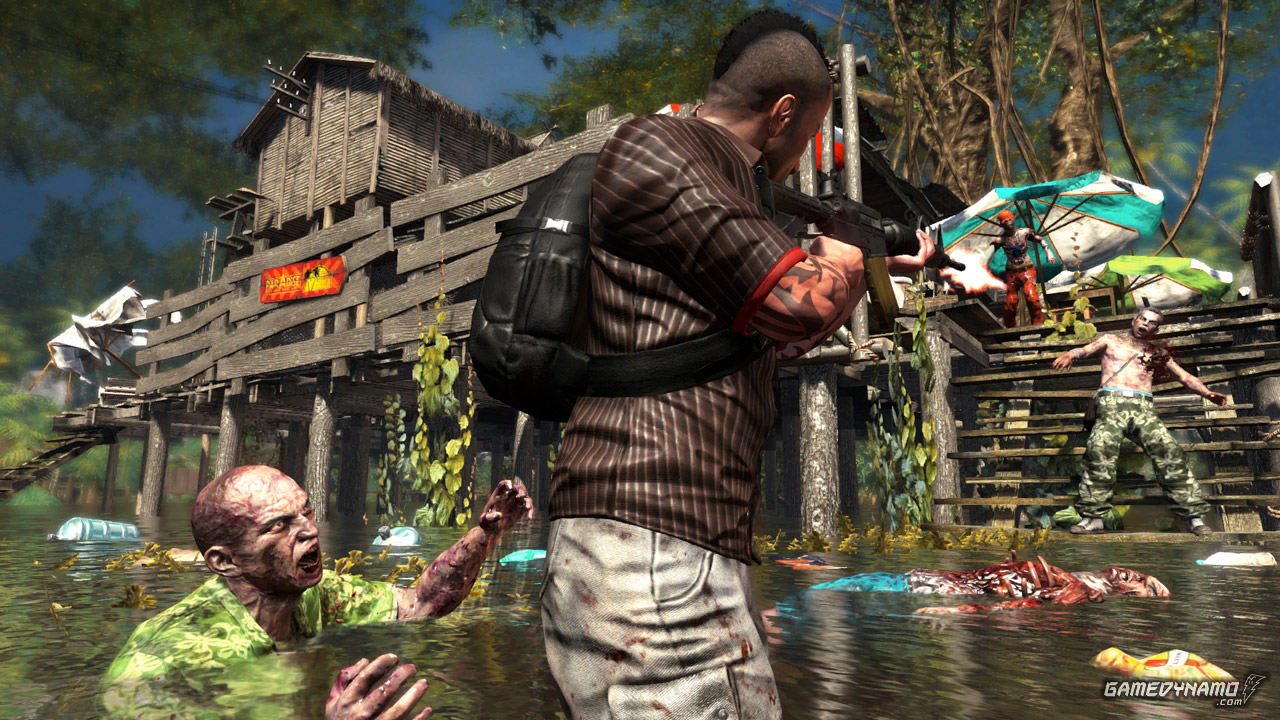 Dead Island Riptide Achievements & Trophies Guide
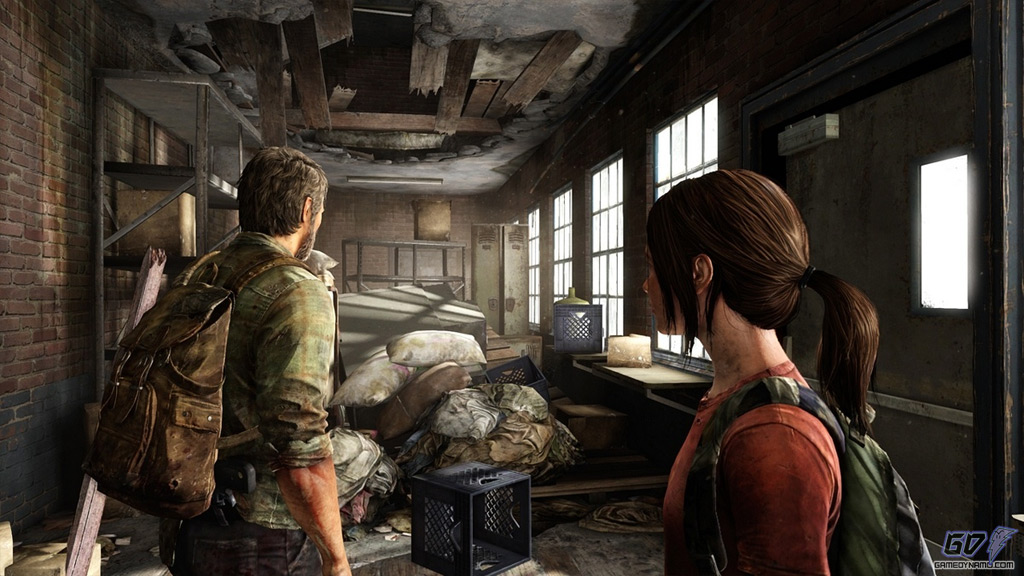 The Last of Us (PlayStation 3) Trophy List