Last week Jens surprised everyone by releasing Minecraft Beta 1.8 for expert gamers. However many gamers were left wondering how they can also try this new Minecraft content.

And so to remove all doubts of gamers, here is a quick guide on how to install and play this Minecraft 1.8 pre-release on Windows. But before giving out the steps, i would like to mention three important points regarding this Minecraft beta 1.8 pre-release.
Step 1: First of all download the Client "Minecraft.jar" file. You can download the file from the following links
Step 2: Go to Window start menu. Windows 7 and Vista users type "%appdata%" in search bar. XP users do this via "RUN"
Step 3: Navigate and open the ".minecraft" folder
Step 4: Now Navigate to "BIN" folder where Minecraft.jar file located
Step 5: Now all you need to do is replace the existing "Minecraft.jar" file with newly downloaded version
Step 6: Now close folder and run Minecraft. You will see new Nojang logo appears which confirms that installation was successful.
Step 7: Enjoy the pre-release version of Minecraft beta 1.8

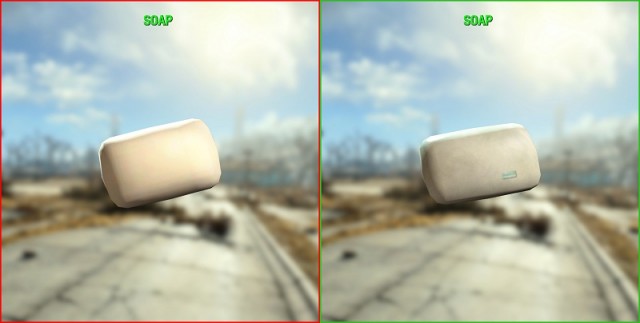 How to Remove the Soap Texture in Fallout 4 Guide
 Project Zomboid: Beginner Guide To Surviving The Apocalypse
 Wii Games For Kids | Best Wii Games For Kids | Top 10 Best Wii Games For Kids
 The Most Popular Holiday Toys Through The Decades
 Call of Duty: Black Ops 3 Achievement Guide